 My mother has always made the best dill pickles! Ever since I was little I remember having homemade pickles. I remember going out to the valley in the summertime and picking mountains of cucumbers and how Mom always said I was a ‘good picker’ (which meant I would get in there and pick well and for hours until we were done).
I always enjoyed going up to the farmer at the end of our day and weighing the cukes to see how many pounds we had picked. Then we would head home and Mum would get to work pickling the cukes for the yummy pickles that were to come.
 She made jars and jars of them. At least 80-100 each time, as we would go through a jar of pickles a week in our family. The kitchen was set up industriously, or it seemed so, while my Mum completed all the steps for making pickles. We often had sandwiches or leftovers for dinner during this time as Mum did not want to stop to make dinner! But we didn’t mind and it was what we expected at that time of year.
When I first moved away I asked my Mum to make me pickles and send them to me. I had become a pickle snob and I would only eat my Mum’s homemade. I would refuse to buy the ones in the store! She lovingly did this for a while, but when my parents moved to the Okanagan, it was then the perfect time for her to teach me the art of making the perfect dill pickle.
 When the pickling cukes were ready she called and I packed up the family and went out to BC to make pickles. The first time I did it I don’t think I was paying that close attention – (ha ha sorry Mum), but I think I was just so excited to be making my own that the information on what I was doing didn’t stick. Last summer, when we were out of pickles and I headed to BC once more, was the time that it stuck on what to do.
I remember commenting to my mother how many steps there were and I didn’t realize that there were so many. Now I more fully understand why she was in the kitchen for days doing the cucumbers.
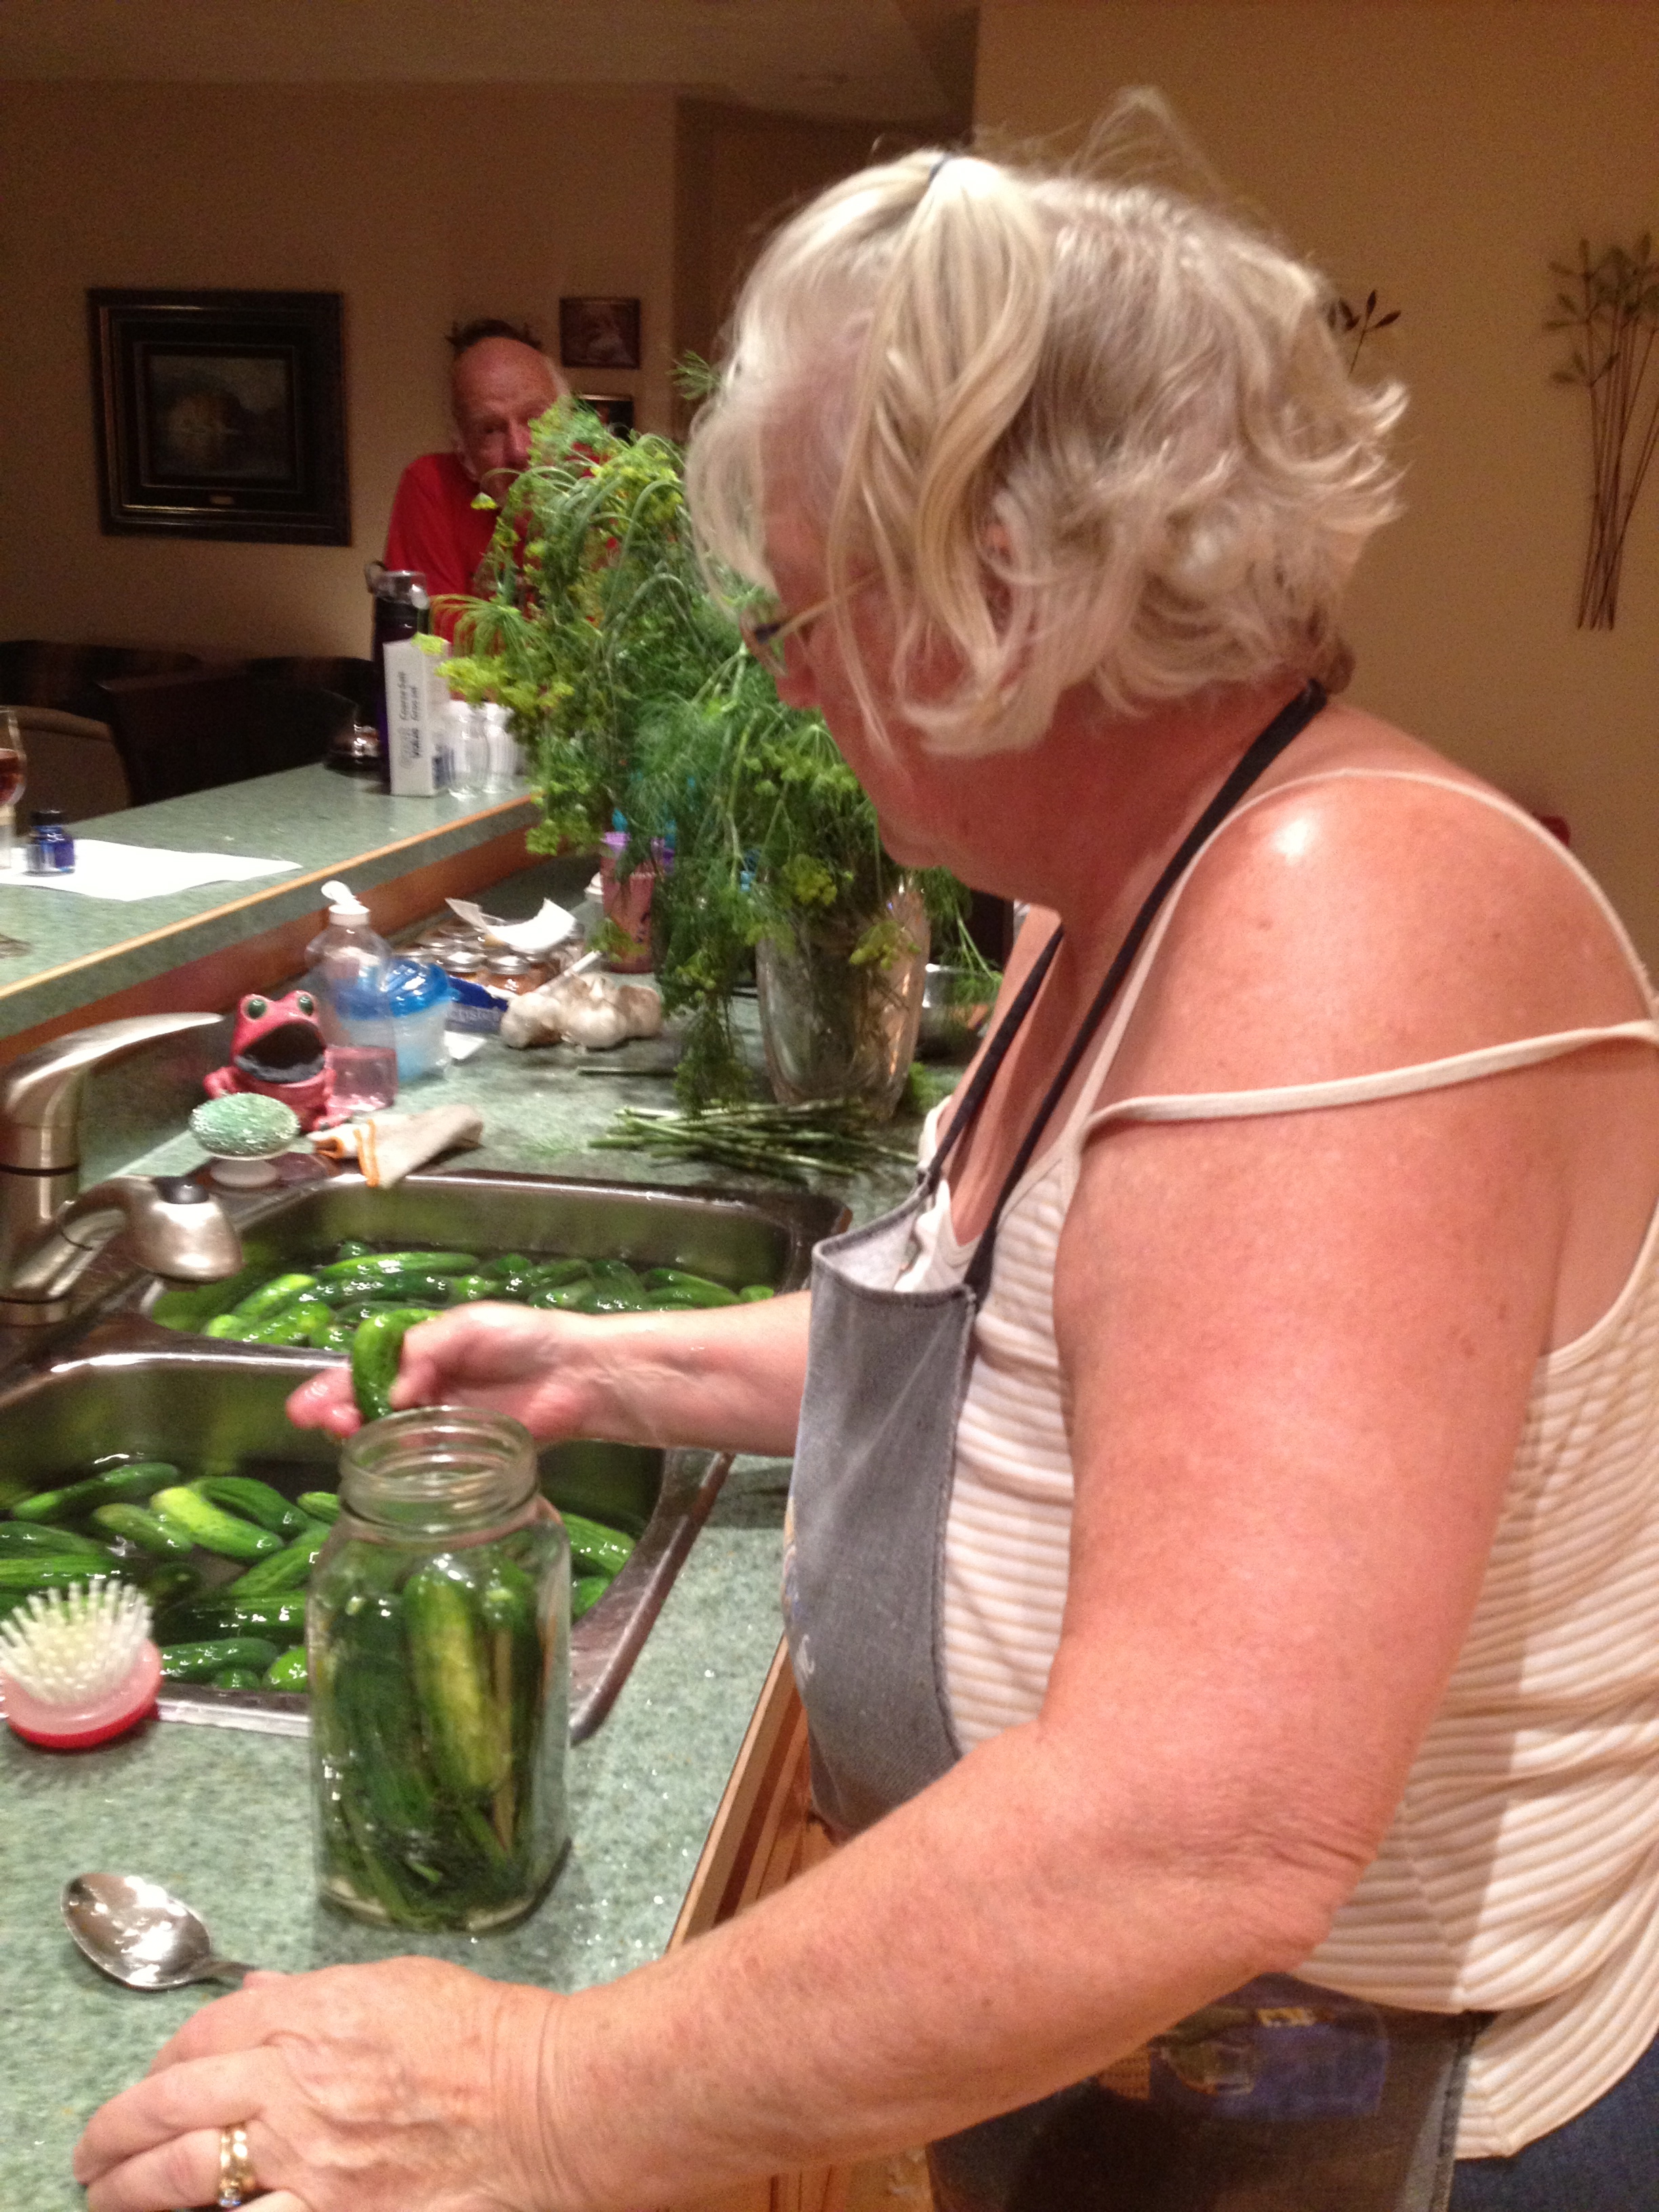
I had bought 40 lbs of cucumbers, which usually works out to about 40 jars of pickles; and some fresh dill from a local farm in Kelowna. With everything ready to go we set to work. We had soaked the cucumbers during the day so by the evening after supper we were ready to go.
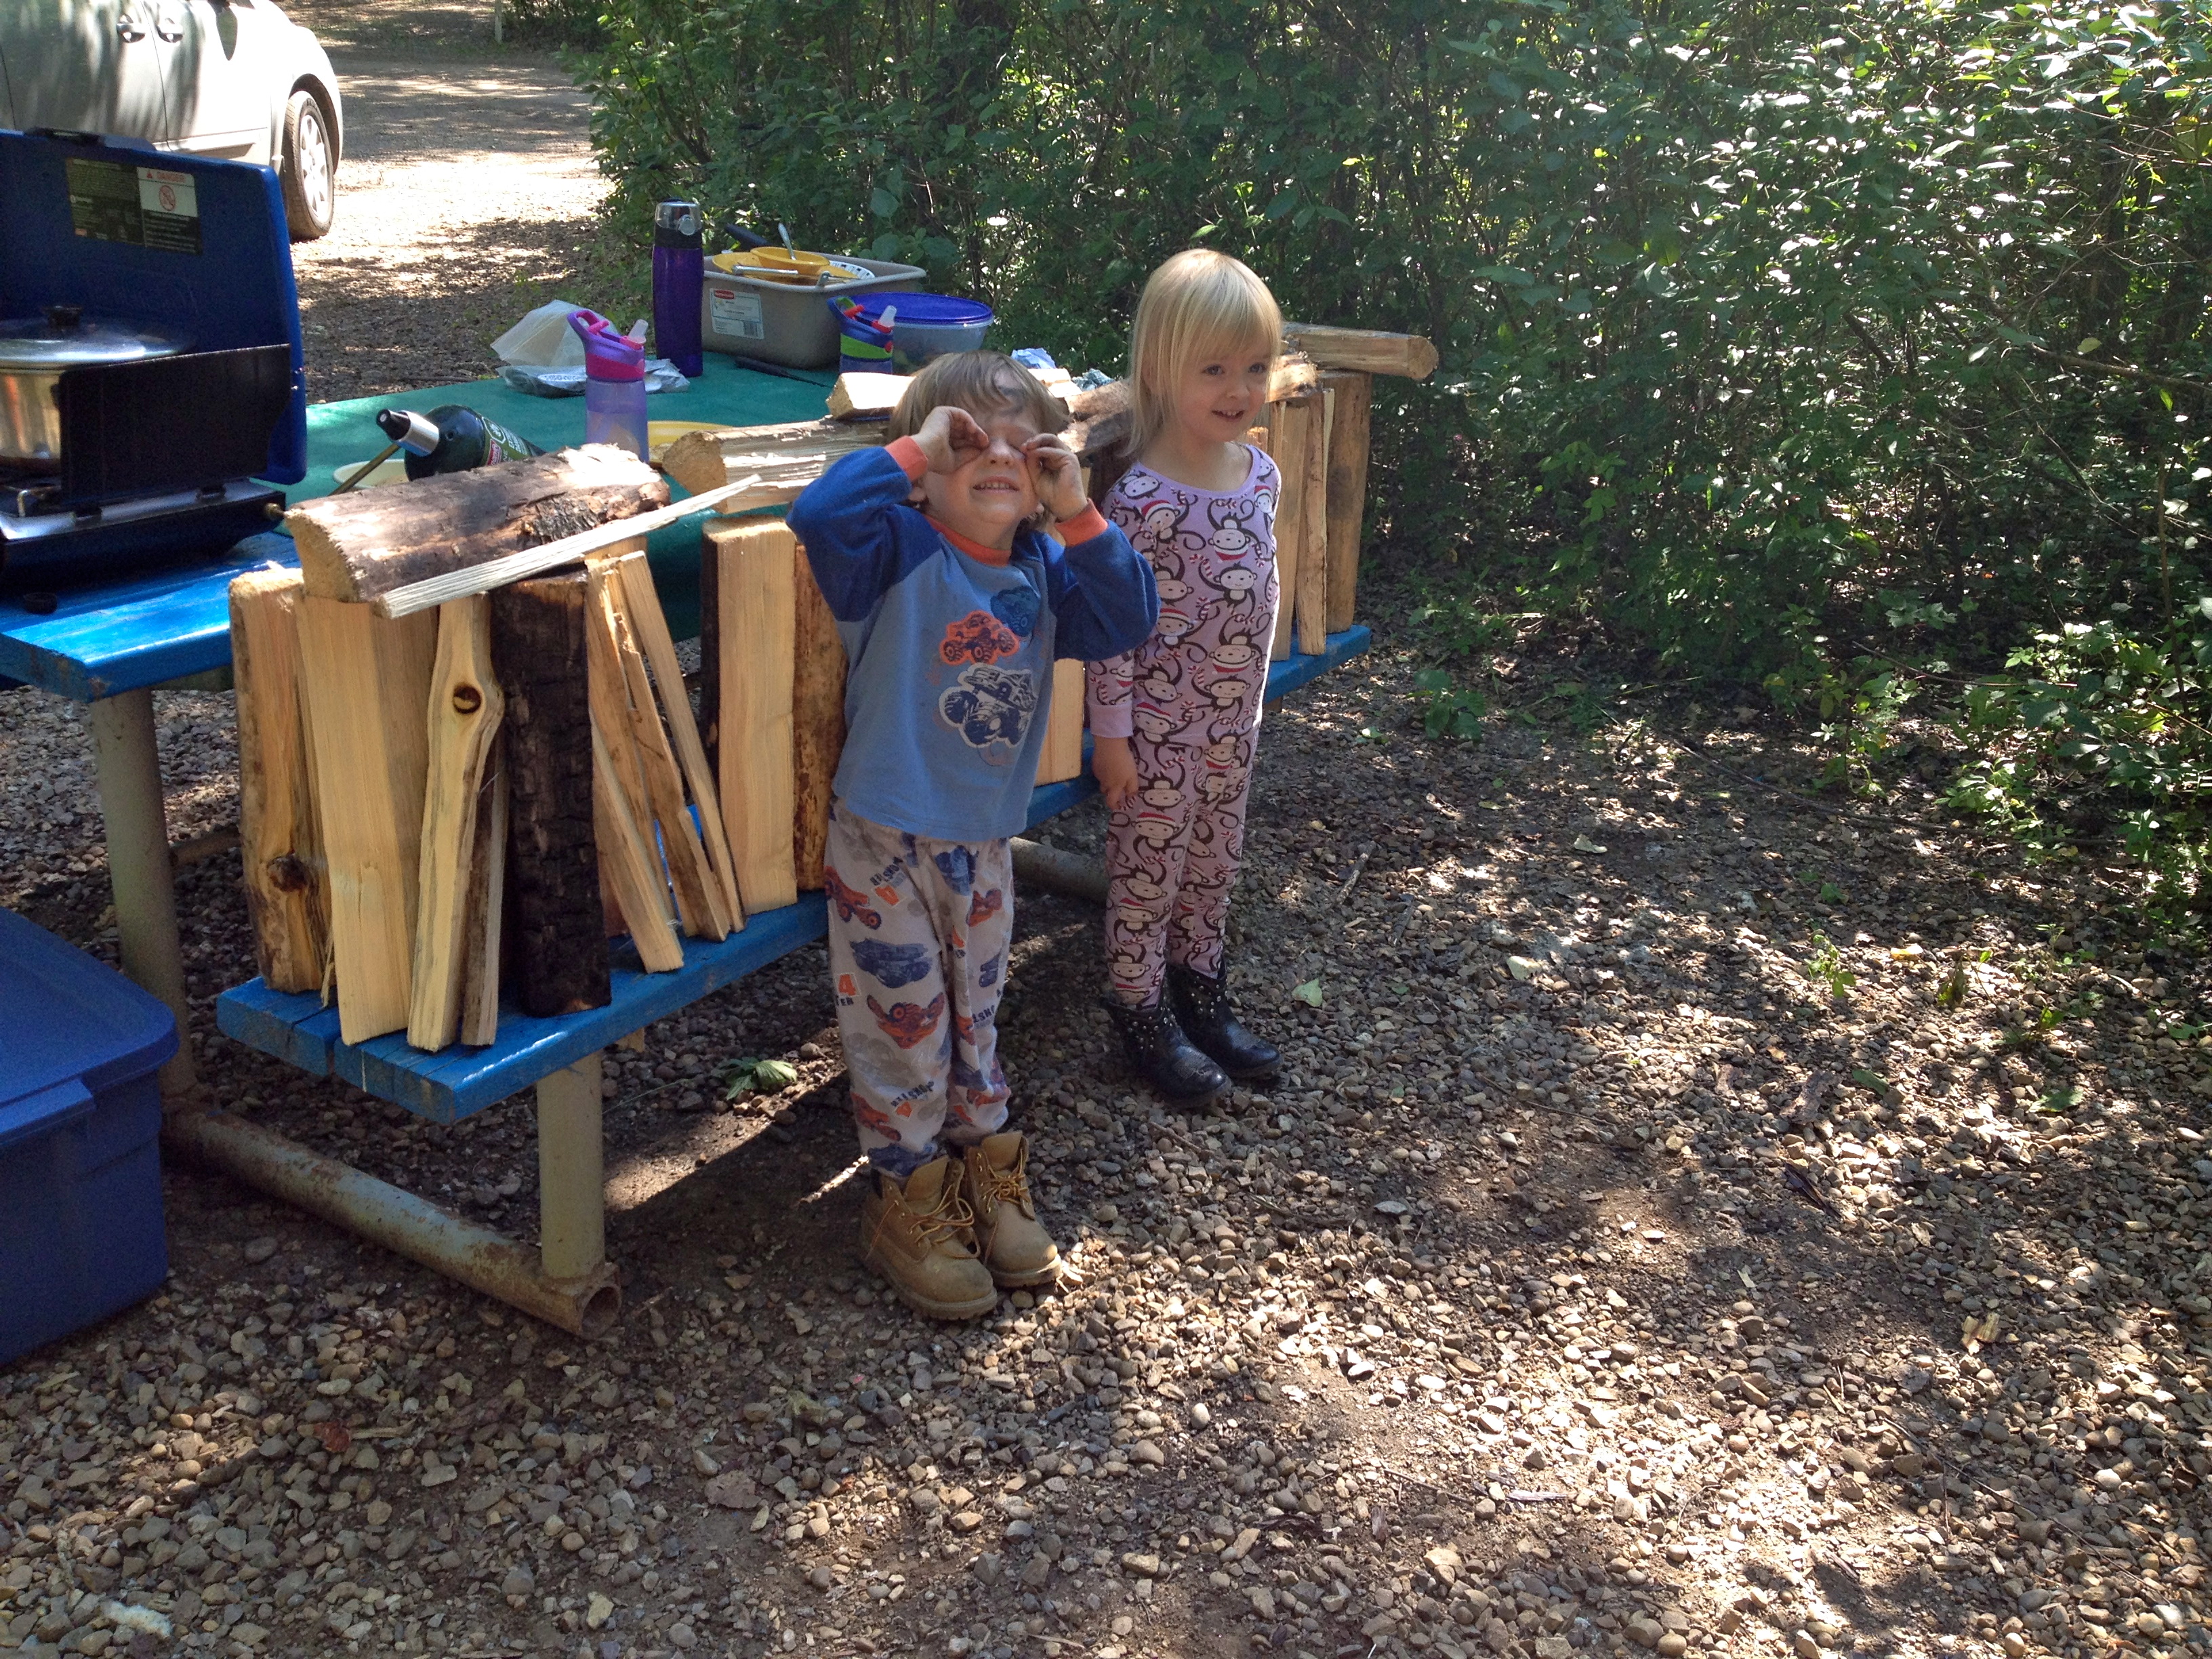
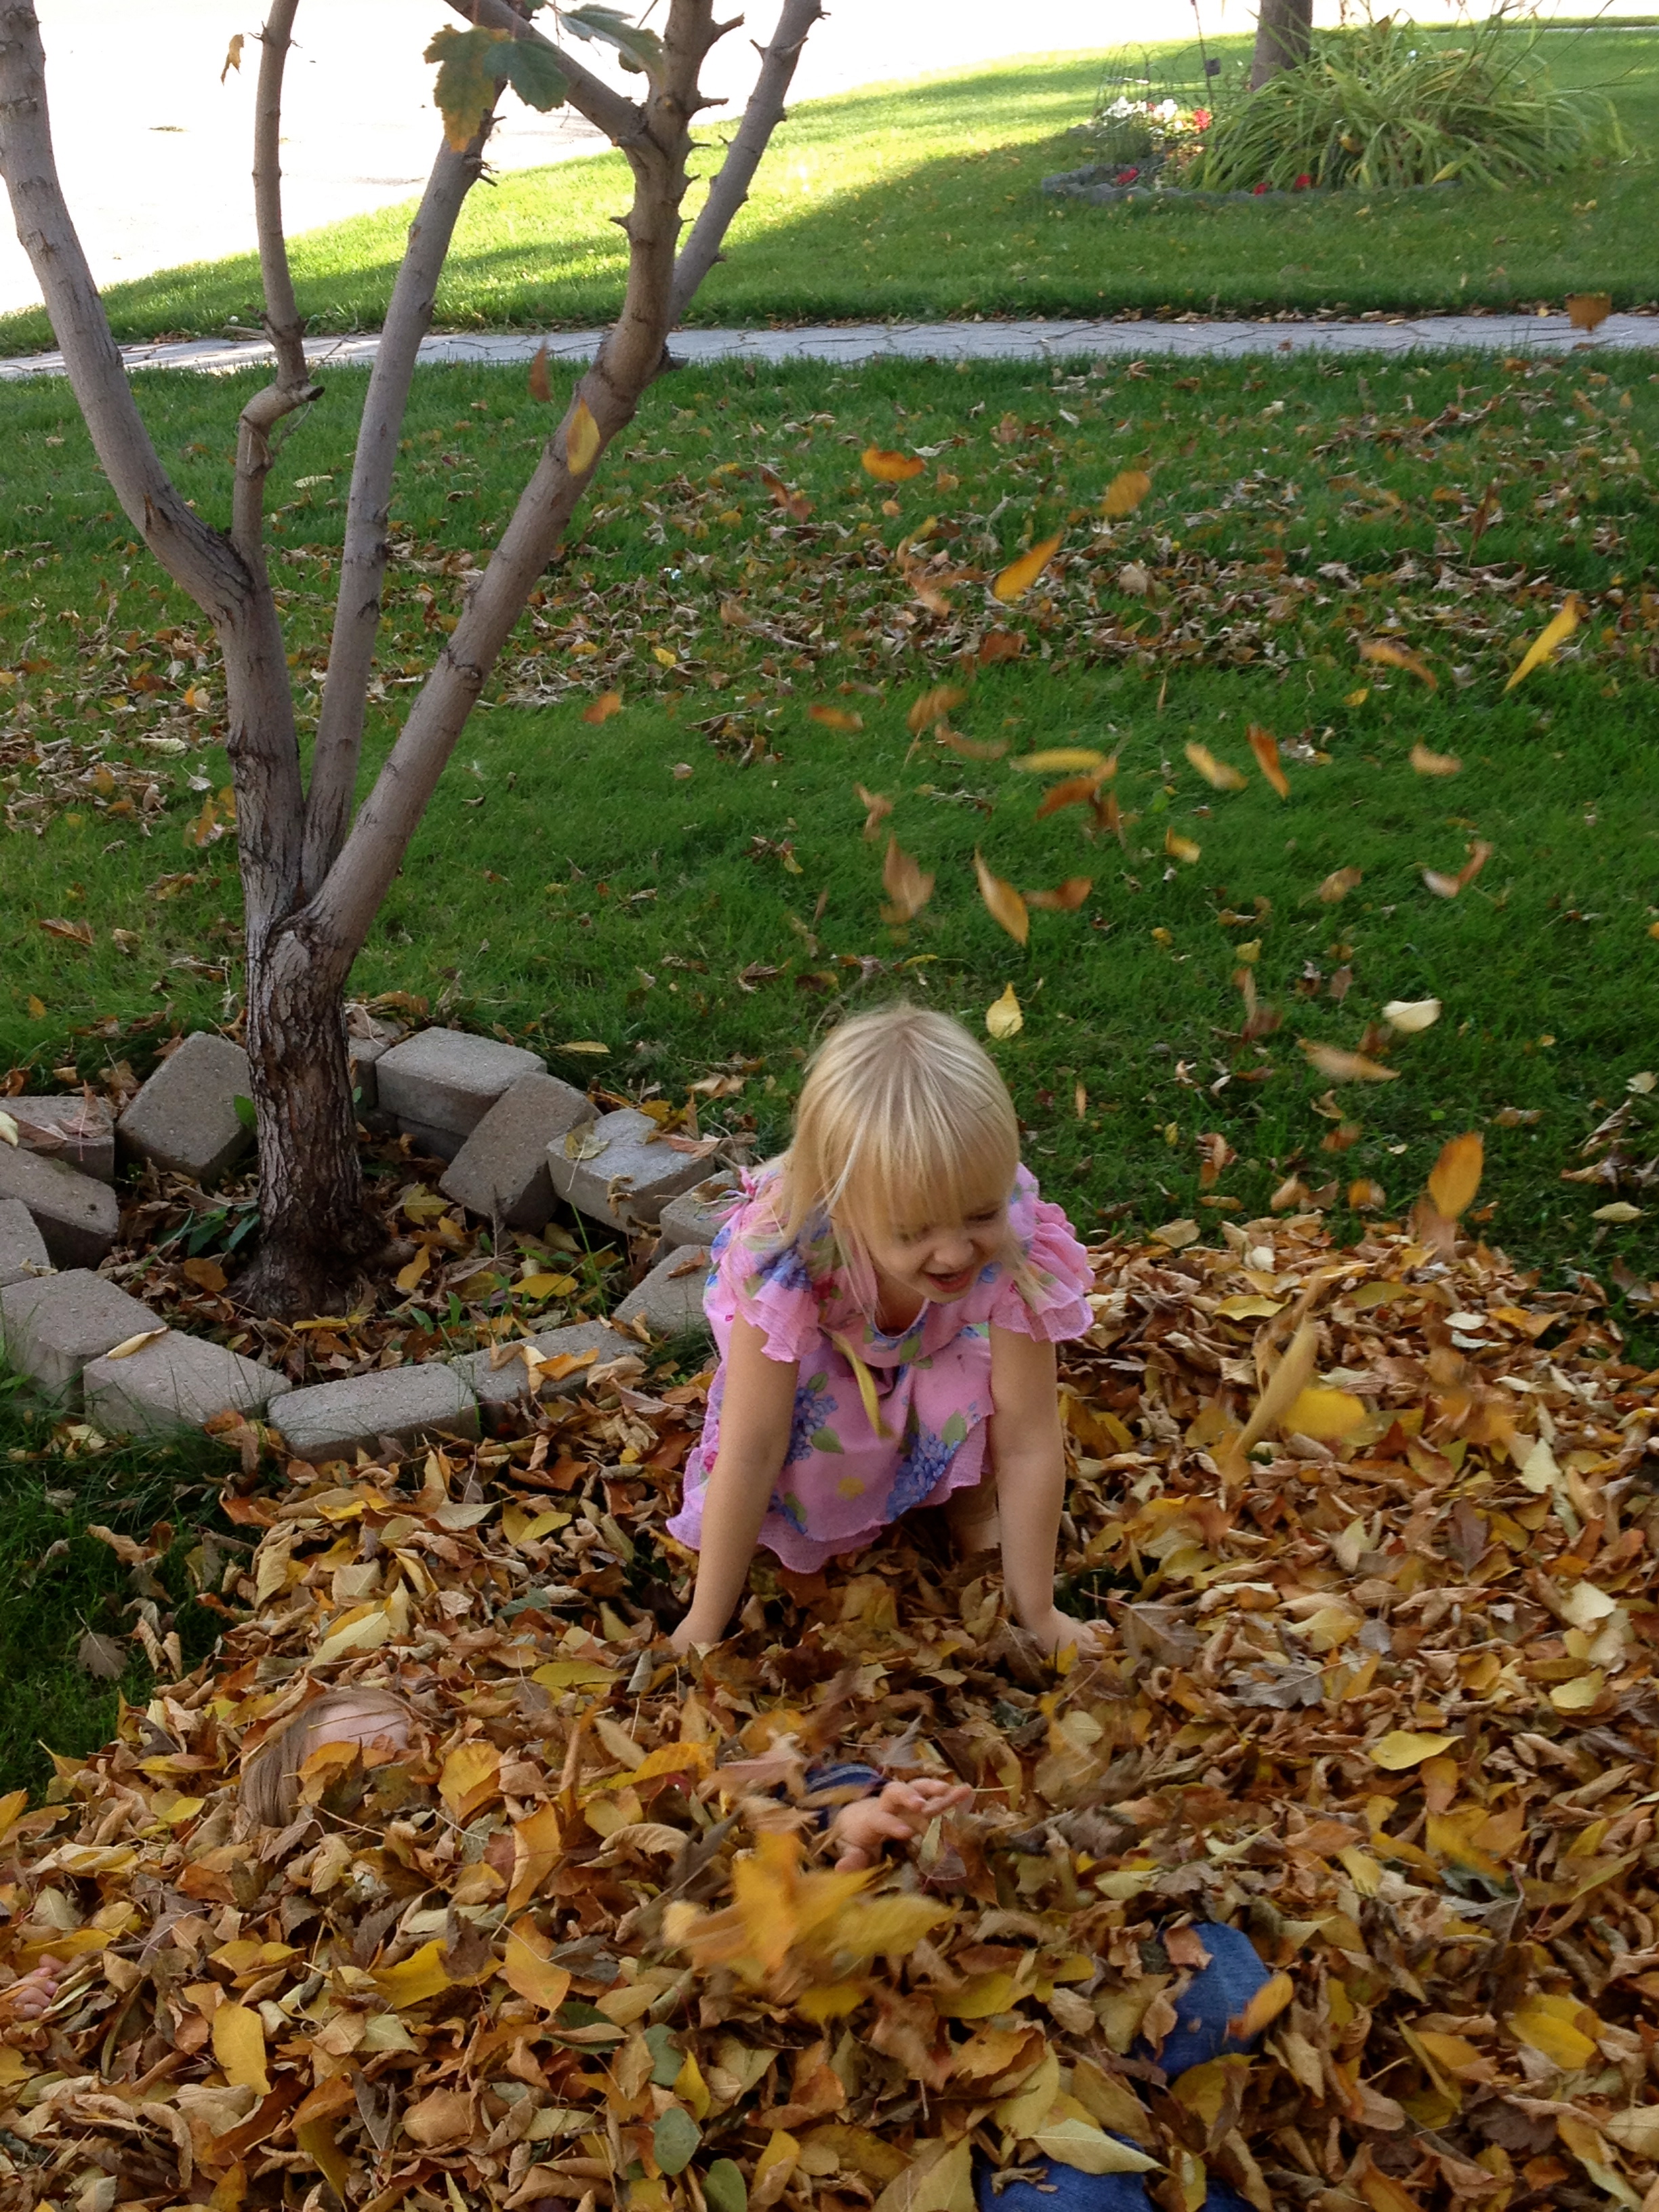
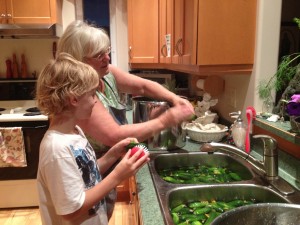
Matthew assisted with the cleaning and scrubbing of the cucumbers as that night he was given the option of going to bed or scrubbing cucumbers. He chose the cukes! which I thought was a hilarious way to avoid going to sleep but enjoyed his company and appreciated his help nonetheless.
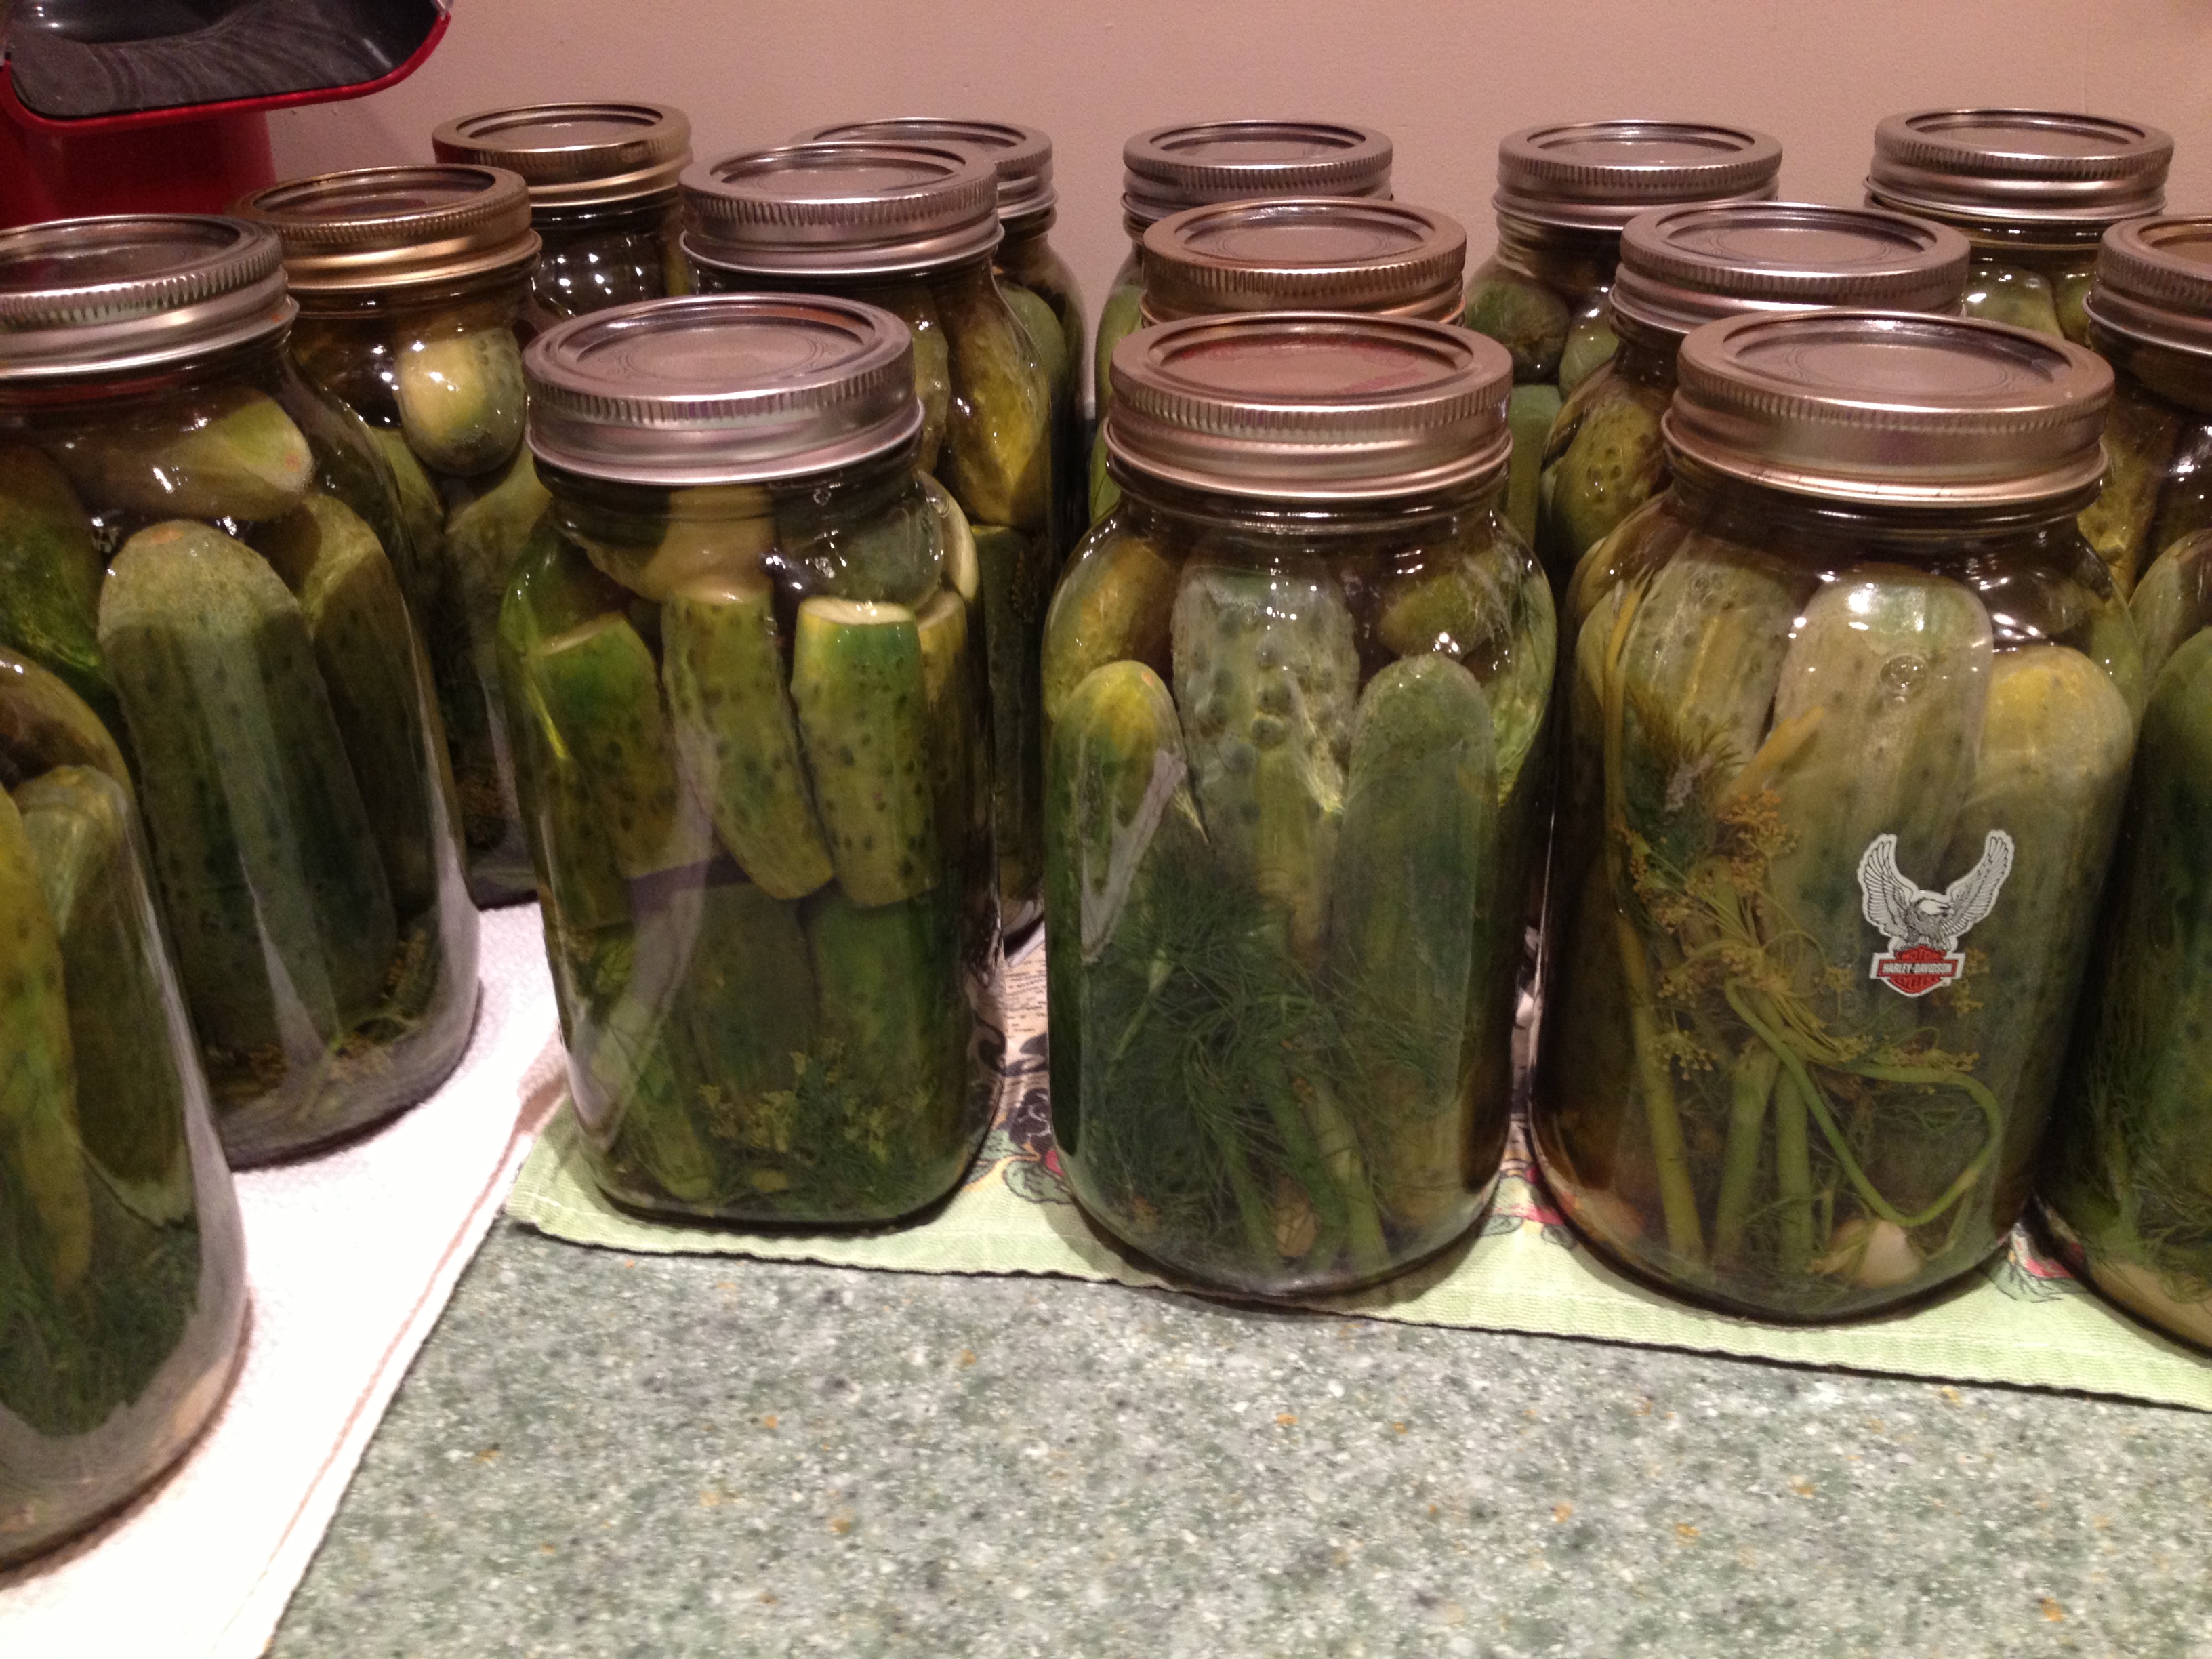
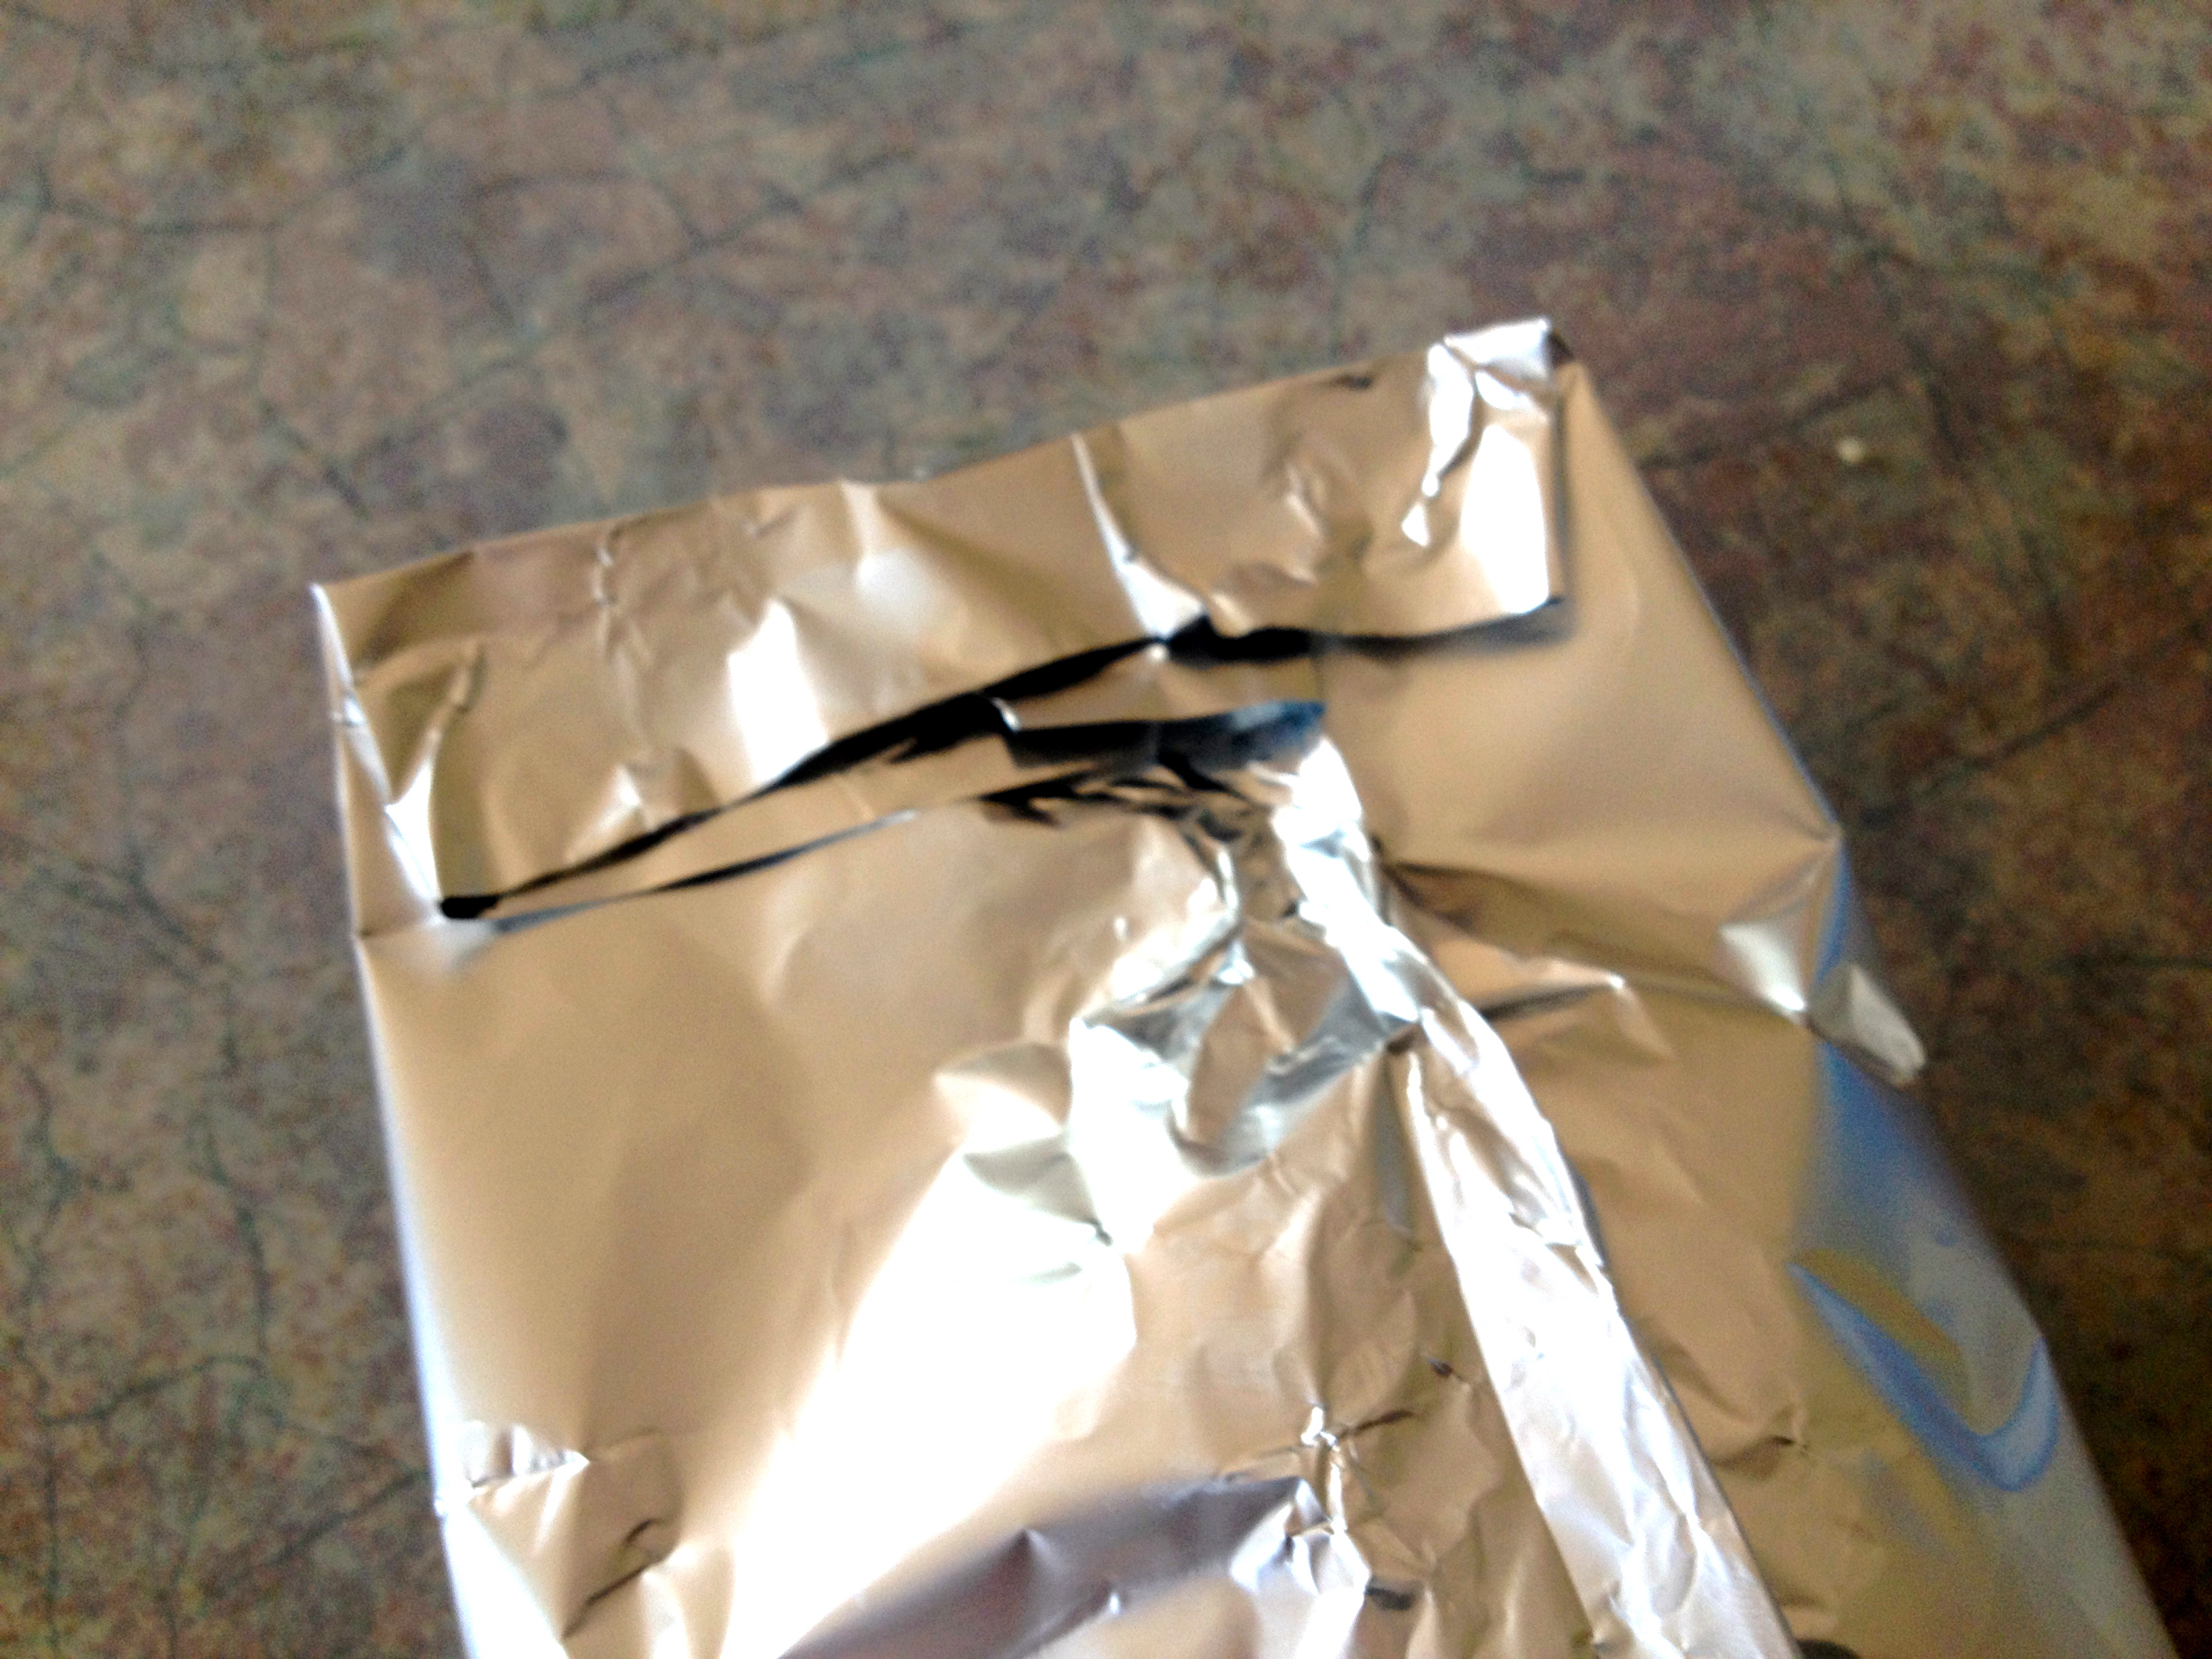
 We moved through all the steps and in only a few hours had finished all the jars and were ready to put our feet up and relax. Now the traditional dill pickle recipe does call for a tablespoon of brown sugar, which due to living sugar free I had to make a decision. I decided to leave it as I loved these pickles so much. But what I did do was an experiment. I made a number of jars using coconut sugar in place of the brown sugar, then I marked those jars so I would be able to tell which ones were which. I have yet to open a jar in which we used the coconut sugar, but I am very interested to see how they taste. I am hoping of course that it works, then we can also make our dill pickles sugar free and just as delicious! Of course, once we open them and give them a taste I will definitely share the result!
In the meantime, here is the traditional recipe for fabulous homemade dill pickles. One of the things I really enjoy about making them is doing it together with my Mum (and Matthew when he’s wanting to help). Not only does it make the job go by faster but it is a great bonding experience, where we can chat and connect, while completing the task at hand.
The only downside is we have to wait a few months before we can eat them! as they are not instantly ready. But trust me, it is worth the wait – and you to will become a dill pickle snob 🙂
Dill Pickles
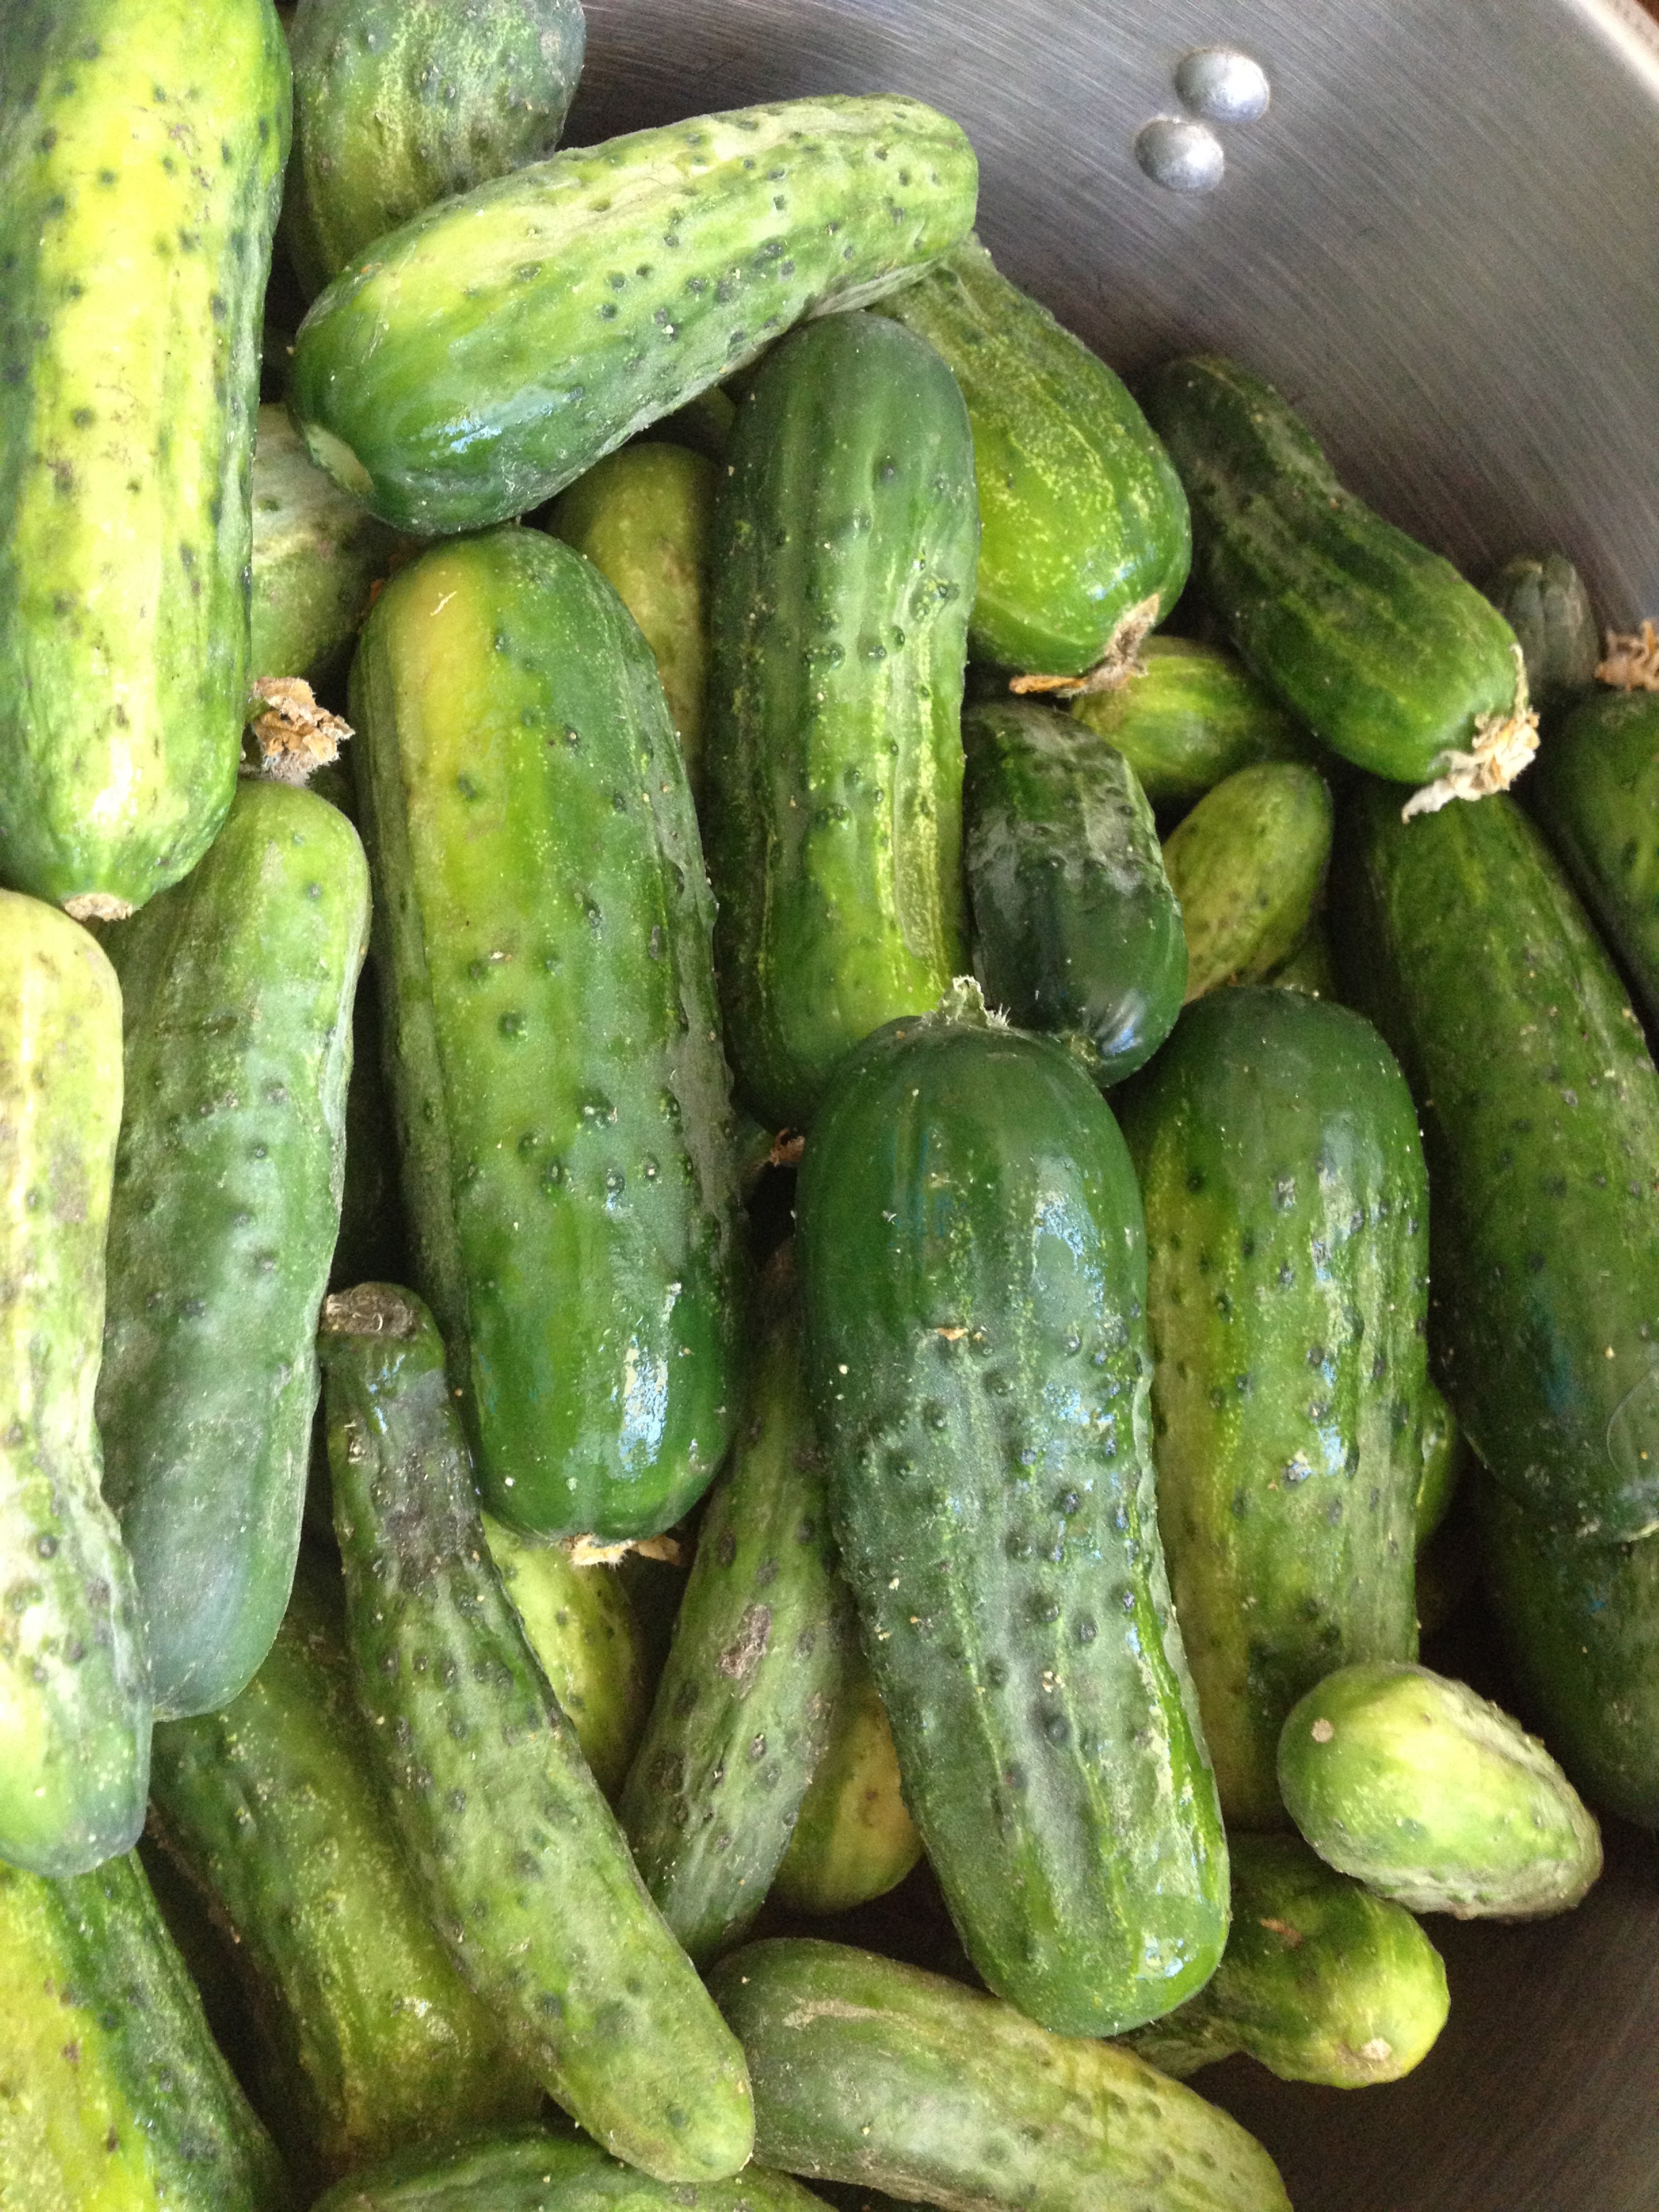
freshly picked cucumbers in a variety of sizes (choose the size of pickles you like but it is also nice to have some small ones to fit the ‘holes’ in the jars) 1 lb cucumbers yields approx one quart jar
fresh dill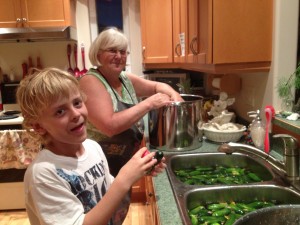
pickling salt
brown sugar (coconut sugar)
pickling vinegar
fresh garlic
water
1 quart jars
Prepare the Cucumbers:
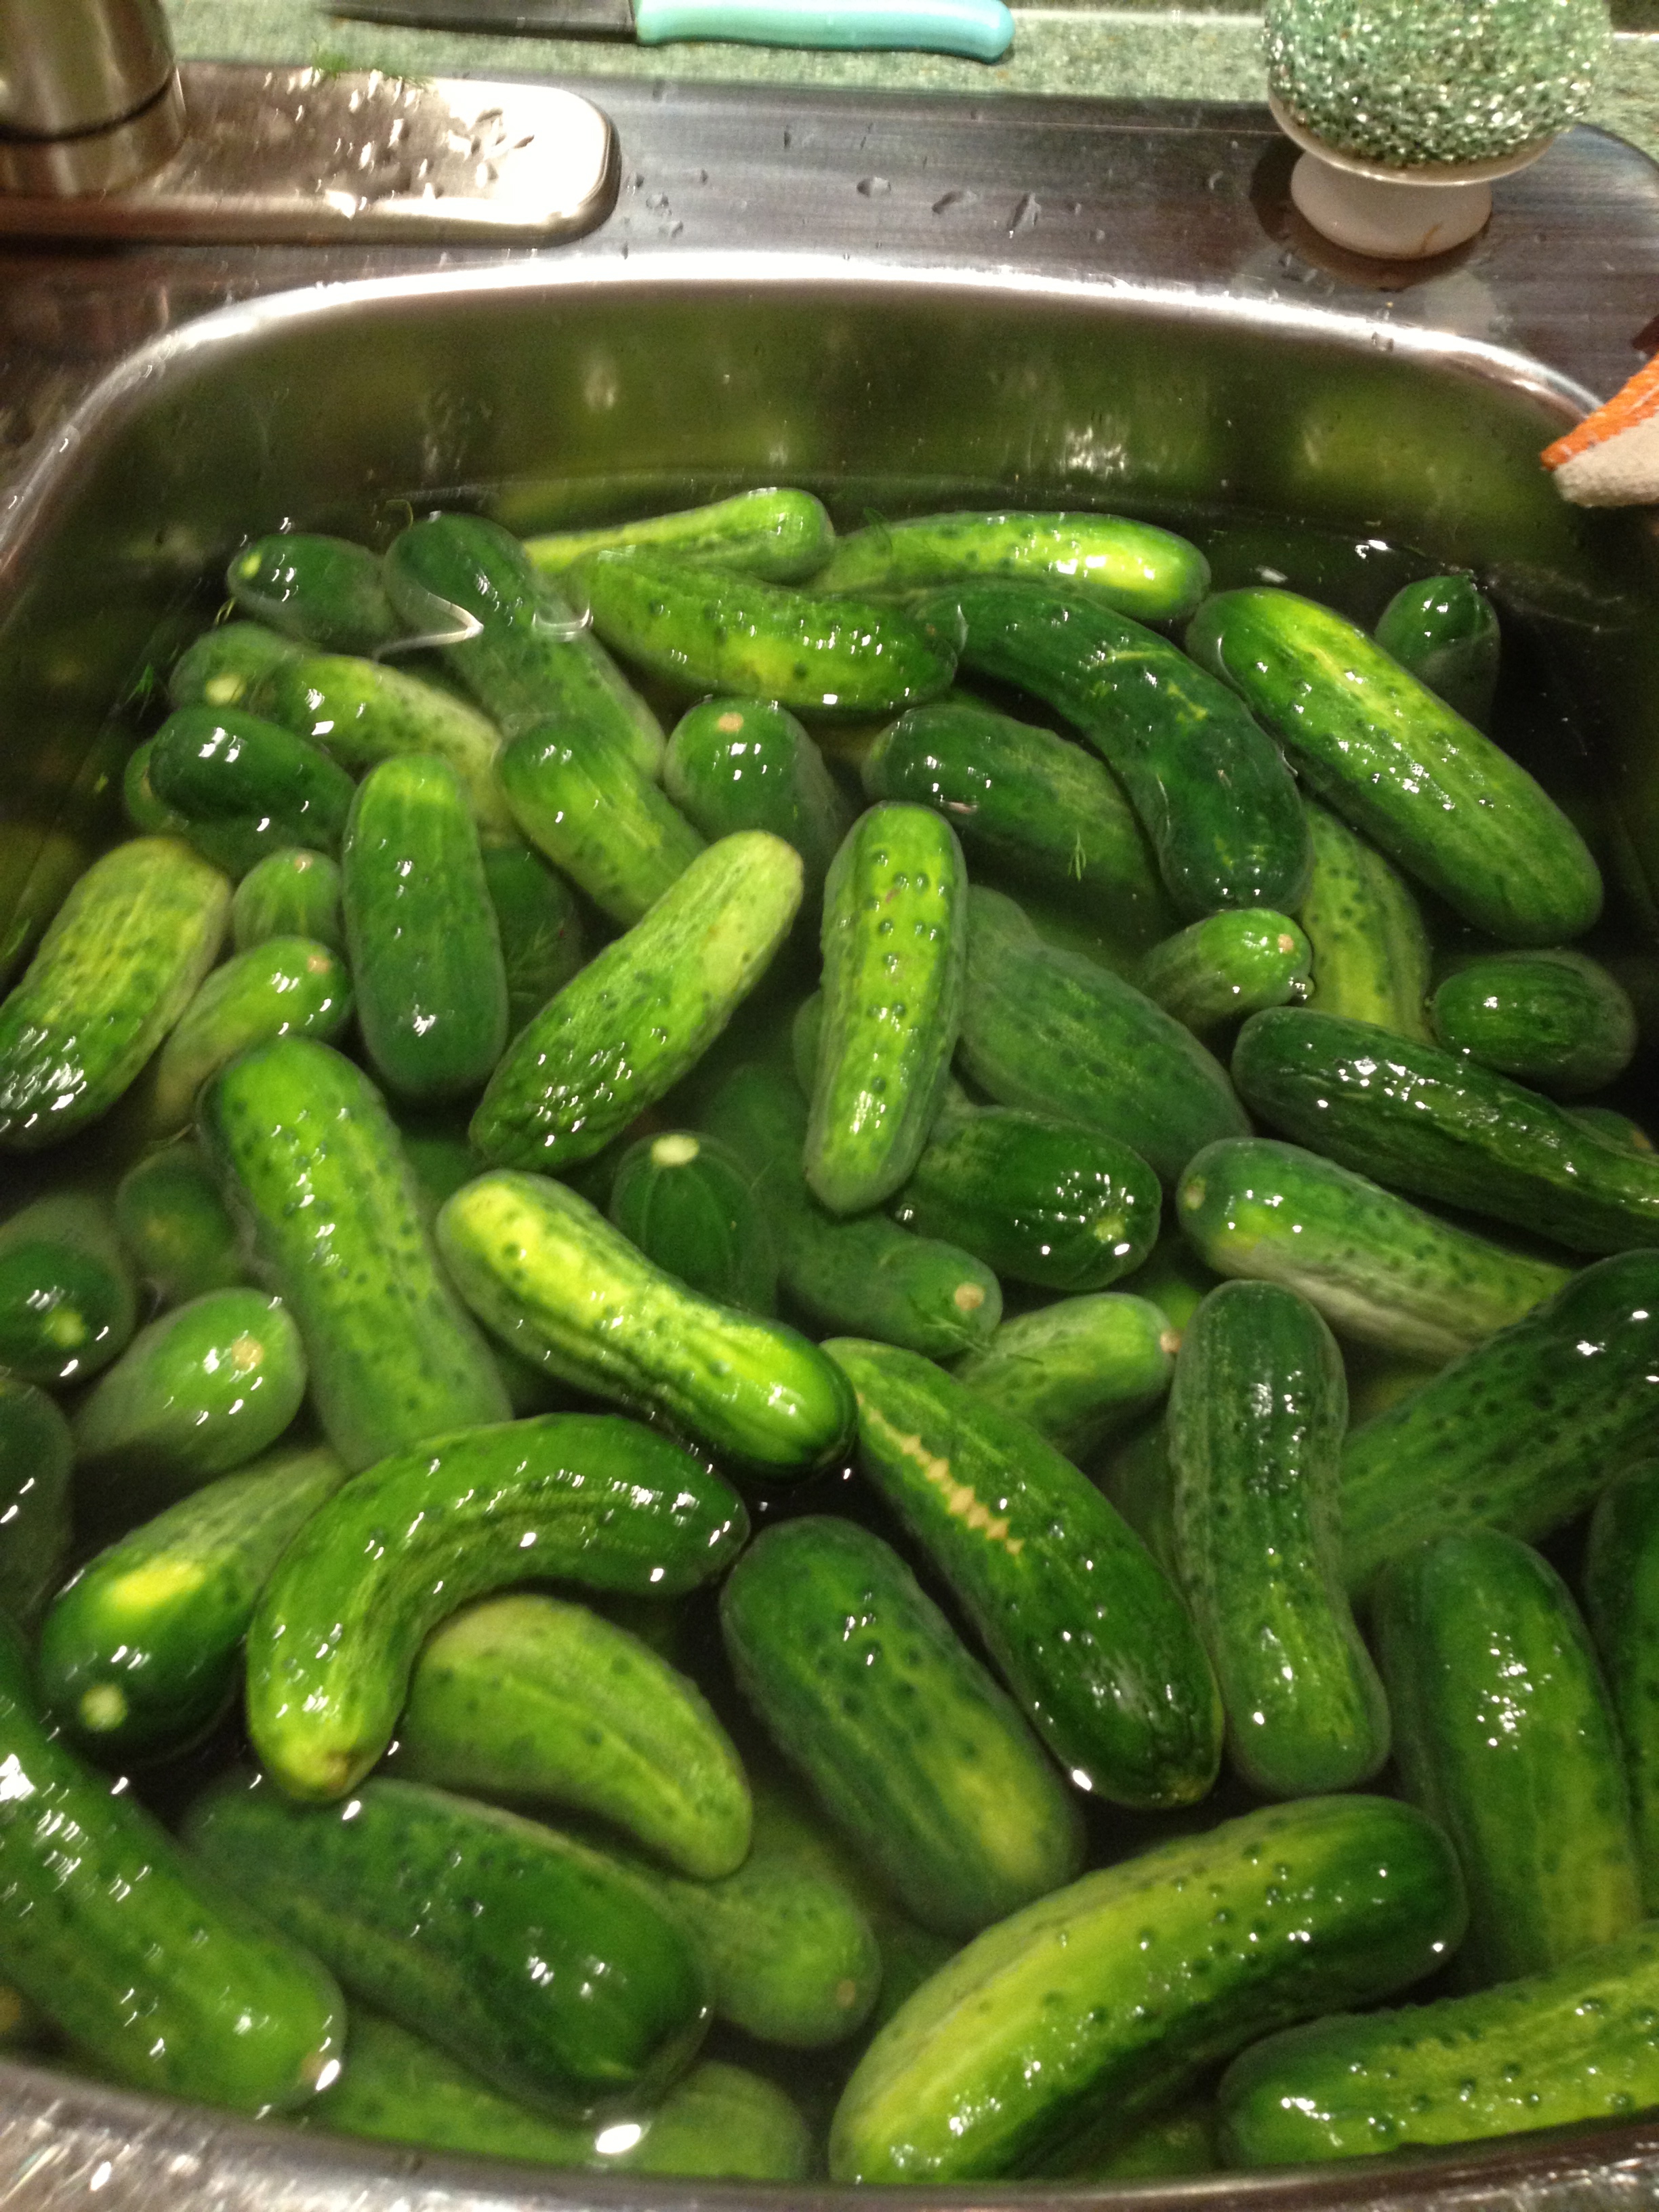
 Soak freshly picked cucumbers in ice water overnight or at least, six hours. (This aids in removing the prickles off the cucumber as well as cleansing them). Add more ice, at least once, as water begins to cool. Scrub each cucumber with a vegetable brush, and return to cold water.
Wash and sterilize the jars:
Wash jars in hot soapy water and rinse well. Then add a bit of water, just to cover the bottom, in each jar. Place the jars on the rack in the oven, heated to 200 F. This will sterilze them and make them hot, which is what you want because you will be pouring hot brine into them. Option: jars can also be heated in the microwave, again bit of water in the bottom of each jar and heat on high for 2-3 minutes; time varies depending on the number of jars you do at one time.
Sterilize and heat lids:
Place the lids and tops of the jars in a pot filled with water to cover them and heat to the boiling point. Turn down heat, but keep them hot to pack the jars.
Prepare the Brine:
water
pickling vinegar
For each 4 cups of water, add 3/4 cups of pickling vinegar. The total amount you make will depend on how many jars of pickles you are making. Using a large dutch oven pot you can make a triple batch, and then more as needed.
Mix water and pickling vinegar together and bring to a boil. Keep hot until ready to pour into packed jars.
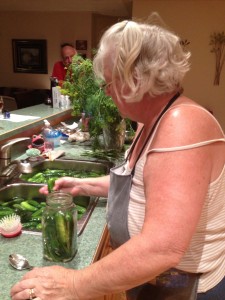
Pack the Jars:
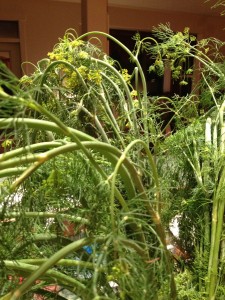
Fresh Dill
Put about 3 medium size pieces of garlic in bottom of jar. Add fresh dill, approx 2-3 “sprays” including the stalk. Bend and arrange to fit in jar. Pack cucumbers in jar, quite tightly, using smaller cucumbers to fill the top space. Add 1 tbsp of pickling salt and 1 tbsp of brown sugar or coconut sugar on top of packed cucumbers. Pour hot brine over everything in jar to just below the rim of jar.
Seal the Jars:
Wipe the top of the jar with a cloth to make sure there are no particles of anything to interfere with the seal. Place hot lid on top. Add screw top. Press down on lid as you are turning the screw top to seal. Tighten securely.
Cool and Store:
Let stand, away from drafts until jar cools completely. Label and store in cool, dark place. It will be approx eight weeks minimum before pickles will be ready to eat. Best if left for 3-4 months.

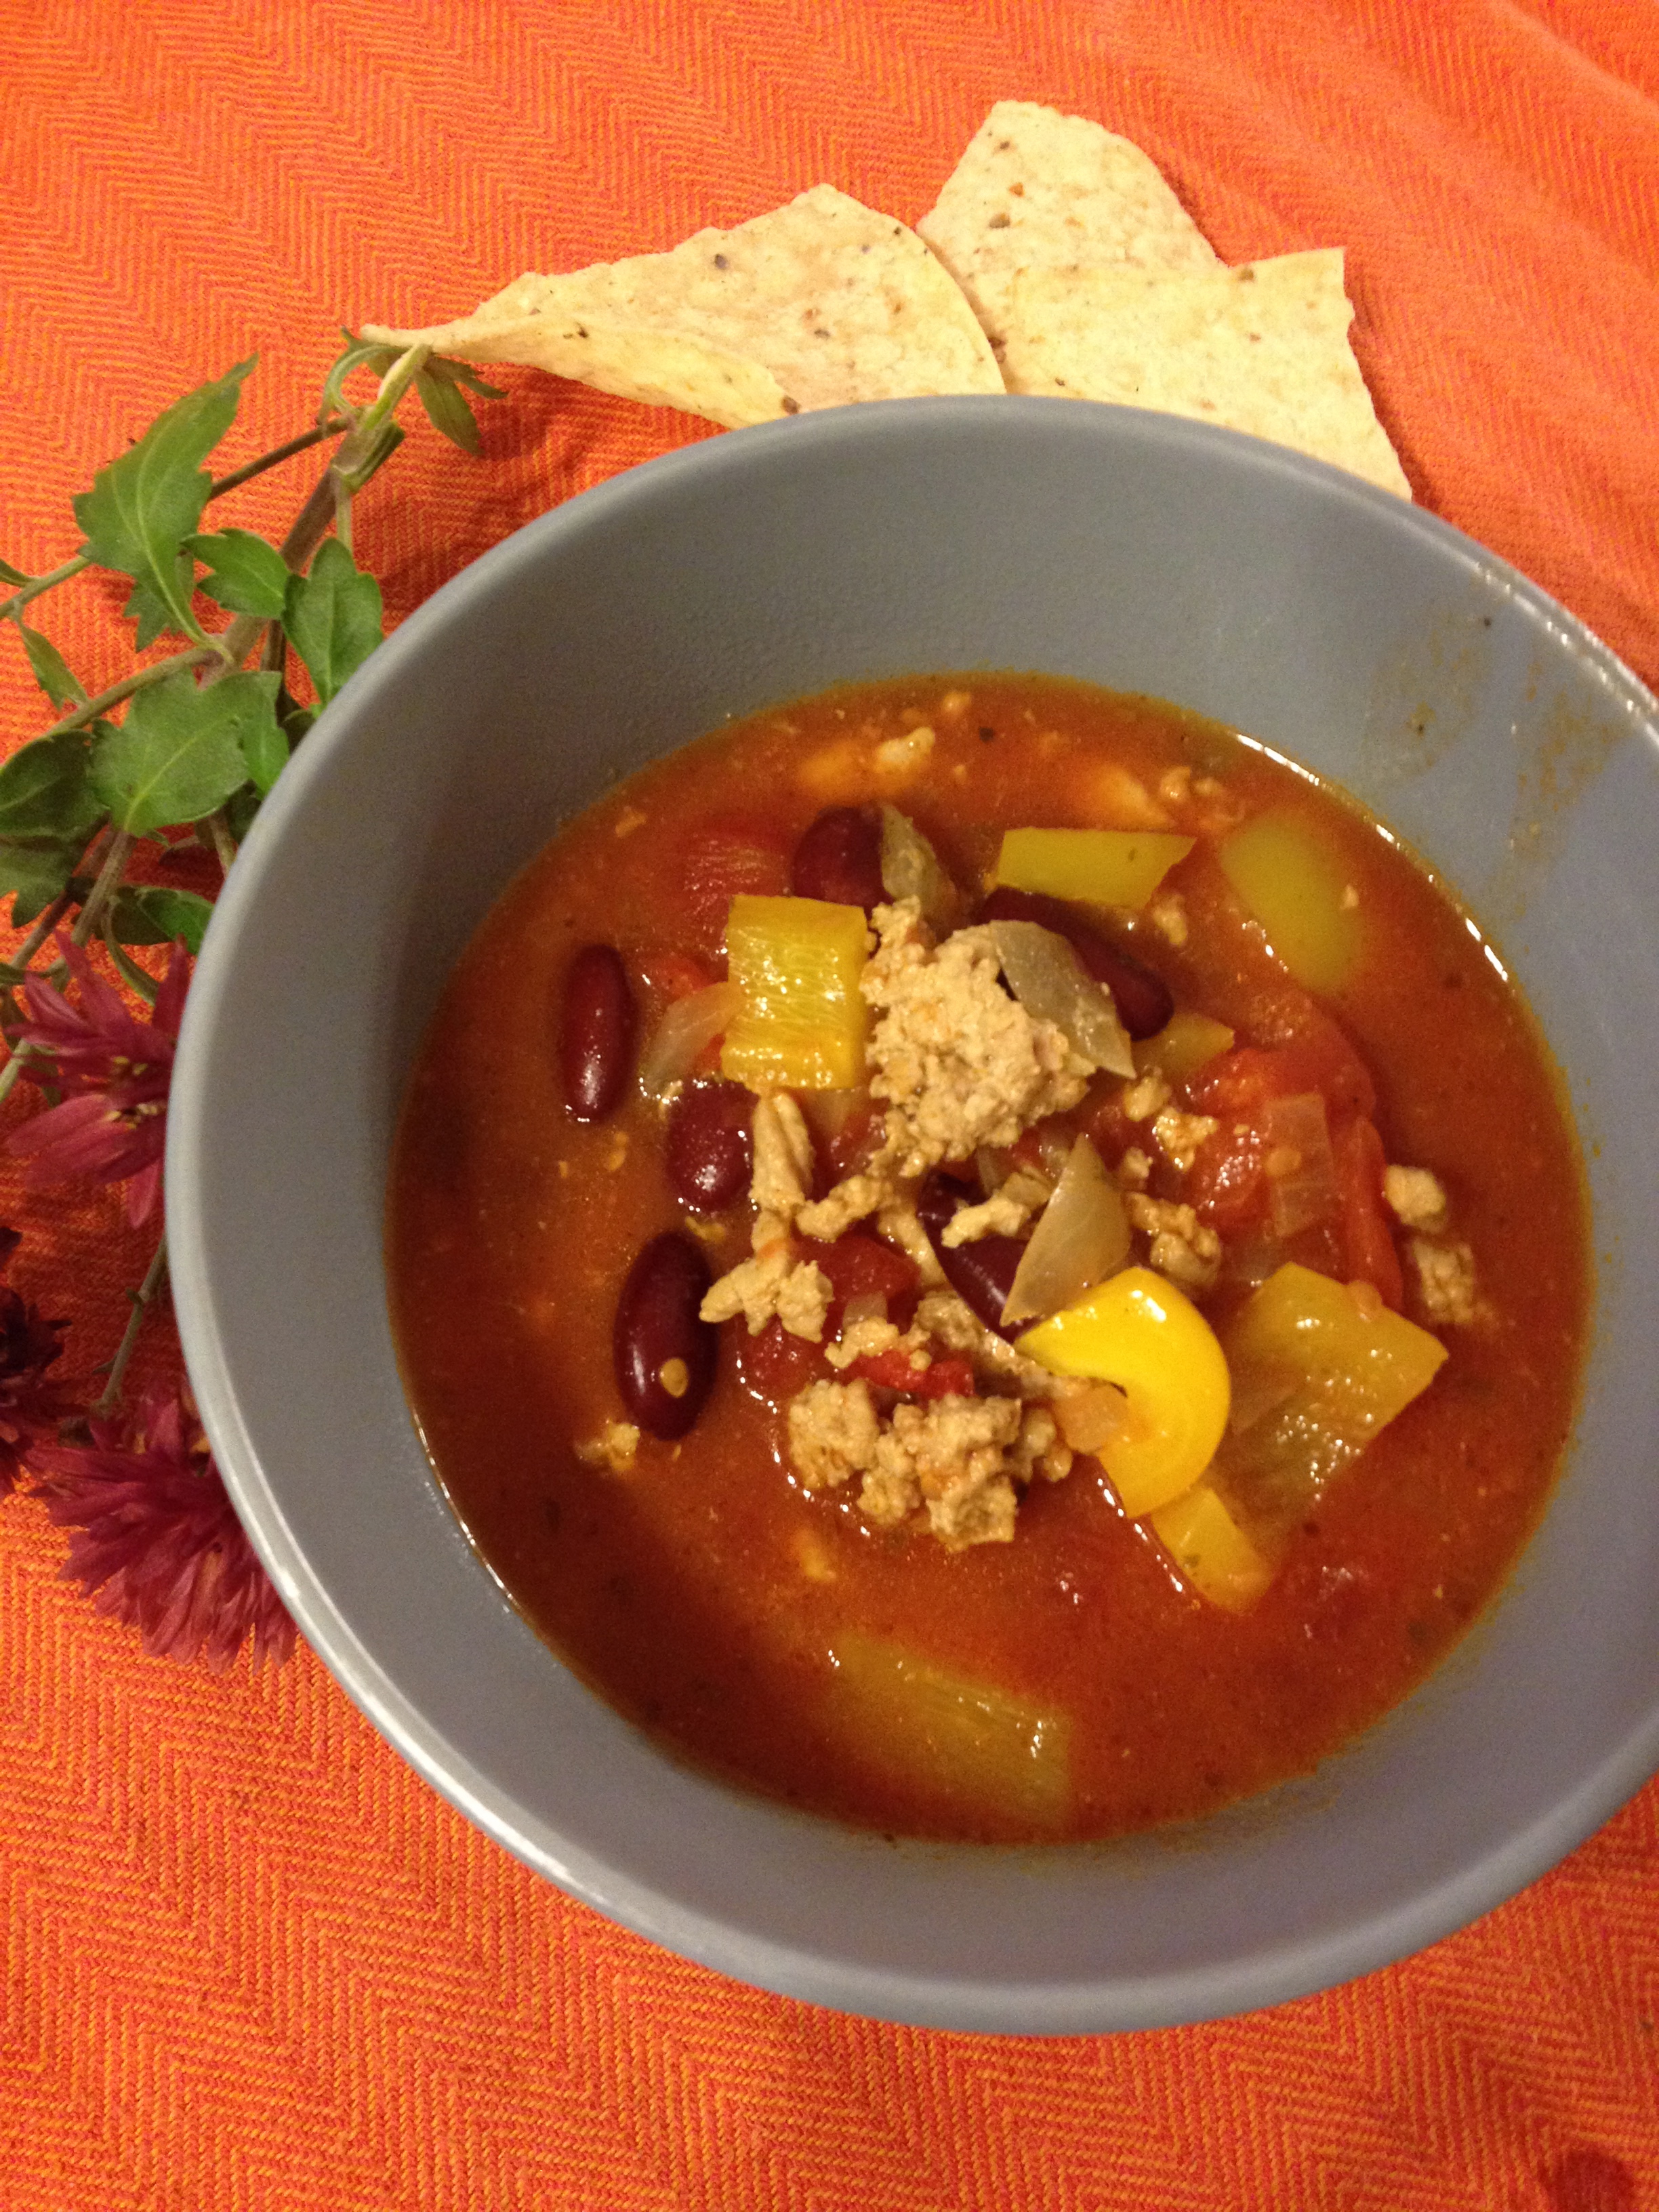
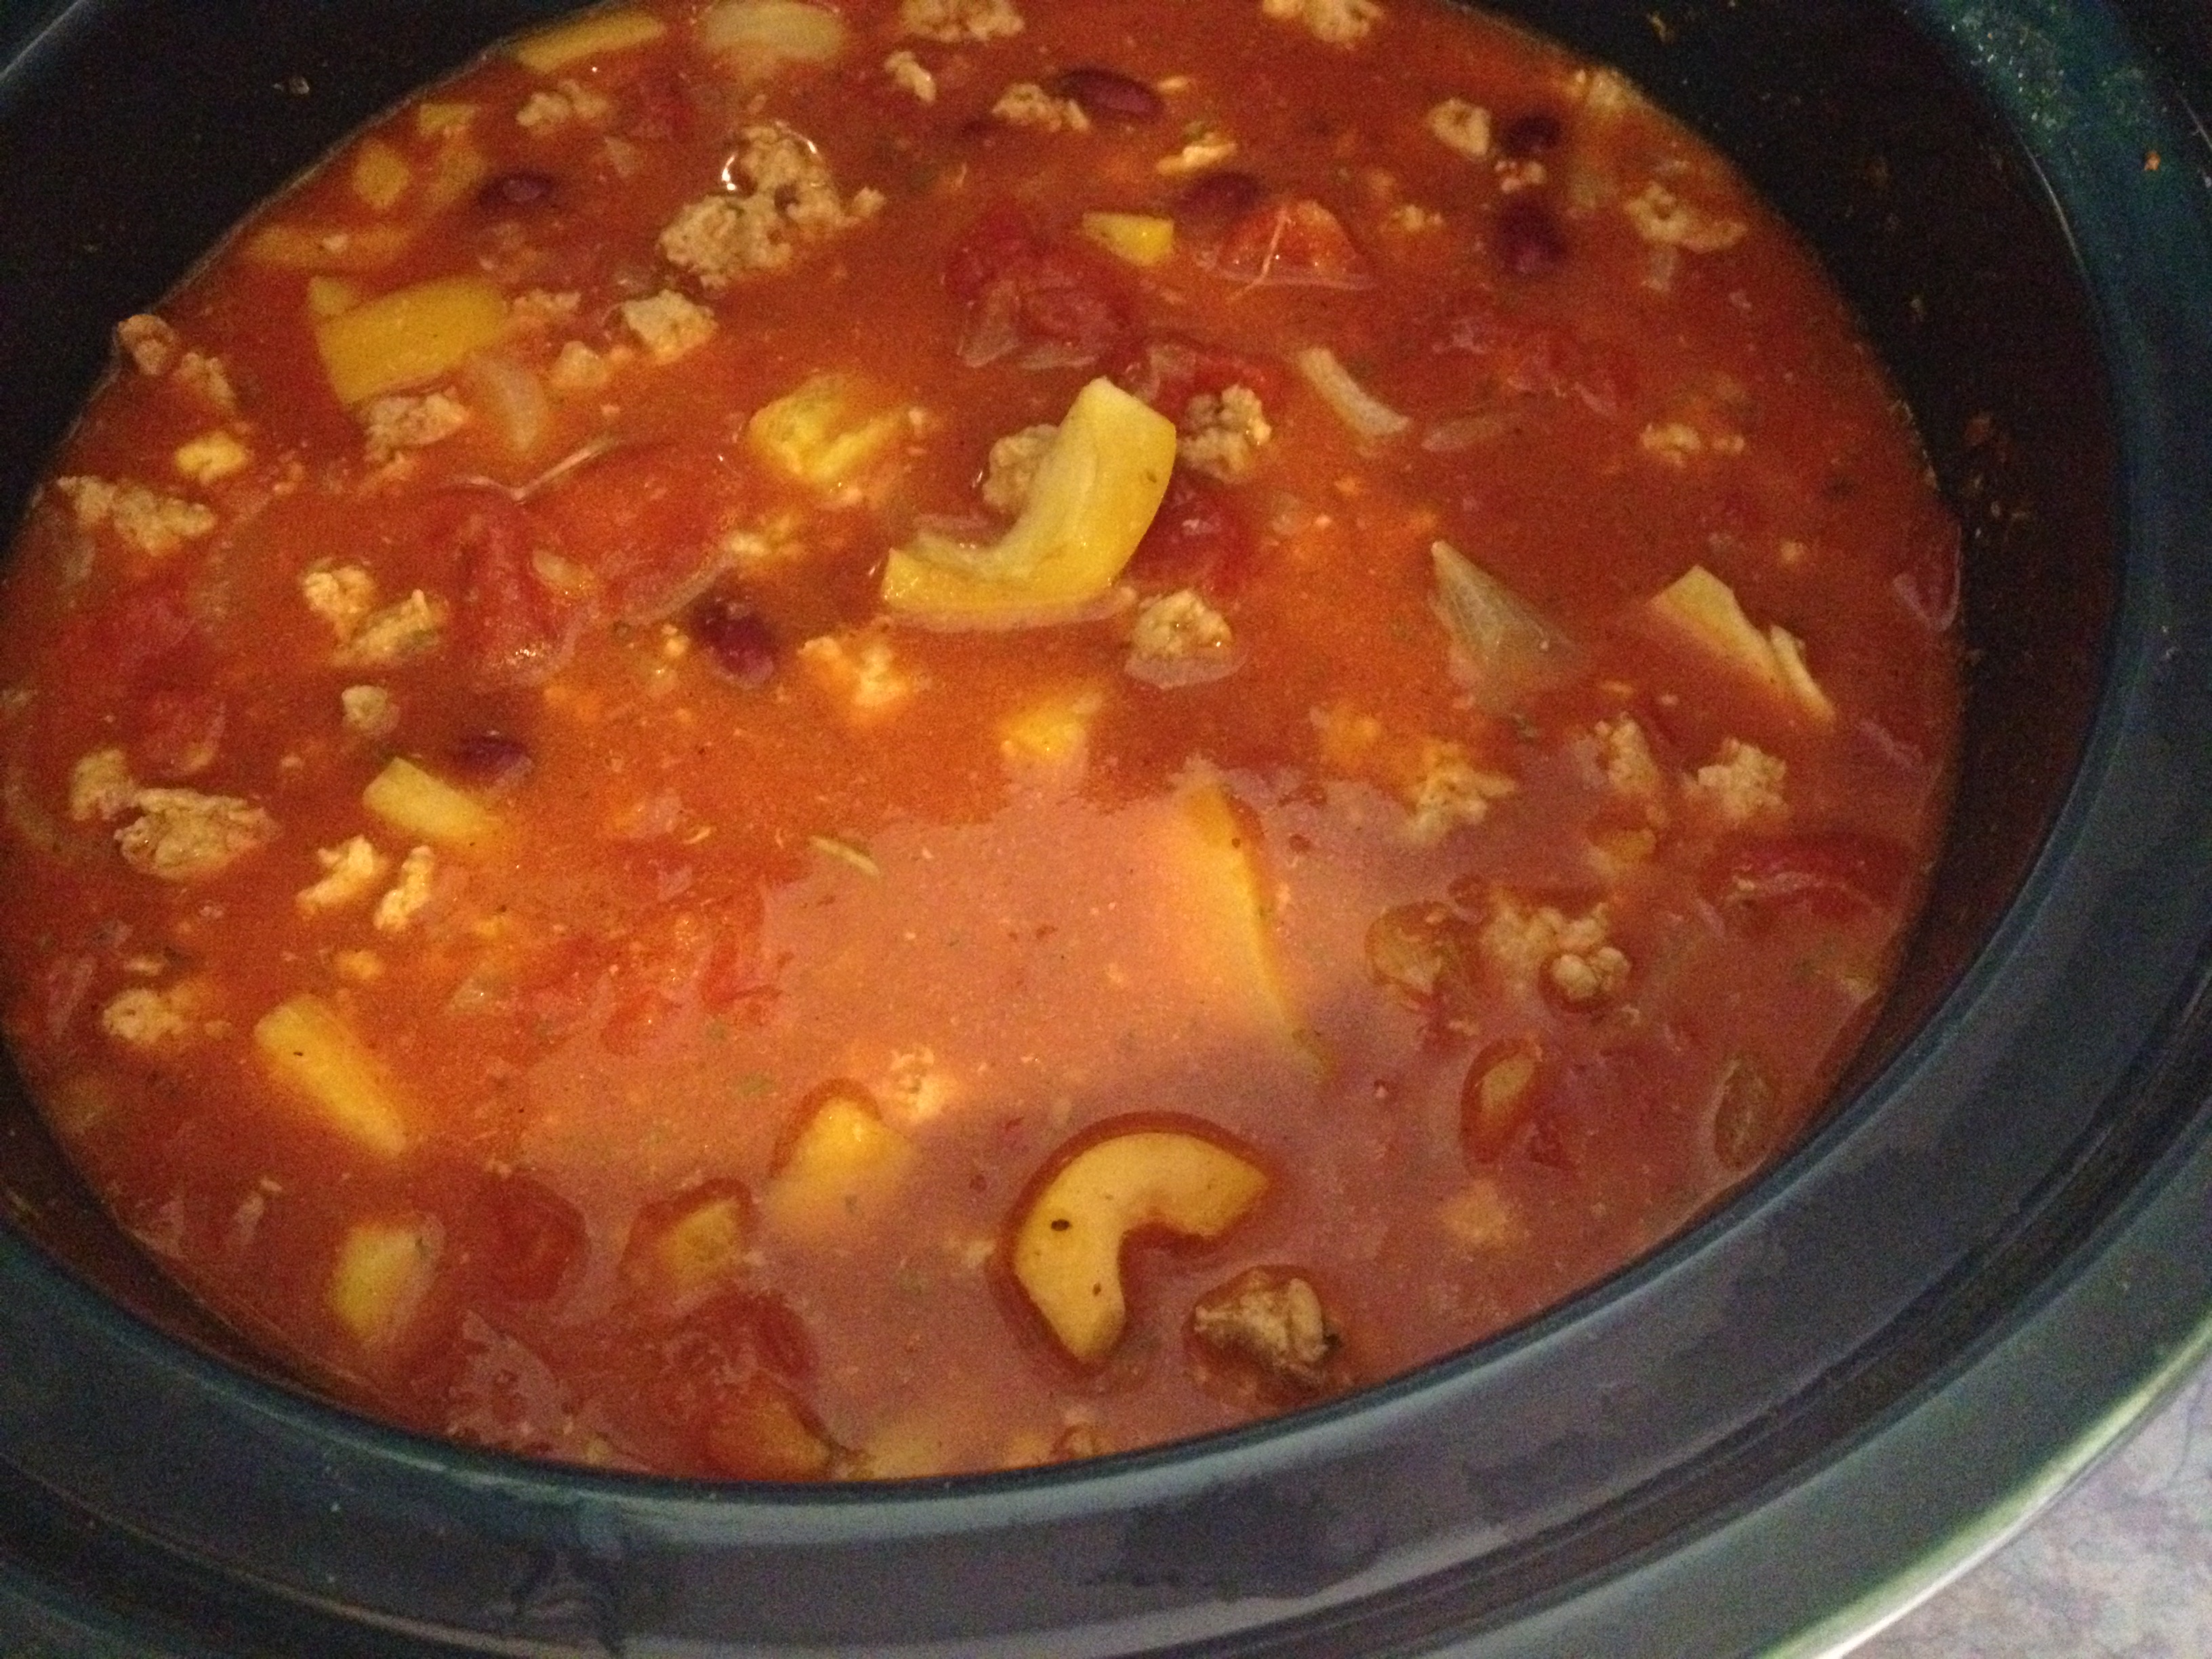 The slow cooker is a fantastic tool for those busy days, when you can pop dinner in and literally forget about it until supper time. Providing you with a little more freedom and relief. I really appreciate it as I don’t have to think about when or how I am going to make supper as well as having that extra hour that I wouldn’t normally have before supper. Not to mention the lovely smells that are wafting through the house as it cooks throughout the day!
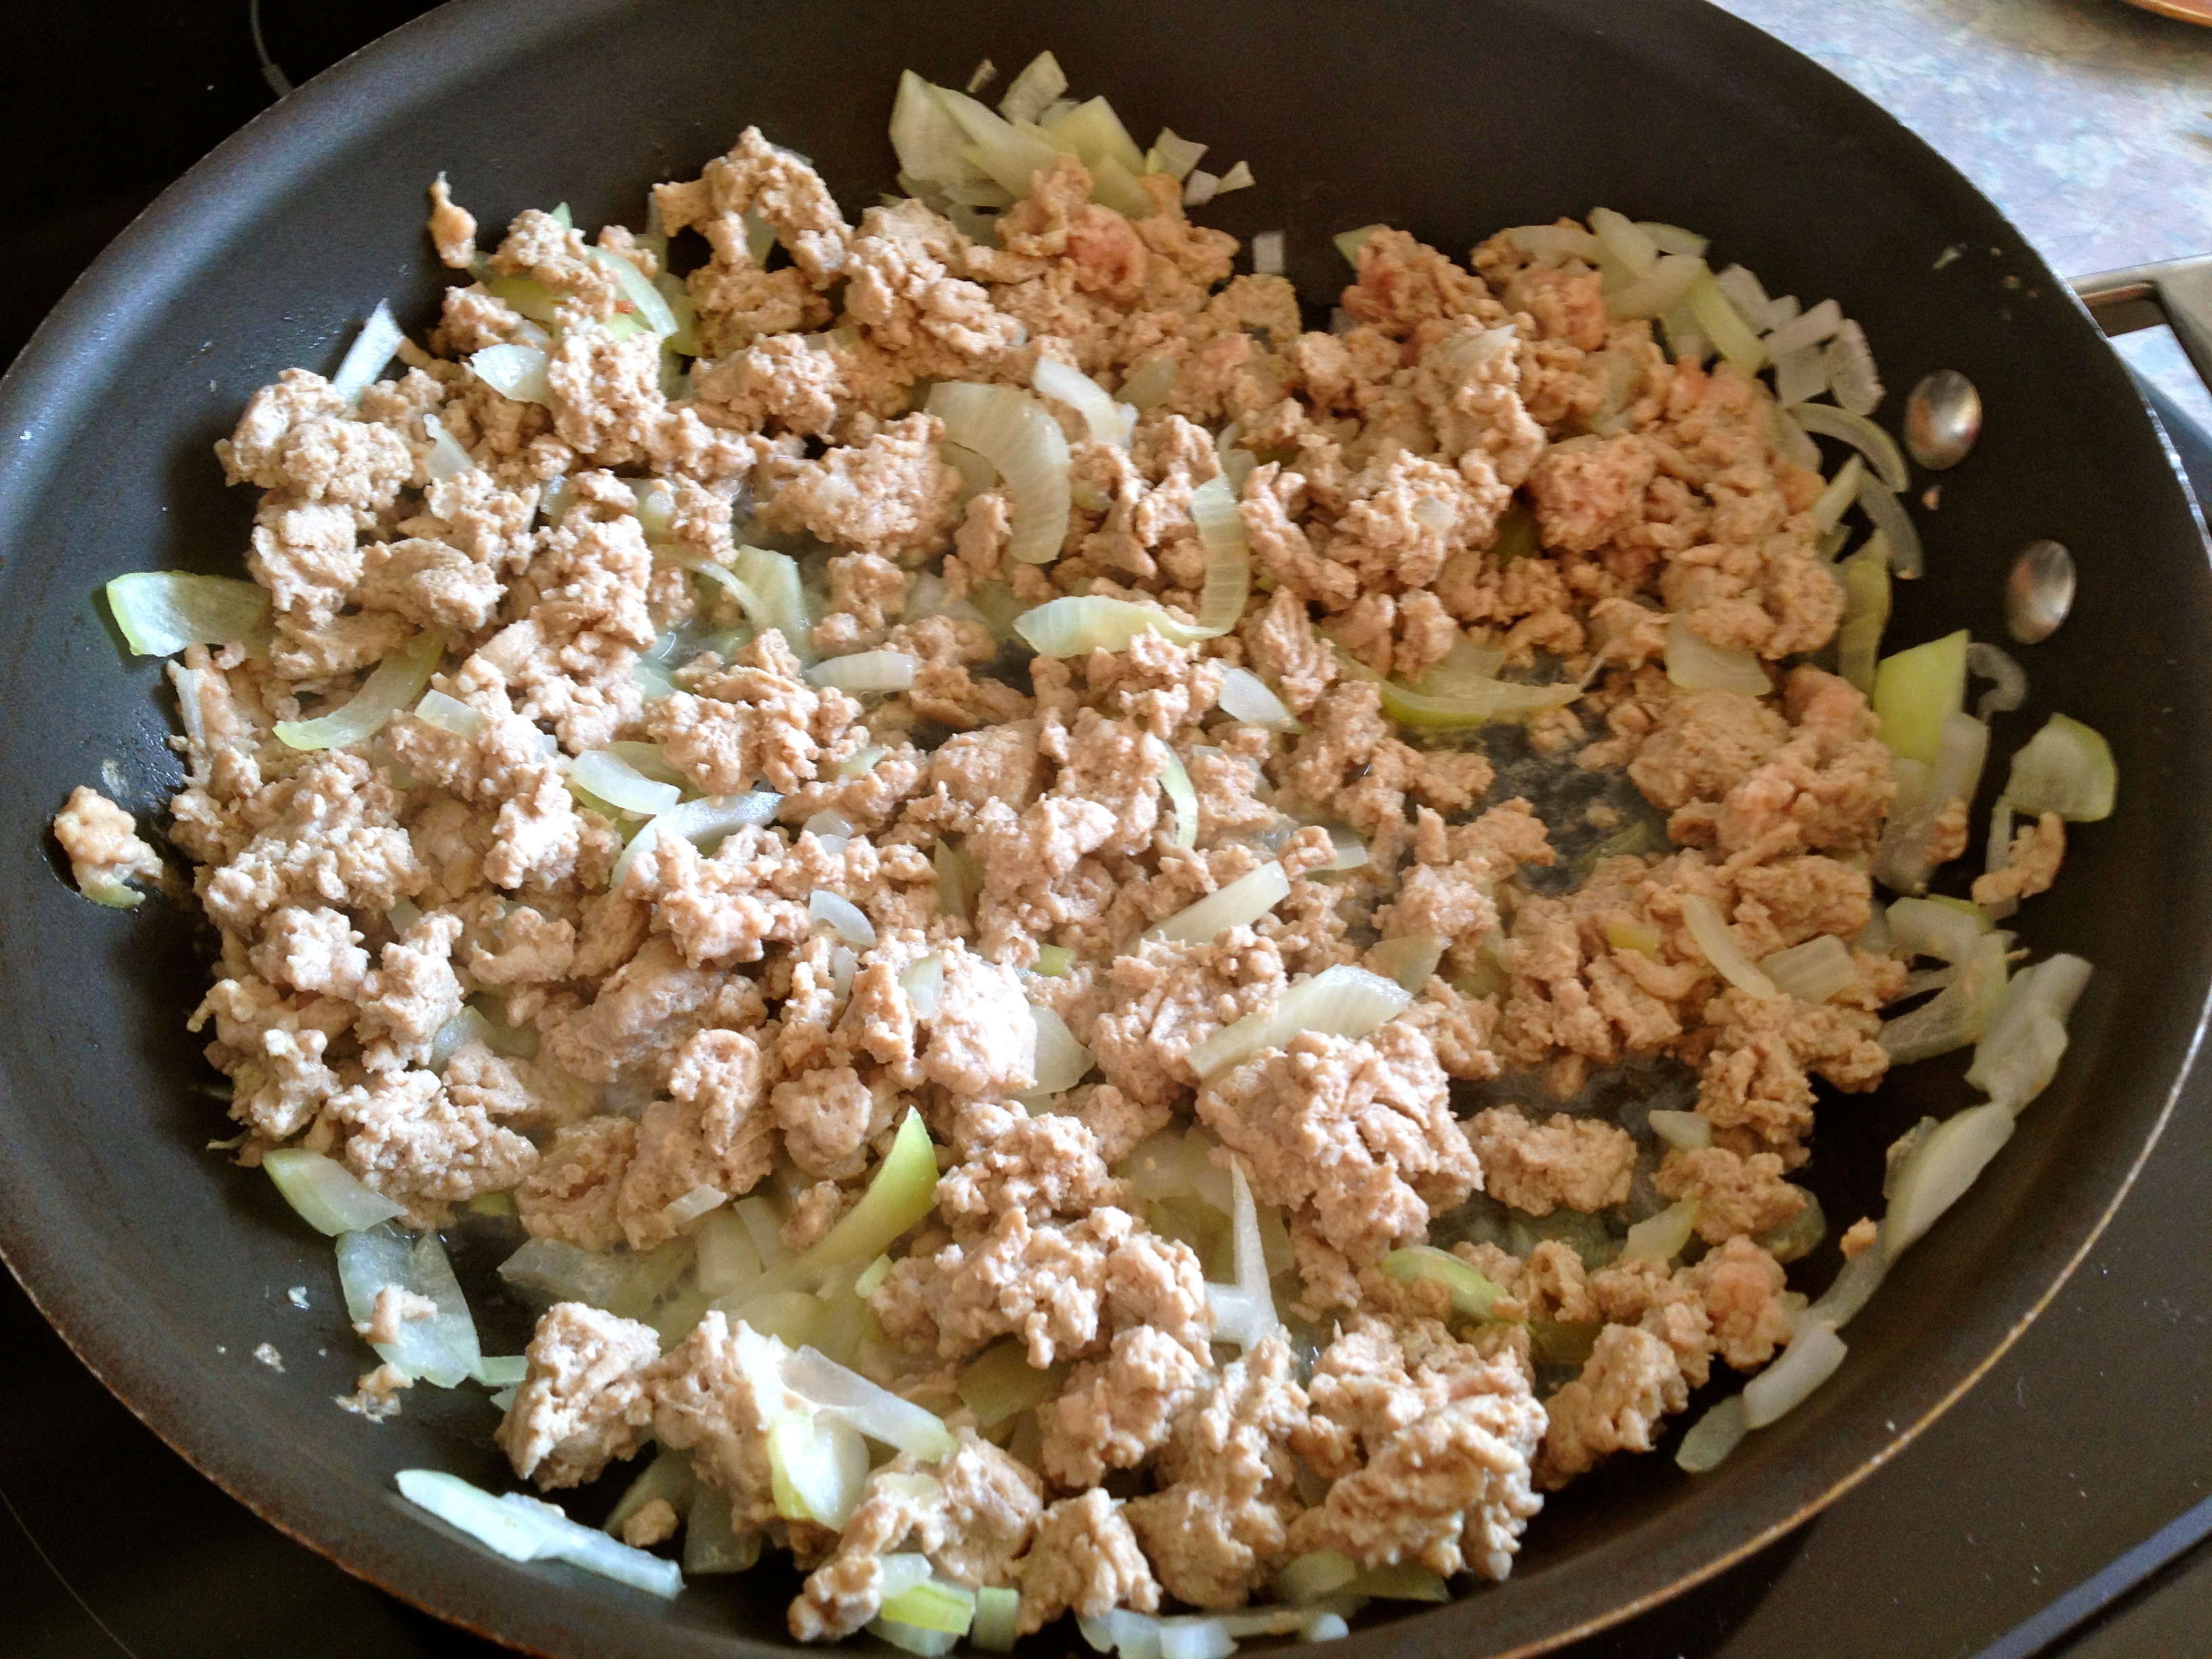 Happily, I discovered a way to recover old webpages and was able to recover the recipe! I was so excited as it is such a yummy one and the kids really enjoy it. Of course the original recipe called for ground beef, so I substituted ground turkey instead. With a few other modifications you have the recipe I use below.