When I was growing up one of the things I loved about Christmas time was all the delectable baking my Mum would make. She’d spend weeks making all kinds of recipes, putting them in containers and freezing them for the season. She’d make things like Isch Tarlets, Venetians and Neopolitans. The names alone sounded exotic and there was more! We often found ourselves with a plethora of leftover baking come January and well, I happily ate threw it.
Of course we had the more common Christmas baking such as whipped shortbread with cherries on top and gingerbread, but I always loved the unique ones. In fact my favorite Christmas cookie was always Hermit cookies. A spicy, soft fruit drop cookie made with a little dash of coffee. The flavors in this cookie are divine, as they mellow with age and become even more delicious as the days pass. The good news was that my sisters and Dad didn’t care for them, only Mum and me, so I basically got the entire batch to myself!
When I ventured out on my own I would make these for my family, hoping that no one else would like them. As luck would have it my husband did not, but turned out that my son did. So I shared, reluctantly.
 When we went dairy and sugar free back in 2010, I didn’t make these cookies for a while as I could never get around the mixed fruit that goes into the cookie. Mixed fruit is deep in a thick sugary syrup, and though I tried to find alternatives or even make my own fruit mix, I could not find a way around it. Update: I found a mixed fruit mix at the Bulk Barn that has no sugar in it! Hooray!
So this year I gave in. I really wanted these cookies! And I bought a container of mixed fruit to make these cookies. I modified the rest of the recipe for sugar free hermit cookies and resigned myself to the fact that if I wanted them I had to let this one thing go…for now. Update: last year I found a sugar free mixed fruit at the Bulk Barn! I was so happy and now I can make these completely sugar free)
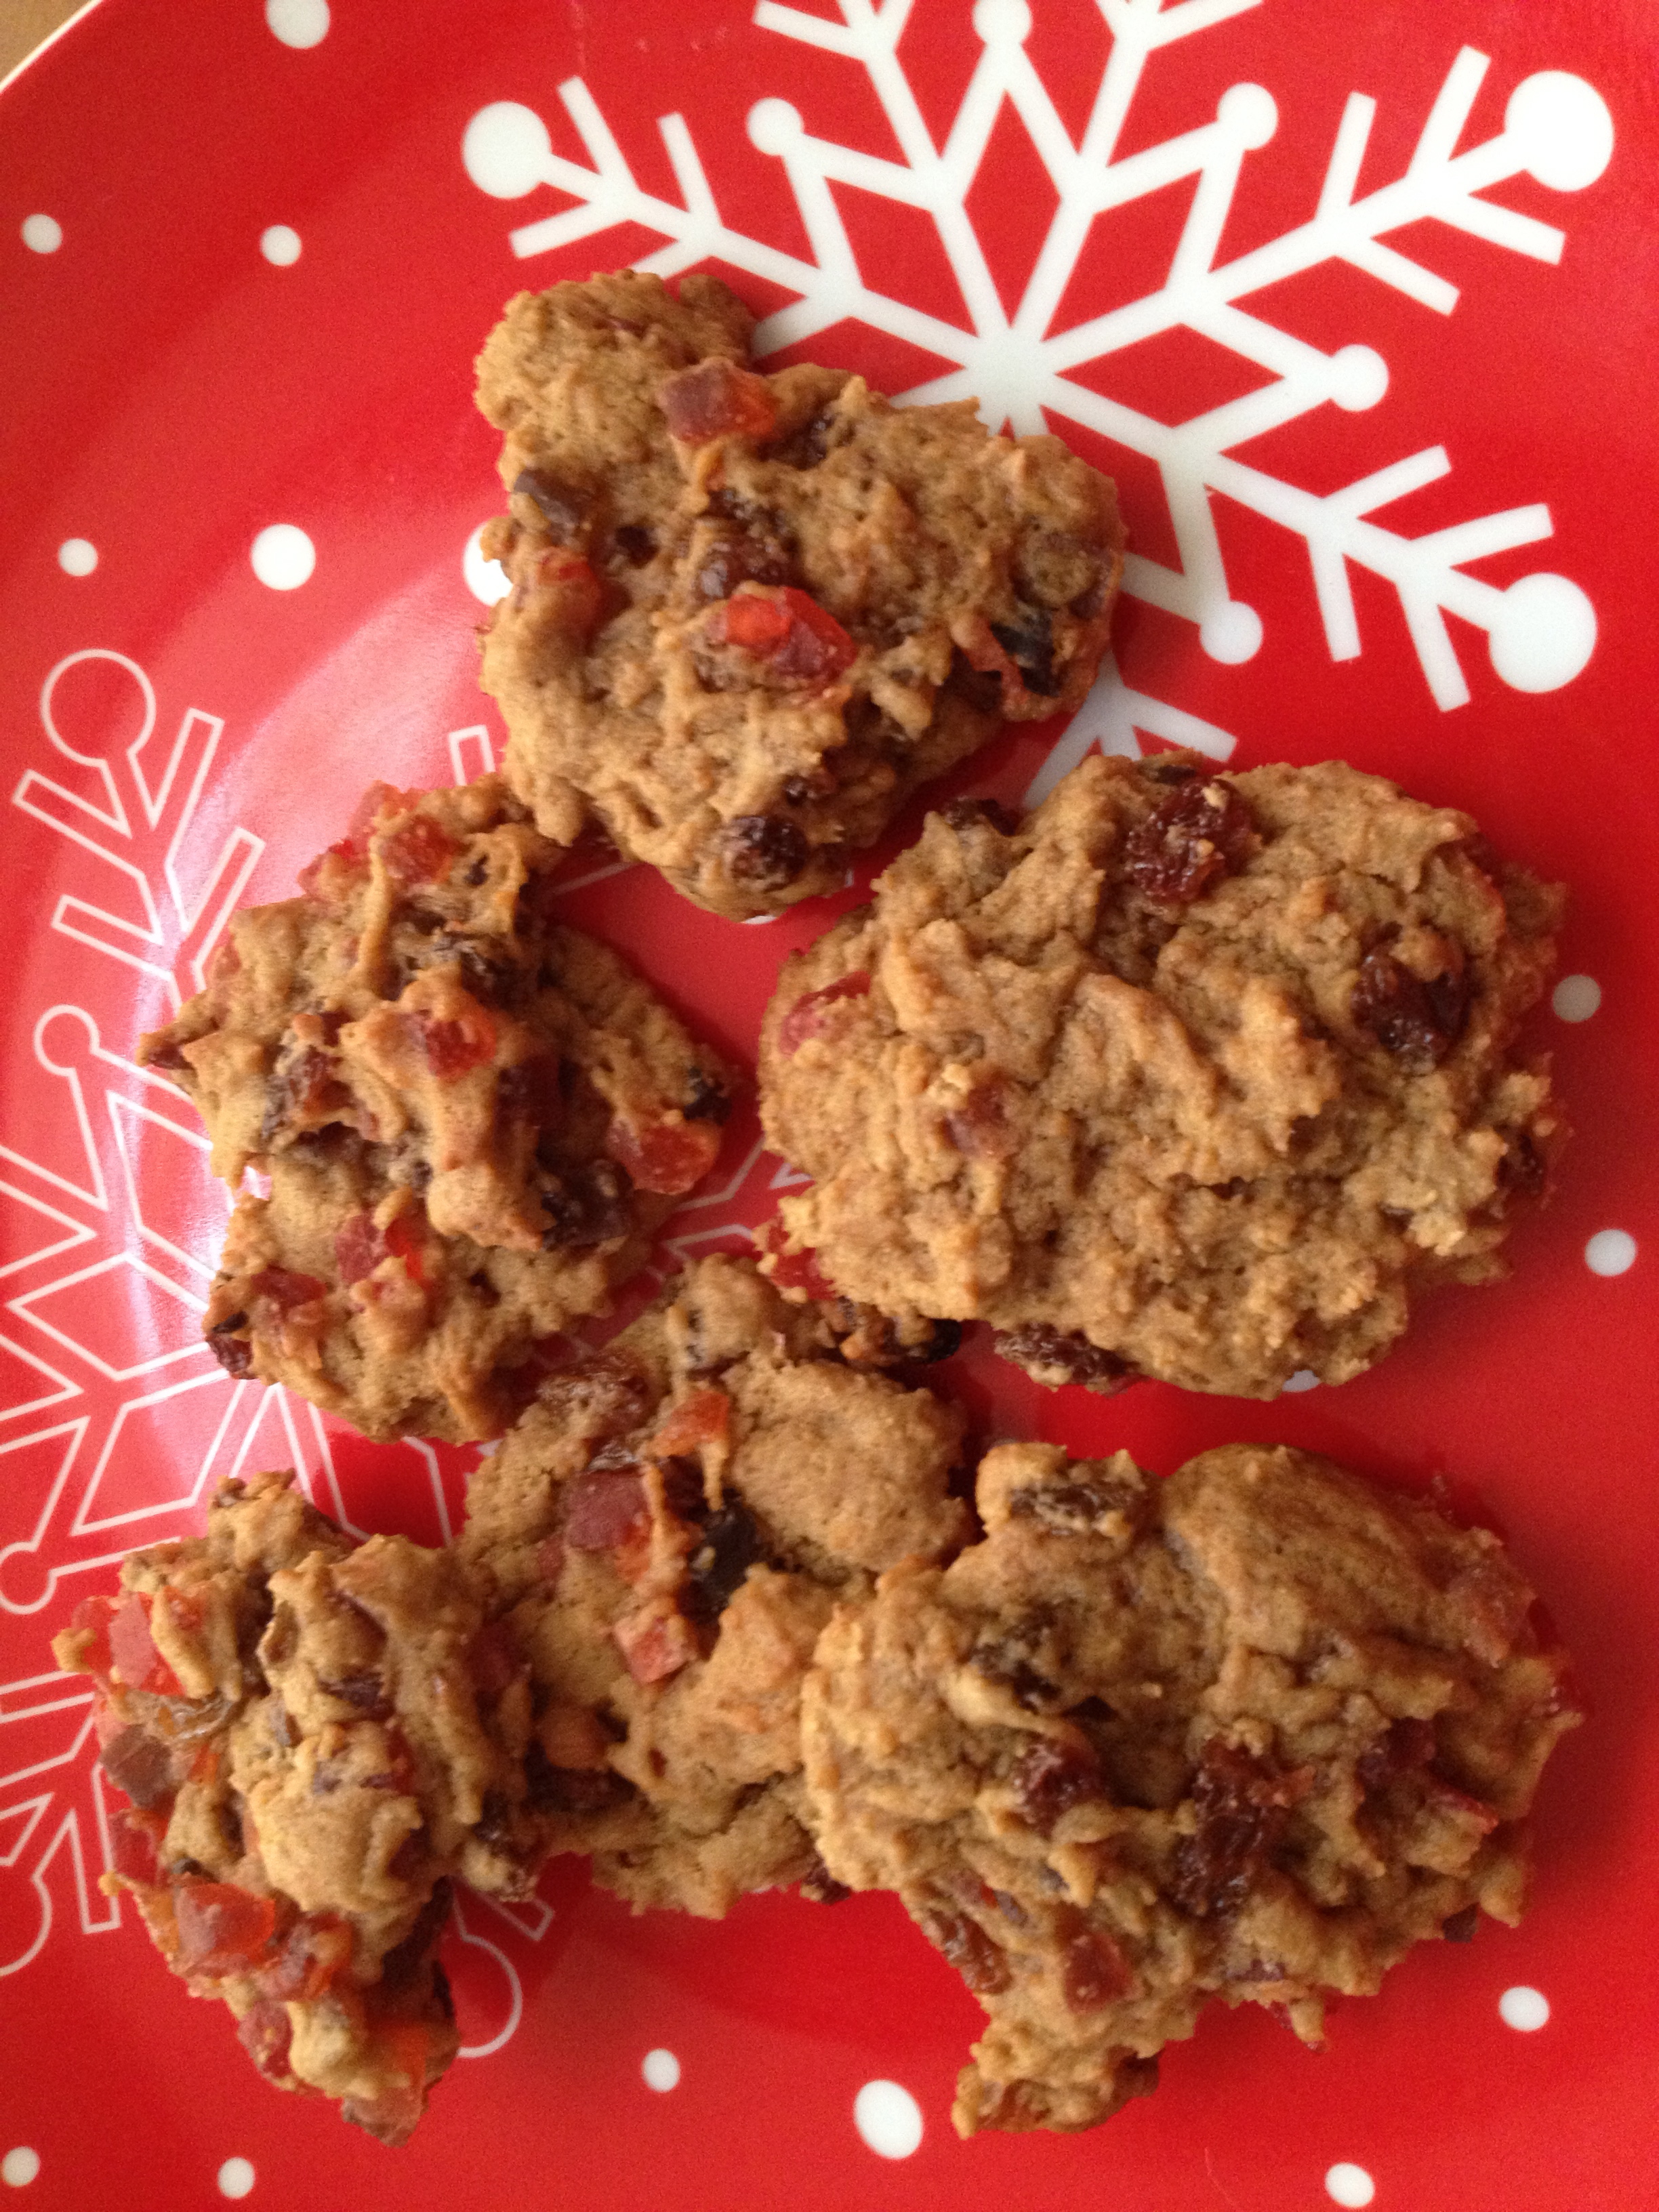
I was so excited! As I was baking them I remembered all the unique flavors I love and the delectable cookie that would result at the end. I knew that my oldest would gobble them up, but these were new to the twins, so we would see if they liked them. The smells wafted through the kitchen and I couldn’t wait to try one!
Of course, they were excellent. Turning out perfectly. I was very pleased. And it turns out that Luke and Chloe do like them (taking after their mother), so I guess I have to share a little more 🙂
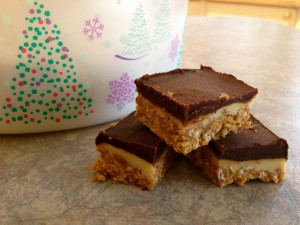
Sugar Free Hermit Cookies
1 3/4 c. flour
1/2 tsp baking soda
1/4 tsp salt
1/2 tsp cinnamon or 1 drop Cinnamon Bark essential oil*
1/4 tsp nutmeg
1/8 tsp cloves or 1-2 drops Clove Bud essential oil
1/2 c. shortening
1 c. coconut sugar
1 egg
1/4 c. cold coffee
1 – 250 g container mixed fruit (you can find a sugar free version if desired)
1 c. golden raisins
1 c. walnuts (I usually omit these because I don’t care for nuts in my cookies but original recipe calls for them)
Sift flour, baking soda, salt, cinnamon, nutmeg, cloves onto wax paper. Beat shortening, coconut sugar, egg and coffee together until fluffy and light. Stir in flour mixture, blending well. Add mixed fruit and raisins (and nuts if using), mix well. Drop by teaspoon onto a cookie sheet and bake at 375F for approximately 12 minutes or until lightly browned.
Let cool on wire racks. Once cool store in airtight container. Flavors will mellow and voila you have a soft, fruity delicious cookie! Makes 3 dozen.
*Please note that if using essential oils in this recipe to ensure that your essential oil brand is safe to take internally. Not all essential oil brands are created equally and some use synthetic fillers and chemicals in their processing of the oil or added to the oil itself. Due to no governing regulations on producing essential oils a company can say they are 100% or Organic. Due your due diligence and research the brand you are using to ensure your safe usage.