Halloween at our house is always a big event. As soon as October hits the kids are asking to decorate and even before that they are already talking about costumes and what they are going to be. In fact, there have been years when they have decided a whole year in advance what they wanted to be for next Halloween (and actually stuck with it).
Last year my daughter decided she wanted to be a spider. For me I prefer to buy our Halloween costumes if we can find what we need. As long as they are decent quality and not too expensive I find this the easiest and simplest. And there is quite the range and variety of costumes these days so this usually isn’t a problem. But in this case, I don’t know about you but I have never seen in a store a kids (or adult for that matter) spider costume – ever. So I knew that we had to make one.
Luckily, my very talented sister is in costume design and had already created a spider costume for herself years ago, so I didn’t have to start from scratch and I had a great guide to get the costume together. It did require a bit of work and gathering a few pieces, which can add up, but was fairly easy to put together.
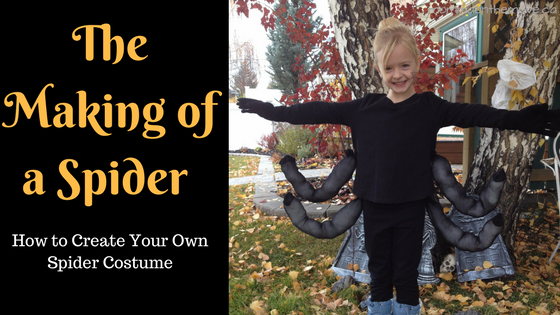
How to Make a Spider Costume
This is a simple costume to put together. The most challenging part is doing the arms and legs and though not difficult requires some patience, especially if you’re not a sewer like myself!
Here’s what you need:
Long sleeved black shirt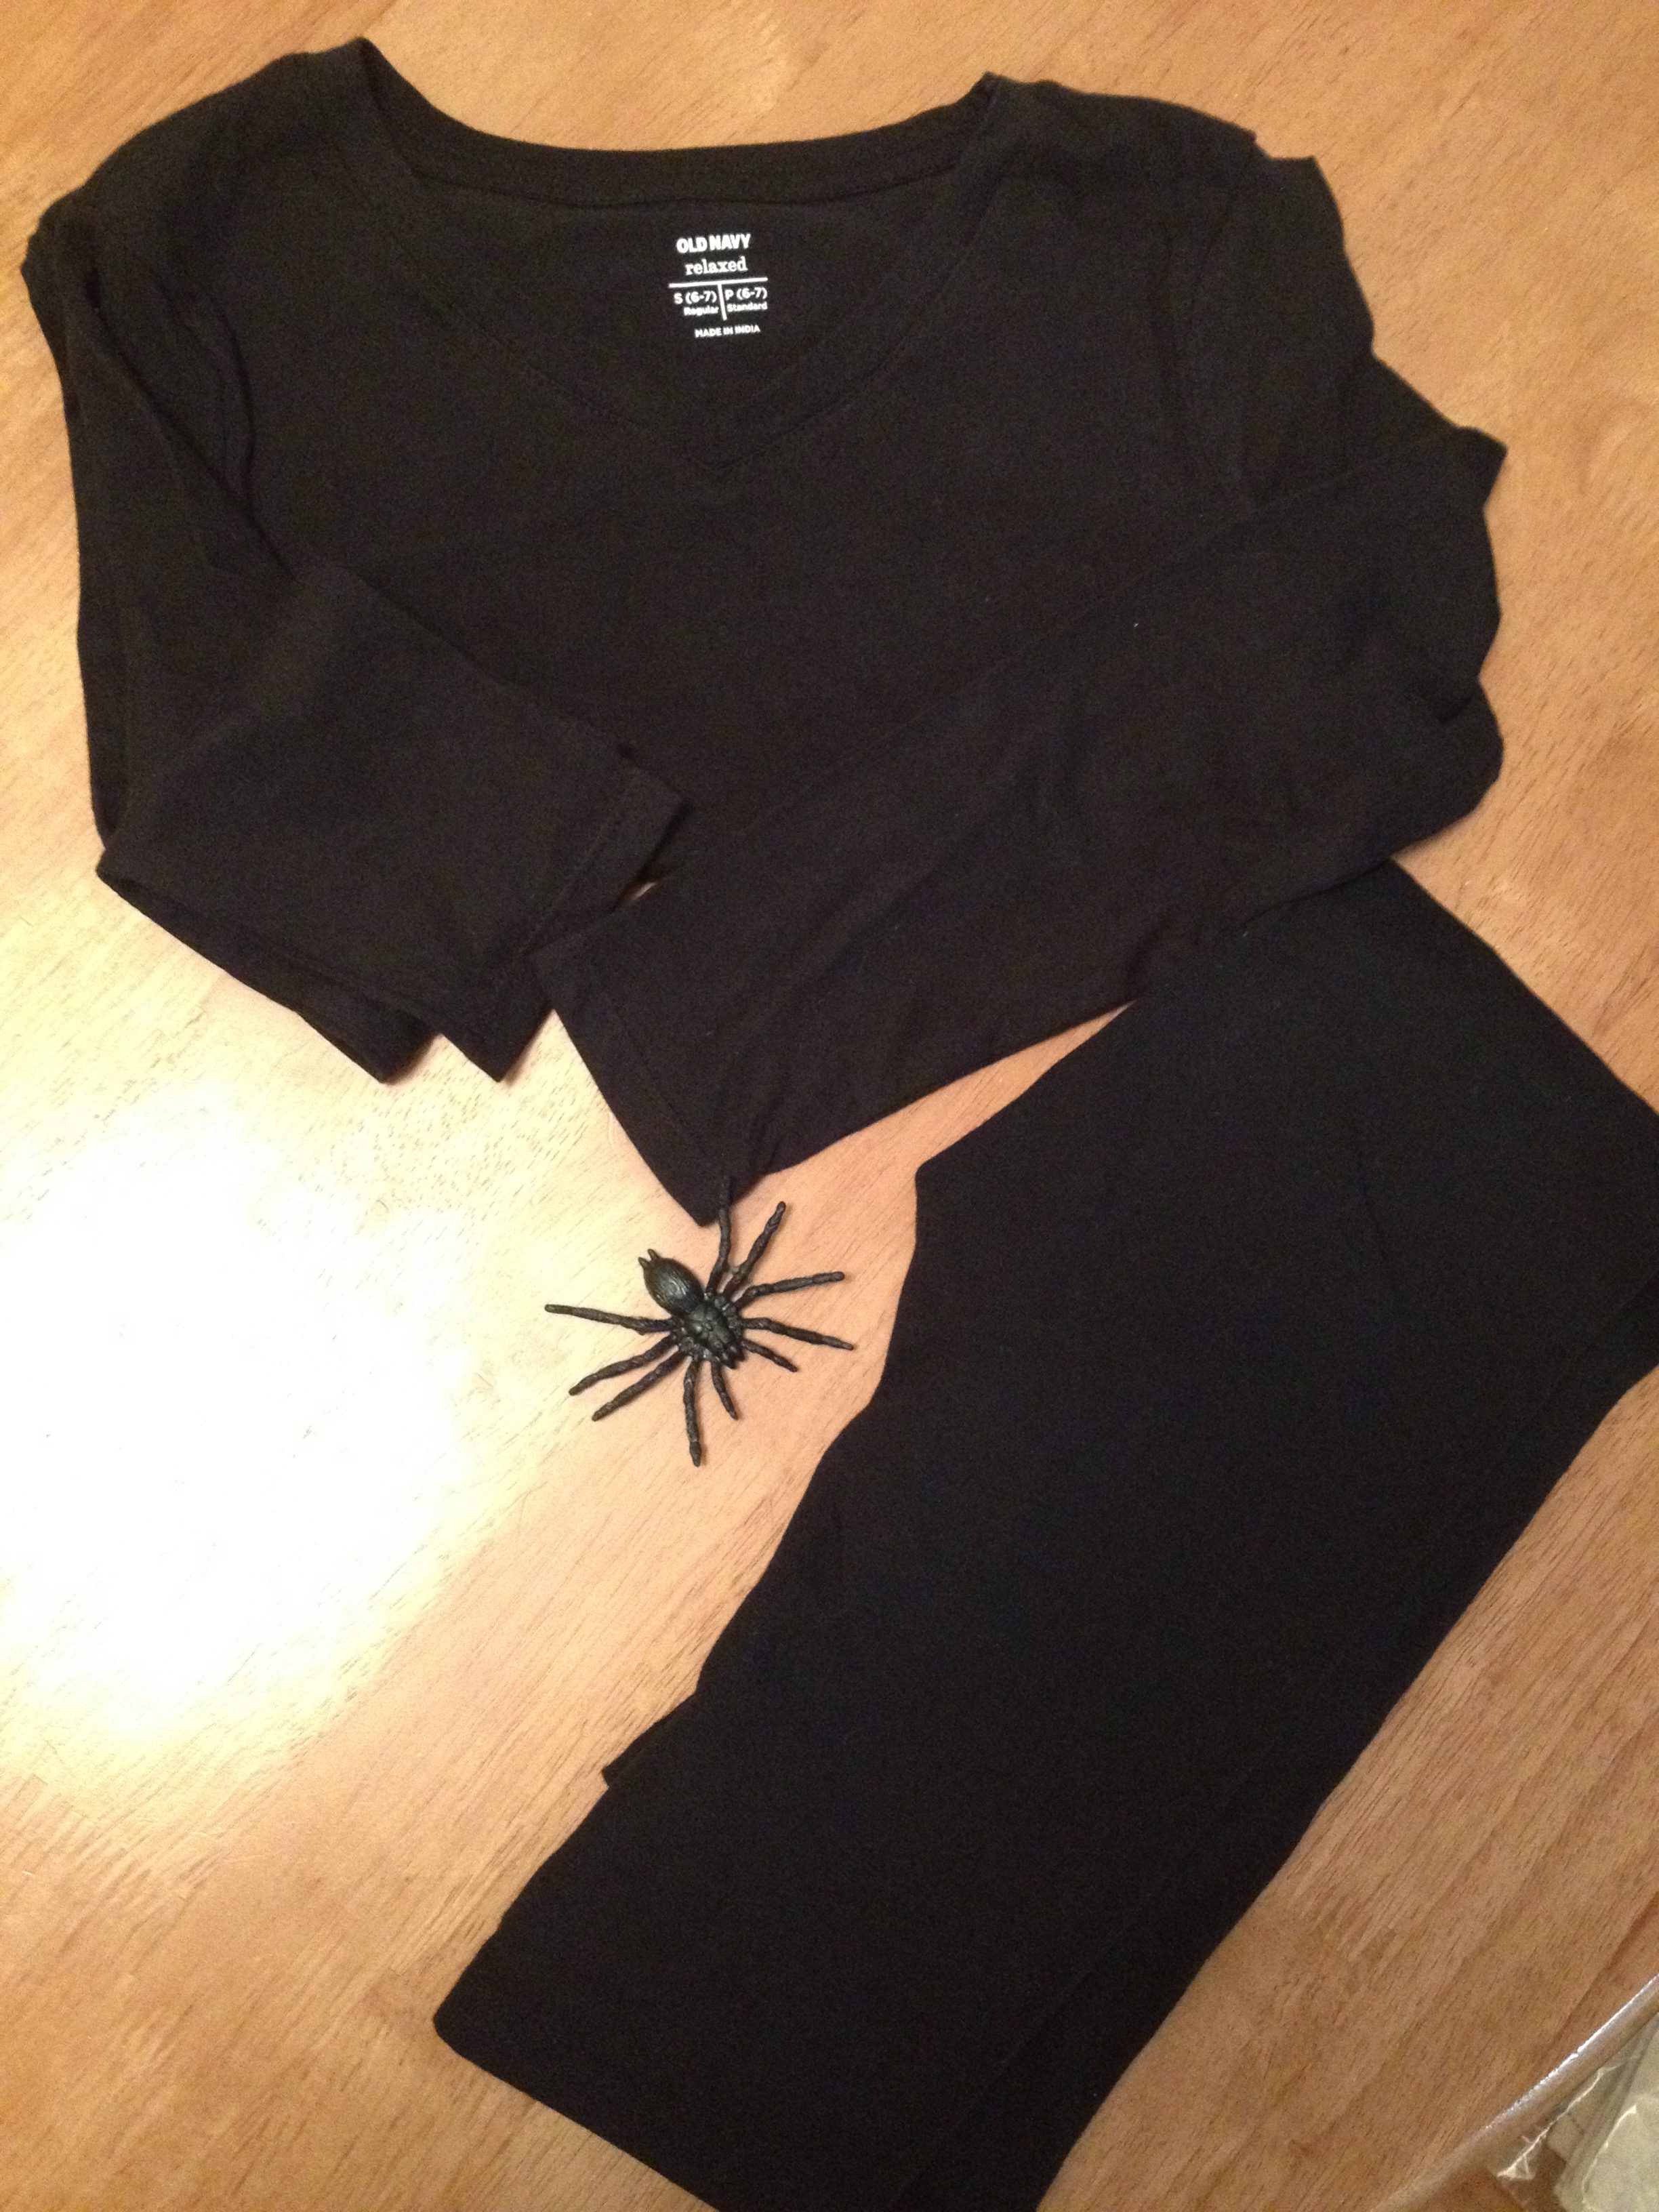
Black leggings
2 pairs black panty hose or tights
Black gloves
Cotton batting
Black shoes or boots
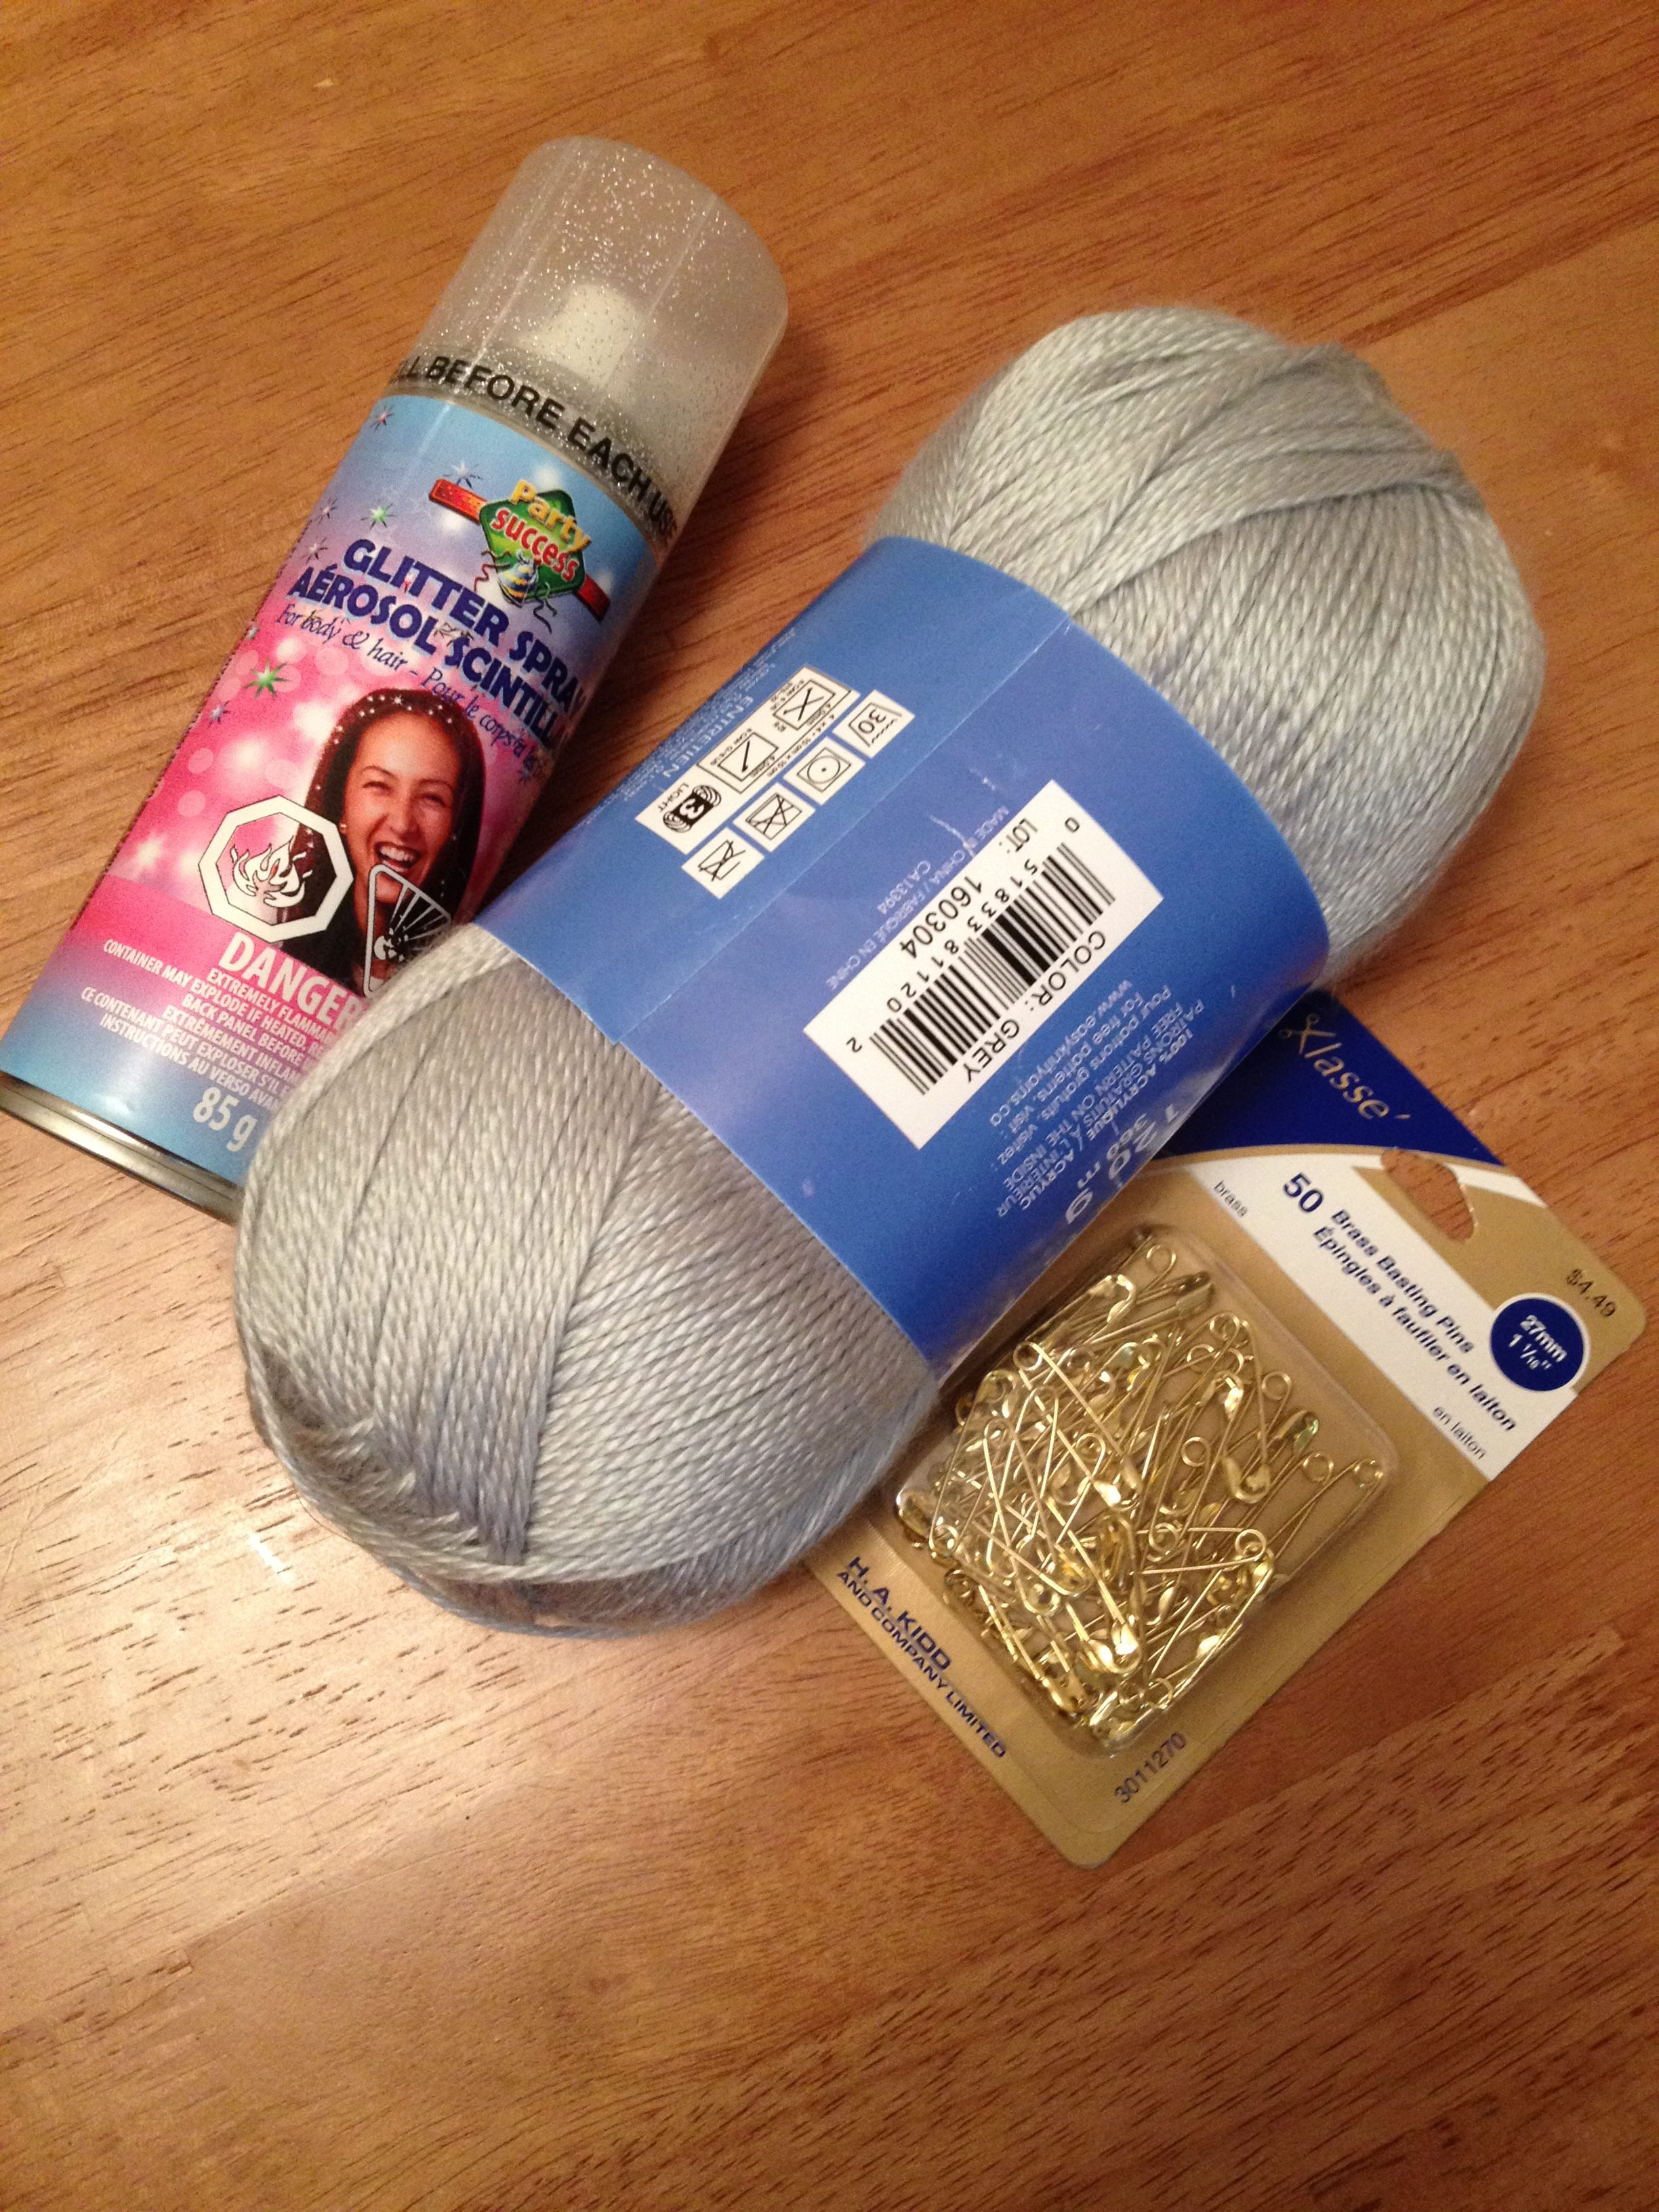
4-6 Safety pins
Needle
Clear plastic thread
Black thread
Glitter hairspray
Black eyeliner pencil or facepaint crayon
1. The first thing you need to do is make the arms/ legs. Because you already have 4 limbs you only need 4 more to make 8 for the spider. Take the black panty hose or tights out of the package and measure the desired length of the arm. Do this by holding having the person the costume is for hold out their arm vertically. Hold up the panty hose leg to the arm. Have the person gently hold the end of the toes to make this a little bit easier. Measure to the arm pit and then back up a little bit and make it shorter. You want the length of the hose to be slightly shorter than the arm because when you pin it on it needs to be able to move and not be bunched together. This will make more sense when we get to step 4 – but if the panty hose is as long as the arm it will get squished and could be uncomfortable (as well as it won’t look right).
 2. Once you have determined the length of the hose you need cut it straight across. Use this first piece of panty hose as your example and measure them up to the other panty hose legs and cut to make the right length. This makes it easy to get them all the same length.
3. Stuff the panty hose with the cotton batting. Use enough to make it full and round but does not need to be overstuffed that it’s pulling on the hose. Once the hose is stuffed sew the end closed using the black thread. Repeat with the other 3 legs.
This next step is easiest if you can have the child put on the rest of the costume so you can pin and line up the arms.
4. Have the child put on the black long sleeved shirt and leggings. Using a safety pin, pin one of the stuffed legs onto the hip of the pants. Pin it with the sewed end on the hip. Do the same with the second leg on the other side.
5. Next, pin the third leg on the shirt about mid way up the torso. Do the same with the fourth one on the other side.
6. Take your clear thread and attach it to the end of one of the legs that is pinned to the hip (simply just knot the end of the thread and attach it securely to the end of the leg. Be careful not to bunch the leg on the end. I did a once through, little loop and knotted, very clean.
 7. Take the thread and go up to the leg attached mid way up the torso and attach the two legs together with the thread. Leave enough length that the legs are separated, hang nicely and not bunched together. You want enough space between them for movement. Attach it securely. Then continue with the thread up to the child’s wrist.
8. Create a loop around the child’s wrist. Again leave enough length between the mid torso leg and the wrist so that the legs hang nicely, have enough room for movement and are not all bunched together. Have the child lift their arm vertically to measure this and to ensure you have the length you desire. Secure the loop with a slip knot, so that you can easily open and close the loop on their wrist and make it easy to take off. Whew! Now that you’ve done the one side mastered – do the same thing on the other side.
9. Once you have both sides attached with legs, unpin the bottom legs on the hips, unloop the thread on the wrists and slid it gently off the wrist. leave everything else attached! This makes it way easier when you’re putting it on for Halloween or a Halloween
barriemoderncleaners.com event. Gently slide the shirt over the child’s head and place it in a safe place (where it won’t get disturbed or played with) until needed for Halloween.
Putting It All Together On Halloween
The legs are the hardest part but once you have those pinned and ready the rest is a walk in the park.
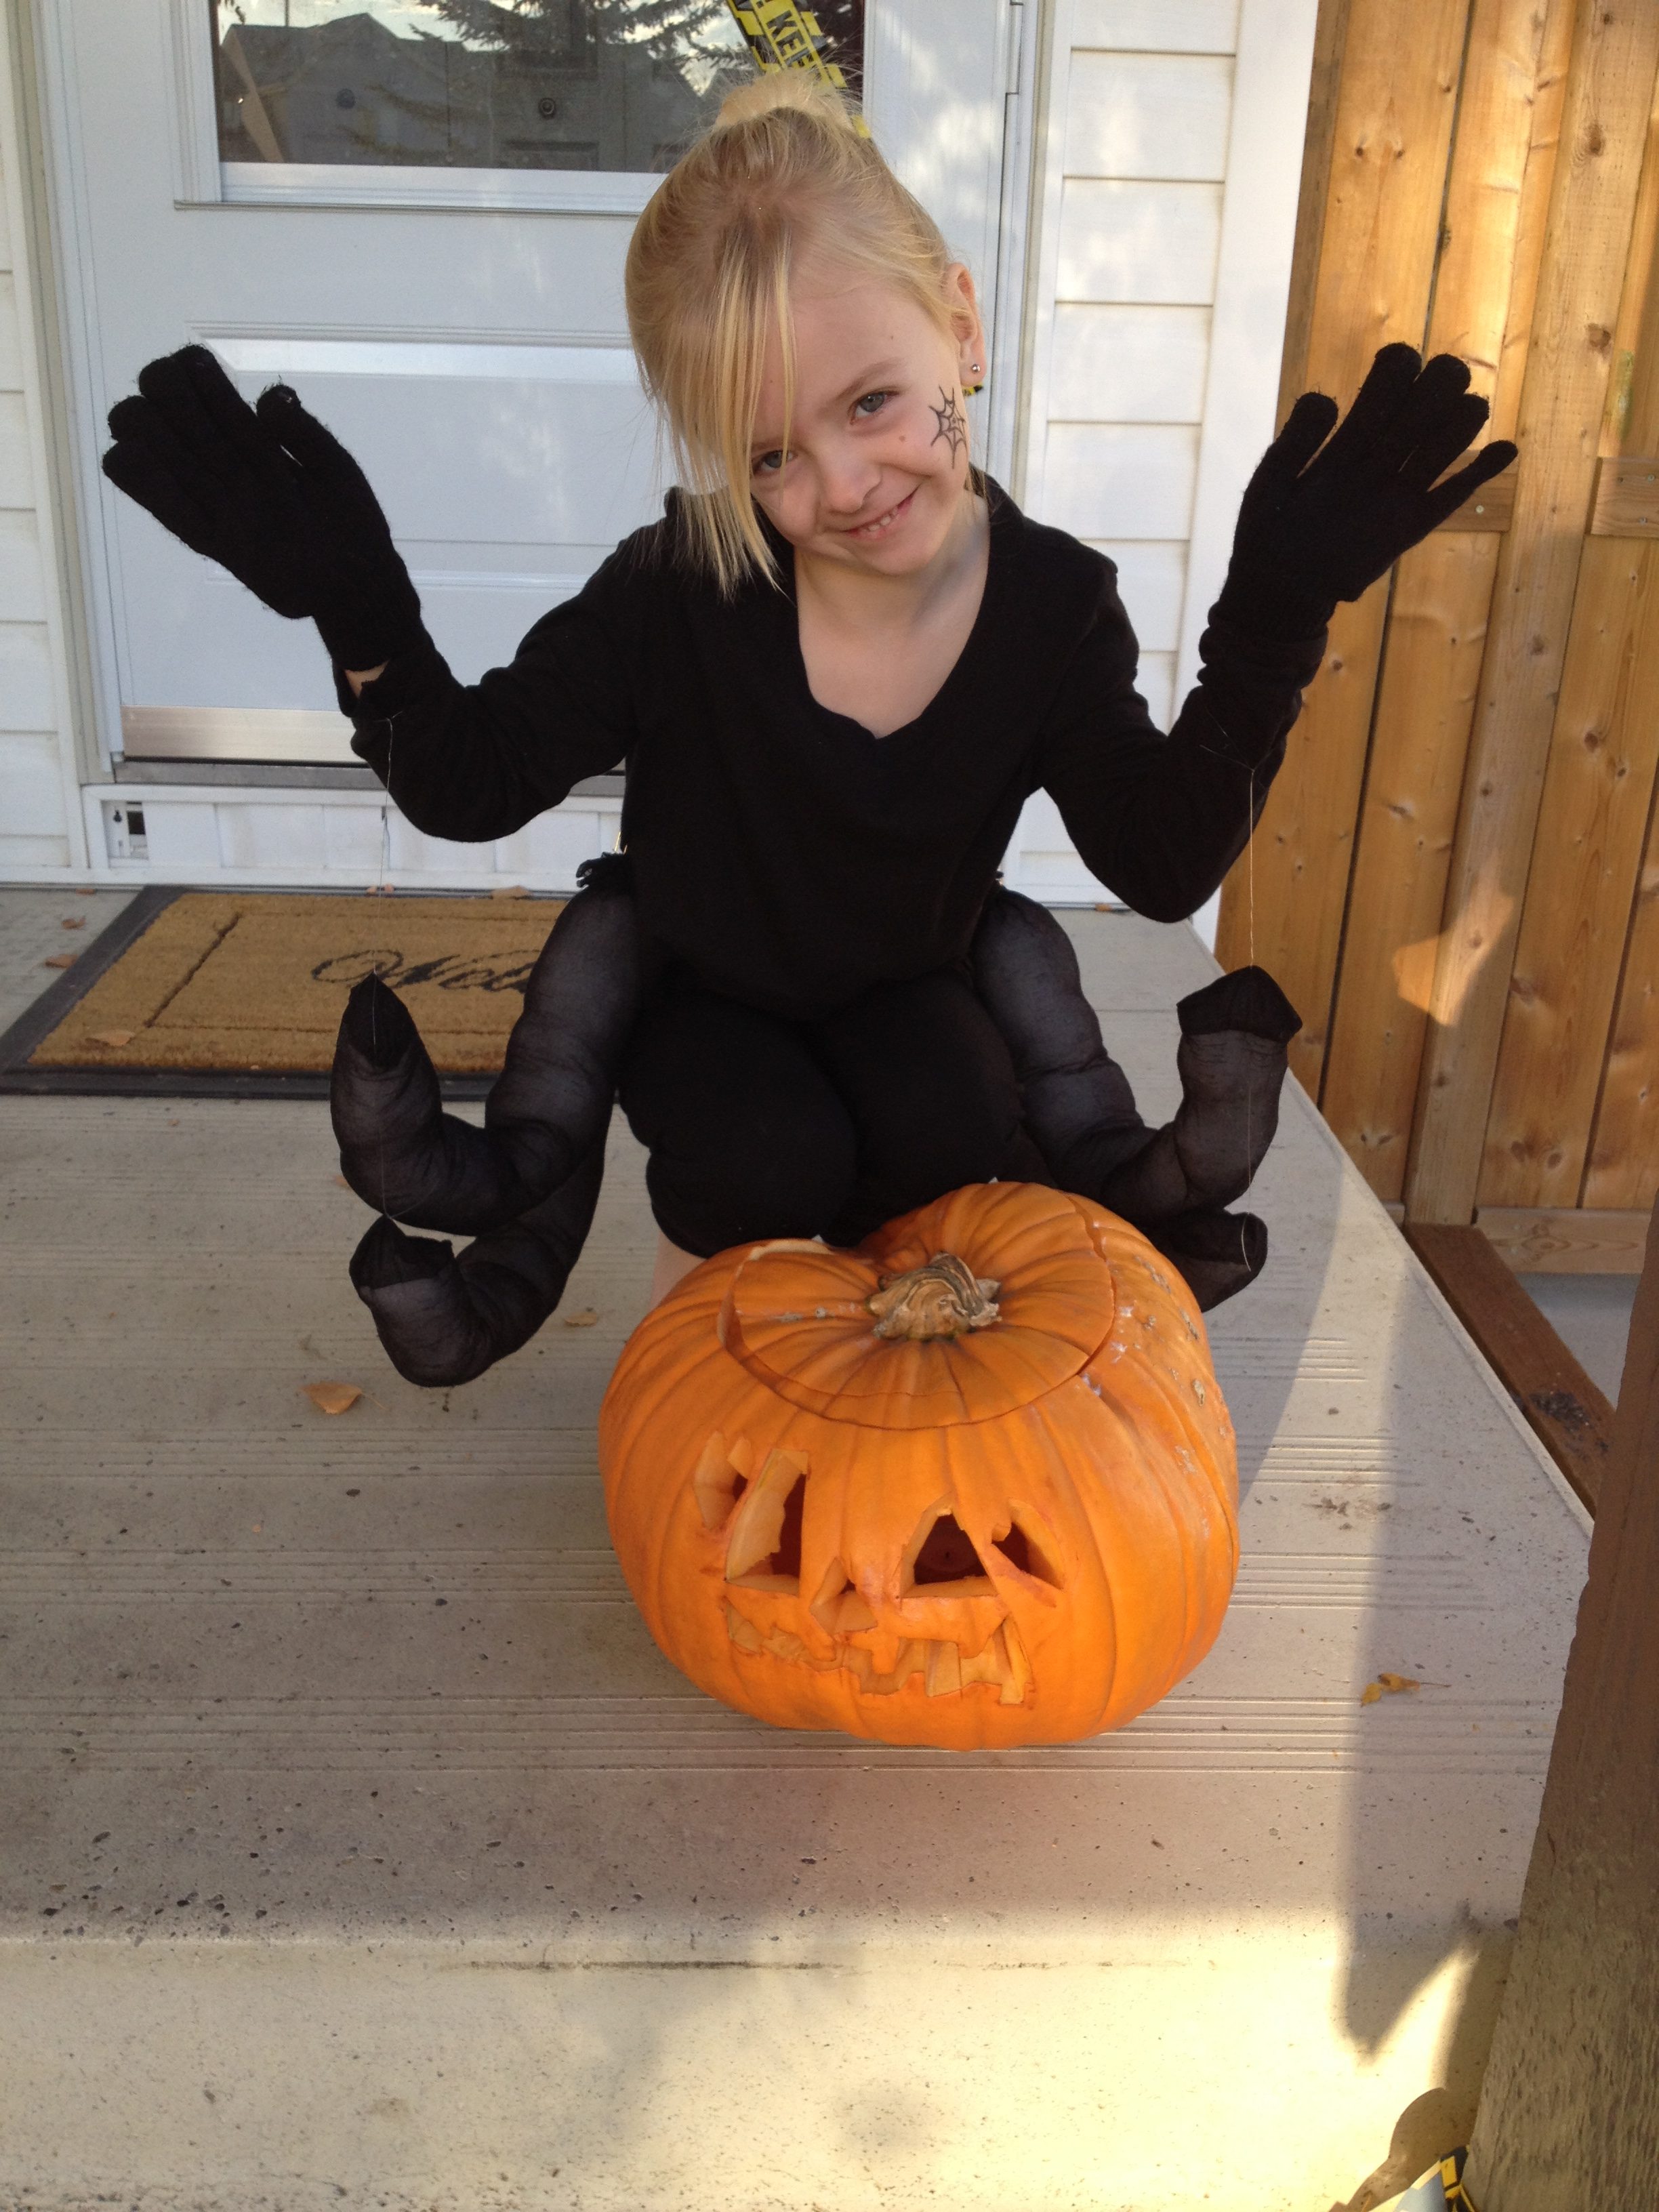
10. Put the black leggings on first. Gently assist the child with putting on the black shirt. Pin the two bottom legs to the hips and slid the loops over the child’s wrists. Put on the gloves and tighten the loops as needed.
11. Do hair as desired in whatever style you choose, then spray with glitter hairspray.
12. With the black eyeliner pencil or facepaint crayon draw a spider web one of the child’s cheeks (this is not a must but just add that little extra to the costume.
13. Put on black boots or shoes and voila! you have your little spider all set to go!