When I first learned how to make my own chocolate I never even considered that making white chocolate would also be an option. I was so excited about just making the regular chocolate that I didn’t even think about white.
It wasn’t until years later, when I was looking at making white chocolate macadamia nut cookies that I wondered if I could somehow create white chocolate? Of course it had to be possible, it existed, so someone somewhere would have had to have figured out how to do it.
So I poked around a little bit, did a little googling and had my answer within minutes. Of course when I read what needed to be done it made perfect sense. Why I had not thought of it myself, who knows. But you know how sometimes you need someone to point out the obvious to you….
The basic trick in making raw organic white chocolate was that you need to use another powder than cacao powder, that was white. You need to use the powder to thicken it and bring it all together, because otherwise you would literally just have the cacao butter, though the right color, on it’s own is kind of oily and tasteless, which kind of defeats the purpose.
 The magic answer is simply, milk powder. It is the right color and consistency and the good news is, ANY milk powder will do. If you want to keep your chocolate dairy free, there are non-dairy milk powders such as soy or coconut to make that work. It was so easy!
Another thing to keep in mind when creating white chocolate is using a fresh vanilla bean will no longer work, unless you want little black dots in your white chocolate. Even regular vanilla extract is brown in color, so to keep it purely white, use clear vanilla extract instead.
Otherwise go to it! If you have already tried the regular raw organic chocolate recipe you’ll be able to white with ease. And if you are new to chocolate making, it really is easy, so you’ll be a pro in no time!
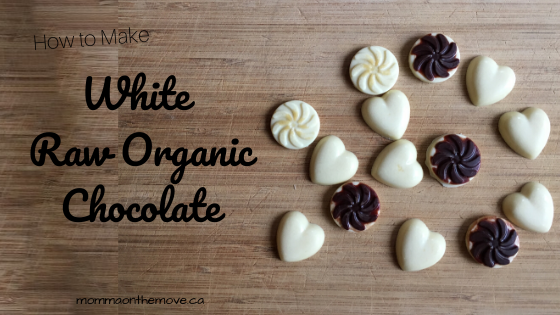
Raw Organic White Chocolate
3/4 – 1 cup cacao butter
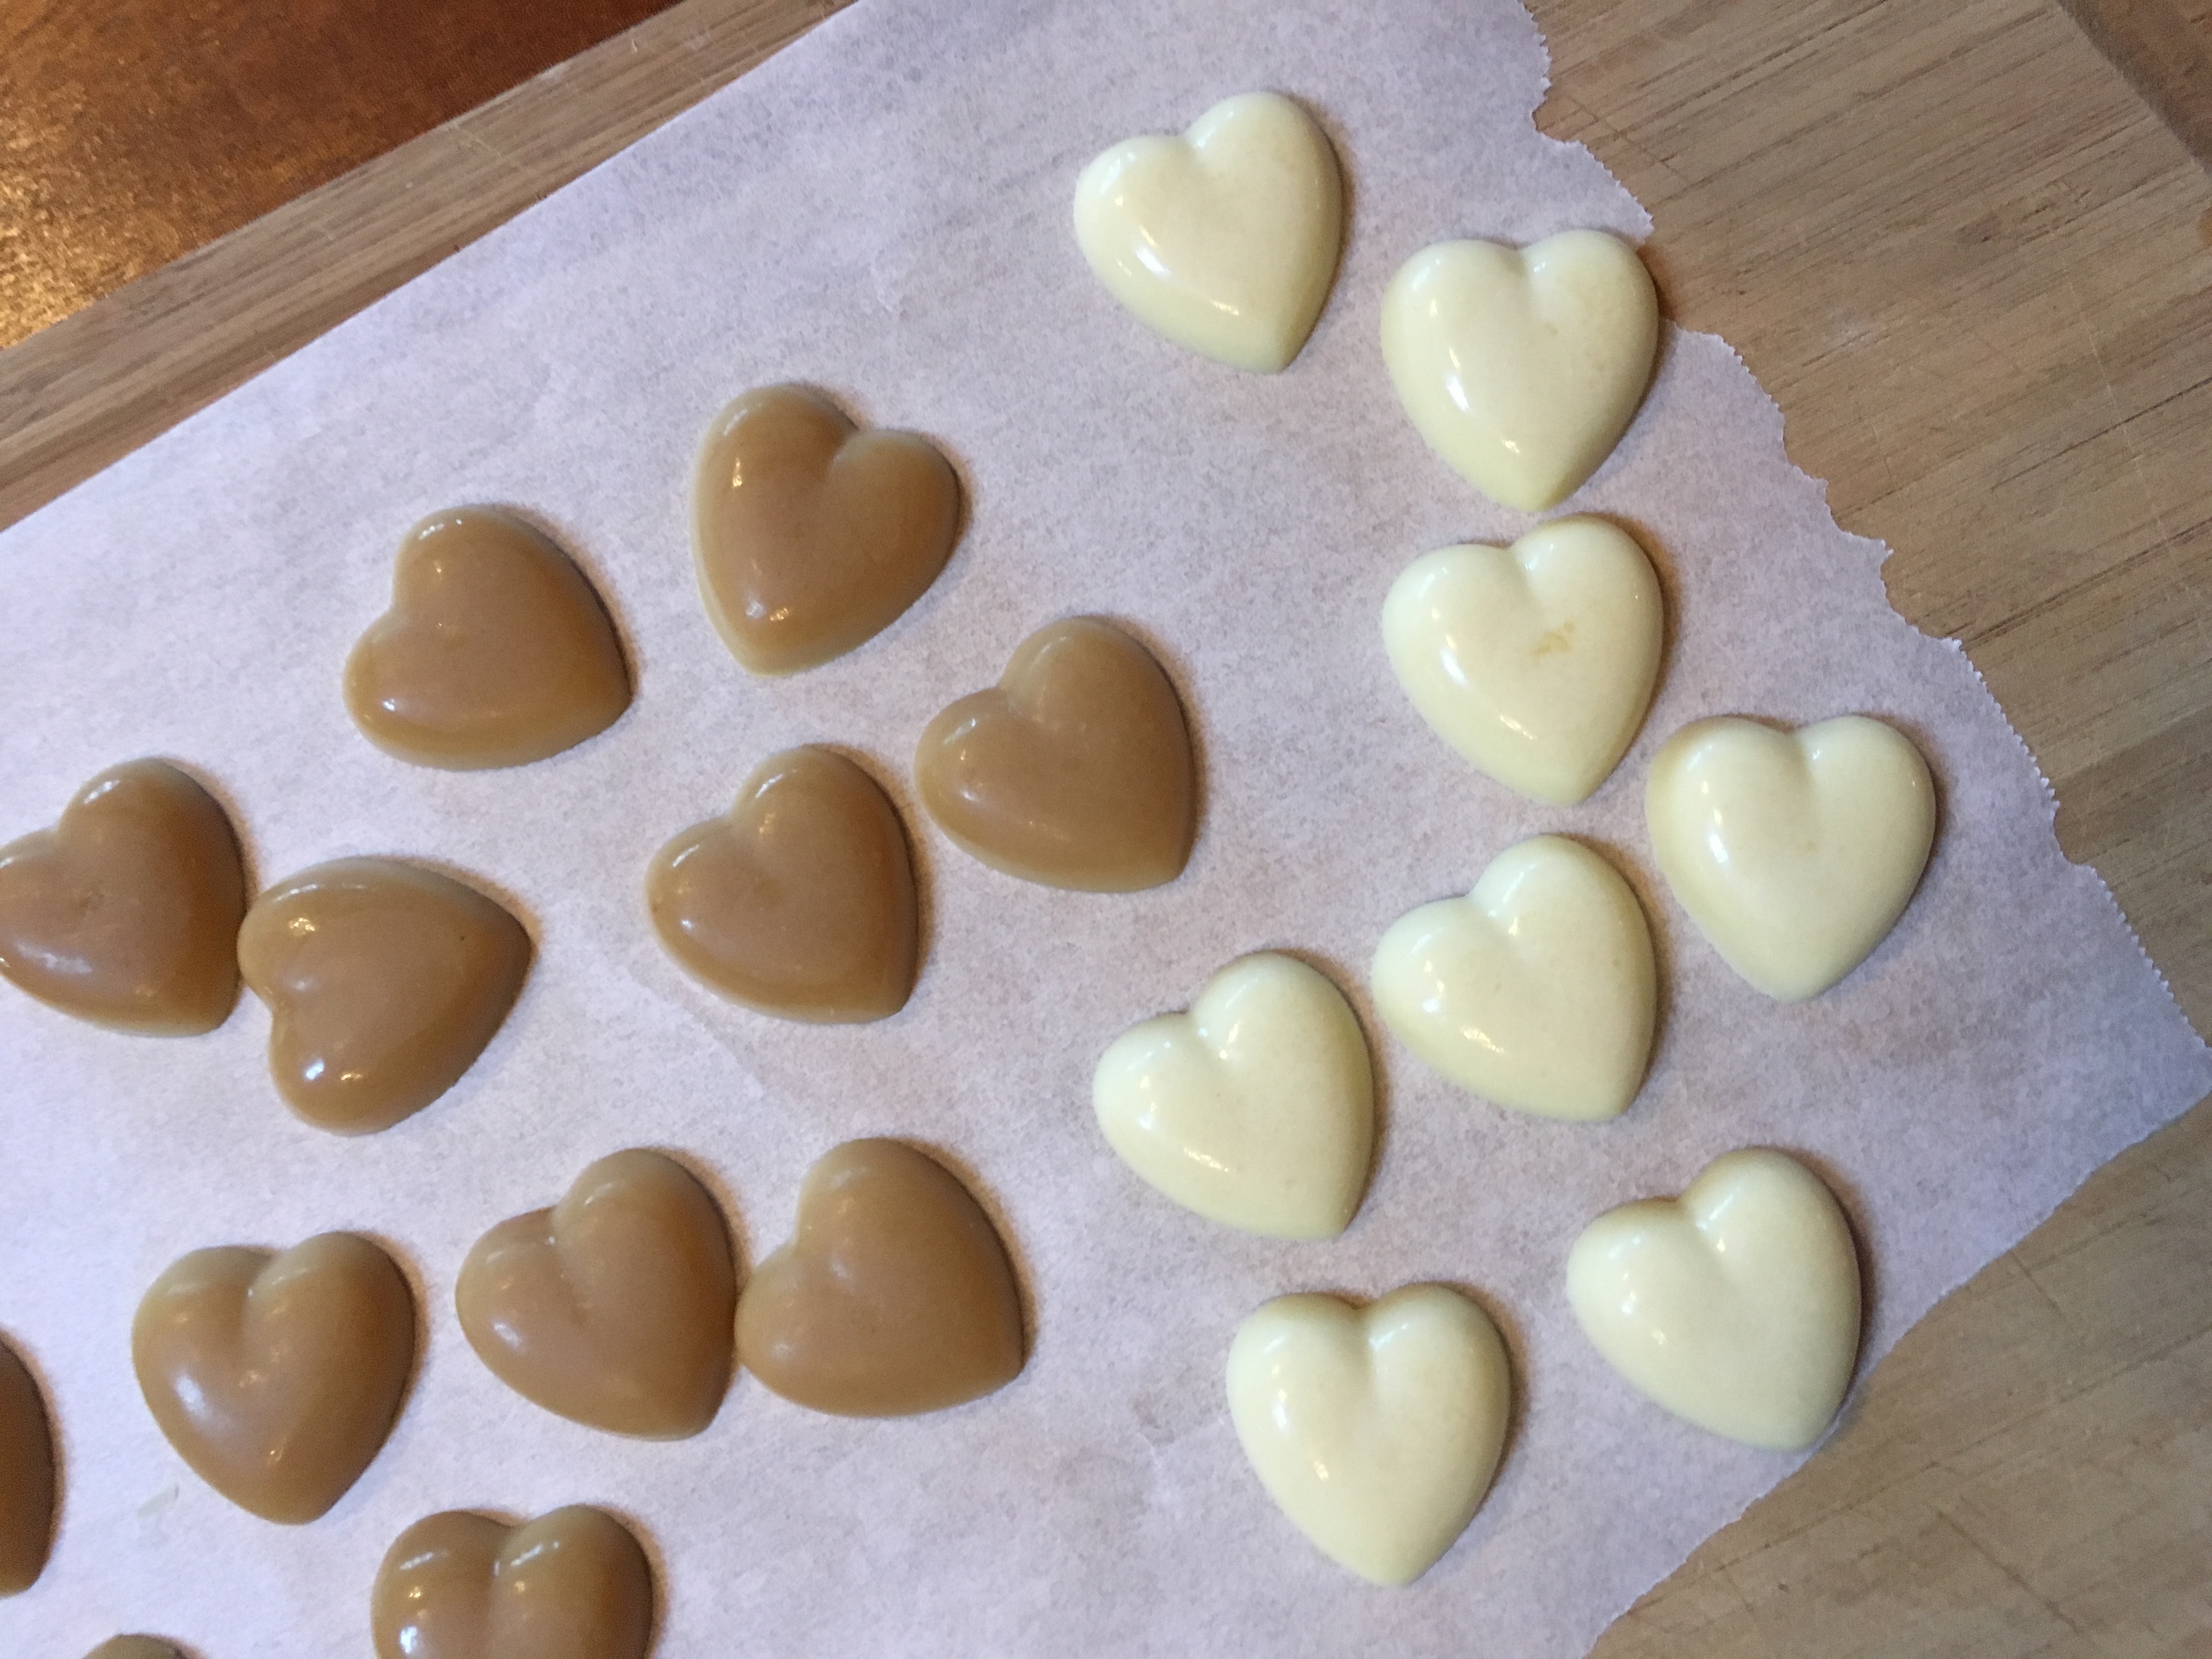
2-6 tbsp Soy milk powder or Coconut milk powder (just a caution if choosing soy milk powder, it is not pure white and has a slight tan tinge to it, so if you want it more of a caramel color perfect! but if you want white then I would choose coconut milk powder instead)
1-2 drops of clear vanilla extract (use a pipette if using vanilla extract as you only need a tiny bit, adding too much can ruin your chocolate)
2 tsp. to start Natural Sweetener of choice (again consider color I find clear stevia drops are best or even white stevia powder – honey and pure maple syrup will make your white chocolate more tan or caramel)
- In a medium metal bowl add boiling water about halfway up the bowl. *a metal bowl is
 best as it retains the heat well but can get hot to the touch Place second smaller metal bowl on top of large bowl so that it sits on top of the rim of the first bowl.
 - Put desired amount of cacao butter into top bowl. Cacao butter will start to melt.
- While cacao butter is melting, add clear vanilla extract. Drop 1-2 drops at the most into cacao butter and stir.
- Once cacao butter is completely melted add 2-4 tablespoons of coconut milk powder. Taste for desired level of chocolatey-ness. If you’d like it richer add more milk powder.
- Once satisfied with amount of coconut milk powder add natural sweetener of choice. Start with 10 drops of clear stevia drops. (You may choose another sweetener but be aware that if you choose something like pure maple syrup this may darken your white chocolate, if so start with 3 teaspoons to sweeten). Taste, if desired level of sweetness has not been reached, add 2-5 drops of stevia and taste again (1-2 teaspoons if using another natural sweetener). Once level of desired sweetness has been reached you have your base chocolate.
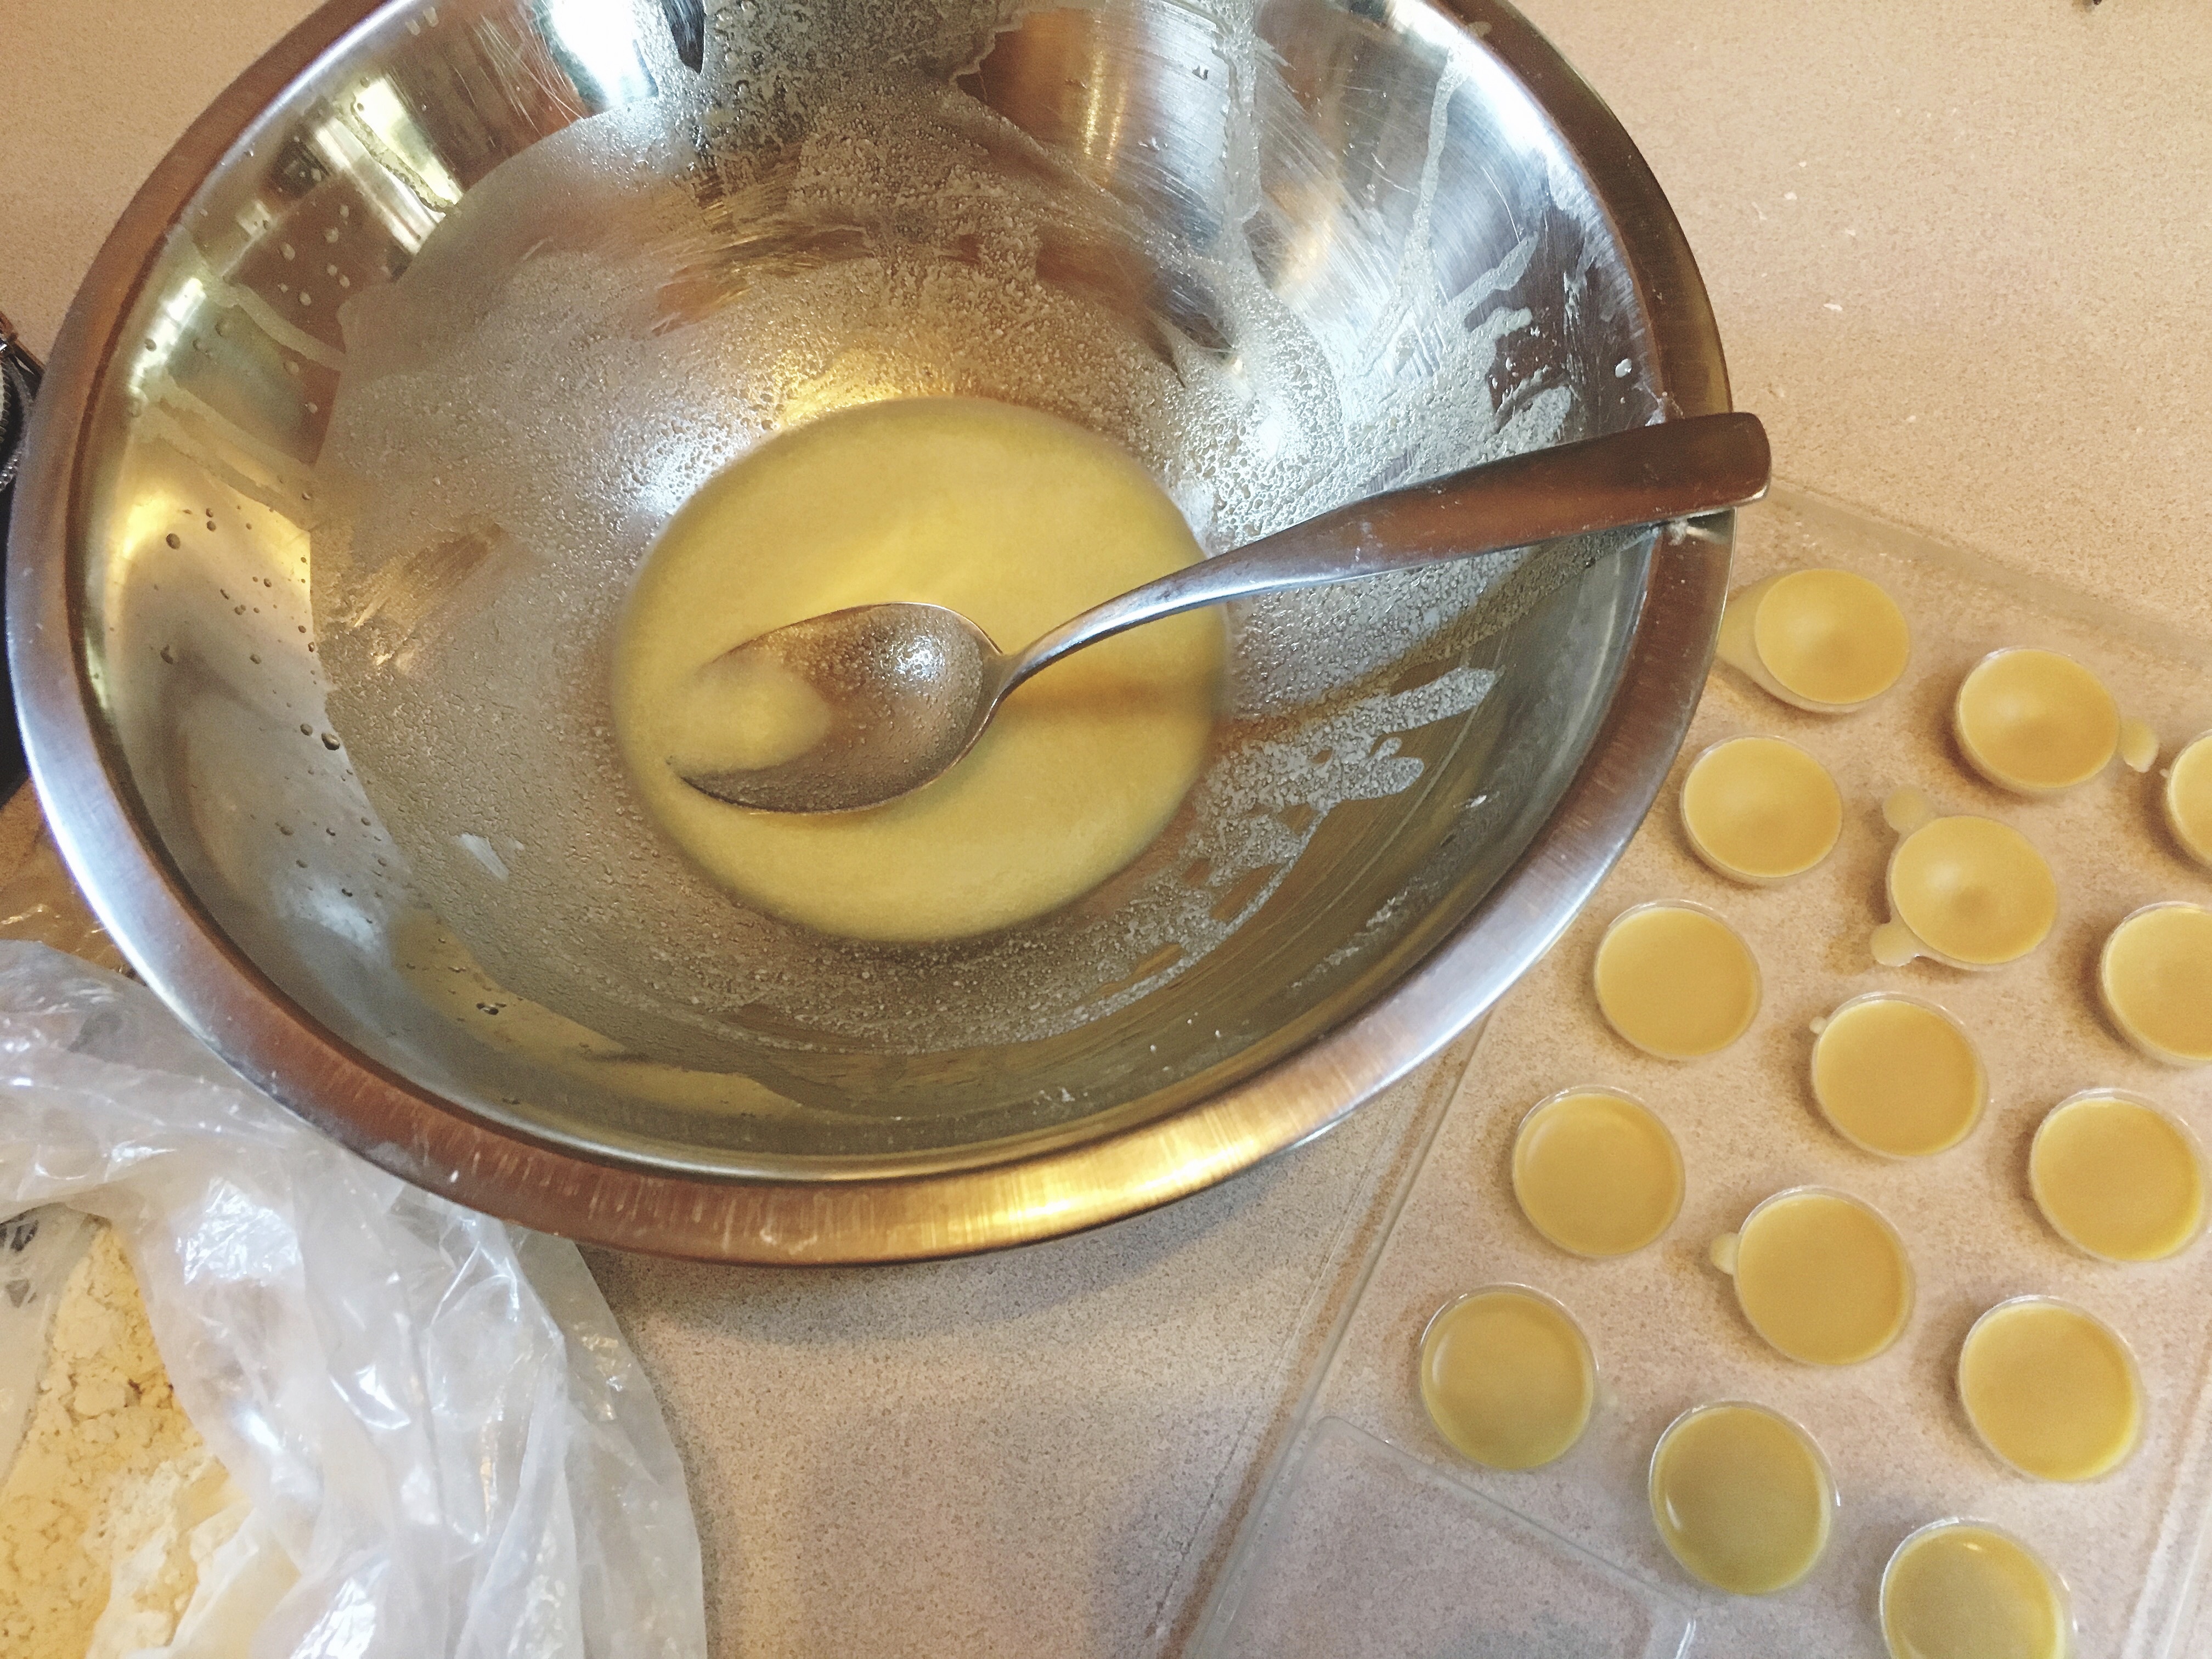
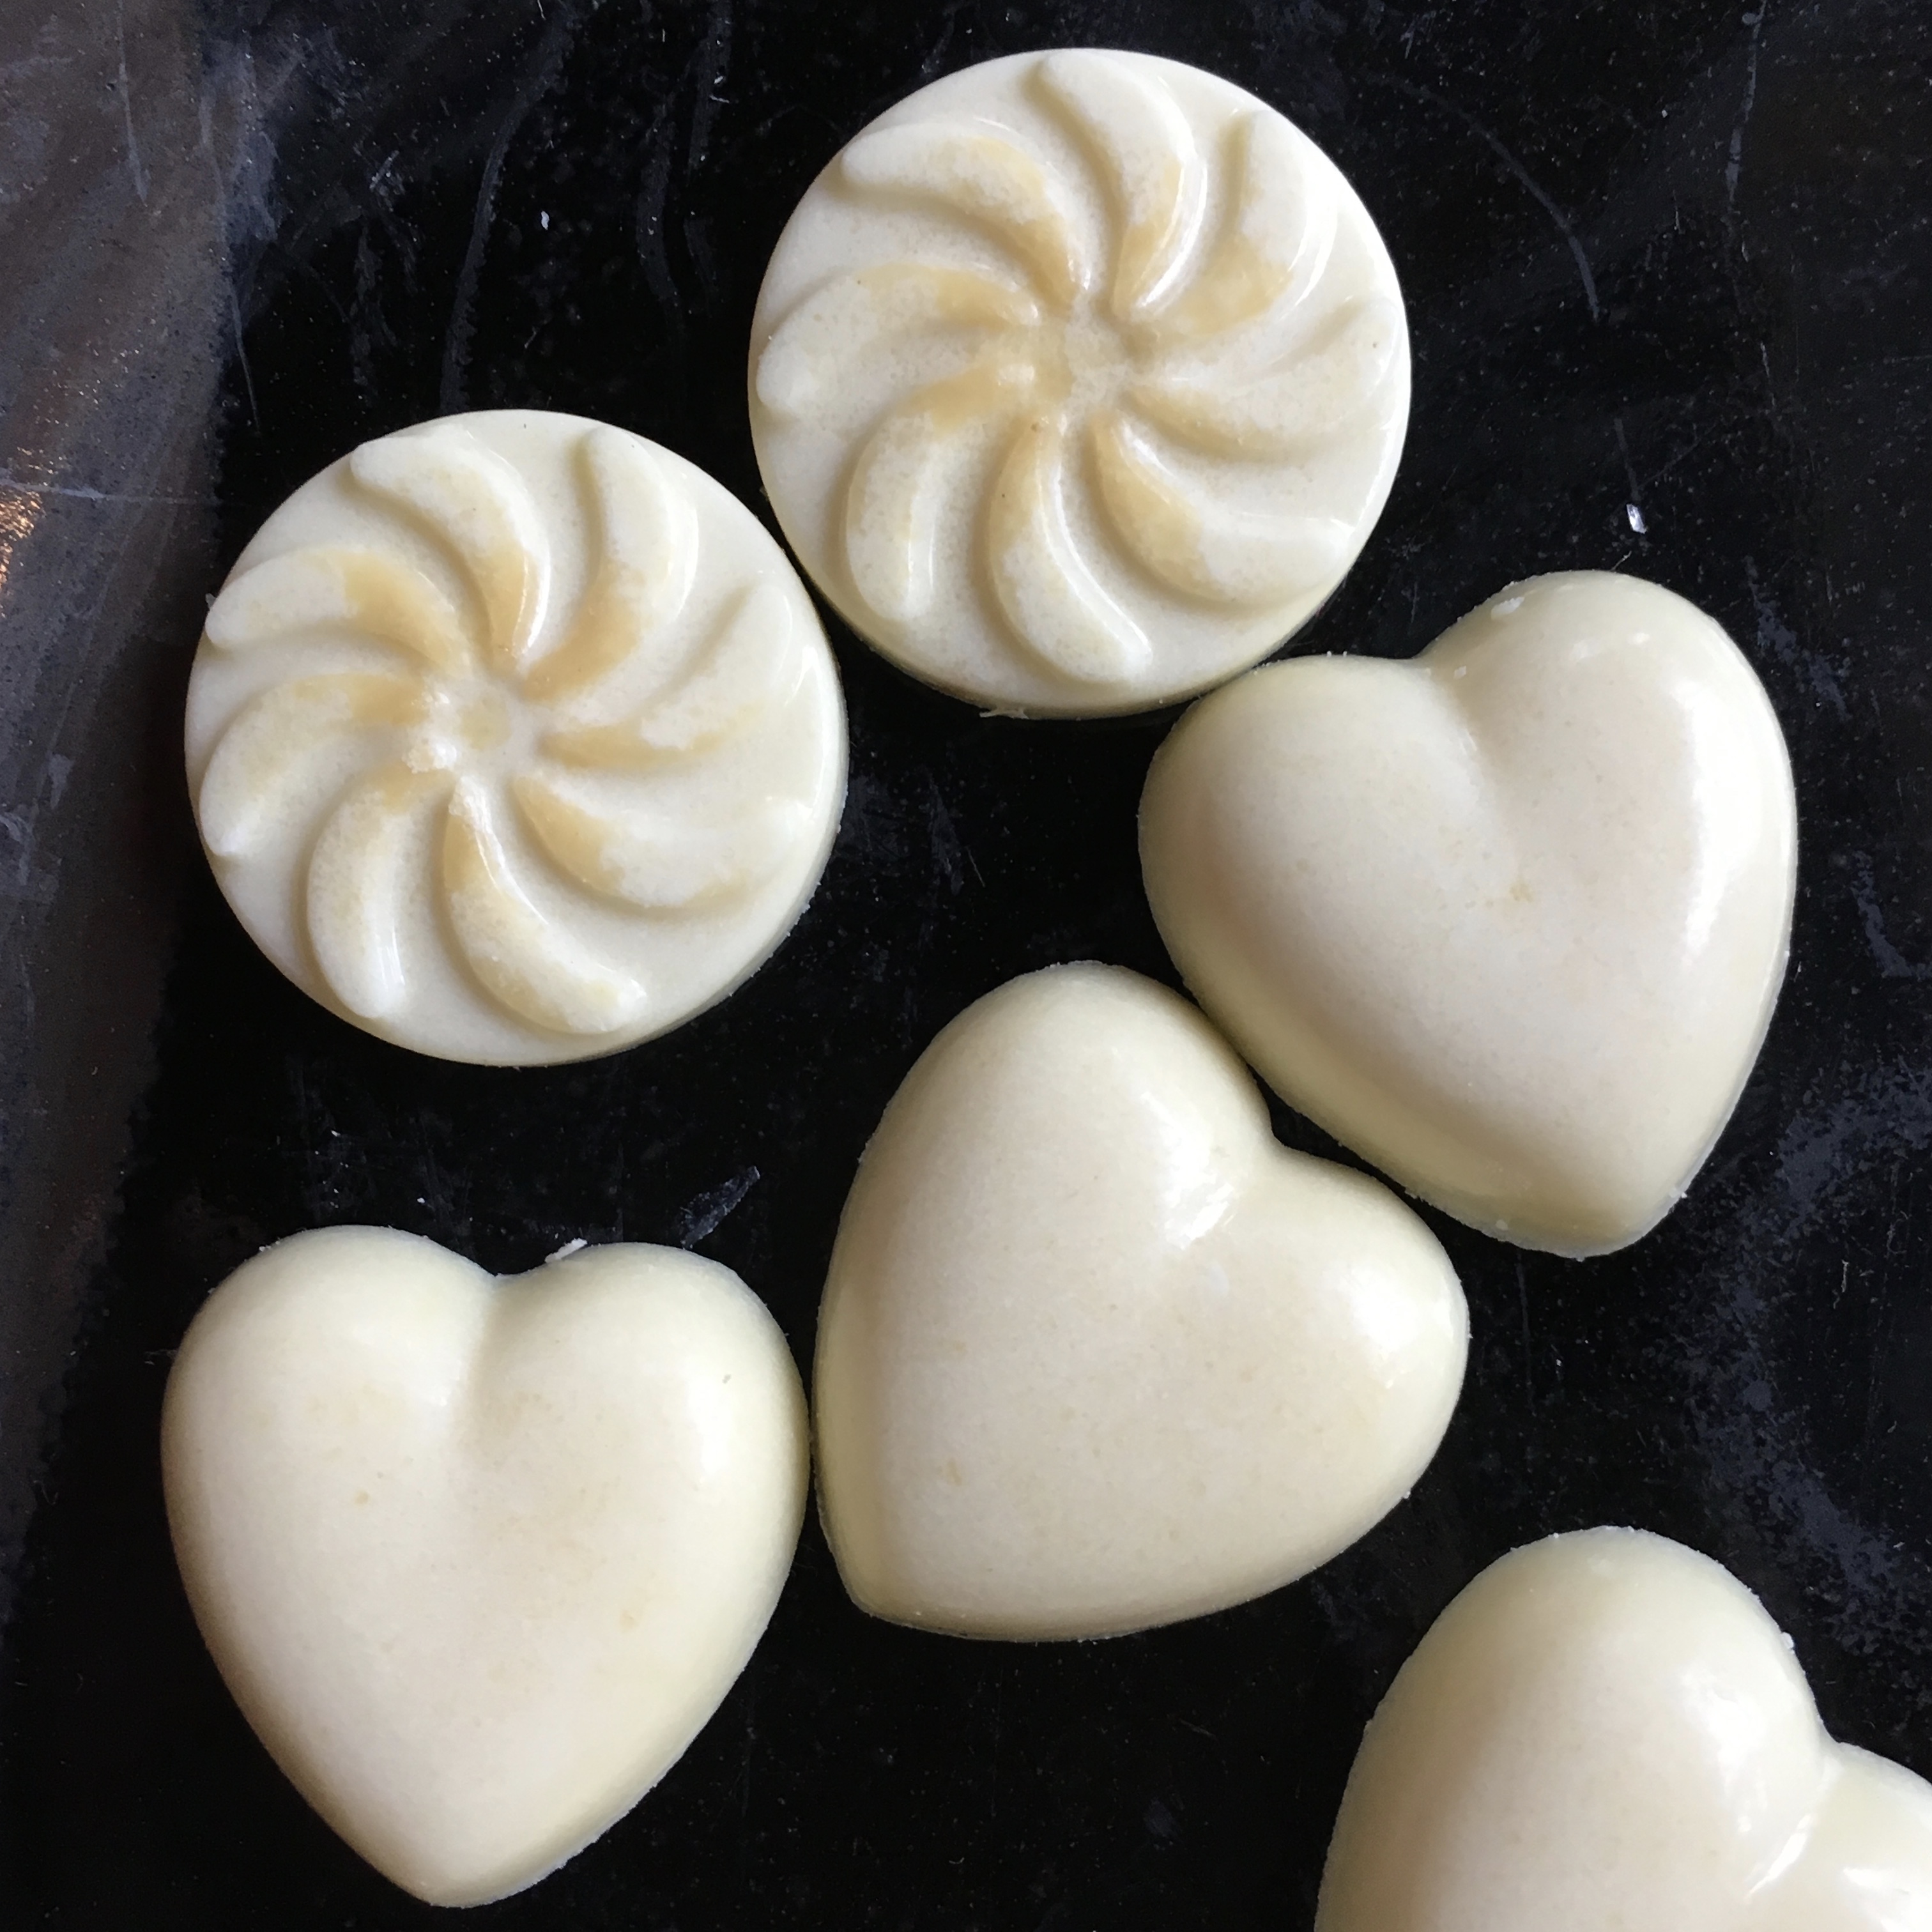
- For plain white chocolate, spoon your white chocolate into molds and let set in freezer or fridge.
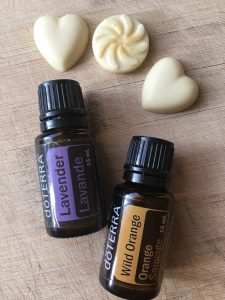 If desired, before setting add additional ingredients such as nuts, dried fruit, coconut, essential oils such as Wild Orange, Peppermint, Lavender, etc. Ensure that the essential oils you are using are safe to ingest, as not all essential oil brands are created equal and many have synthetics and fillers in them that you definitely don’t want in your body! Also if oils are naturally colored they may change the color of your chocolate slightly (like Wild Orange). Pour white chocolate onto a cookie sheet or into a pan to let set for bulky additions, like fruit and nuts. If using essential oils you can pour into molds to set if desired.
- Put pan or molds into the freezer for about 5 minutes. Check to see if firm. If firm you can pop them out of your molds or break it up from the pan. If not leave in the freezer for a few more minutes and check again. Chocolate is best set in freezer (and ready faster!) but may also be set in fridge.
More Tips for Making White Chocolate
*Be very careful not to get any water into your chocolate as it will not work if you do. If your second bowl sits nicely on top, this should not be an issue as you do not need to lift the second bowl off the one with the water in it until you are done making your chocolate.
**you could use a vanilla bean in this recipe if you wanted, but because it is white chocolate you will see small black dots in the chocolate. If you would prefer solid white stick with the clear vanilla extract.
***when adding essential oils to your chocolate, measure 1 drop onto a teaspoon and stir it into your chocolate. This way if 2 or 3 drops come out instead, it’s on your spoon and not in the chocolate with the flavor way too strong!
****when popping out the chocolate from your molds, use a cutting board on parchment paper or plate. Popping them out directly onto the counter not only makes it hard to pick up, but it also may start to melt as often times the counter is warm.
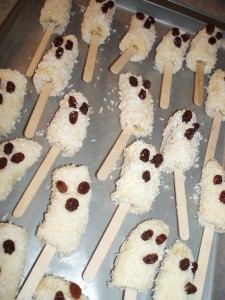
*****You could also make the chocolate with fillings such as caramel, nuts or other desired filling, in the middle. For this you simply put a bit of chocolate in the bottom of your mold, let it set then add your filling and top up the mold with chocolate and let set completely. If you wanted to get really fancy, make a batch of regular chocolate as well and make layers – have them be white and dark. White chocolate is also great to use for Chocolate Dipped Strawberries! In fact, I discovered a cute Halloween treat this year that are strawberry ghosts. What a great idea! Fun and healthy.

Making white chocolate opens up a whole new world of possibility and is just as fun as making regular chocolate. And now you can get even more creative with it! Who knows maybe next you can make swirls!