 Decadent hot chocolate, topped with yummy whip cream, drizzled with chocolate…. something you usually only see at your local cafe or coffee shop.
But imagine creating this in your own home, or creating some other tasty combination. Chocolate orange, Lavender White, Peanut butter… oh so yum! This is the beauty of a hot chocolate bar – a simple but yummy idea that enables you to create these wonderful, delicious combinations to enhance your hot chocolate experience.
The basis of a hot chocolate bar is that you make a plain hot chocolate and then have a number of different toppings and combinations to choose from to add to your hot chocolate that make it… oh, just a little more. Good hot chocolate can certainly be enjoyed plain and definitely warms you all the way down to your toes, but these additions make it a little more lavish, make it a little more fun.
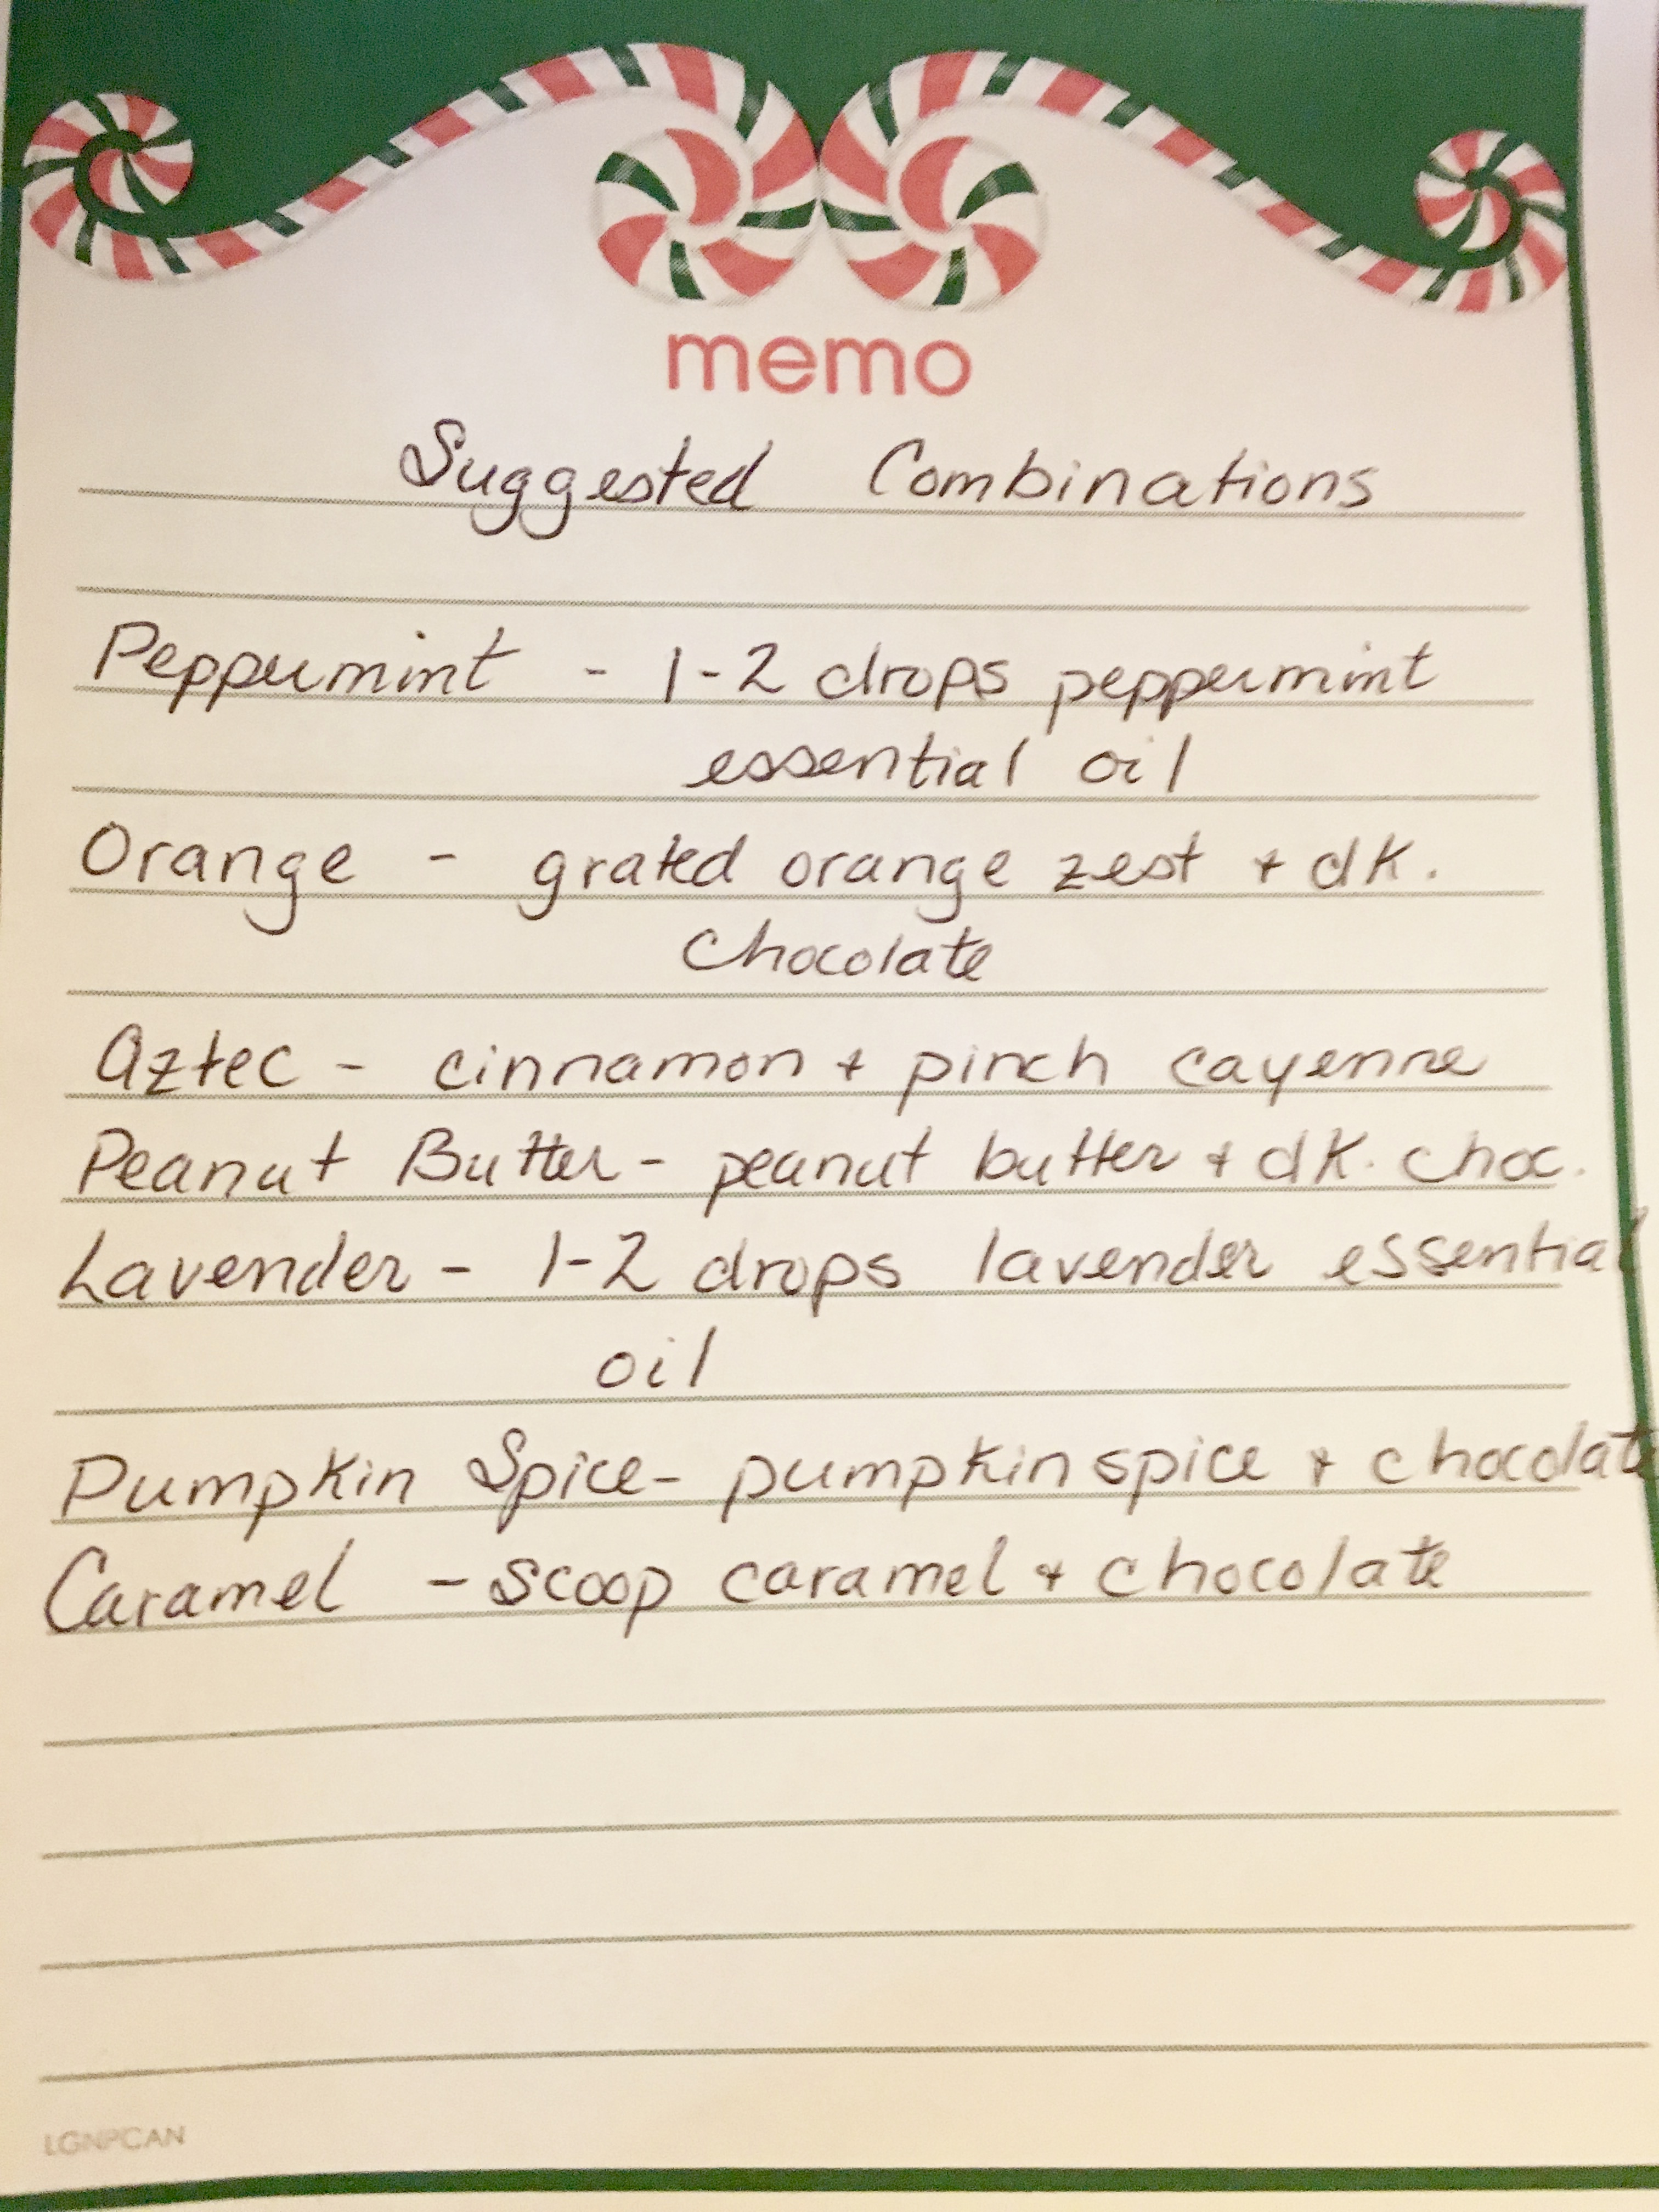
 It is also super easy to set up. It does not take a lot of time or effort, the most effort you’ll have to make is to decide what yummy toppings you are going to use! I did this twice over the holidays, once for a ladies only night at my place and second as a fun treat for my kids and nieces while away over Christmas. Everyone loved it! It was super fun. We all had half cups at a time experimenting with different tastes and flavors. I had created a list of suggested combinations but of course you could pick and choose whatever you liked. Plus just looking at the spread set out was not only nice to look at but made you want to try them all!
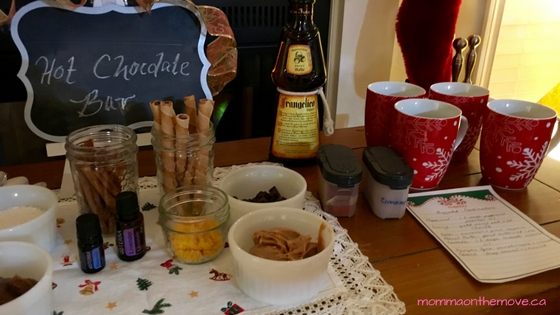
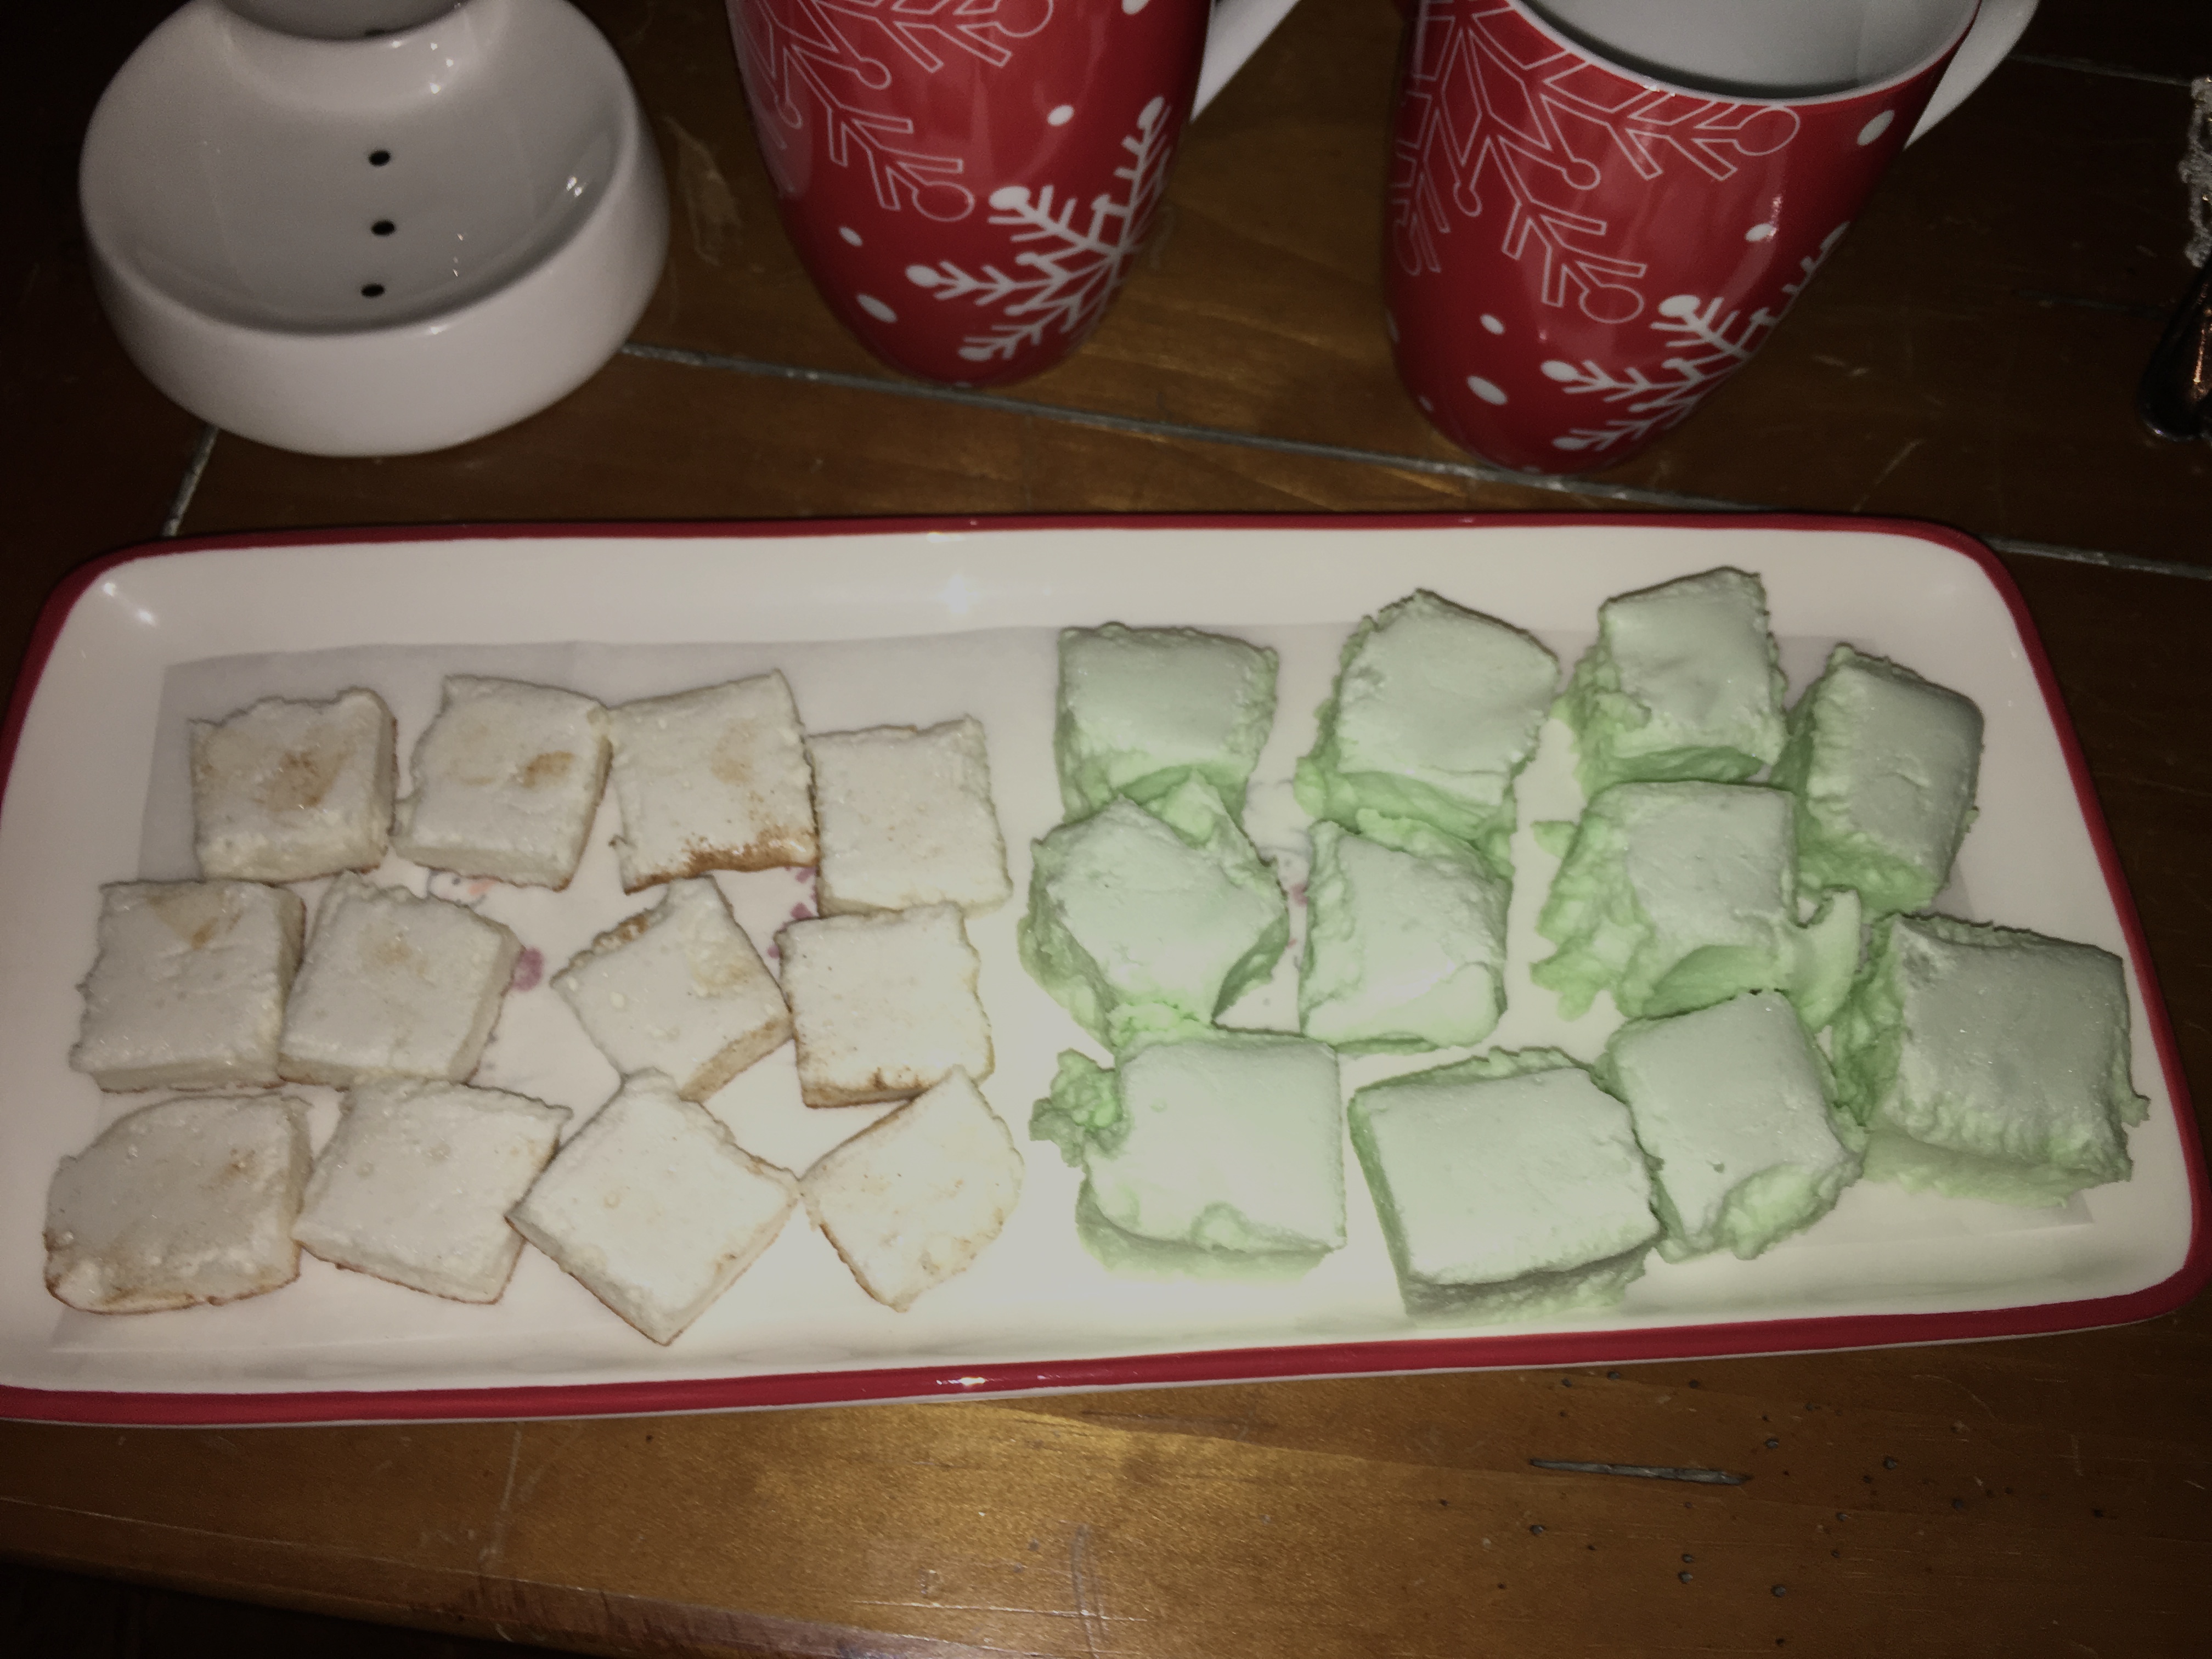
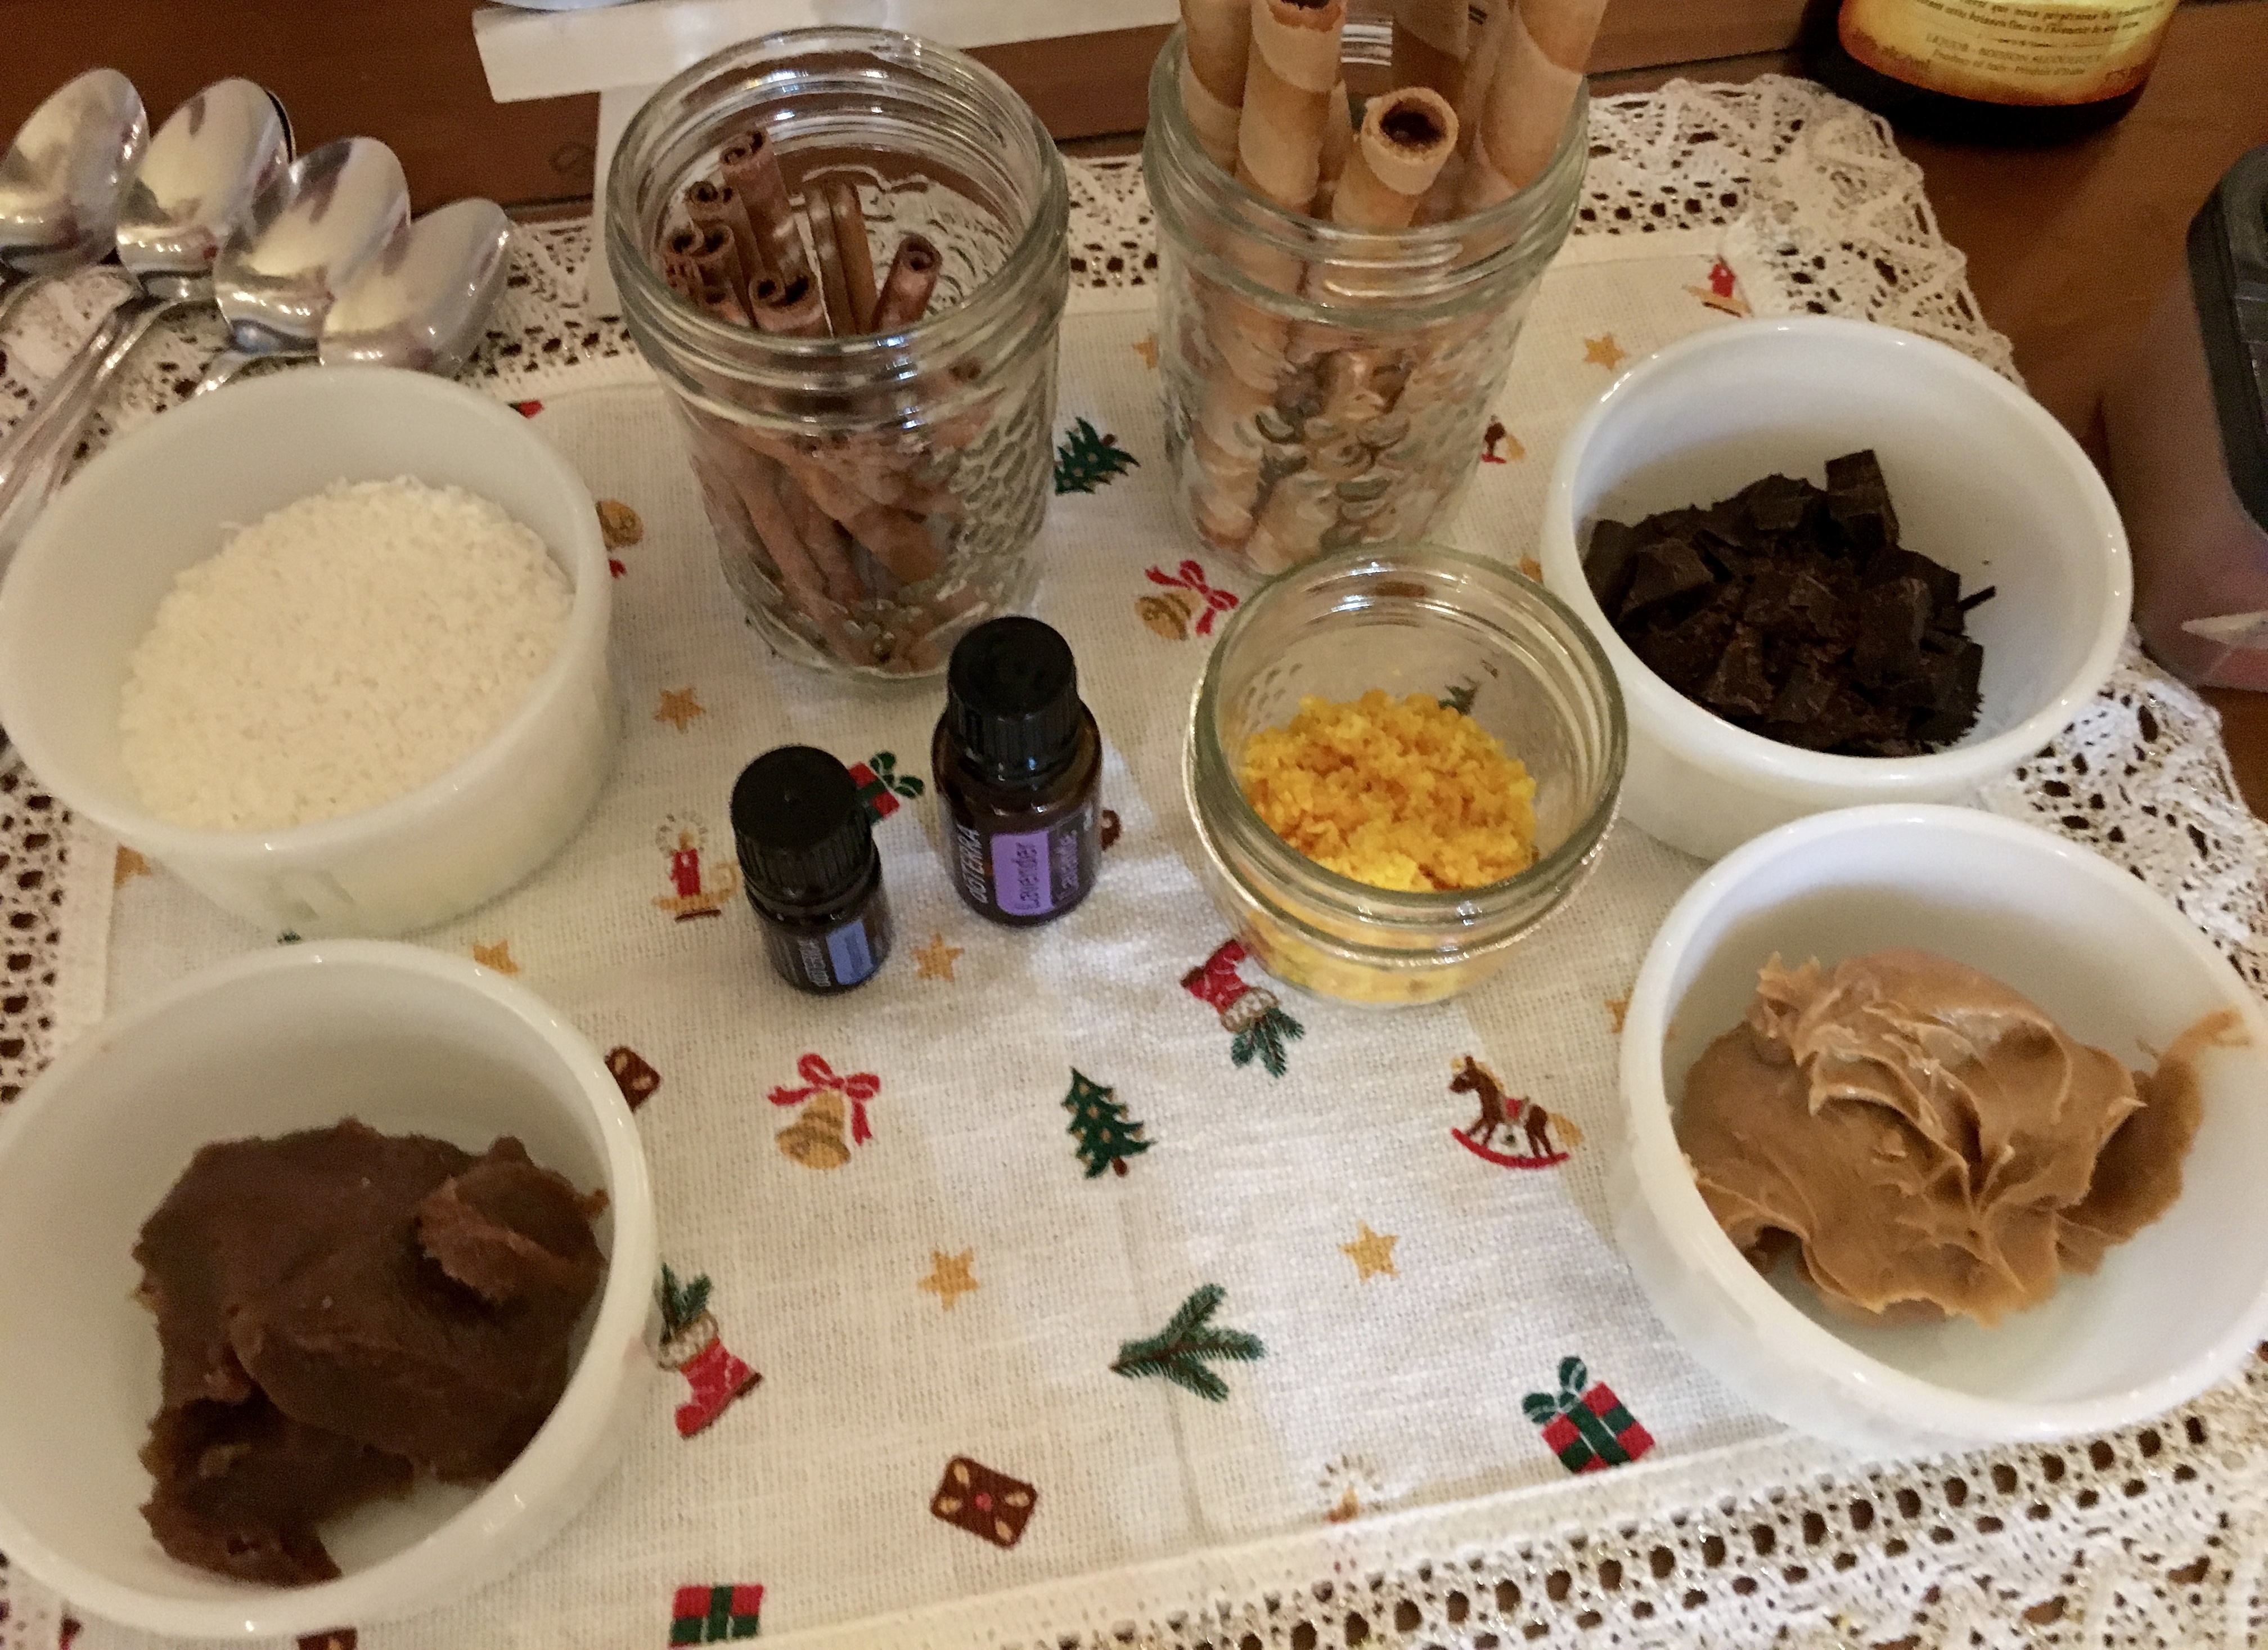
We had chocolate pieces, peanut butter, orange zest, hazelnut sticks, homemade marshmallows (mint and cinnamon), cinnamon sticks, coconut and some essentials oils like peppermint and lavender. We even had a little ‘adult’ version – a splash of Frangelico, if desired for those over 18.
How to Set Up Your Own Hot Chocolate Bar
Start out with your own base hot chocolate – you can either do this by the cup therefore creating and meeting people’s dietary needs, like dairy free, sugar free or use the just add water powder mix. Or you can make a big batch of your favorite hot chocolate in the slow cooker. I have done it both ways and both have their advantages.
Pick your toppings – there are so many to choose from!
- chocolate chunks
- orange zest
- peppermint sticks

- 1-2 drops of peppermint extract or essential oil (if using essential oil you’ll need to use very little but depends on your brand. Also make sure the oil is ok for taking internally
- coconut cream (for the dairy free) or whip cream
- peanut butter – word to the wise if using this topping advise your guests that less is more with this one as too much pb makes it sink to the bottom and essentially gets wasted
- shredded coconut
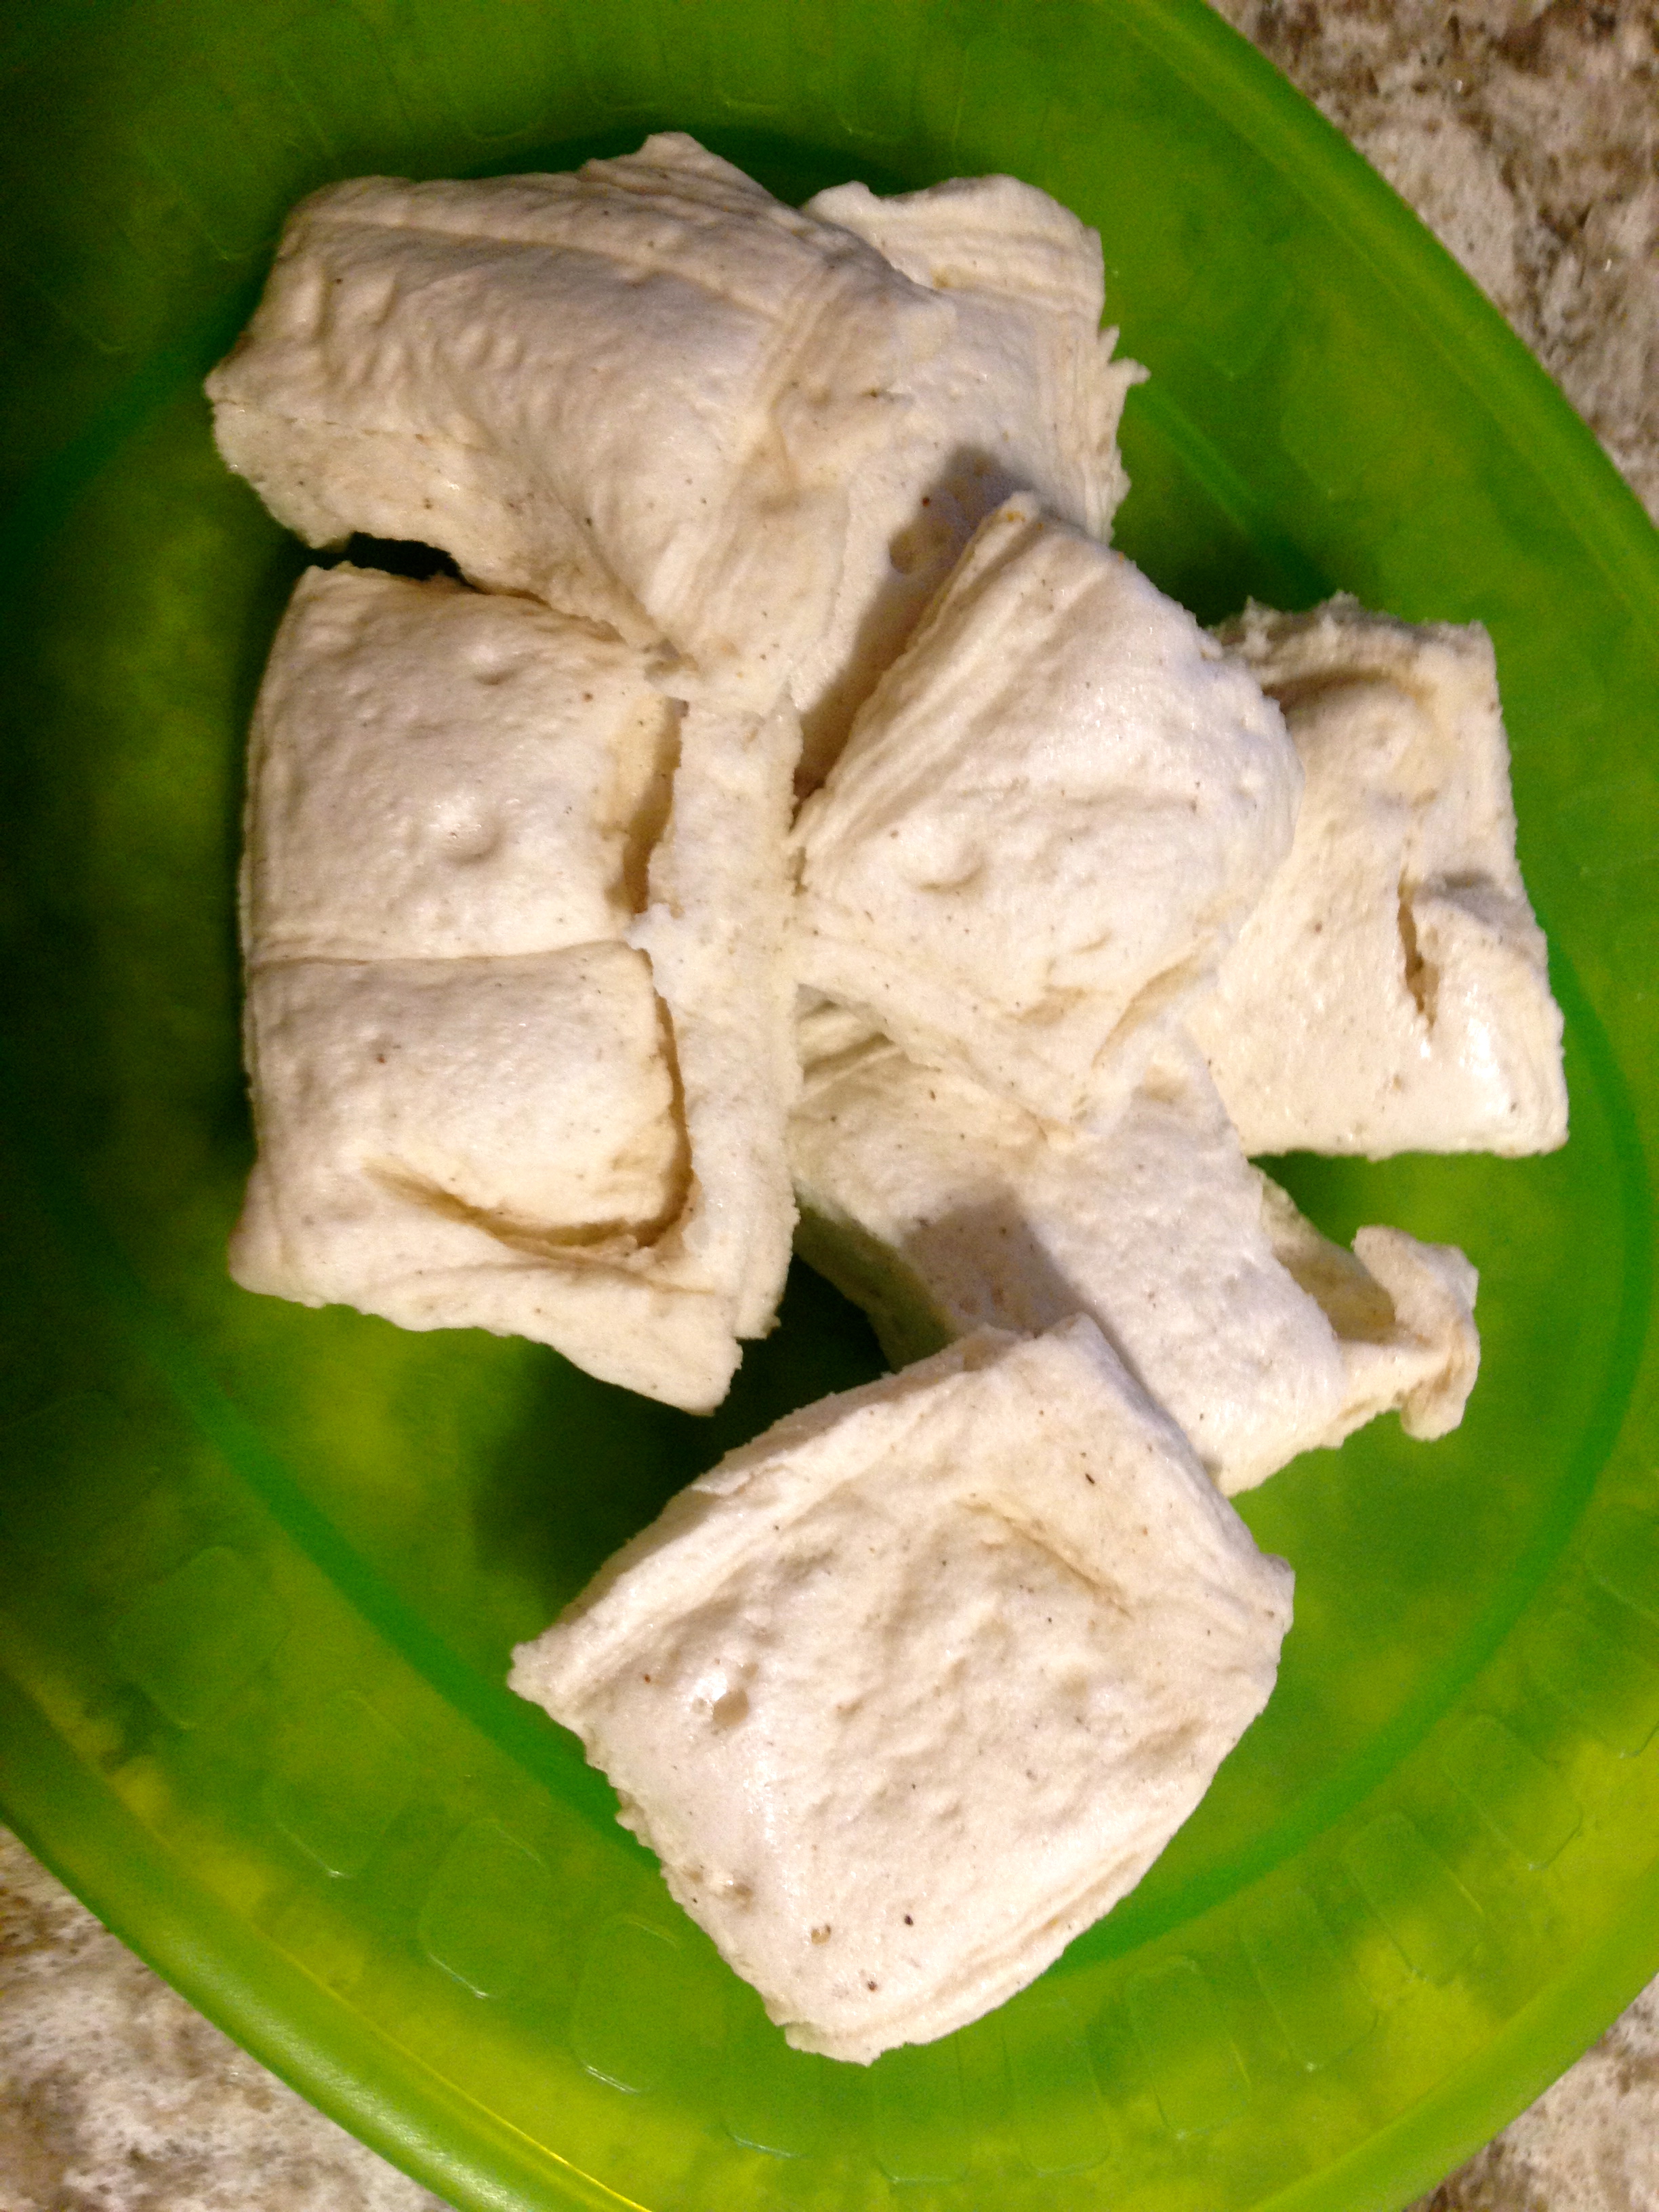
- marshmallows
- cinnamon sticks
- hazelnut sticks
- dash of cinnamon
- cardamom
- cayenne
- lucuma
- mesquite
- or….
Add desired toppings and enjoy! Use suggested combinations or mix and match to make your own.
A hot chocolate bar literally takes about 5 minutes to set up. When I hosted the ladies it was the easiest and shortest prep I ever had to do for a party. And I loved how visually appealing it looked before everyone dug in.
 This is also something you can set up in your home on the counter somewhere and leave for a bit for people to enjoy. Of course you’d have to put some of the items into the fridge when not in use but for the most part many of them can stay out.
The thing I love about the hot chocolate bar is it can easily be sugar free dairy free and be very yummy and enjoyable. When my kids participated out of all the choices I set out there were only 1 or 2 that they had to avoid. The rest was far game. So it was easy for them to try different things, experiment and enjoy the full experience.
I also love the versatility of it. You can create one for parties, after tobogganning, weddings, birthdays, after skating – and because of the variety of toppings there’s something for everyone!
If you love hot chocolate then you’ll be super excited for the upcoming YYC Hot Chocolate Fest which I am proud to be a part of this year! Watch for more details to come!