One of the most popular frozen sweet treats in the summer is most definitely ice cream. It’s great to be able to stop and enjoy an ice cream cone on a warm summer’s day. In fact I was drooling over them yesterday at the zoo, as everyone was walking around with a yummy soft serve ice cream.
When we went dairy free I was sad to miss out on all the wonderful ice cream flavors and the sweet yummy treat it provided. (I really missed ice cream and also cheese when I went dairy free, cause at the time there were not any really good dairy free alternatives). Not only was ice cream a great summer treat it used to be a staple at my house! When we were little we’d often anticipate ice cream after dinner, with my Dad being the worst contender.
I knew there were ways though that I could still indulge in my ice cream fetish that were still yummy and delicious without all the dairy. My first step was to buy a ice cream maker. Though not a necessity to make ice cream, there is just something fun about watching your liquid concoction turn into yummy ice cream. I also tried out some of the non dairy ice creams on the market, which there are some good ones, such as Rice Dream and Coconut Bliss, but they are very expensive and making my own was a much cheaper alternative. Besides I could control what I put into my ice cream and could avoid all the preservatives present in store bought brands.
 And honestly, making your own ice cream does not take long at all. It is basically the time to mix your ingredients in your blender and churn it in the ice cream maker (usually about 30 minutes tops). So if you time it right there really is no waiting at all (and even if there is, doesn’t that create anticipation and excitement therefore enjoying even more the result?)
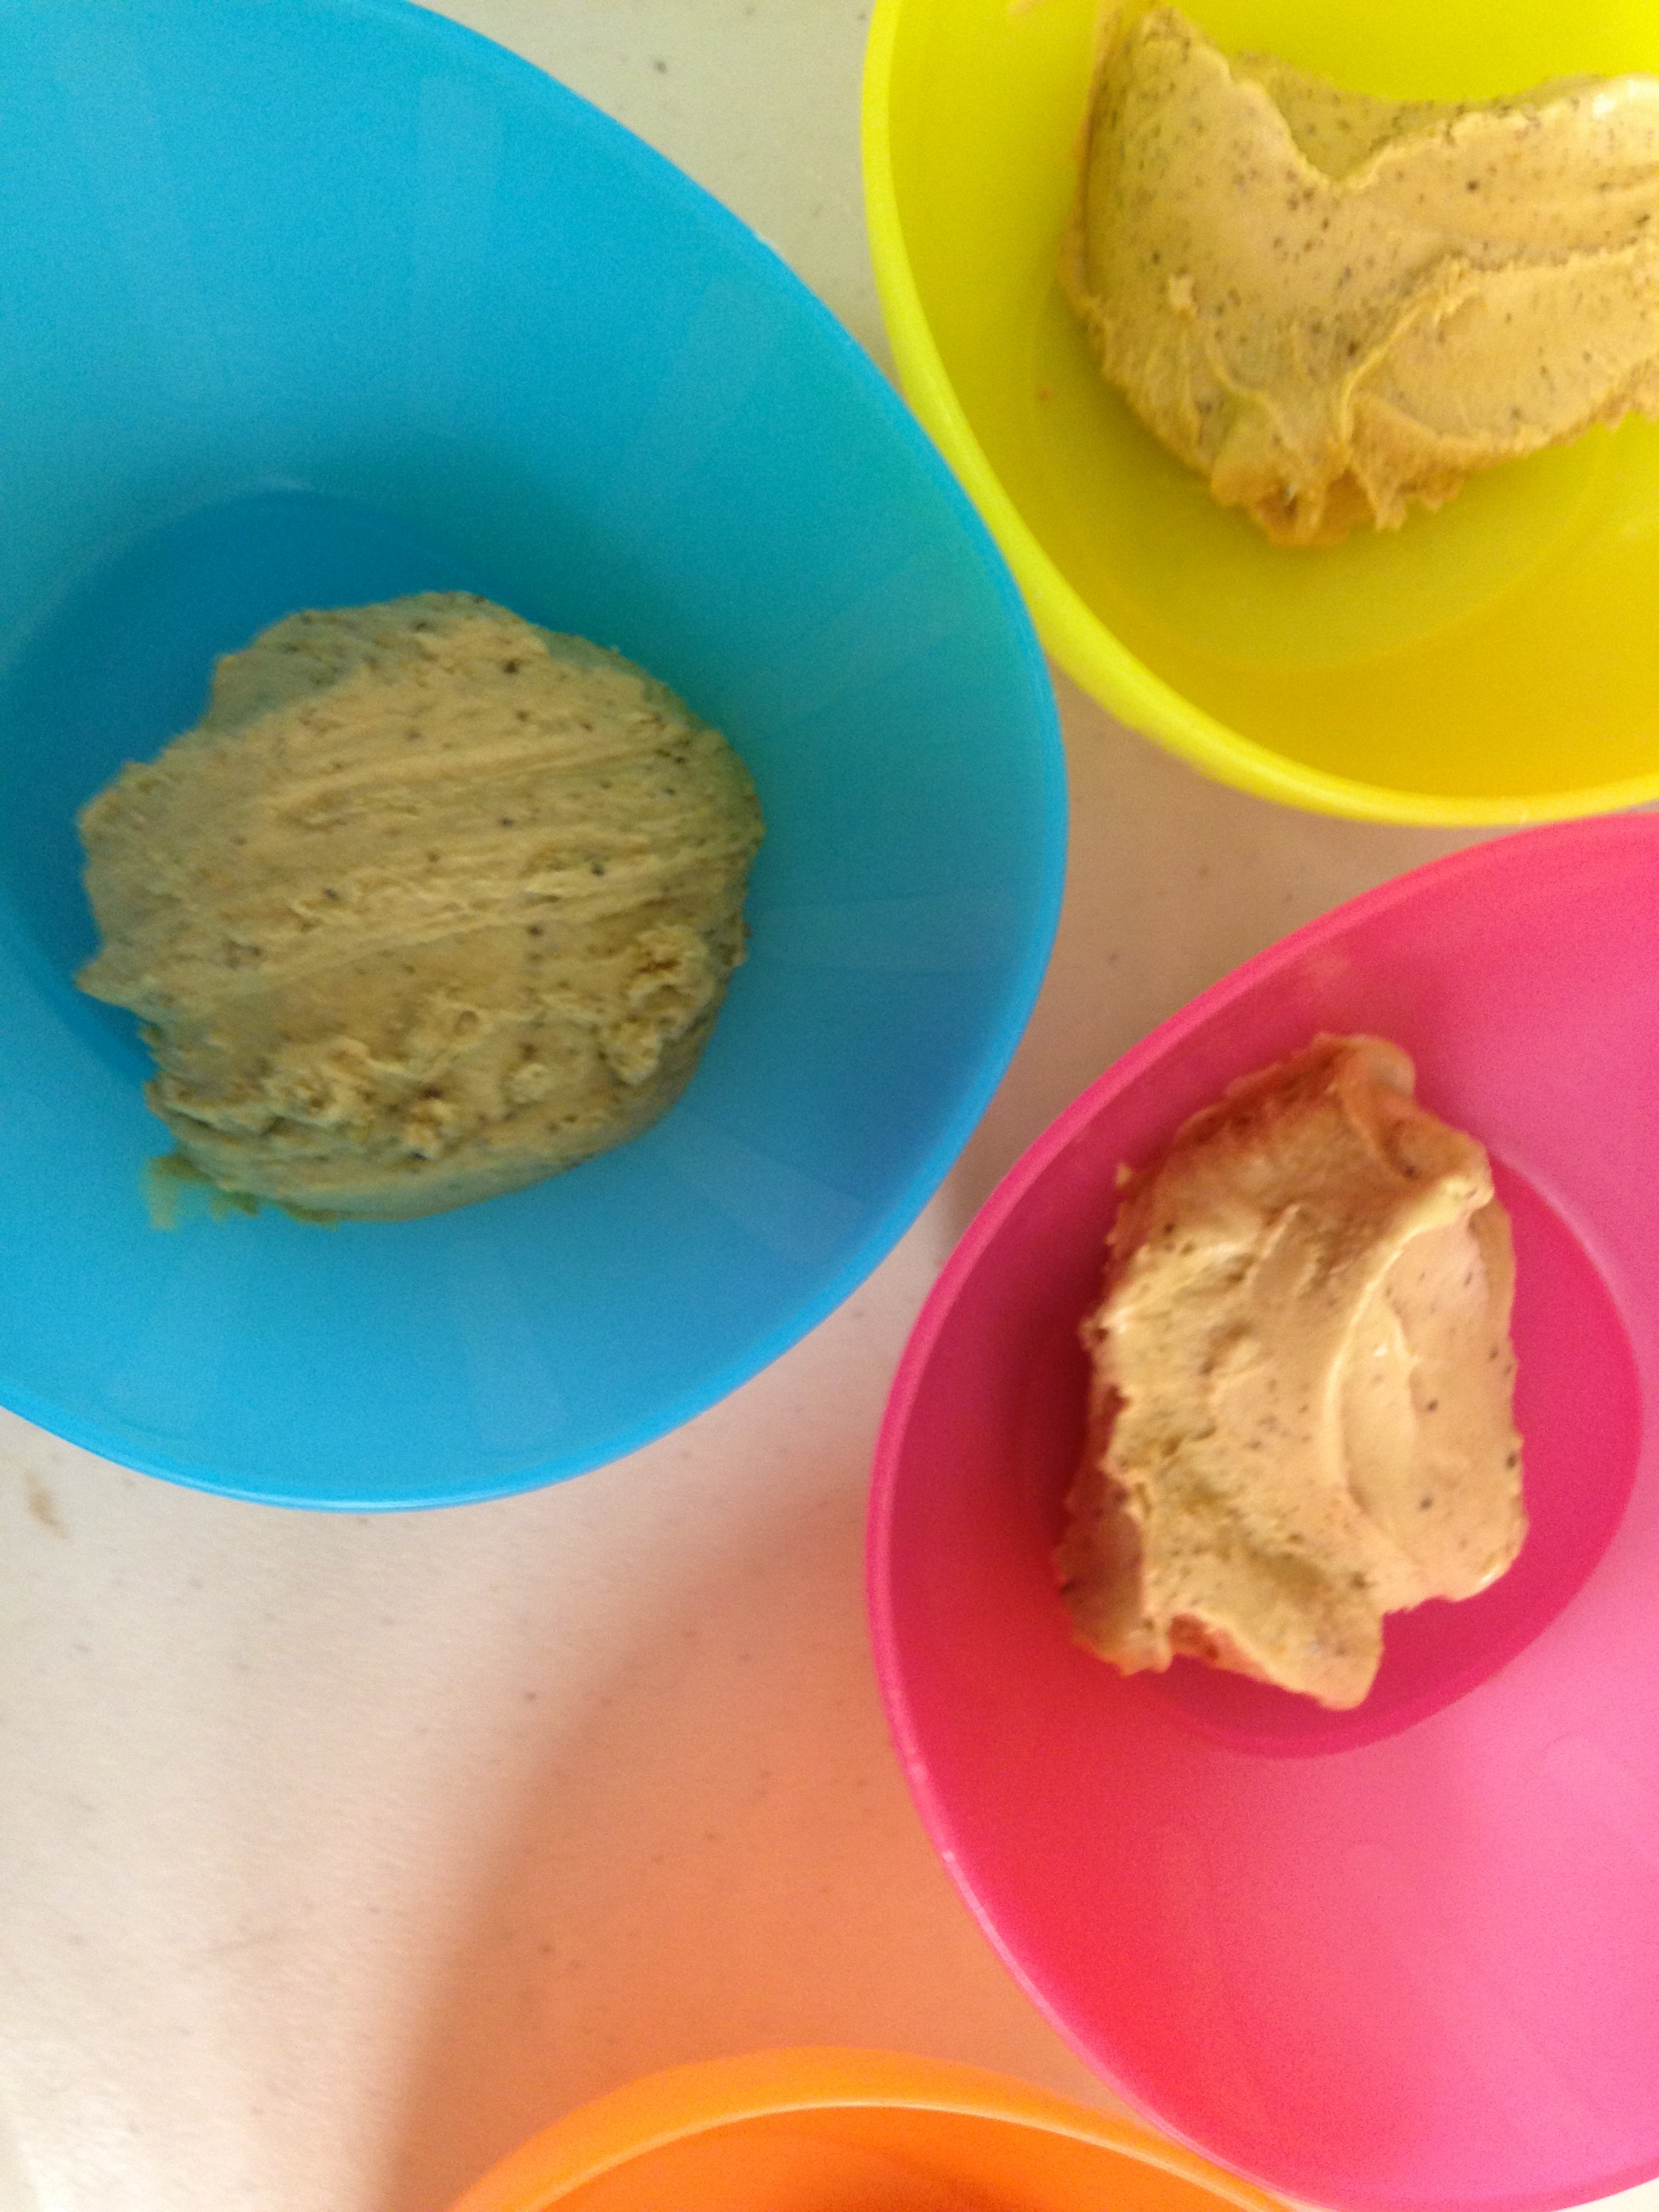
Making ice cream is also fun and easy to do with the kids. My kids help mix everything up and also love watching it churn. So far we have tried a few dairy free ice cream recipes, such as Simple Vanilla and Strawberry Banana, but our favorite so far is Peanut Butter Ice Cream, oh so yummy!
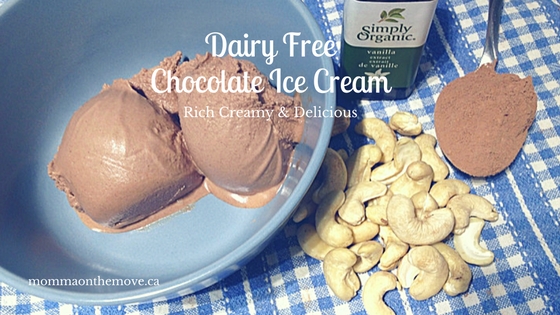
But what I like about this dairy free chocolate ice cream is the fact that there is no milk in it whatsoever, not even non-dairy, and uses cashews instead to create the creamy texture, which really amps up the nutrition. Cashews are a great source of fibre and are packed with vitamins, minerals and antioxidants like copper, Vitamin E and magnesium. I love it when I get to enjoy a yummy sweet treat and it is super good for me and for the kids (nothing like sneaking in the good stuff right?).
The other element that is important when I am trying out recipes is that they are sugar free, using natural sweeteners to sweeten if needed. So not only is this dairy free chocolate ice cream without dairy, it also has no refined sugars or sweeteners. And believe me taste is not compromised. This is a rich creamy chocolate ice cream that you will not believe is sugar or dairy free. You can serve it to you friends and they will be none the wiser.
My kids of course, gobbled it up and asked for seconds. Chloe got chocolate all over her face and they both got a little creative adding raspberries that they’d freshly picked from our raspberry bush, which made it even more delicious.
You could also add in other ingredients to this chocolate ice cream, like coconut or chocolate pieces.
Dairy Free Chocolate Ice Cream
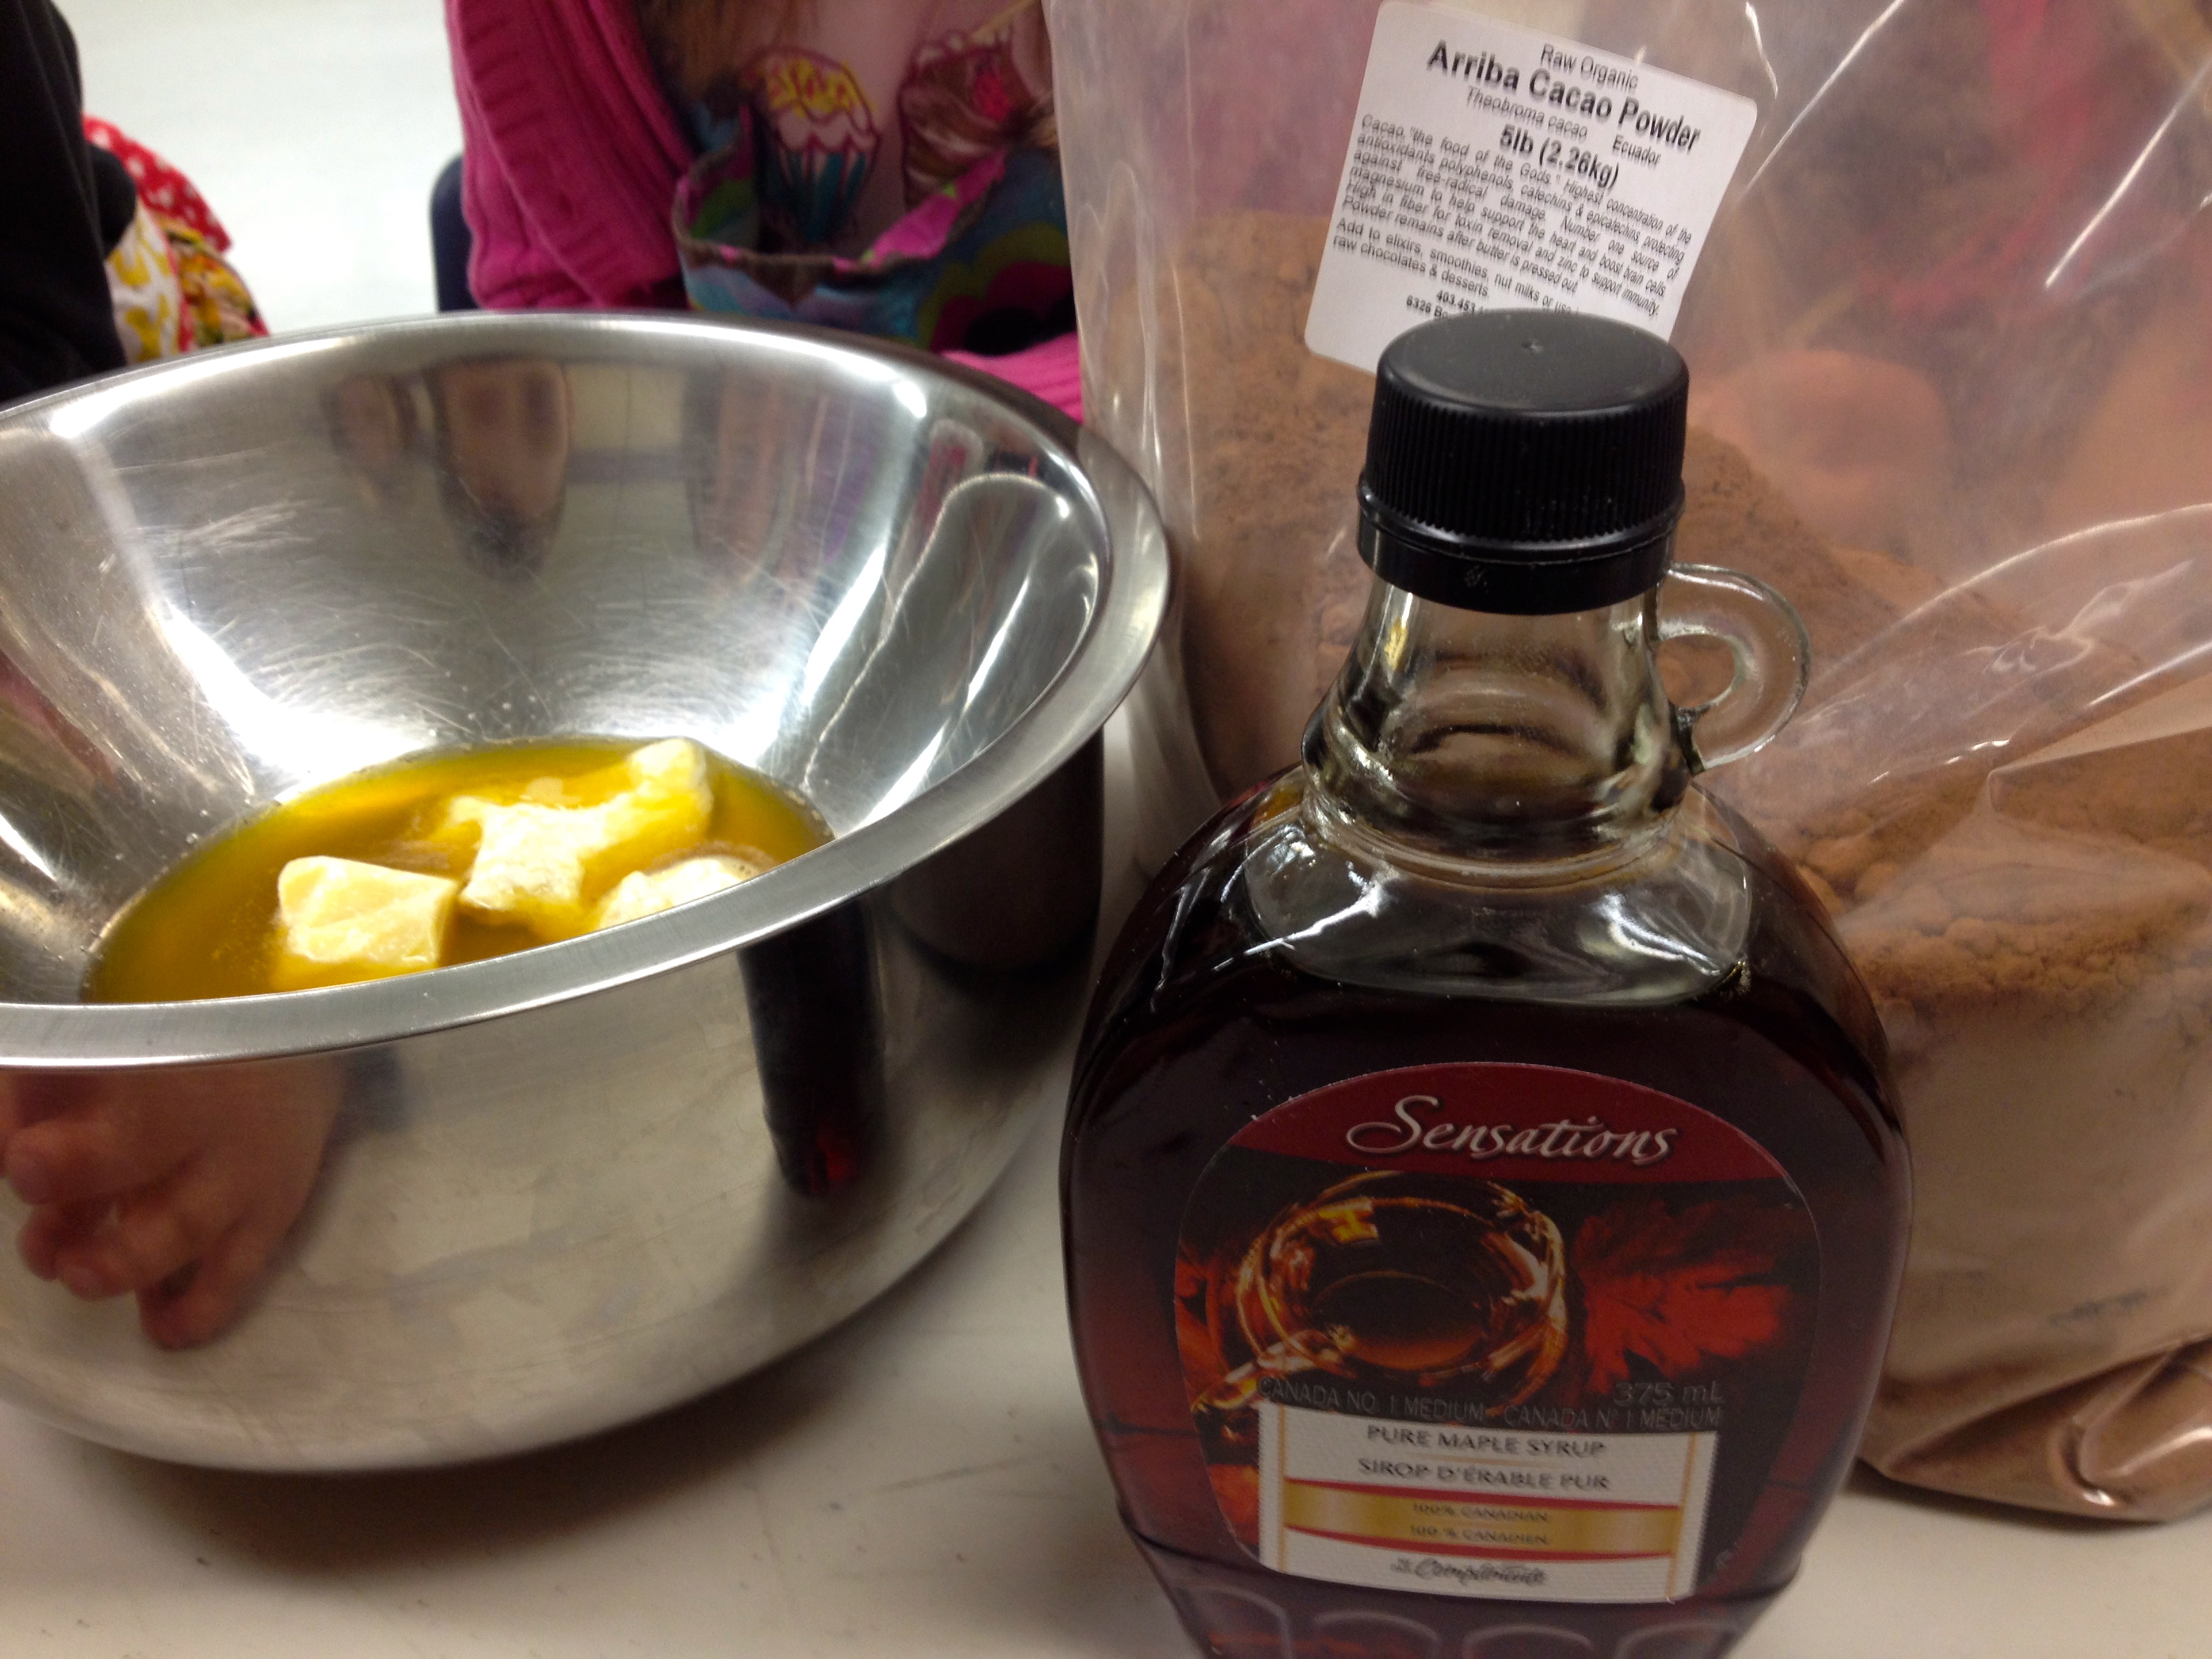
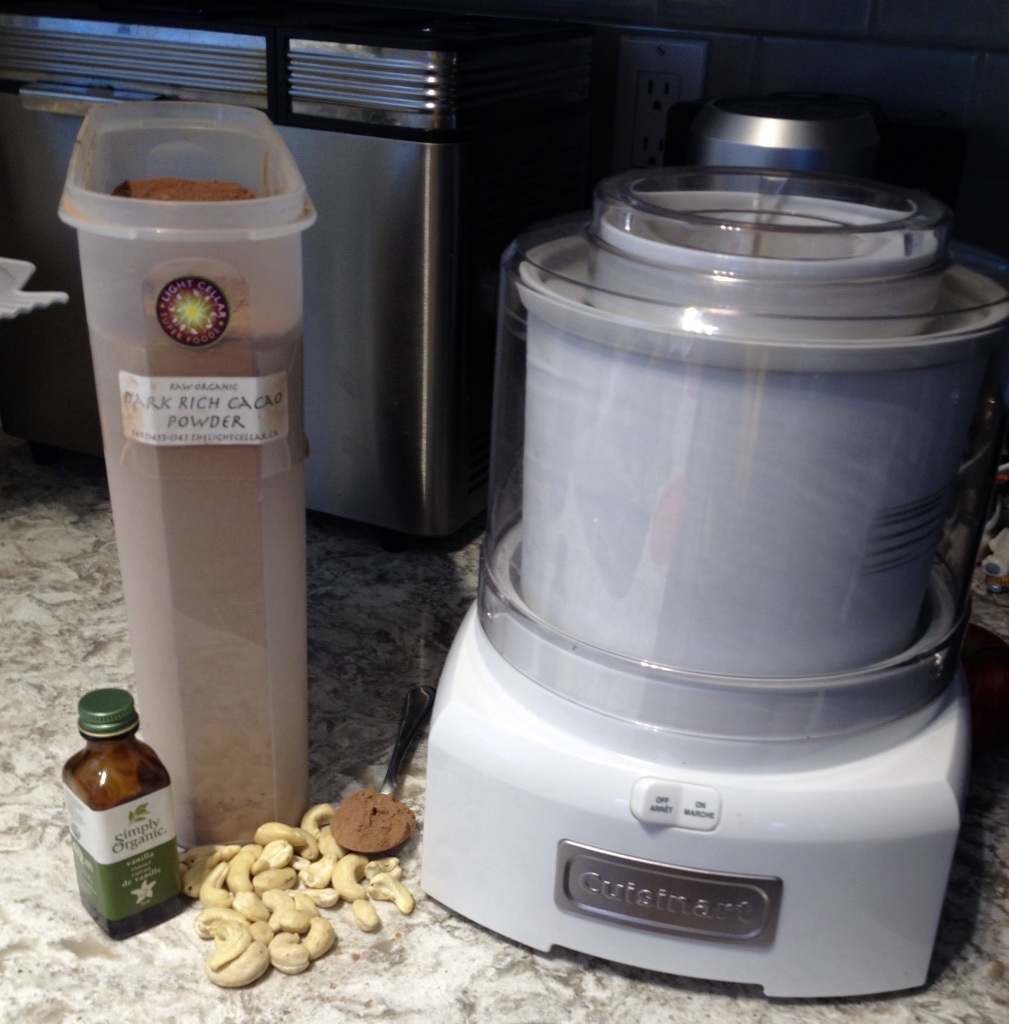
1 3/4 c. cashews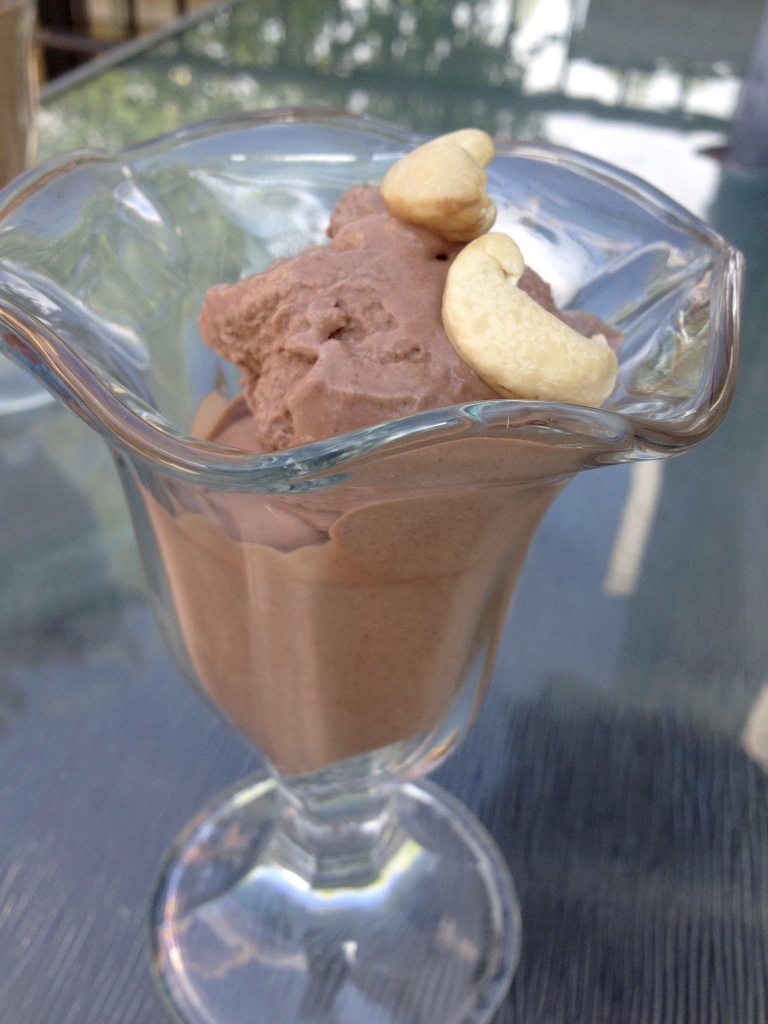
1 3/4 c. water
1 c. pure maple syrup
2 tsp. vanilla
1/2 c. cacao powder
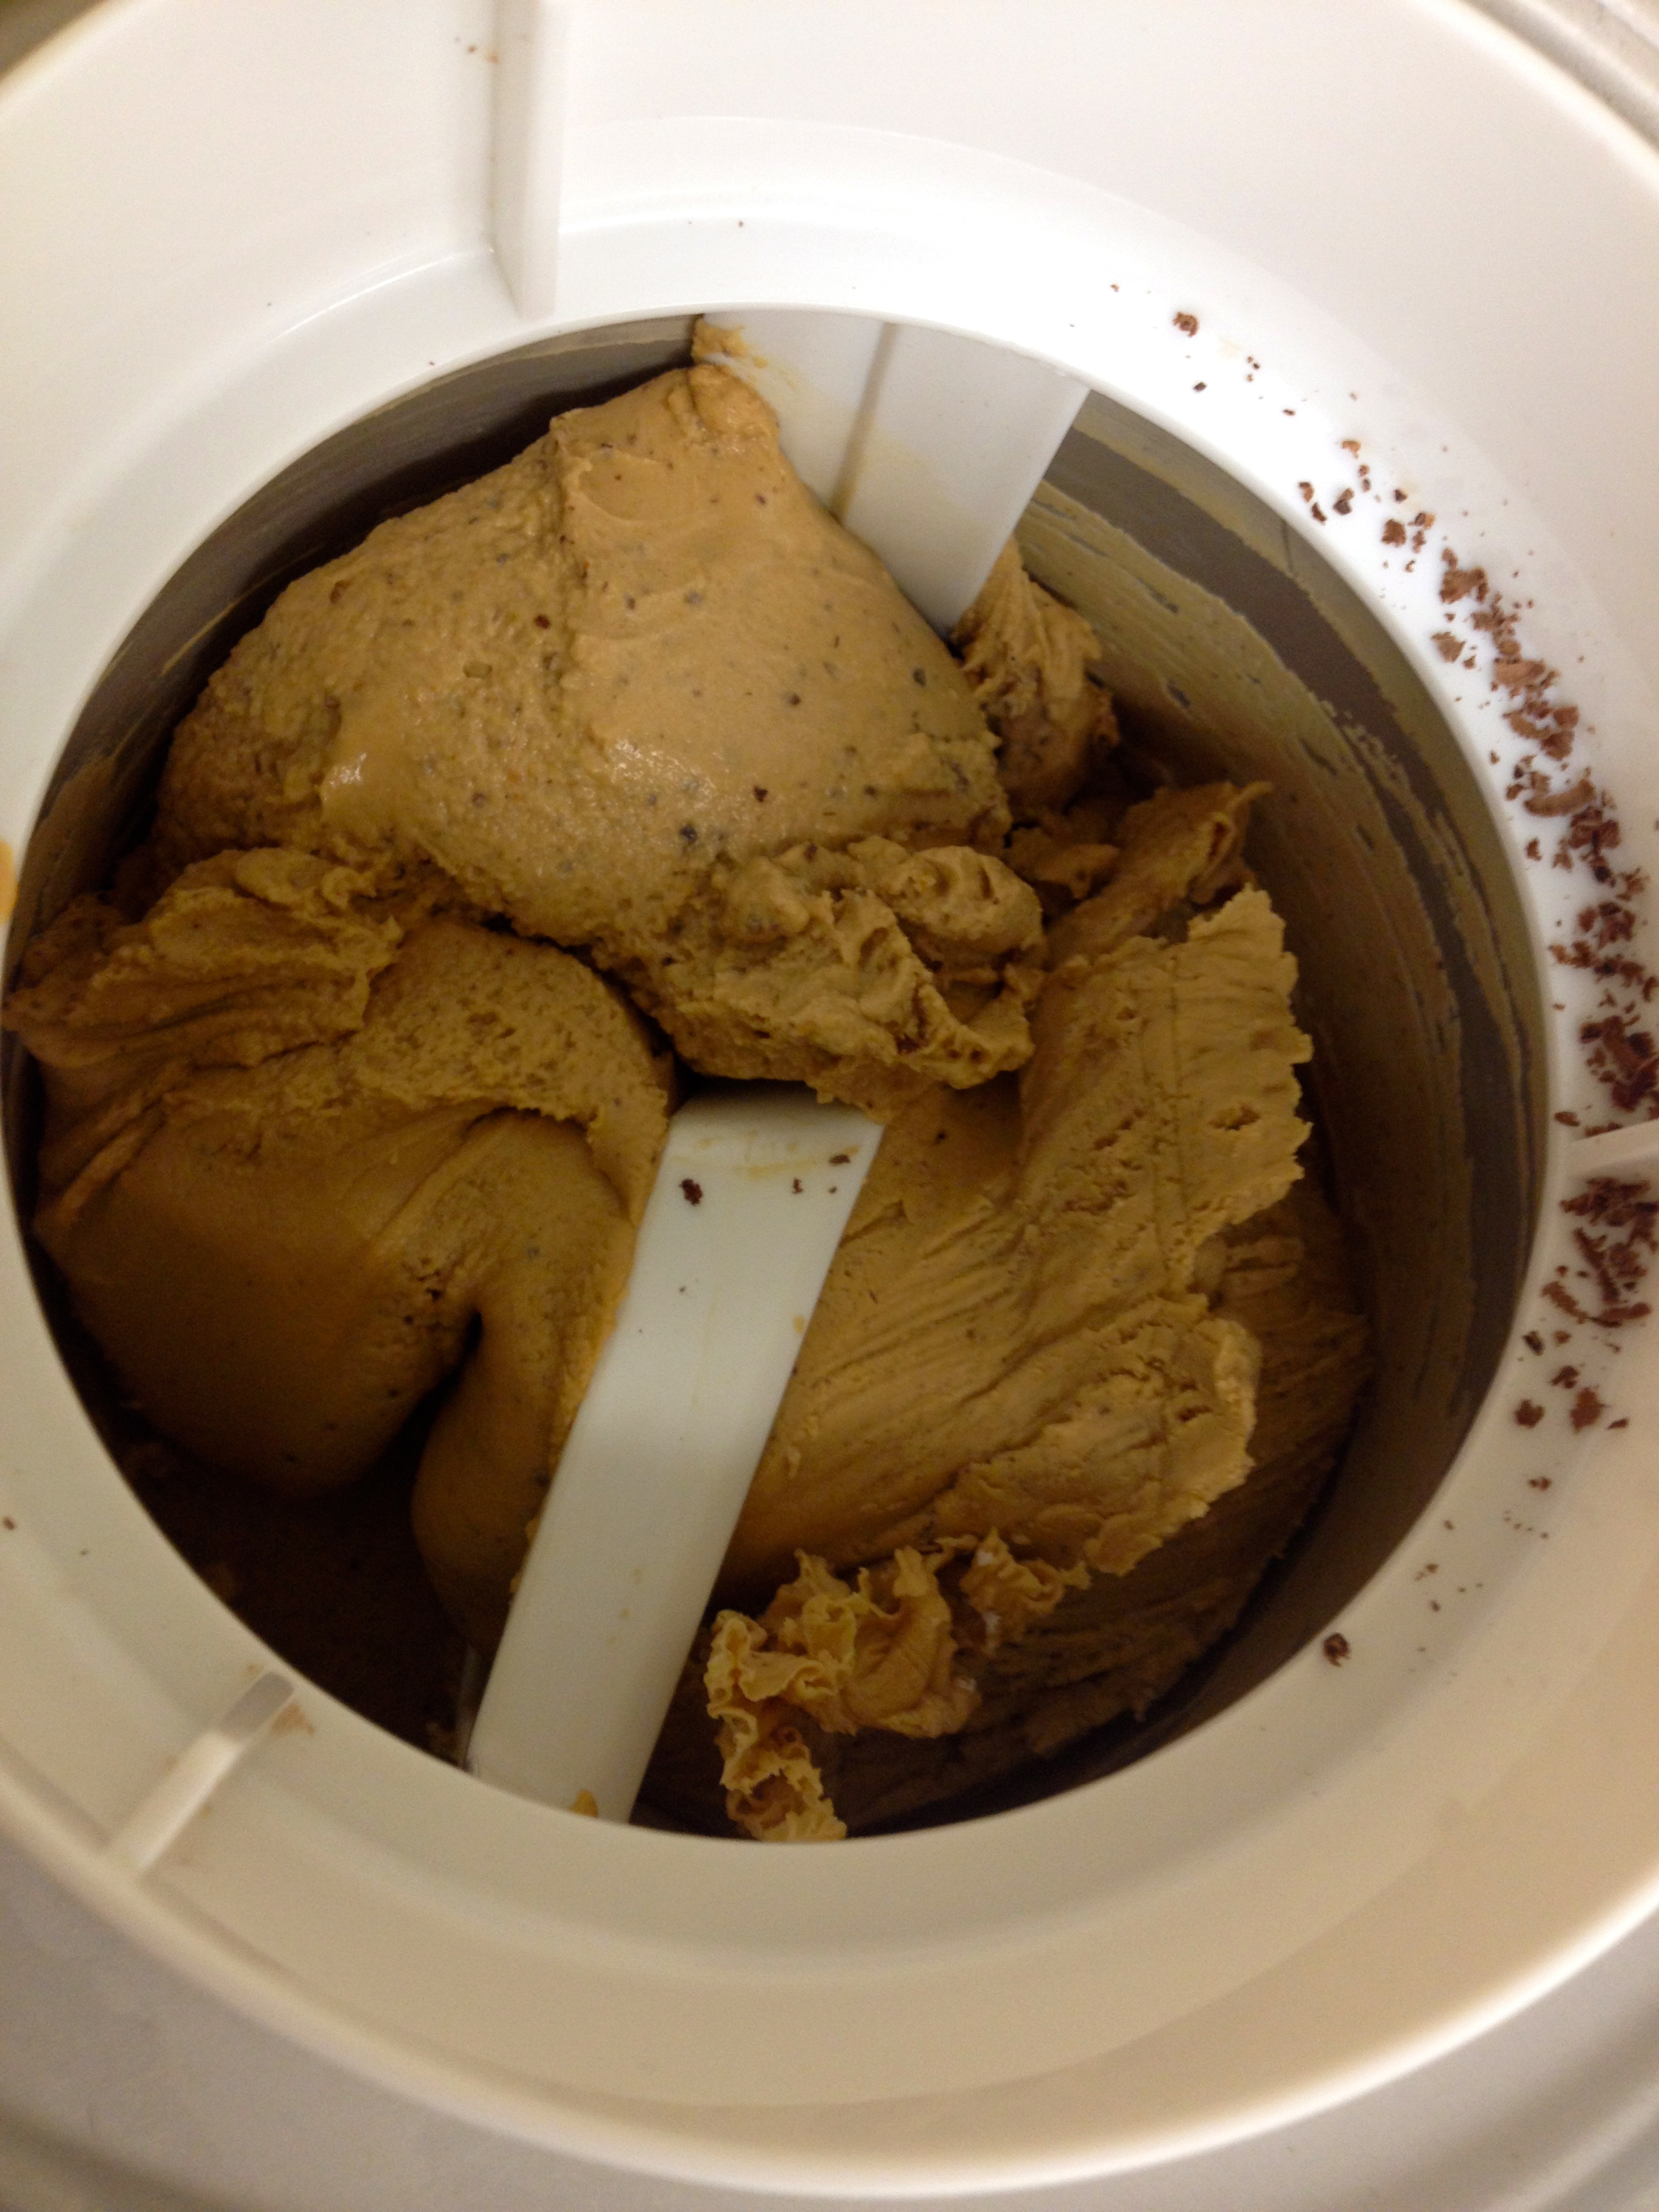
Combine all ingredients in a blender and mix well. Pour into an ice cream maker and freeze according to instructions.
I found that our ice cream maker brought it to a nice soft serve consistency, which is what I believe most ice cream makers do. You can serve as is or if you’d like to have a firmer consistency transfer contents from ice cream maker into freezable container and put in your freezer til firm.
*If you do not have an ice cream maker don’t despair! Once ingredients are combined pour into a freezeable container with lid and place in your freezer for 6-8 hours or overnight. The advantage of an ice cream maker is simply that your ice cream is ready a little bit faster.
Do you have a favorite non-dairy ice cream recipe? Share in the comments below.