I love smoothies! Whoever invented them was genius, finding a way to combine all of your most nutritionally-packed foods into one glass and make it taste delicious. And smoothies are not just for adults! Kids smoothies are an easy way to get some of those foods into their tummies that you may be having trouble getting in otherwise. Not only will they enjoy it, they won’t even know.
My kids love smoothies but they have been consuming them since they were little as smoothies are a staple at our house. Your kids may be eyeing you suspiciously as they watch you put things into your blender and then refuse to try it. But don’t despair! There are tips and tricks to not only get your kids interested in having smoothies but also enjoying them.
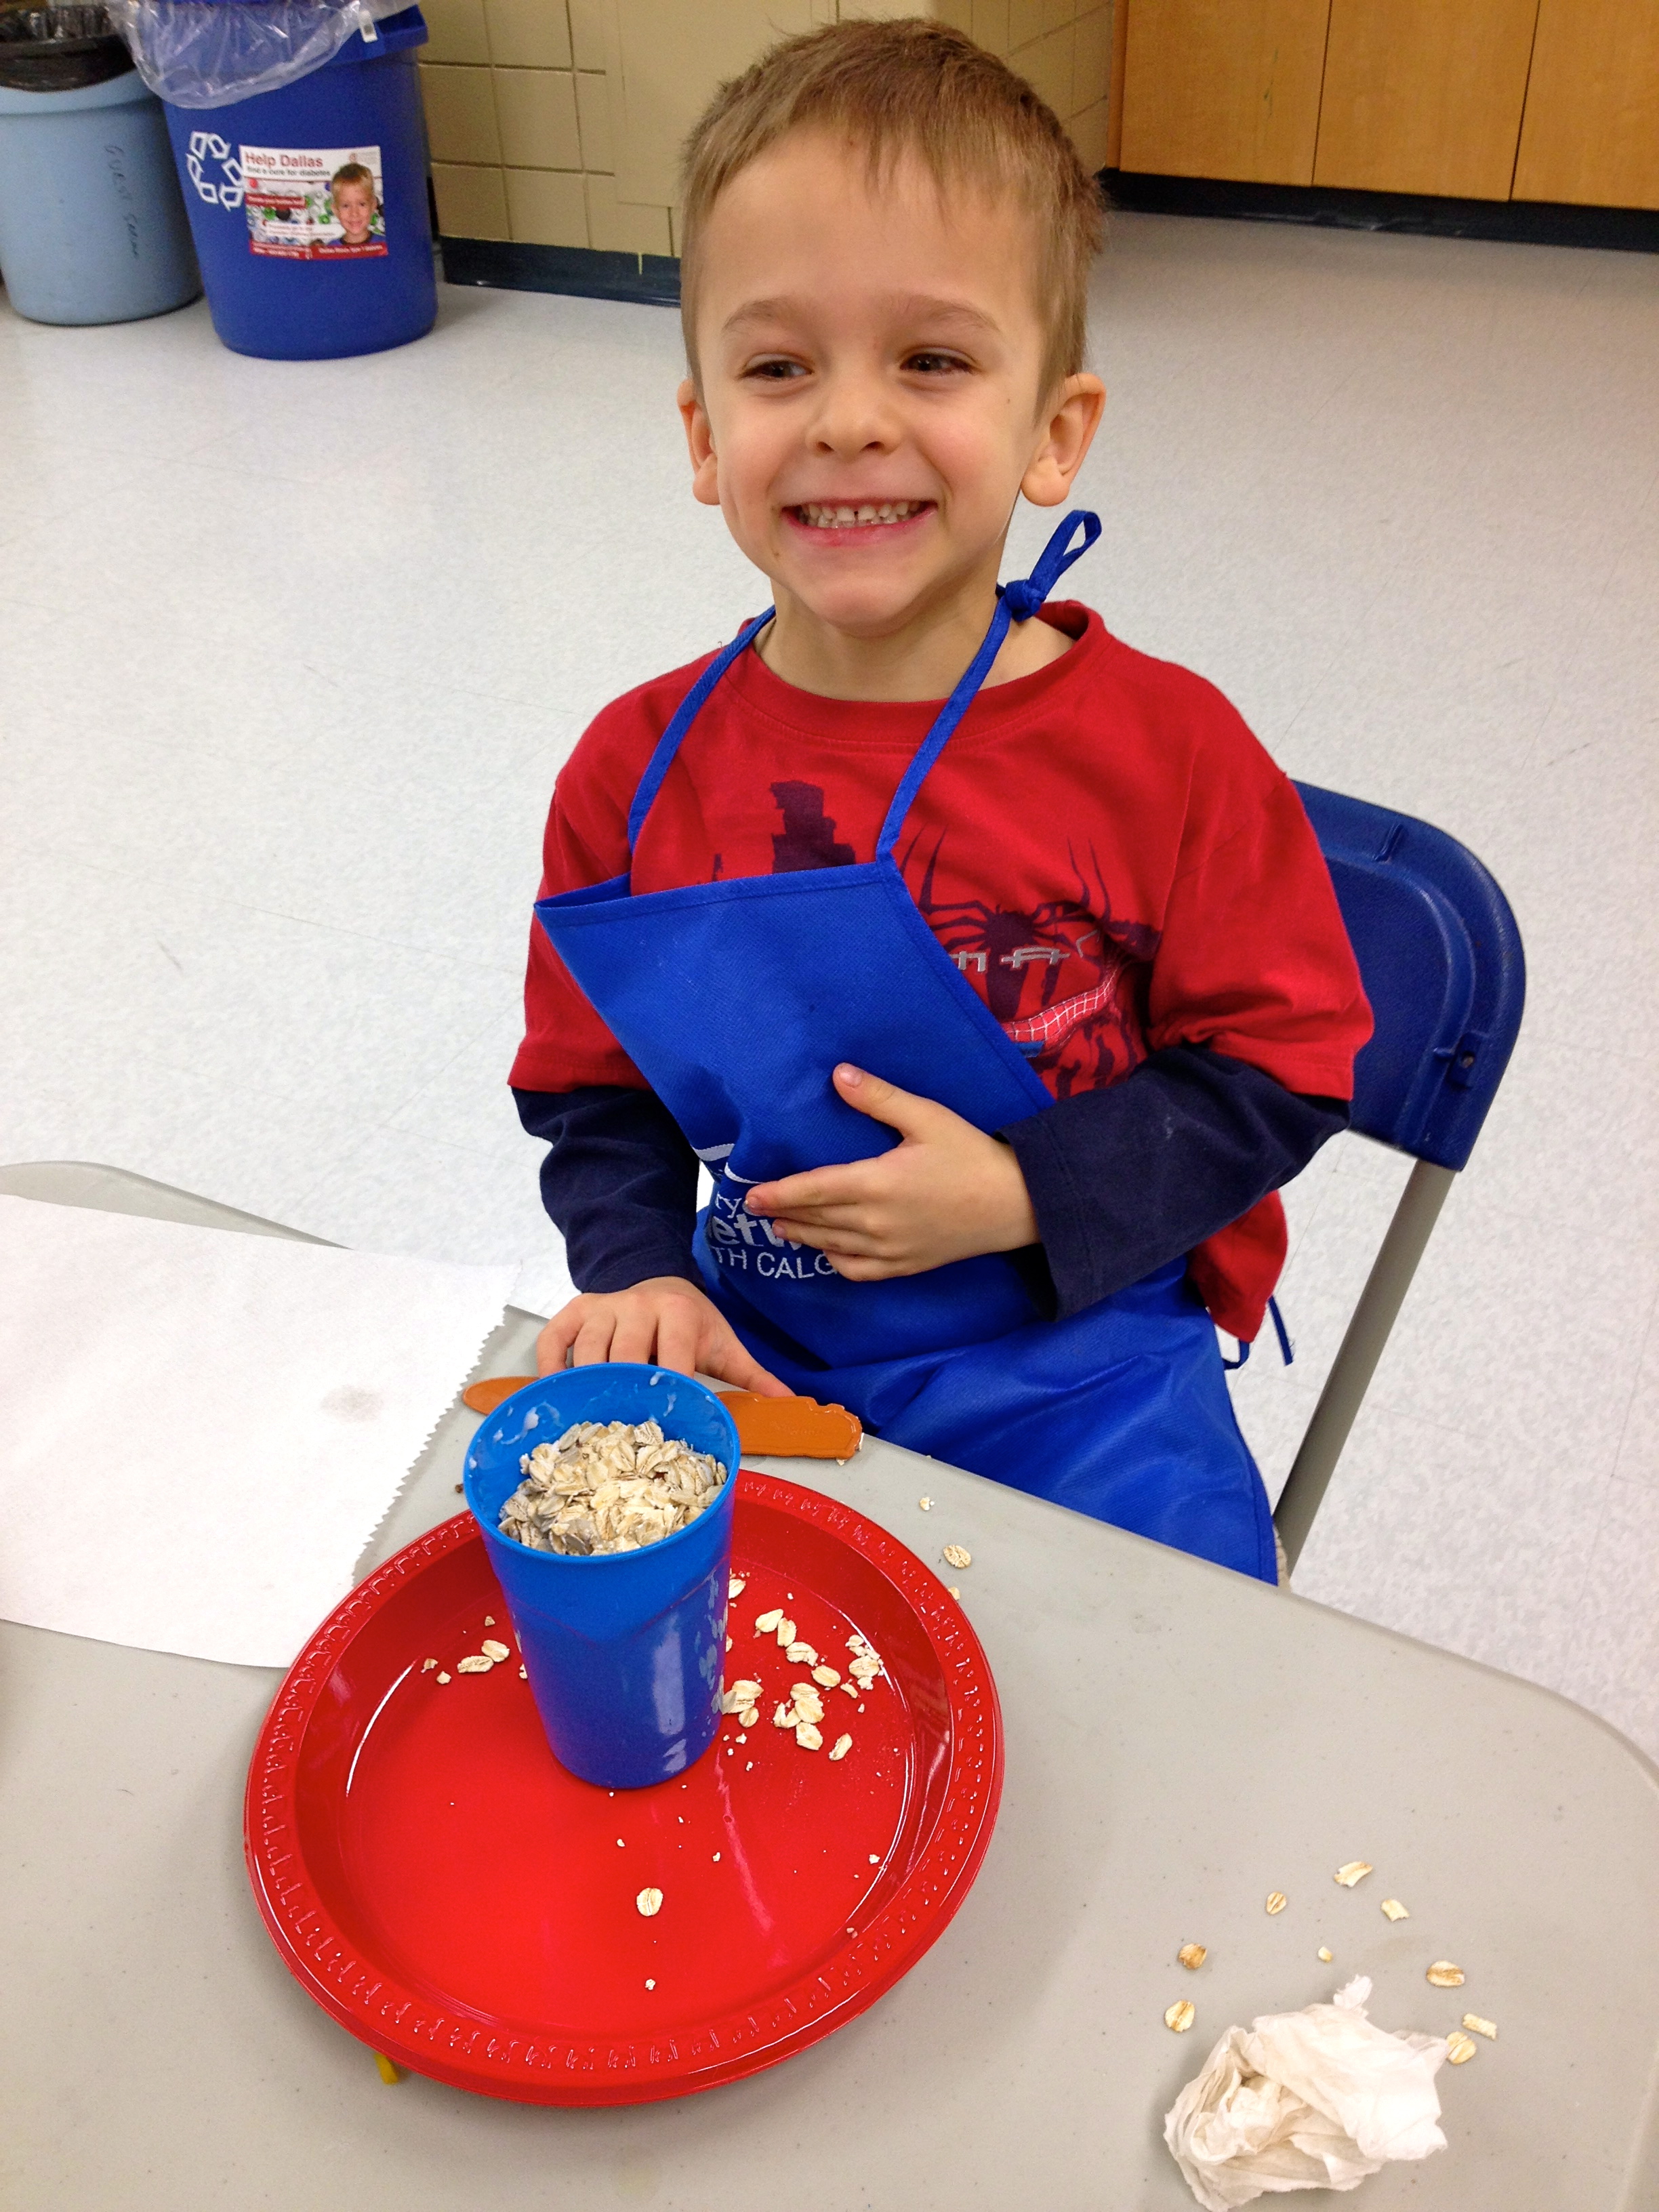
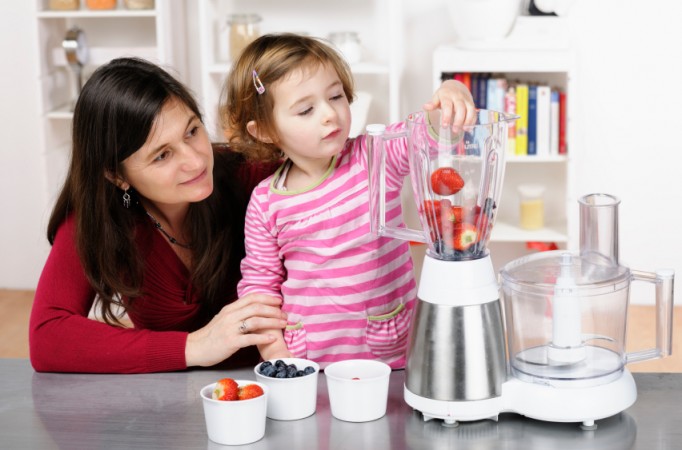 The trick to kids smoothies is finding flavors and textures that they like, as kids palates can be sensitive and change from day to day. Introduce smoothies to them by using ingredients that they like and getting them involved in making it (they can put things into the blender and turn or press buttons to blend when directed by you). It is a proven fact that kids are more likely to eat what they have helped make. It is a great tactic and I have seen it work time and time again.
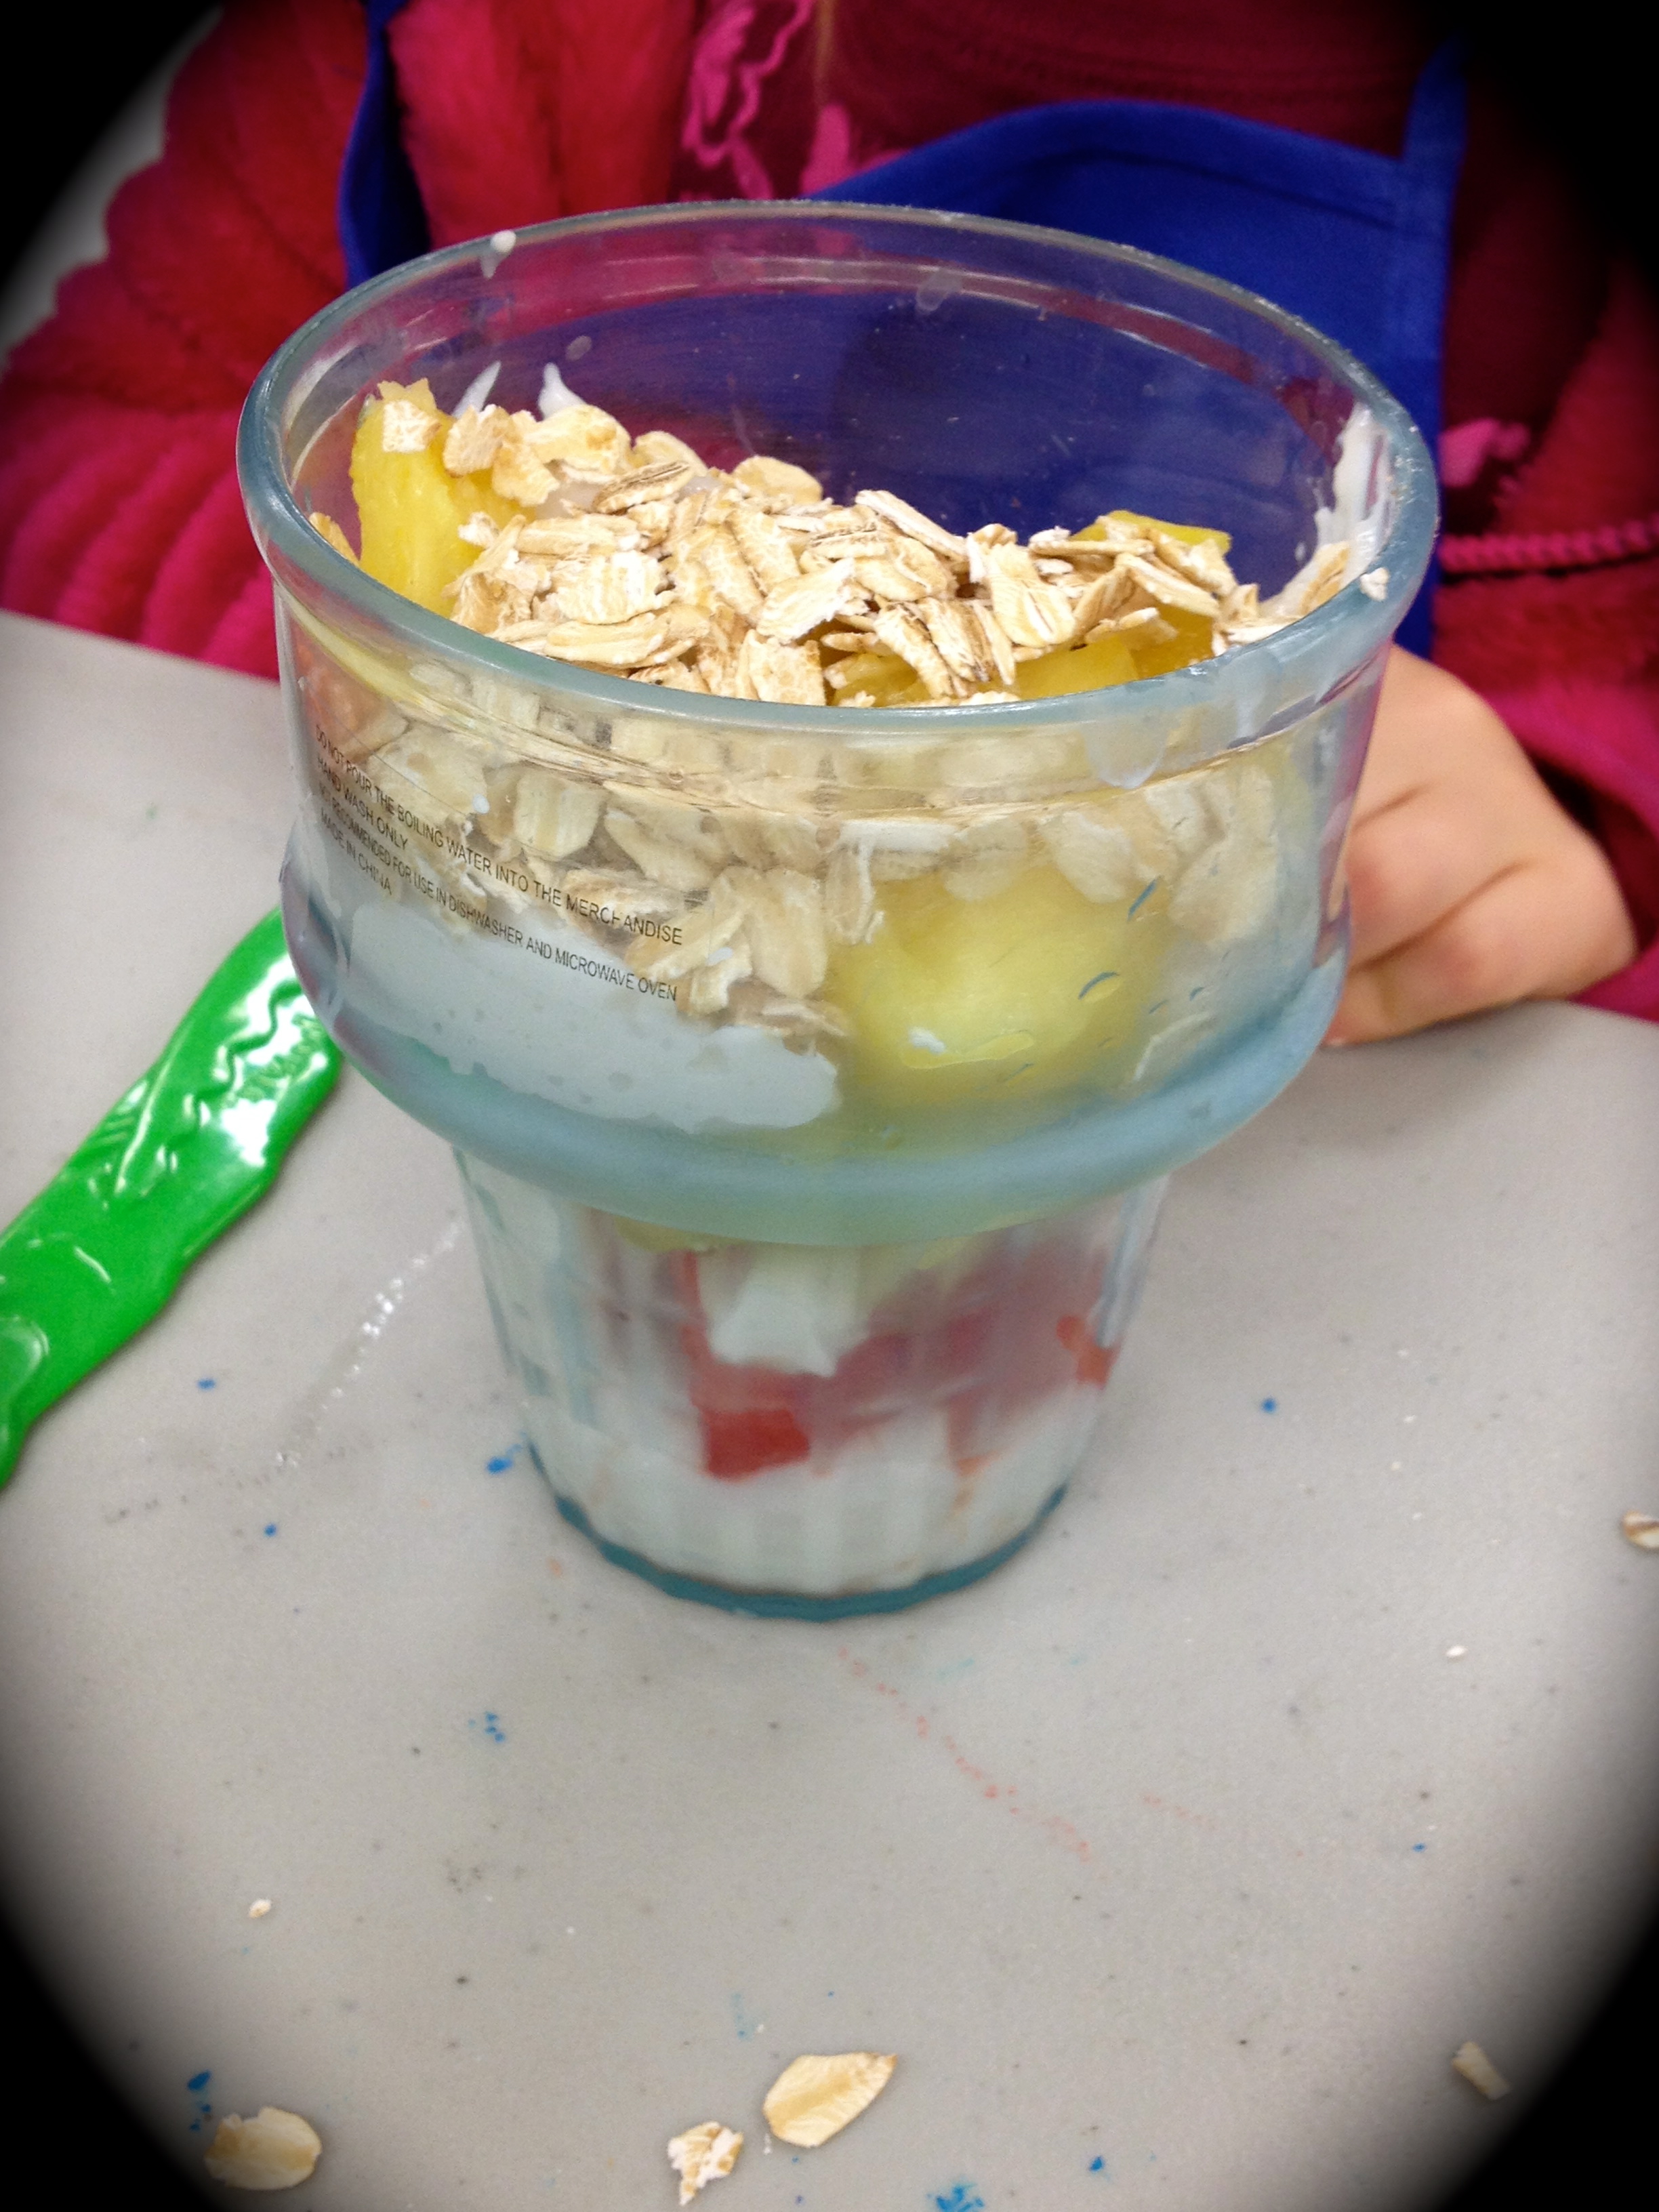
Start with something simple like strawberry banana or chocolate peanutbutter banana. Add a little milk (regular or non dairy of your choice), mix and voila! yummy kids smoothies. Once they are used to smoothies and enjoying them you can start adding a little greens to their favorite kids smoothies. When the greens are mixed in they will not see it or taste it as the fruit and other ingredients are stronger flavors. It is also a good idea to use baby greens such as baby spinach or kale as they have a milder flavor.
 Kids also love to experiment so get them to ‘create’ kids smoothies with you, asking them to choose the ingredients while making suggestions yourself. Giving them options and choice is also a great way to get them to try it. Remember to, if you are experimenting and making more than one smoothie to start with the least sweet one first. We all naturally like sweet! and will likely not enjoy the others if we have the sweetest one first.
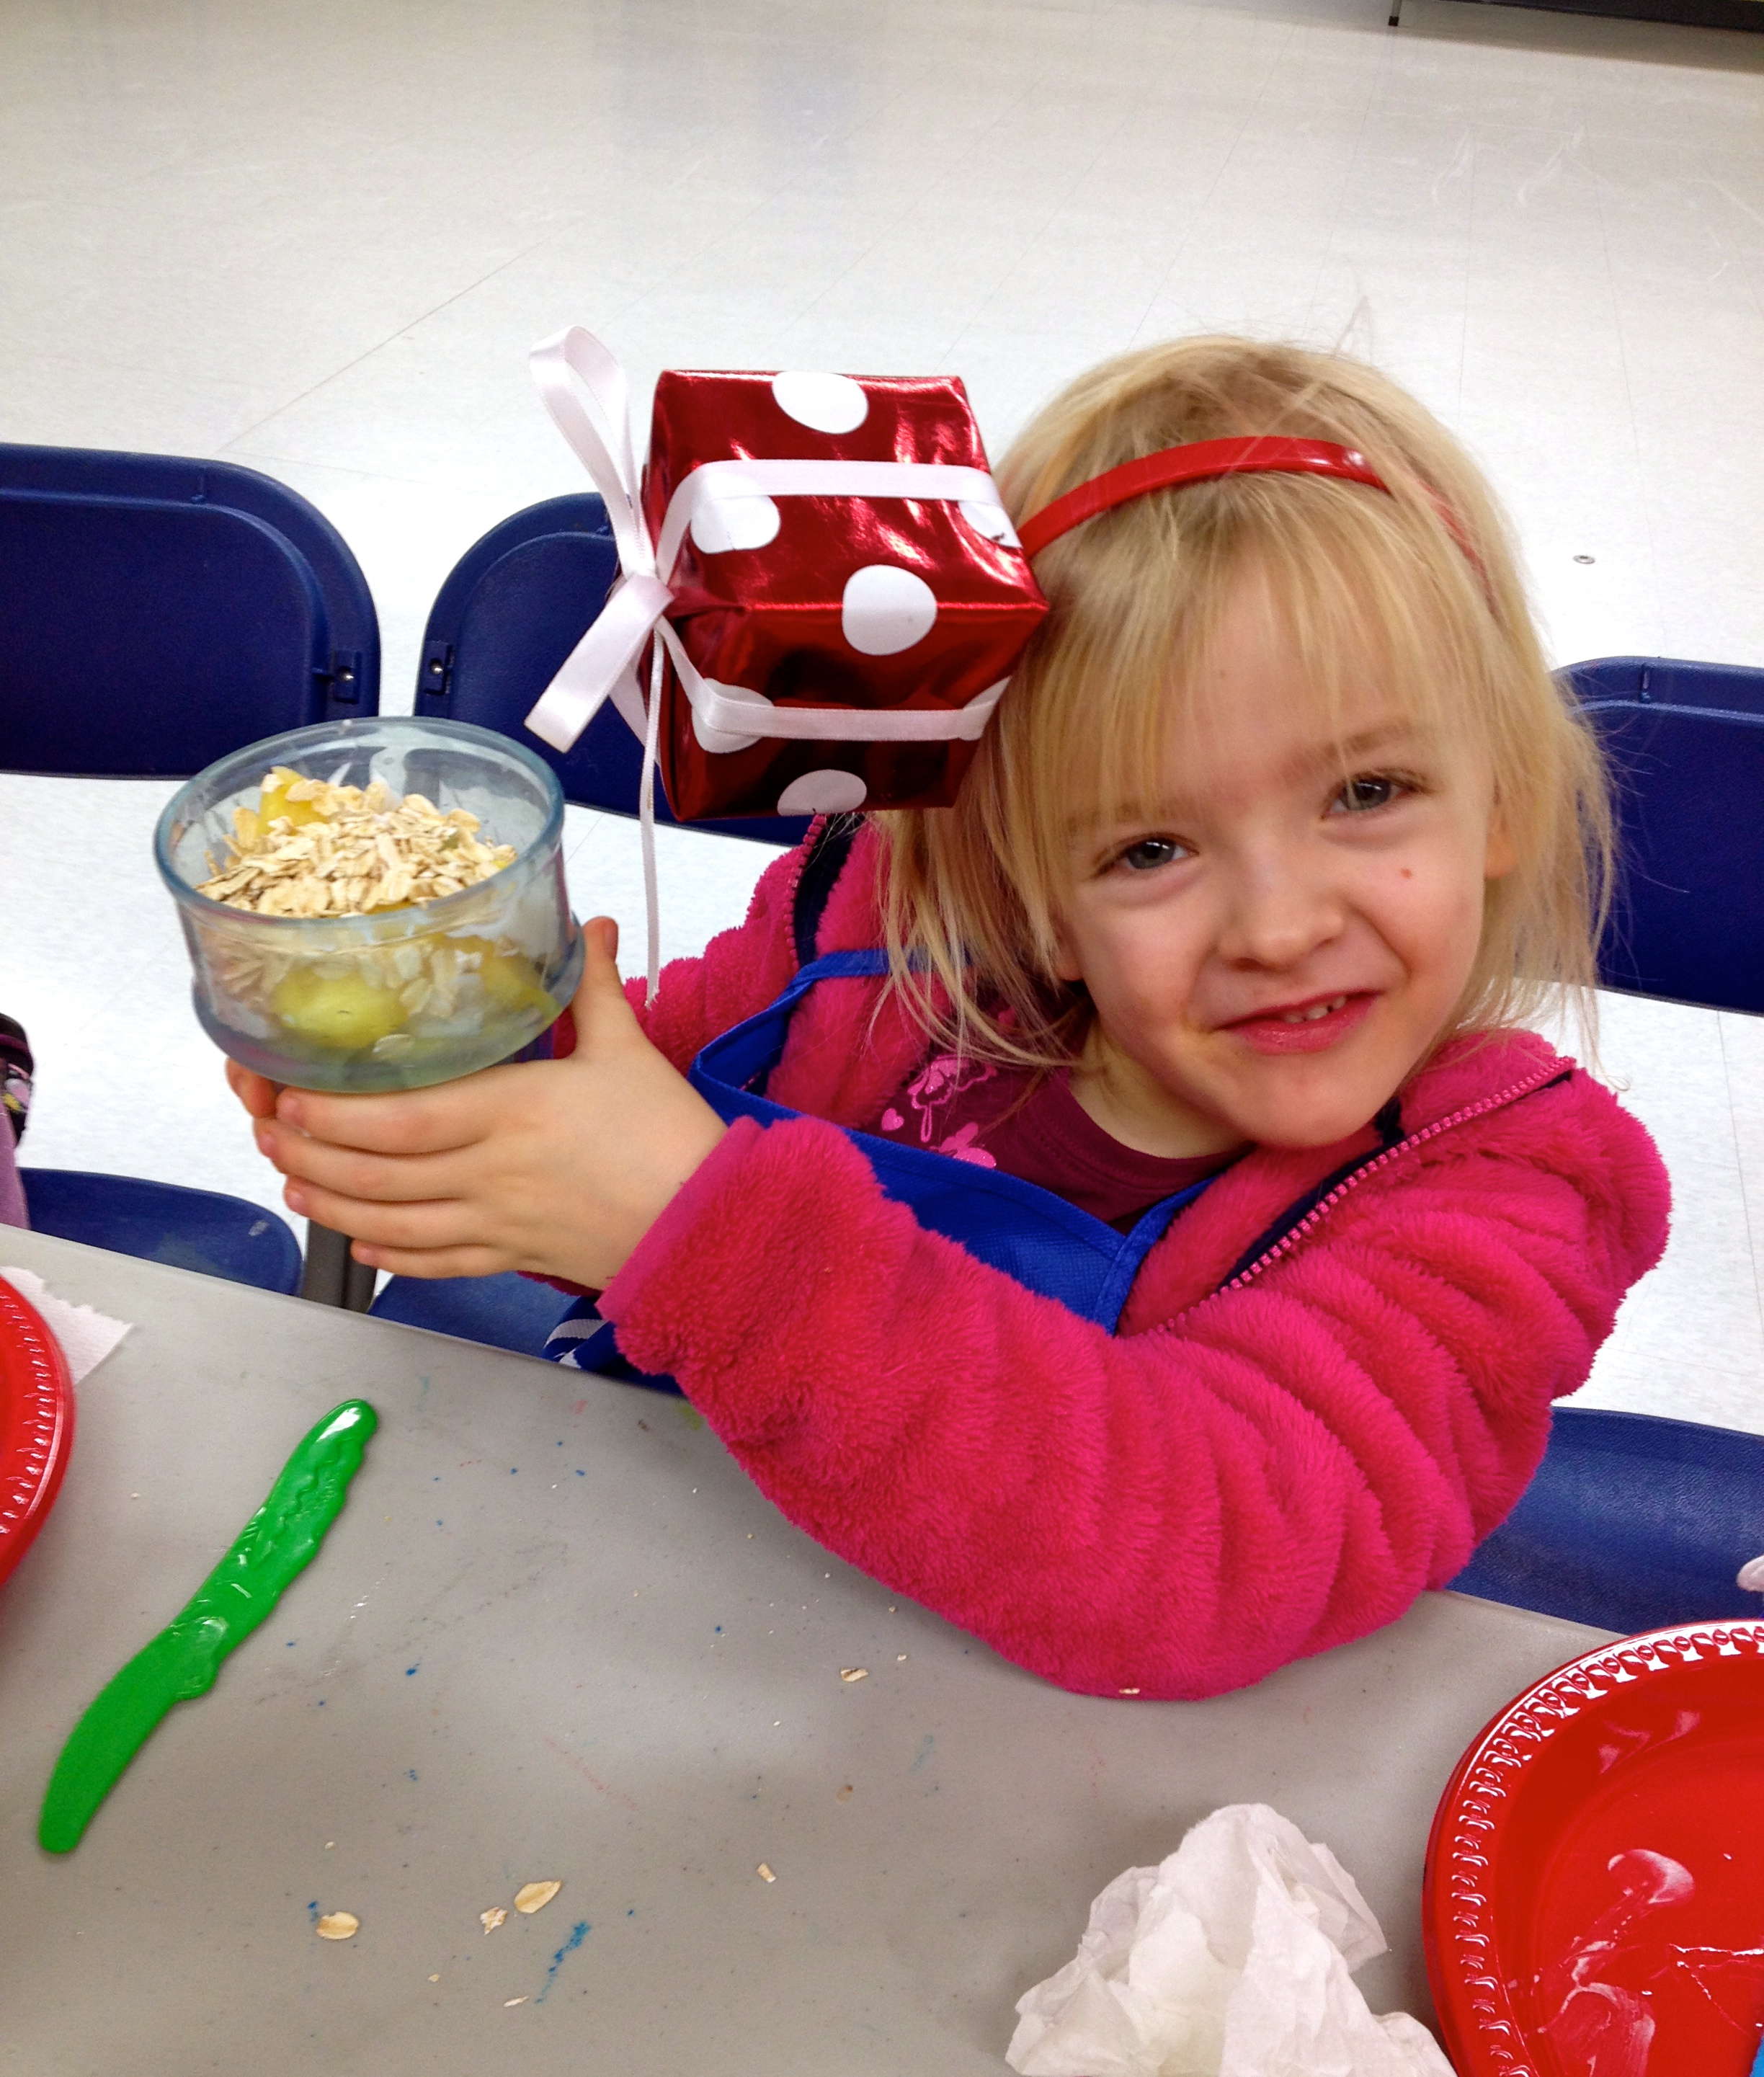
This is what I did in my Mini Chefs class. We made 3 different kids smoothies that day, and though they were all sweet I knew the chocolate one would be the most popular. So though we still had other ‘sweet recipes’ with lots of fruit in them, we started with the ones that they were a little less enticing (yes they had vegetables – which I always smile because as soon as they see the vegetables I hear a chorus of what they like and don’t like, but we try it anyway). This worked well as they all at least tried each one in anticipation of the chocolate one to come.
Remember too that all kids palates are different and one child may prefer sweeter smoothies, while another one likes thicker. Once you get going you can use these tips to adjust to their tastes and add a little extra nutrition.
- Make it sweeter – add more fruit or natural sweetener such as a teaspoon of honey
- Make it thicker – add ice cubes or yogurt (non-dairy or regular)
- Add protein – a tablespoon of hemp or chia seeds once blended is basically undetectable. Not only do they offer protein but many other added vitamins and minerals
- Add an avocado – great way to add healthy fats with no change in flavor. Also great thickener for your smoothie
A good blender is also recommended, like a Vitamix or Ninja. Not that your regular blender won’t work, but the smoothies may not turn out as smooth (and with kids sensitivities to texture you may want to avoid that) and/or you may have to blend in smaller amounts so as to not burn out your blender.
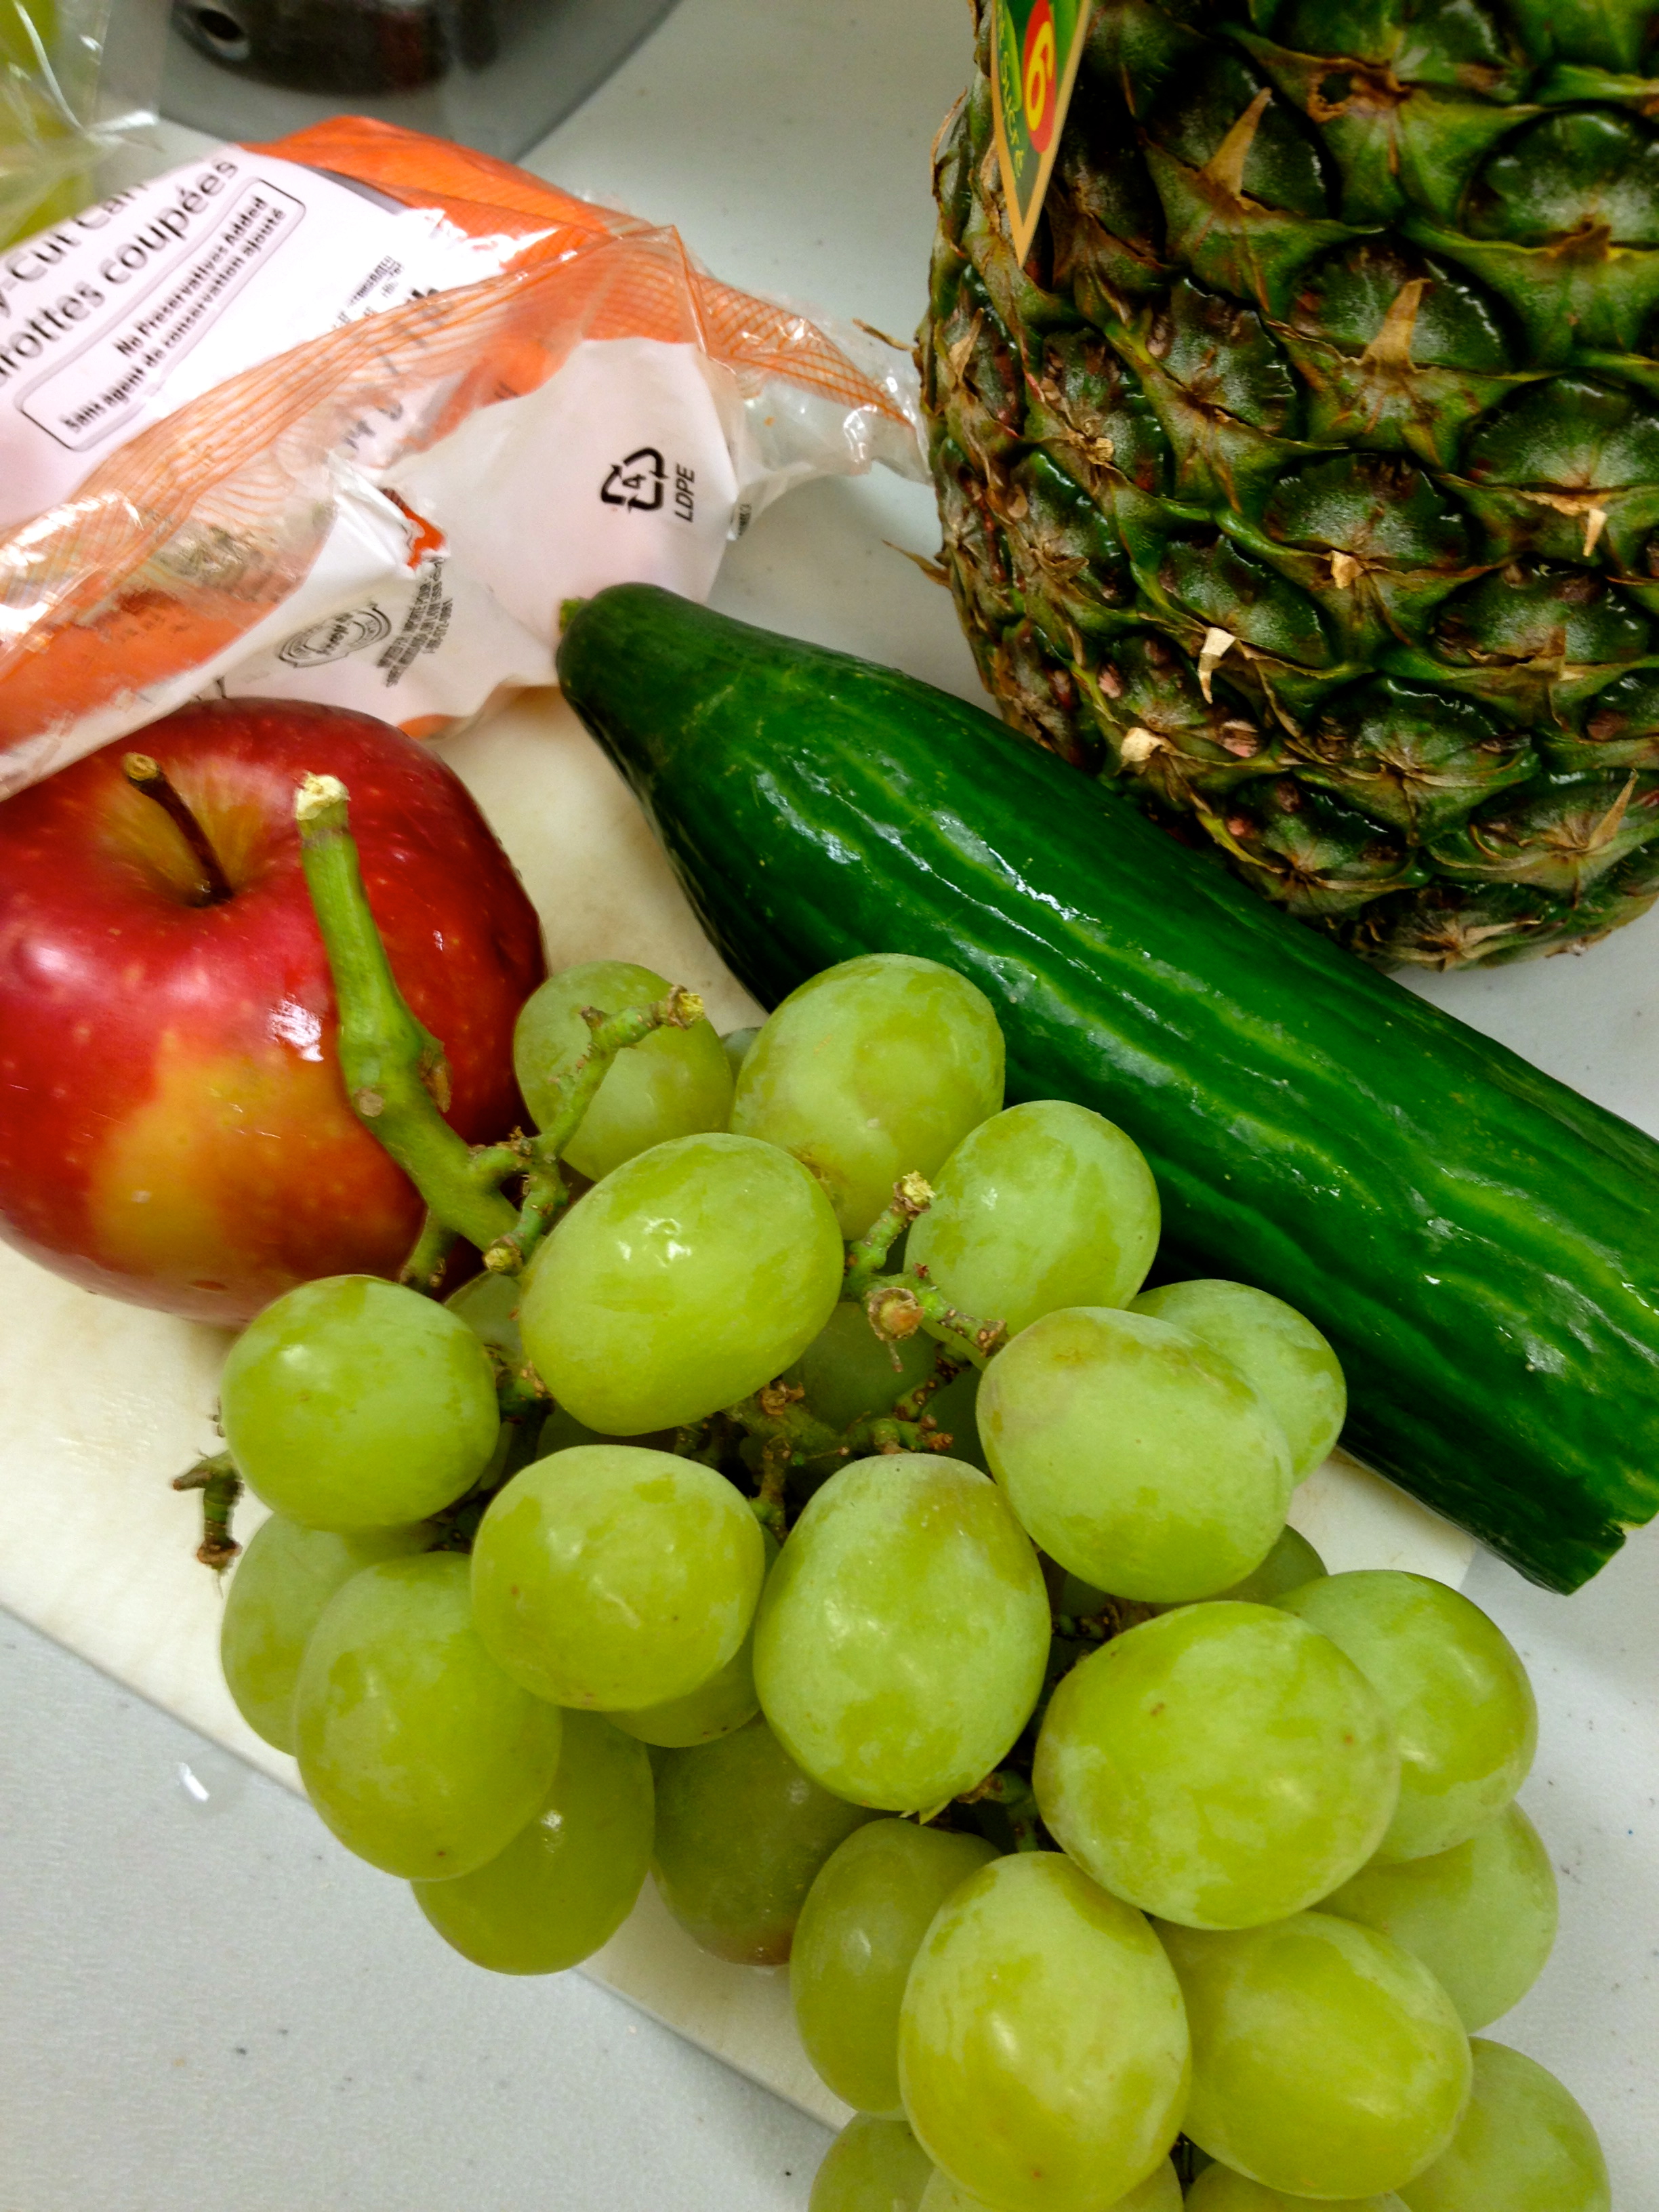
Fruit Salad Smoothie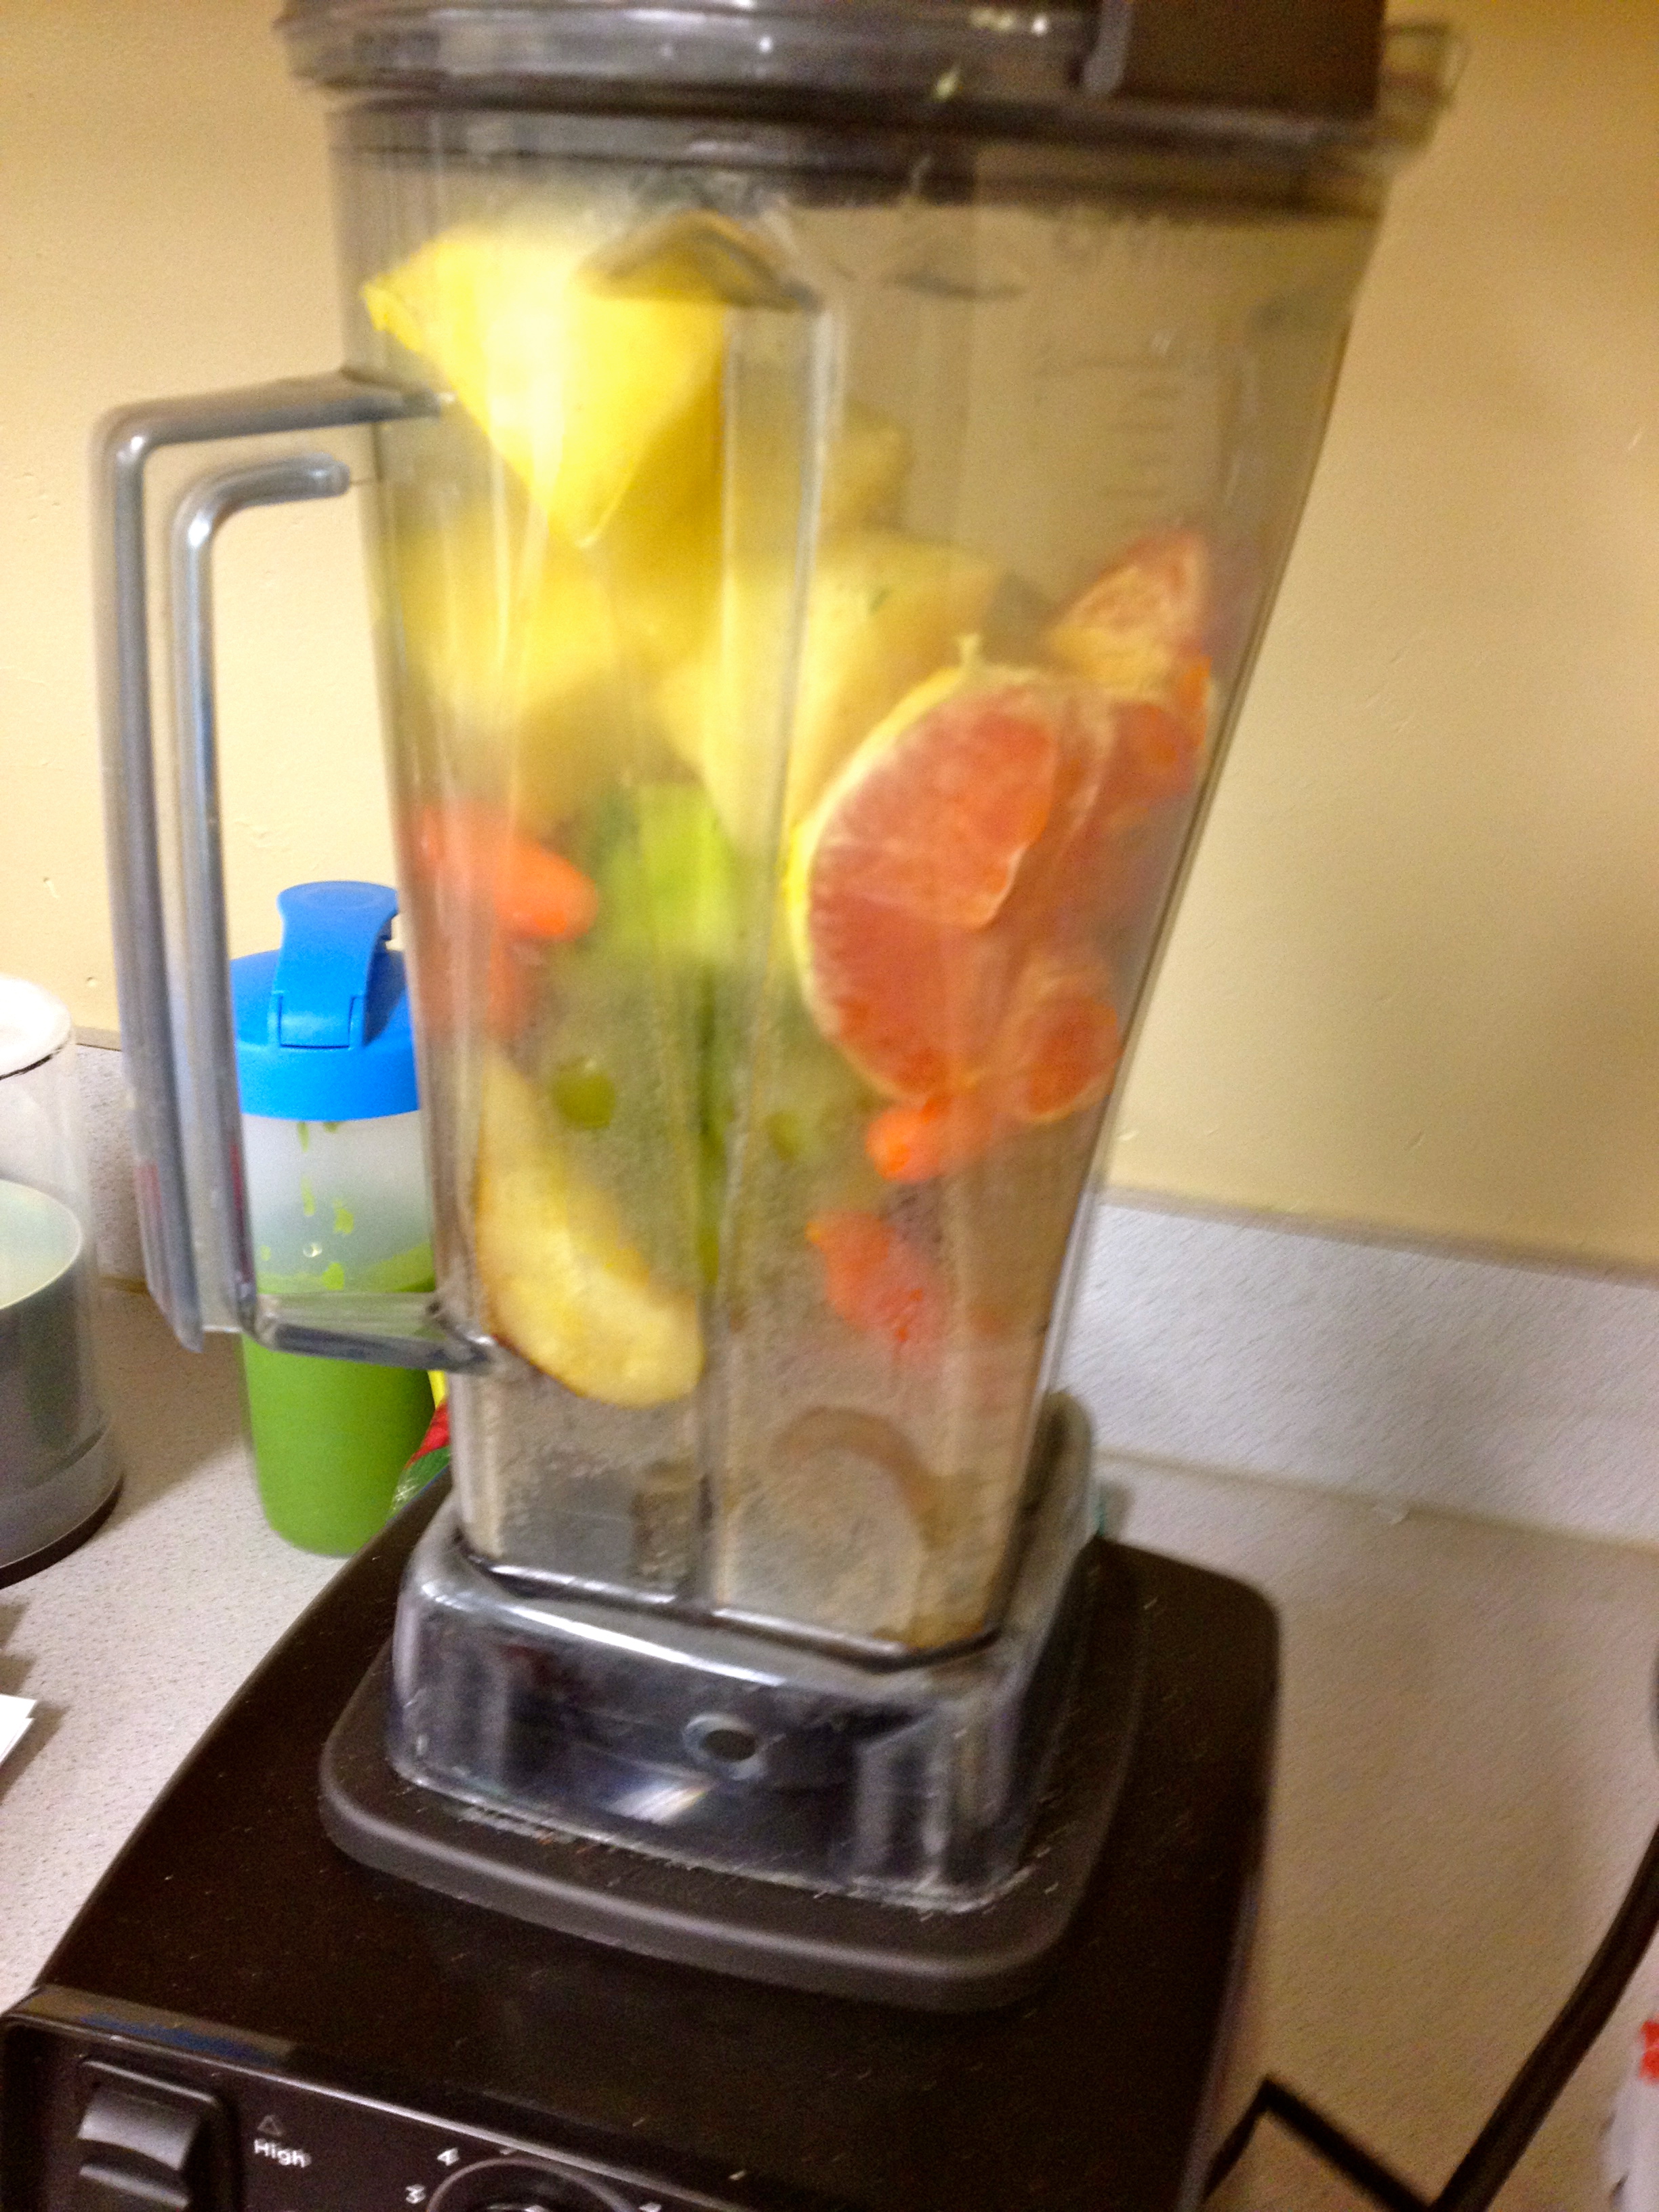
Ingredients:
½ c. red or green grapes
1 medium orange, peeled, halved, seeded
½ inch thick slice pineapple, core included
1 carrot halved
¼ medium apple, cored, seeded
2 c. ice cubes
Place all ingredients into blender in order listed and secure lid. Turn machine on and slowly increase speed to high. Blend for 1 minute until smooth. Pour, serve and enjoy! May garnish with a slice of pineapple on side of glass if desired.
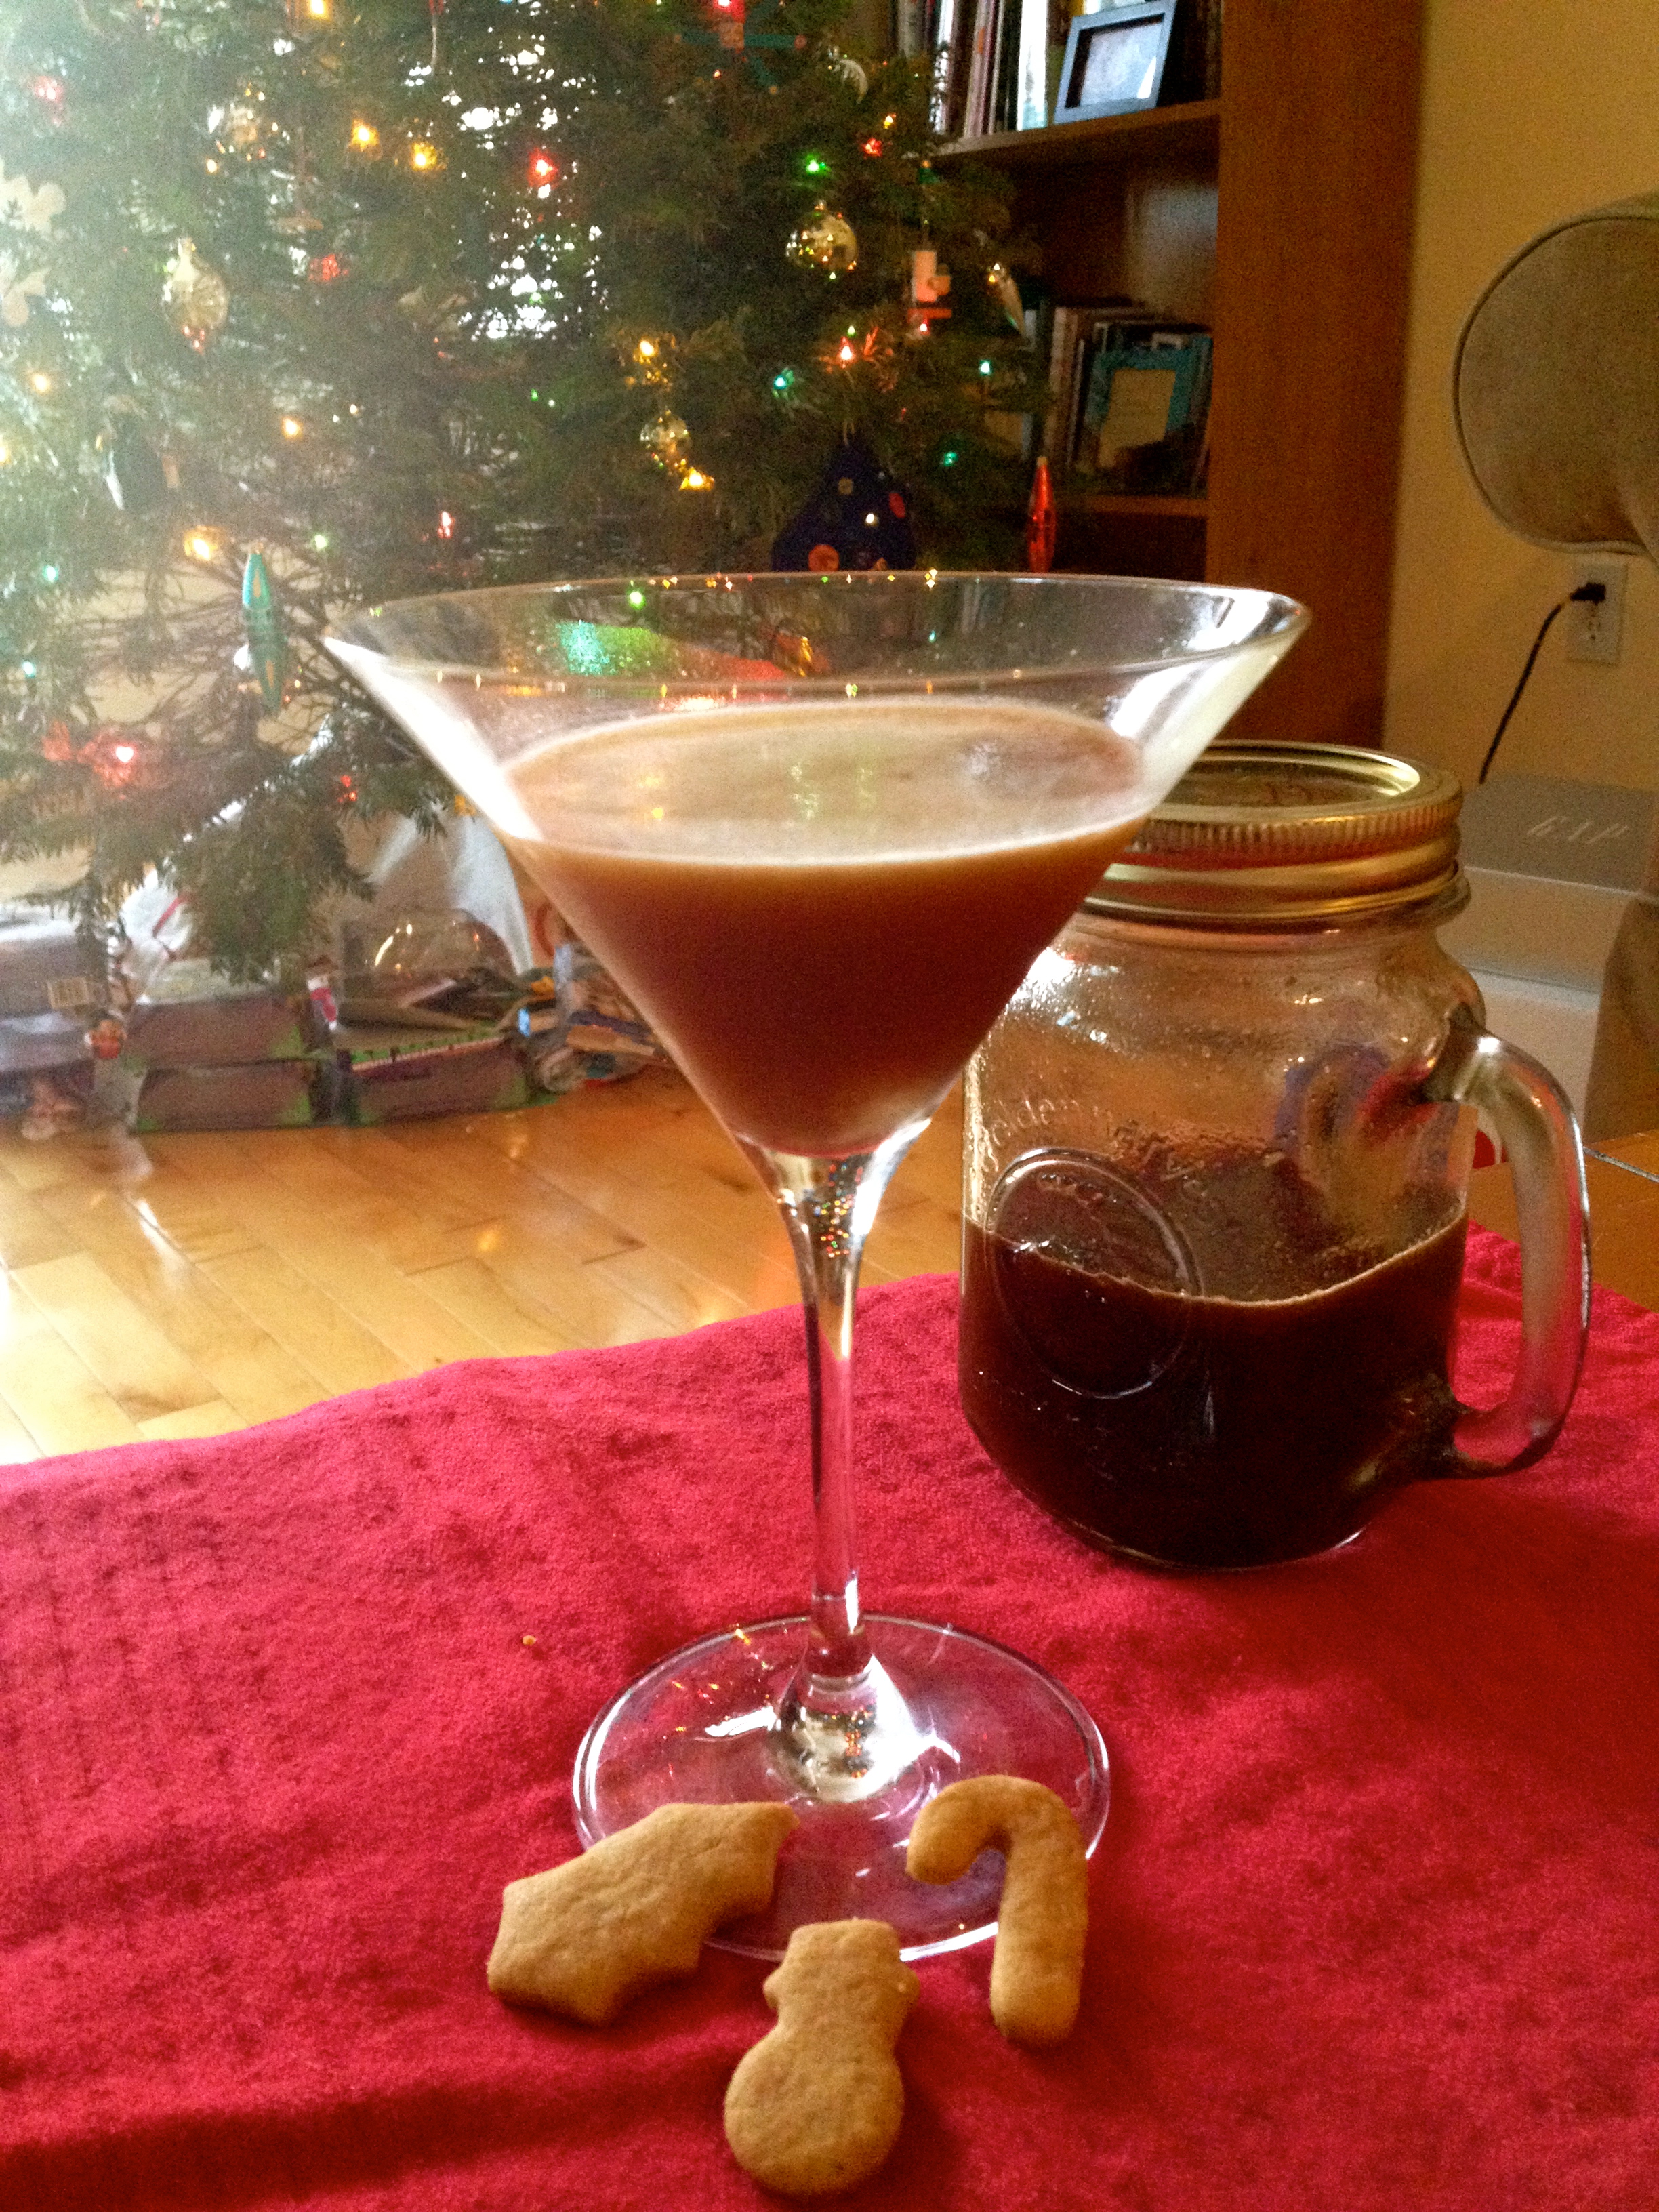
Chocolate Banana Smoothie
Ingredients:
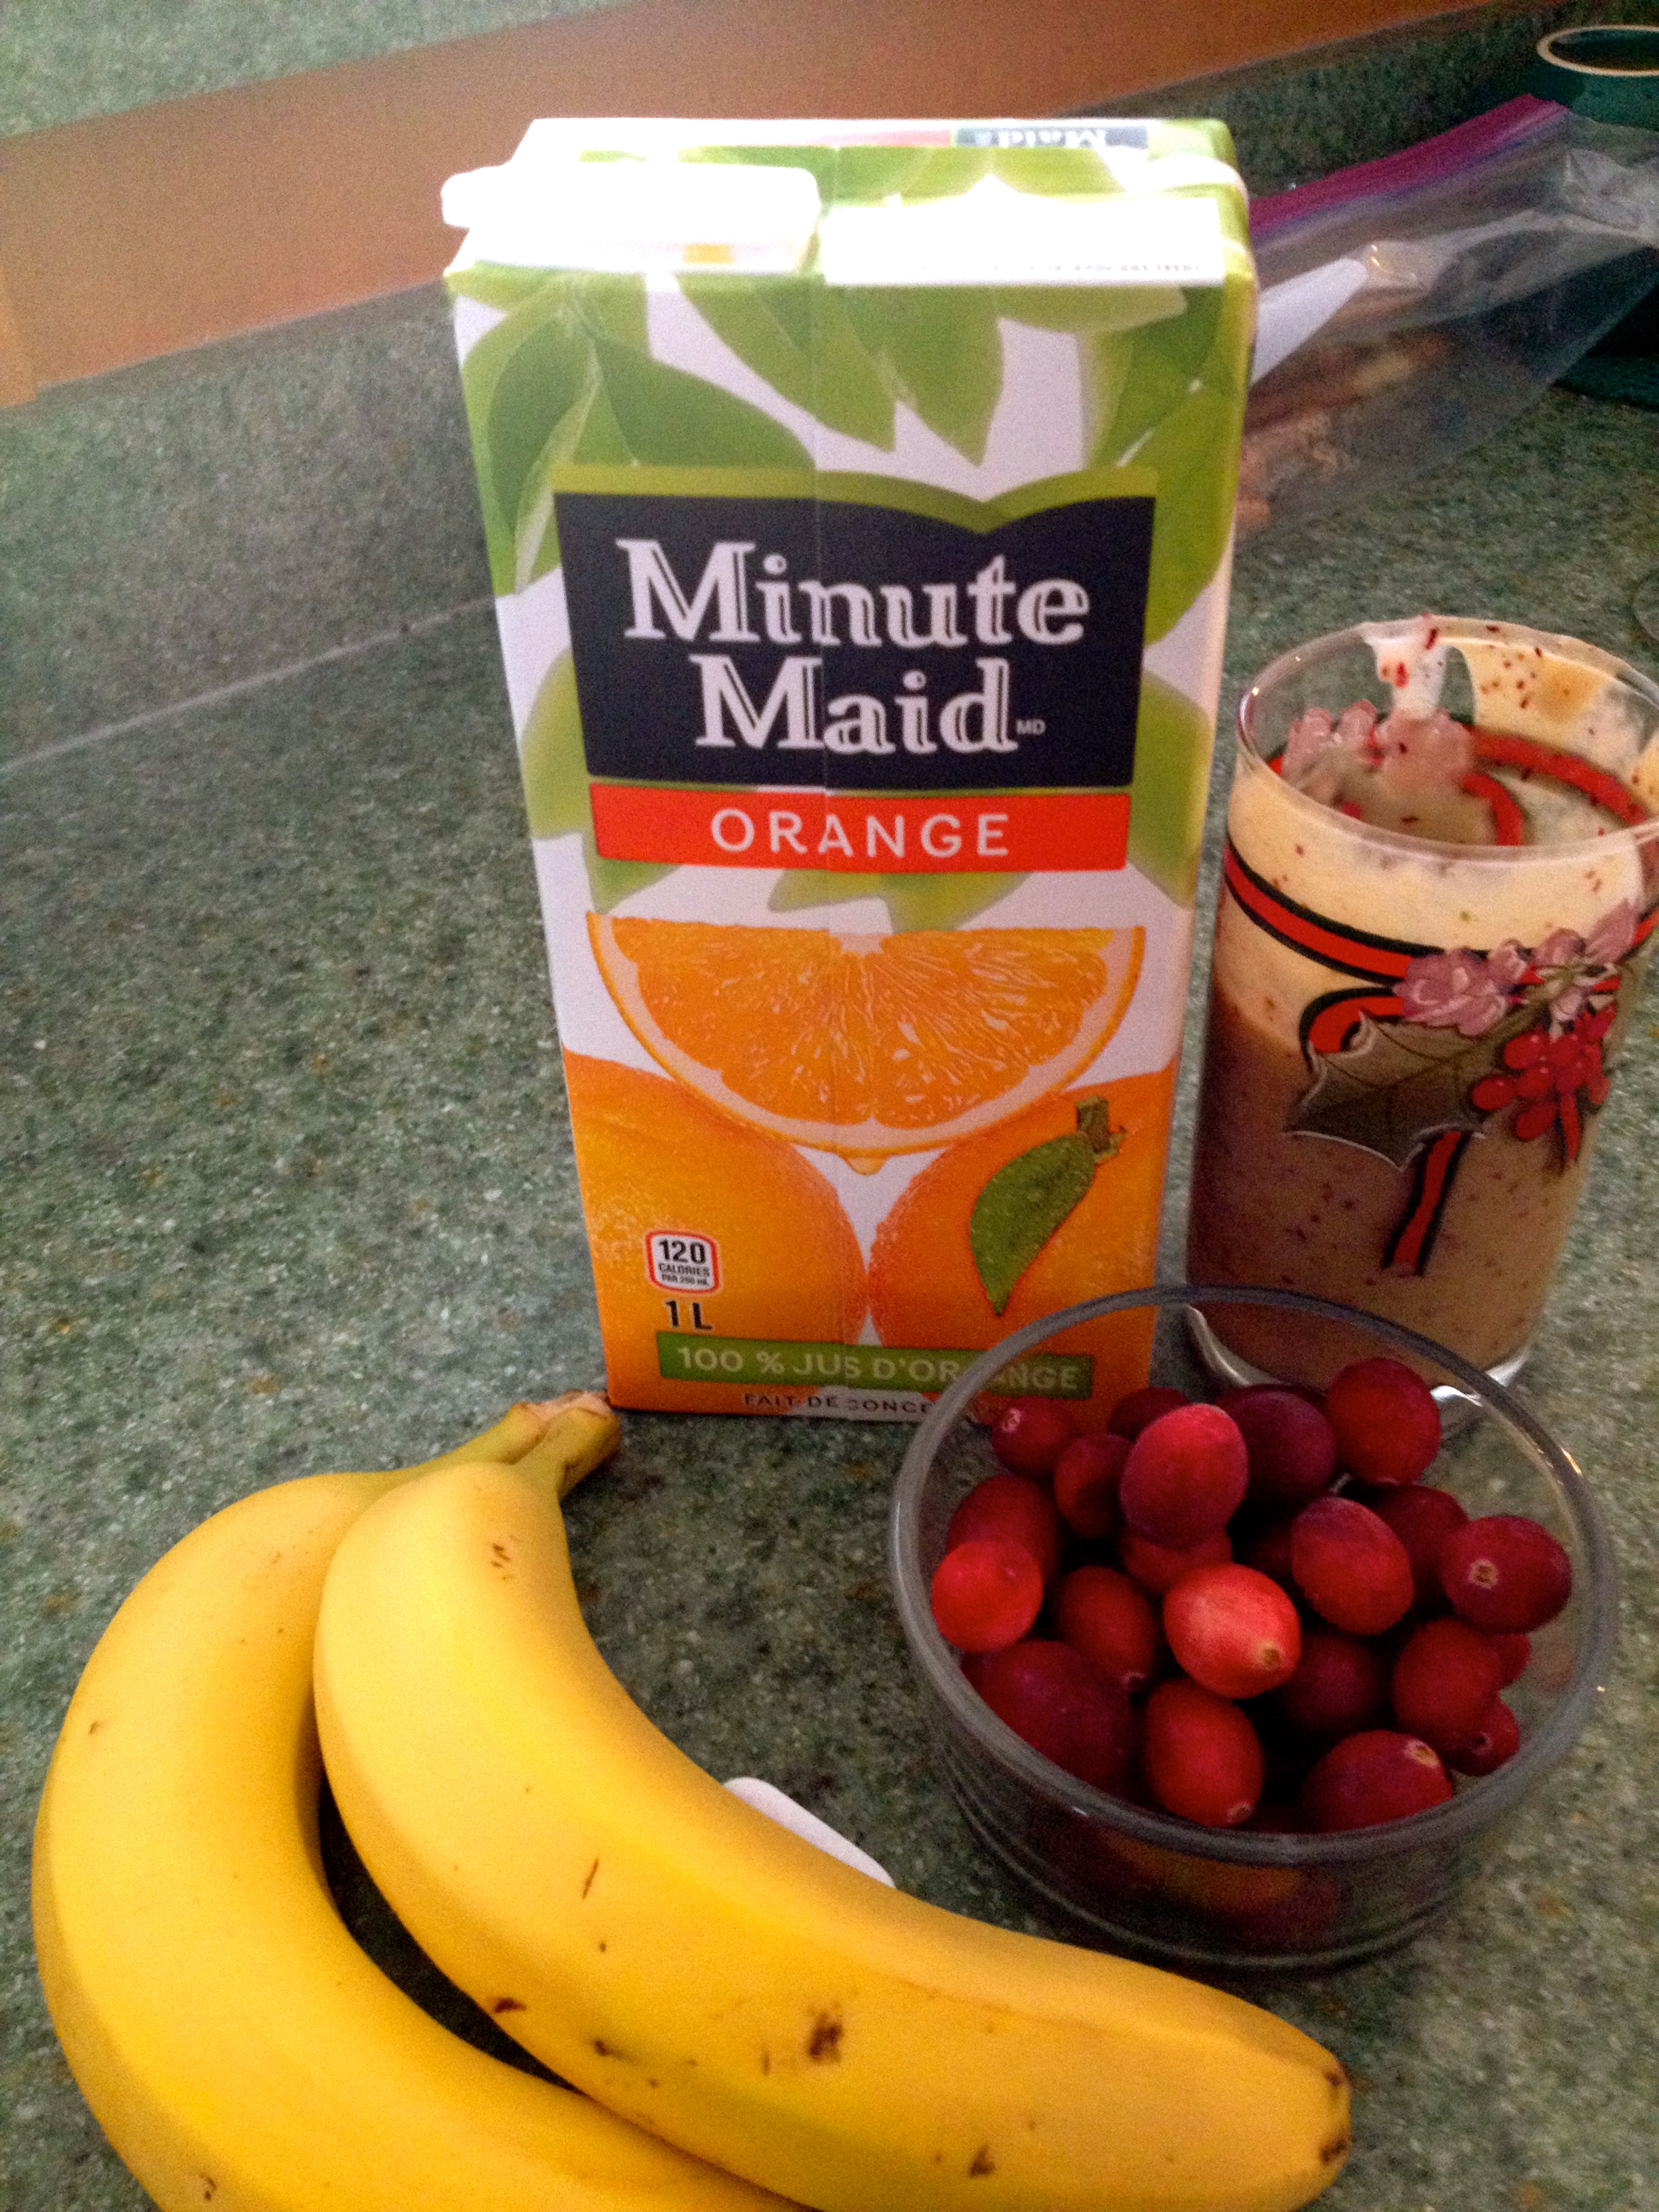
1 c. almond milk (may use regular milk or other non- dairy milk such soy or coconut if desired)
1 tbsp. honey
2 bananas (frozen)
1 tbsp. unsweetened cacao powder
Put all ingredients into blender and blend until smooth.
*Make it a chocolate peanut butter smoothie by adding 1 tbsp. of peanut butter
*Amp up the nutrition without the kids really noticing – Add 1 tbsp. hemp seeds or chia seeds and a handful of spinach. Once it’s blended in they won’t know the difference
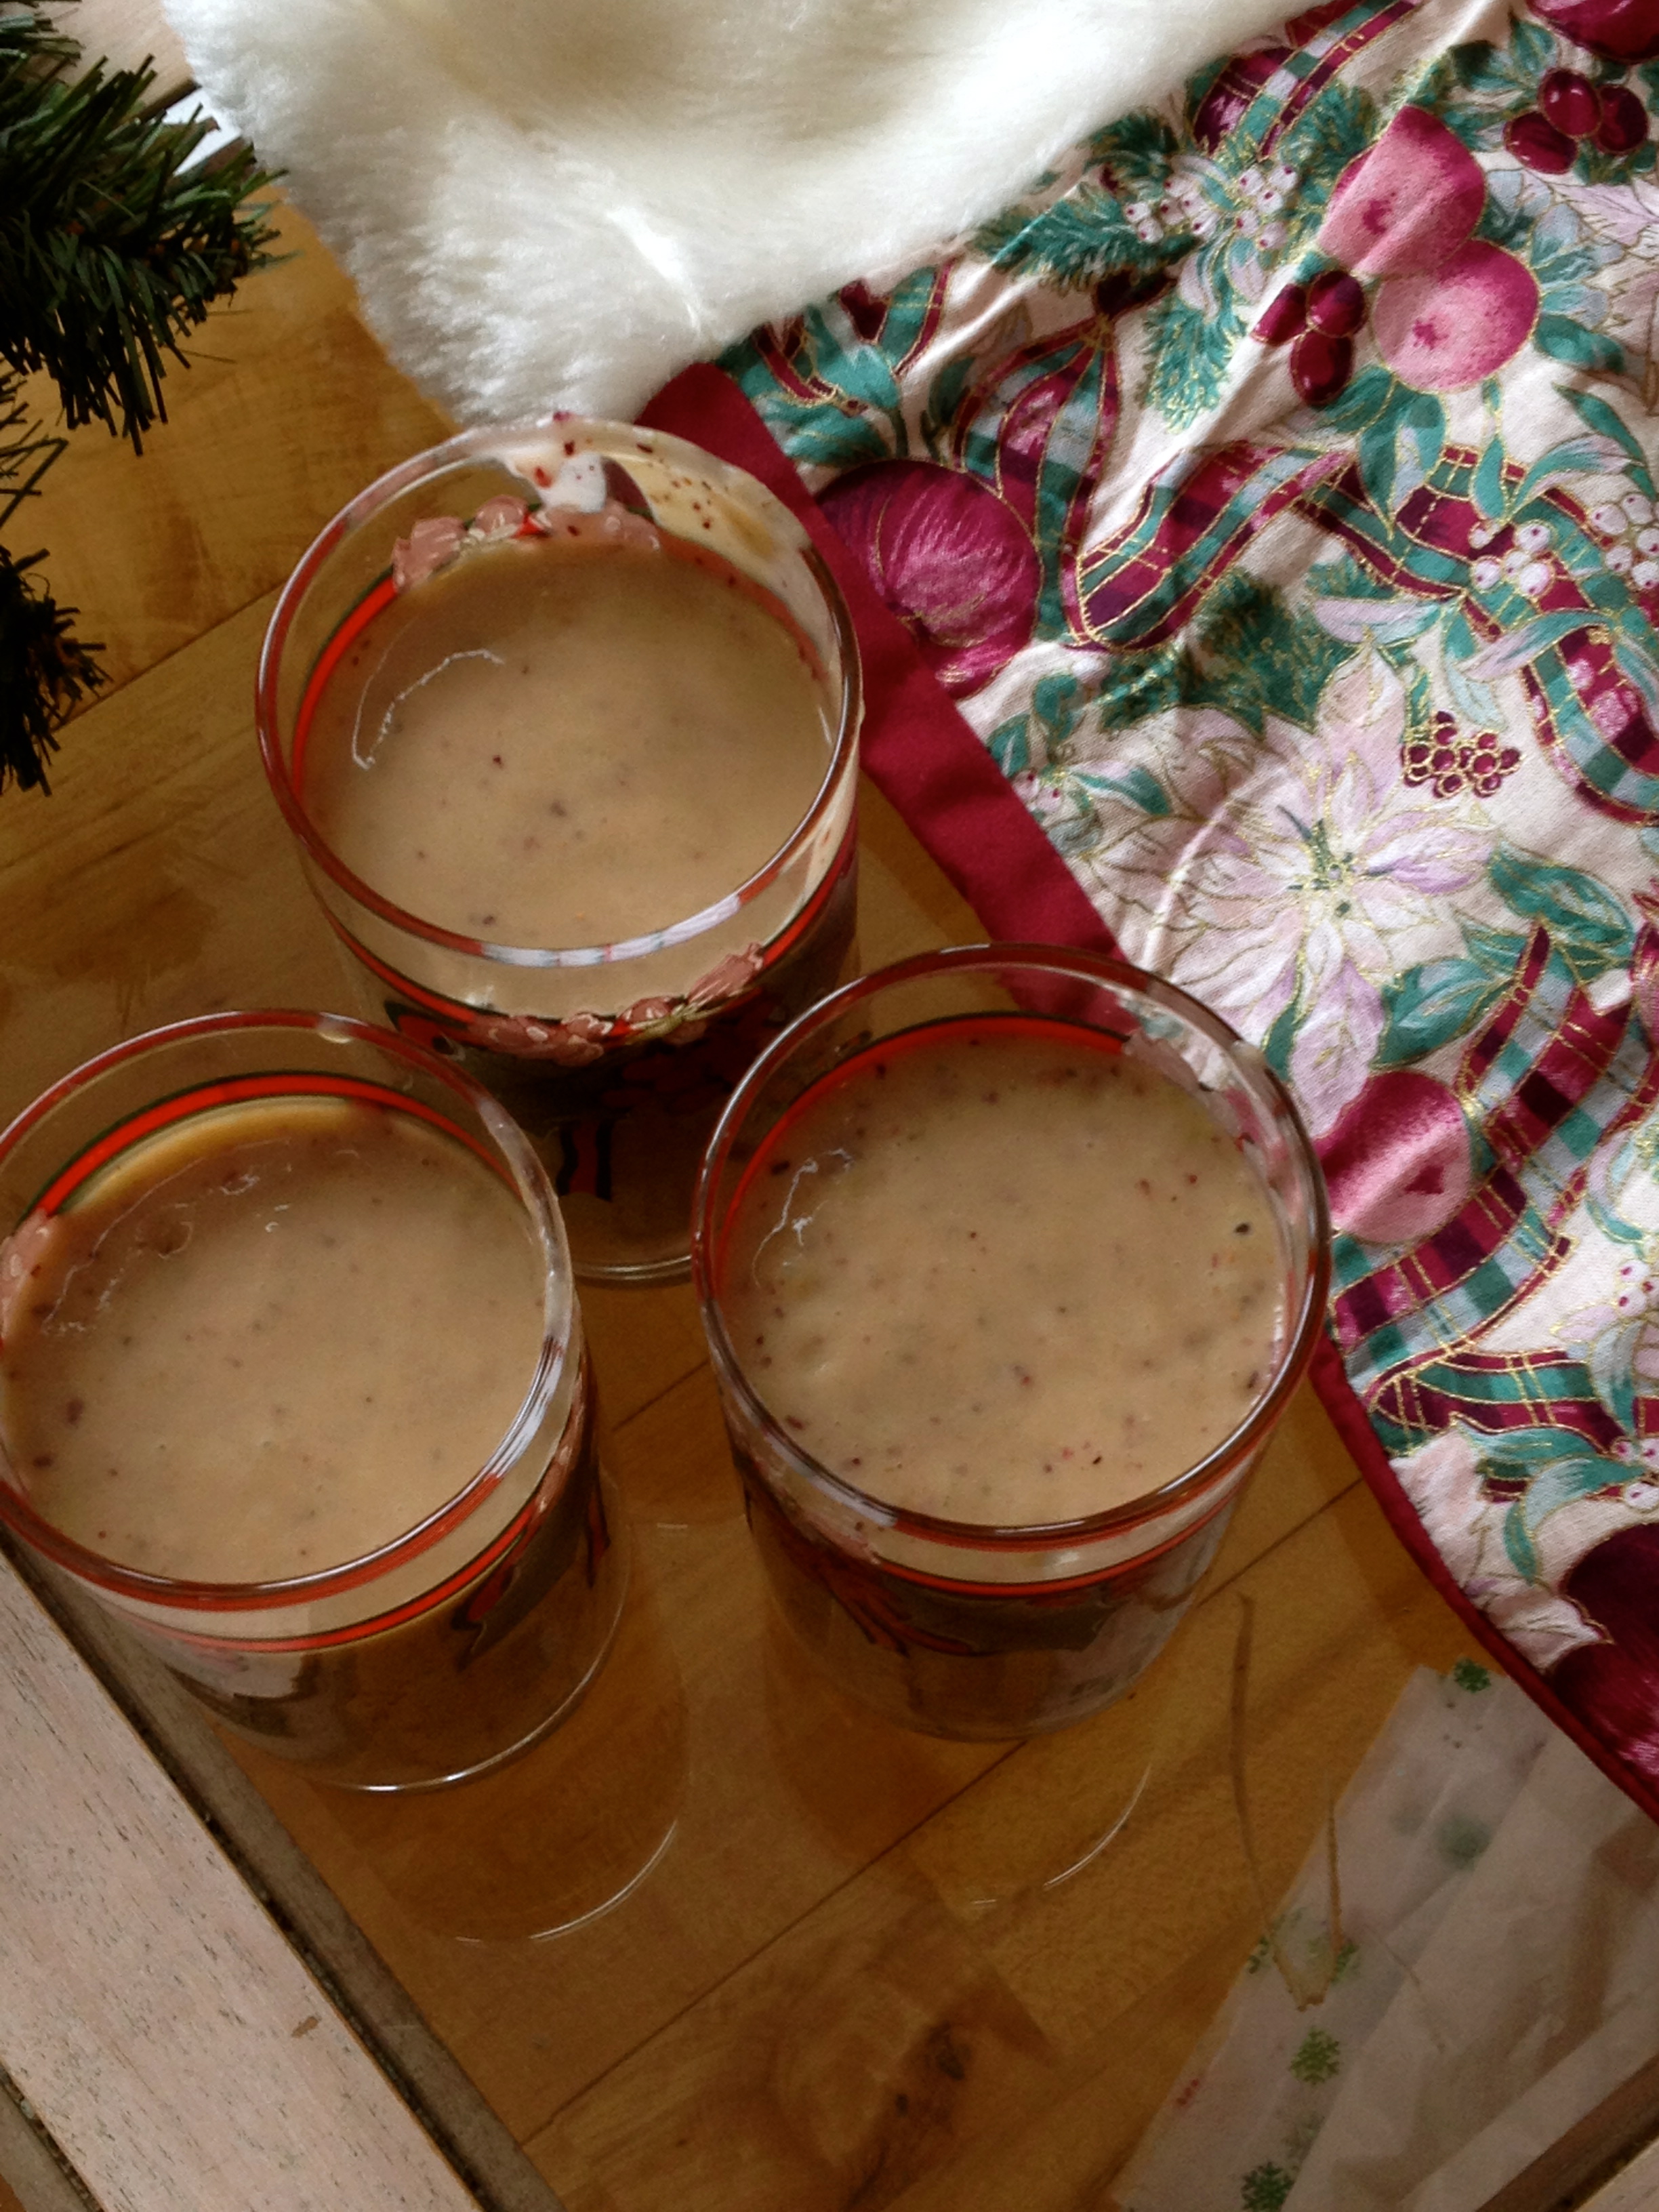
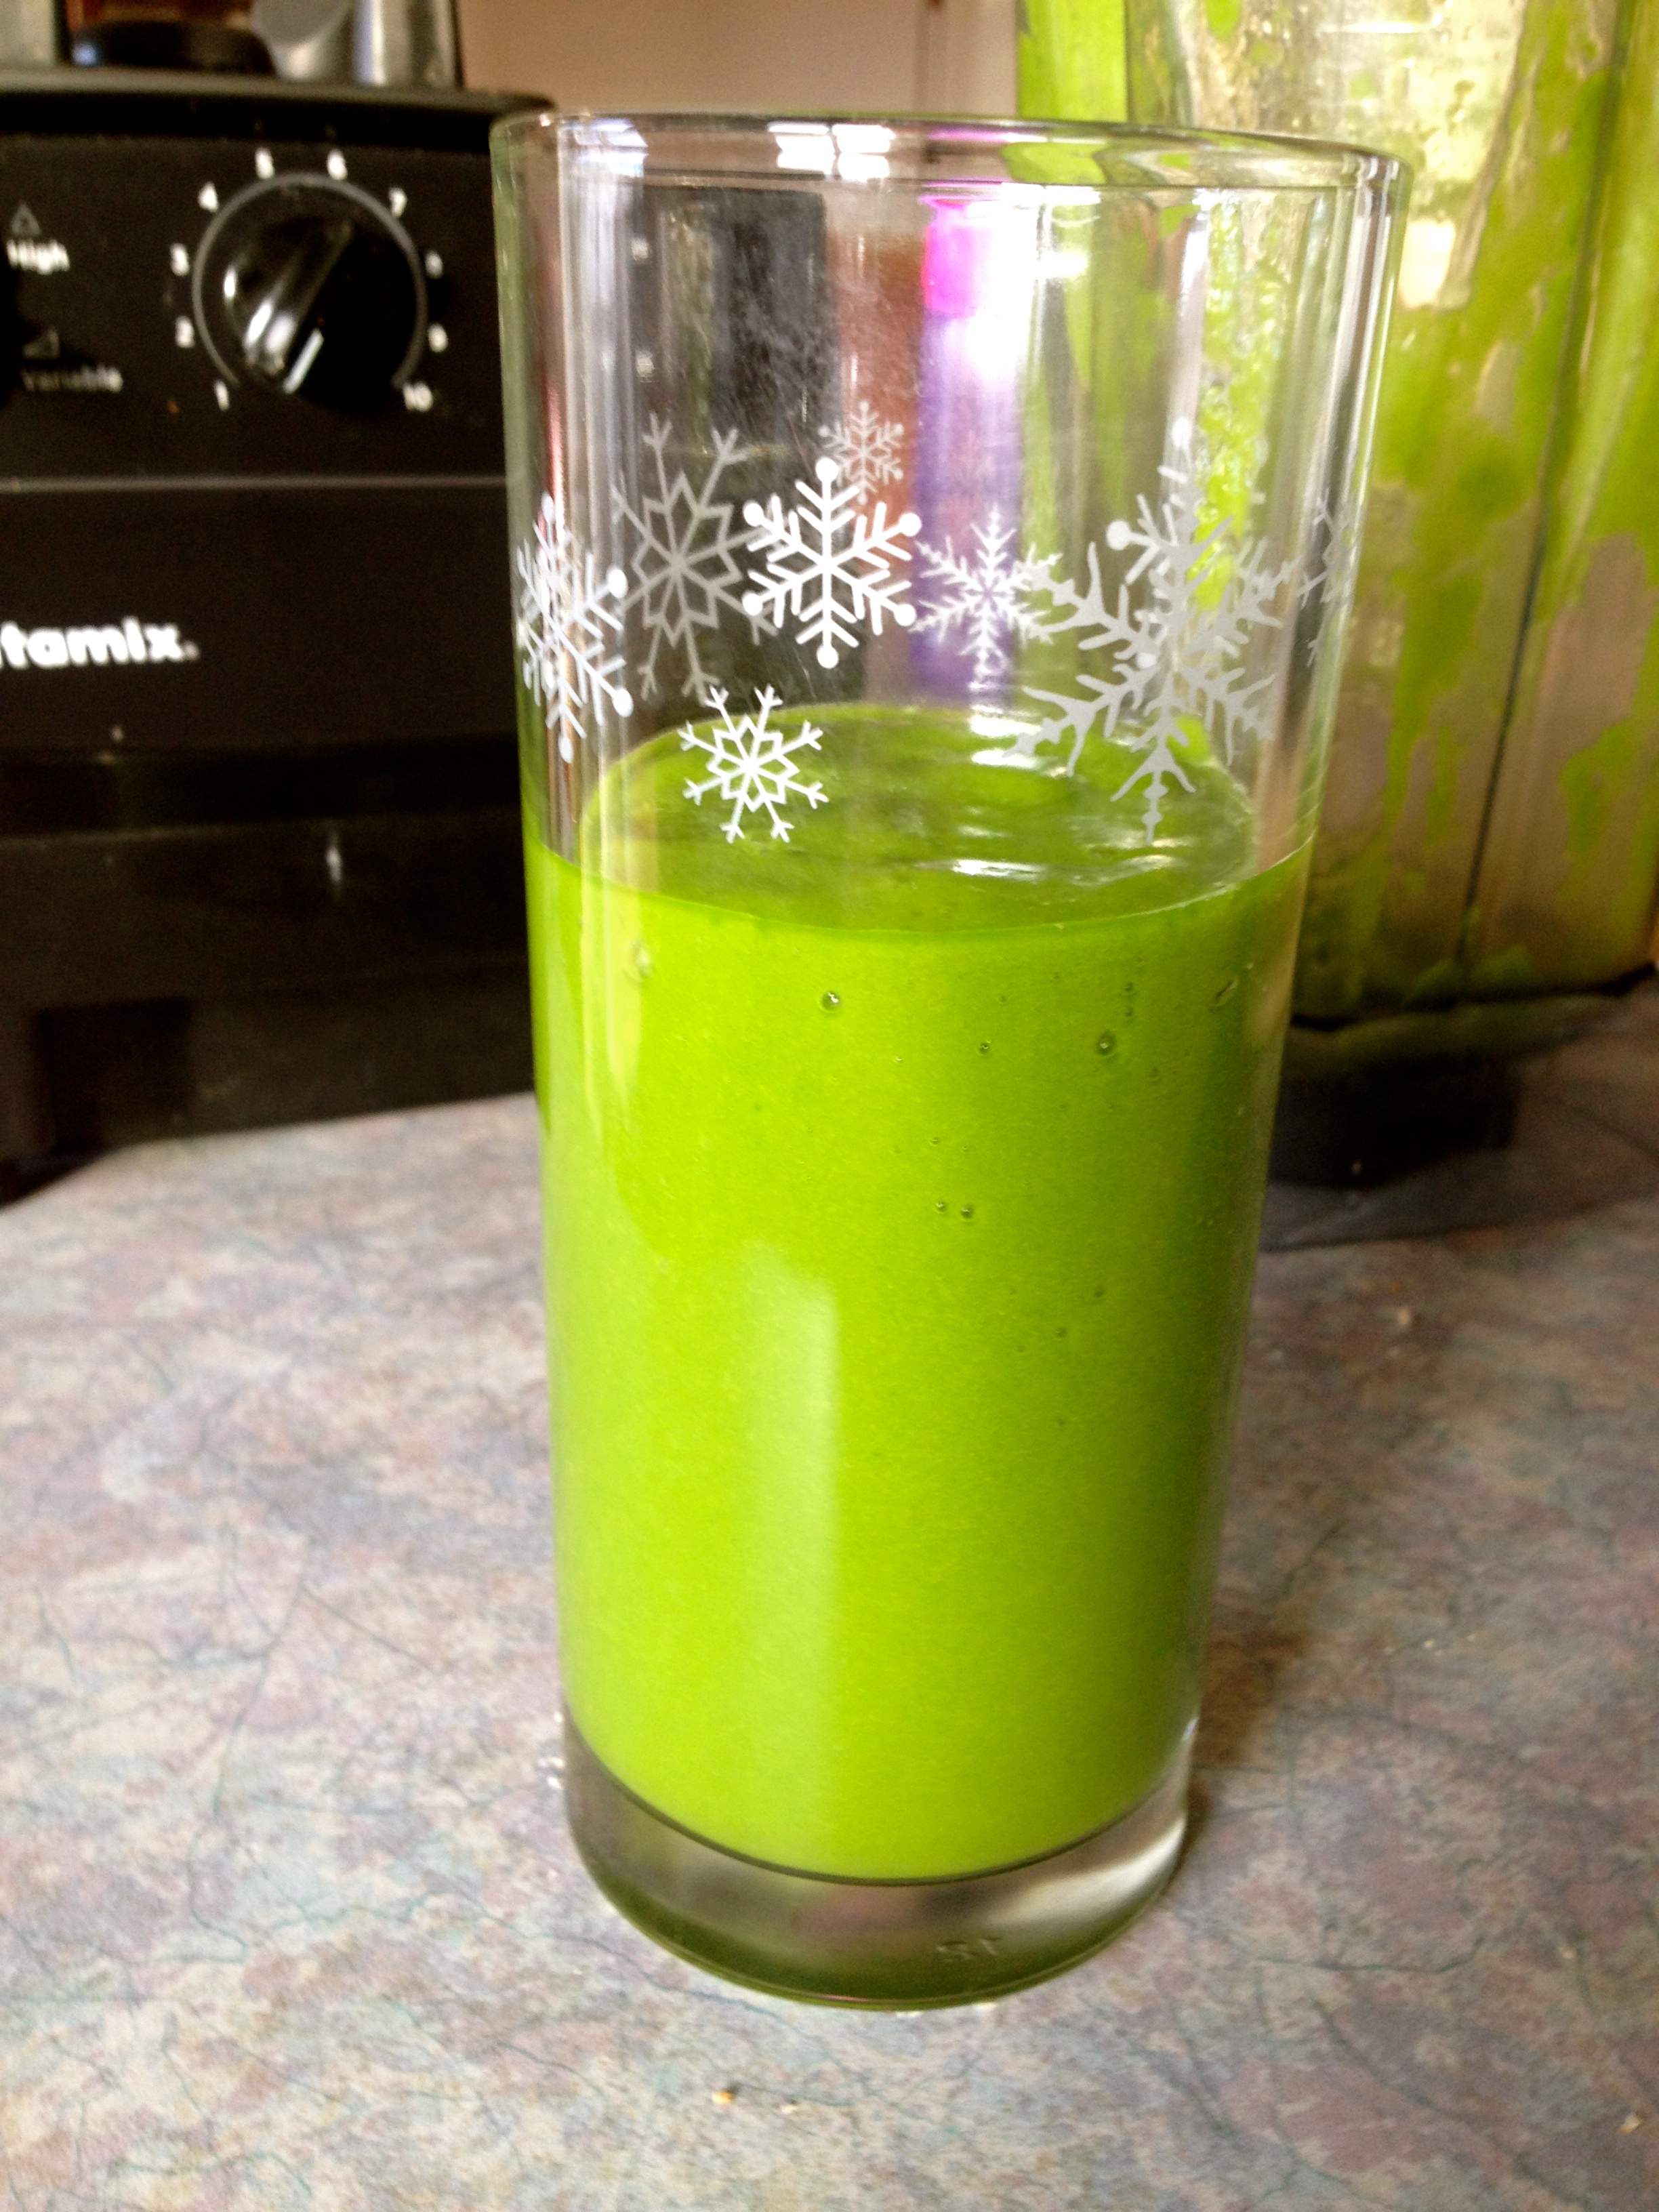
Green Smoothie (great one to try with kids as it is quite sweet and is bright green)
Ingredients:
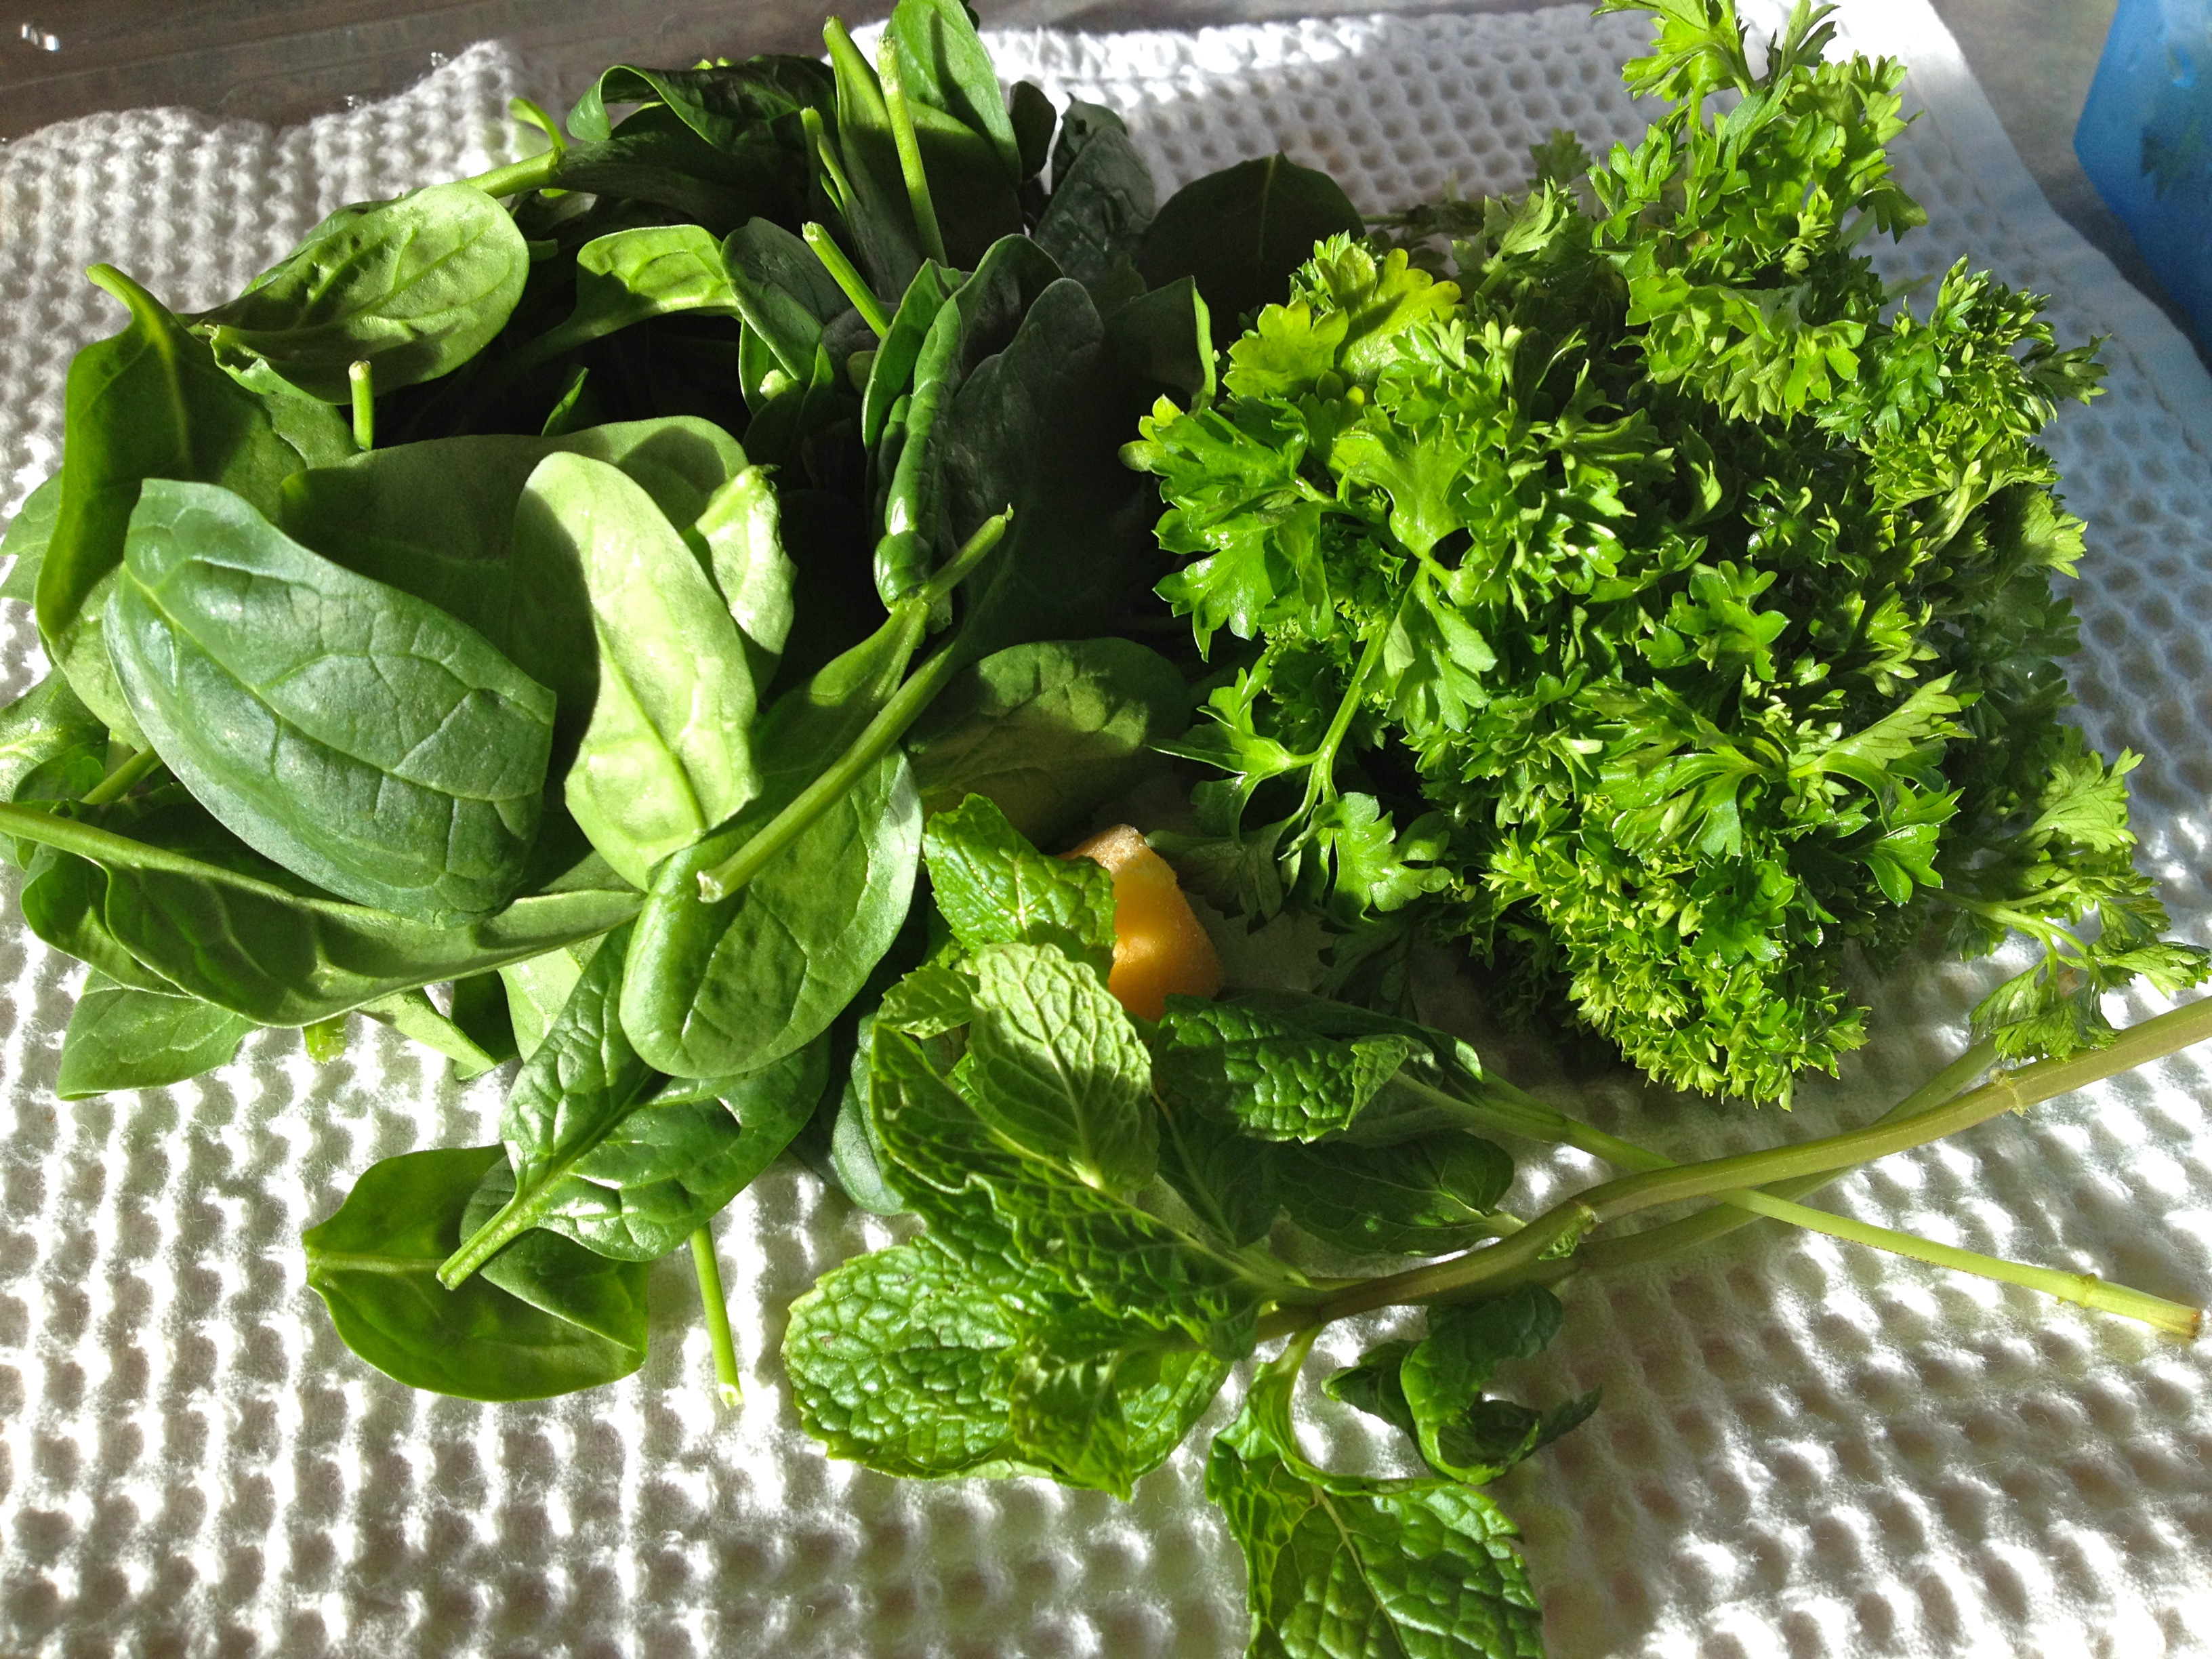
1 c. spinach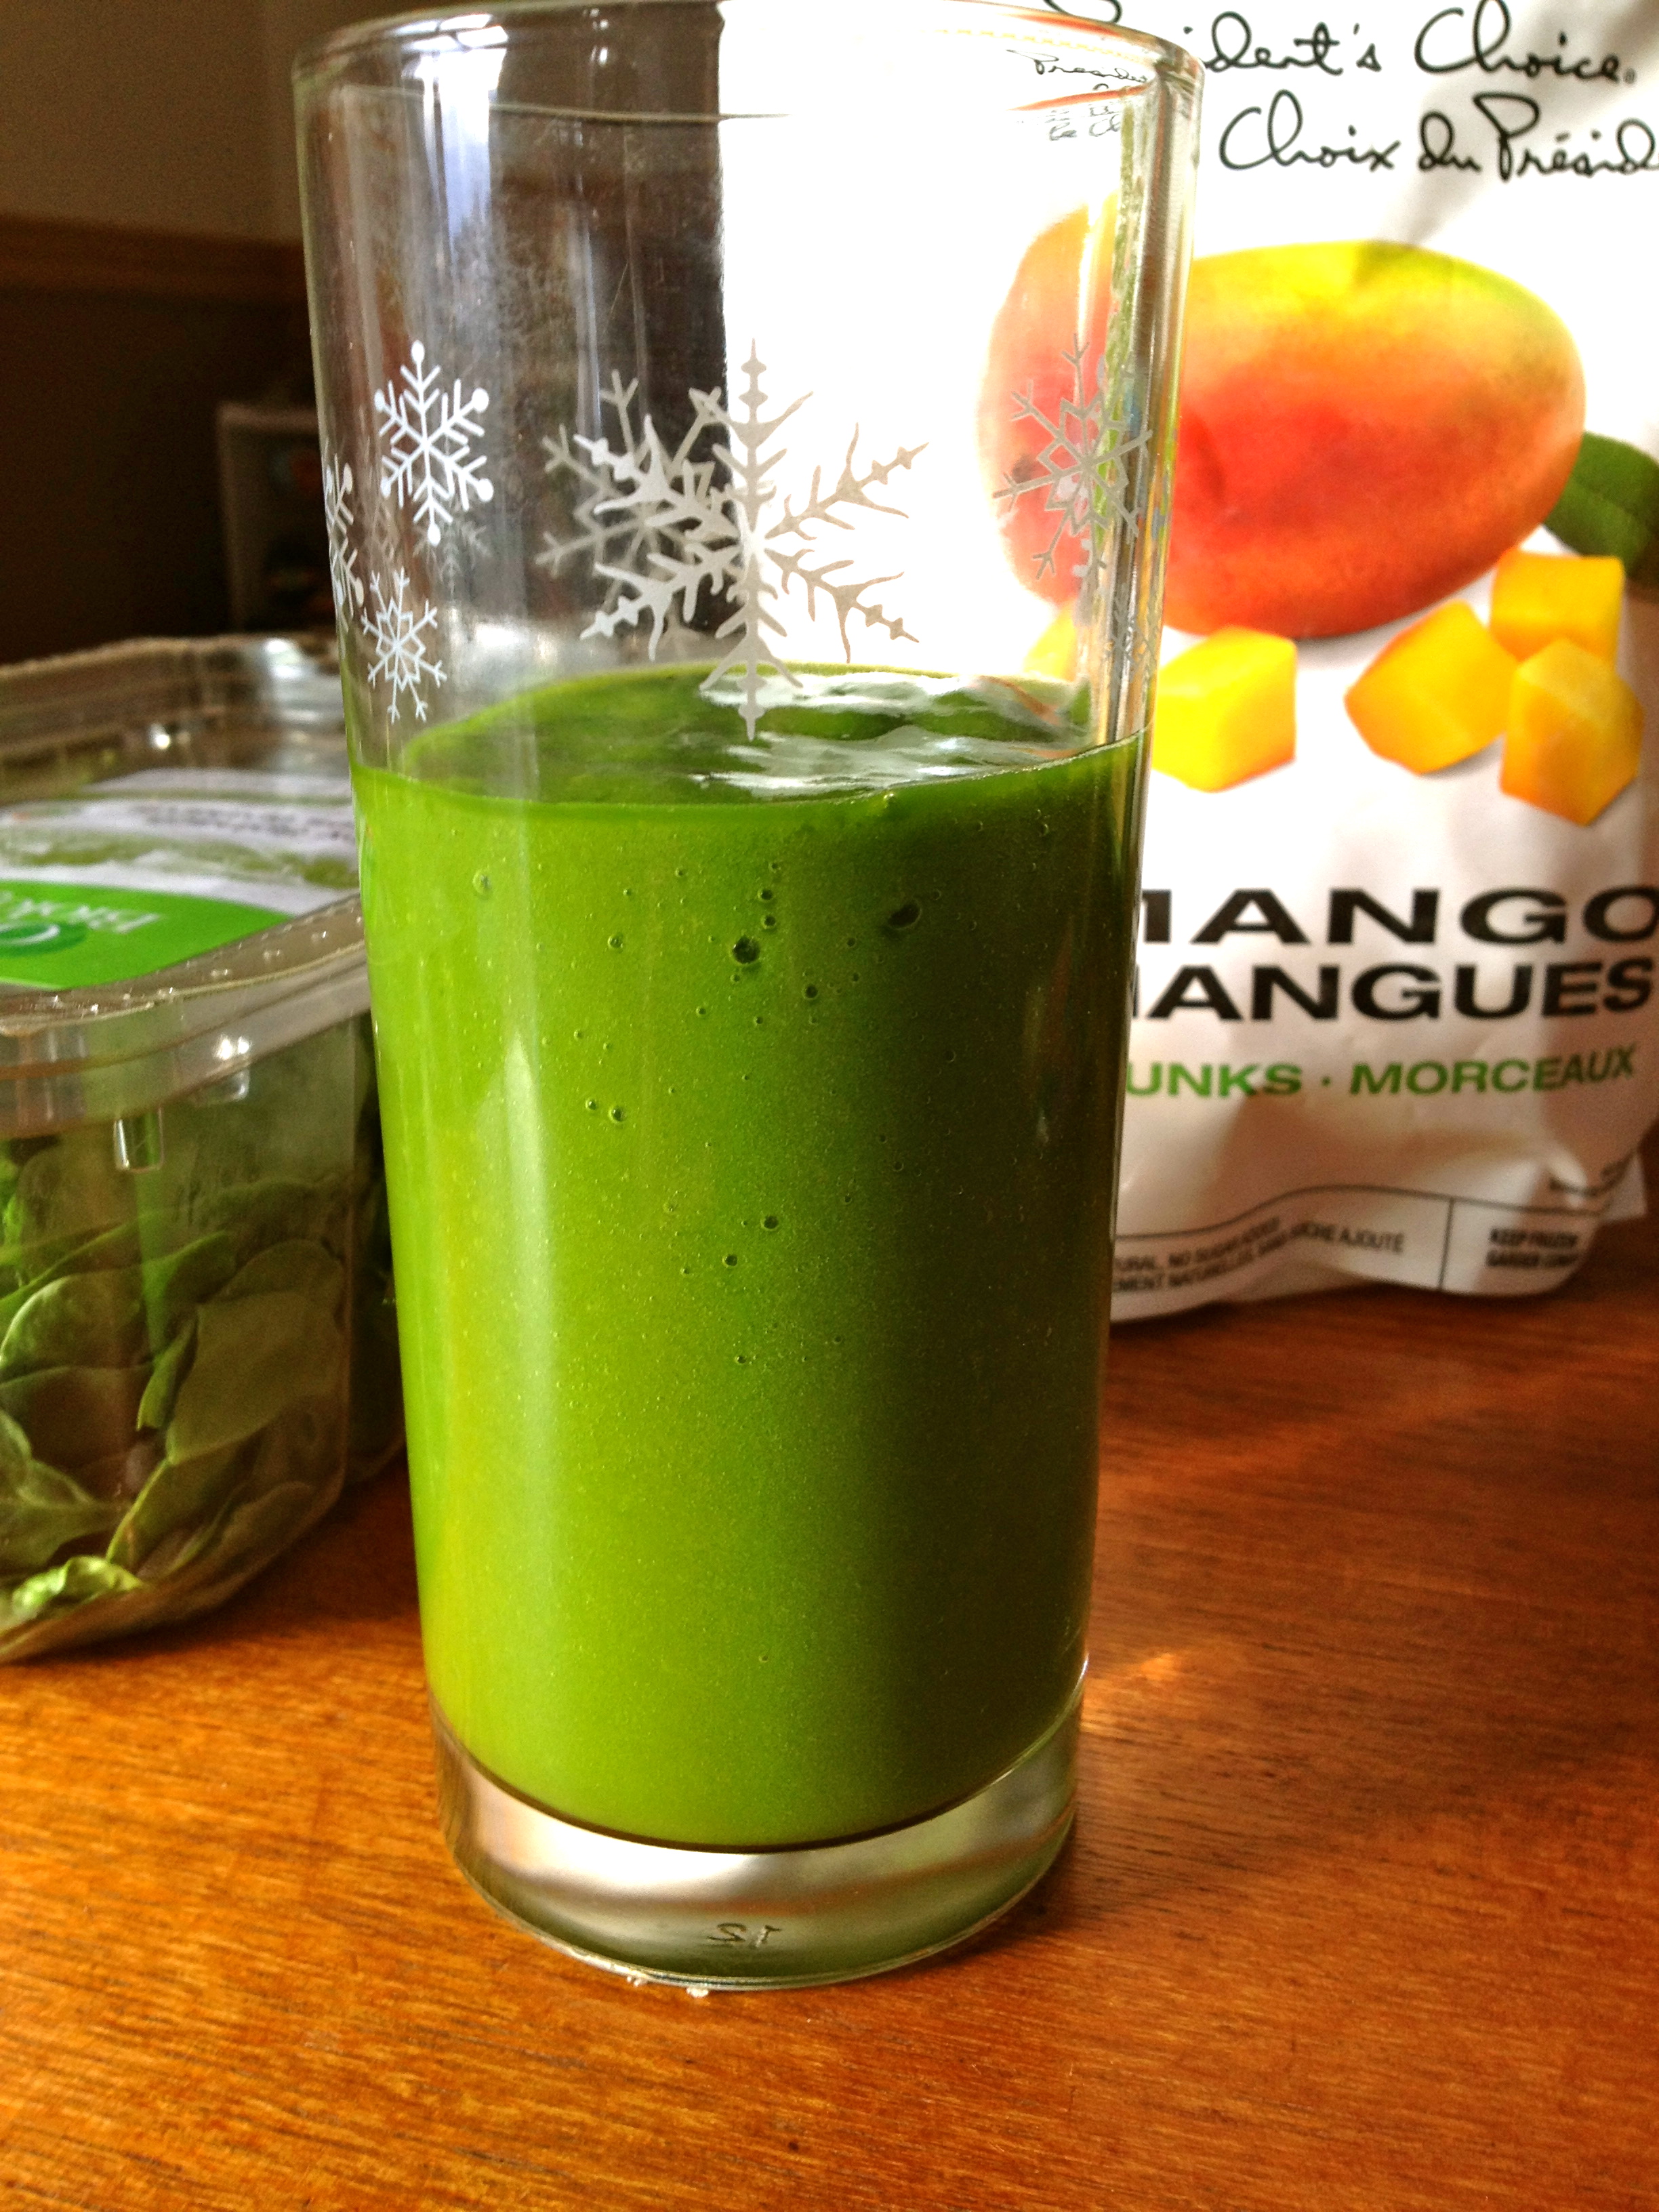
3-4 stems parsley
1 sprig fresh mint
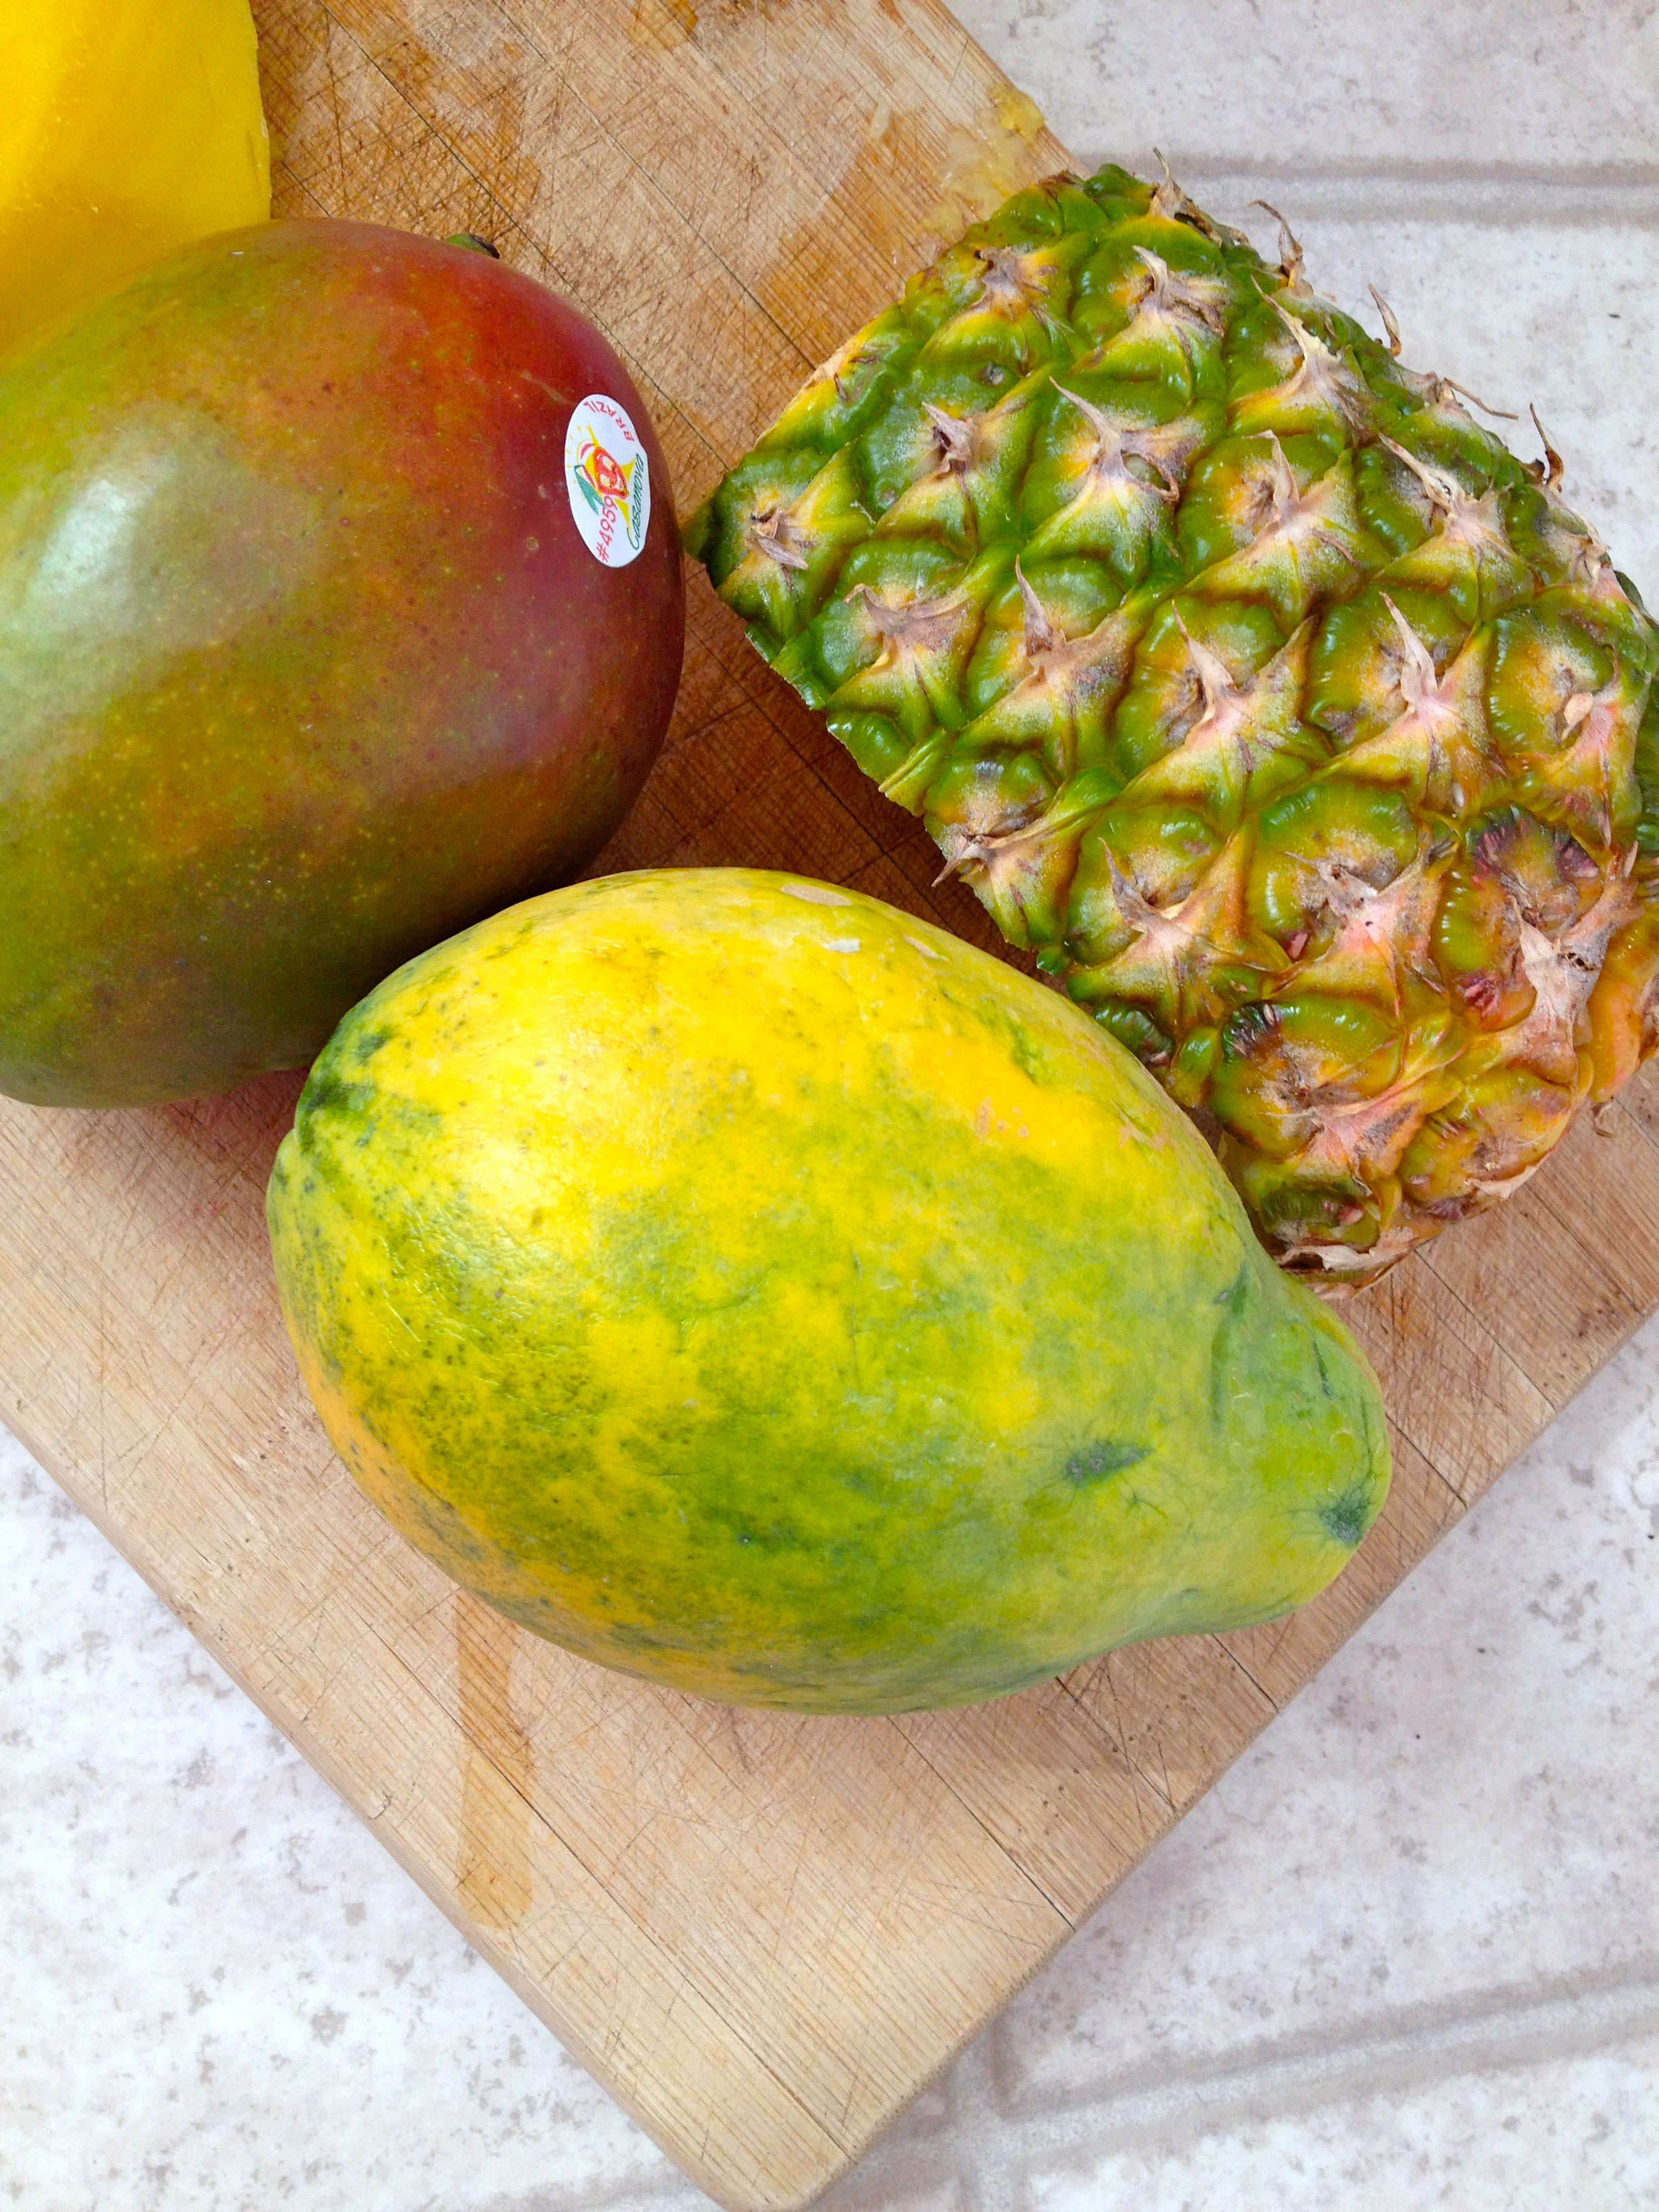
½ c. papaya
½ c. pineapple
½ c. mango
½ -3/4 c. unsweetened apple juice not from concentrate
Put all ingredients in blender. Start on low slowly moving up to high. Blend on high for 1 minutes until smooth. Enjoy!
*choosing orange or yellow papaya is sweeter but red papaya may be used as well
**Vary the amounts of fruit to make it sweeter or less sweet to taste
Coming next week… Tacos! with our homemade taco seasoning