Camping Essentials – Making your own Firestarters

IMG_3240
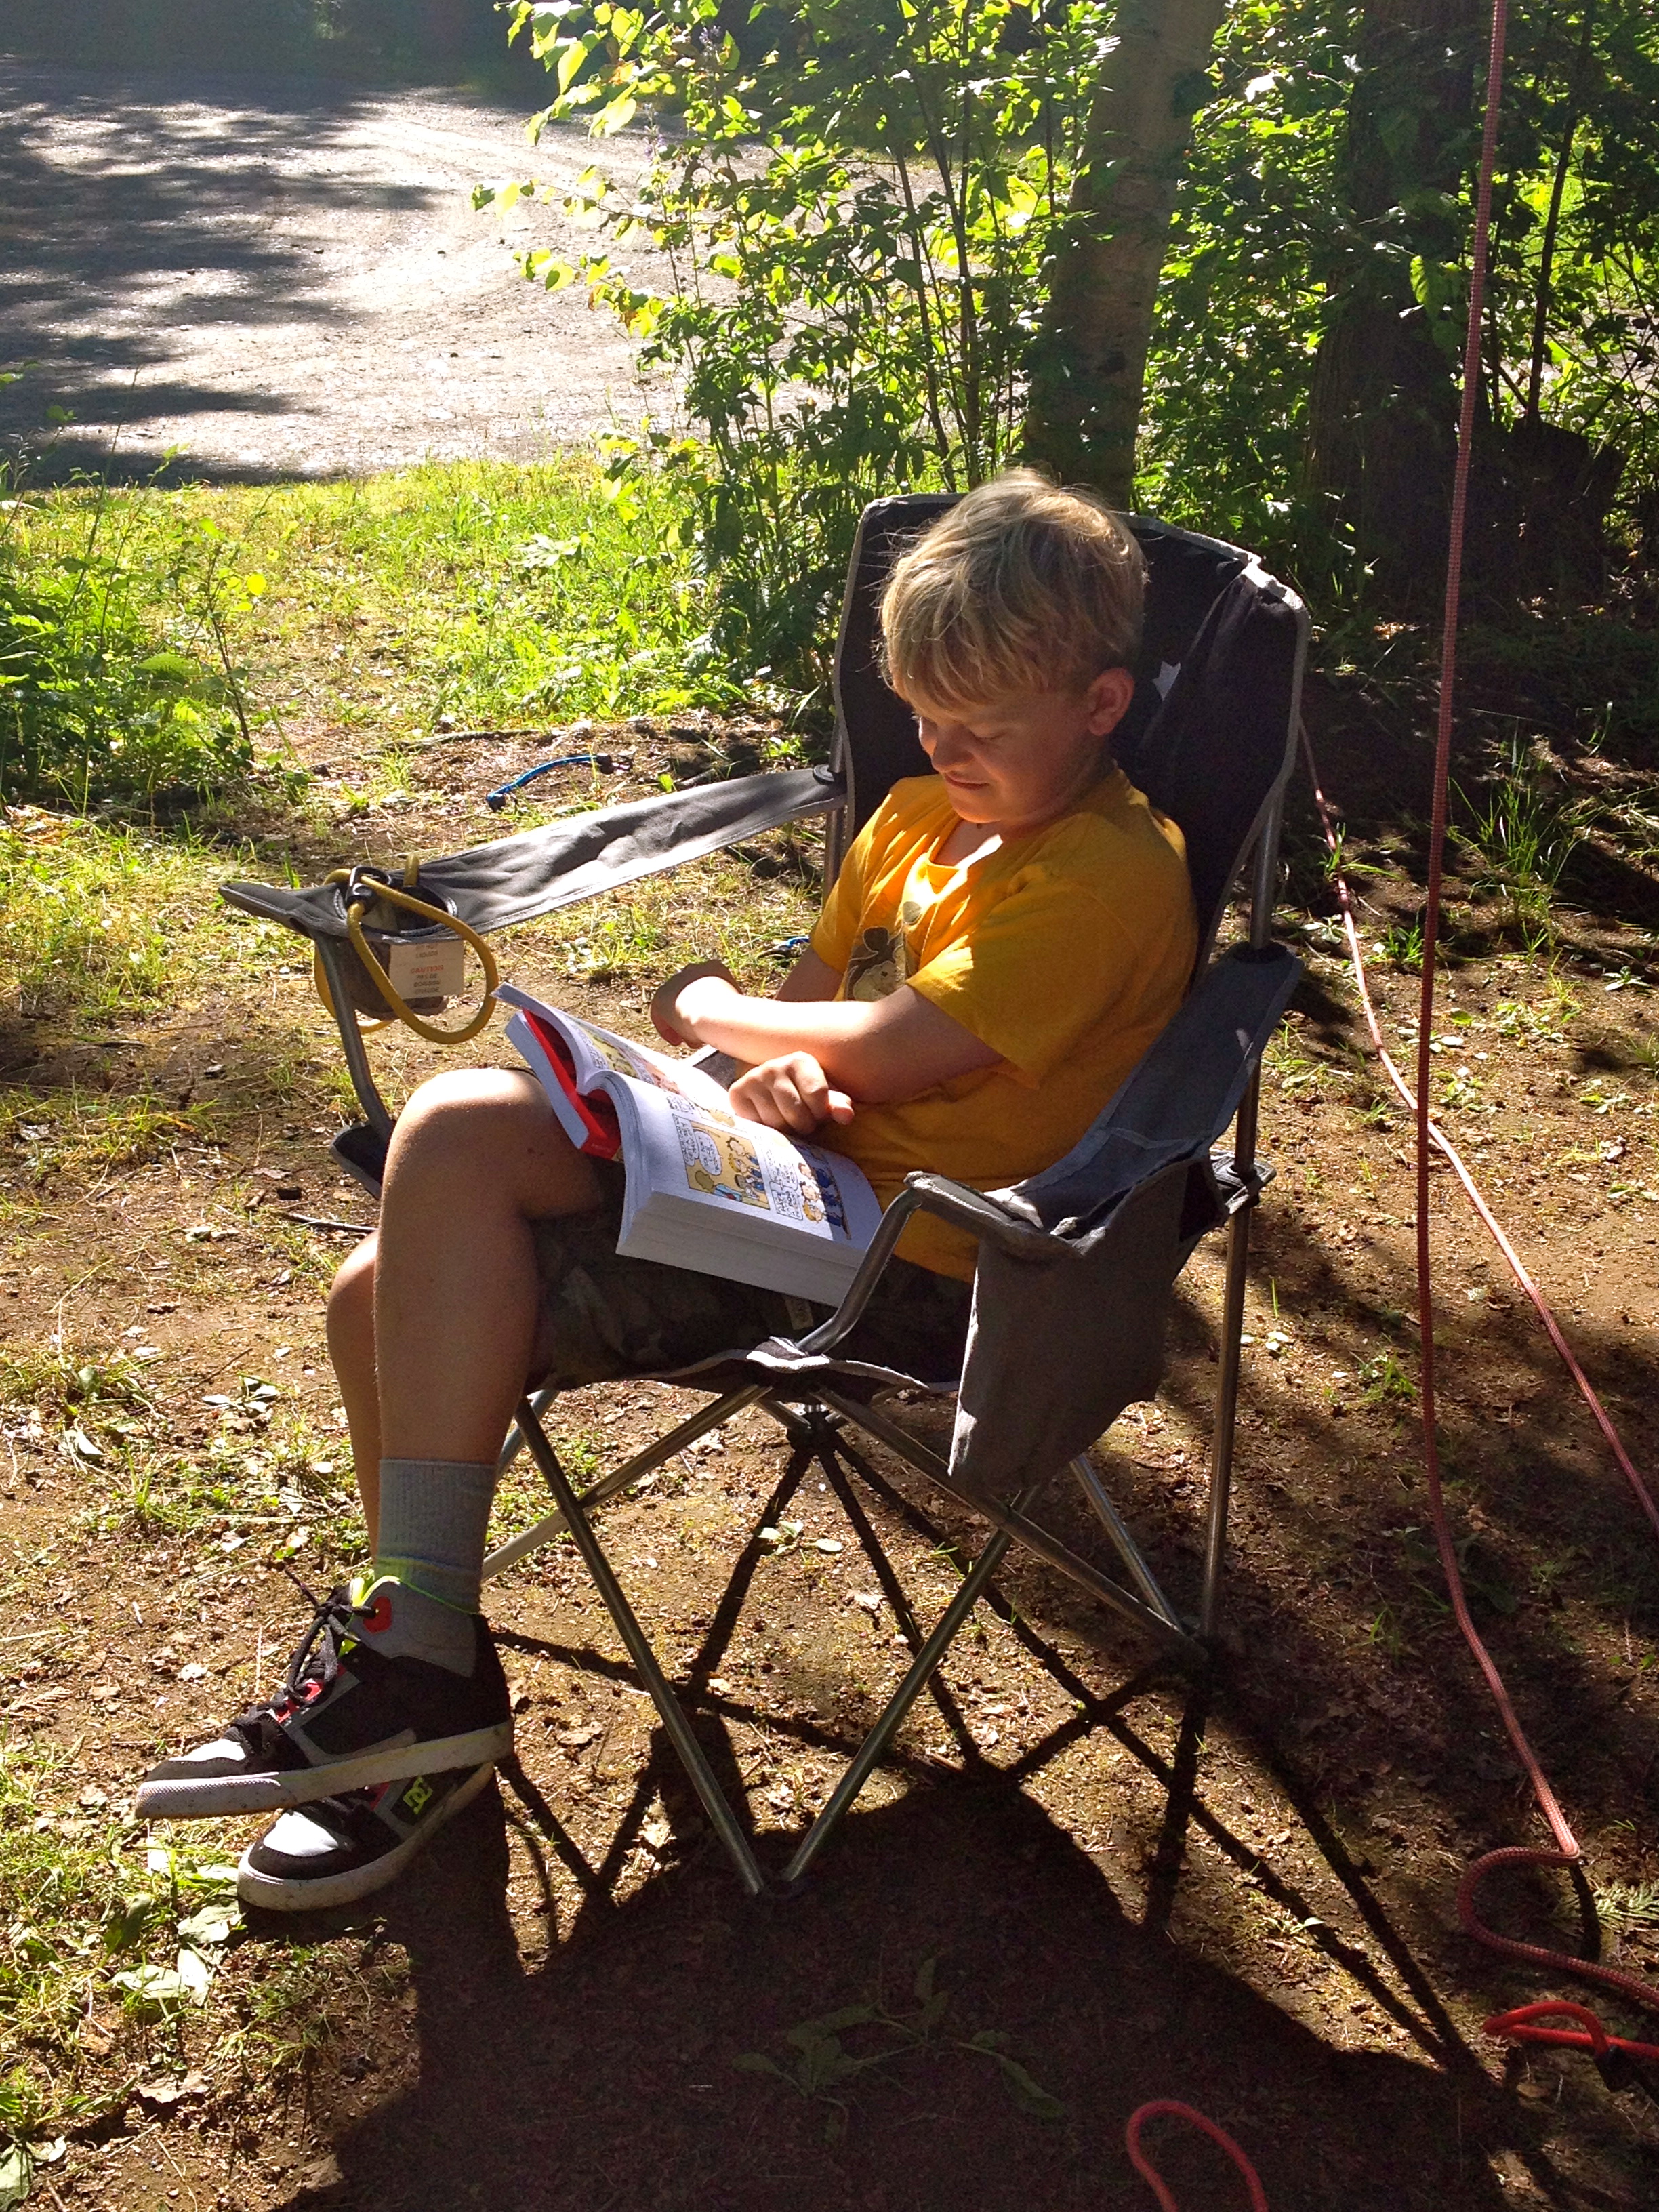
I’m an avid lover of camping. All my family vacations growing up were camping and exploring different places in the Maritimes and I have many fond memories of those trips. Luckily my kids are also avid campers and when I introduced camping to the twins last summer, we kicked off the ‘rebirth’ of camping in our family (after a short siesta between when the twins were born and still quite little). We got out quite a bit last season and even snuck in one final night in mid September.

So when this season kicked off I started looking at the calendar to plan in as much camping as possible between my part time work schedule and other regular commitments. I’m pretty impressed with myself as so far in about 2 weeks we have done 3 different camping trips and places. Some old some new, but loving it all the same.
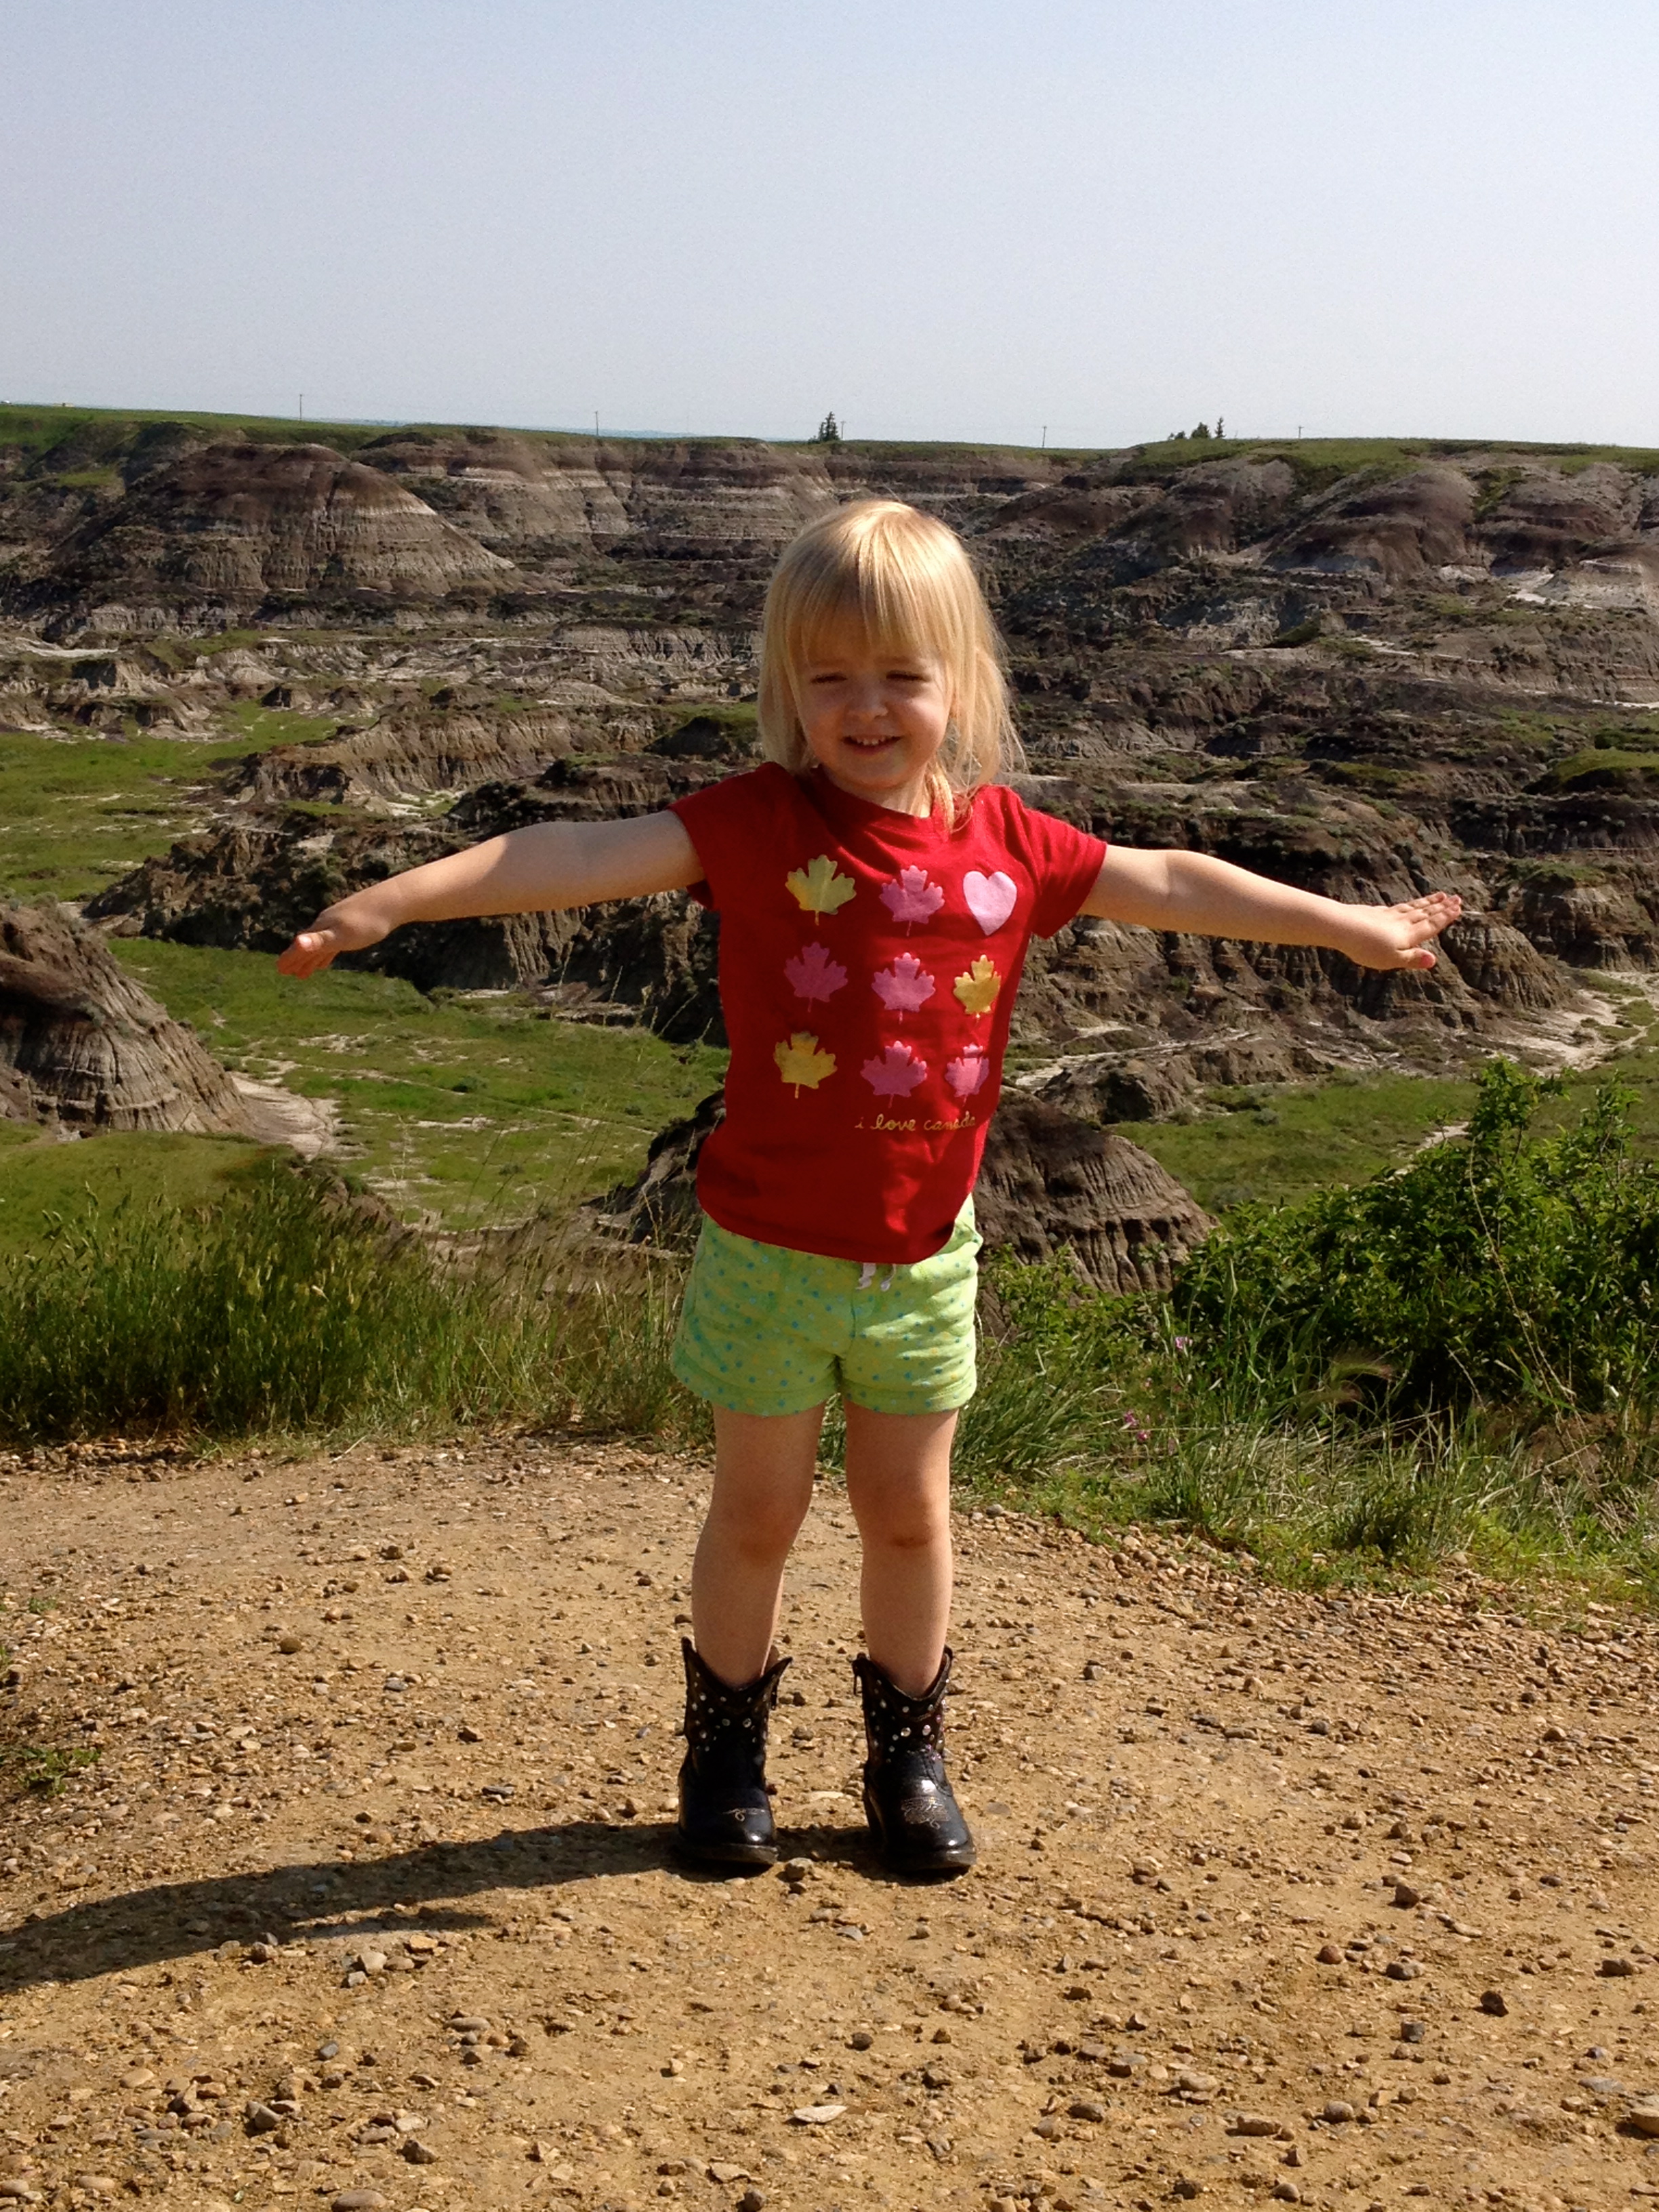
Drumheller, AB

Drumheller, AB

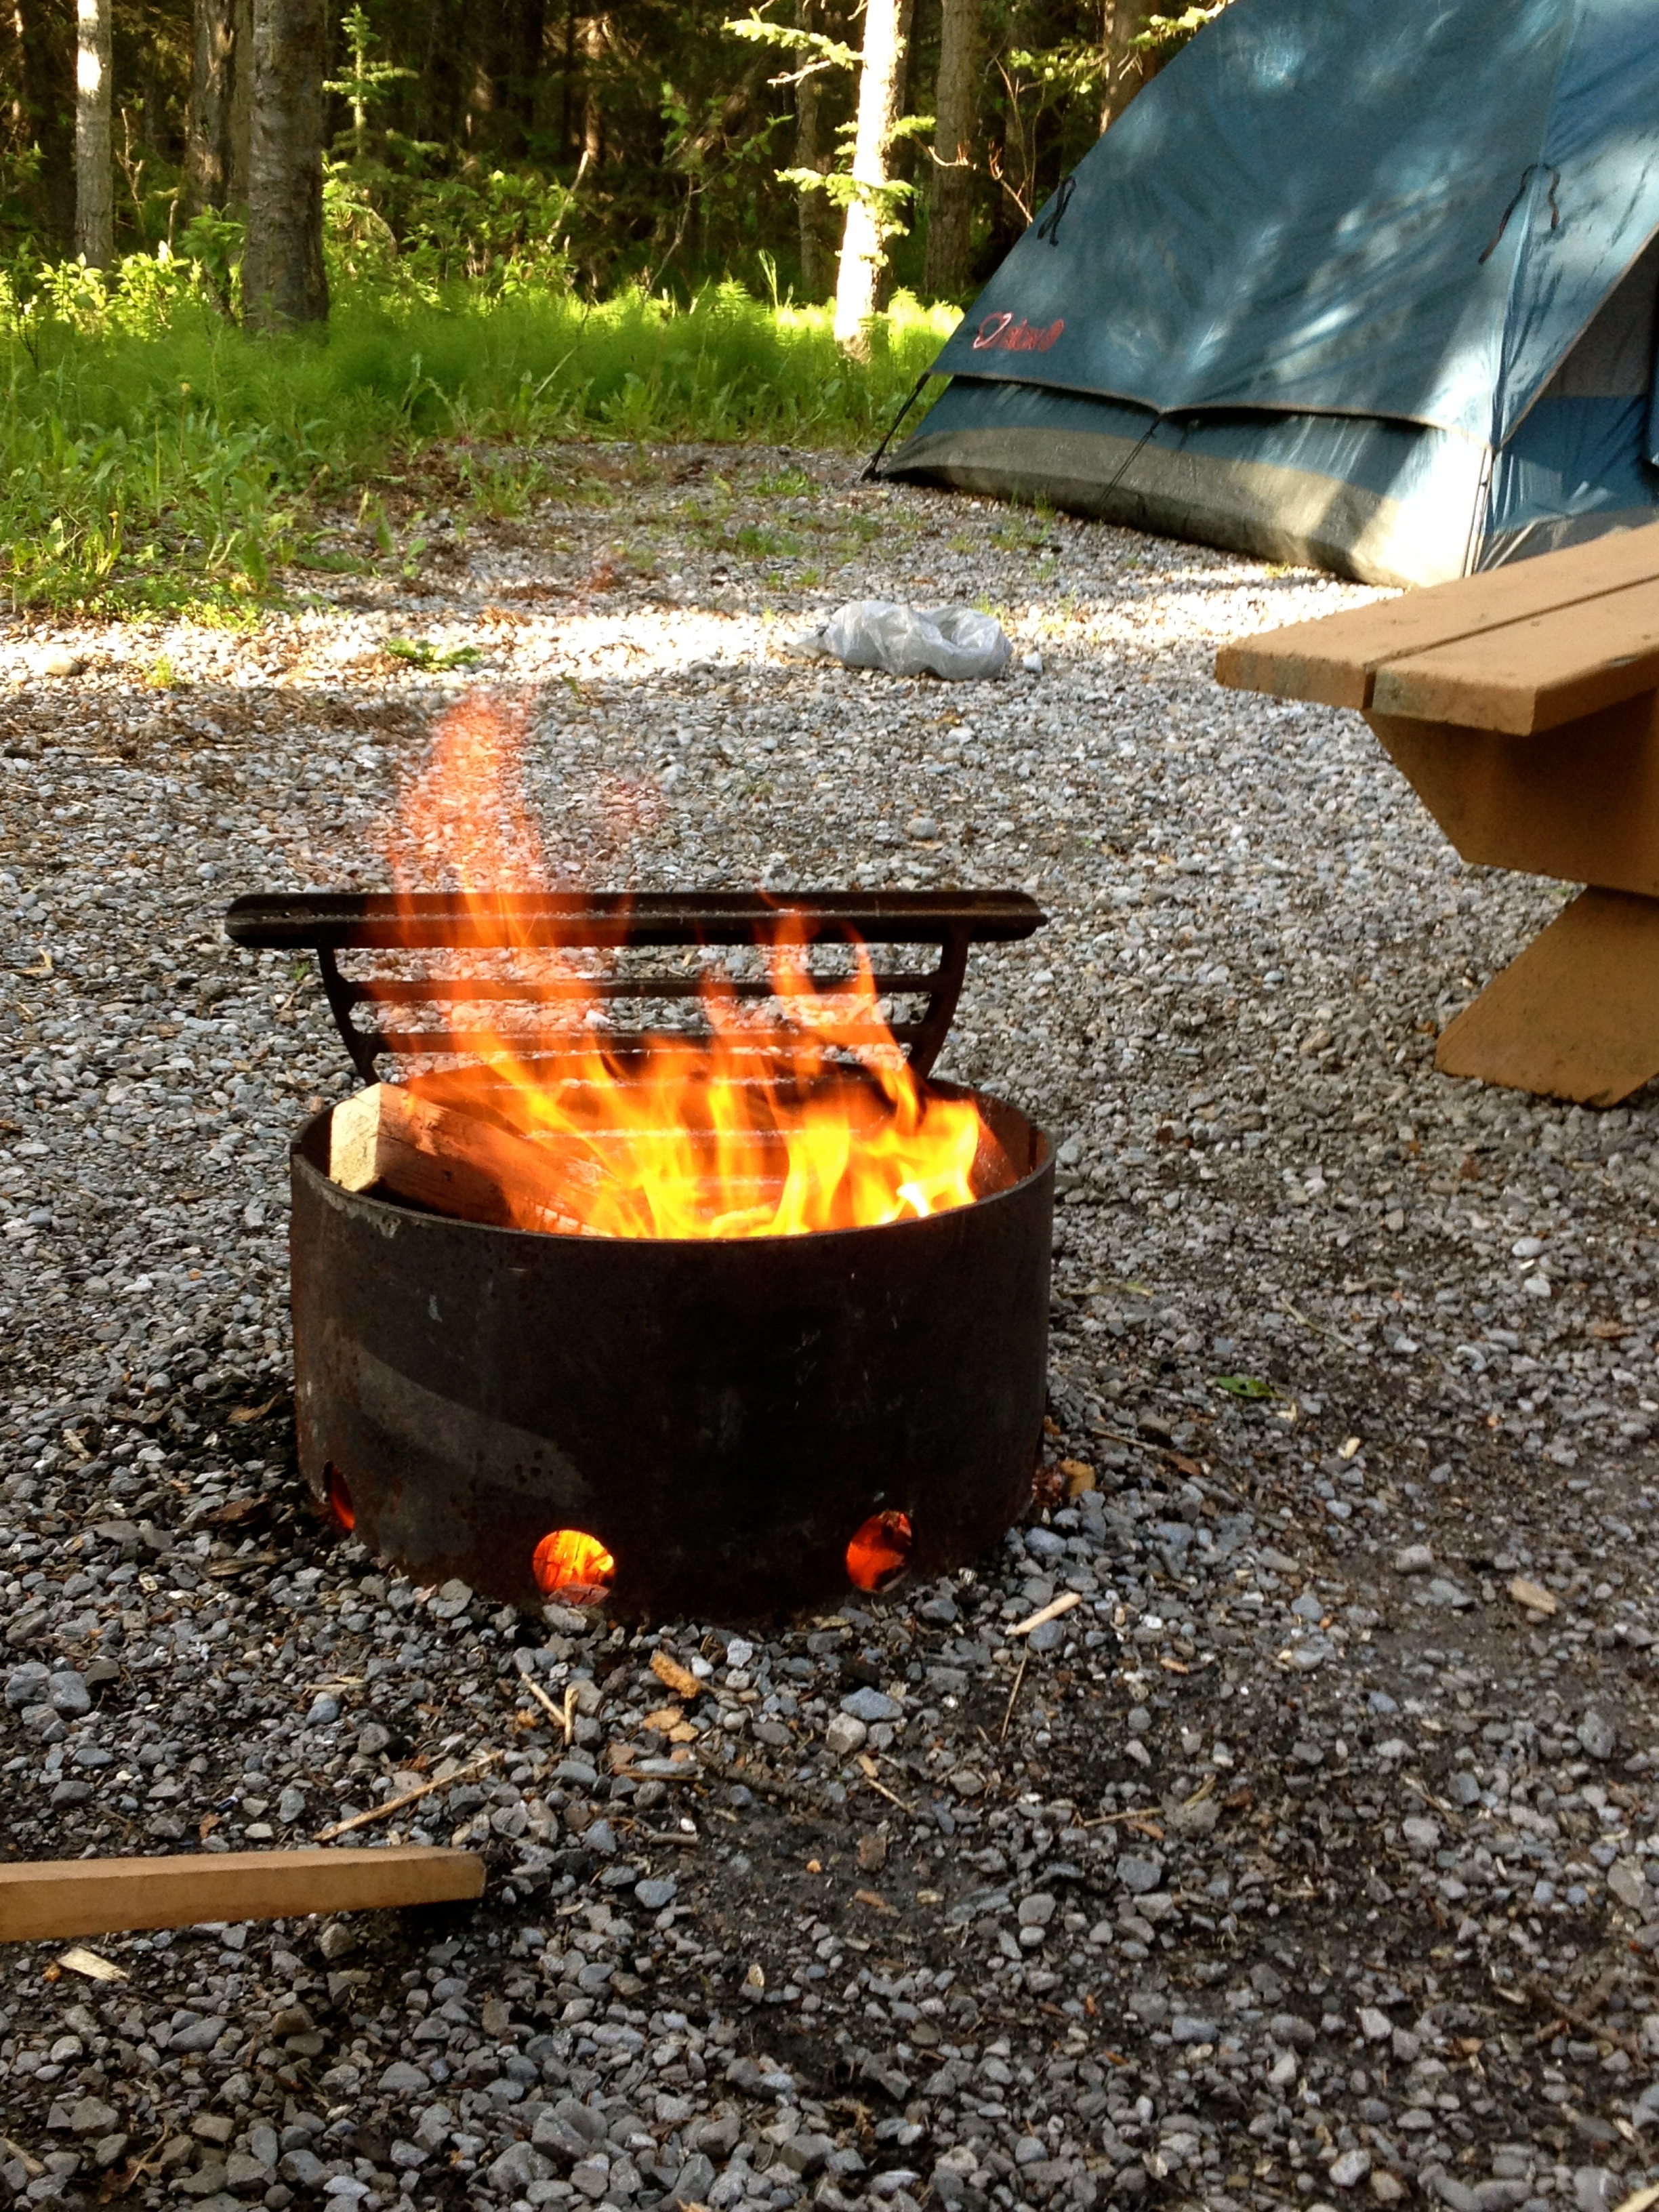
I think everyone in our household (and probably most campers) would agree that one of the best things about camping is having a fire. Whether you are cooking on it to make dinner or just sitting around and enjoying it, it really is essential. It’s so lovely to sit around the fire on a summer evening and relax, chat or just hang out.

Even when its raining, if you can get a fire going it just makes that camping experience so much nicer. When I was in Girl Guides growing up, of course one to the things I learned was fire building. There is the traditional log house or teepee style, some use newspaper or  dry moss to start the fire. But the best thing that I have ever discovered (and did learn how to make these in Girl Guides) is a firestarter. Made out of materials that you have around the home anyway, these firestarters will burn for 20 minutes and will work easily in the rain. They make starting a fire quick and easy and I won’t go camping without them!

IMG_3059
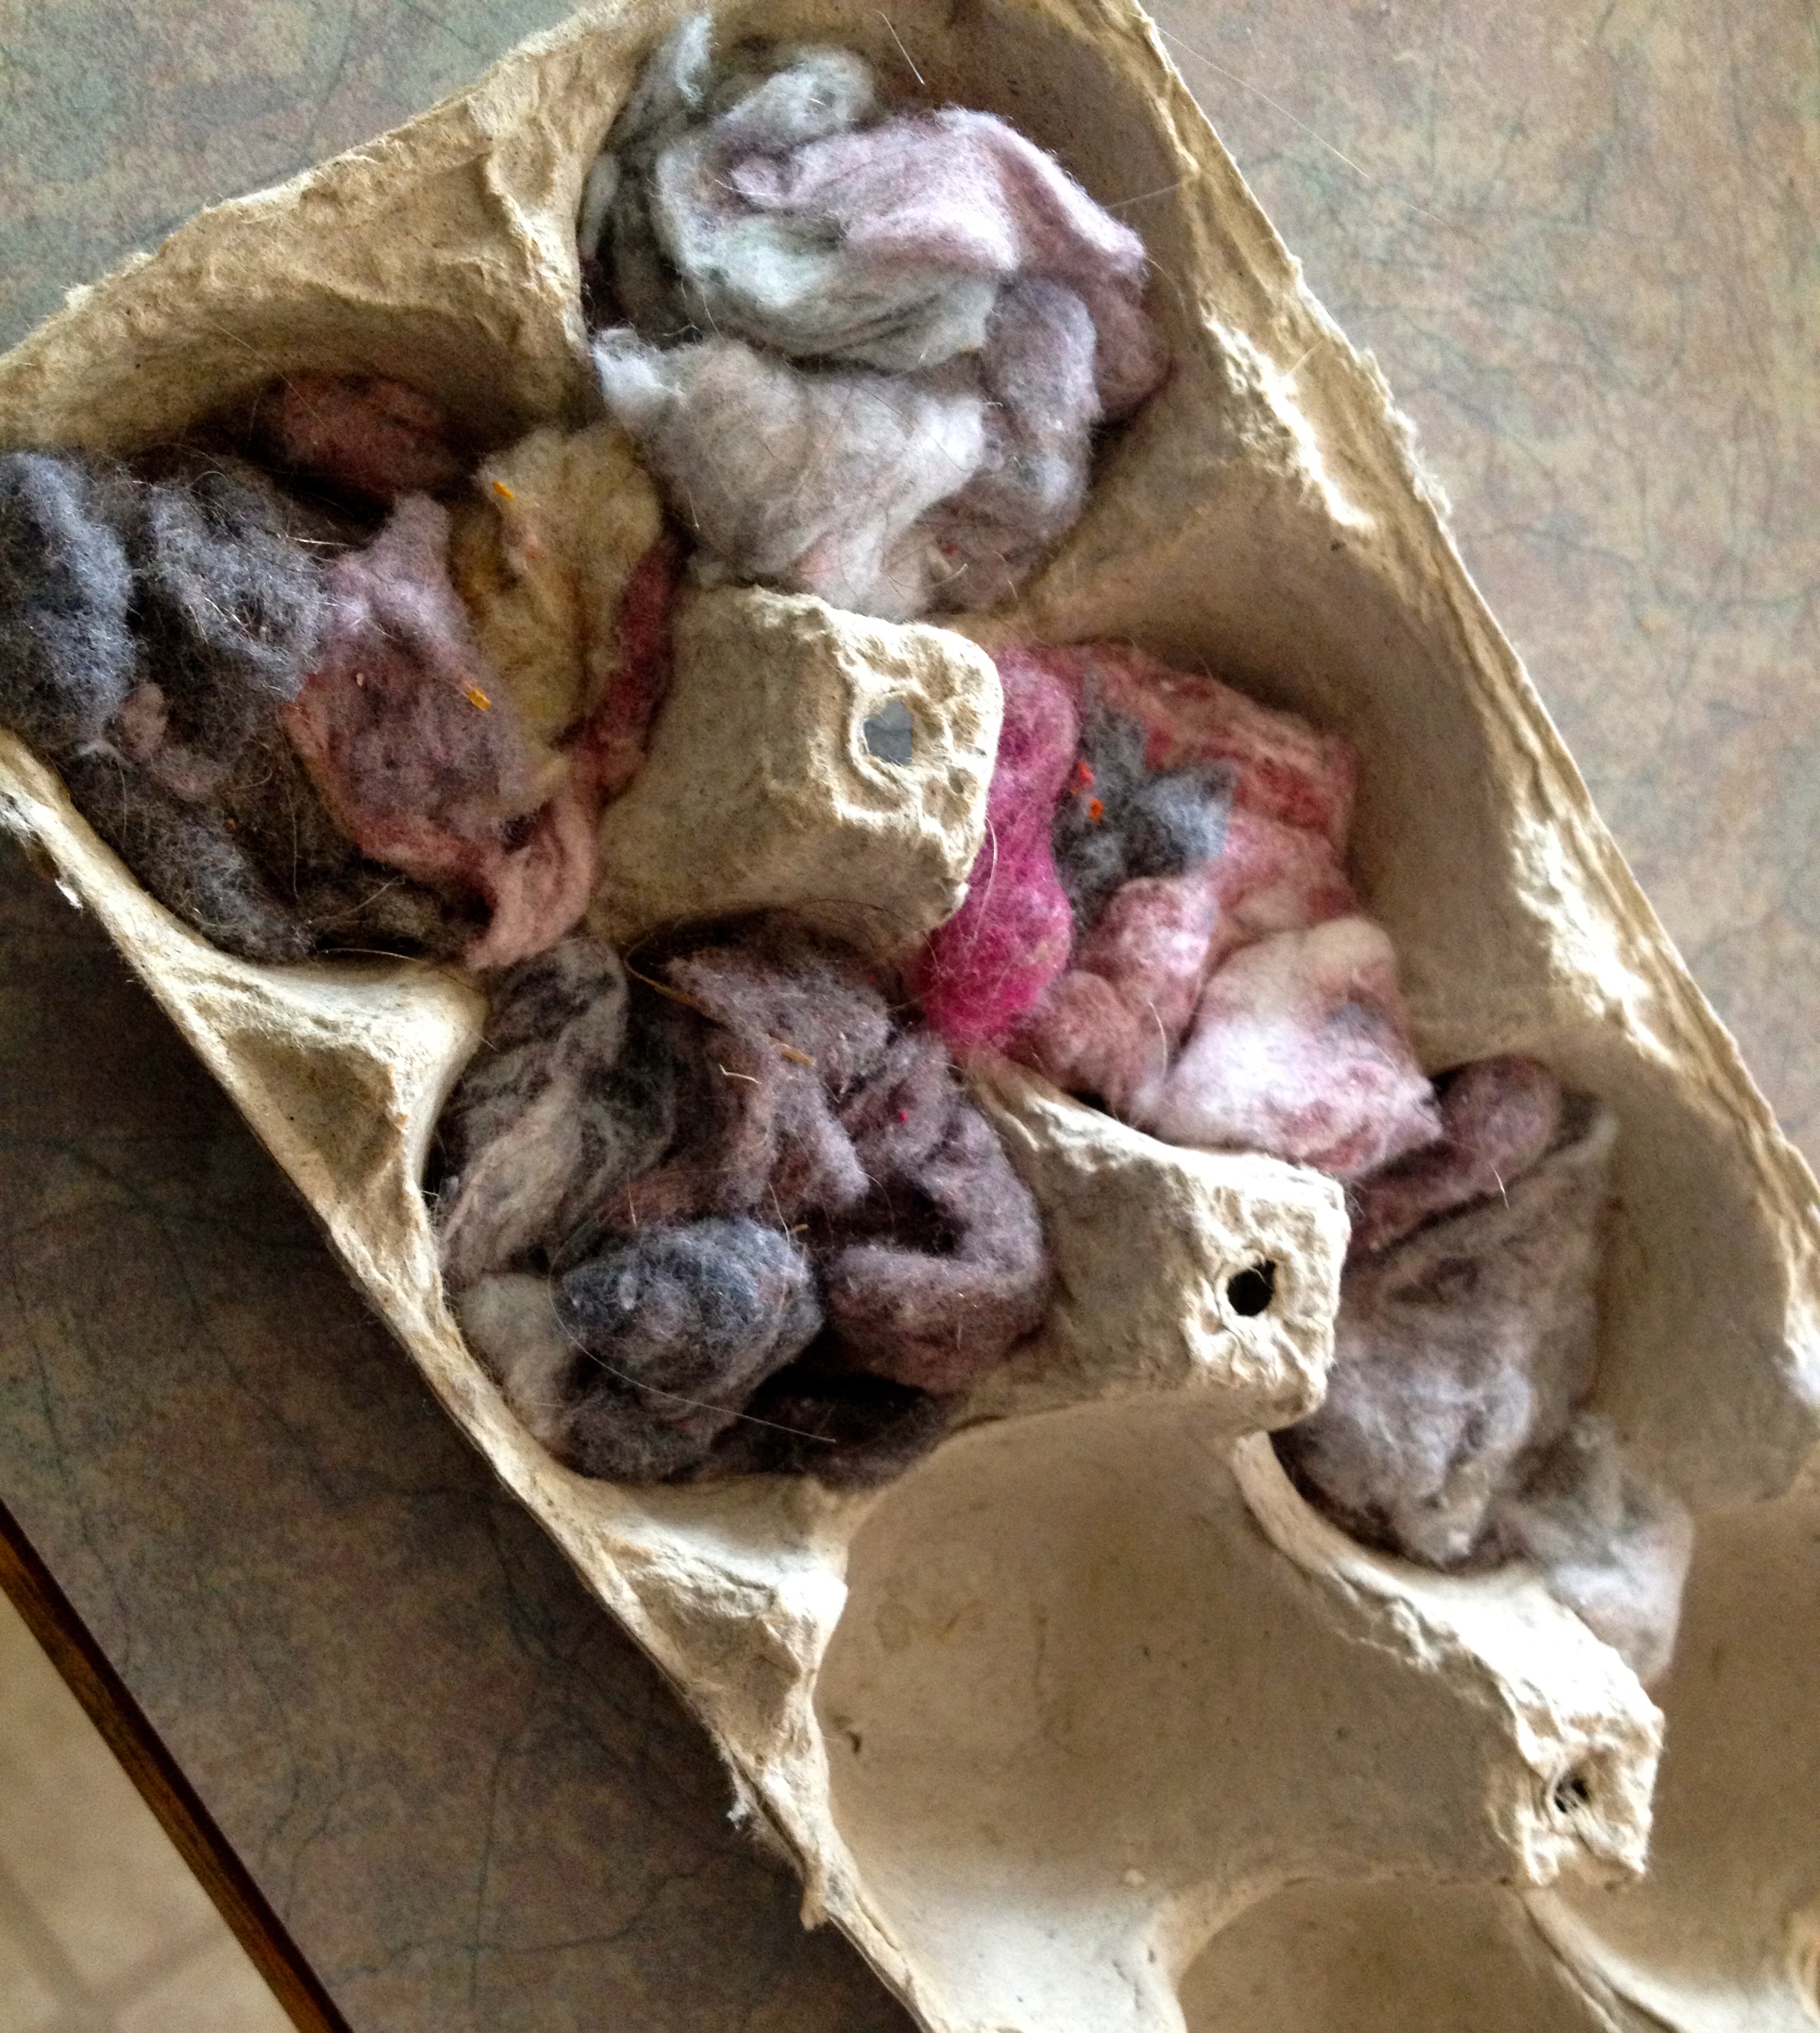
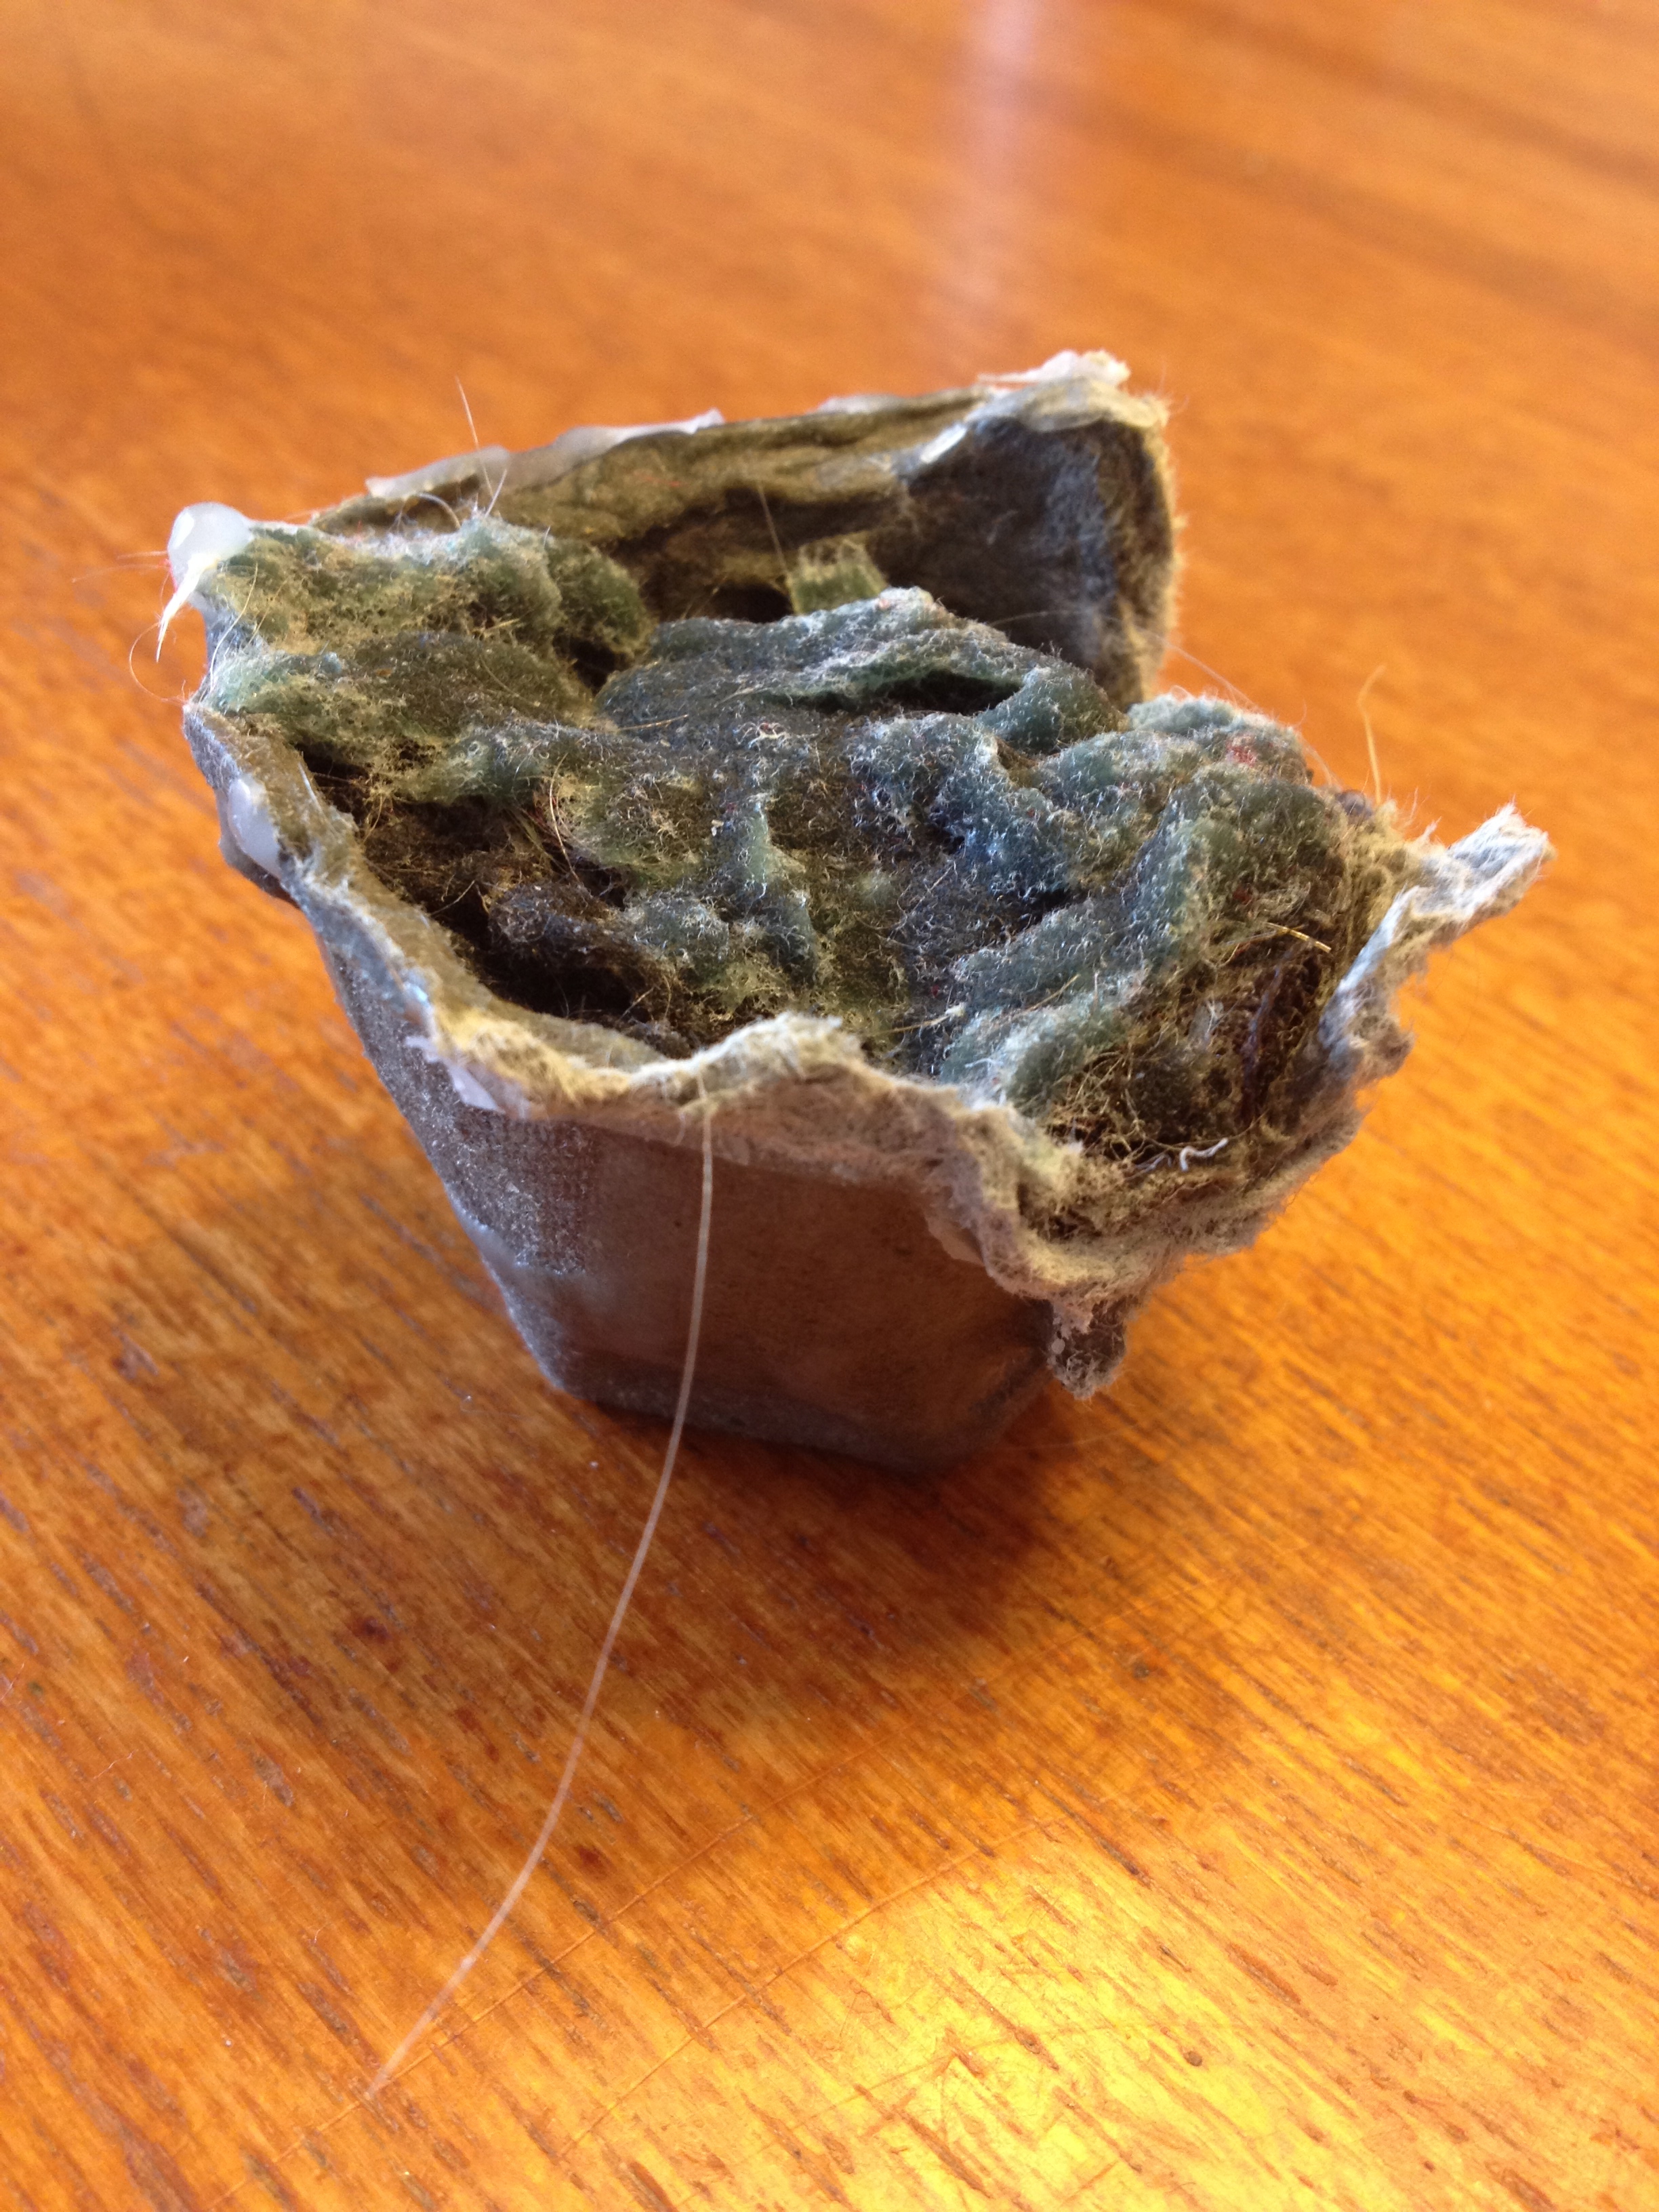
All you need to make them is a cardboard egg carton (stryofoam ones do not work), some dryer fluff and some wax (you know all those candle ends and bits of wax you throw out? Keep them in a ziploc bag and save it for making firestarters). See easy. And you’re probably thinking wow that’s great that I can use dryer fluff for something other than just throwing it out!

Here’s how you do it:

  • cardboard egg carton
  • dryer fluff
  • melted wax
  • newspaper
  1. Cut top off of the egg carton.
  2. Place egg carton on top of a sheet of newspaper.
  3. Fill each hole in the egg carton with dryer fluff. Be generous and stuff them full!
  4. Then pour melted wax over the egg carton – ensuring that each ‘hole’ is filled with wax and has soaked through all the way to the bottom. This is very important as the wax needs to cover it in it’s entirety in order for the firestarter to work properly.
  5. Leave egg carton on newspaper and let wax dry completely.
  6. Once wax is dry cut between the holes in the carton to make 12 firestarters. Store in a large ziploc bag and voila! Done!

IMG_3062You can do more than one egg carton at a time depending on how much dryer fluff and wax you have available. I made 2 dozen last week and that’ll likely be enough for the summer.

I also recommend that you melt the wax slowly on low heat on the stove. And once you use that pot designate it as the wax melting pot and just keep it for when you make more.

I was amazed how easy and well these worked when I first discovered them. I don’t remember who exactly in Girl Guides came up with it, but thank you so much they are awesome!

IMG_3068

Completed Firestarter

So if you’re going camping this summer, or just like having an outdoor fire, make some of these and give them a try.

On the Lookout

I am always on the lookout for new places to go see and explore. I feel that there is so much out there in the world that it is not only important but fun to go and find out what’s out  there. I especially love being able to take my kids to these places to show and share with them the richness and variety of our world; that there is so much to see and do. So much to go and learn, experience and appreciate.

Our latest adventure took us to the Jurassic Forest, which is just north of Gibbons, Alberta. It is an animatronic dinosaur display where you walk along 2 different loops to experience and learn about dinosaurs. It is extremely well done.

I could have just stood there for hours watching just one, but the kids would look watch enjoy and then be saying, “Come on, come on Mum” to go and see what’s next.

There is lots of information around the trails, excellent interpretive signs as well as some of the staff wandering around with special items, like a T-Rex tooth or beaver pelt, to explore or to answer any questions. I am a sign reader 🙂 I want to read every sign and every bit of information that is on it. I am not sure if this is just me or if perhaps my parents taught me this (as my sisters seem to be sign readers too) but I like to read and learn all the information. I don’t want to miss a thing! I try to relay some of the information to the kids by sharing a fact or two but this does not always work.

Entrance to the park is reasonably priced, $40 for a family of 4 and $8 for an additional child. Our adventure there was quite interesting as we started out with warm sunny weather and clear blue skies, while part way through we ended up with a thunder shower and rain.

Still exploring after the rain

One of the rules we had when we went on any trip growing up was that we had to have 2 things – our bathing suit and our rain gear. If we had those two things then we were set no matter what. I have adopted this with my children as well and though the twins are too young yet to know it, Matthew always smiles when I bring it up and can answer very quickly what the 2 things are that he should have; and dutifully packs them without fuss or question.

My point is we were prepared, so that when it started to rain we just put on our raincoats and carried on, while others rushed through the rest of the path to find shelter. Ok well almost all of us had our raincoats. I have to admit that though we had brought them I only had mine in the park and had left all the kids raincoats in the car. Oops! That did not work out so well.  Regardless, we still did not rush for shelter and mosied along the path finishing our tour. As my aunt said (who joined us at the park that day), we’re here we might as well check it all out.

There are other things there to enjoy as well, they have an interactive display where you can actually ride a dinosaur, a paleontological site where you can discover and help identify dinosaur remains, an adventure play area and a flora and fauna walk. You can also find scavenger hunts for each of the loops on the Jurassic Forest website that you can print out and search for clues. They have even added two new loops The Evolution of Mammals and Taking Flight (about birds and their link to the dinosaurs).

Riding the dinosaur

They have a photo contest each month with a different theme where you can win a Jurassic Forest prize pack. And the gift shop is really good. I often find that the gift shops at these places have a bunch of junky trinkets that break easily and overly priced. This one is quite well done with lots of neat, quality items, such as dinosaur bone ice cube trays, dinosaur puppets and models.

All in all we had a fabulous time with Luke asking the next day if we could go back. We all really enjoyed the dinosaurs, especially my aunt who thanked us profusely for inviting her to come, with a a big smile and a gleam of excitement in her eye. So if you’re looking for an adventure this summer, have a some dinosaur lovers or just looking for somewhere to take the kids you have not been before, I would highly recommend you venture out to the Jurassic Forest.


Crunchy Broccoli and Feta Salad

One of the things I love about summer (I know it’s not quite summer yet, but it’s on my mind), is all the comings and goings, the possibilities and options of places to go and see and explore. There is so much to do that you can easily be gone all day everyday if you chose to.

I love taking the kids out whether it be to the zoo, Heritage Park or checking out a new park in the city. One of the challenges and things I really don’t enjoy so much, is packing lunch for the day. Snacks are easy enough but I find that peanut butter sandwiches are only exciting for so long and then we need something new. I also like things that are ready to grab and go so packing lunch takes no time at all. I also like variety; so salads, things with vegetables and different flavours and textures. Makes the trip more enjoyable cause you’re looking forward to lunch, and life more exciting!

So I usually prepare ahead of time and freeze, muffins and cookies to take or other meals that are easy to make ahead and just grab the day of. That’s why I was very excited when I discovered this broccoli salad recipe. It’s fresh, crisp, has a zippy flavour and is lovely on a summer day. Plus I love feta cheese! and though I am dairy free, I discovered that goat feta is ok for me as it is not considered dairy as it does not come from a cow. (And if it makes a difference to you make sure you check the label when you are buying it – I had no idea that you could have cow feta until someone pointed it out to me, I just assumed they were all goat). Which I say thank God to that! Cause I love feta!

Crunchy Broccoli and Feta Salad

1 bunch broccoli

2 tbsp olive oil

2 tbsp wine vinegar

2 tsp dijon mustard

1 clove garlic, minced

1/4 tsp. each sea salt and pepper

1 cup crumbled feta cheese (I use goat feta as it is considered a non-dairy because it does not come from a cow)

1 cup grape or cherry tomatoes, halved

1/2 c. red onion, very thinly sliced

Cut broccoli into florets. Peel and cut stems into 1/4″ thick slices.

Pour enough water into saucepan to come 1″ up side and bring to a boil. Place broccoli in steamer basket in saucepan; cover and steam until bright green but still crisp – about 1 minute. (Do not overcook! I have made the mistake a couple of times of leaving it too long and ended up with mushy broccoli and it does not taste so good in the salad. One minute is really all you need). Drain water.

In a large bowl, whisk together oil, vinegar, mustard, garlic, salt and pepper. Add broccoli, feta, tomatoes and onion. Toss to coat.

Can be made a head and refrigerated.

Discovering the Rockgarden Trail

rock garden trail

I’m always on the lookout for new trails to hike and explore with the kids. I love the outdoors and it is one of my greatest joys to share this passion and excitement with my children.

For years we have been driving up and down the #1 highway west on our way to visit family or on some kind of adventure. I love this drive, it is a beautiful, lush and full of places to discover and explore. Often though we are pushing through to our destination or have another ‘planned stop’ and don’t always have the opportunity to stop at the trails and sites that I would like to see.

There are 4 National Parks along this route, Banff, Yoho, Glacier and Mount Revelstoke. All are unique and beautiful in their own way with so much to do and explore.

Ever since Matthew was little I have wanted to go on the Rockgarden trail. It is a short 20 minute hike on the east side of the Rogers Pass, in Glacier National Park. We discovered it one time when we stopped for a bathroom break and pulled into the parking lot for the outhouse.

Entering the Rockgarden Trail

This trail though short is not meant for strollers or young children. If you have young children you will need a baby carrier to take them with you.  It is a steep, rocky trail with high drops in some places. It has rock stairs and winds through boulders and lush forest. It is considered a miniature landscape all it’s own, rich in lichens and mosses that are more than 2000 years old.

Lichens and Mosses

For one reason or another we have always passed it by, timing not working out with the kids, weather or the desire to push through and get to our destination. But this weekend we went! I was driving Matthew out to my parents for the week, and I had already decided before we left that this would be our planned stop. I was very excited that we were finally going! I kept my fingers crossed that the weather would be decent, as it was a little rainy.

When Matthew and I entered the trail we were in awe of what we saw. Piles of rocks/ boulders settled along the trail, part of the trail. It was truly entering a rock garden.

At the beginning of the trail be sure to pick up a brochure that describes different areas of the trail by matching the symbols in the brochure. This provides you with more insight into what is/ has happened in the area and you can appreciate the wonder and life of the area. It is also a great educational tool for the kids! When I was little I always loved reading the signs and learning more. My parents would read the signs to us and as we grew we would read them on our own. Sometimes we would even set up a scavenger hunt using the signs and information and that was fun too!

As we meandered and explored the rock garden we noticed the faces in the rocks and the energy of the forest. It is a magical place, one where you could sit and rest awhile before carrying on on your journey.

So next time you’re heading down the #1 and need a break, or a chance to stretch your legs, I would highly recommend this beautiful and magical place tucked within the Canadian Rockies. Stop a while and take a breath, enjoy and discover a place you may not have noticed before.

Matthew conquering the Rockgarden Trail

Check out some of these other wonderful hikes along the #1 highway on the East side of the Rogers Pass – Giant Cedars Boardwalk, Skunk Cabbage Trail, Hemlock Grove.