Kids Healthy Cooking – Dairy Free Peanut Butter Ice Cream

sugar free dairy free peanut butter ice creamIce cream. One of the many favorite summer treats, wonderful on a hot summer day. But honestly, great anytime and popular with kids. Growing up in my house ice cream was a staple and often requested after dinner. So when we went dairy free, ice cream was definitely something I missed. But like any change (like when we went sugar free) it was just a matter of shifting gears and finding new recipes to meet our ice cream needs. This is when I discovered this sugar free dairy free peanut butter ice cream.

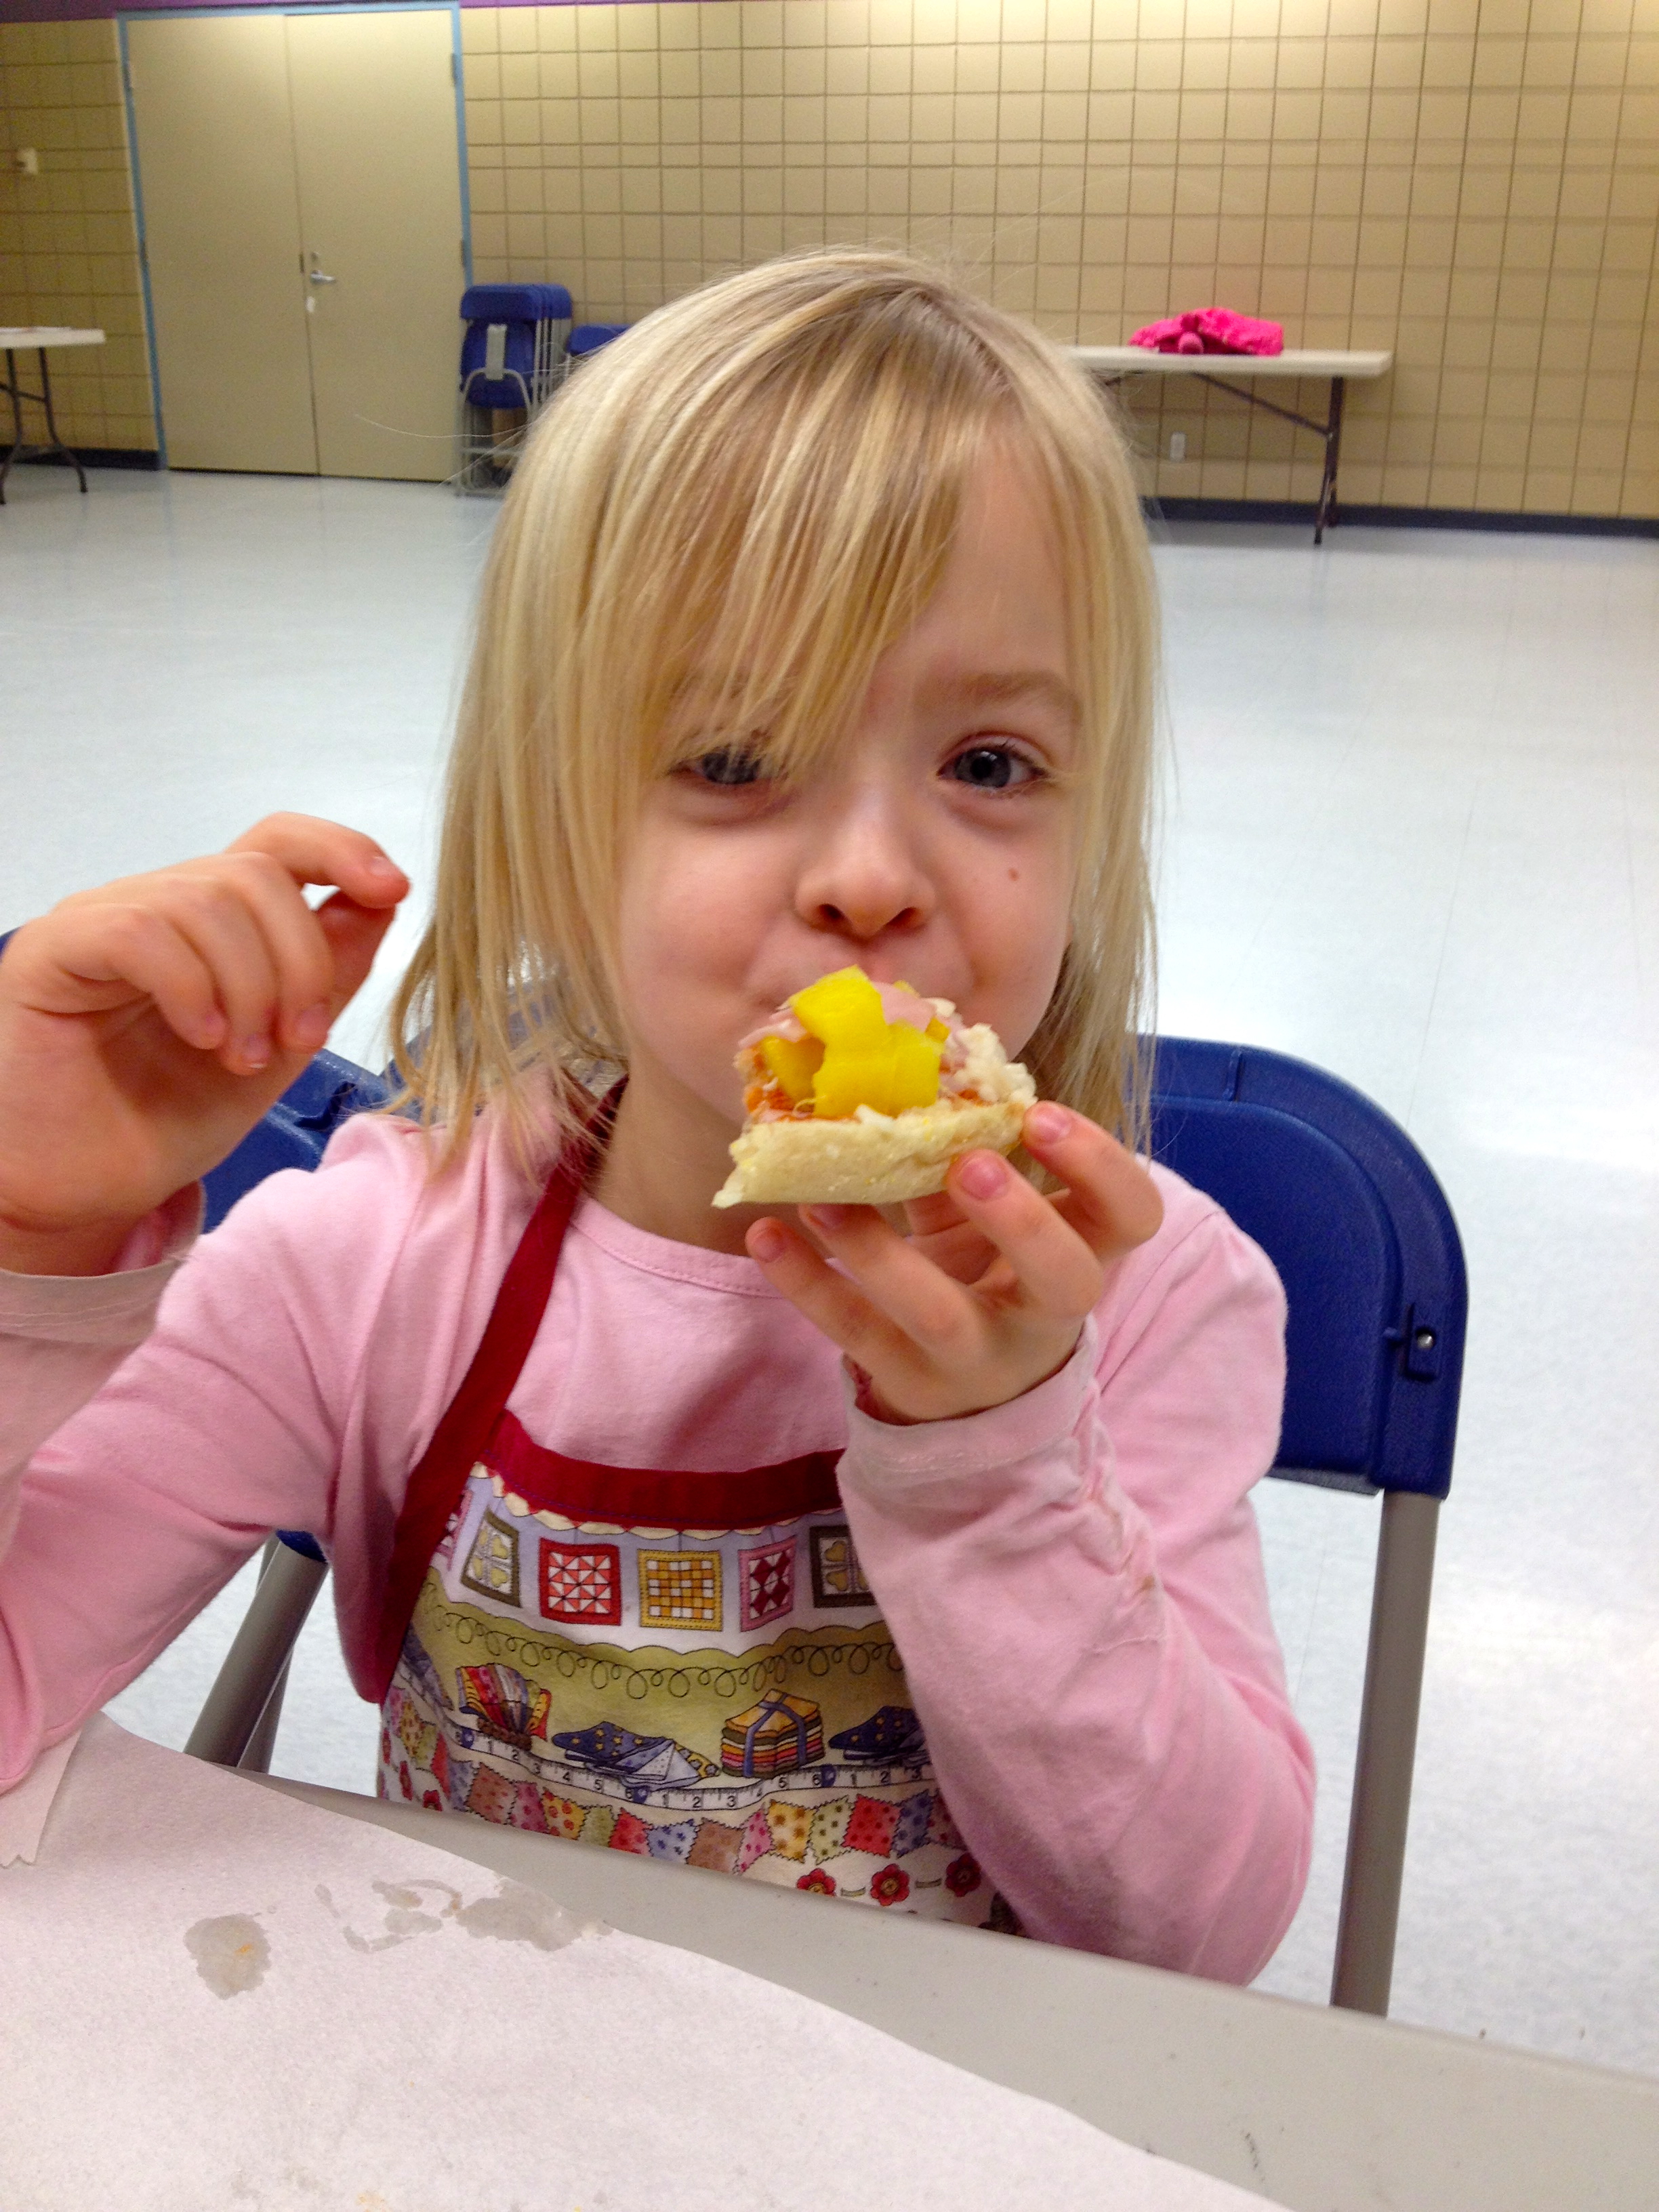
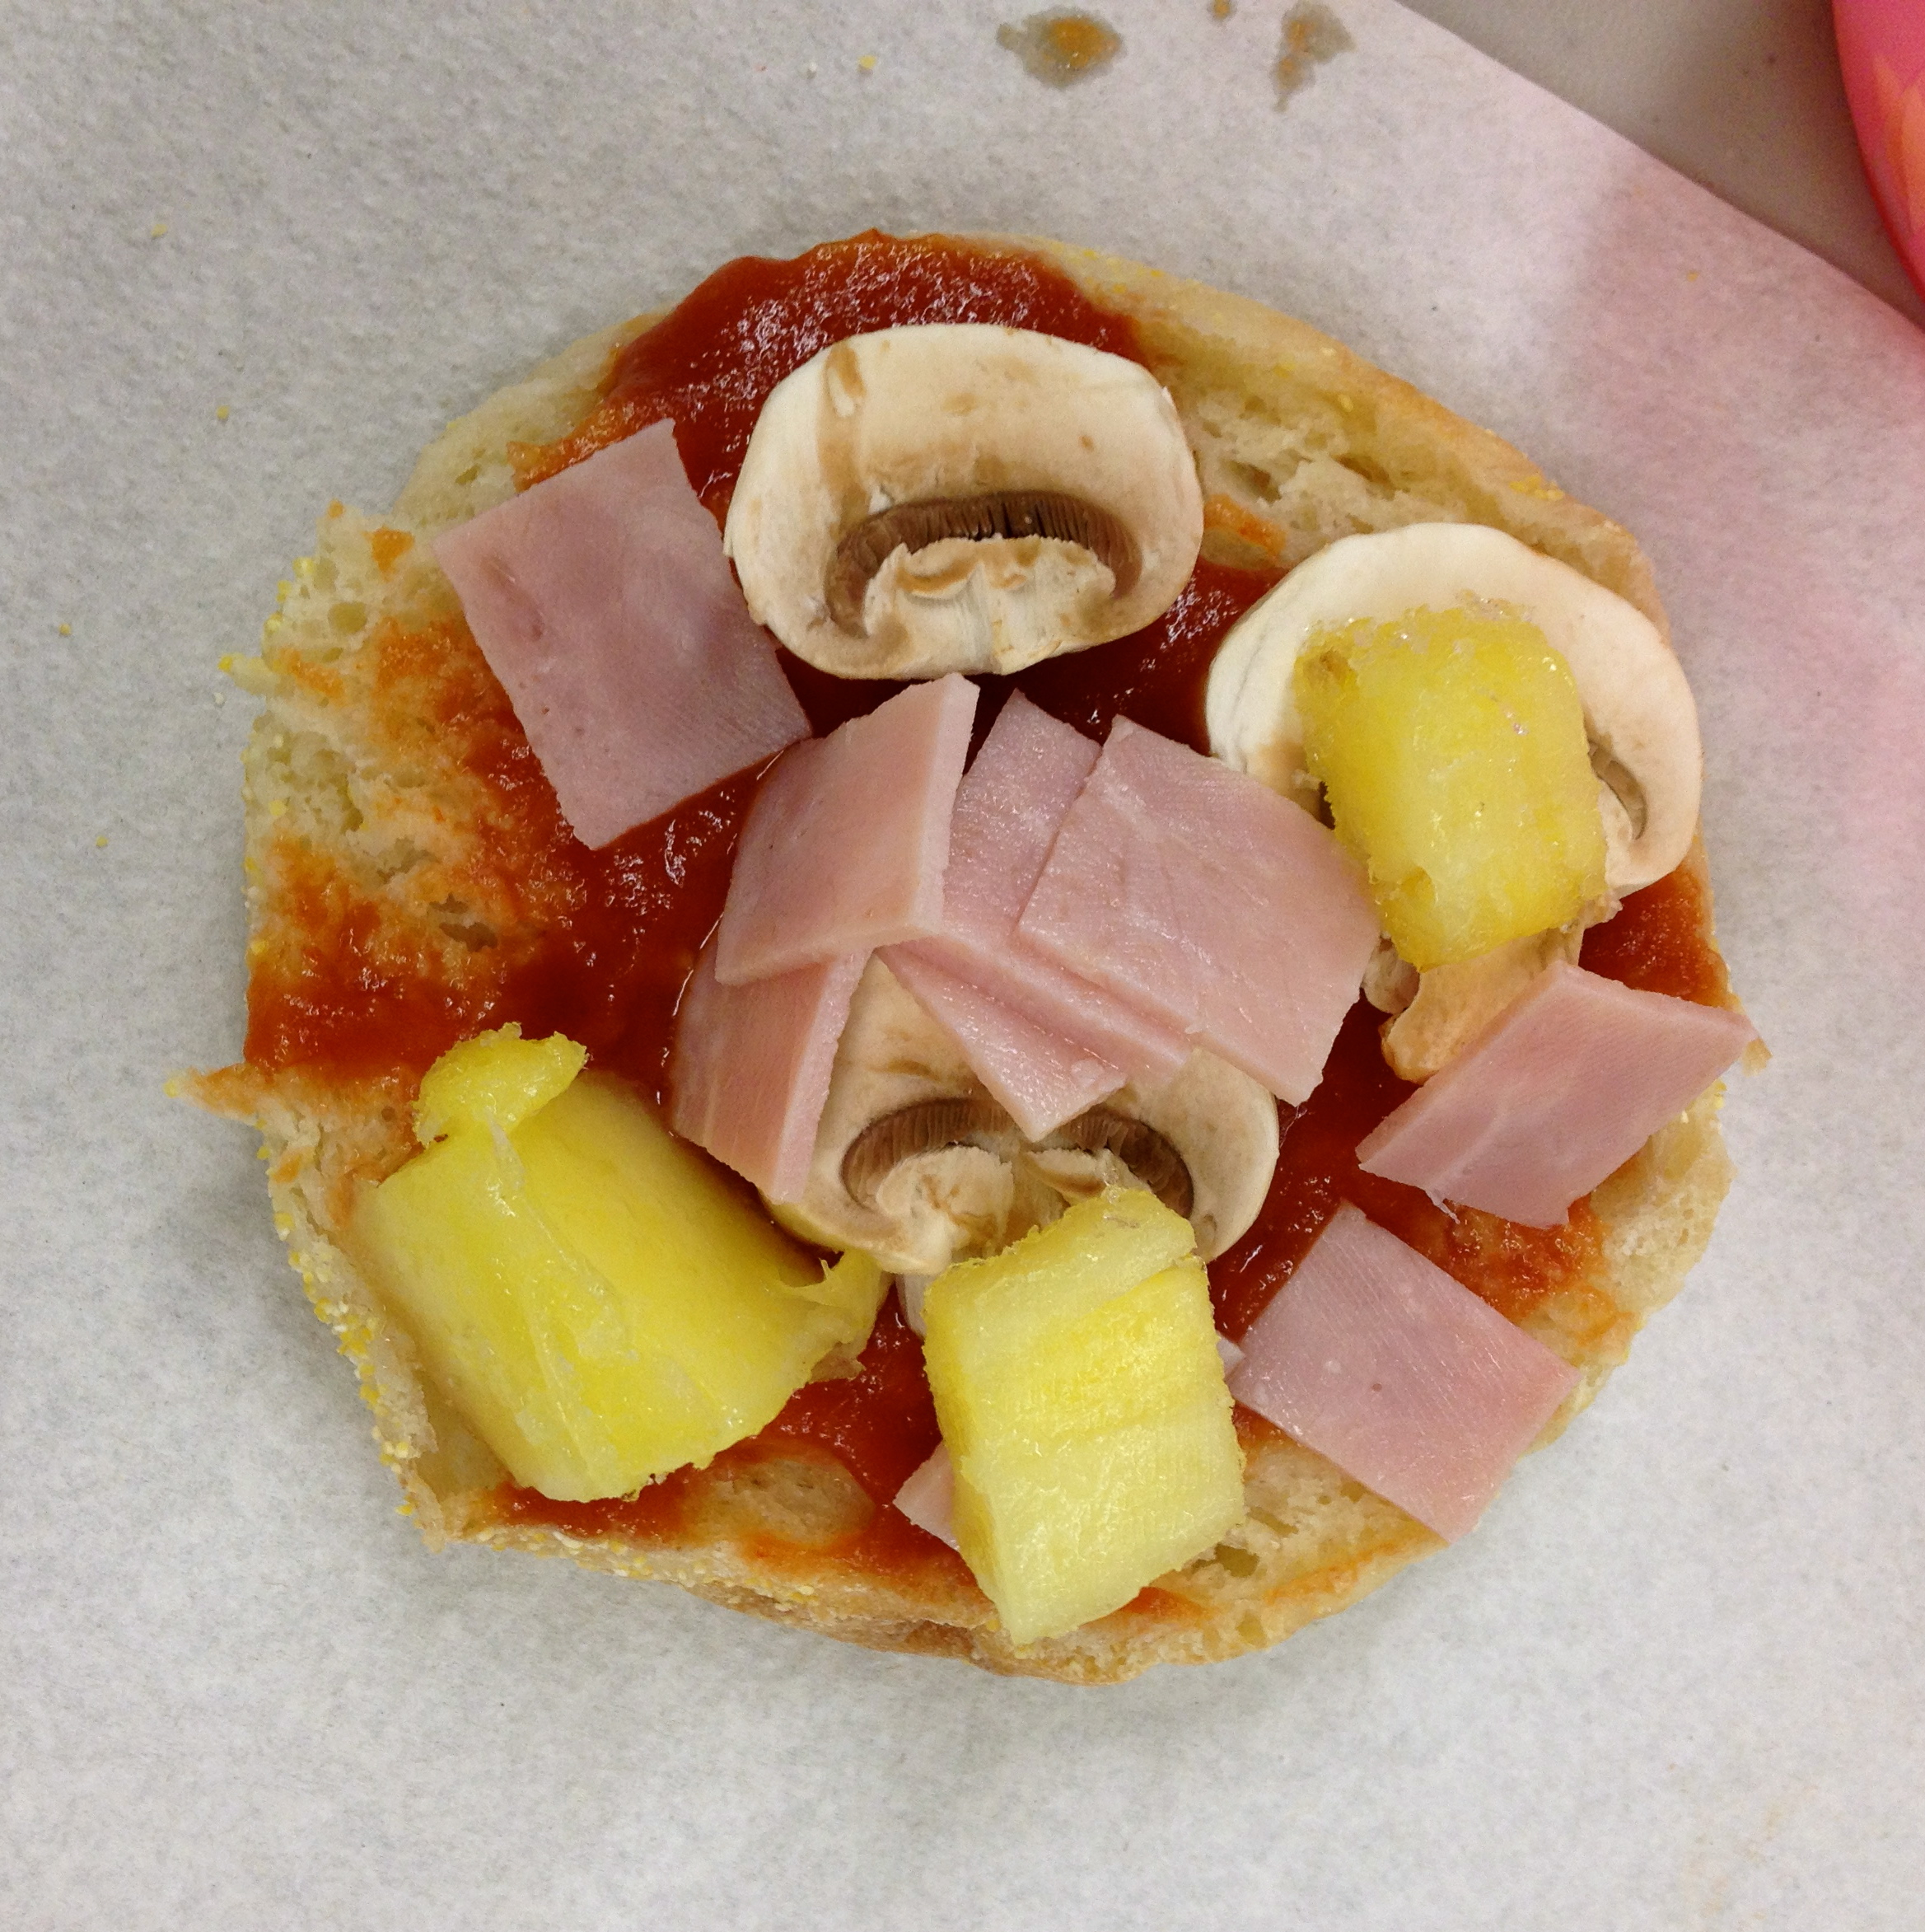
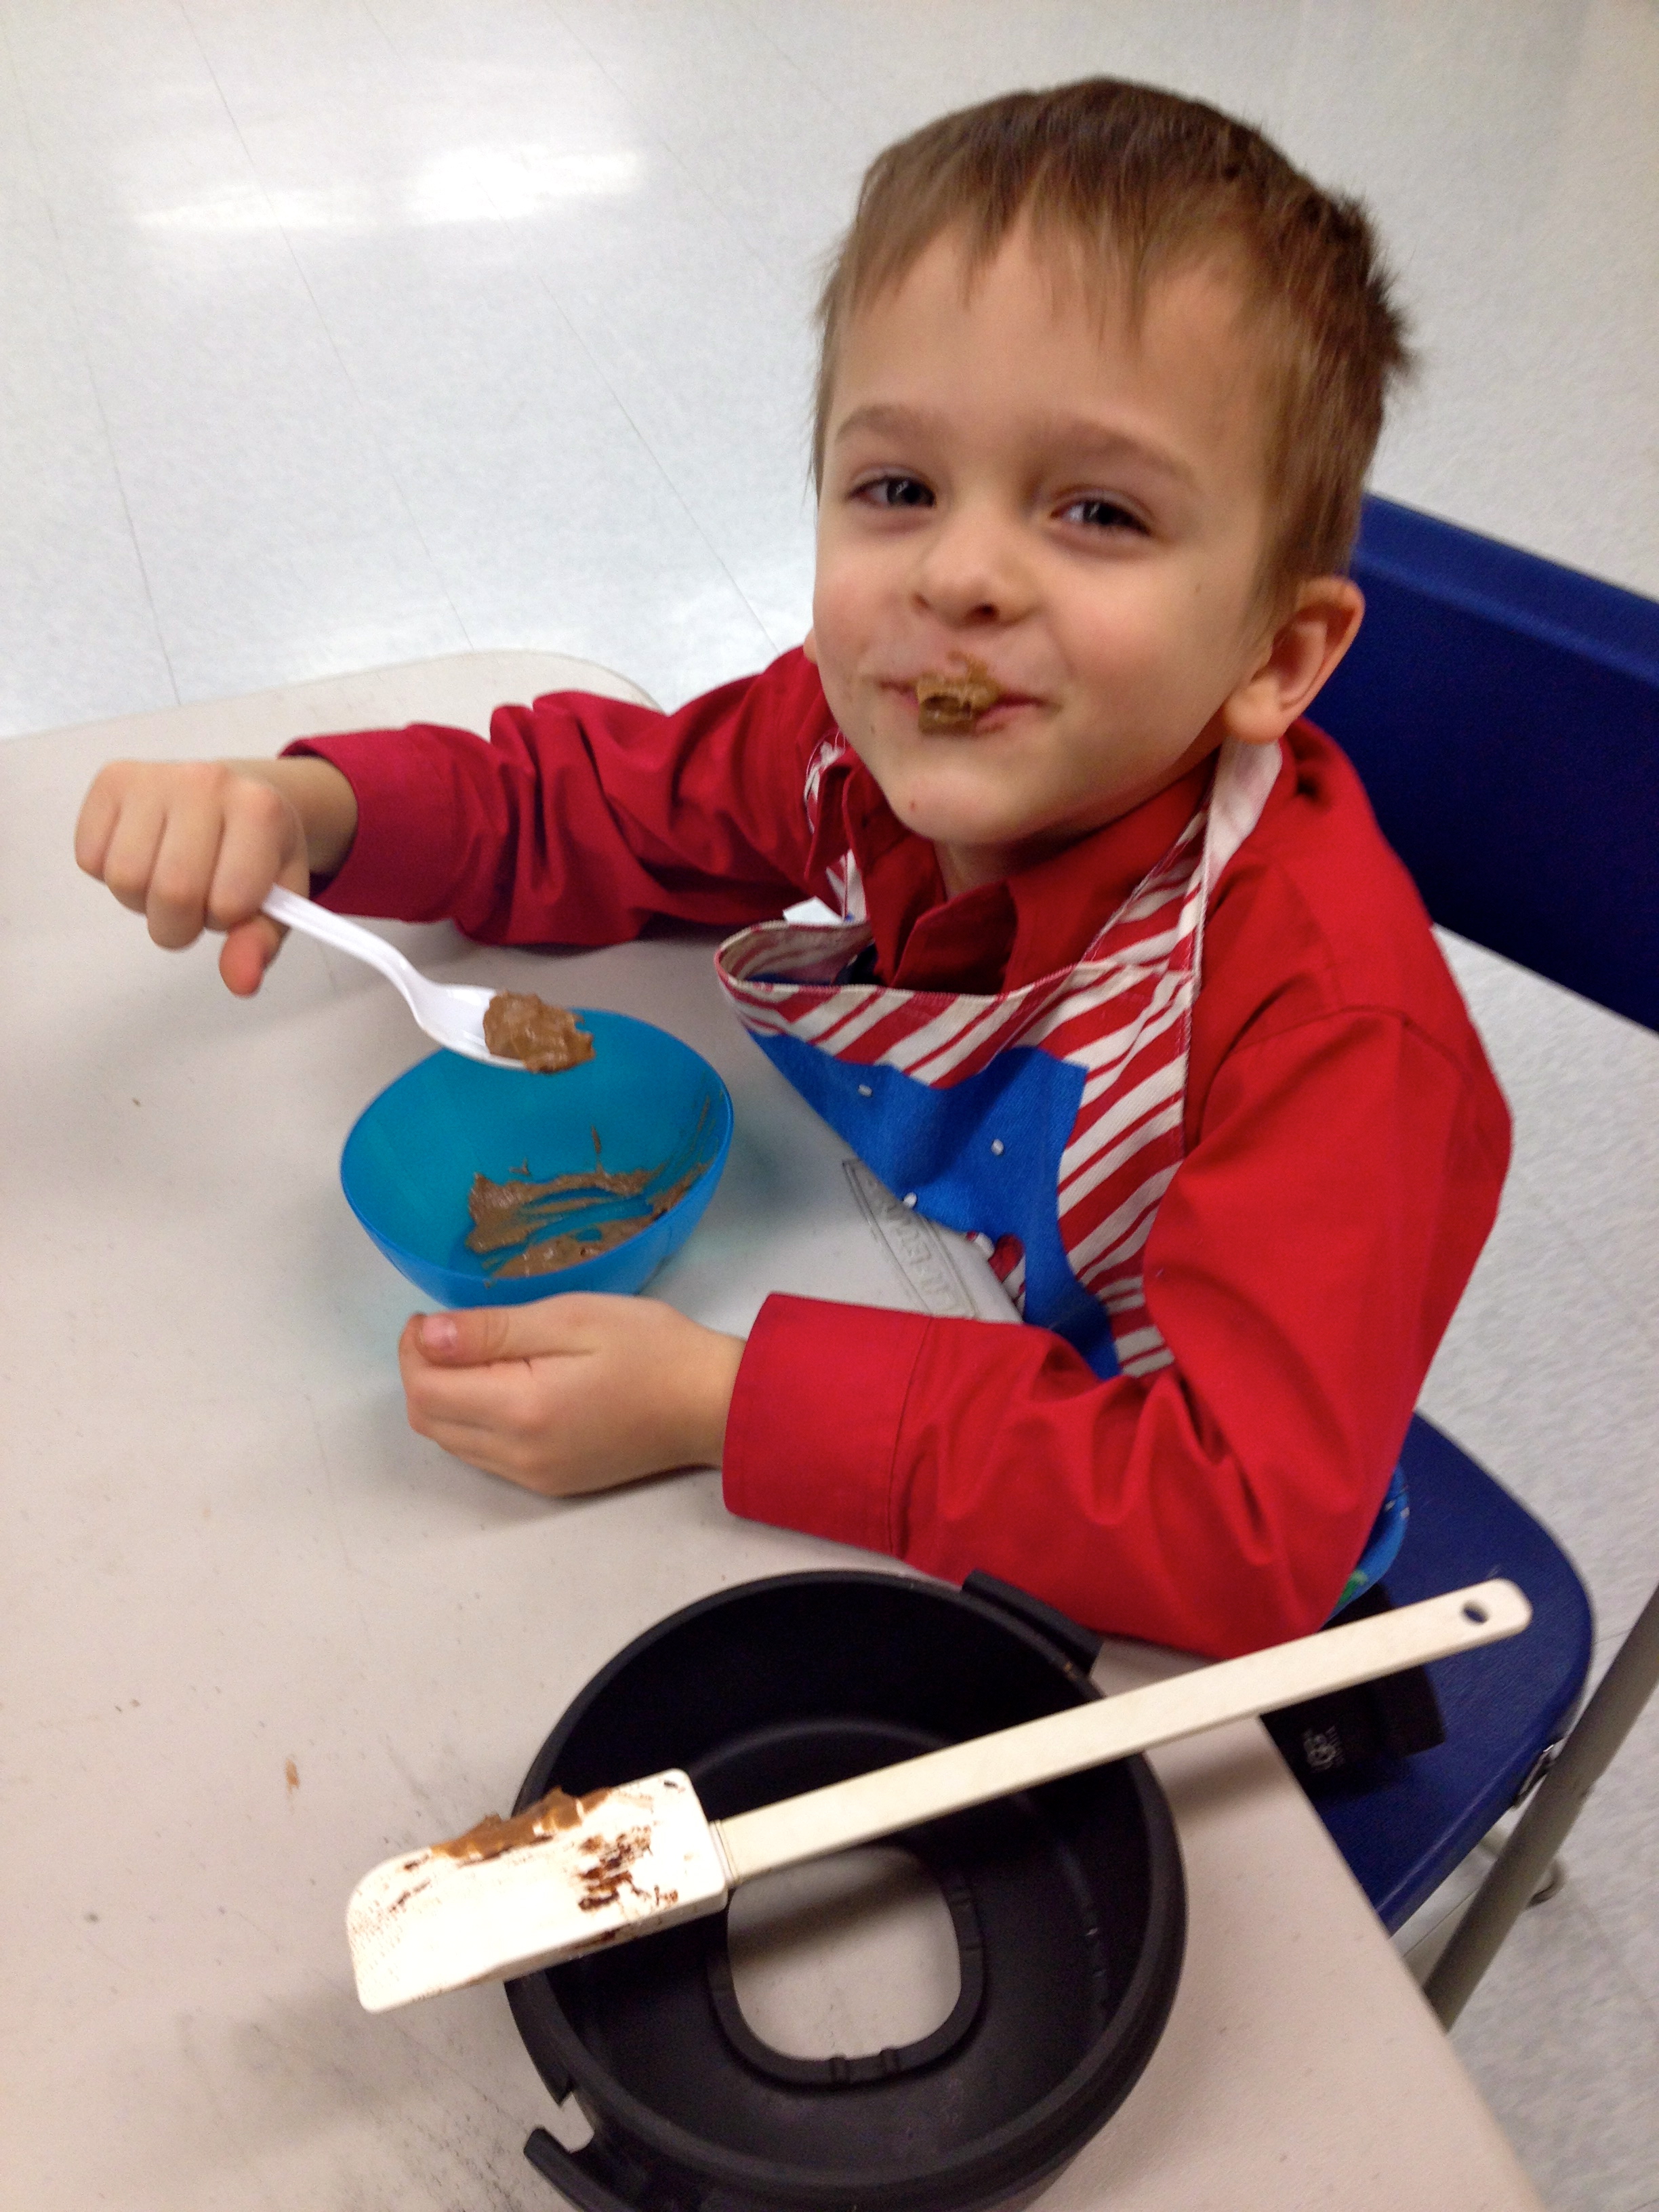
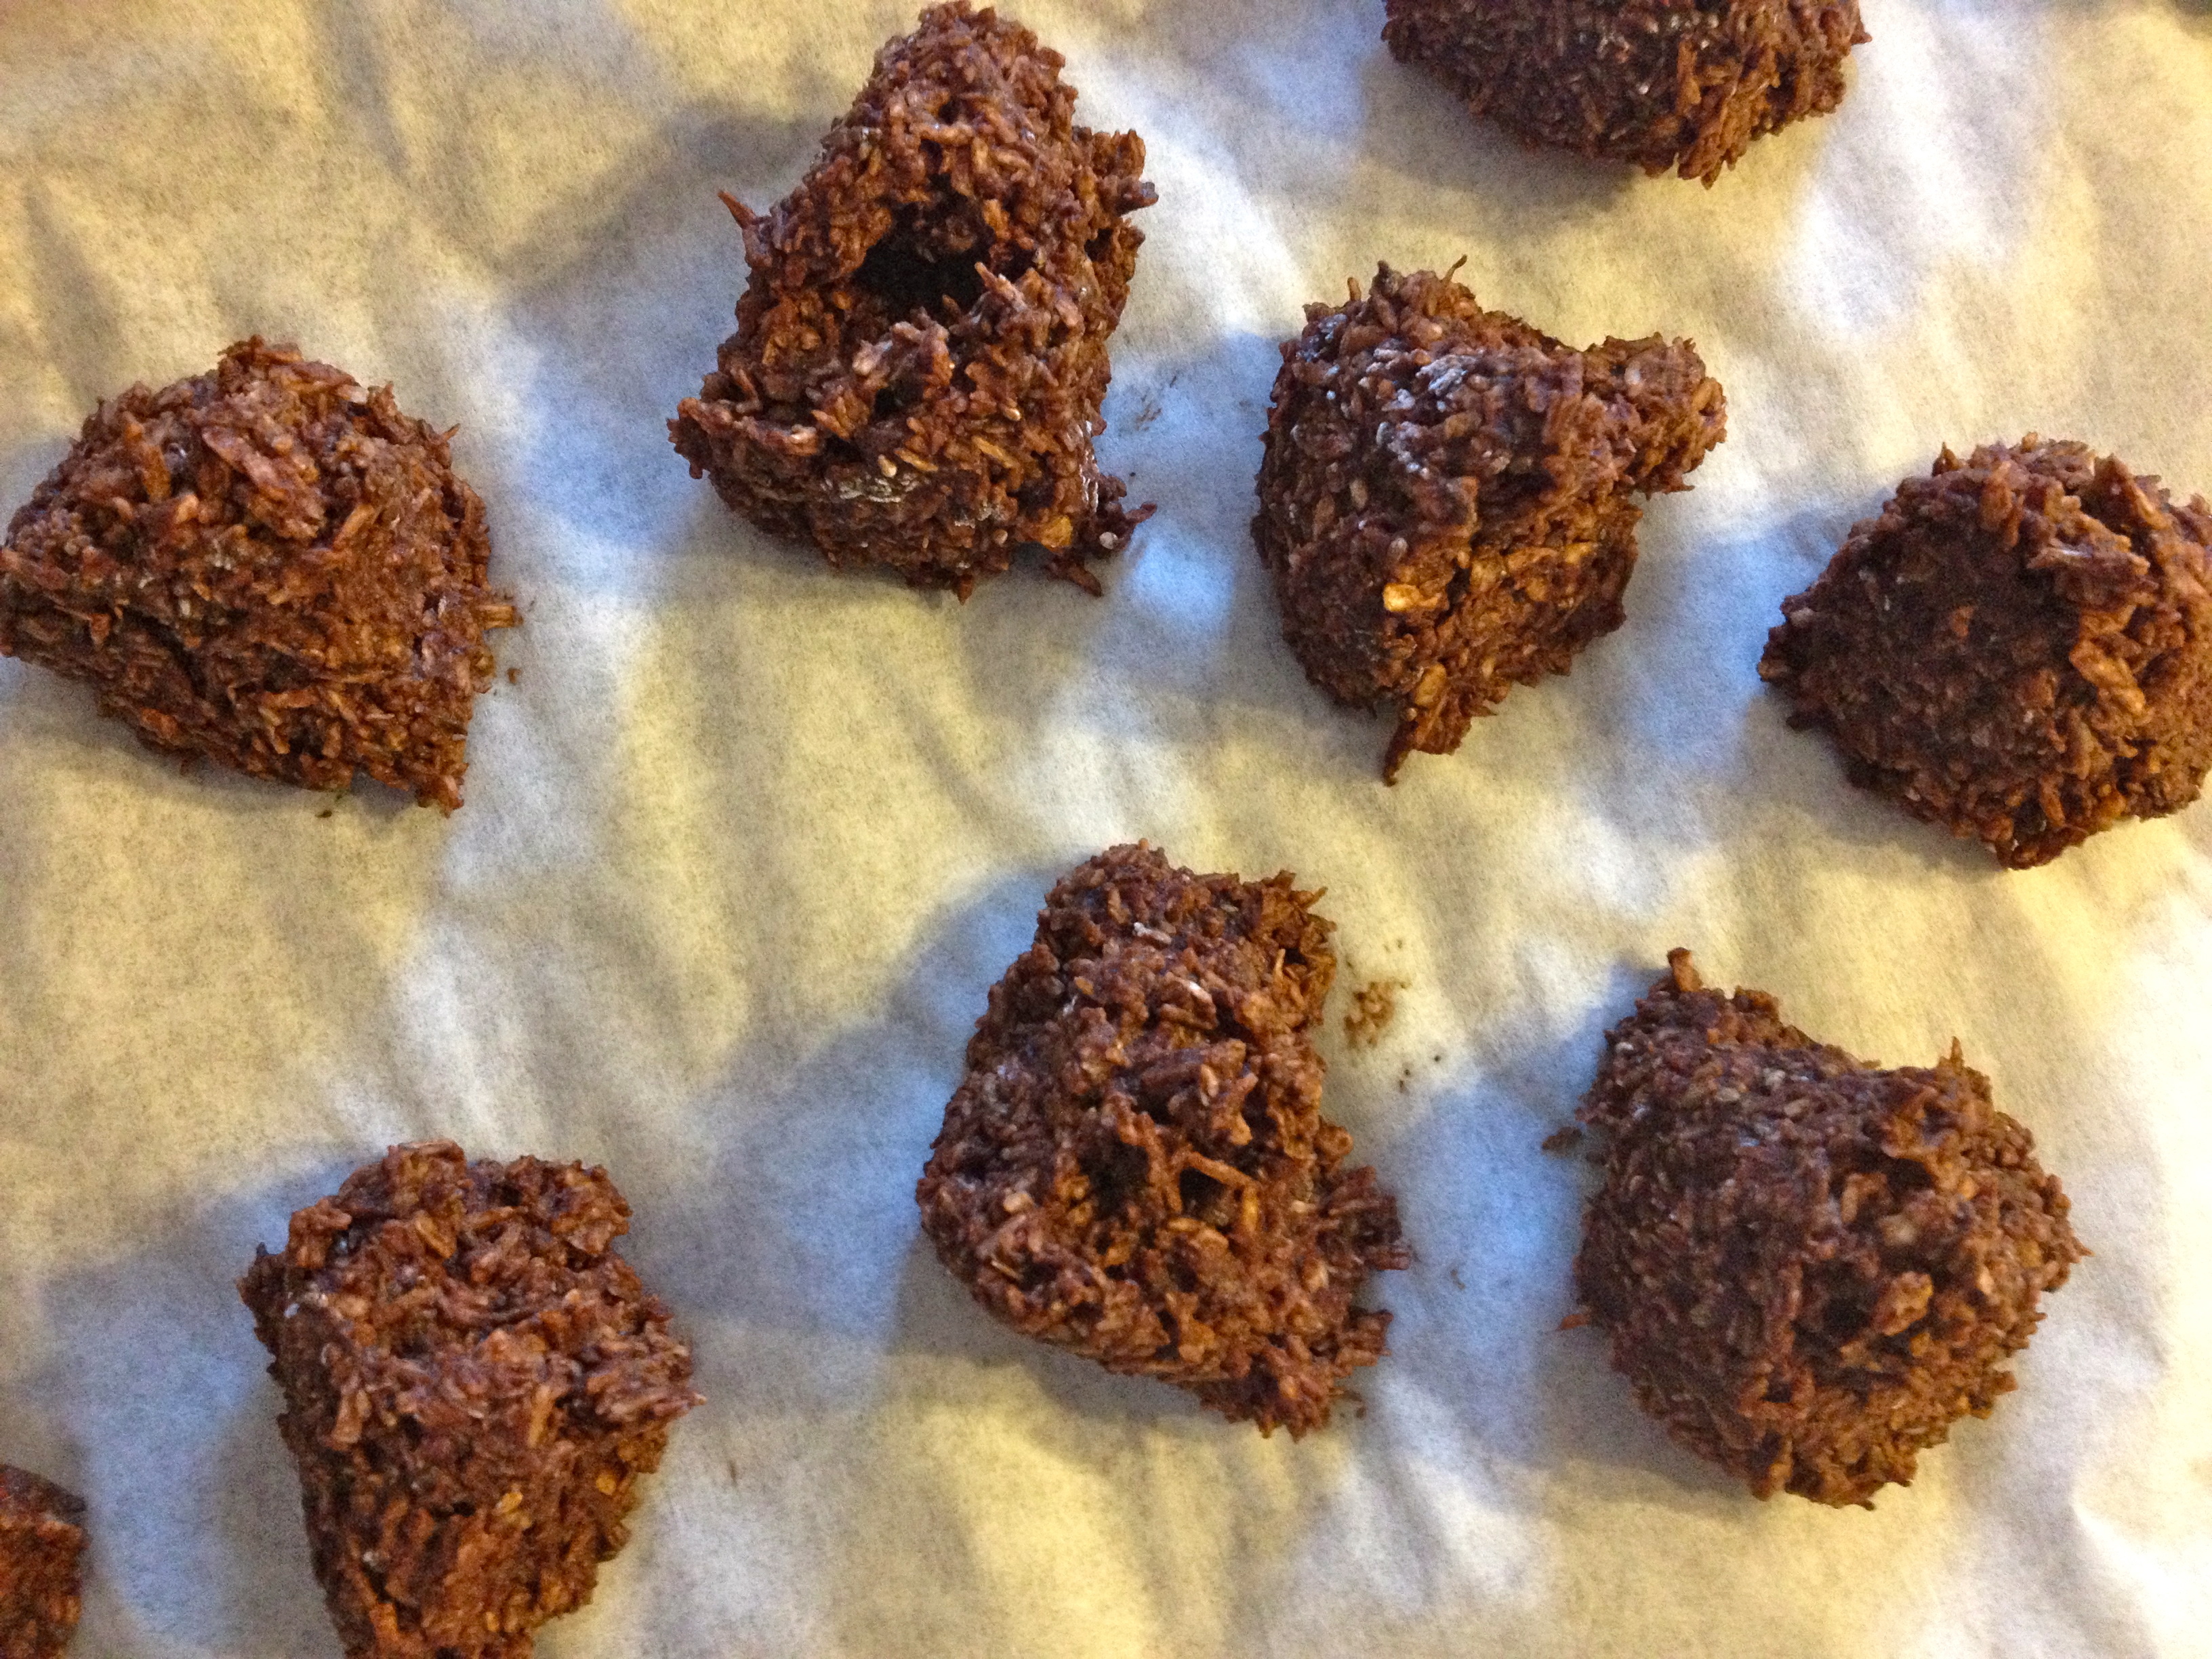
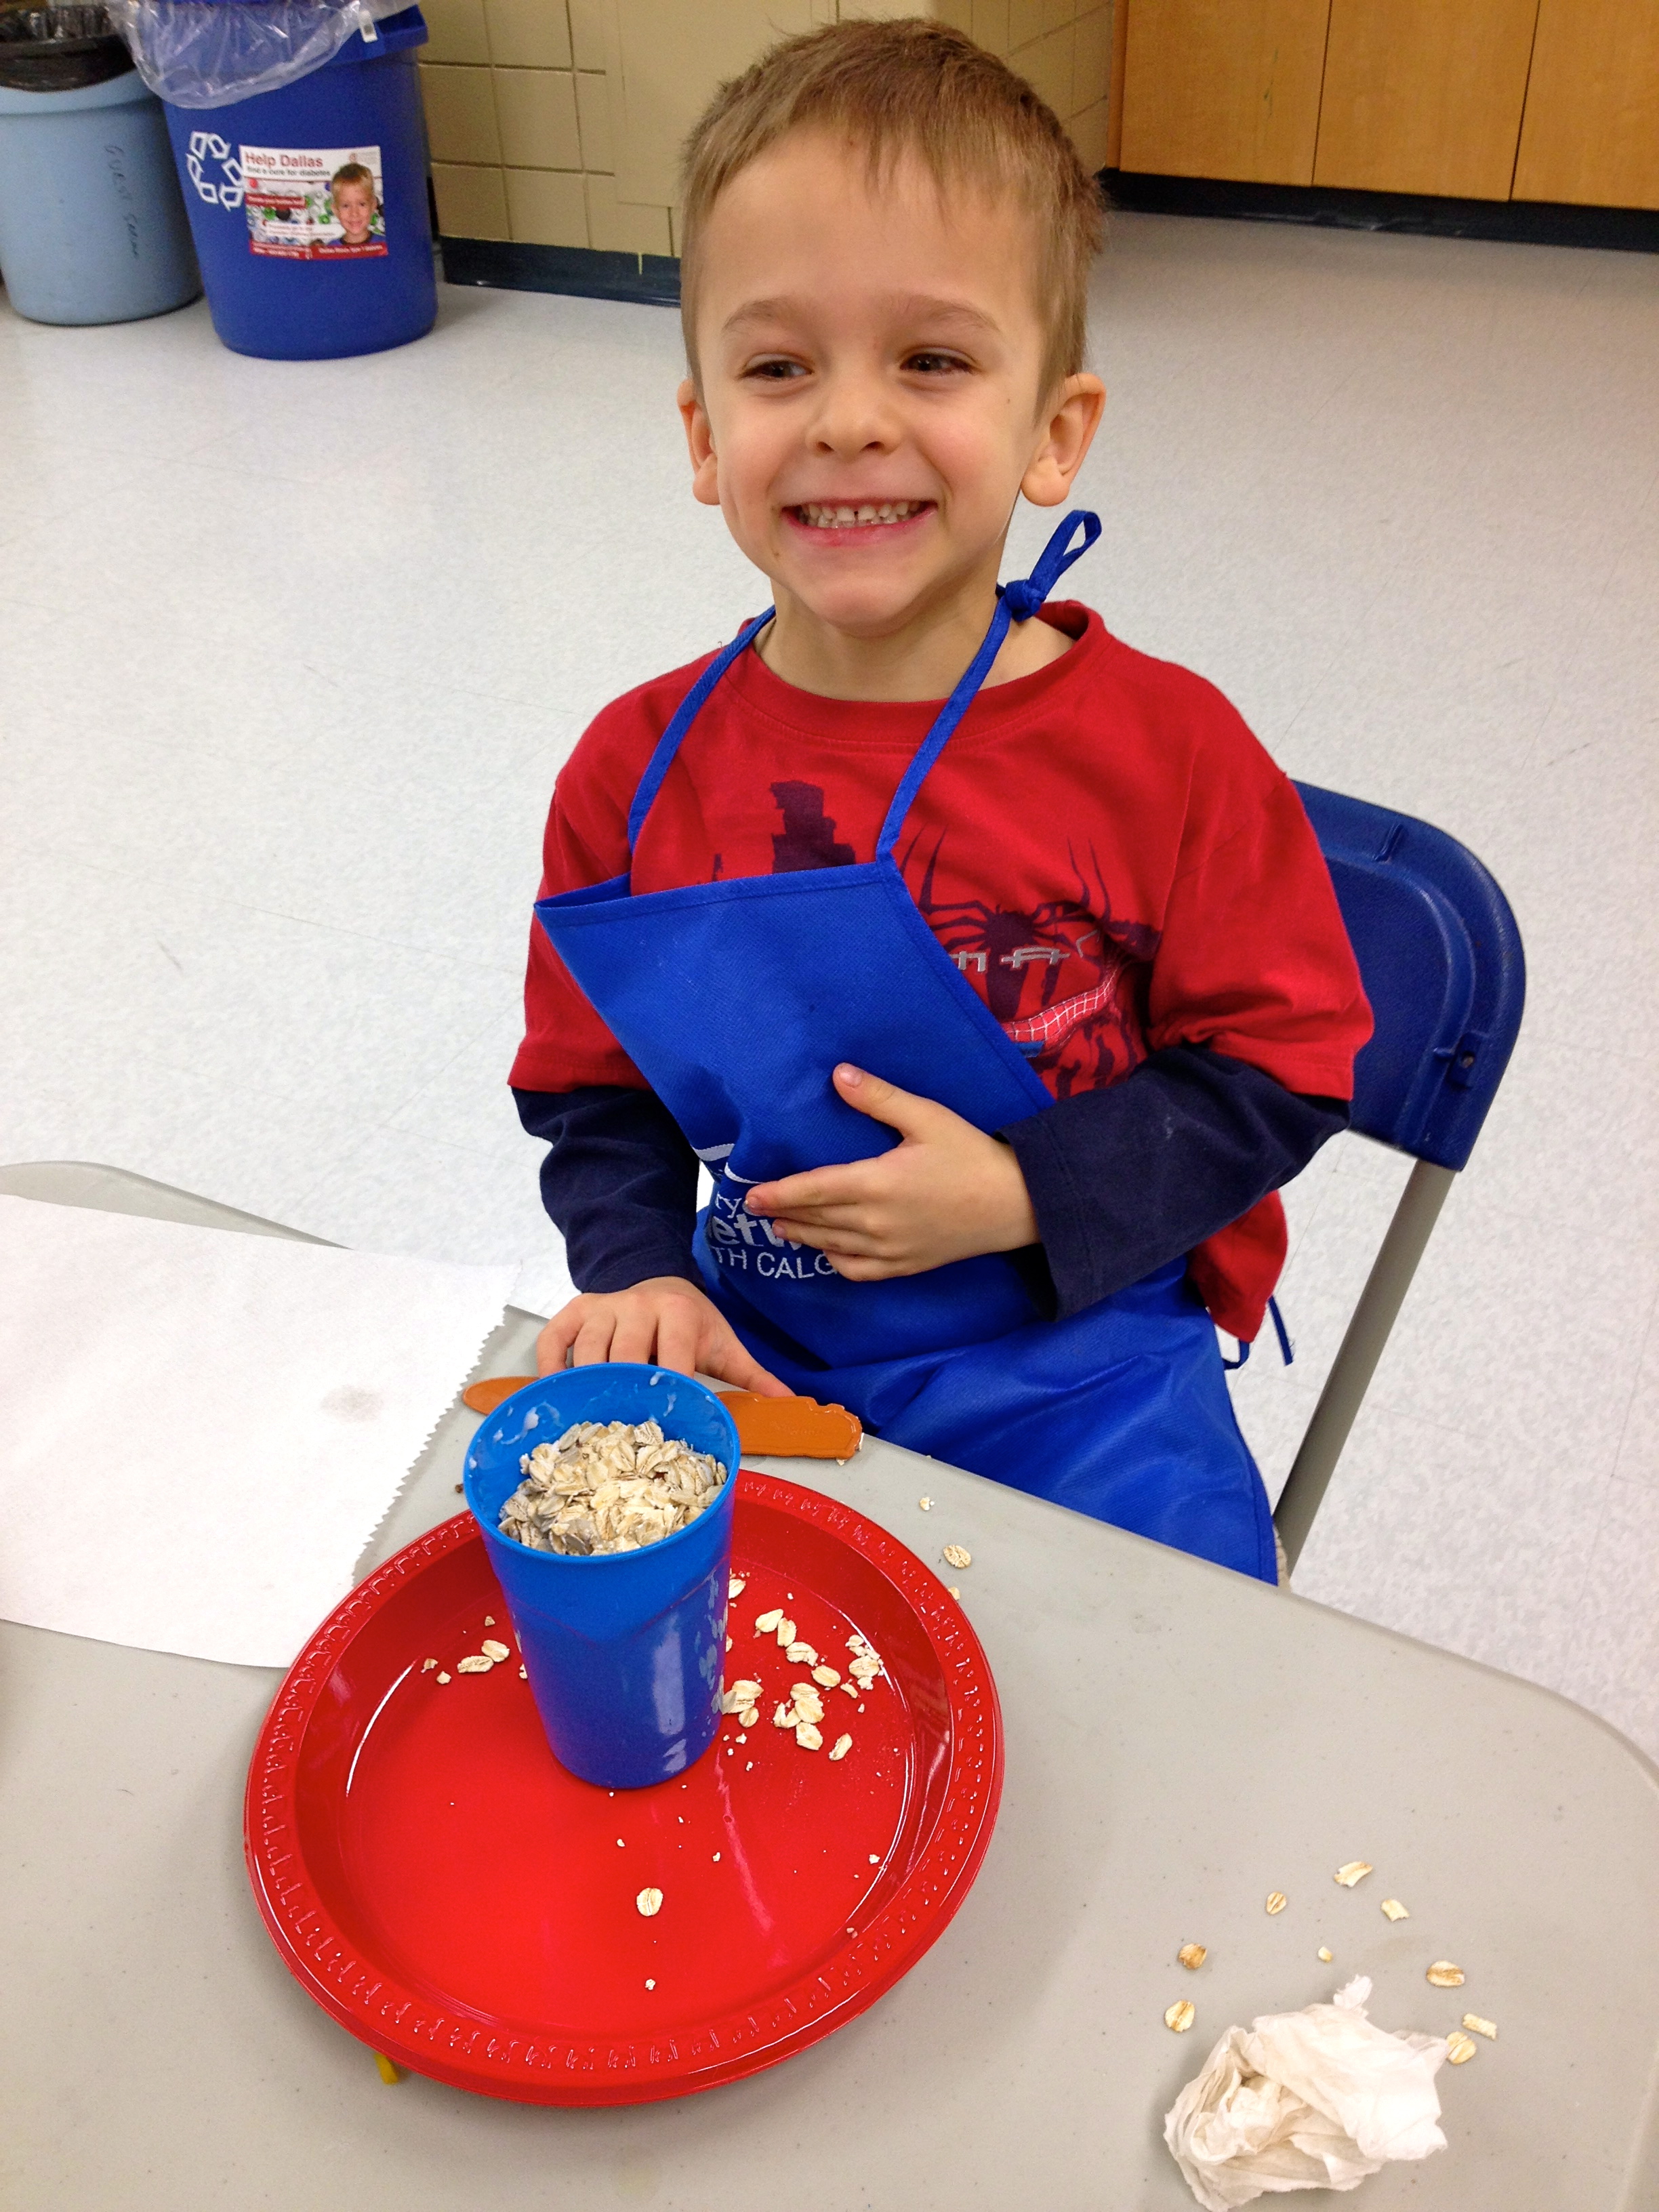
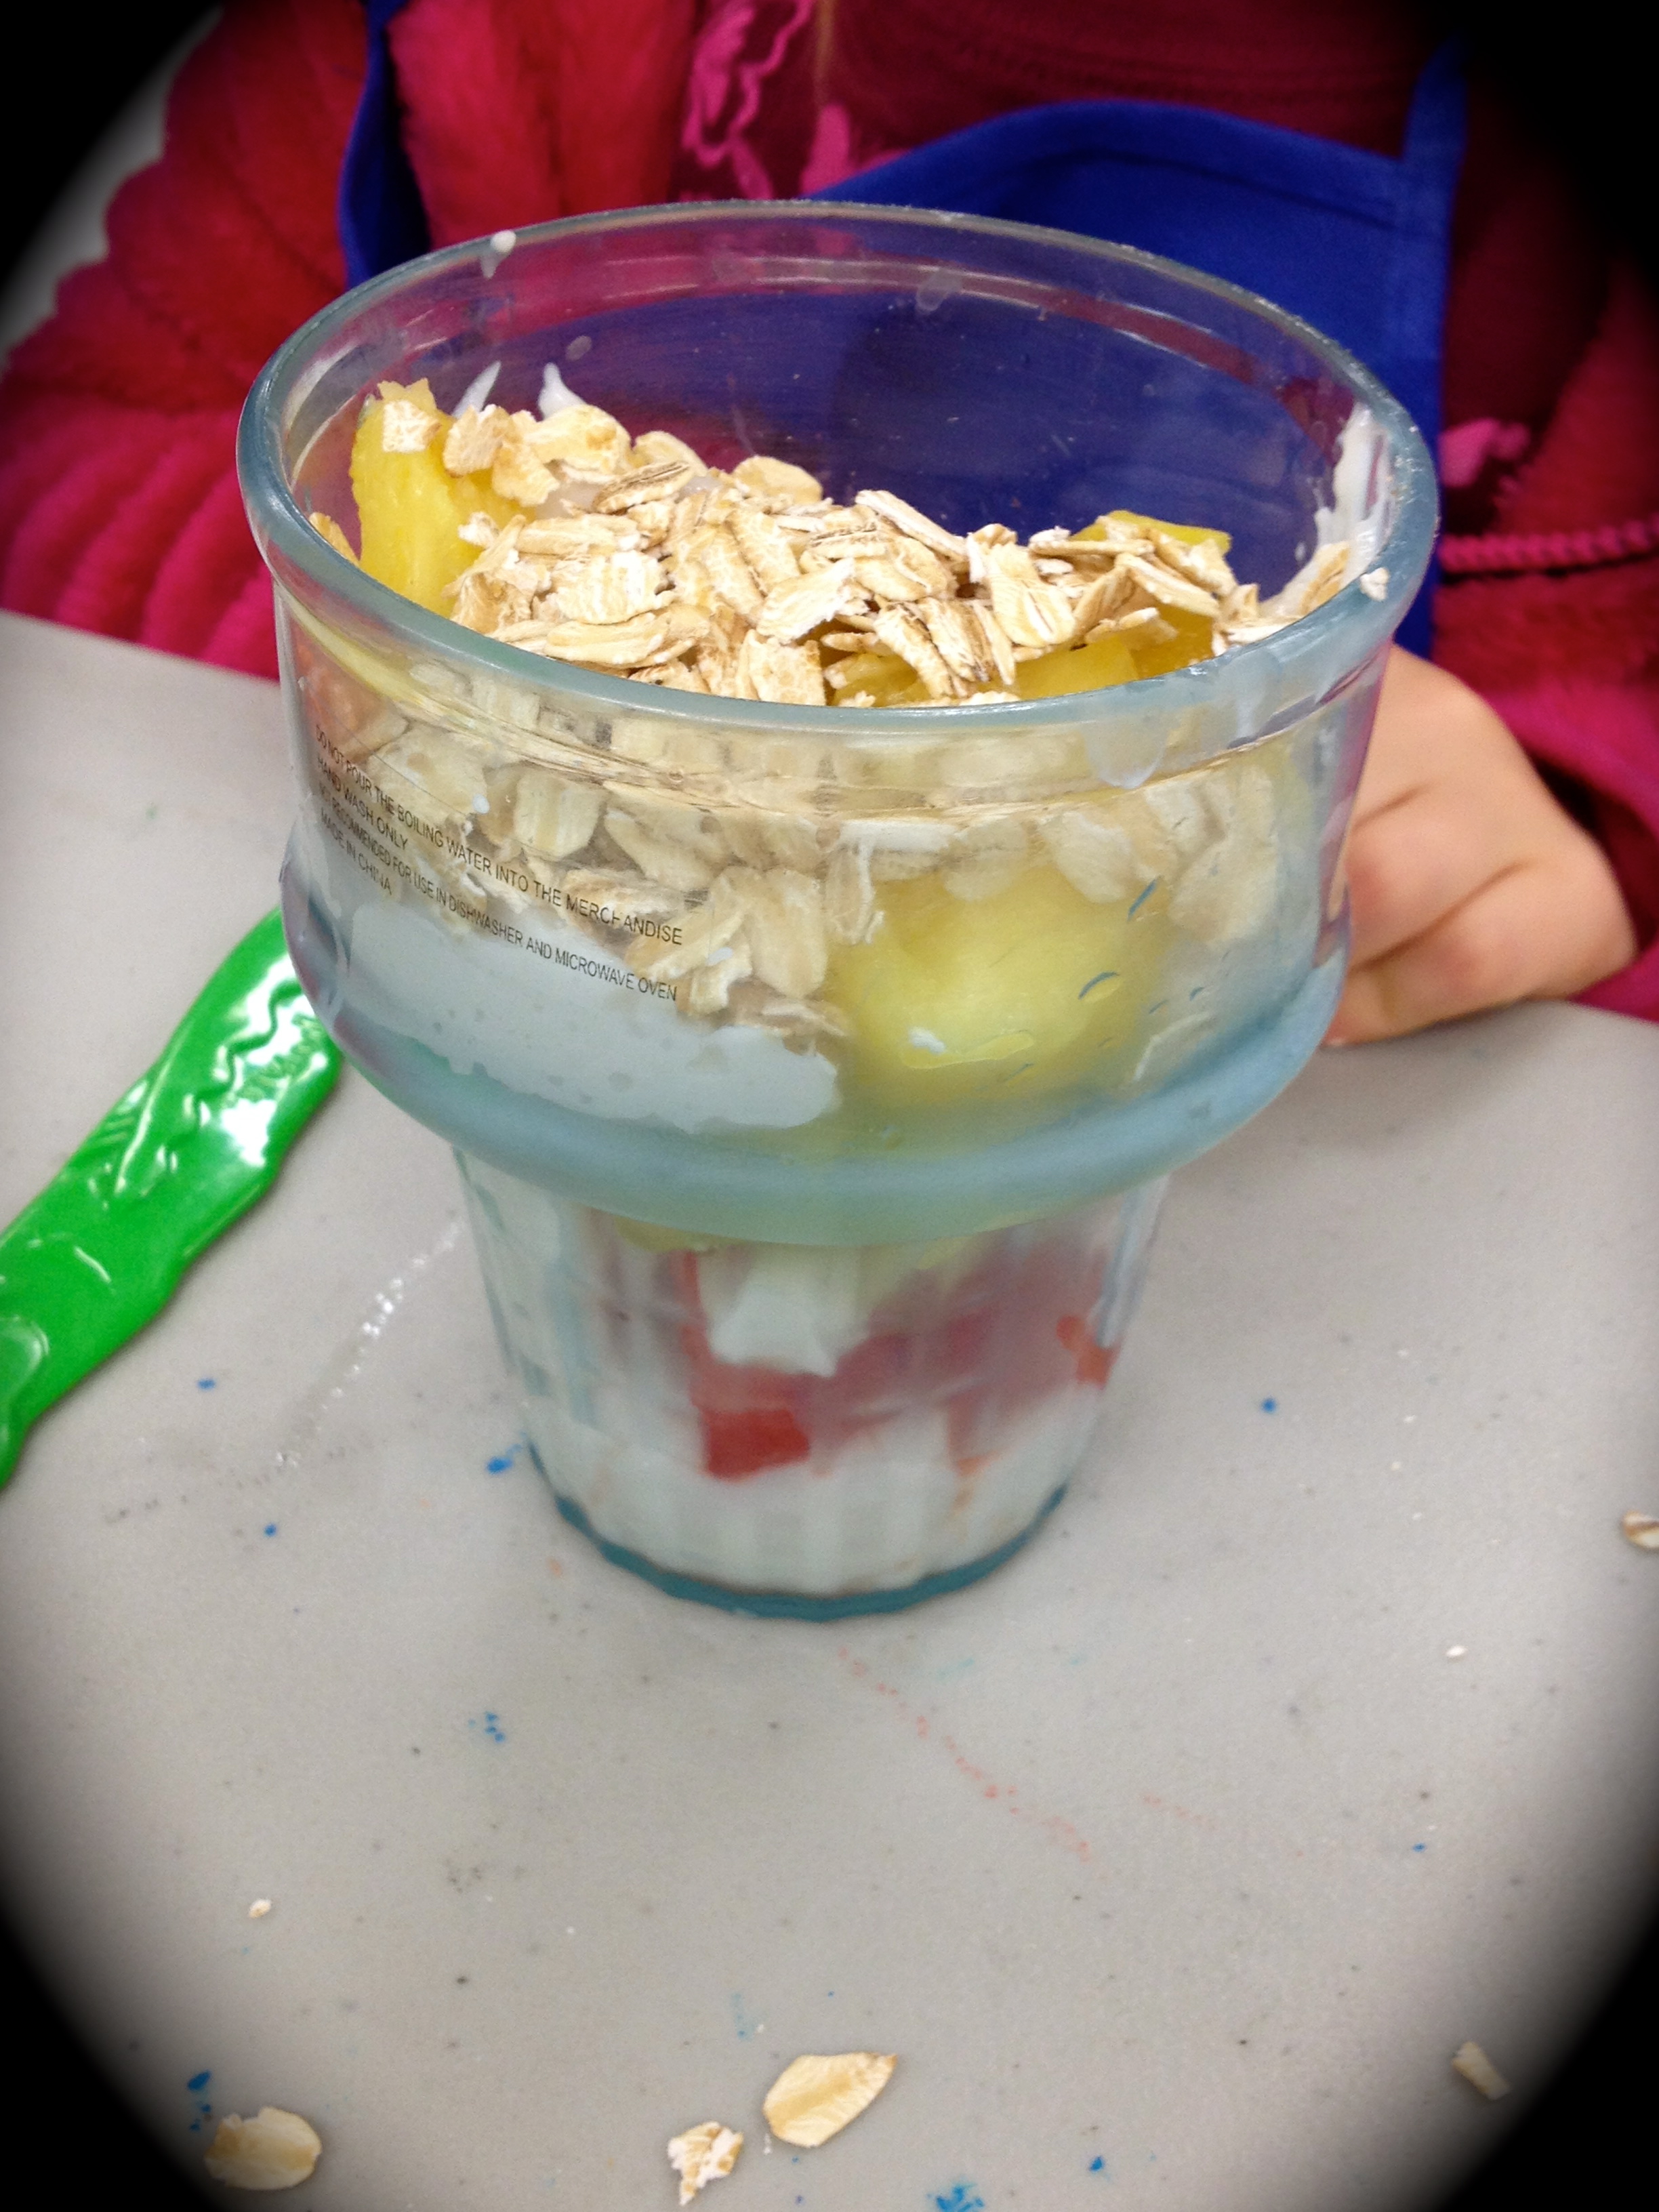
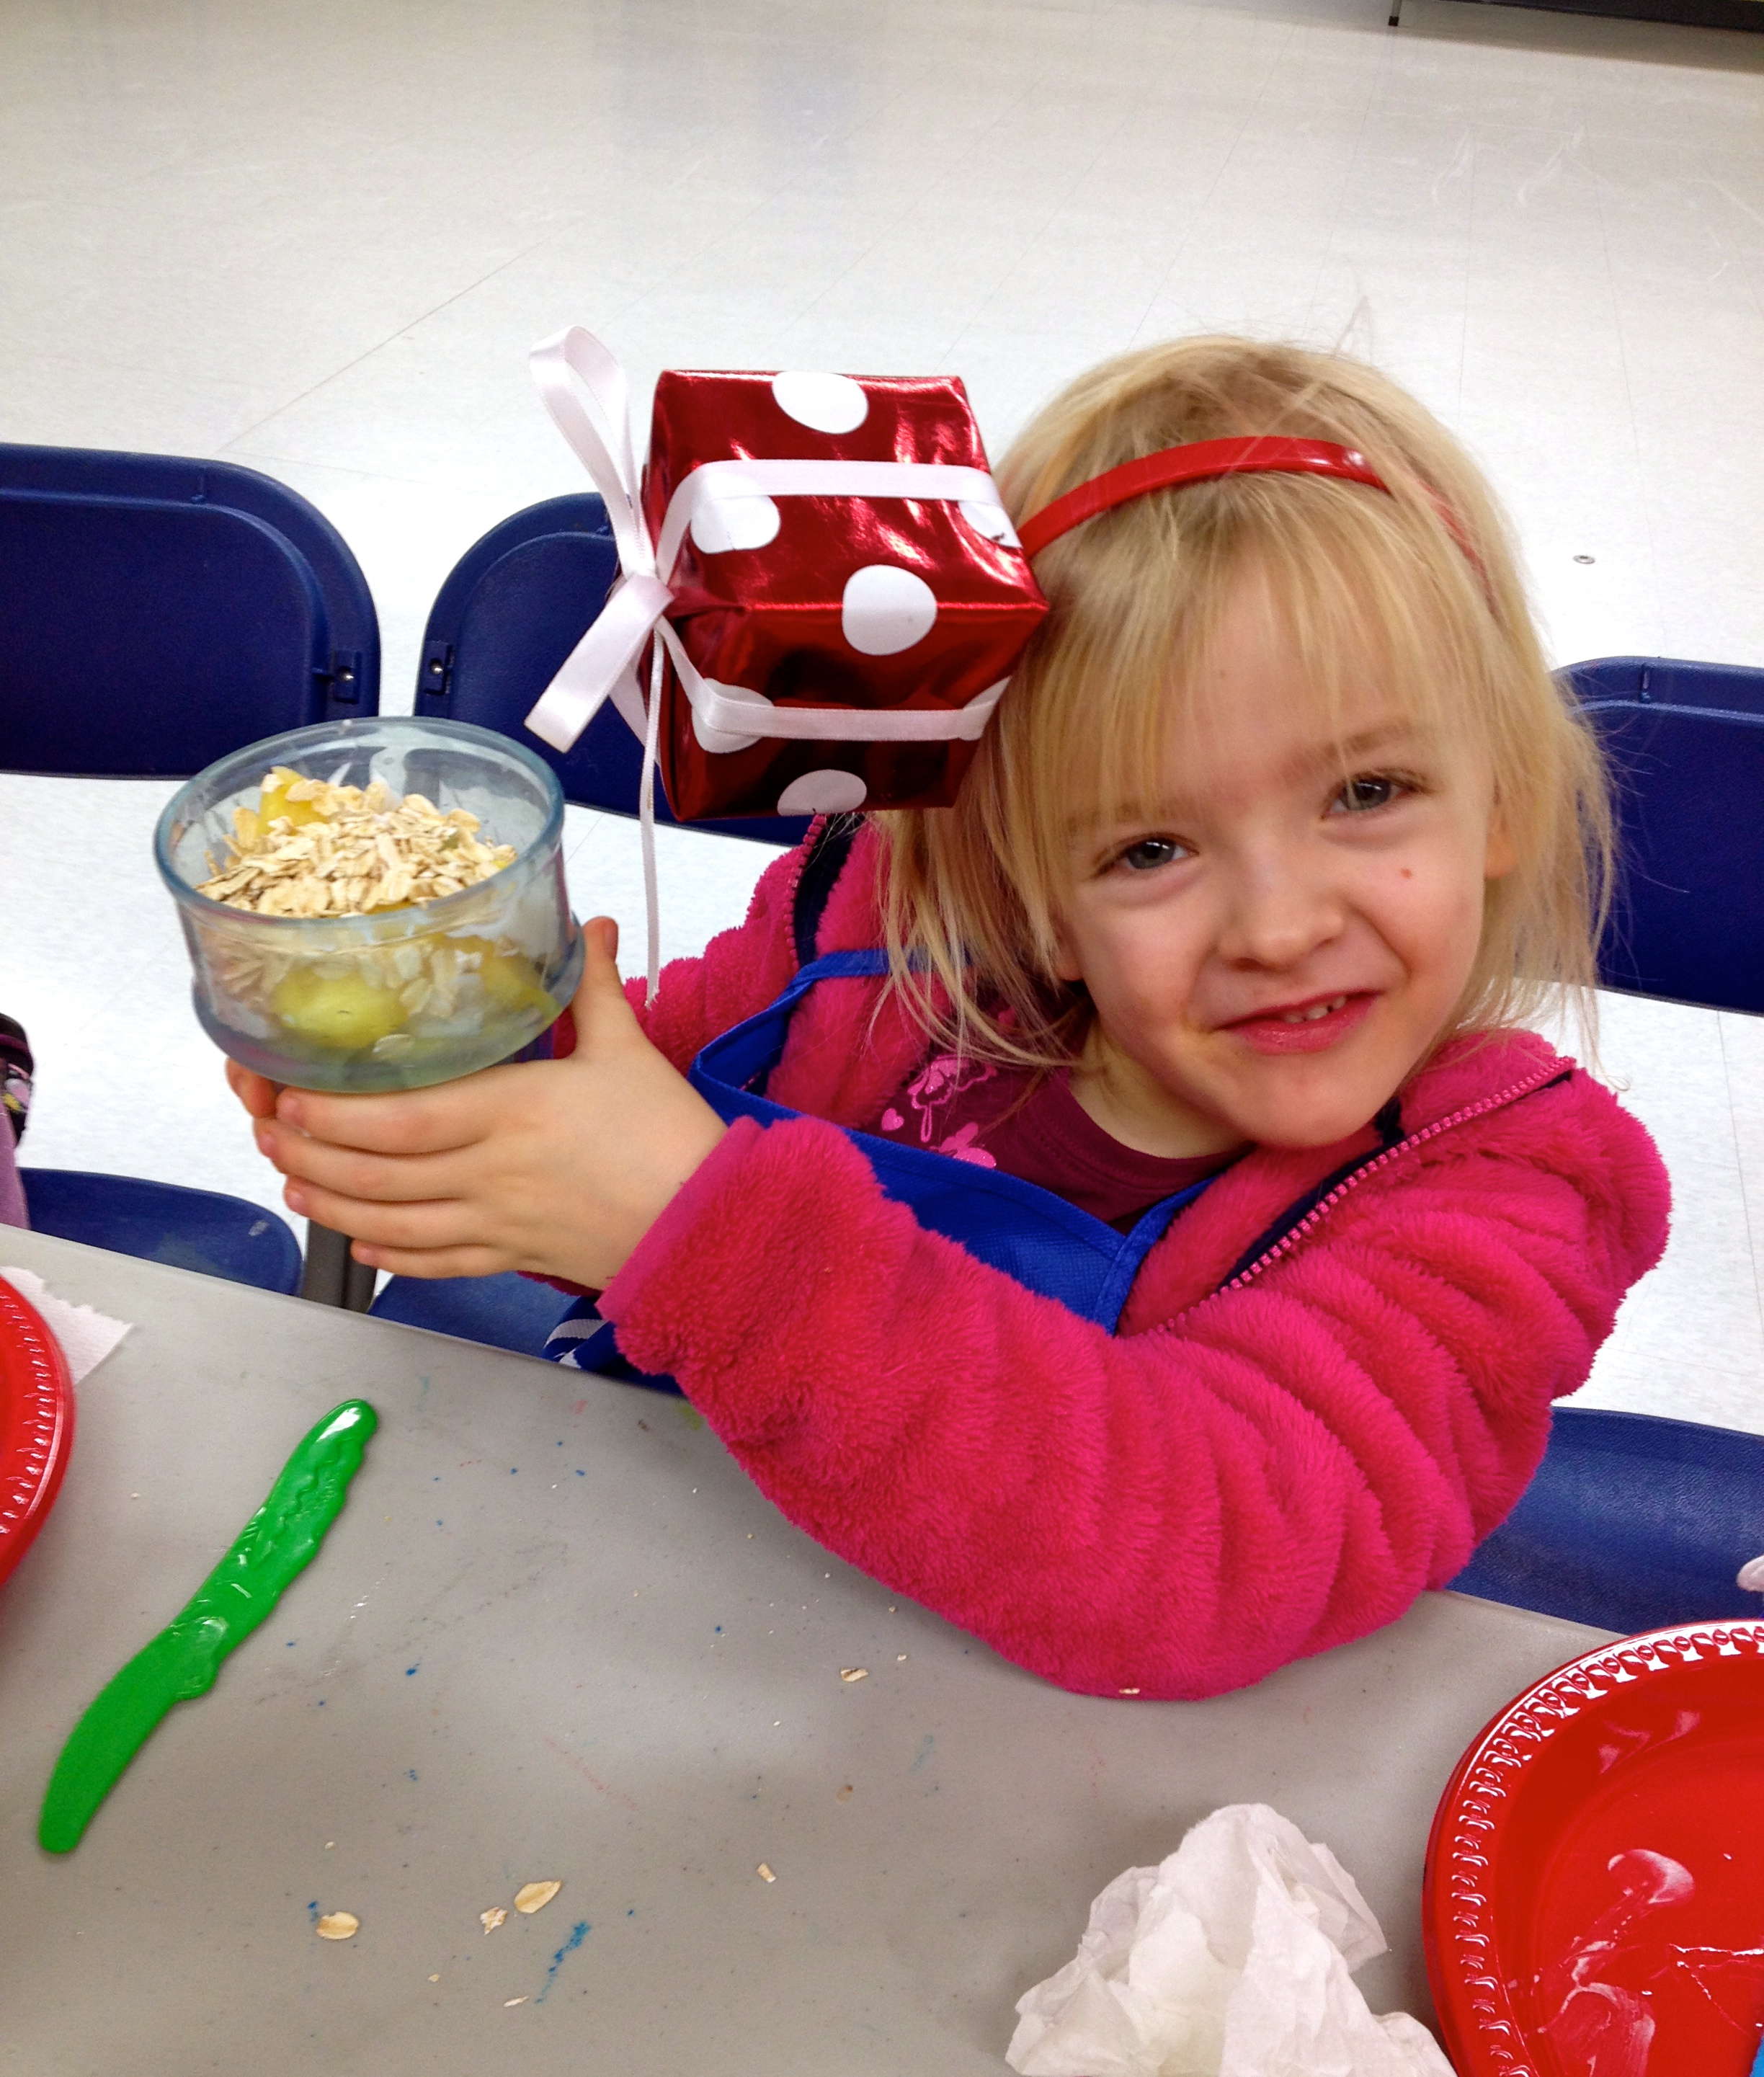
I had been promising the kids in my Mini Chefs class ice cream for a few classes and many of them kept asking when we were going to make it. In our last class of the session I thought I’d throw it in with our chocolate making, making it a bit of an extra treat. This sugar free dairy free peanut butter ice cream recipe is rich, creamy and delicious. No one would ever know that it did not contain dairy (and don’t worry if peanuts are a concern you can use WOW butter, an awesome substitute for peanut butter. Being in a peanut free facility this is what we used and no one noticed a difference in either look, taste or texture). In fact when we made it in class the kids did not question the ingredients at all. They just heard ‘ice cream’ and were ready to make it and eat it.

sugar free dairy free peanut butter ice cream
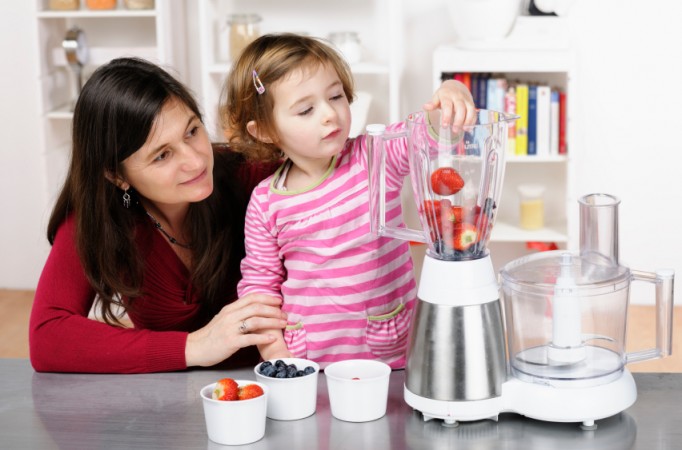
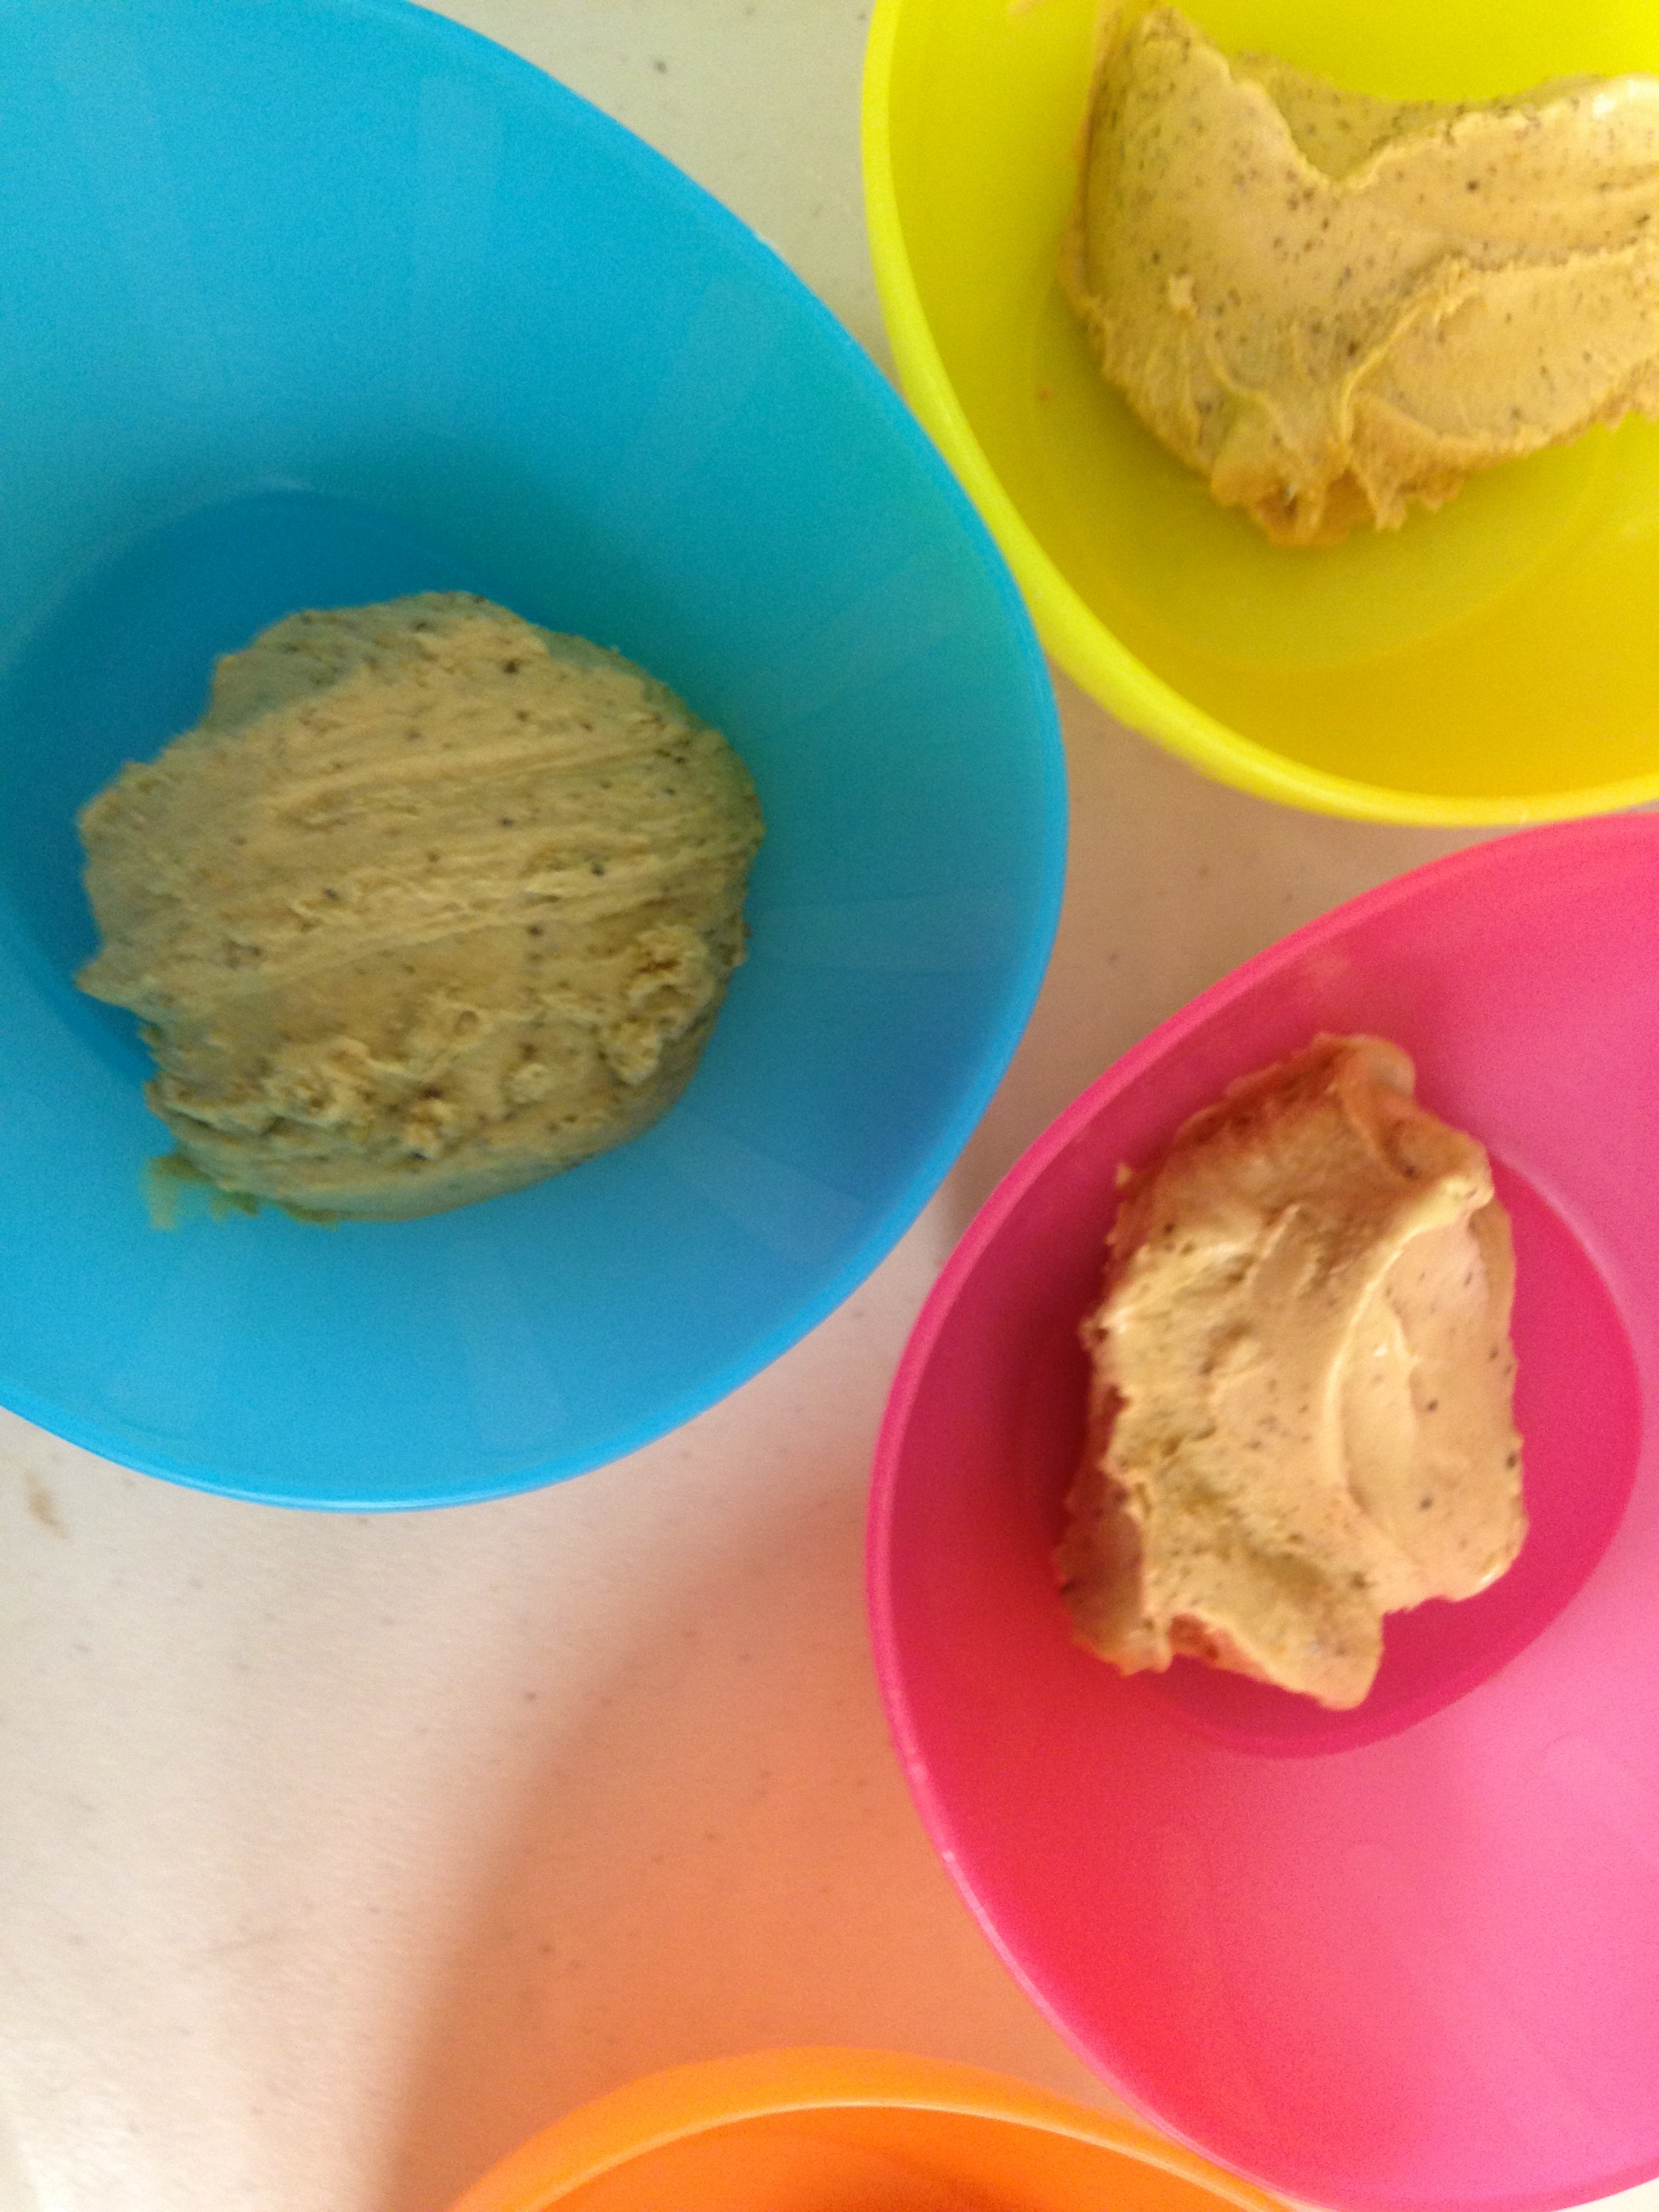
This sugar free dairy free peanut butter ice cream recipe is super easy to make with kids. Just put all the ingredients into a blender, blend and then pour into your ice cream maker. If you do not have an ice cream maker, you can take the mixture and put into a freezable container and put in the freezer until firm.

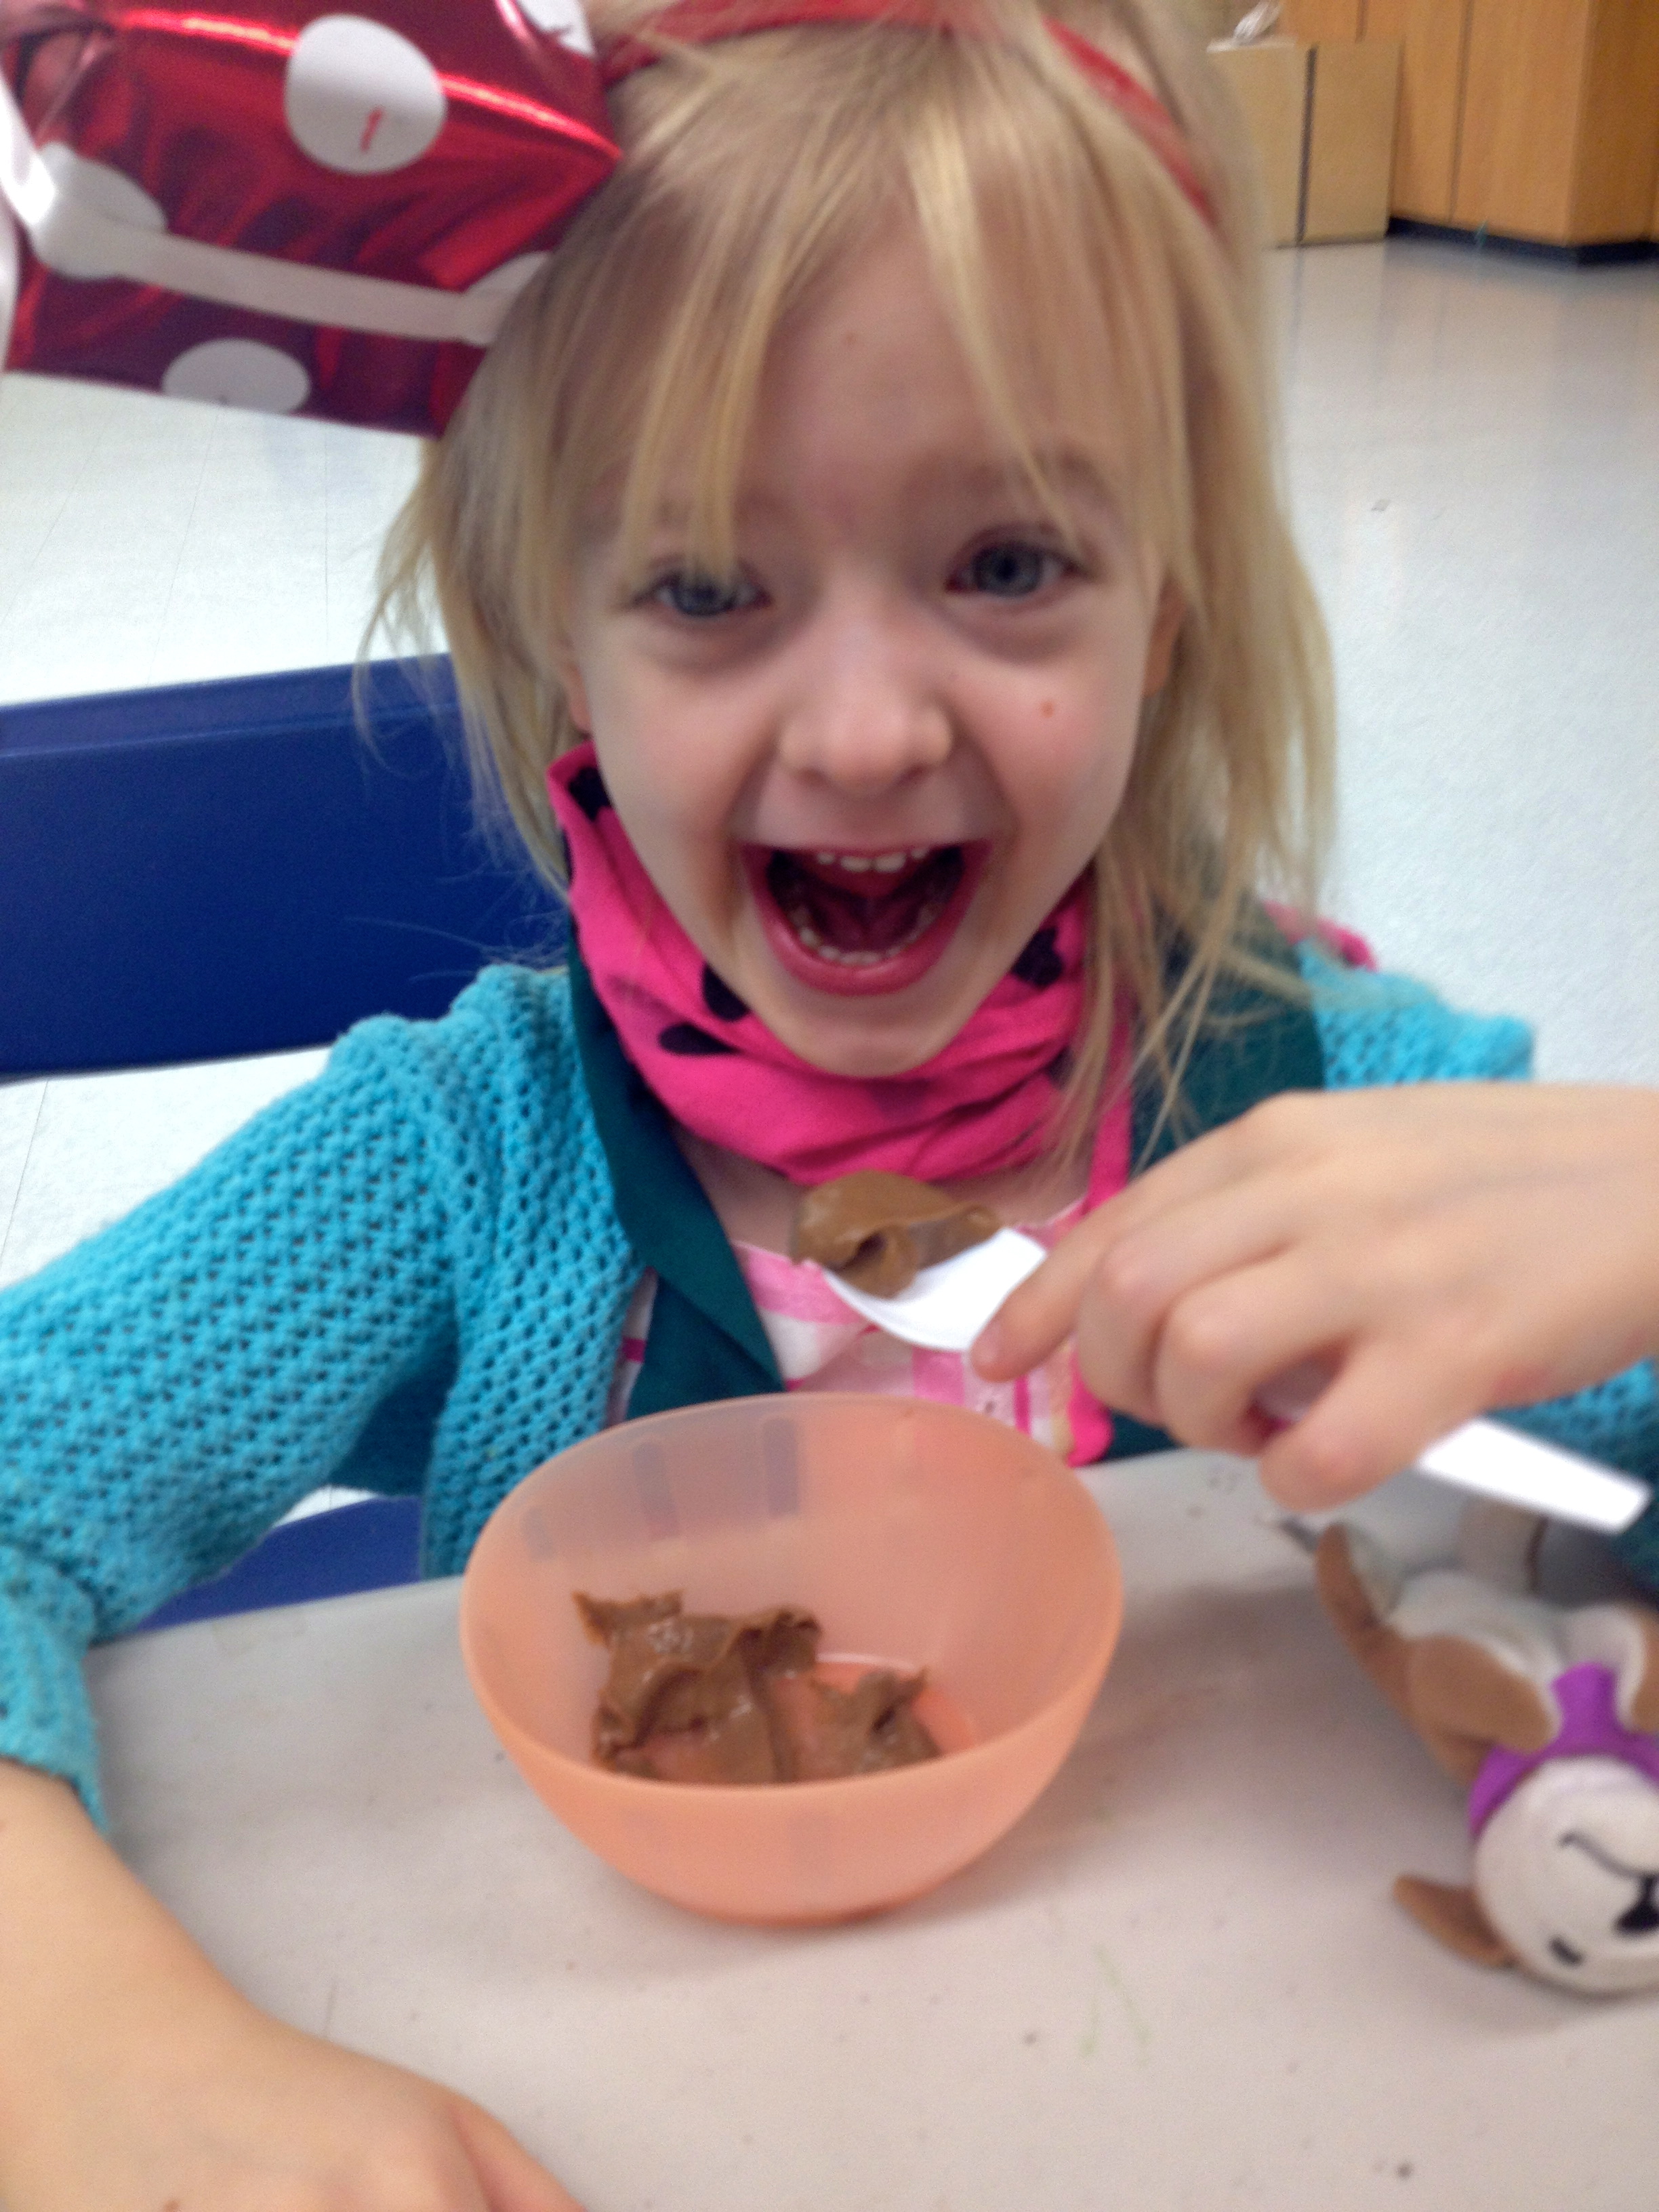
All the kids were bouncing off the walls, waiting for the ice cream to be ready. And when it was, they gobbled it up, most of them asking for some more. I was pleased to be able to finish off the class with something a little more special (and considered a treat), but also still healthy and good for them. By this point, none of them were questioning the ingredients that were going into things, and all of them were willing to try it. Which I think is the greatest success – a child who is willing to at least try it will open up their world of healthy foods and possibilities. Not only with foods, but in other areas of their life as well.

Peanut Butter Ice Cream

Ingredients:

1- 14 oz. can coconut milk, chilled
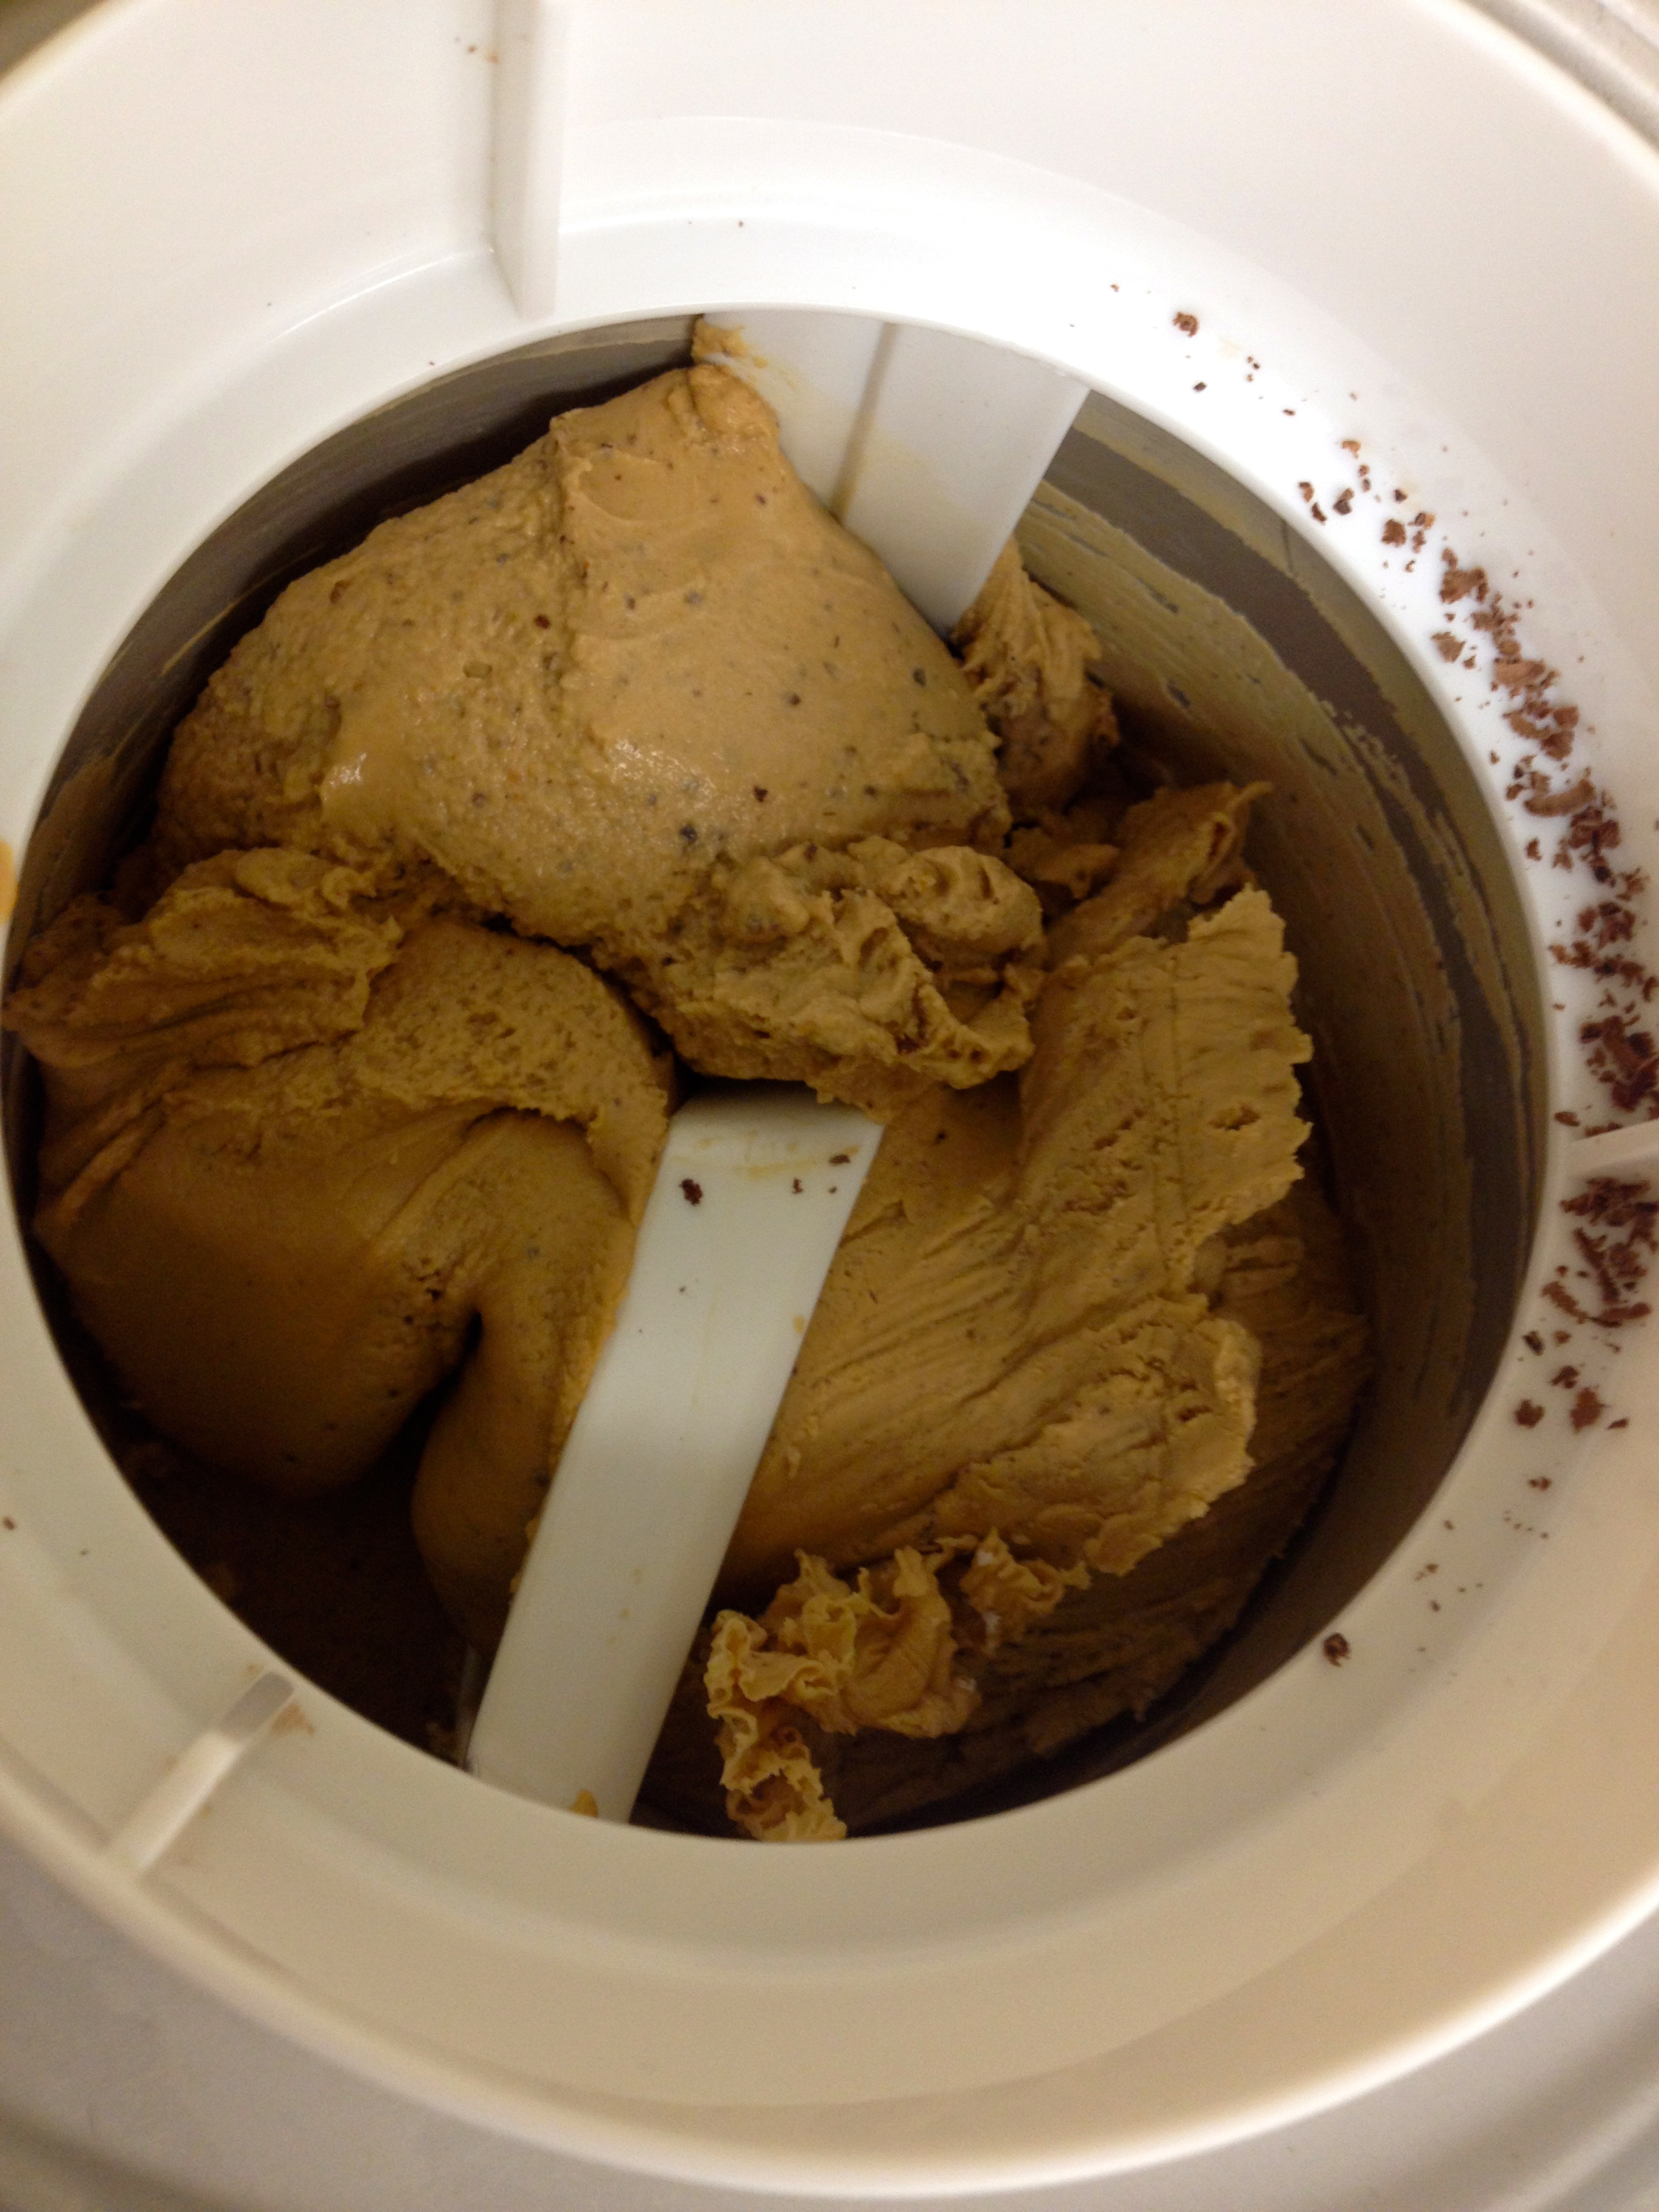
sugar free dairy free peanut butter ice cream

¾ c. coconut sugar

½ c. natural peanut butter (or WOW butter if need peanut free option)

1 tsp. vanilla

3 tbsp. dark chocolate shavings

Prepare your ice cream maker ahead of time by freezing the canister overnight. You’ll also need a good blender to whip the ice cream mixture.

Combine chilled coconut milk and coconut sugar in blender and whip until sugar is dissolved. Add in peanut butter and vanilla. Whip until mixture is creamy and frothy.

*If it’s hot in your kitchen and the mixture is warm-ish, chill mixture before adding to ice cream maker; it will freeze better is mixture is cold.

Set your freezing canister in place and turn on ice cream maker. Pour mixture into freezing canister. Add in shaved dark chocolate.

Churn until frozen. Depending on your ice cream maker this could take 10-15 minutes or up to 30 minutes.

Make roughly 3 cups. Serve in small single scoops as it is rich.

Original recipe from Gluten Free Goddess

healthy chocolate
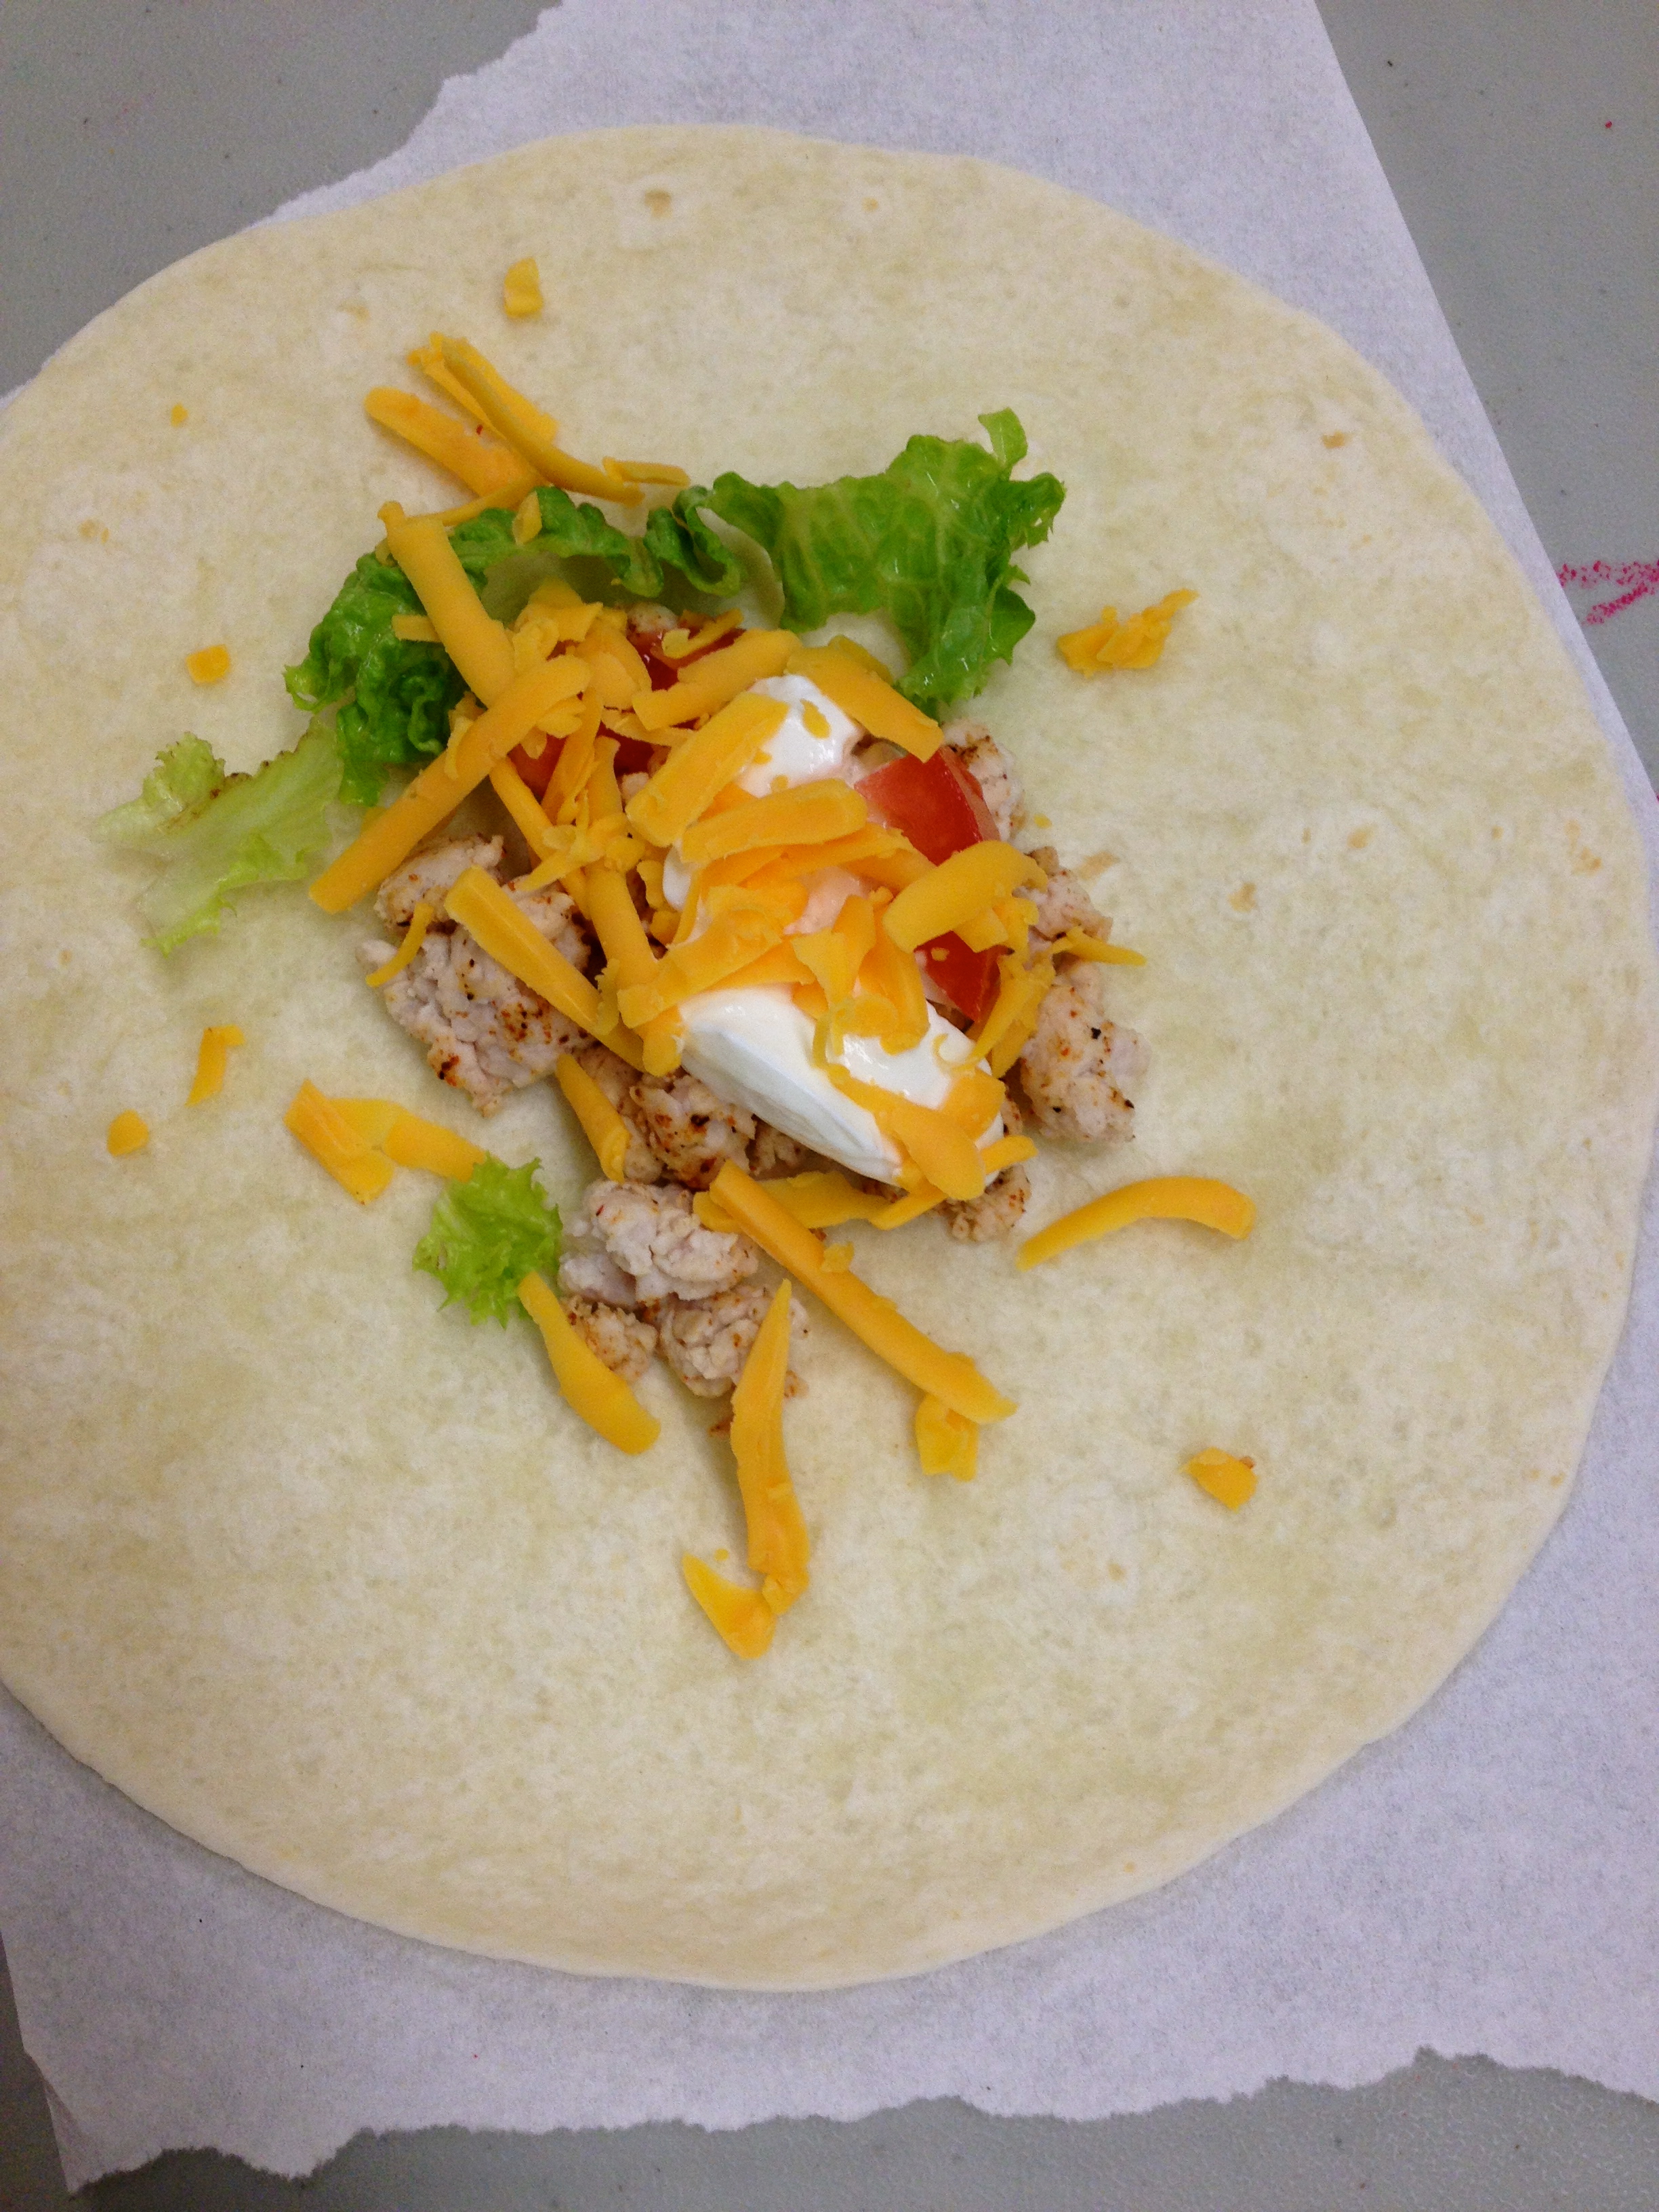
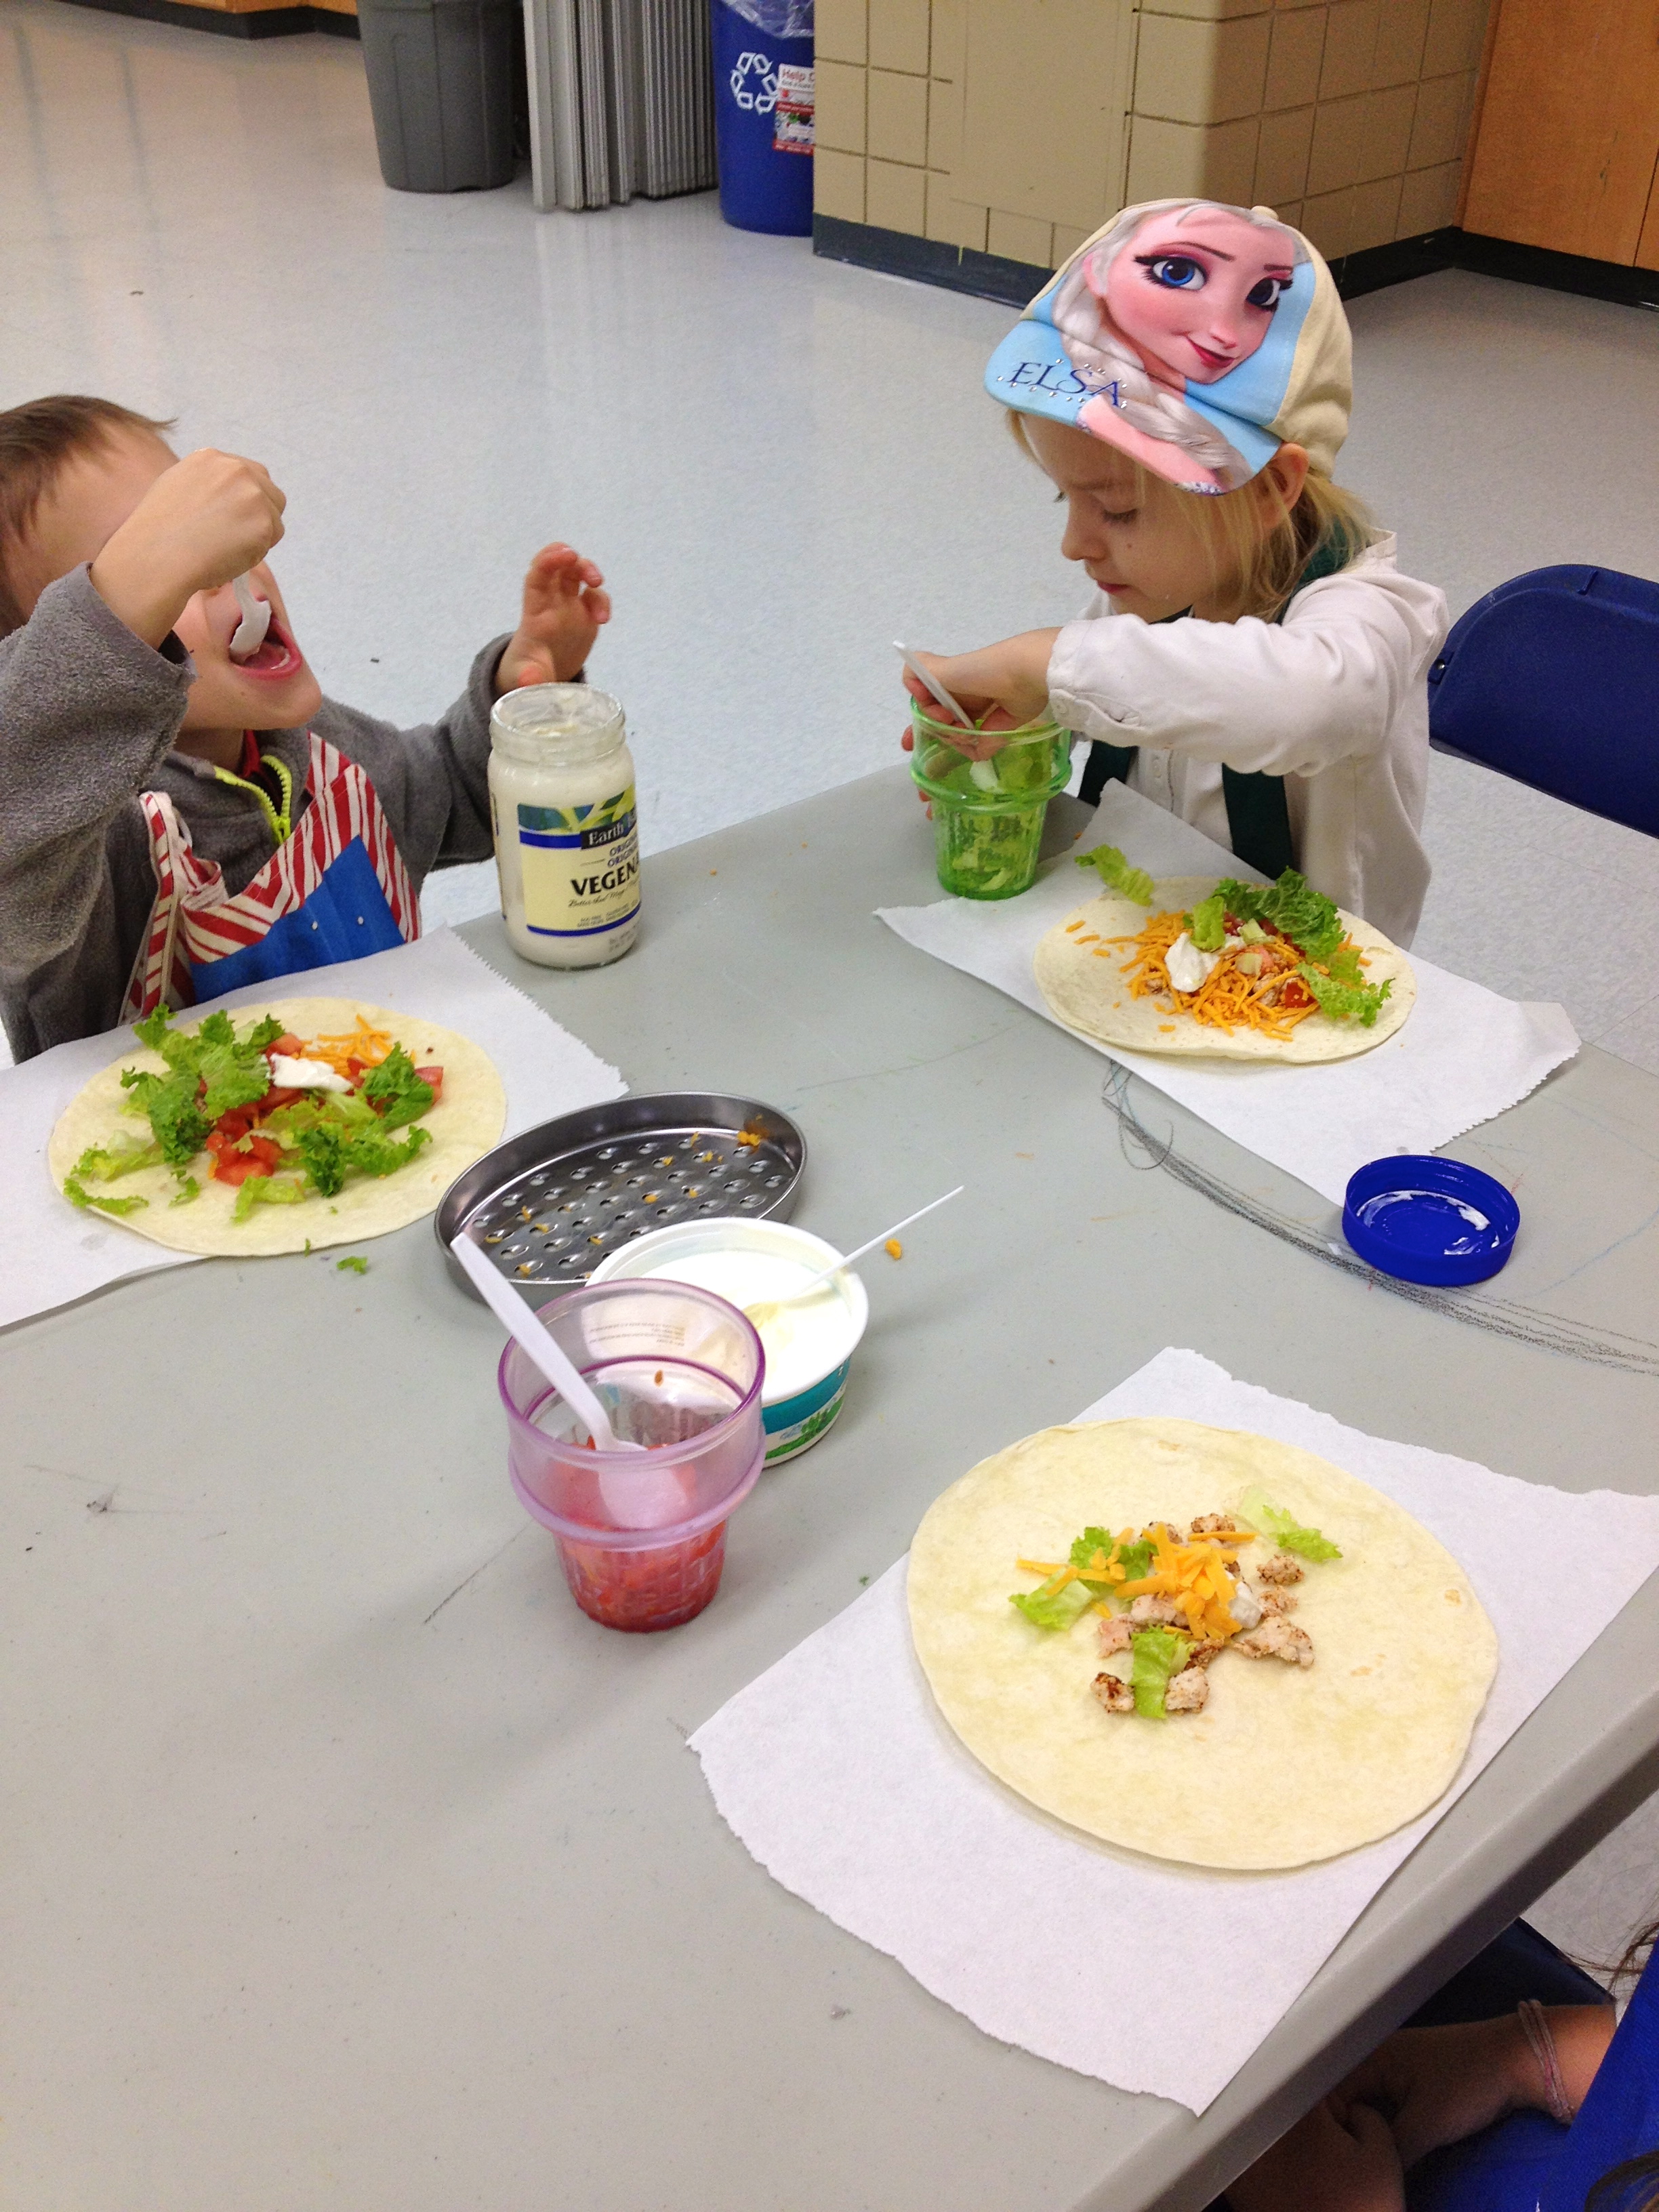
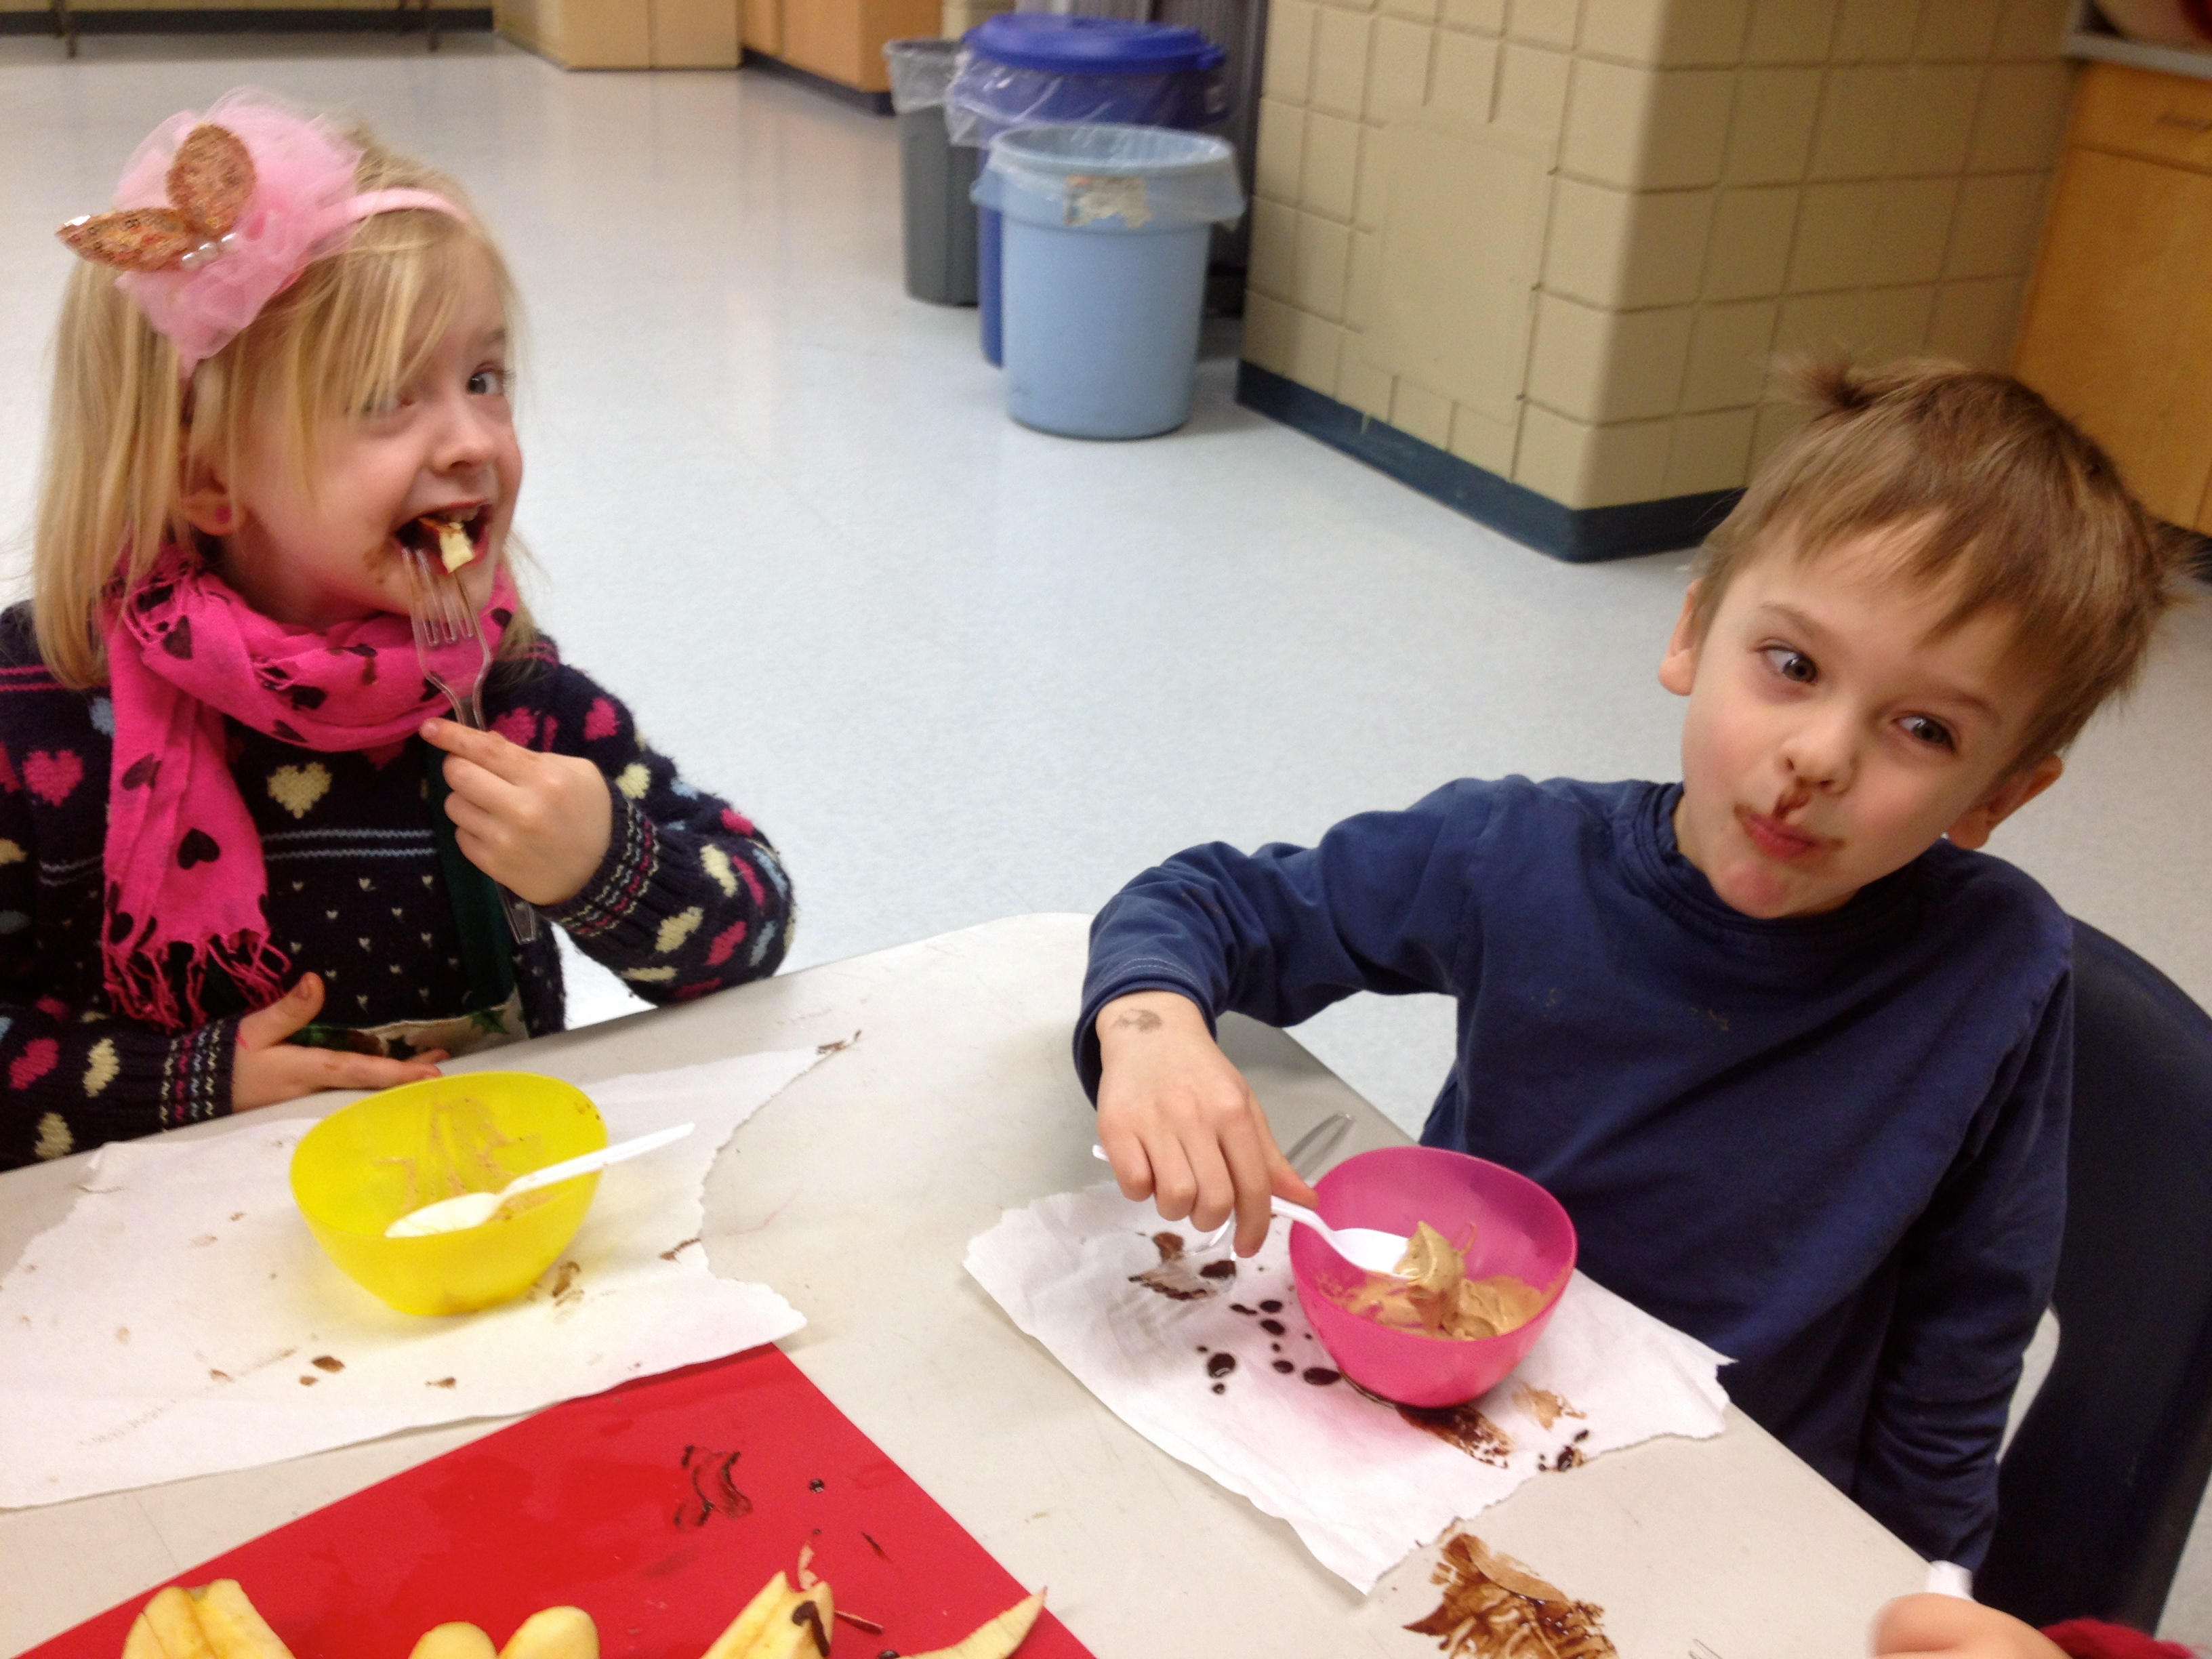
Cooking with kids really can be easy and fun. I had a great time working with these kids, gently expanding their palates and horizons. I was pleased to see how everyone progressed and to hear from parents how what they did in class was being transferred to home. Whether it be a food they now liked, making supper, or helping with clean up.

My greatest joy was the success I had with the more particular eaters, one’s who said they did not like much of anything, but by the end of our classes were not only trying everything but loving what we were making. Those kids had come a long way and really grown. It just goes to show how cooking with kids,  and letting them make their own food not only encourages them to eat it, but also to start trying and experimenting with new things.

Energy Bites – Easy Healthy Snacks for Kids

energy bitesEnergy bites are a very easy and quick snack that are not only delicious but full of nutrition. They are one of those great recipes that you can basically put anything in them that you like, and they are great to make with kids.

They are easy because you simply put all your ingredients into a bowl and mix together. You then roll them into balls and freeze them for 10 minutes. Done!

The kids in my Mini Chefs really enjoyed making these. There were lots of things to measure and put in, and no one turned up their nose at any of the ingredients. They loved it because they all got a chance to mix and roll their own ball, which was a bit of a sticky process. It didn’t matter to them, as they were really excited to try them out. Even my pickiest eater was licking her fingers after rolling her energy bite – already expressing how much she loved it. I was super pleased! (I had been working hard to find something that this child would enjoy that was really good for her) In fact, when we sat down to eat them she had 3. Yes! Success.

energy bitesNow the original recipe calls for peanut butter, but being in a peanut-free facility we used WOW butter, made from non-GMO soy and allergen free (dairy, gluten, egg) it is a great alternative if needed. It does contain sugar, so not so great if you are avoiding added sugars as well. I can vouch that it tastes just like peanut butter and the kids in the class had no idea whatsoever. It looked and tasted the same to them.

Energy bites are a perfect easy on the go snack, as you can make up a batch ahead of time and just grab them when you need that extra boost. There are also many variations on these balls, you can even create your own adding in or removing whatever you like. Things such as raisins, dried fruit, nuts, cacao powder are just a few of the things you could add in. Once you have the basic recipe that sticks together the options are endless.

Energy Bites

1 c. dry oatmealenergy bites

2/3 c. shredded coconut

½ c. peanut butter (WOW butter is a great non-nut option)

½ c. ground flax seed

½ c. cacao nibs

1/3 c. honey

1 tbsp. chia seeds

1 tsp. vanilla

Stir all ingredients together in a medium bowl. Once thoroughly mixed take approx. 1 teaspoon and roll into a ball – dough will be sticky. Place ball onto a cookie sheet. Continue rolling until all dough has been used. Place balls into freezer for 10 minutes or until firm. Take out and enjoy!

Once frozen balls can be stored in an airtight container and are great quick grab and go snacks.

Makes 20-25 balls

Next week our last class and it’s a good one! We make chocolate and peanut butter ice cream…

Kids Healthy Cooking – The Perfect Mini Pizza

making mini pizzas with kidsPizza is another one of those fabulous recipes to make with kids that is super easy and fun. Not only do kids like eating pizza, kids like making pizza to! It is fun, easy and something they can get their hands into.

Making mini pizzas with kids is great because they can choose their own ingredients and put on what they like. Giving them choice and control over what they are having. It is also great because they use their hands to make it, and most kids, (though I do know some who don’t), like getting messy and using their hands to make and create things.

The key as the adult is providing a number of ingredients for them to choose from, not only in hopes that they will choose ingredients that will provide a balanced diet, but also an opportunity for them to try something new.

making mini pizzas with kidsMaking mini pizzas is also a great way to give kids further autonomy over their pizza because they are truly making their own, that they are going to eat and no one else.

I had to laugh when we made these in our Mini Chefs class. As soon as I took out the ingredients we were using, little ones started expressing how they did not like tomato sauce, or mushrooms, etc. I just smiled and said that was the great thing about making your own pizza is that they could put whatever they wanted on it!

So they did. Some of them completely excluding the tomato sauce and just placing ham and cheese on top. Others experimented with all the ingredients, while some went for the simple straight forward ‘just cheese’.

And it’s so great to watch them experiment and try new things. Sometimes I don’t know what is actually new for them until after class when I talk to Mom and say “Suzy had ham and cheese on her pizza today.” Then Mom looks at me in surprise and says “Wow, she tried ham, she won’t touch it at home,” looking impressed.

Once you have the kids making a basic mini pizza, you can then start adding in some new ingredients the next time you make them, like spinach or feta. You can also get creative around holidays like Halloween and have them make spooky faces on their pizzas (again adding new ingredients to try like peppers or olives – they’re great for faces). Pizza options really are endless and once they’re hooked and involved they’ll be no limit to what you and they can try.

Mini Pizzas

Ingredients:

Tomato saucemaking mini pizzas with kids

Daiya mozzarella cheese (or regular mozza if preferred)

Sliced ham

Pineapple, sliced and cut into pieces

Mushrooms, sliced

Whole Wheat English muffins

Cut english muffins in half. Place both halves face up on counter. Spoon on 1-2 tablespoons of tomato sauce (to taste). Be careful not to use too much as it will make the muffin soggy. Place desired toppings, ham, mushrooms, pineapple on top of tomato sauce. Spread toppings evenly. Sprinkle with Daiya mozarella.

making mini pizzas with kidsPlace in pre-heated oven (350F) or toaster oven until cheese is melted and muffin is golden brown around the edges – approximately 5-10 minutes. Keep an eye on your pizza as some ovens are warmer than others and may cook faster.

Next week we experiment with dips – the caramel one is to die for (and is fabulous with apples – you’ll want to eat an apple just to eat the dip)!

Kids Healthy Cooking – Healthy Sweet Treats

IMG_6963As human beings one of our biggest vices is all things sweet. The same goes for our kids as well, they prefer bananas over carrots, the cookie over the banana and so on. But what if we could create healthy sweet treats for kids that they would not only love and meet their need for sweet, but would provide them with a nutritional impact full of vitamins, minerals and other nutrients?

When we decided to go sugar free at our house I got a lot of looks from other people and questions about how can I deny them all the yummy things that are part of a regular kids life, like cupcakes, chocolates and cookies. The truth is they have never been denied, they still enjoy all those things at our house and more. The difference is not in the taste which is just as yummy if not more so than the ‘original’ – but in what they are made of. We have simply switched to natural sweeteners and added in foods that are super high in nutrients. And honestly they not only gobble them up but request them.

It is easy to make the switch at your house too. Just start slowly adding in one or two recipes and go from there. Make it easy. Plus if you get the kids involved in making these healthy sweet treats your chances of them eating them goes up simply because they have helped.

Also starting with ingredients and foods that they like is key to success when getting kids to eat and try new things. If you pick something they like, they are already interested and will be more open. This is why just before Valentine’s Day in our Mini Chefs class I chose two healthy sweet treat recipes for kids that were chocolate. You should have seen the kids eyes get big and how excited they got when I told them what we were making that day was chocolate (same thing happened when we made the chocolate banana smoothie a few weeks ago).

They were all so excited to try it when it was ready to eat, even though they had watched some ‘weird’ ingredients go in like avocado and chia seeds. Chocolate overruled it all.

Raw Chocolate Pudding

The thing I love about this recipe is the fact that you simply put all the ingredients in the blender and mix. In just minutes you have a smooth, fluffy and delicious chocolate pudding.

2 ripe bananas, peeled and slicedhealthy sweet treats for kids

1 avocado, pitted and peeled

2 tbsp. raw cacao powder (this is different than cocao powder)

1 tsp. agave nectar

Put all ingredients in blender in the order listed. Start on low, slowly turn speed up to high. Blend for 30 seconds on high or until desired consistency is reached. *it’s sweet as is, but if you’d like to increase sweetness add more agave nectar to taste – agave is twice as sweet as sugar so use small amounts and taste before adding more 

Avocados are fantastic additions to recipes. Not only are they mild in taste, they are high in vitamins and minerals such as Vitamin K, B5, B6, C and E as well as Omega 3’s. They offer a lot of health benefits like improved mood, reduced stress, good eye health and more. They are also a great food that actually curbs sugar cravings! Because they are high in healthy fats they slow digestion and prevent the body’s blood sugar from spiking after eating. It is also true that when we crave sugar it is often because we are missing certain nutrients and adding a healthy fat will curb this craving as the body becomes satisfied.

No Bake Chocolate Macaroons

1 bananahealthy sweet treats for kids

¼ c. coconut oil, melted

¼ c. pure maple syrup

½ tsp. vanilla or 2-3 drops madagascar vanilla essential oil

6 tbsp. cacao powder

1.5 c. unsweetened coconut

1 tbsp. chia seeds

small pinch sea salt

In a medium size bowl mash banana well until there are no clumps. Stir in melted coconut oil, maple syrup and vanilla. Sift cacao powder and stir into banana mixture. Stir in chia seeds, coconut and salt.

Line baking sheet with parchment paper. Drop a teaspoon at a time onto parchment paper. Put in freezer for 20 minutes or until firm. Store in freezer until ready to enjoy.

Makes approx 15 macaroons

Chia seeds are not only high in dietary fibre and protein as well as many other vitamins, they make you feel full as well as being an ingredient that stabilizes blood sugar. Cacao powder is rich in vitamins and nutrients such as iron, antioxidants and high in B Vitamins. Cacao does differ from cocoa as though they come from the same plant the difference is in how they are processed and the amount of nutrients that are left in it. Cacao is also considered a superfood while cocoa is not.healthy sweet treats for kids

So have fun, enjoy! not only will the kids love these healthy sweet treats you may find that you love them to (I have a hard time eating only one chocolate macaroon at a time…) They are quick easy and so yummy you and your kids will forget that they are actually good for you.

Next week pancakes with super cool faces!

Kids Healthy Cooking – How to Make Tacos

how to make tacos with kidsTacos are one of those great foods that are an quick easy dinner solution that you can easily incorporate many food groups (including vegetables) and taste delicious. They are also a fabulous way to get the kids involved in helping make dinner as there is lots of scooping and use of their hands. You may think it will create a big mess, but here are some easy ways how to make tacos with the kids and be successful!

How to Make Tacos with Kids

1. Prep in advance – Chop, grate, cut the ingredients you are using in advance and put them into separate bowls that the kids can easily scoop or grab things out of. Place a spoon with each item so they don’t mix them.

2. Provide a variety of ingredients – in Mini Chefs we used just lettuce and tomato and cheese, but you could include avocado, cucumber, spinach…basically any vegetable. Providing variety will not only makes the kids curious but it will also encourage them to try a little, especially when they are making their own.

3. Use some kind of dip or spread – sour cream, Veganaise or mayonaise, guacamole, salsa all add a little flavor and variety to their taco. It also makes it less dry and provides nice texture and easier on the palate.

4. Demo what it looks like – make one and show them what you would typically put in it, everything from sour cream to tomatoes and cheese. Let them know that if they choose not to put an ingredient in that’s ok. The example will not only show them what can go in it but might encourage them to put some of those ingredients in themselves.

5. Let them make their own – give them the tortilla or taco shell and show them all the options, then let them decide which ingredients they want to put in and how much. (Remind them that they need to close up the tortilla so not to put too much in). When they make their own they are more likely to eat it.

how to make tacos with kidsWhen I did this with my Mini Chefs class I had everything ready in advance and this made it very smooth when making them. The only thing we prepped together was to cook the ground chicken, which I did and they watched. They all really like watching what is happening as their curiosity makes them interested and that is the best way to get them engaged.

Many of them tried different ingredients, creating their own with various amounts of the things they liked. We used soft tortillas, which I find easier with kids because you can roll them up and have less stuff falling out! but you can use hard taco shells if you prefer. I did have to remind them that though they could put in what they liked, not to put too much in as we needed to roll it up and have it all fit.

Rolling them up was the fun part. I showed them how to do it and then helped each child coaching them through rolling it up themselves, which each of them did quite successfully. Once we had it rolled up then we chowed down and enjoyed our tasty creations.

I even had the next week a Mom share with me that her son had made tacos for supper one night after this particular class, which I was so pleased to hear. She said he insisted on clearing up which he never does and he is now also eating lettuce, which he never ate lettuce. Wrapping it up and presenting it in a different way is one of the many reasons why this has occurred. Plus he (and the other children) were allowed choice in what they could put in and weren’t told that they had to use this ingredient or that one.

I feel that this class has been our most successful class so far and that learning how to make tacos has taken the children’s learning in the kitchen to the next level. It really is a simple nutrition packed meal which can easily be modified if you want it dairy free, vegetarian or packed with protein (add kidney beans or chick peas). There are a large variety of different taco recipes and combinations to try, but I would recommend starting with a basic recipe to get the kids into it, and then expand upon it from there.

Tacos

Ingredients:

1 pkg. ground chicken (or any choice of ground meat)how to make tacos

1 tbsp. taco seasoning (recipe below)

tomatoes, chopped

lettuce, chopped

Daiya cheddar cheese, shredded (or regular cheddar if desired)

Vegan sour cream – I love Earth Island (or regular sour cream)

tortillas

Brown ground chicken in frying pan. Add 1 tbsp. of taco spice and mix.  Lay out one tortilla flat on counter or plate, spread a spoonful of sour cream on tortilla, add spoonful of chicken, tomato, lettuce and cheese. Fold tortilla over once, tuck in ends by folding over on each side, then roll the rest of the tortilla to end.

Taco Seasoning

(this is an easy seasoning that can be made at home with spices you likely already have in your cupboard. Pre-make it and skip the processed package stuff from the store)

Ingredients

1 tablespoon chili powderhow to make tacos

1/4 teaspoon garlic powder

1/4 teaspoon onion powder

1/4 teaspoon crushed red pepper flakes

1/4 teaspoon dried oregano

1/2 teaspoon paprika

1 1/2 teaspoons ground cumin

1 teaspoon sea salt

1 teaspoon black pepper

Mix all ingredients together. Store in an airtight container.

Do you have a favorite taco recipe that your kids love? Share it below

Coming up next…some chocolate delights, macaroons and chocolate pudding!

Don’t miss our other kids healthy cooking recipes such as yogurt parfaits, tuna melts and kids smoothies

Kids Healthy Cooking – Tips and Tricks for making it easy and fun!

kids healthy cooking

Cooking with kids can be a challenge. It’s messier, it’s slower, and often times can try your patience as a parent. Kids healthy cooking can be even more of a challenge with your little munchkins palates changing and developing, being sensitive to textures, smells and levels of salt and sweetness. One day they like a certain food and all of a sudden the next day they don’t? Even with these challenges, there are many benefits to getting little ones into the kitchen at a young age, benefits that will set a foundation for their eating and nutrition choices for life.  And these benefits will outweigh the extra time and patience you have to spend in the kitchen.

fruit2For little hands, time in the kitchen allows them to build basic skills, explore with their senses and create an adventurous palate! You can introduce healthy foods in a fun and unique way that will get them eating and enjoying it. Kids are also more likely to eat what they have made and it creates a foundation for them later in life – when they’re older in college and can actually cook. Not only that, but it creates a great opportunity for you and your child to spend some quality time together, learning and creating together, even having a little fun.

I recently started teaching a preschool class at the Trico Center called Mini Chefs and it is one of my favorite classes. You may think that cooking with a preschooler would be difficult, but when you choose recipes that are simple, easy and appropriate for their age, it is actually a lot of fun. I love how excited the kids are each week, curious about what we are making and what is in it.

IMG_6903One of the keys to making kids healthy cooking successful (especially with preschoolers) is to pick something with less than 5 ingredients and things that they can do themselves, like scooping, mixing, tearing (lettuce). Most kids at this age love to help and get very excited about mixing things, or scooping out the flour. Yes you may have a little more flour on the floor but encouraging them and letting them do it, will make them want to do it again.

For our first class we created Yogurt Parfaits, which is a very easy, hands on recipe with 3 basic ingredients and lots of scooping and sprinkling. They all wondered what a yogurt parfait was, as even my children had not made one of these before. What was in it? How did we make it? When were we going to make it? The when question was the best. They are so keen at this age to get started!

This is why it is very advantageous and less stressful for you to prepare things in advance so that the cooking process goes more smoothly. For the parfaits, I had the yogurt already in a bowl with a spoon for scooping, the fruit cut and the granola in a bowl ready for scooping as well. Parfait glasses were in a stack ready for me to hand out as well as the spoons. This made it easier for each child to do what they could themselves, once I explained how we made the parfaits.

It was so fun to watch each child create their parfait, scooping in their yogurt (some with fairly large scoops and some very small), choosing their fruit, then scooping in some yogurt again. Each parfait was creative and unique, and honestly it was not that messy. Some kids had lots of yogurt in theirs and less fruit, some had a lot of both, while others just wanted the granola off the top. Either way they all had fun and all tried it, it was a new taste adventure for many of them.

Now my kids ask for yogurt and fruit all the time now and it makes a very healthy snack!

Yogurt ParfaitIMG_6905

Ingredients:

Non-dairy vanilla yogurt  – such as coconut, almond or soy   *(can easily substitute dairy yogurts if desired)

Fruit – pick your favorite! Blueberries, strawberries, banana, honeydew

Granola (store bought or make your own – you can also substitute large oats if desired)

In a bowl or cup place desired amount of yogurt. Then place fruit of choice on top, layer with yogurt then another layer of fruit. One more layer of yogurt and top with granola. Enjoy!

And don’t forget, get the kids to help you clean up after as well. They are willing at this age and that way they learn that cooking whether creative, messy or fun, requires clean up at the end.IMG_6904

Next week… Tuna melts and Vegetable Flowers – who says vegetables can’t be fun!