 Ice cream. One of the many favorite summer treats, wonderful on a hot summer day. But honestly, great anytime and popular with kids. Growing up in my house ice cream was a staple and often requested after dinner. So when we went dairy free, ice cream was definitely something I missed. But like any change (like when we went sugar free) it was just a matter of shifting gears and finding new recipes to meet our ice cream needs. This is when I discovered this sugar free dairy free peanut butter ice cream.
I had been promising the kids in my Mini Chefs class ice cream for a few classes and many of them kept asking when we were going to make it. In our last class of the session I thought I’d throw it in with our chocolate making, making it a bit of an extra treat. This sugar free dairy free peanut butter ice cream recipe is rich, creamy and delicious. No one would ever know that it did not contain dairy (and don’t worry if peanuts are a concern you can use WOW butter, an awesome substitute for peanut butter. Being in a peanut free facility this is what we used and no one noticed a difference in either look, taste or texture). In fact when we made it in class the kids did not question the ingredients at all. They just heard ‘ice cream’ and were ready to make it and eat it.
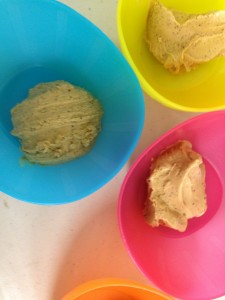
 This sugar free dairy free peanut butter ice cream recipe is super easy to make with kids. Just put all the ingredients into a blender, blend and then pour into your ice cream maker. If you do not have an ice cream maker, you can take the mixture and put into a freezable container and put in the freezer until firm.
All the kids were bouncing off the walls, waiting for the ice cream to be ready. And when it was, they gobbled it up, most of them asking for some more. I was pleased to be able to finish off the class with something a little more special (and considered a treat), but also still healthy and good for them. By this point, none of them were questioning the ingredients that were going into things, and all of them were willing to try it. Which I think is the greatest success – a child who is willing to at least try it will open up their world of healthy foods and possibilities. Not only with foods, but in other areas of their life as well.
Peanut Butter Ice Cream
Ingredients:
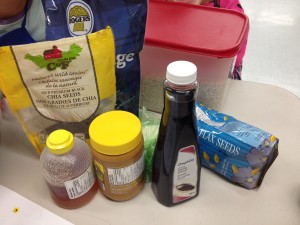
1- 14 oz. can coconut milk, chilled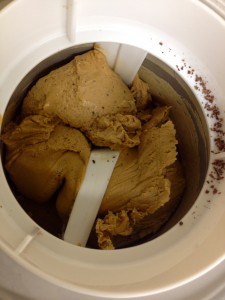
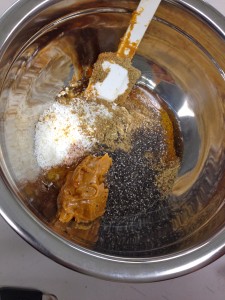
¾ c. coconut sugar
½ c. natural peanut butter (or WOW butter if need peanut free option)
1 tsp. vanilla
3 tbsp. dark chocolate shavings
Prepare your ice cream maker ahead of time by freezing the canister overnight. You’ll also need a good blender to whip the ice cream mixture.
Combine chilled coconut milk and coconut sugar in blender and whip until sugar is dissolved. Add in peanut butter and vanilla. Whip until mixture is creamy and frothy.
*If it’s hot in your kitchen and the mixture is warm-ish, chill mixture before adding to ice cream maker; it will freeze better is mixture is cold.
Set your freezing canister in place and turn on ice cream maker. Pour mixture into freezing canister. Add in shaved dark chocolate.
Churn until frozen. Depending on your ice cream maker this could take 10-15 minutes or up to 30 minutes.
Make roughly 3 cups. Serve in small single scoops as it is rich.
Original recipe from Gluten Free Goddess
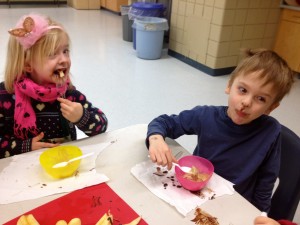 Cooking with kids really can be easy and fun. I had a great time working with these kids, gently expanding their palates and horizons. I was pleased to see how everyone progressed and to hear from parents how what they did in class was being transferred to home. Whether it be a food they now liked, making supper, or helping with clean up.
My greatest joy was the success I had with the more particular eaters, one’s who said they did not like much of anything, but by the end of our classes were not only trying everything but loving what we were making. Those kids had come a long way and really grown. It just goes to show how cooking with kids, and letting them make their own food not only encourages them to eat it, but also to start trying and experimenting with new things.

