Taste of Nature – a Fabulous Sugar Dairy & Gluten Free Snack in a Package

Today I am very excited to be doing my first official product review!

When we decided to go sugar free in our home, it meant making a lot of things that we normally purchased and enjoyed, from scratch. Bread, salad dressings, treats, and granola bars were some of the items that contain refined sugars, which was one of the ingredients we were avoiding. I spent hours in the kitchen creating and trying new recipes, finding things that worked and we liked. And though I was happy to be making this healthy change for my family, I was not loving being in the kitchen for most of my day. My oldest son, was also struggling with wanting the prepackaged stuff that everyone else had even though what I was providing was indeed tastier and better for him.

IMG_2951Each time I went to the grocery store I would look in the organic/ health food section to see what ‘packaged’ products they had come up with. Yes you could find all kinds but they usually contained ingredients that we couldn’t have, like dairy, refined sugar and on some occasions gluten. I could find a dairy free product but it had gluten, or sugar free but it had dairy and nowhere could I find one that met all 3 (and tasted good, we have tried some that looked promising but they did not taste good at all).

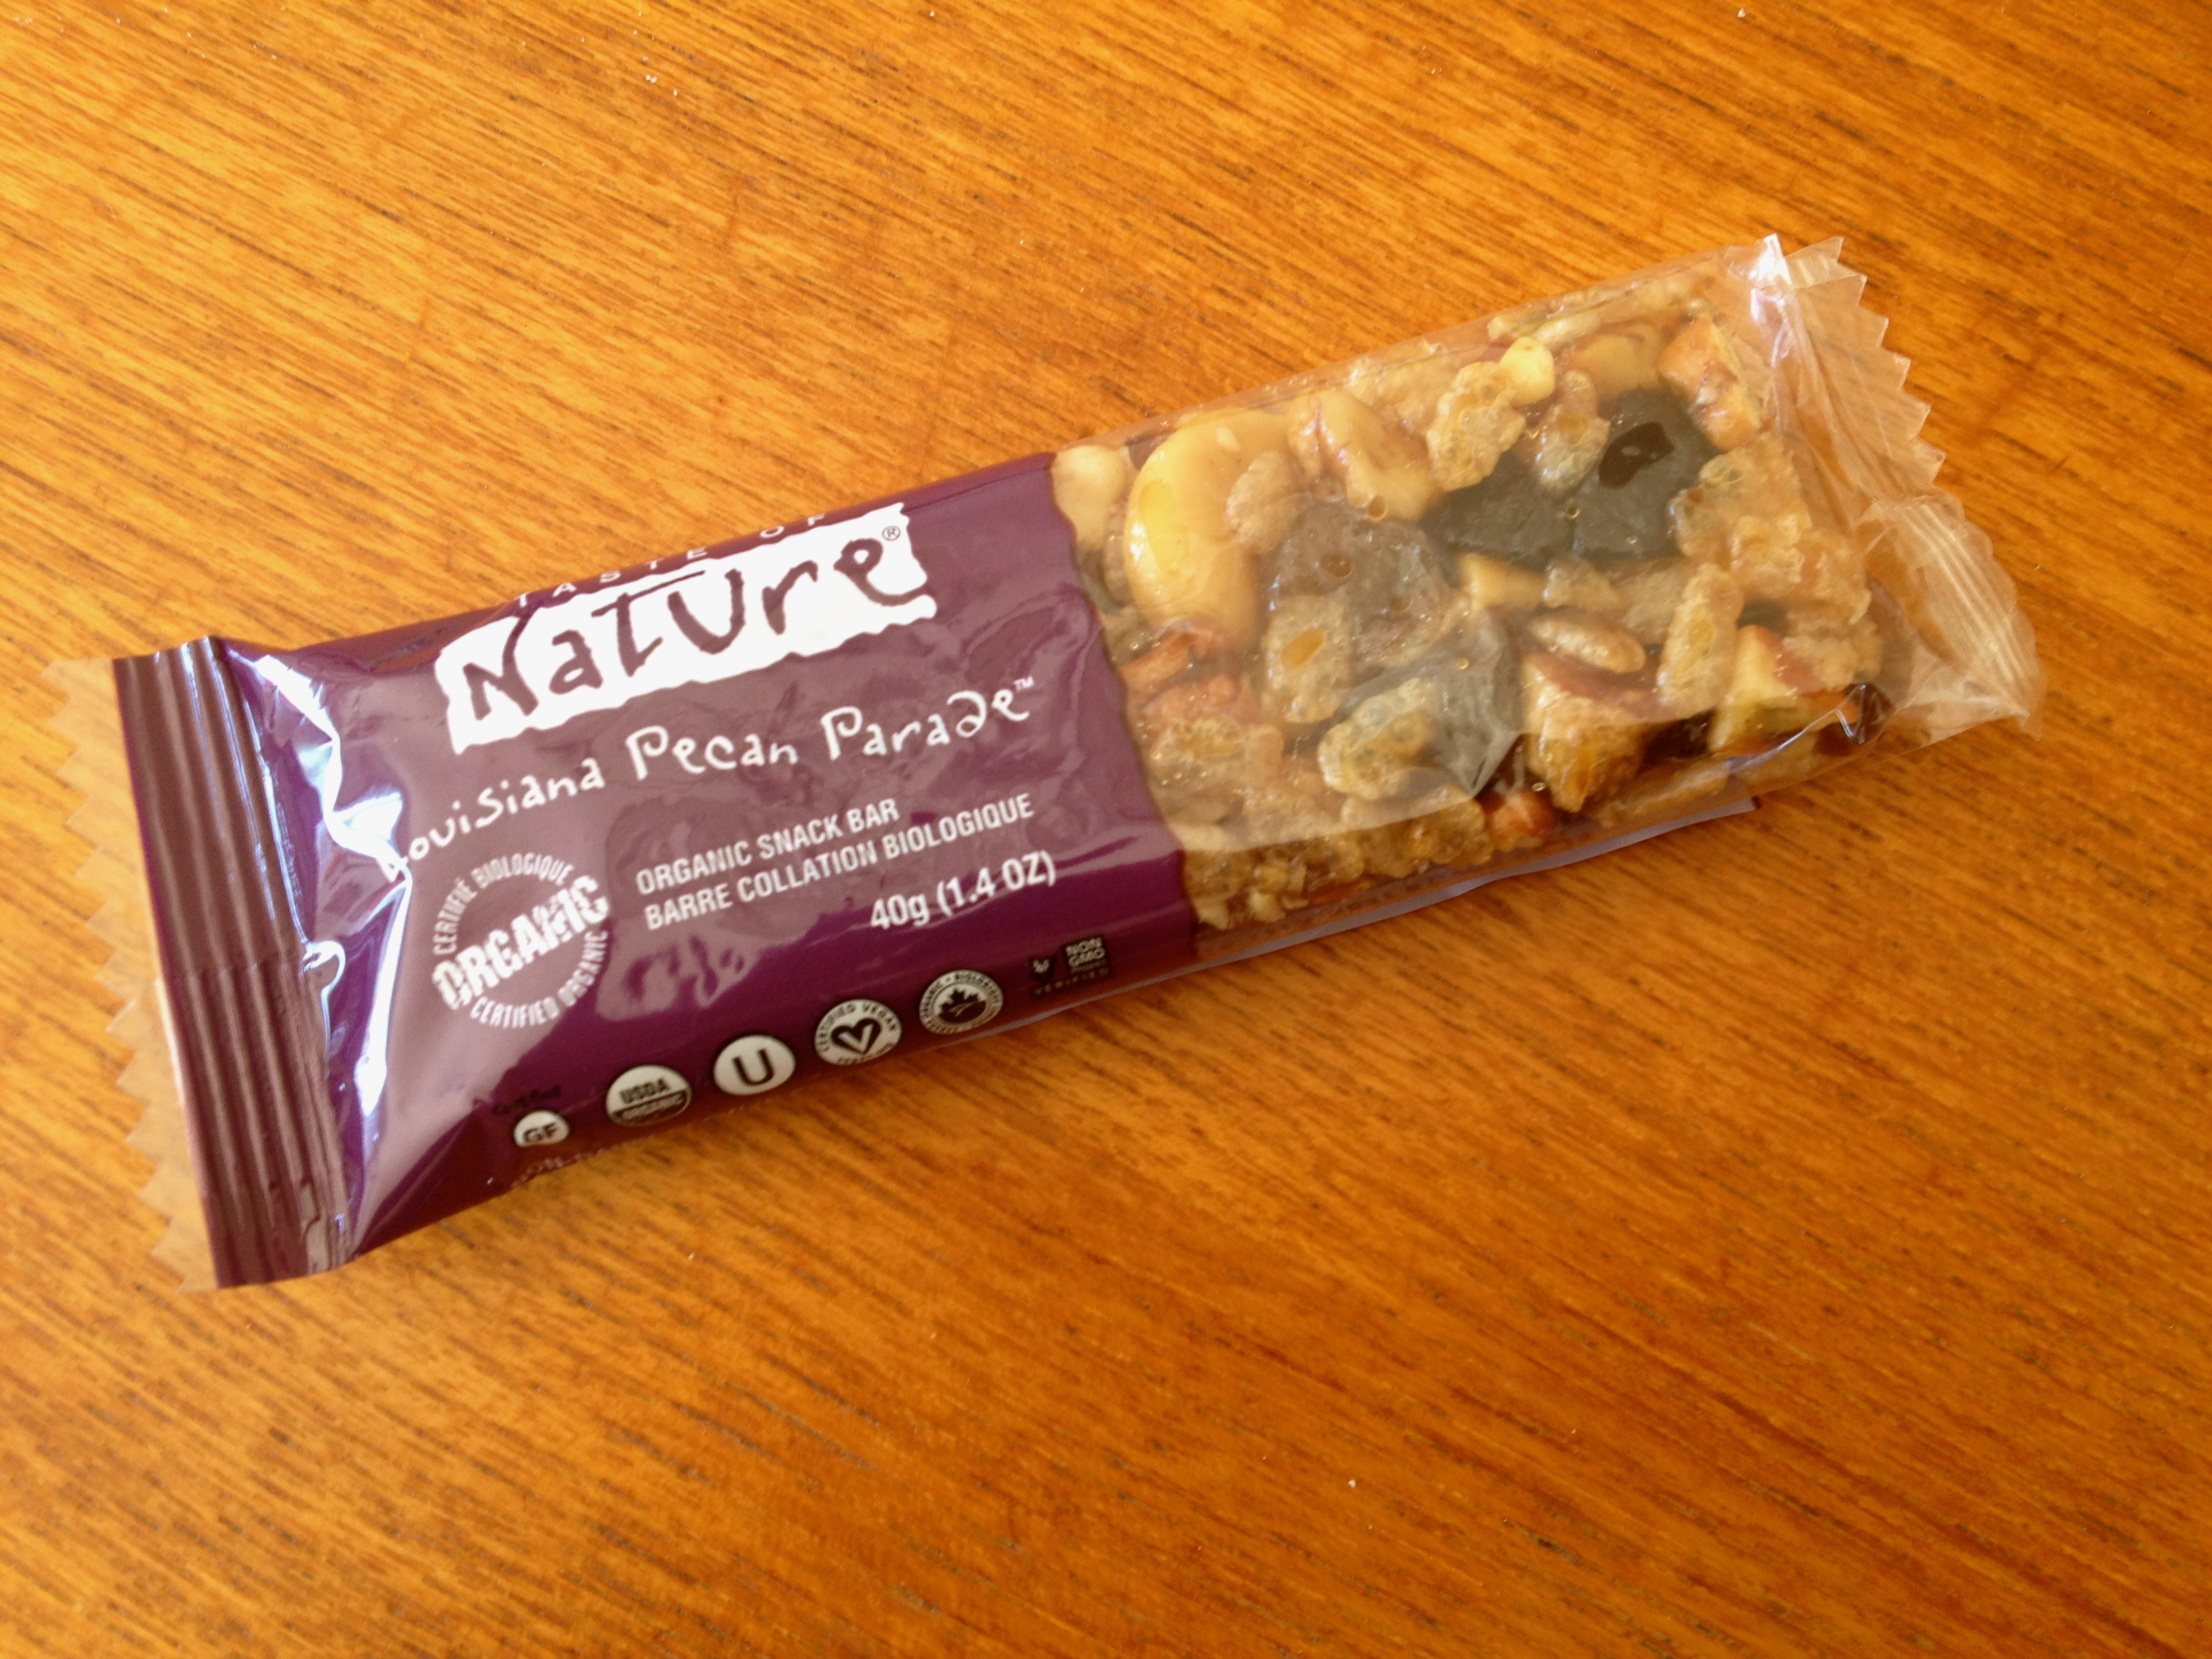
So last week when doing my regular shopping trip I was very pleased to discover these fruit and nut bars by Taste of Nature! A Canadian company, these organic snack bars are delicious and come in a variety of flavors such as Canadian Maple Forest, Quebec Cranberry Carnival and California Almond Valley. Each flavor is a different mix of nuts, seeds and fruit, such as raisins, almonds, sesame seeds to exotic ingredients like dried cherries, pomegranite and cashews.

I immediately bought a couple and brought them home to try. We didn’t even make it out of the parking lot and the twins were asking to have one. So we sampled and shared the Brazilian Nut Fiesta. Wow! These bars were good! Sweetened with agave nectar and brown rice syrup these bars contain no artificial flavors or additives, have no dairy and no gluten! They are also certified organic, vegan, and kosher! We had hit the mother load!

I was so excited to have found these that I immediately came home and checked out their website. I was thrilled to see that they offered many more flavors such as Niagara Apple Country, Nova Scotia Blueberry Fields and Persian Pomegranite Garden. This is where I also learned this company aims to produce zero carbon footprint, uses green business practices and that providing quality products and caring for our environment are very important to them.

IMG_2955I was sold! This was a great company and one that met all our dietary needs. Woohoo! I could now spend a little less time in the kitchen 🙂

Over the course of the next week we tried a few more flavors, Canadian Maple Forest, Quebec Cranberry Carnival and Louisianna Pecan Parade (one of their newest flavors and my favorite as it has cashews and dried cherries in it!) Their other new flavor is Polynesian Coconut Breeze, which I am very excited to try as I love coconut as well!

Of course the twins have enjoyed all the flavors and my oldest son’s favorite is also the Louisianna Pecan Parade.

I am so pleased to see Canadian companies being innovative and creating products that are meeting the growing demands and changes of a healthier population and recognizing that there is a need and market out there. And the variety that this company provides is fabulous!

The other thing I was pleased with was the price for this product. At less than $2 per bar I thought this was quite reasonable considering the quality and variety of ingredients. We will definitely be purchasing more of these great bars and adding them to our healthy snacks!

I’d like to thank Taste of Nature who provided a variety of their fabulous bars for us to try. Thank you! They are delicious!

Chocolate Additions

In my last post, I shared the basic recipe for making raw organic chocolate. Very easy to do, it is a healthy and delicious way to enjoy chocolate without the guilt!

Now here is the fun part! Once you have the basic chocolate made you can add all kinds of things to your chocolates that not only make them delicious, but also add vitamins and nutrients that are good for you! You can ‘soup up’ your chocolates and no one will even know what’s in there.

I make peppermint Christmas trees and add E3 Live to them, which is a form of algae, very high in protein and minerals. It darkens your chocolates but does not alter the taste, no one would ever know it’s in there. And Matthew loves them and as a result asks me to make them all the time!

chocolate additionsMatthew even helps me make chocolates; as it is very easy for kids to do. He loves to experiment so we have made a variety of kinds of chocolate. We make our base chocolate, which is a combination of cacao butter, cacao powder, vanilla bean and sweetener of choice, (see my previous posts for the basics on how to make it and natural sweeteners), then we add different ingredients depending on the kind of chocolate and flavor we want. We make peanut butter cups, caramel cups, orange ginger and peppermint; and this is only what we have done so far – there are many ingredients that can be added to your chocolates to achieve the flavors that you want.

When adding ingredients to chocolate this can be done in a few ways – mix it in, usually with essential oils or powders, you can pour the ingredients on top of the chocolate, after you have poured it onto a cookie sheet, for instance with nuts and seeds, berries, coconut or you can make/ use a filling. The ingredients you add depend on what type of chocolate you want and personal preferences. Here are some ingredients to try.

Nuts such as almonds, brazil nuts, cashews.

Goji berries

Seeds such as hemp seeds, sesame, sunflower or pumpkin.

Berries such as goji, incan or mulberry.

High quality essential oils such as peppermint, wild orange, cinnamon bark, etc. to flavor your chocolate. Use only a few drops and use the highest quality oils you can – they are better for you and could alter your chocolate if they are not.

Spices, such as ginger, cayenne, cinnamon, allspice.

Algae such as E3 Live, Spirulena or Chlorella. All are very high in protein, minerals and a variety of vitamins.

You can create combinations using ingredients that are high in vitamin C like coconut nectar and spirulena, or a high content of magnesium and calcium using ingredients such as mesquite and carob powder with any algae.

Some people even add medicinal mushrooms to their chocolates, which might sound distasteful, but the neat thing is is you can’t taste it, so would have no idea that it is in there if no one told you. We have recently discovered banana flakes as an addition to our chocolate making. They are quite yummy on their own and are delicious in chocolate.

The amounts you add will depend on the size of your batch of chocolate, how strong a taste you want and also depends on the herb/ spice that is being added (some are stronger than others). A good rule of thumb is to start with half a teaspoon, taste it, and then decide if you want to add more. The great thing about making your own chocolate is that there is lots of taste testing to get it just the way you want it!

Once you have what you want you can set your chocolates in a number of ways. I buy silicon ice cube trays in a various shapes and fill those up to set. (tip – you don’t have to fill these all the way up as your chocolates can be quite thick if you do, but you want to fill them up enough so they are not too thin and break when you pop them out of the molds). There are lots of shapes to choose from; squares to hearts and around the holidays stores usually carry fun shapes related to that holiday. I have snowmen, trees and Halloween pumpkins. You can also use any of the candy molds that stores like Michael’s sell, this is where I found the mold to make peanut butter cups, they also have a variety of themes and shapes.

Of course you do not have to set your chocolate in shapes, you can just pour it onto a cookie sheet, let it set, then break it into pieces. You can also make clusters simply by mixing everything together and then dropping them by the teaspoon onto a cookie sheet lined with parchment paper.

For chocolates with fillings, make or find your filling (I use unsweetened peanut butter for my peanut butter cups and make the caramel filling using dates, vanilla, mesquite and lucuma powder), pour some chocolate let it set for a few minutes til firm, then drop or spread the filling over the chocolate, then add more chocolate on top and let set completely.

There are lots of things you can add when making chocolate. Many different flavors and combinations, depending on what you want and what you like. It is also fun to experiment with different combinations, flavors and shapes and it is easy to get the kids involved – they’ll love it. So get in there and try stuff out, worse case scenario is it does not turn out the way you want it and you might have to eat it yourself!