I love Summer! Those lazy days with no schedule and nowhere you have to be at any particular time. I love the sunshine and the extended time outdoors. What I don’t love is all those chemicals that we put on our skin to protect ourselves and our family from the sun and bugs. Have you ever wondered if there was a better solution?
Anything that we put on our skin gets absorbed into our bloodstream, which in turn enters our entire body. This is through a process called Dermal Absorption which is the transport of a substance (via diffusion) from the outer surface of the skin both into the skin and into the body. So no matter what we apply to our skin, whether they are chemicals or other will become absorbed into and affect our bodies. And think about it, our skin is the largest organ in our body, so when we’re lathering up with that sunscreen or bug repellent we are exposing ourselves to a lot of chemicals we may not want.
Essential oils, combined with other natural ingredients, can provide us with the protection we need without being concerned about what chemicals we are absorbing into our bodies (because they’re aren’t any). When you use all natural ingredients like essential oils, you can support your body in ways that you need and in ways that benefit and may improve your overall health and well being. Not only can essential oils and other natural ingredients protect your skin in the way you desire (your immediate need like sun protection), but you can also benefit from the other properties of the oil you are using as well, like nourishing the skin or soothing and calming benefits.
Natural Solutions for Summer
There are various combinations and recipes out there to create natural products that will protect you in the summer, but all have a basic formula of at least one essential oil combined with one or more other natural ingredients to work together for optimal protection.
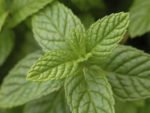
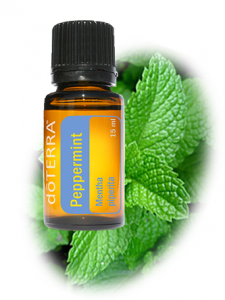
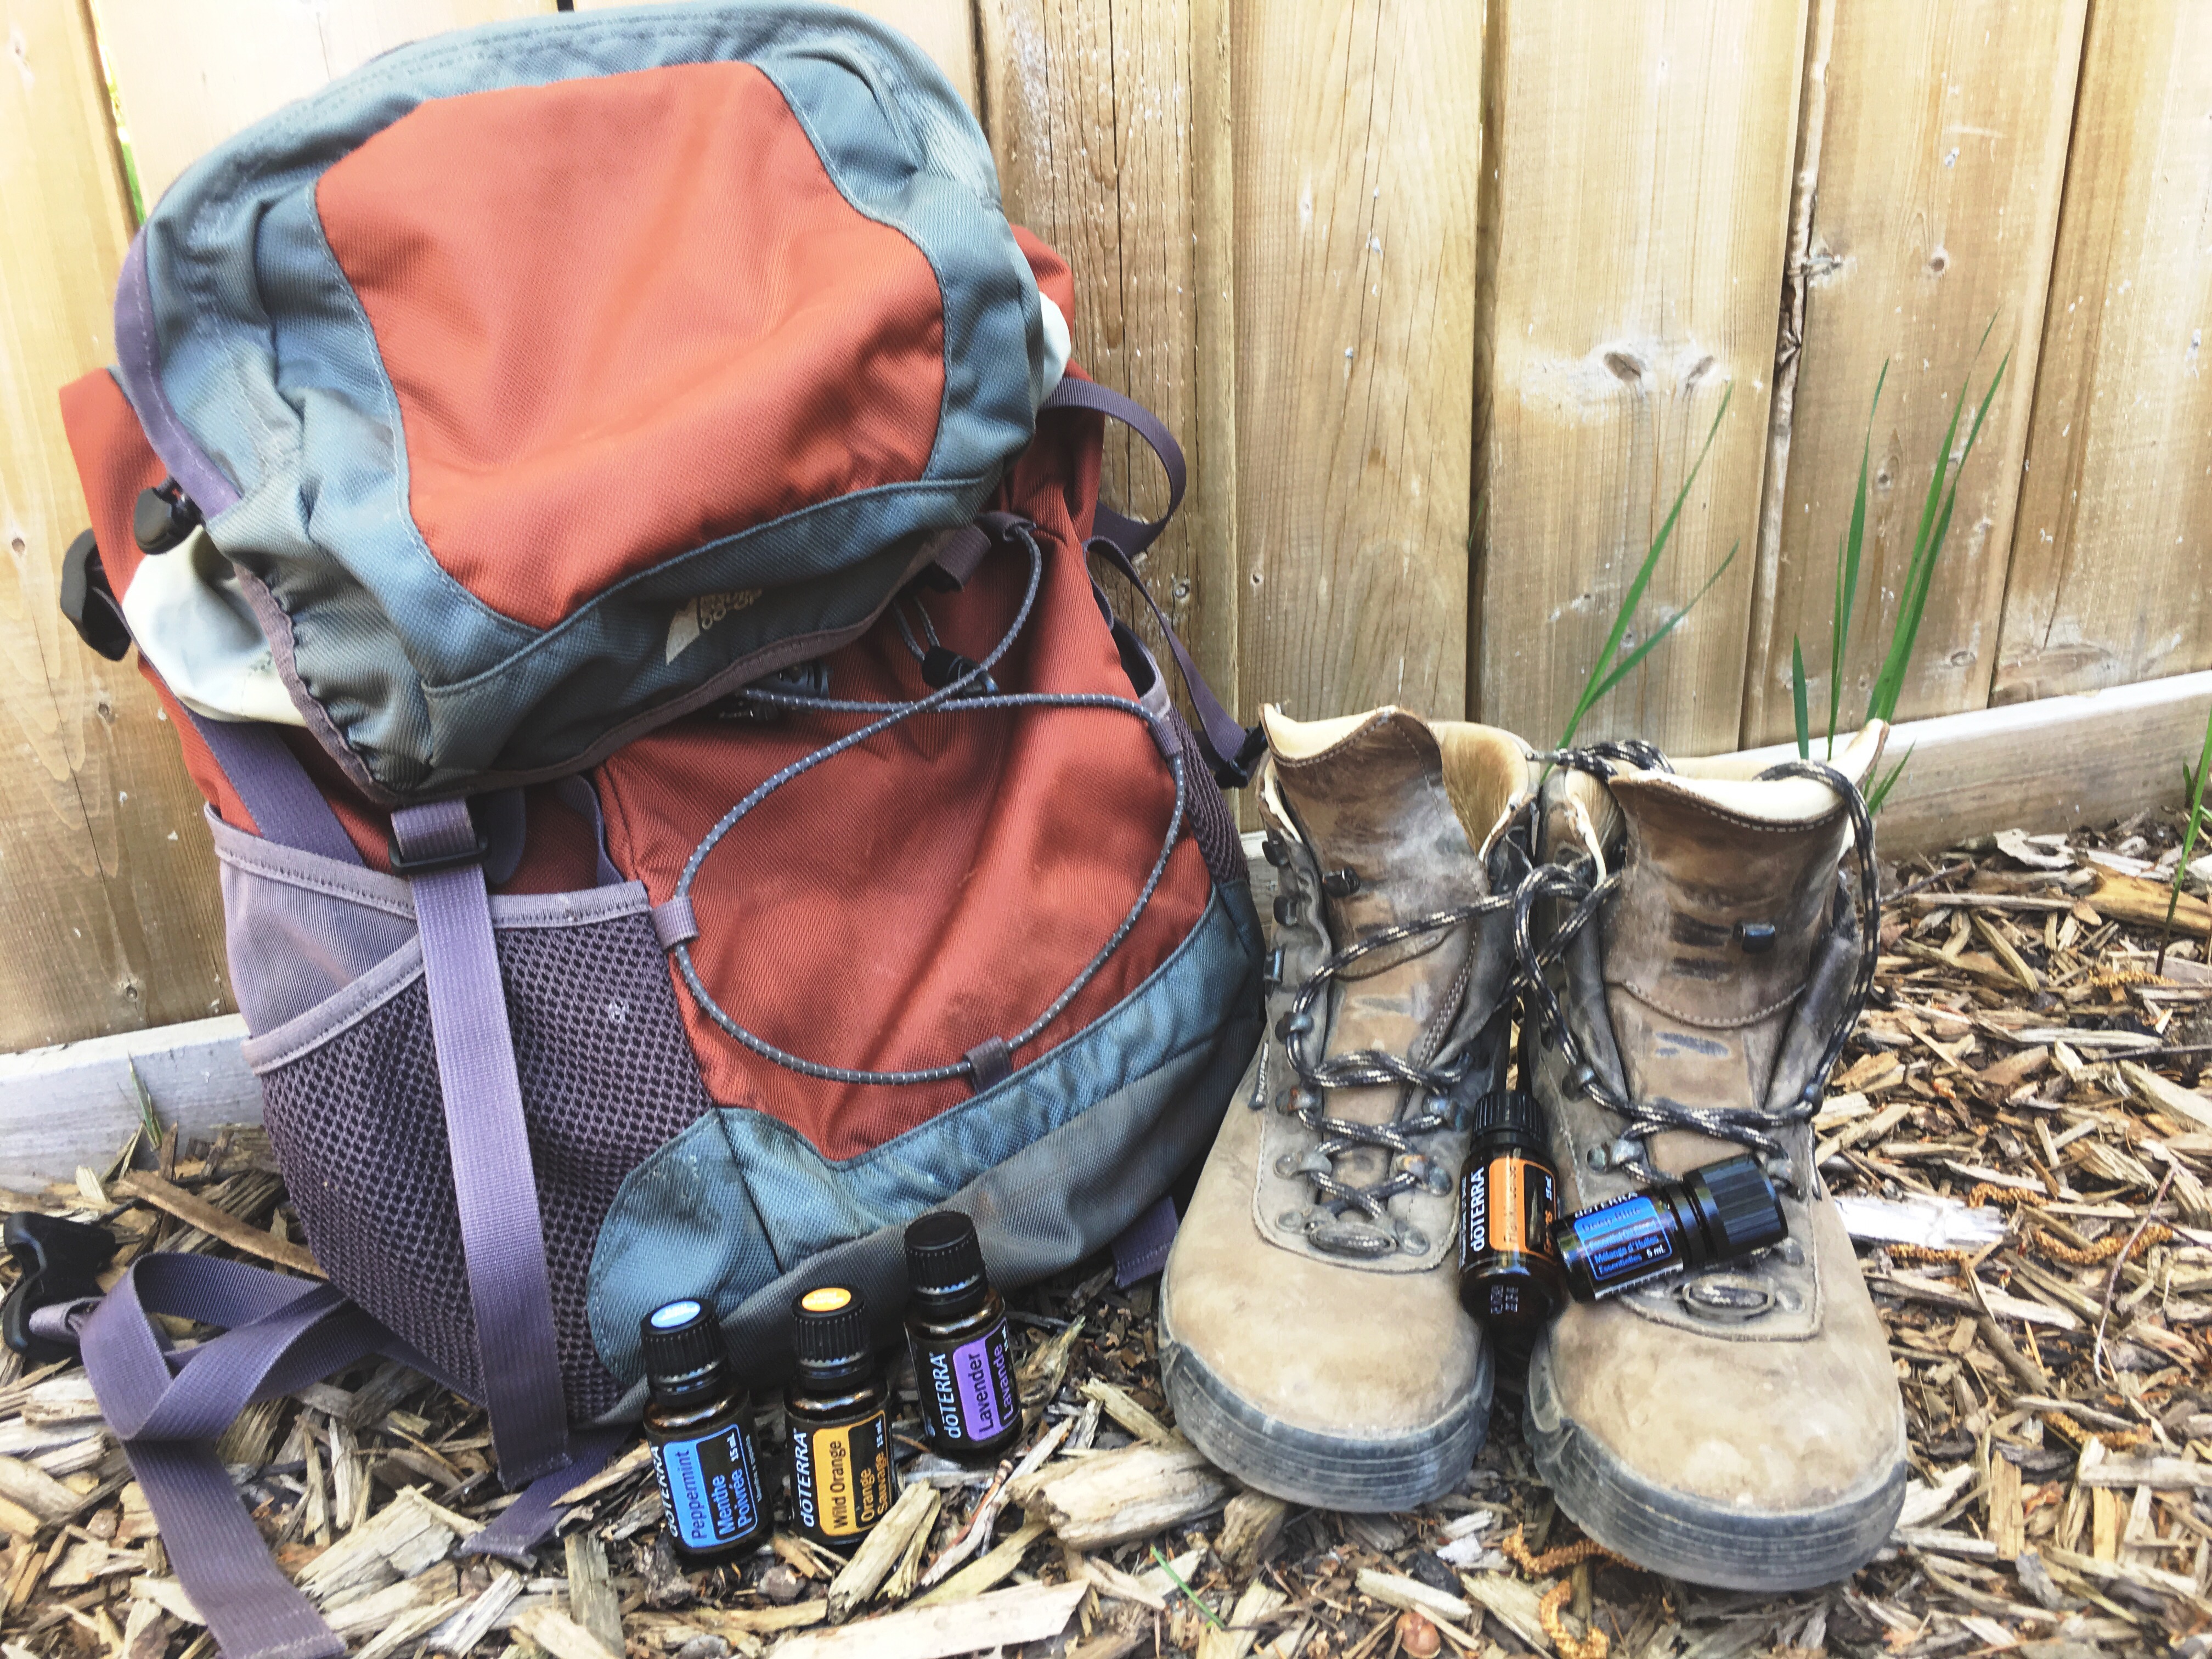
You’ll notice that many of the recipes include lavender and peppermint essential oils, which are must have’s for summer time. Both oils have analgesic (may reduce pain), cooling and soothing properties which are very much needed in summer.
Natural Sunscreen
Fact: Out of 2000 sunscreens reviewed, more than 75% were found to contain toxic chemicals.
Some things to consider when creating your own sunscreen are things like SPF and waterproof ability. SPF stands for Sun Protection Factor scale and is measured by a sunscreen’s ability to prevent UVB rays from damaging the skin. For example, if it takes 20 minutes for your unprotected skin to start turning red, then using a SPF sunscreen theoretically prevents reddening 15 times longer – so about 5 hours. Also the SPF number represents the percentage of protection that particular product provides. For instance, something with an SPF of 4-5 offers 75% protection.
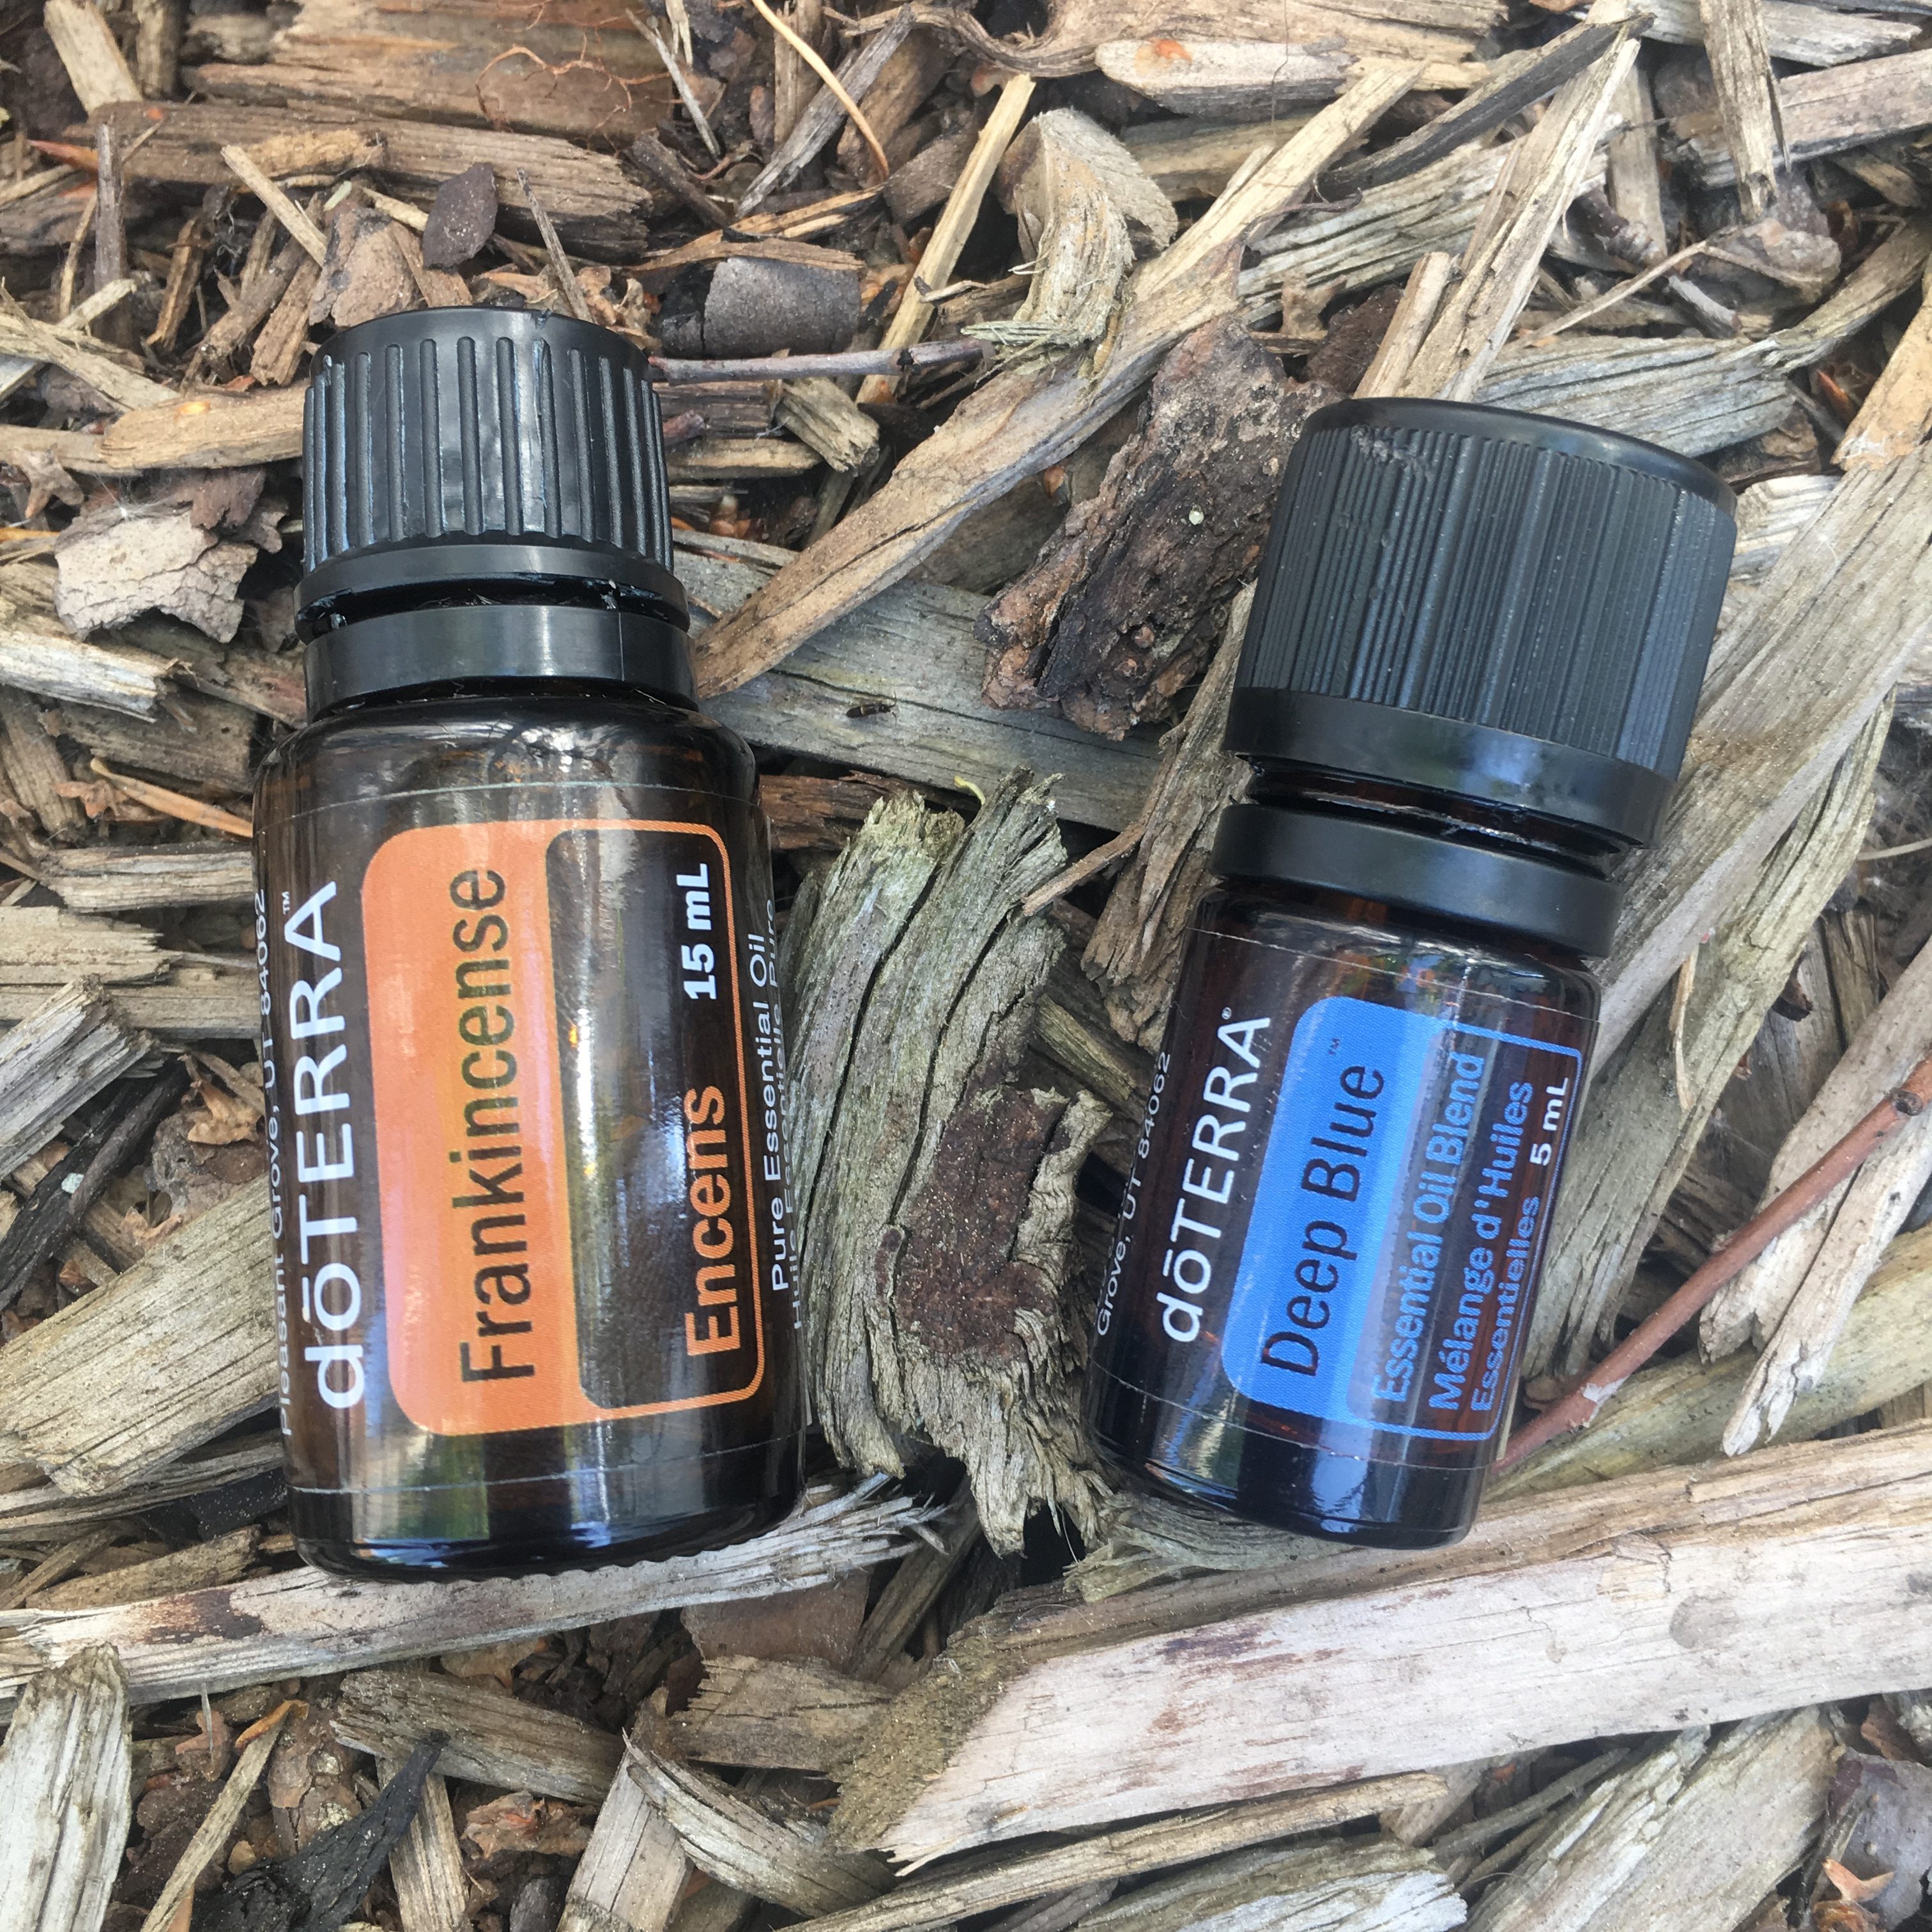
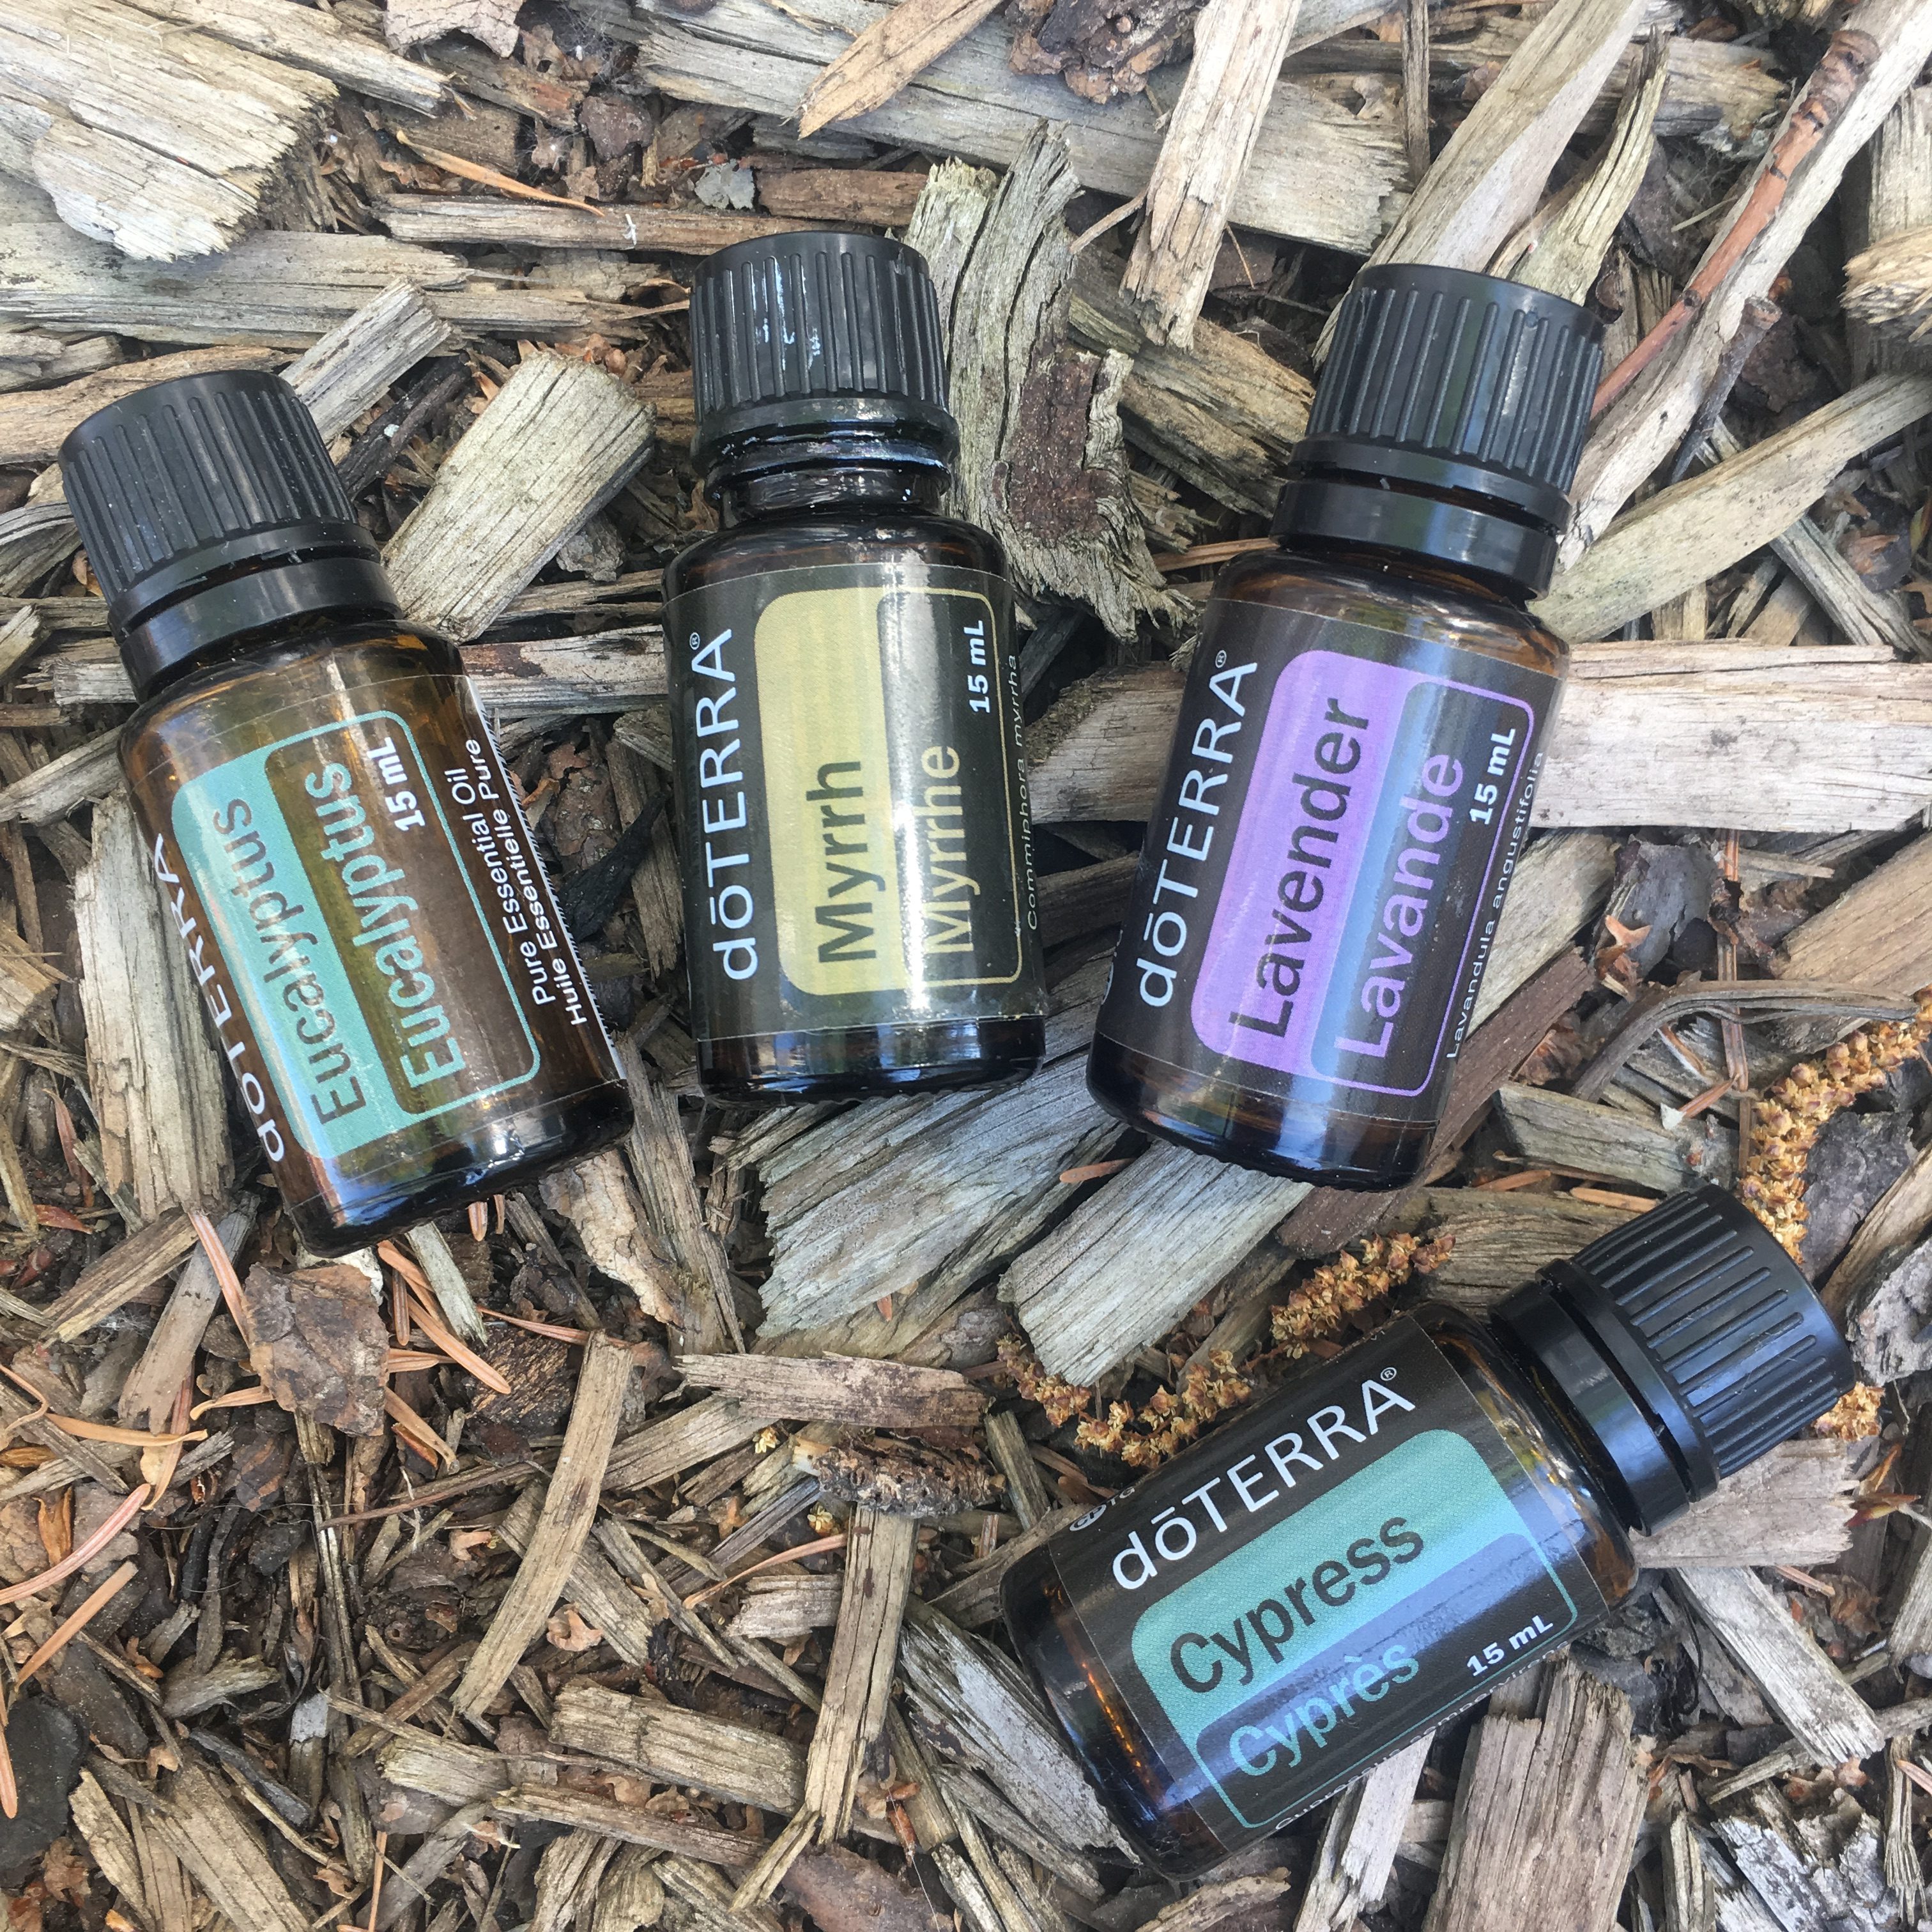
There are a number of natural oils that naturally have an SPF factor rating. Coconut oil for instance has a rating of 4-5 SPF and contains antioxidants that help protect the skin from harmful radiation. Shea butter has an SPF of 5-6, Avocado oil SPF of 4-8 and Myrrh essential oil an SPF of 15 – plus ultra healing properties to help take care of your skin. Now using one of these by itself is not enough to provide the sun protection you need but used in combination can create a higher SPF and protection for your skin.
This Natural Sunscreen recipe uses a combination of these natural oils as well as beeswax which gives it waterproof ability.
Natural Sun Screen
1/2 c. oilve oil
1/4 c. fractionated coconut oil
1/4 c. beeswax
2 tbsp. Shea butter
1 tsp. Vitamin E oil
2 tbsp. zinc oxide
12 drops Helichrysum essential oil
Place all ingredients except zinc oxide and helichrysum essential oil into a glass mixing bowl. Fill saucepan with 2 to 3 inches of water and turn on medium heat. Place glass bowl in saucepan and stir as ingredients melt. Remove from heat and ad the helichrysum essential oil and zinc oxide. Pour into a glass jar and store in a cool place. Apply lotion to skin before sun exposure. Reapply as needed.
Bug Bite Relief
Fact: Many topical medicated creams for insect bite itching and irritation have side effects causing redness, irritation and swelling.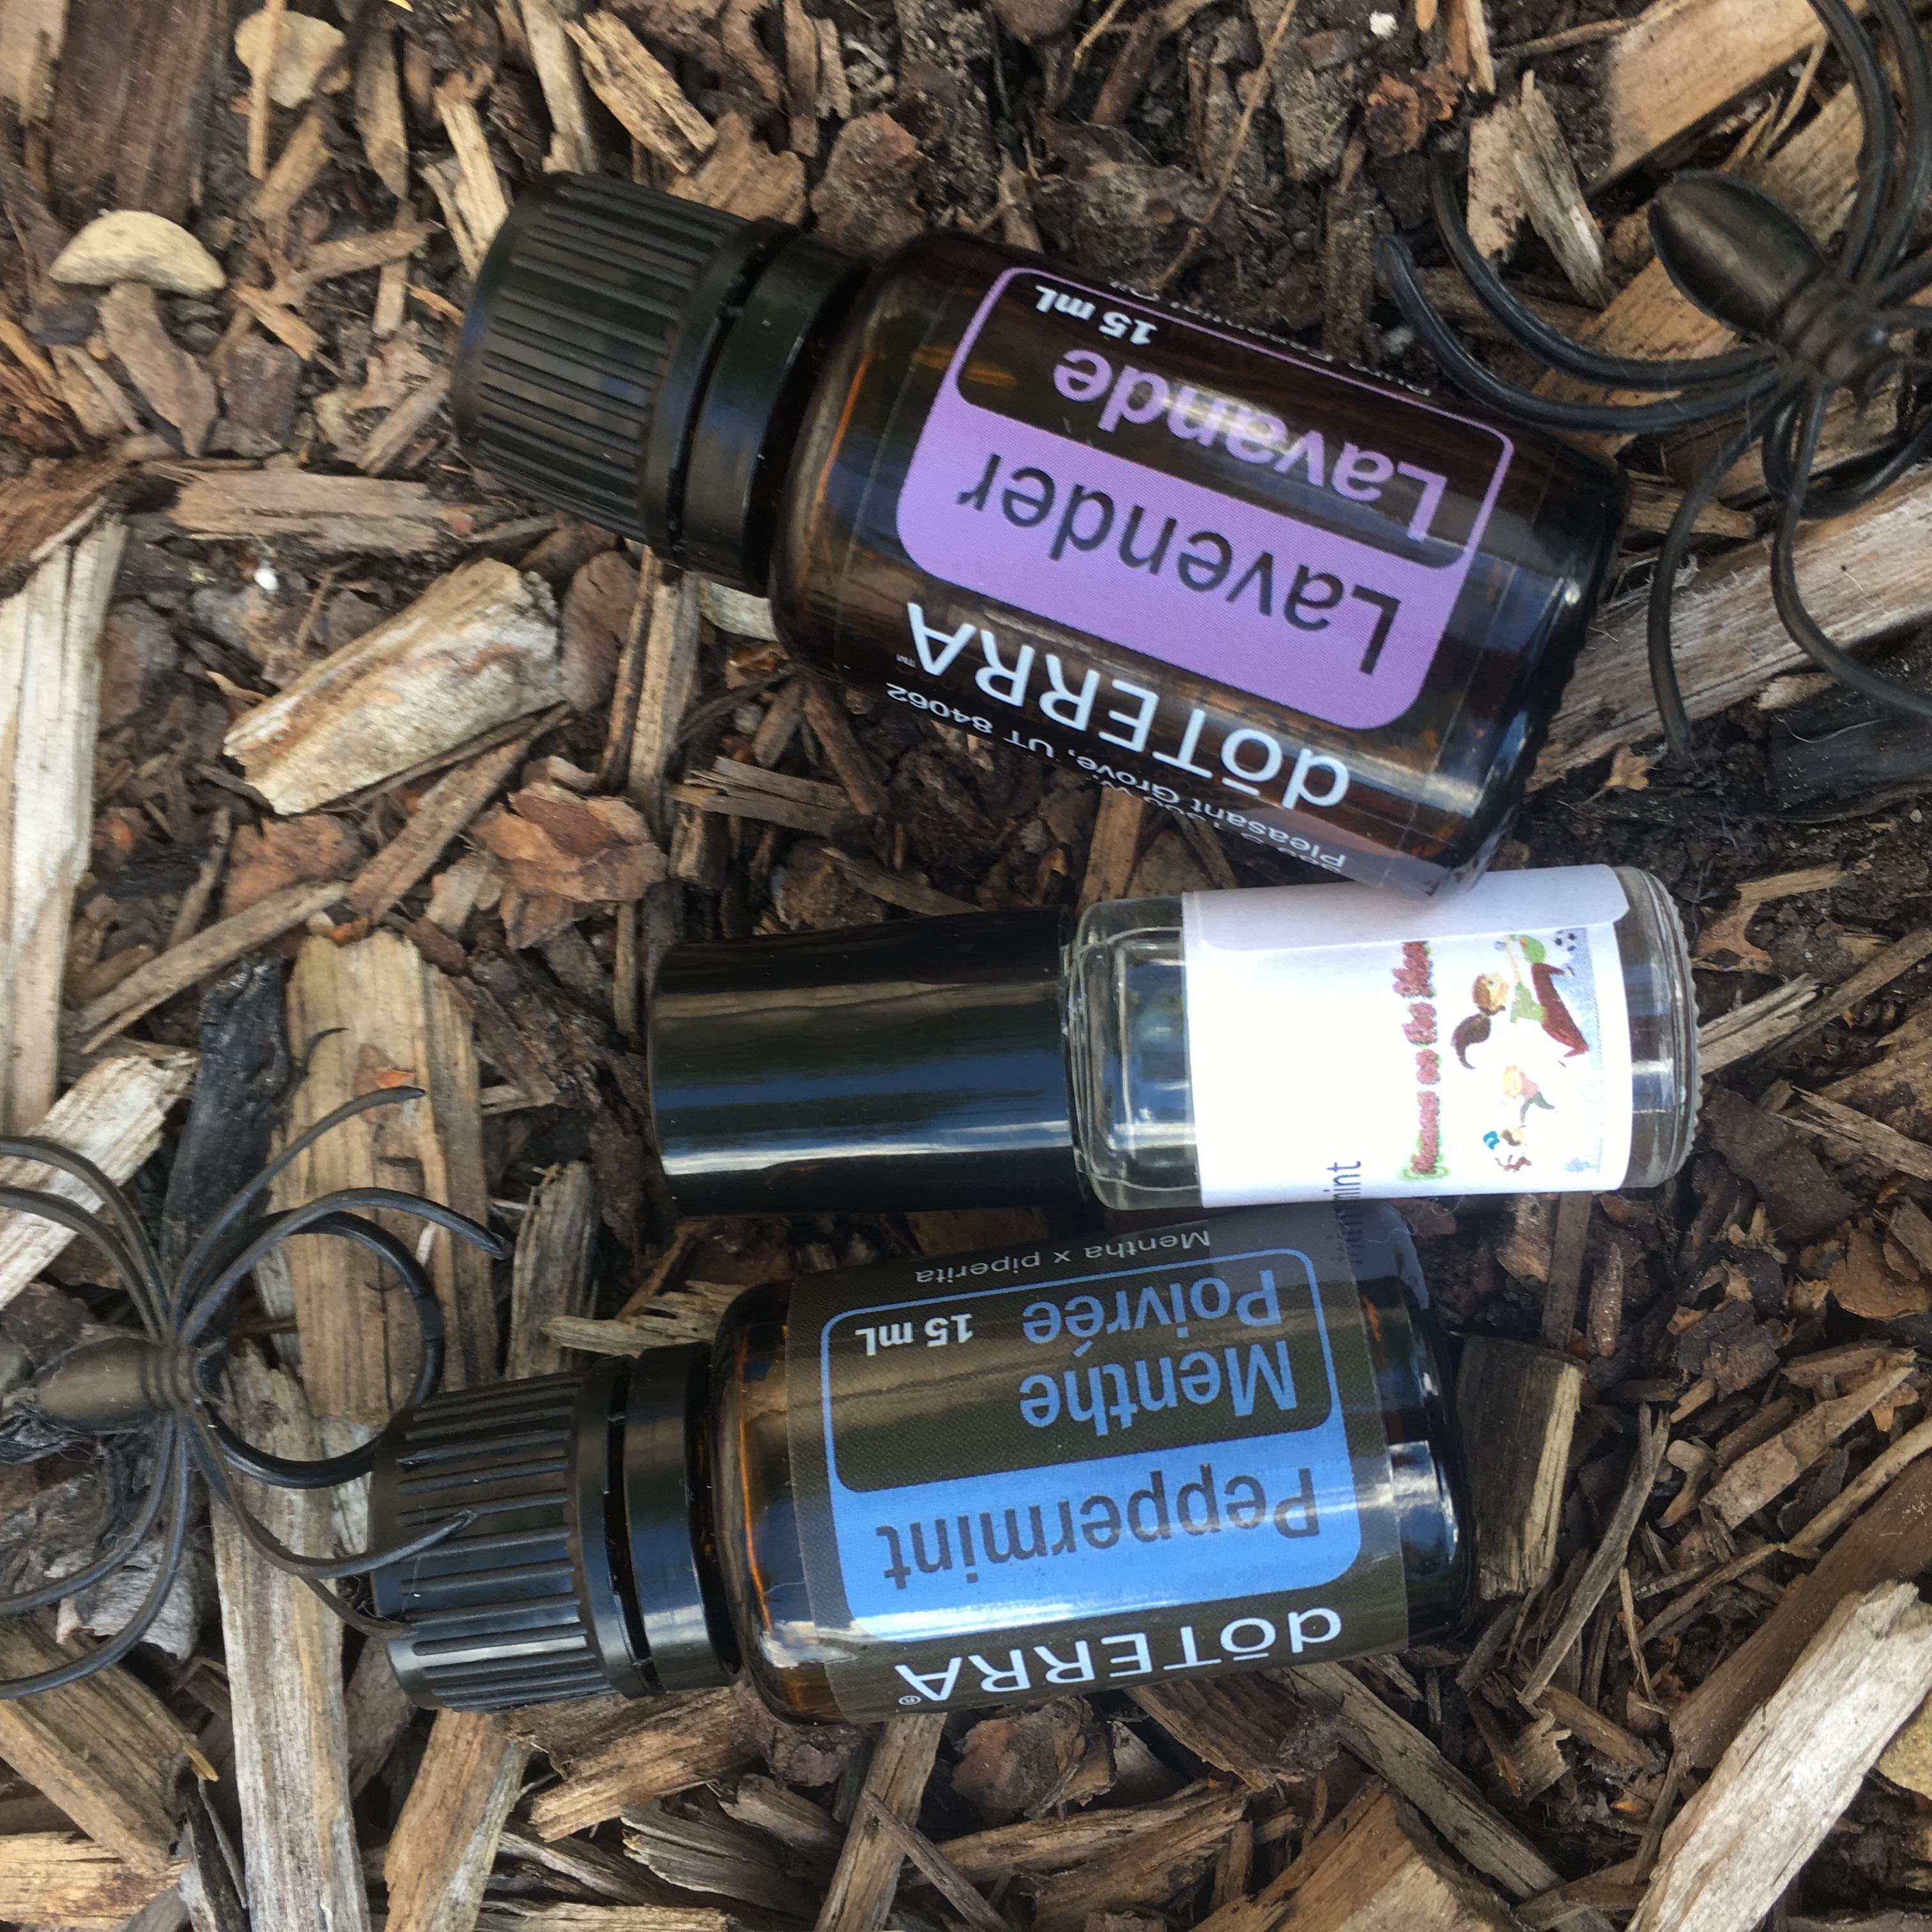
Ingredients
2 tsp. Fractionated Coconut Oil
10 drops Lavender essential oil
10 drops Peppermint essential oil
OR
15-20 drops doTERRA Purify essential oil blend
Add lavender and peppermint or purify essential oil to 10 ml rollerbottle. Add fractionated coconut oil to top. Secure the lid to your roller bottle and shake until ingredients combine. Apply as needed.
Heat Protectant Spray (for hair)
Shield your strands with a heat protectant spray made with Clary Sage and Geranium essential oils. Easy to make, this DIY spray will have your hair feeling full and healthy.
1 tsp. Fractionated Coconut Oil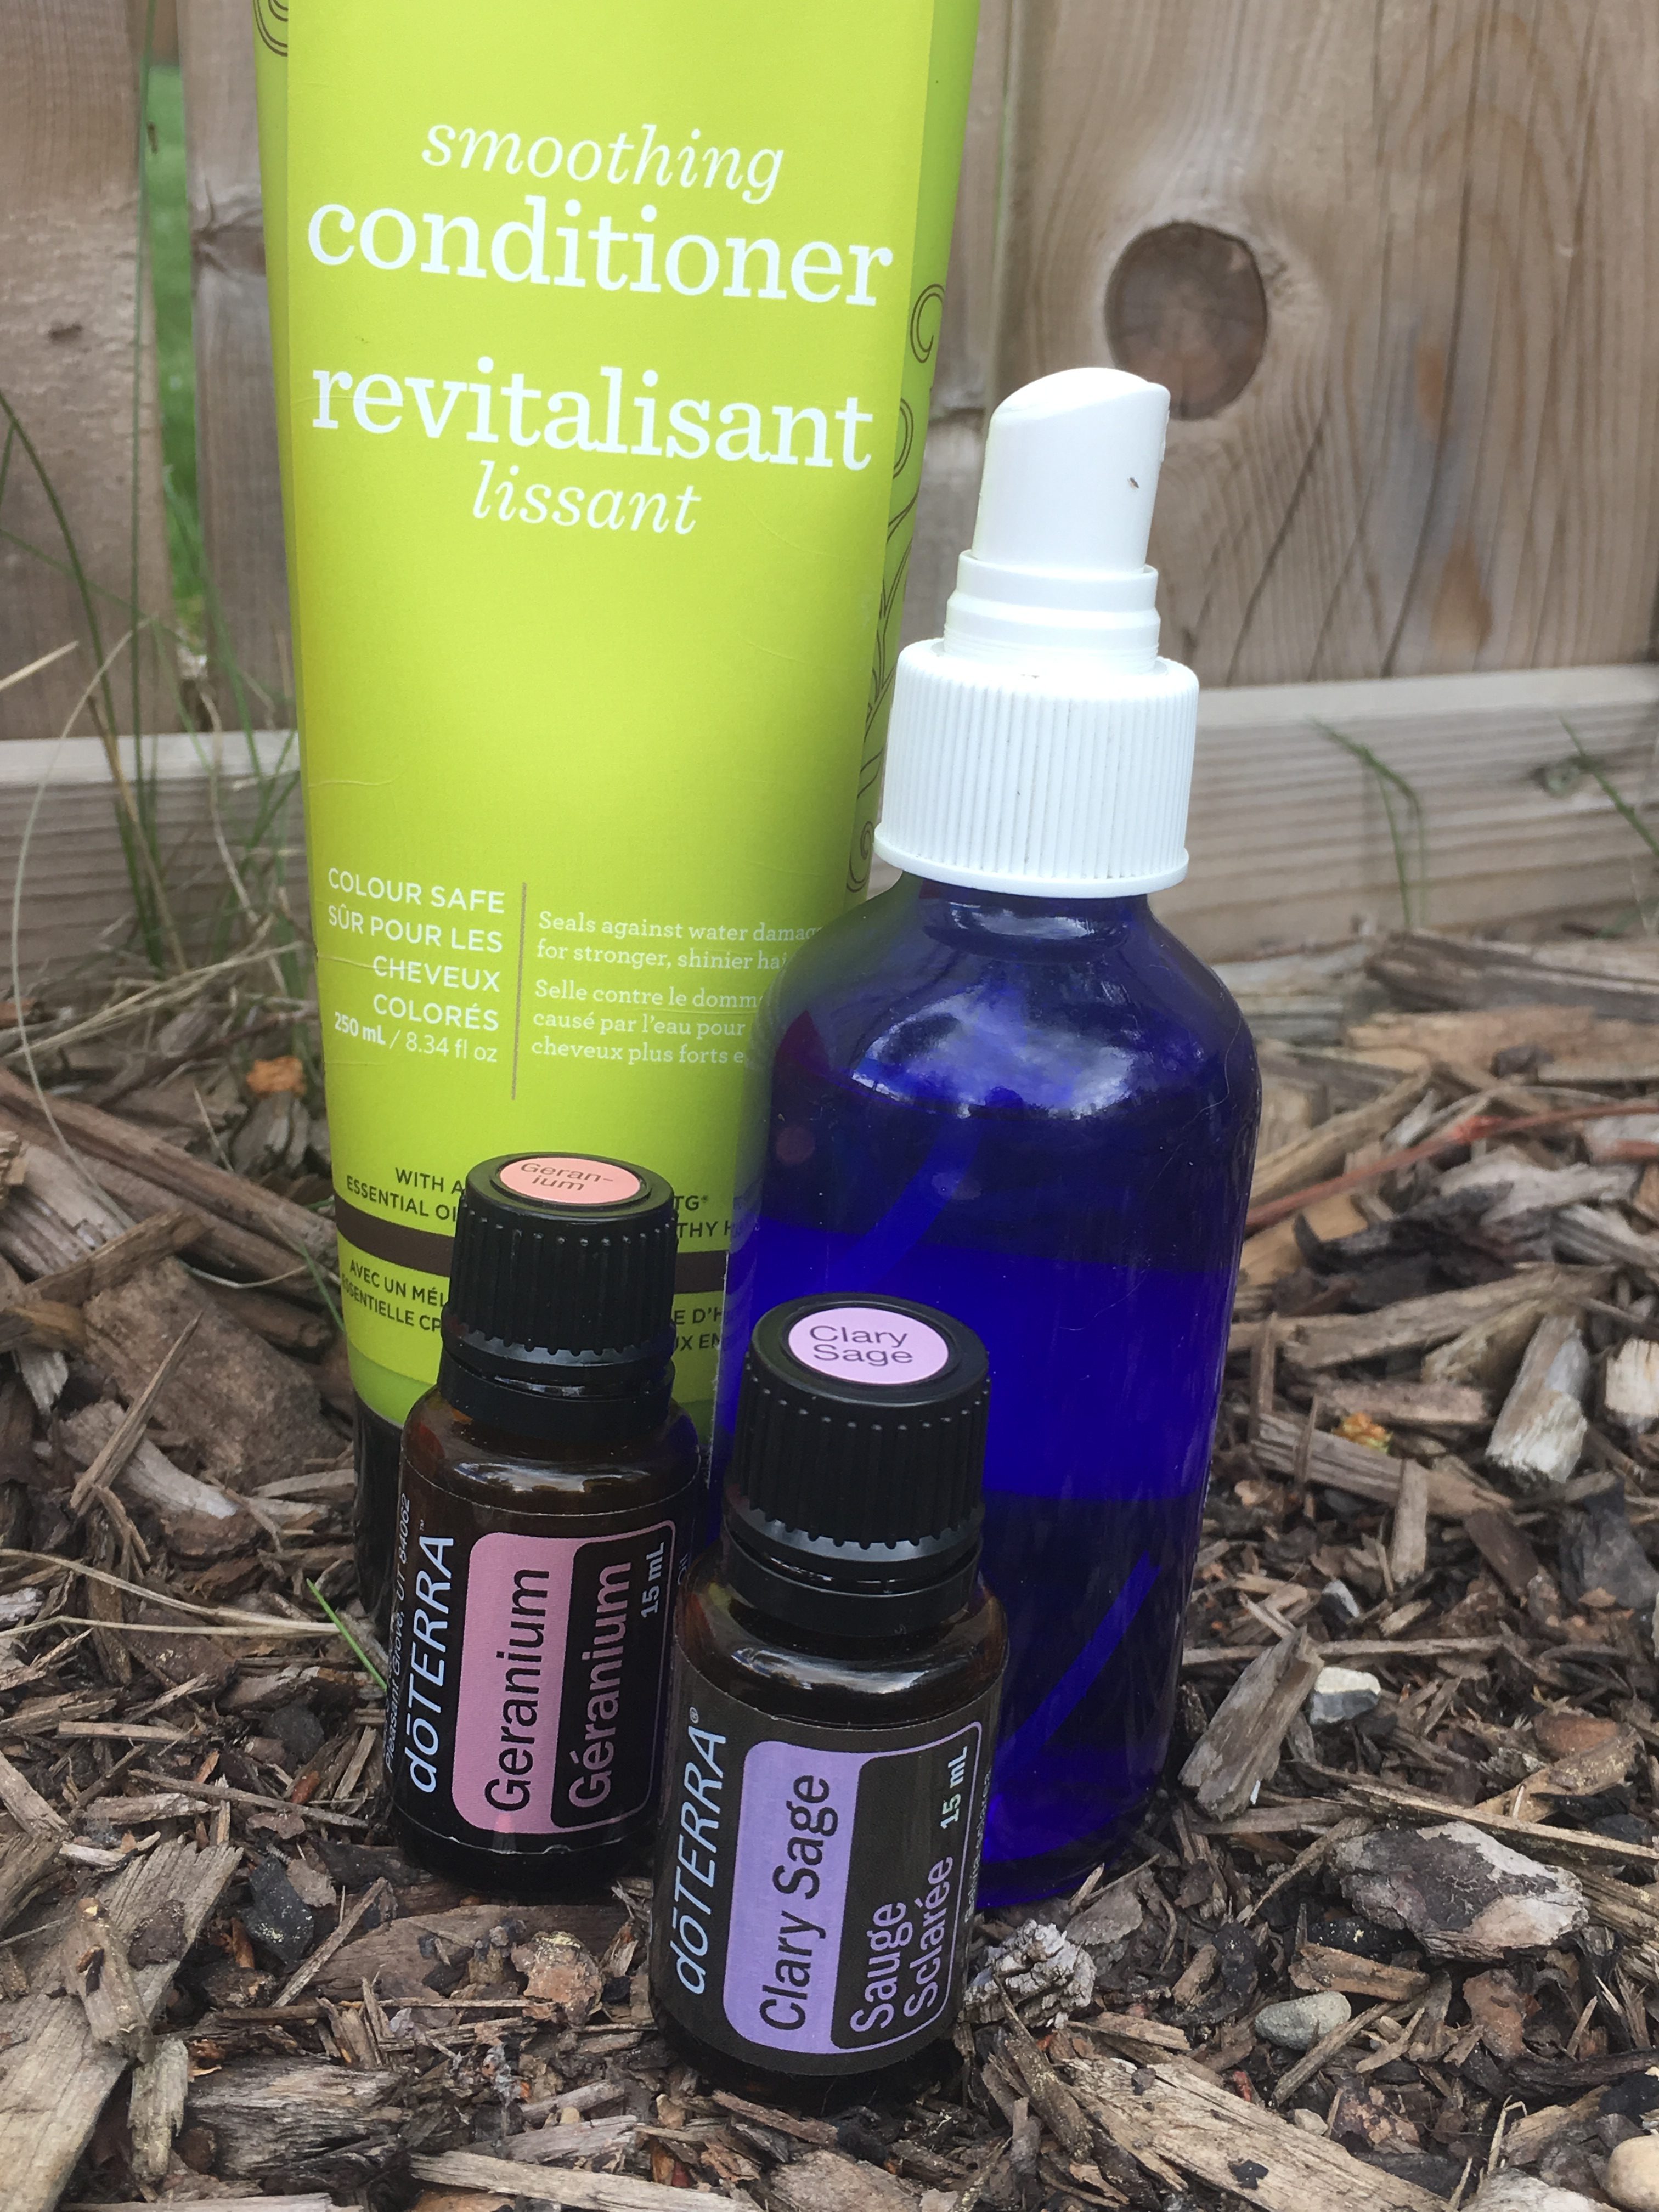
1 tsp. Sweet almond oil
2 tsp. doTERRA Salon Essential Smoothing Conditioner
1 c. water
5 drops Clary Sage
5 drops Geranium
Small spray bottle
Pour half of water into spray bottle. Add fractionated coconut oil, sweet almond oil, conditioner and essential oils into bottle. Add remaining water and shake well.
To use, apply one spritz to hair and work it through until hair is lightly coated. Style as normal.
Natural Allergy Relief
1 drop Peppermint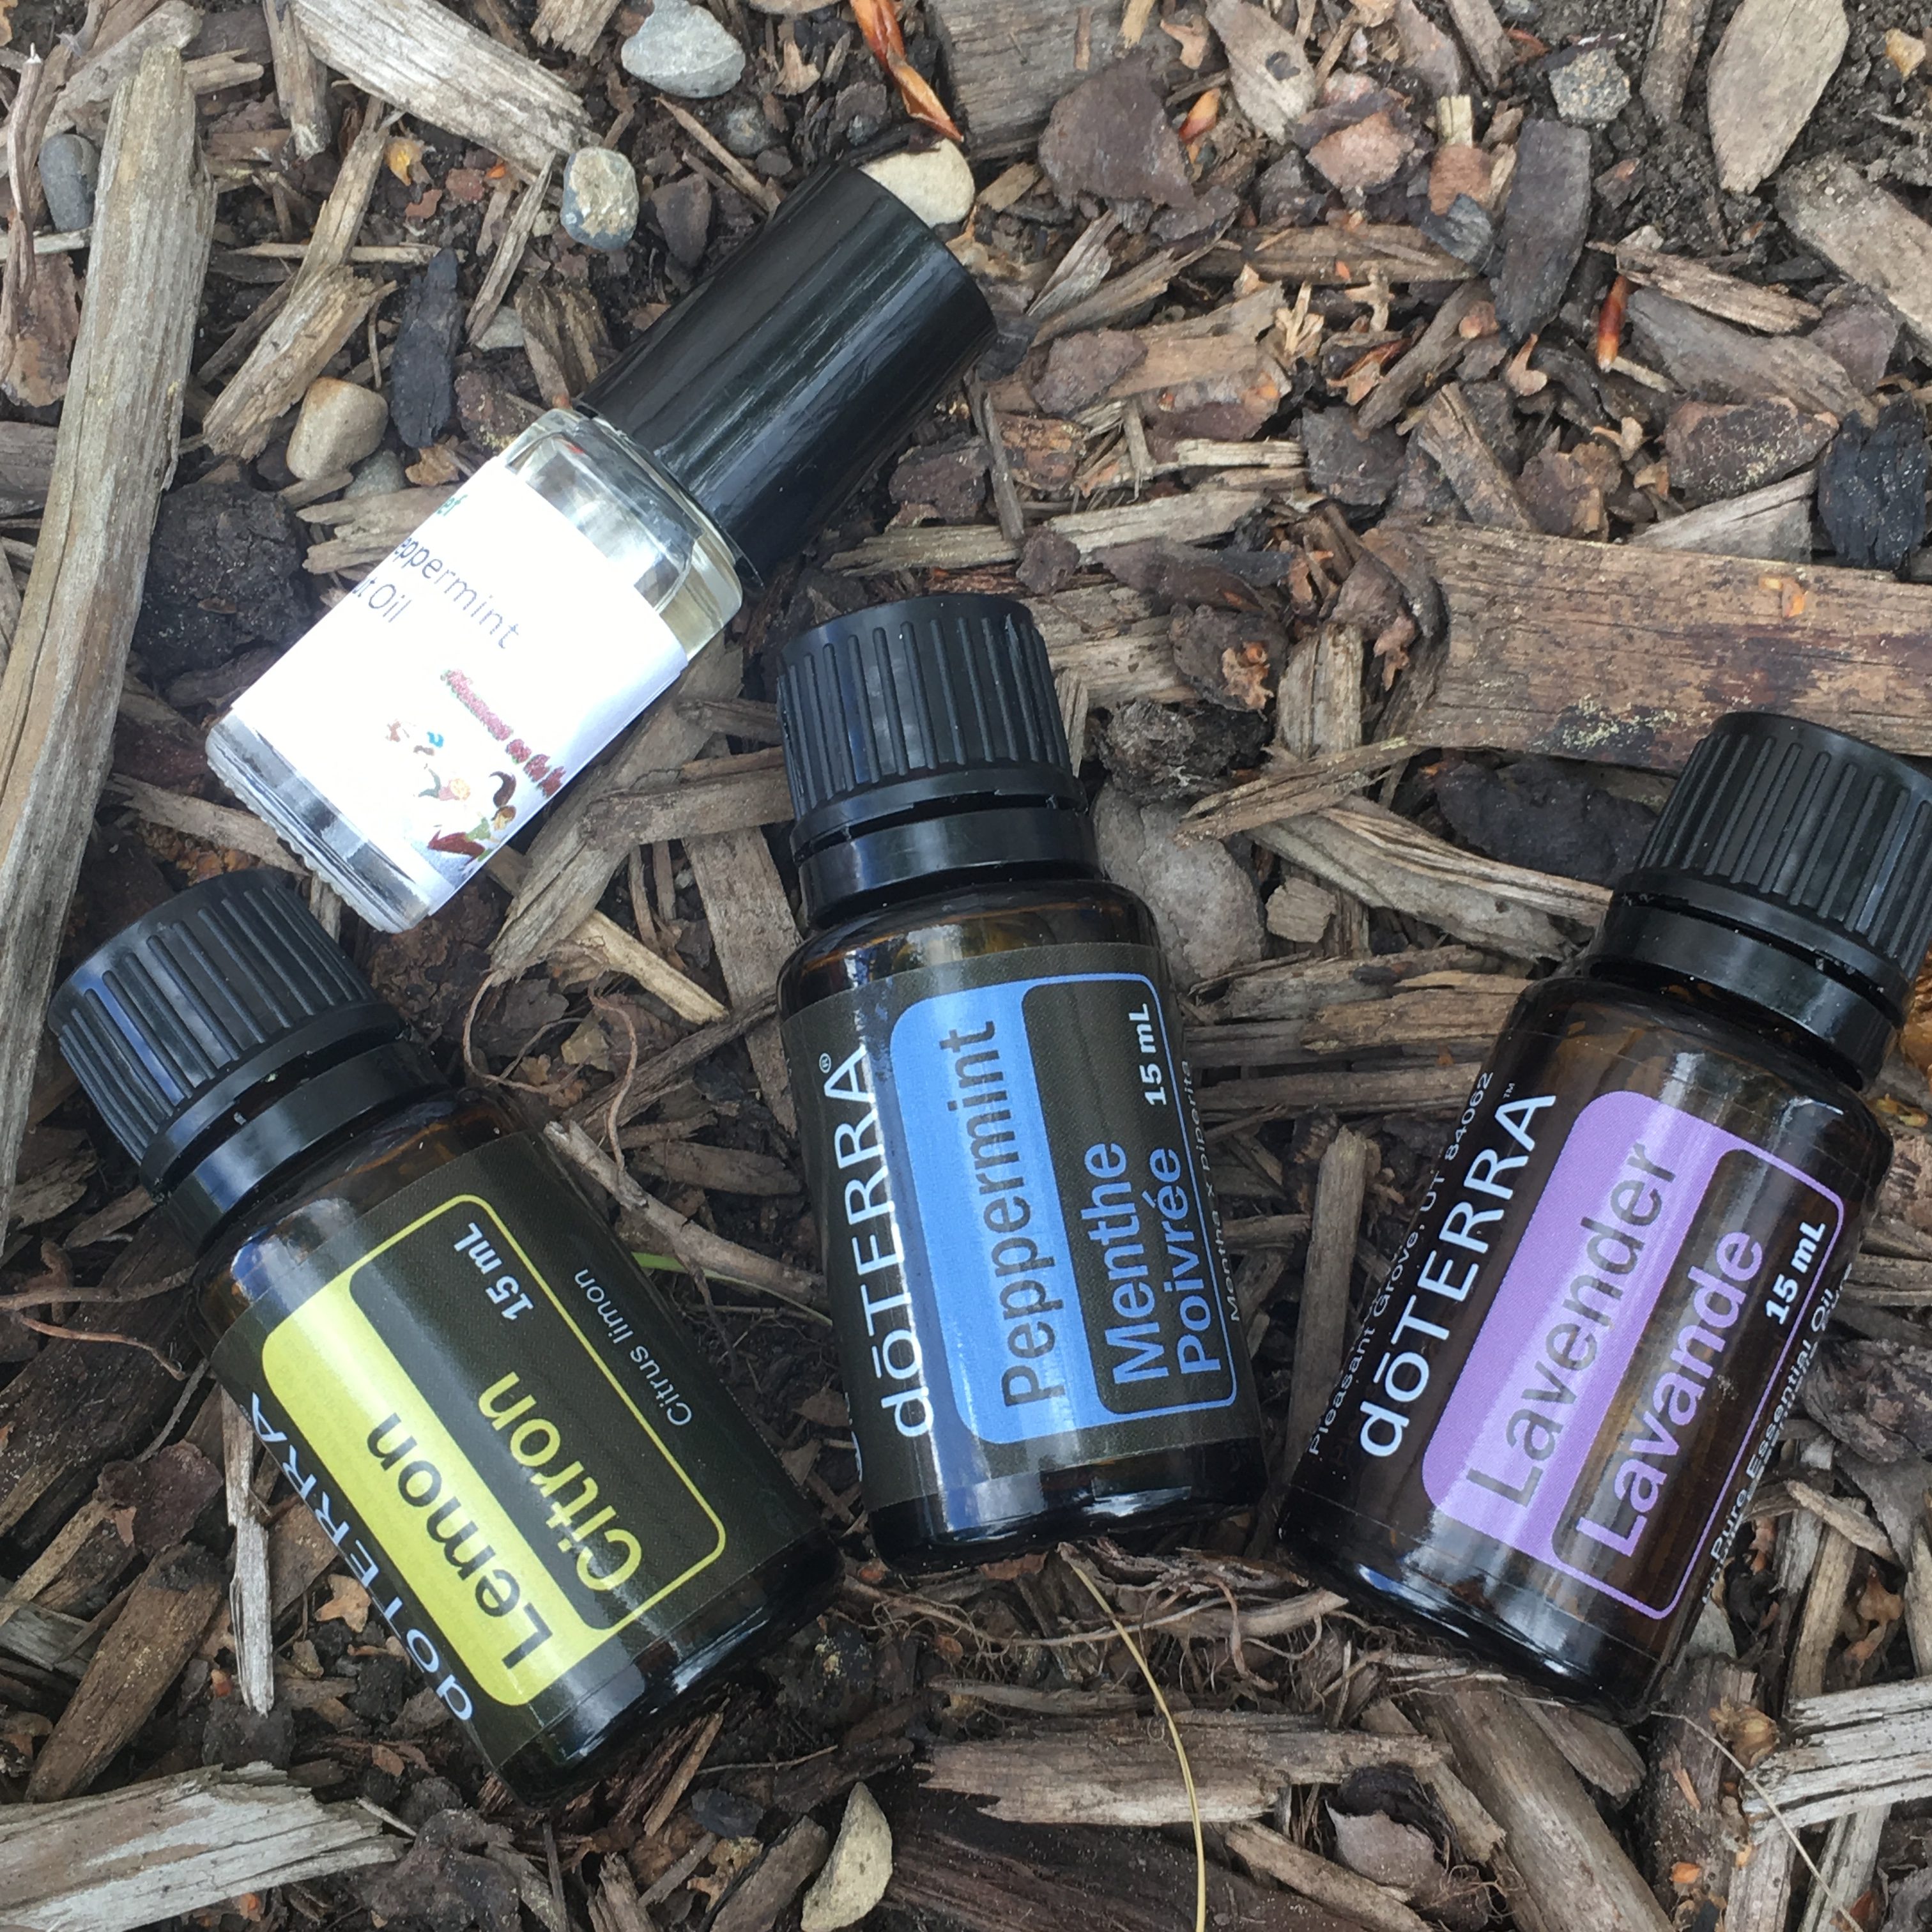
1 drop Lavender
1 drop Lemon
Put into glass of water and drink. May need to increase to 2 drops each depending on person. *Note: not all brands of essential oils are safe to ingest. Research the brand you are using before ingesting.
Or create an allergy relief rollerbottle. Increase the amount of drops to 4 drops each and top with fractionated coconut oil. Shake and roll on as needed across chest and back of neck.
Check out more natural DIY recipes for summer, such as after sun and bug repellent, in part 2 of our Natural Solutions for Summer Fun.


 Essential Oils directly access the brain through the olfactory bulb which is strongly linked to emotional state and memory function. The