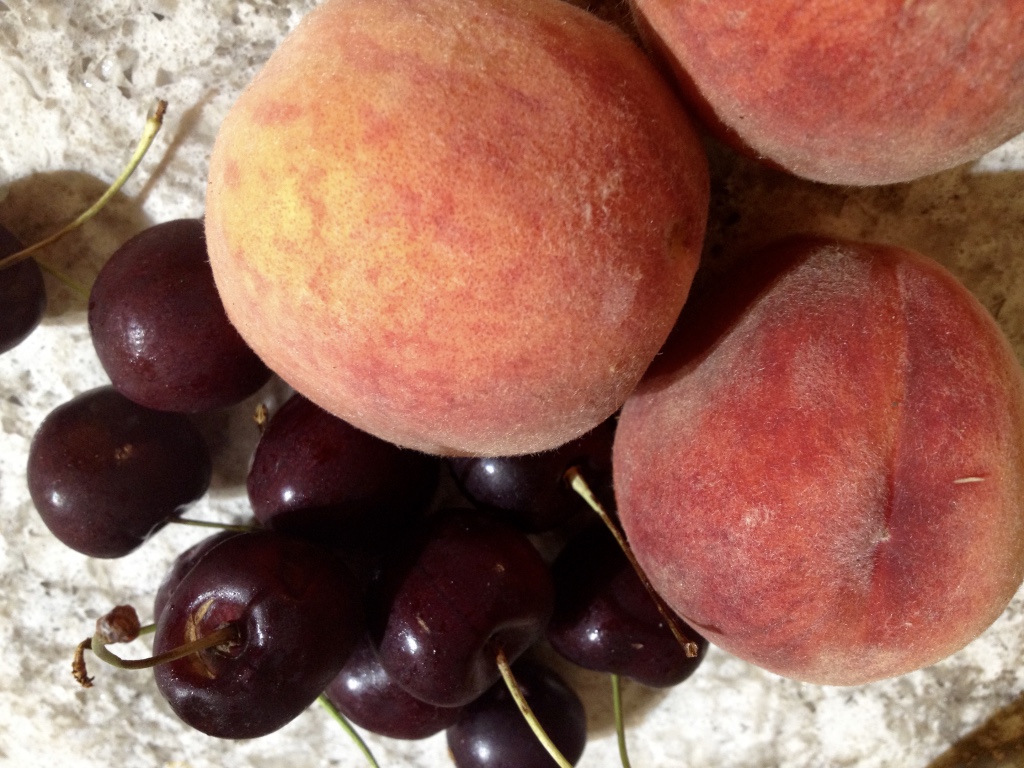
Peaches are one of the wonderful fruits that are fresh and abundant in the summer months. Stock full of vitamins and minerals (like Vitamin E, K, A and lots of B’s), there’s nothing like biting into a fresh juicy peach on a summer’s day.
We often get our peaches fresh from the Okanagan fruit stands while out visiting Gran and Grandpa in BC, ok that is the only place we get our peaches. Once I’ve bitten into a fresh ripe Okanagan peach I just can’t bring myself to buy them in the store. They simply aren’t as good, not as juicy and not as flavorful. So once we’ve eaten them all I don’t get any more (unless I can go back to BC and get some).
Besides eating them fresh (my son sometimes eating 4-6 at a time!), I usually make peach jam, (which I love!), and make the odd crumble. It wasn’t until my neighbor went on one time about how much he loved peach pie that I even considered the possibility. I love making pies in the summer with all the fresh fruit, cherry pie being my favorite, but I had never made peach. So I set out to experiment.
 When I originally found and made this peach pie recipe it was before we had eliminated refined sugars from our diet. So when I pulled up the recipe this summer (as my mother was asking that I share it with her) I had to make a few adjustments. I hadn’t realized that it still had white sugar in it.
I thought about using agave nectar, which I knew would work and is what I did originally when I transformed my cherry pie recipe, but I have heard a number of reports lately that agave is no better than refined white sugar. I had recently tried using honey in a pound cake recipe that turned out successfully so I decided to give honey a go for the peach pie.
As luck would have it, it turned out great, and everybody ate it up. With my oldest son even commenting that my pies are way better than Gran’s, as he inhaled his pie. My tip though is to make sure that you mix the honey in very well with the flour mixture so you don’t get any clumps of flour. The other option is to do the flour mixture without the honey, sprinkle it over the peaches, and then pour the honey over the peaches. It does produce a lot of juice regardless so I recommend a deep pie dish for sure.
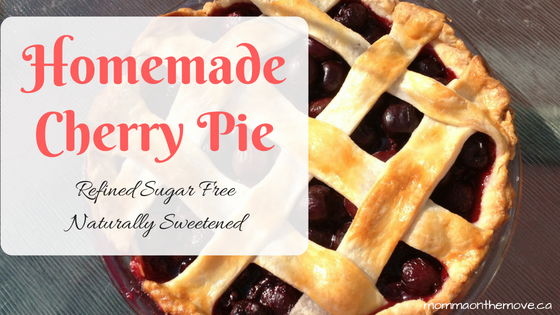
Sugar Free Peach Pie
2 – 9″ pie crusts (store bought or homemade*)
1 egg beaten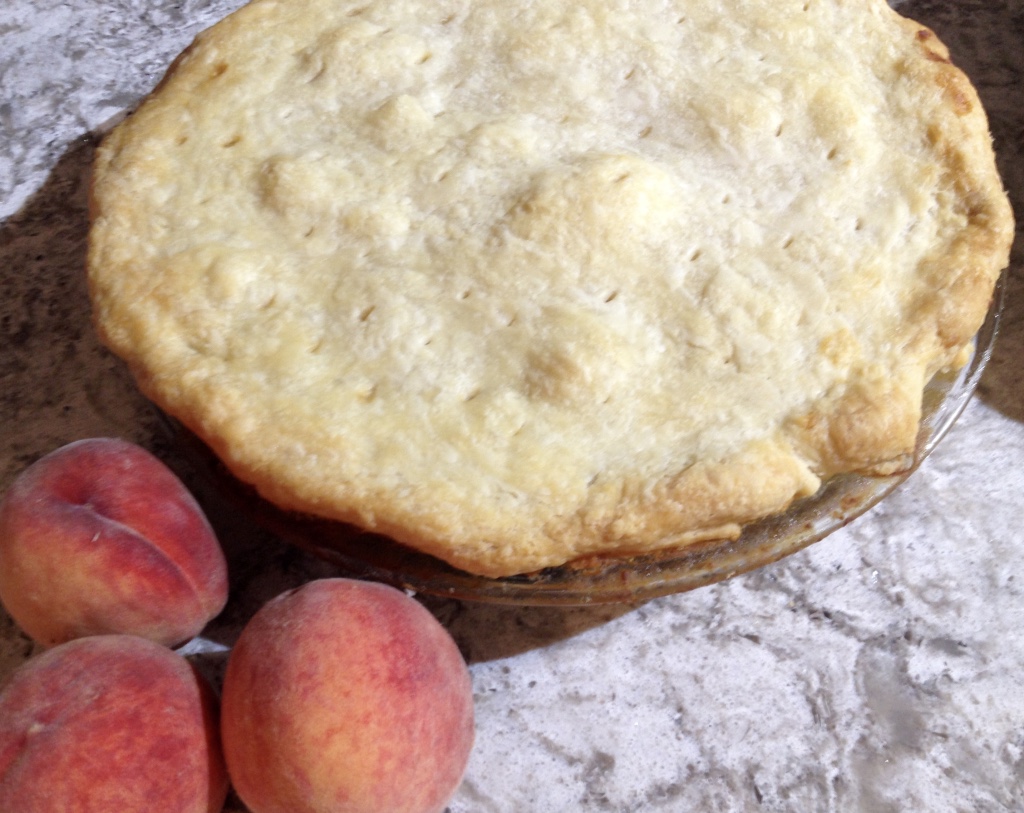
5c. sliced peaches, peeled and sliced
2 tbsp. lemon juice
½ c. flour
1 c. honey
½ tsp. cinnamon
1/4 tsp. nutmeg
1/4 tsp. salt
2 tbsp. butter
Brush some of the beaten egg on crust to keep from getting soggy. Place peaches in a bowl and sprinkle with some lemon juice, mix gently. In a separate bowl, mix flour, honey, spices and pour over peaches, mix gently. Pour into pie crust, dot with butter. Put on top crust fold edges under. Flute or seal by pressing with a fork dipped in egg. Brush egg over the top crust.
Bake at 450 F for 10 minutes, then reduce heat and bake for 30-35 minutes until crust is brown.
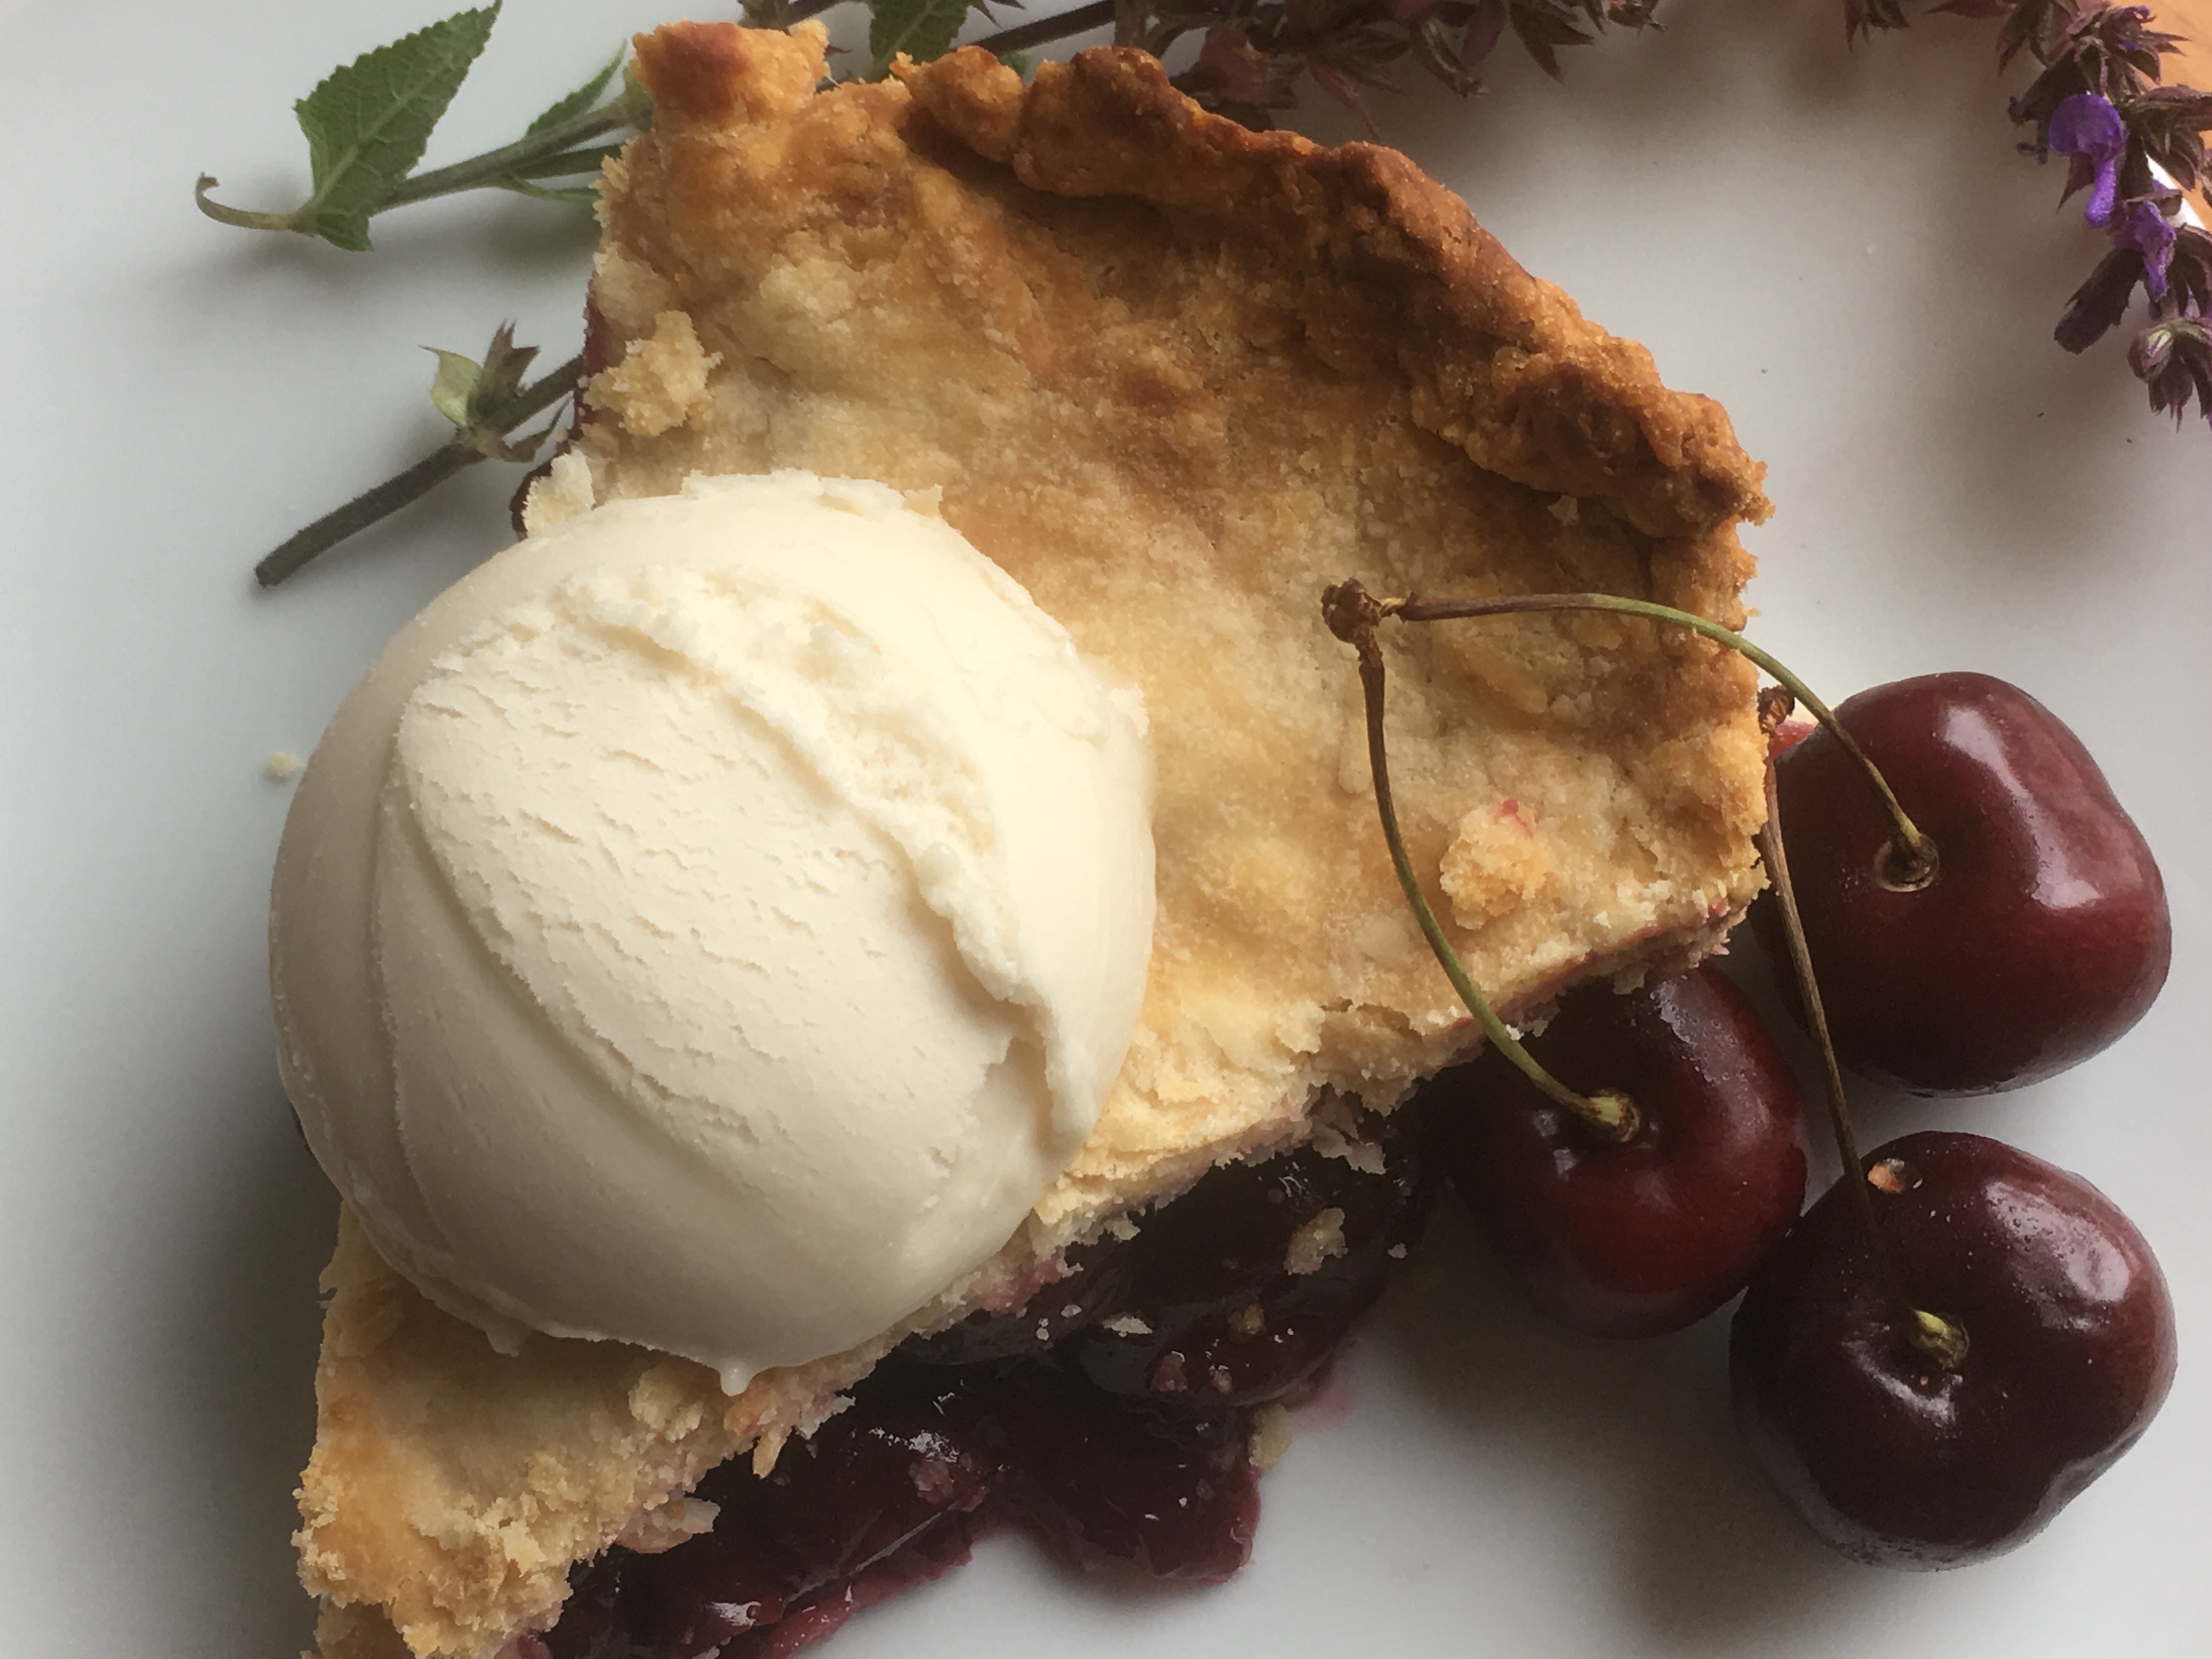
Enjoy! (And don’t forget the ice cream! We enjoy a delectable creamy non dairy vanilla ice cream by Rice Dream. It’s fantastic.)
* I make my own pie crust which turns out flaky and delicious every time simply by using Tenderflake and following their recipe on the box.
What’s your favorite kind of pie in the summer? Share in the comments below.