Summer Sippers – Easy Summer Drink Recipes with Essential Oils

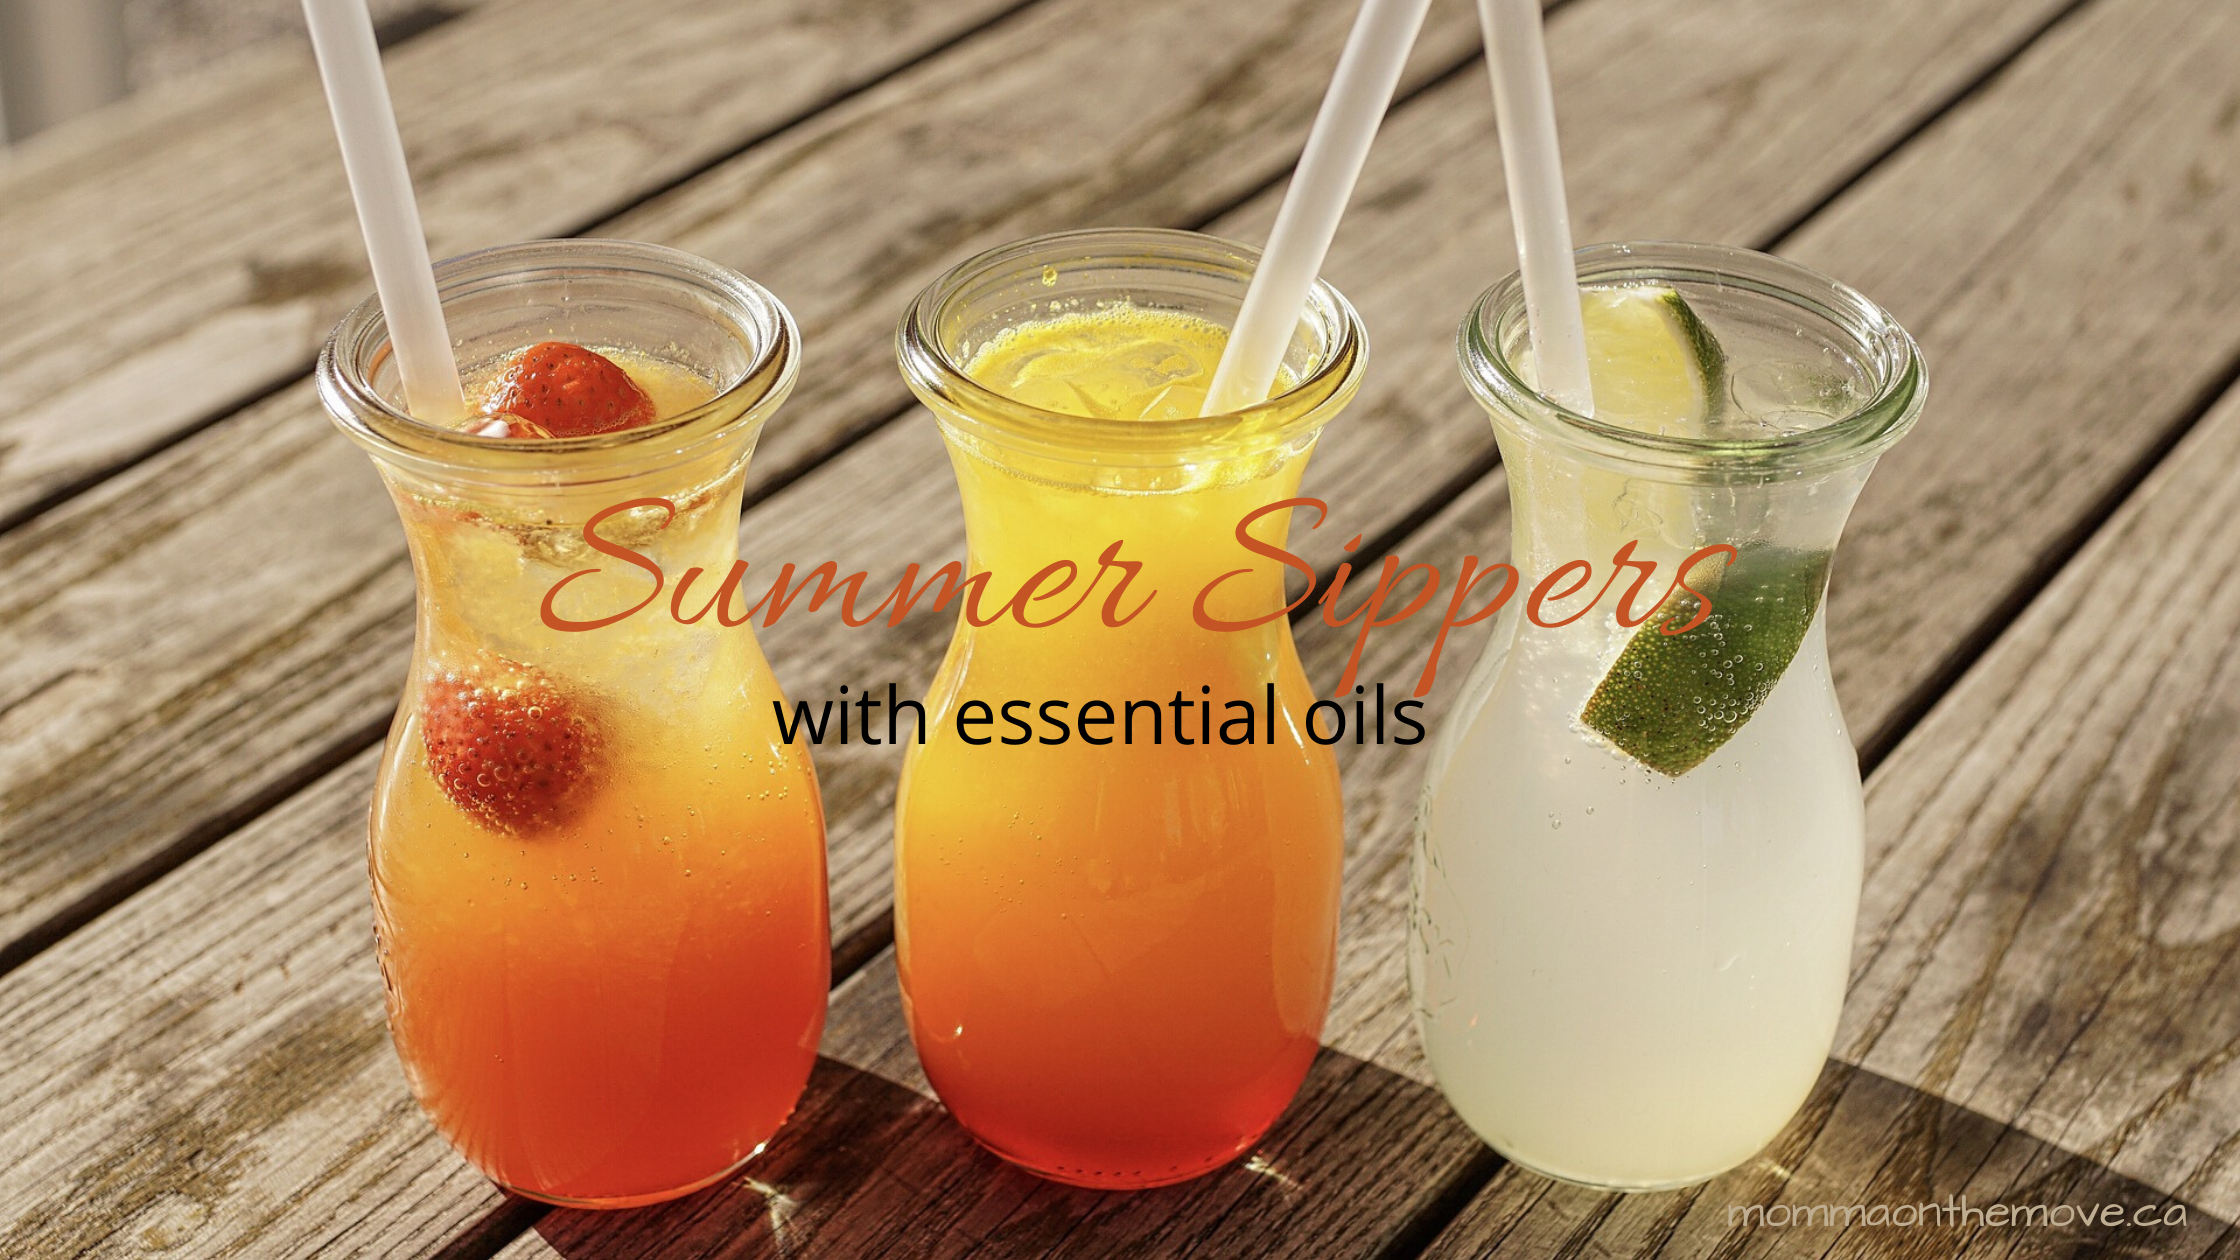
Summer is here! And you know what that means, fun fancy drinks on the patio on those hot summer days. Yum!

Don’t you love sitting out on the patio, socializing with friends and enjoying that yummy drink? But a few yummy drinks later and usually your sugar intake is good for the week!

I love incorporating some easy seasonal natural flavors combined with my essential oils and not only have I reduced the sugary intake, I now have more healthy options to enjoy on those summer days.

Which Oils Can I Use?
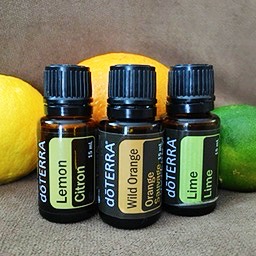
Citrus oils are a good bet in any summer drink. Lemon, Lime and Wild Orange all go very well in drinks and add that little extra punch to whatever your drinking. Plus they are great in a pinch when you don’t have those fresh lemons or limes on hand.

You can also use oils like Lavender, Basil or Celery Seed to create unique or spicier drinks for some of those classics (if you’re a Caesar fan Celery Seed here I come).

Whether you are creating your own or trying out a recipe, using your oils gives you great versatility and options to create those yummy refreshing summer drinks.

A Few Recipes to Try

Whether you are looking for just a summer refresher or something with a little more punch, all these recipes can either be made as mocktails or with a splash of your favorite spirit.

Orange Martini

This yummy martini is lovely and creamy with the fresh orange juice and Wild Orange essential oil. Easy to make without the alcohol if you choose and just as delicious.
Lavender Lemonade

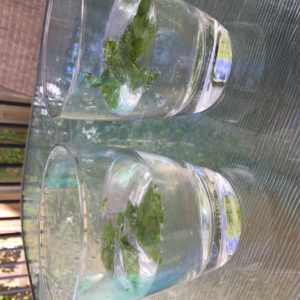
A twist on the classic lemonade, adding Lavender to this recipe gives it a softness and unique taste that’s pleasing to the palate.

Classic Mojito

This virgin version of your classic mojito from Jill Haverstock Nutrition is so easy and refreshing. I adopted her original recipe using 2 drops of Lime essential oil in place of lime juice.

Raspberry Limo-nade

Raspberries and lime are so good together. The lime really enhances the flavors of those already delicious berries. And I love that it’s naturally sweetened with honey (use local and get even more health benefits)

Of course the possibilities are endless! and you could basically take any of your favorite drinks and substitute essential oils in place of your fresh lemons, limes, mints etc. Why would you want to you ask?

Well one is convenience. Your essential oil is always on hand, you don’t have to worry about having the fresh stuff or having it go bad. It is also great for when you go camping, so hard to keep the fresh stuff from going bad!

Two, it saves money. When you buy that fresh basil for that drink and you either a) use it once and then the rest goes to mush in the fridge b) you have good intentions but then forget to use it all together and it goes to mush in the fridge. Plus your 15 ml bottle has 250 drops of oil in it, and when you use 2-3 drops per drink you can use it up to 83 times and works out to about 14 cents, which is less than what you would purchase fresh for.

Fresh is wonderful of course and adds so many things to your food and drinks, but your essential oils are great alternatives and so handy when it works!

So which Summer Sipper are you going to try first?


Save on Music, Books and DVDs at Indigo.ca

Vegan Pumpkin Chocolate Chip Cookies

pumpkin cookies

If you’ve been following me for a while you’ll know how much I love pumpkin and any and all things related to pumpkin. So when Shreya of the Sassy Life contacted me and said she had a pumpkin cookie recipe she’d like to share in our cookie series I was all over it!

These delightful pumpkin cookies are easy to make and can be ready in less than an hour – maybe more if you have little helpers or like myself just get distracted easily. They are small, bite size and can be customized if you like your cookies crisper or more cakier, a little stronger pumpkin flavor or a little more spice.

Shreya’s original recipe calls for refined sugars, which have been adjusted here but they do not change the flavor or the result of this delicious cookie. Perfect for Fall, or a little pumpkin variation for Thanksgiving, no one will even notice that they’re vegan or sugar free unless you tell them.

Vegan Pumpkin Chocolate Chip Cookies

Ingredientspumpkin cookies

  • 1/2 cup coconut oil (I measured when solid if that makes a difference)
  • 1 cup coconut sugar
  • 1/8 cup honey
  • 1 teaspoon vanilla extract
  • 5 tablespoons pumpkin purée
  • 1/2 teaspoon salt
  • 1/2 teaspoon baking soda
  • 1 teaspoon pumpkin pie spice (or 1-2 drops On Guard essential oil)
  • 1 1/2 cups all-purpose flour
  • 1 cup vegan/non-dairy chocolate chips
  1. Preheat oven to 350ºF.
  2. In a medium-sized mixing bowl, mix the coconut oil with the brown and white sugar.
  3. Add the vanilla extract and pumpkin purée and continue to mix. The mixture will look pretty slick and oily at this point.
  4. Add the salt, baking soda, pumpkin pie spice or On Guard essential oil, and flour and mix until just combined.
  5. Gently stir in chocolate chips.
  6. Bake rounded balls of dough on a parchment paper-lined cookie sheet at 350ºF for about 15 minutes. Cool slightly before removing from pan. Move to a cooling rack to ensure cookies cool evenly.
  7. Store in an airtight container.

Makes 24 cookies

* For a stronger pumpkin spice flavor, add another teaspoon of pumpkin pie spice. My cookies came out very puffy and small because I baked small balls of cookie dough. For flatter cookies, flatten the tops of the cookies before placing in the oven.

What’s your favorite fall cookie recipe?

Thanks to Shreya of the Sassy Life for sharing her recipe. All photos are from the Sassy Life.

Join us next week for White Chocolate Macadamia Nut – my most favorite – ever!

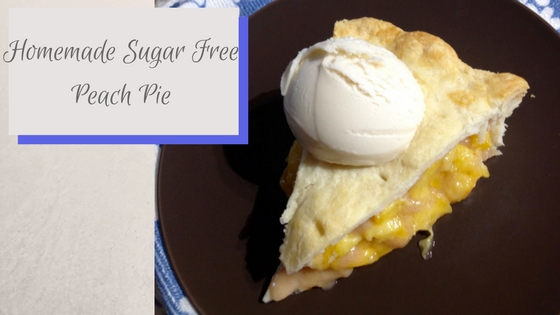
Homemade Sugar Free Peach Pie

sugar free peach pie

Peaches are one of the wonderful fruits that are fresh and abundant in the summer months. Stock full of vitamins and minerals (like Vitamin E, K, A and lots of B’s), there’s nothing like biting into a fresh juicy peach on a summer’s day.

We often get our peaches fresh from the Okanagan fruit stands while out visiting Gran and Grandpa in BC, ok that is the only place we get our peaches. Once I’ve bitten into a fresh ripe Okanagan peach I just can’t bring myself to buy them in the store. They simply aren’t as good, not as juicy and not as flavorful. So once we’ve eaten them all I don’t get any more (unless I can go back to BC and get some).

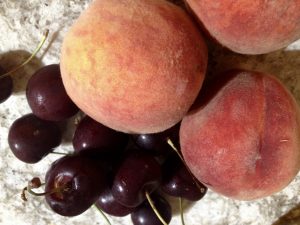
Besides eating them fresh (my son sometimes eating 4-6 at a time!), I usually make peach jam, (which I love!), and make the odd crumble. It wasn’t until my neighbor went on one time about how much he loved peach pie that I even considered the possibility. I love making pies in the summer with all the fresh fruit, cherry pie being my favorite, but I had never made peach. So I set out to experiment.

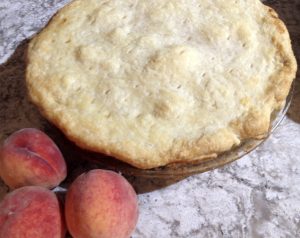
sugar free peach pieWhen I originally found and made this peach pie recipe it was before we had eliminated refined sugars from our diet. So when I pulled up the recipe this summer (as my mother was asking that I share it with her) I had to make a few adjustments. I hadn’t realized that it still had white sugar in it.

I thought about using agave nectar, which I knew would work and is what I did originally when I transformed my cherry pie recipe, but I have heard a number of reports lately that agave is no better than refined white sugar. I had recently tried using honey in a pound cake recipe that turned out successfully so I decided to give honey a go for the peach pie.

As luck would have it, it turned out great, and everybody ate it up. With my oldest son even commenting that my pies are way better than Gran’s, as he inhaled his pie. My tip though is to make sure that you mix the honey in very well with the flour mixture so you don’t get any clumps of flour. The other option is to do the flour mixture without the honey, sprinkle it over the peaches, and then pour the honey over the peaches. It does produce a lot of juice regardless so I recommend a deep pie dish for sure.

Sugar Free Peach Pie

2 – 9″ pie crusts (store bought or homemade*)

1 egg beatensugar free peach pie

5c. sliced peaches, peeled and sliced

2 tbsp. lemon juice

½ c. flour

1 c. honey

½ tsp. cinnamon

1/4 tsp. nutmeg

1/4 tsp. salt

2 tbsp. butter

Brush some of the beaten egg on crust to keep from getting soggy. Place peaches in a bowl and sprinkle with some lemon juice, mix gently. In a separate bowl, mix flour, honey, spices and pour over peaches, mix gently. Pour into pie crust, dot with butter. Put on top crust fold edges under. Flute or seal by pressing with a fork dipped in egg. Brush egg over the top crust.

Bake at 450 F for 10 minutes, then reduce heat and bake for 30-35 minutes until crust is brown.

Enjoy! (And don’t forget the ice cream! We enjoy a delectable creamy non dairy vanilla ice cream by Rice Dream. It’s fantastic.)

* I make my own pie crust which turns out flaky and delicious every time simply by using Tenderflake and following their recipe on the box.

What’s your favorite kind of pie in the summer? Share in the comments below.

A Warm Drink on a Cold Day

warm capuccino-saidaonlineThere’s nothing like coming in on a cold day and enjoying a nice warm drink. Cuddling up on the couch, your hands surrounding the mug for warmth as the steam floats up and you inhale the beautiful scent of coffee, hot chocolate, tea or hot apple cider, to name a few.

It doesn’t matter what you have been doing, if you’ve been enjoying some time outside doing outdoor activities, toboganning, skating, skiing or even just shoveling the walk, there is something about that warm beverage that offers you comfort like nothing else.

My kids love cuddling up on the couch with their drinks and maybe some cookies or other treat and watching a movie, tucked up under blankets. Nice and cozy and relaxing.

warm-drinksOf course when we decided to eliminate sugar at our house we could no longer default to the hot chocolate mix we bought at the store (and we used to buy the big can, you know that one that is super tall and would last for months). I know in the good old days hot chocolate was simply milk heated with cocoa mixed into it, but it had been a long time since I’d done that. In fact I remember one time when I was little and my aunt was looking after us, she did just that, and my sisters and I looked at her like she had 3 heads and asked her what the heck she was doing. In the end she ended up making the instant stuff but I know now what I missed out on.

I really like the milk heated version as I find it to be richer and creamier, even though it does take a little bit more time and work to do so. What I do now for the kids is actually a little fancier than that (something I discovered in my Raw Chocolate Making class), but it is soooo yummy and also very good for you.

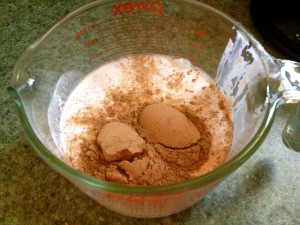
Now I use a mix of almond milk, cacao powder (considered a superfood and high in minerals such protein, zinc, and iron), natural sweetener of choice and depending on the day some added spices. It’s actually quite easy to do and tastes delicious! I also like that I can make it different every time depending on what I am feeling like that day.

Dairy Free Hot Chocolate

4 c. almond milk (or your choice of dairy free milk)HBC-DJ12-hot-chocolate-shrstock-48722137

3-4 tbsp. cacao powder

3-4 tbsp. natural sweetener (I usually use pure maple syrup, but you can use honey, stevia, etc.) *amount of sweetener depends on sweetener used and personal preference

spices – sprinkle of to taste cinnamon and cayenne, or lucuma powder and mesquite powder

Place all ingredients into blender. Turn on low, then turn up to high, blend well. Pour mixture into pot. Heat on medium to desired temperature. Pour into mugs and serve.

Serves 4

What other delectable hot drink recipes do you enjoy?

Homemade Marshmallows

Well it’s official! I can now make anything without sugar in it. When we went sugar free we really struggled at first, having to avoid things that we loved and enjoyed. But it was just going to take time to figure out how to make these things like cakes, cookies, chocolate, etc. without the sugar in it. What were the substitutes? How did you do it? It was a huge learning curve.

I assured Matthew, my oldest son that I would figure it out. Cause one of the things I did not want to happen in going sugar free was for him to feel denied. That he could still have the yummy treats that his friends did, with the difference being healthier, better for you.

Slowly I began to build my reperatoire, cookies, cakes, muffins those were easy. Bread, new sweet treat recipes, chocolate…we were getting there. Matthew was pretty happy too, except for one last thing, marshmallows. There was no substitute in the store to buy and I had no idea what to do to make them.

He reminded me of this when we went camping this summer, mentioning that it would be nice to roast marshmallows… “I know” I said and assured him that I was on a mission; as marshmallows were the only thing that I could not make sugar free but I knew there had to be a way.

A little while back I found this recipe for homemade marshmallows on Facebook and just about died! This was the ‘missing link’ that I was looking for. The recipe I needed, and it was totally healthy! Sweetened with honey and very easy to make.

So yesterday was the big day. I tried it out and Wow they were stupendeous! They look and taste like an original marshmallow and I don’t care how many my kids eat!

Unfortunately the marshmallows had to sit to set, but I let the kids lick the beaters. As you can see Luke and Chloe were thoroughly enjoying it! Attacking the beater with vigor. Matthew has attested that they taste just like regular marshmallows and just in time for our Halloween campfire tomorrow night.

We are also set for camping next summer! S’mores, rice krispie squares and other marshmallow treats here we come!

IMG_2354

A couple quick tips when making this marshmallow recipe:

When letting it sit to set don’t worry about covering it. I made this mistake and ended up losing some because it stuck to the cover. Oops! lesson learned.

When storing them make sure you line the bottom of your container with parchment paper, and layer it with paper in between. Again, they’ll stick and they’ll peel right off the parchment paper. Don’t forget to put one on the top before you put on the lid!

The mixture starts to set quite quickly so have your pan ready to go, and as soon as the soft peaks form, pour it right into the pan. Don’t worry about the beaters you can take care of those later 🙂

The Magic of Chia Seeds

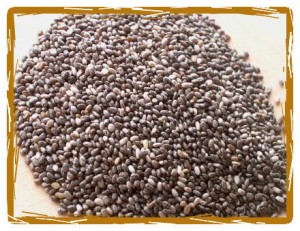
Chia seeds

Recently I have discovered a lot of recipes with chia seeds in them. I haven’t been purposely looking for them, the recipes I have been picking up lately (such as Chocolate Macaroons) just happen to have them in it. The nice thing about this, I discovered, is that chia seeds are considered another superfood with multiple health benefits. They stabilize blood sugar, reduce cravings for sweets, improve mental focus, are a high quality protein, improve cardiovascular health and many more.

When I first heard about chia seeds I actually wasn’t sure what to do with them and thought they were funny things, these tiny seeds that look like poppy seeds. I knew they had great health benefits but what was the use if I could not use them? Then I found this recipe for chia seed pudding, which I have to admit when I first looked at it thought “Eww! seeds in my pudding”. But since I am into expanding my repertoire of sugar free and dairy free treats I thought I would try it.

I decided to make it for the first time when I was in BC this summer visiting my parents. My Mum is into these things as well and I always like a willing crowd to be my guinea pigs. The first thing I loved about this recipe is that it takes no time at all to make; less than 5 minutes. You literally whisk together the ingredients in a bowl and let it sit. That’s it. I didn’t even divide it amongst individual glasses like it suggested, I just left it in the bowl I made it in. (I also found that though this recipe says serves 4 but you can easily serve 6 and everyone has a decent sized portion).

chia seed pudding

Raspberry Chia Seed Pudding

The second thing I really liked is that when you let the chia seeds sit for a bit they actually expand (size and weight), so it gives the pudding some texture, similar to tapioca. Which is another health benefit, as this ‘gelling action’ when the seed is exposed to water gives you a full feeling for hours – which is great for maintaining a healthy weight. (I also think it’s fascinating 🙂

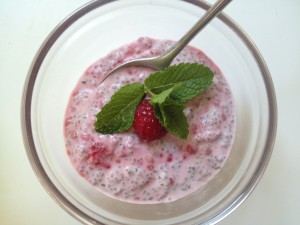
The pudding was a hit with my parents and the kids. Enough that I have made it again recently and will do so again. I have also discovered a recipe for a Raspberry Chia Seed Pudding, which I have yet to try, but imagine will be just as good.

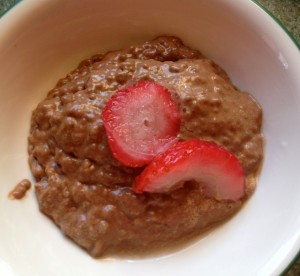
Chocolate Chia Seed Pudding

chia seed pudding

Chocolate Chia Seed Pudding

1 1/2 c. coconut milk

4 tbsp. maple syrup or honey

2 tbsp. cacao powder

1 tbsp. vanilla extract

1/3 c. chia seeds

**top with berries or coconut cream if desired

Whisk coconut milk, maple syrup or honey, cacao powder and vanilla until smooth. Stir in chia seeds. May divide evenly between 4 glasses or leave in bowl. Let sit at room temperature for 2 hours and serve.

Serves 4 **(You can easily serve 6 with this recipe and have decent sized portions if desired)


Sugar Free White Cake Recipe

sugar free white cake

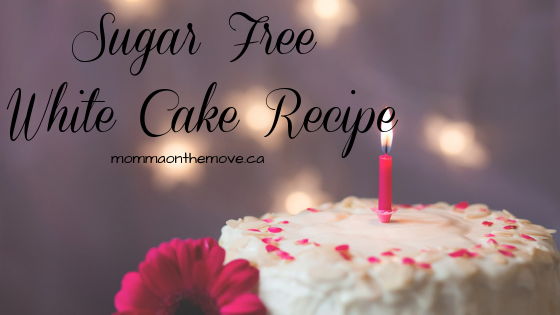
One of the first things I created when we went sugar free was a sugar free birthday cake, as I figured that this was one of the most important things in a child’s life that should not be without. Cake on your birthday is important! So I sought out various recipes and experimented a little.

My first attempt in creating a sugar free white cake was using agave nectar as the substitute for sugar. Though there are many other options for natural sweeteners this was the first one that I tried. I later learned though that agave nectar is considered to be just as bad as the refined stuff because of the way it’s processed. So my next step was to try honey, which is our preferred natural sweetener these days.

This vanilla cake recipe, using honey as the sweetener is very moist and I have used it many times. The kids love it and no one knows the difference when they eat it unless I tell them it’s sugar free. You can easily use this recipe for white cupcakes as well.

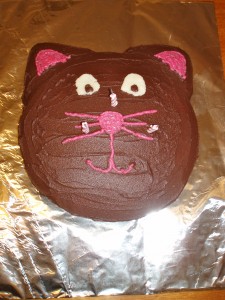
I used it this year for Chloe’s kitty cat birthday cake (for the twins birthdays I make a cake for each of them and I usually do one chocolate and one vanilla). With chocolate icing it was delicious as usual.

White (Vanilla) Cake Recipe

1/2c. honey

1/2 c. Earth Balance

2 eggs

2 tsp. vanilla

1 1/2 c. flour

1 3/4 tsp. baking powder

1/4 c. almond or rice milk

Preheat oven to 350 F. Grease and flour 9×9 inch pan.

In a medium bowl, cream honey and Earth Balance. Beat in eggs, one at a time, then stir in vanilla.

Combine flour and baking powder, add to the creamed mixture and mix well. Finally stir in the milk until batter is smooth. Pour or spoon batter into the prepared pan or into muffin tin for cupcakes.

Bake for 30 to 40 minutes in the preheated oven. For cupcakes, bake 20 to 25 minutes. Cake is done when it springs back to the touch.

Yield: 12 cupcakes or 9×9 inch pan

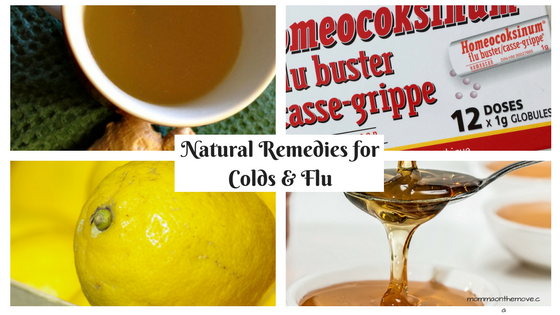
Natural Remedies for Colds and Flu

natural remedies

One of the things that I have decided to do in our house is reduce the amount of over the counter and unnatural remedies for colds and flu. The more I read about some of these remedies and what’s in them, the more I feel that there are better more natural ways to combat the flu season and naturally boost our immune systems.

I have become more conscious of what we put in our bodies and what it does to us. Some of these over the counter remedies, though they may provide relief actually suppress our immune systems and it then takes us longer to return to health. In my journey to find more natural ways to heal our bodies and even prevent us from getting sick I have discovered a number of natural remedies and preventions that work.

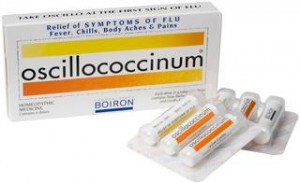
Oscillococcinum – I believe in prevention first and foremost so one of the things I do before about 6-8 weeks prior to flu season is give the kids and I a homeopathic protocol using oscillococcinum or ‘flu buster’. This was suggested by our homeopathic doctor; we take half a tube (1/4 tube for the little ones under 6) once a week for six weeks. This helps the body’s immune system to ‘boost up’ and prepares it for the cold/ flu season that is coming.  As a result we usually don’t get colds/ flu at all and if we do it is a very mild and short case. And if we do get it, then we take a whole tube to kick it out!

Ginger tea – drinking ginger tea on a regular basis is also a great form of prevention but works well if you do get a cold/ flu. It is easy to make using fresh ginger root and water. As soon as I start to feel a cold coming on I make a batch of tea right away. Ginger tea is also great for nausea.

Honey and cinnamon – are great combinations for a number of diseases and ailments. Different proportions target different ailments. For colds it is 1 tbsp. honey to 1/4 tsp. of cinnamon

Homeopathic remedies – the great thing about homeopathic remedies is that they work with your body to help boost your immune system as well as heal the ailment. It not only relieves your symptoms but helps your body to move through it faster. There are a number of homeopathic remedies to aid colds and flu. Oscillococcinum, as mentionned above, is great for prevention as well as when you have it. Aconite is great when you first start feeling the cold coming on, take it right away, as well as other homeopathic remedies. Homeopathic remedies work best when you can match your symptoms to the remedy so it is best to either consult with your homeopathic doctor or have a book on remedies for self diagnosis. The great thing about homeopathy is if you choose the wrong remedy it will not cause you any harm, it simply won’t help you get better and you’ll have to try a different homeopathic remedy.

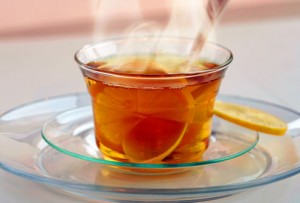
Rum, honey, cinnamon, lemon in hot tea – this is an amazing remedy. Recently I had a cold that just would not go away and continued to get worse and worse each day instead of better. All I wanted to do was crawl into my bed and pull the covers over my head, but my aunt who was visiting at the time suggested and made this remedy for me. It cleared my head like that! and though I still had a bit of a cough, I felt like I could function and enjoy life again 🙂 You can use any kind of hot tea that you like and then add the rest into the drink.

Essential Oils – there are a number of essential oils that support our immune system. Oils such as Frankincense and Copaiba support a number of our body systems including immunity. doTERRA’s On Guard essential oil blend is our go to for supporting immunity. It is a blend of Wild Orange, Clove Bud, Cinnamon, Eucalyptus, and Rosemary. It can used preventatively by applying topically on the bottoms of the feet or taking one drop internally daily. Diffuse when you feel something coming on, as it not only protects you but everyone in the household.

Vitamin C, D, & B12 – boost these vitamins during cold and flu season. They all help boost your body’s immune system and vitamin B12 helps you to cope with stress.

Sleep – sleep is one of the best healers and immune boosters. Get adequate sleep on a regular basis for prevention but when you feel your cold coming on make sure you get to bed early and get lots of rest.

No Sugar – sugar weakens the immune system very quickly, so if you have sugar in your diet, avoiding and eliminating it when you are sick will help strengthen your immune system and recover faster.

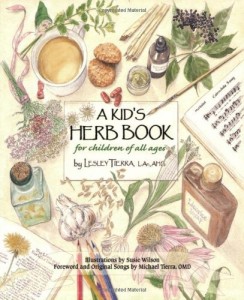
Garlic Lemon and Honey Syrup – this remedy comes from a book called A Kids Book of Herbs, is very easy to make and kicks your cold super fast!

Eat more of these foods – ginger, garlic, onions, licorice root, honey – these all strengthen the immune system and support healing.

A lot of these remedies you can use apply on a regular basis in your diet/ day to help prevent the colds and flu from even coming on, but they all work great if you or your family do get sick. I believe too that one remedy will work better for one person than another so to find the one that works best for you. I also believe that anything we do to help our body naturally boost our immune systems is not only going to be better for us in the long run but will also help prevent us from getting as sick or sick at all in the future. Many of these remedies too are ones that kids will easily take without fuss, and is easy to incorporate into their diets and routines.

Do you have a favorite natural remedy that works? Comment and share below.


Sugar Free Banana Bread

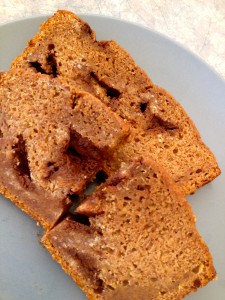
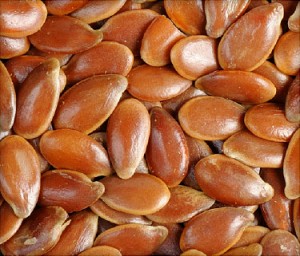
A traditional favorite in most homes, banana bread is a great way to use up those overripe bananas, turning them into something delicious! I have tried a few banana bread recipes from the one my Mom makes to one from my roommates in university and all have been delicious. But when I discovered this banana bread recipe I was in heaven! It was the most moist and the best banana bread that I had ever had. Containing no sugar, sweetened with applesauce and honey, and a boost of flaxseed, this is one healthy, but extremely yummy banana bread.

When I make it at our house, it never lasts more than a day because the kids and I gobble it up 2 or 3 pieces at a time.

I use my own *applesauce and chocolate, both homemade and of which I usually have on hand. The twins enjoy applesauce and cinnamon each morning at breakfast and I make up plain chocolate pieces that I keep in the fridge or freezer for whenever we need our chocolate fix.

Though you may have a favorite banana bread recipe, give this one a try, you won’t be disappointed!

*to make the applesauce I simply slice and core 6 apples, boil them on the stove until soft, then drain the water and blend the apples in the blender until smooth. I do not peel the apples as the skin contains lots of vitamins that you lose when you peel them and blends up so small that you don’t  notice it in the sauce.

Banana Bread

1 1/2 c. whole wheat flour

flaxseed

1 1/4 tsp. baking powder

1/2 tsp. baking soda

1 tbsp cinnamon

1 tbsp ground flaxseed

pinch of sea salt

3 ripe mashed bananas

2 egg whites

1/4 c. unsweetened applesauce

1/2 c. honey

1/4 c. flaxseed oil

1/3 c. chopped dark chocolate

chopped walnuts, optional

In a medium bowl combine flour, baking powder, baking soda, cinnamon, flaxseed and salt.

In a large bowl beat bananas until smooth. Add egg whites and mix. Gradually mix in applesauce, honey and flaxseed oil. Mix dry ingredients into banana mixture. Stir in chocolate.

Grease a 9×5 inch loaf pan with Earth Balance Vegan spread. Pour batter into pan and bake for 45 minutes or until cake tester when inserted comes out clean.

Christmas at the Hive

On the weekend I took the kids out to the Chinook Honey Company in Okotoks. A local honey farm and winery, they were hosting a Christmas family event with lots of activities for everyone.

When we first got up in the morning and I checked the temperature I debated on whether to go. It was -15 C and I knew most of the activities would be outside; and though we would dress for it, I knew for the little ones it might be cold.

As we putzed around and got breakfast going I slowly started to pack snacks and lunch, having decided that we would go and check it out. Though it was cool, I knew there were some buildings there that we could go into if we got cold; and living in Calgary you really can’t let the weather stop you from doing things. If you did, you’d never go anywhere or do anything. Besides this was the last day the event was on and I thought it would be fun for the kids.

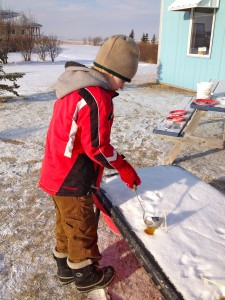
Matthew making beeswax snow candle

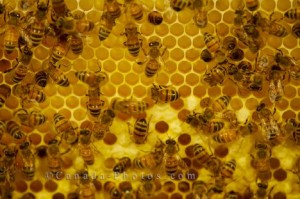
And it was! It turned out to be one of those sunny clear blue sky Alberta days with lots of fun to be had. They had a scavenger hunt, apiary tours, and pictures with Christmas Critters. The kids could make their own beeswax snow candle, go on sleigh rides and enter the coloring contest. There was also an observation area where you could check out the bees in their hive, we even spotted the Queen.

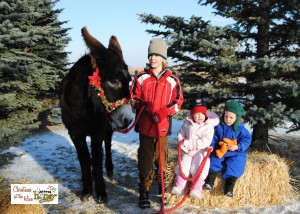
Luke really enjoyed standing there and watching the bees. He just stood in front of the glass, head tilted up, watching. Chloe loved the animals, they had a horse and two donkeys that you could have your picture taken with. It took us a few tries getting the animals, and the kids all looking in the same direction, but we finally got a nice shot of everyone. Chloe and Luke insisted that they got to hold the rope of the donkey, just like Matthew did and Chloe cried when the donkey had to go back to his pen after the picture (cause she wanted to pet him some more).

They have a full store out there as well full of various honey products, such as beeswax candles, honey sticks, chocolates and the winery. It was decorated beautifully for Christmas, a rustic sort of look. The staff were extremely friendly as well and it’s a great environment to hang out.

They had a big fire pit outside to hang out and have hot chocolate and snacks and they even had carollers out there at one point. We did the apiary tour, which was interesting as the ‘King Bee’ Art, explained and showed us how they set up the ‘hives’ for the bees and how they extracted honey from them. It was fascinating, and all the kids were very attentive.

We learned many things such as how the bees ‘make’ their queen, how long she lives (4-5 years), what the role of the workerbees and drones are. He also told us how Albert Einstein once said that once the honey bee poplulation of the world was zero that we would have 4-5 years left to live; and that the honey bee populations of the world are dwindling and are down by 30%. Farmers are now working hard to keep healthy bee populations as they are so important to our ecosystem.

It is also highly beneficial for us to consume local honey made by local bees, as local honey provides us with immunity builders to environmental conditions in our area. So buying local is not just beneficial to the local economy but good for our health as well!

All in all it was a great day at the honey farm, we learned a lot, we played and we even left with a treasures, beeswax candles and some wonderful memories!