Moist soft chocolate cake type cookies with a massive amount of creamy white filling inside…. these are whoopie pies and OMG are they delicious! Absolutely Divine!
Growing up these were a special treat in my house and needless to say they didn’t last very long. I could easily pop 3 in a sitting and unless you doubled the recipe there were only about 16 in a batch, so really in a house of 5 that didn’t make for many in your tummy unless you were fast!
When we made the switch to a sugar free household, sadly whoopie pies were one recipe that I didn’t make anymore because I had no idea how to modify the recipe. Being new to the whole sugar free world and substitutions I was at a loss. So they were left unmade for years. Until this weekend….
My youngest son and I decided to take the plunge and modify the recipe to see if we could create these whoopie pies successfully. We debated between using honey or coconut sugar as the sweetener, and decided we’d try one and if it didn’t work out, we’d try the other one later. I am happy to report we got it right the first time and now I can share these delectable sugar free treats with you! (I would suggest just doubling the recipe right from the start, I mean really why deny yourself?)
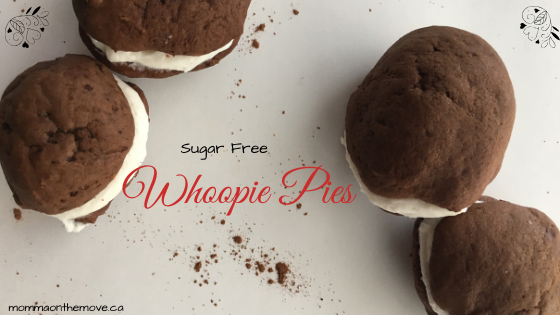
Sugar Free Whoopie Pies
Cookie:
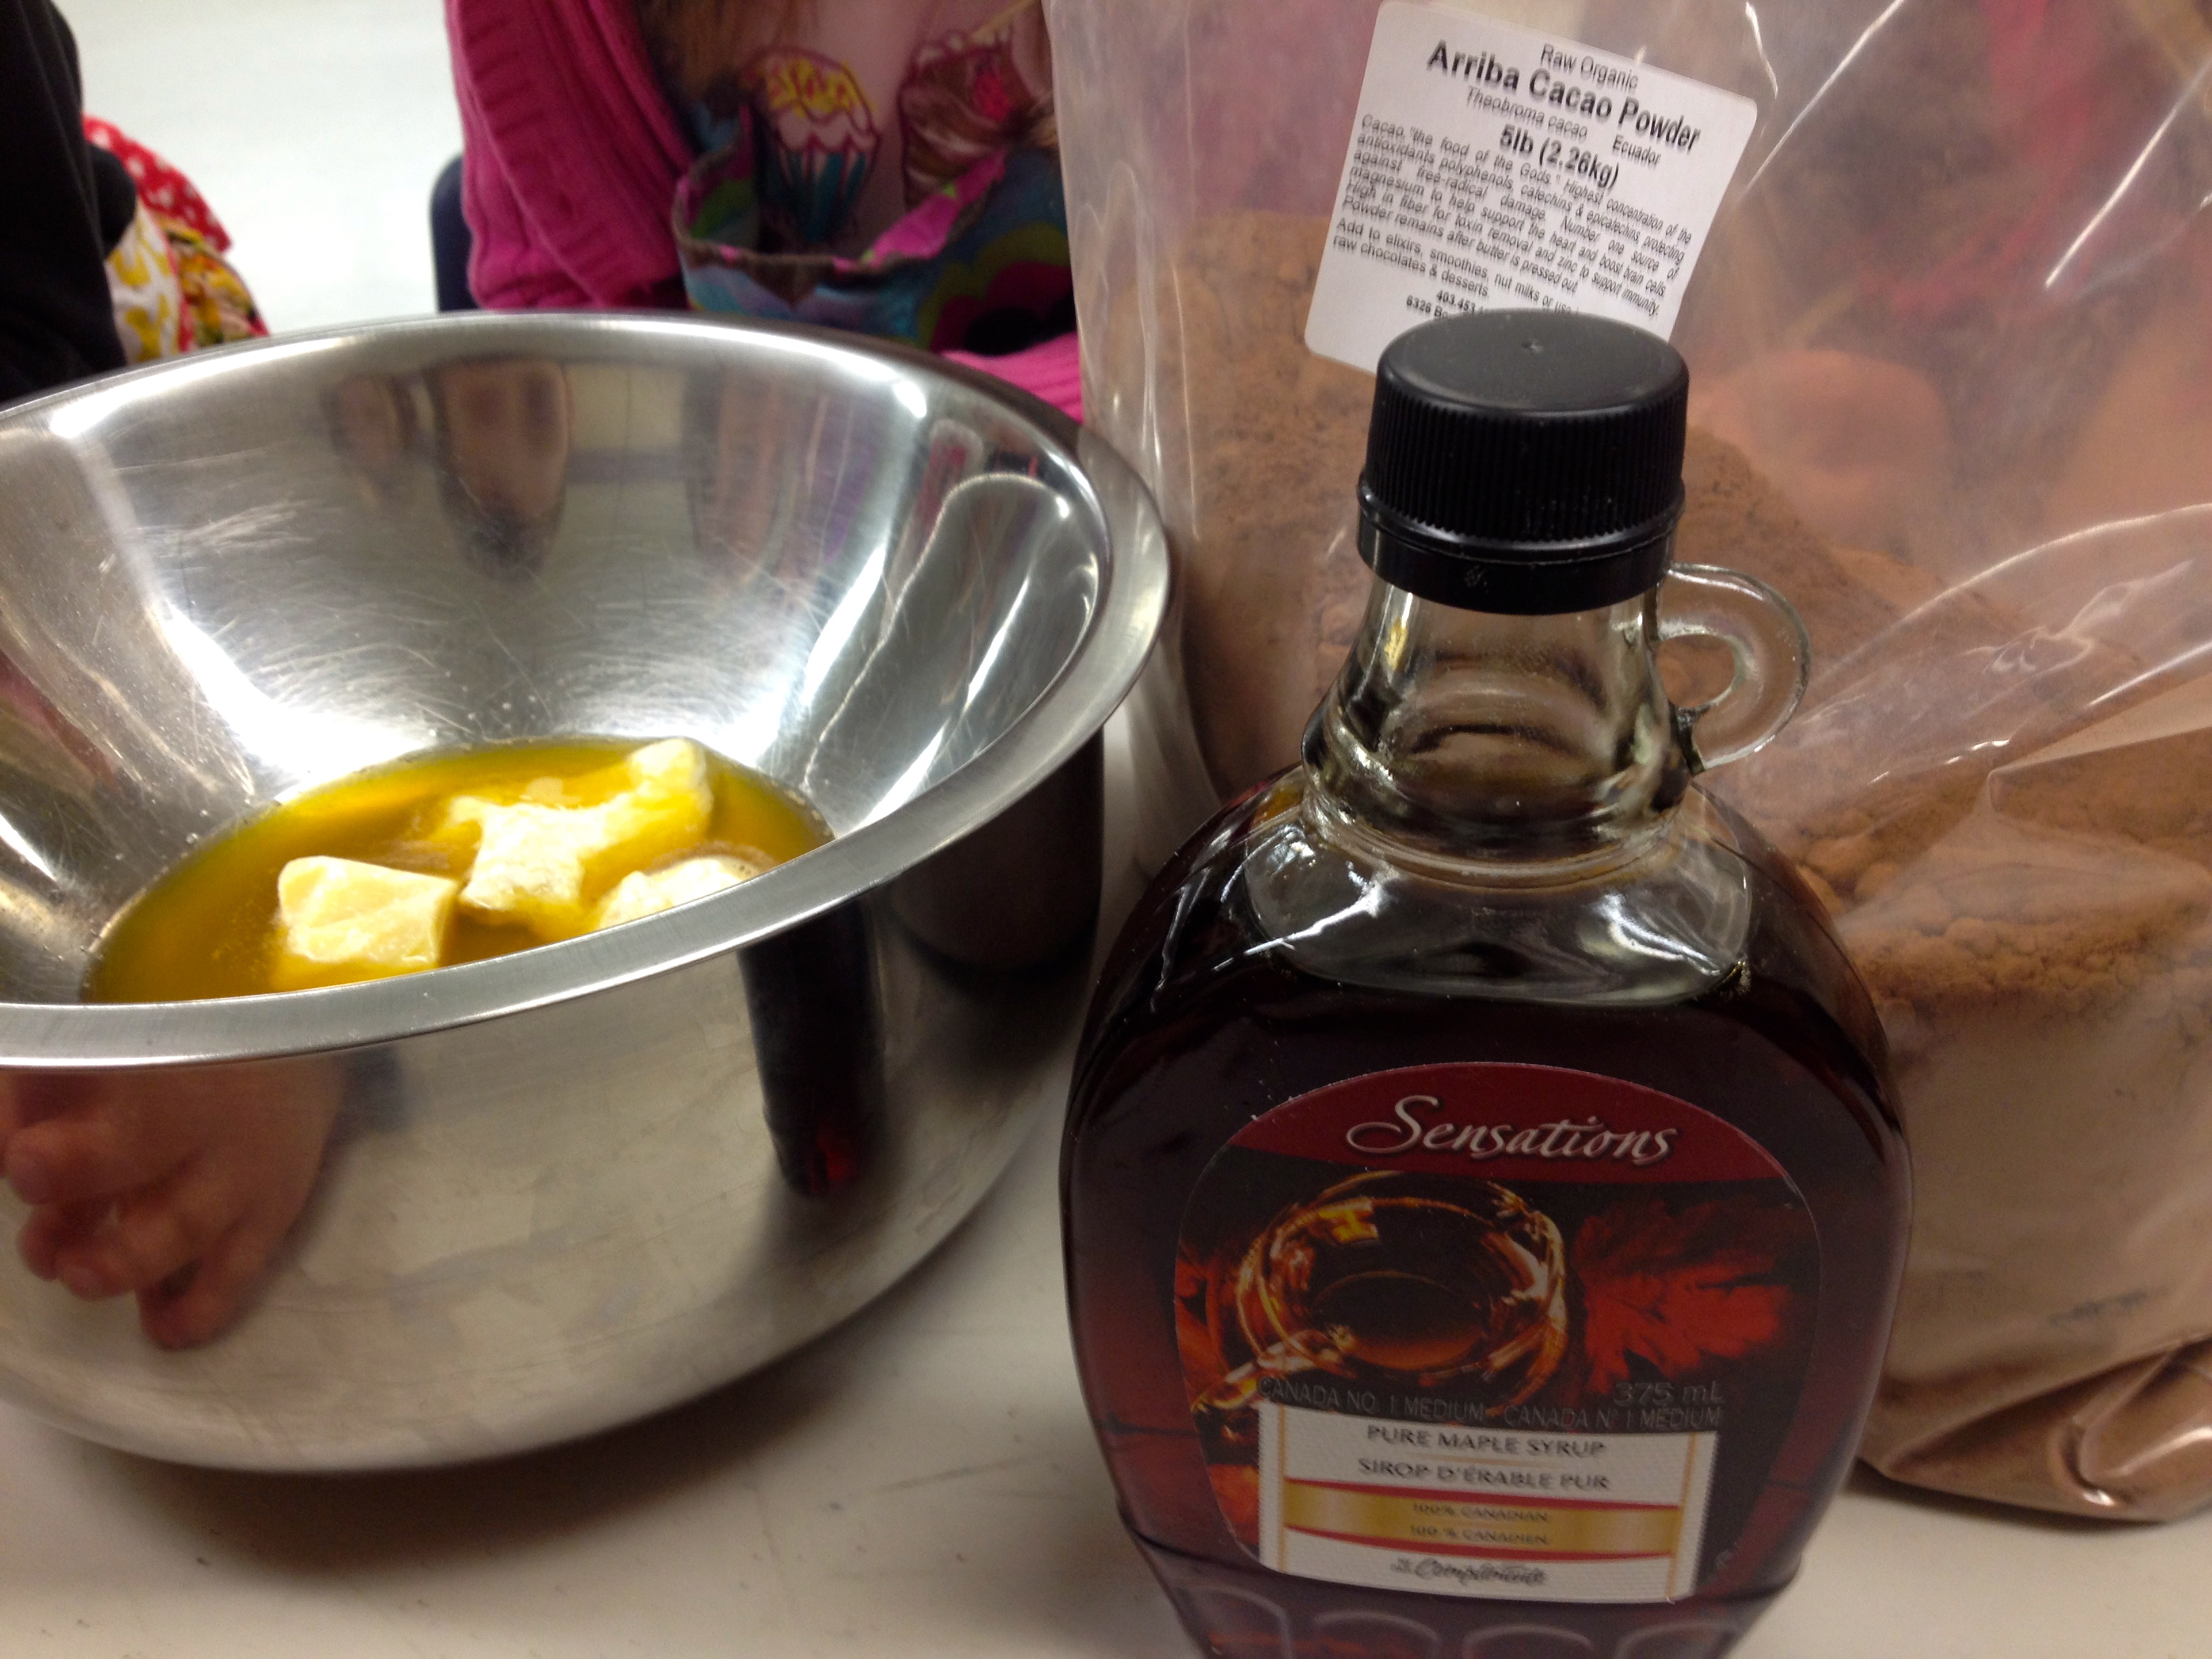
1/2 cup shortening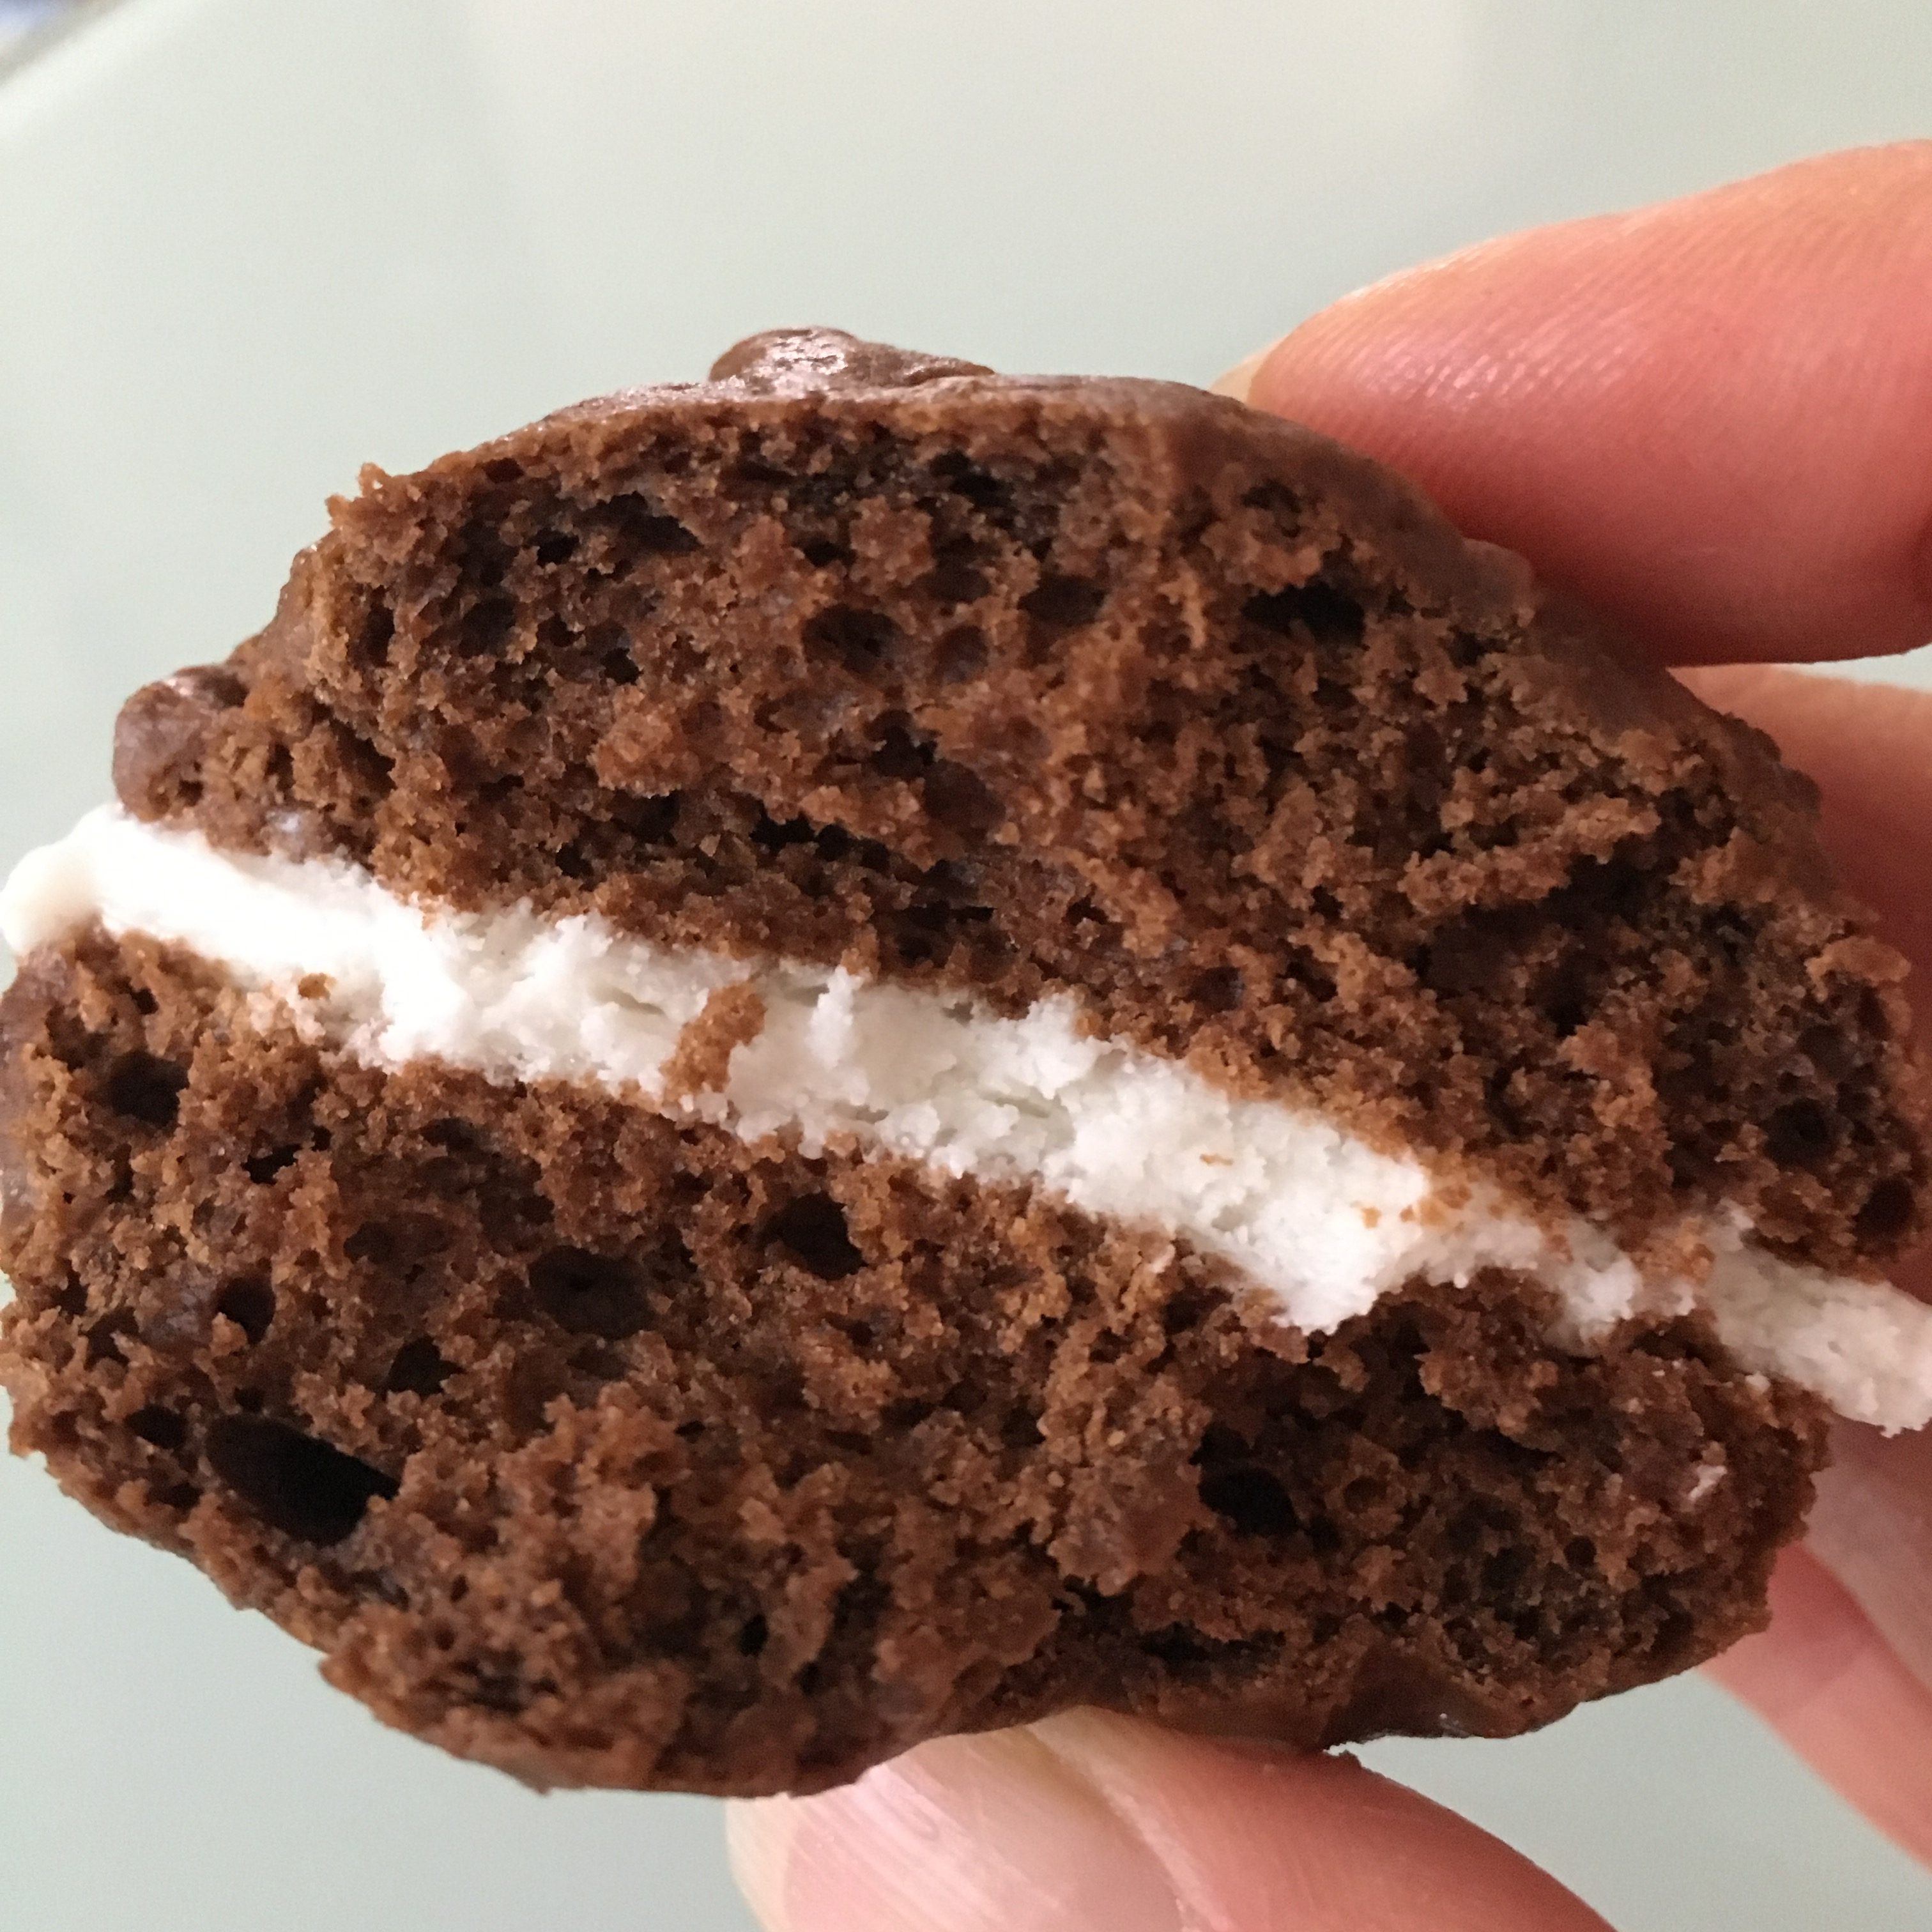
1 cup coconut sugar
2 egg yolks
2 cups flour
1/2 tsp. baking soda
1 tsp. baking powder
1/2 tsp. sea salt
5 tbsp. cacao powder
1 cup almond milk (or non dairy milk of choice)
1/2 tsp. vanilla
1/4 tsp. almond extract
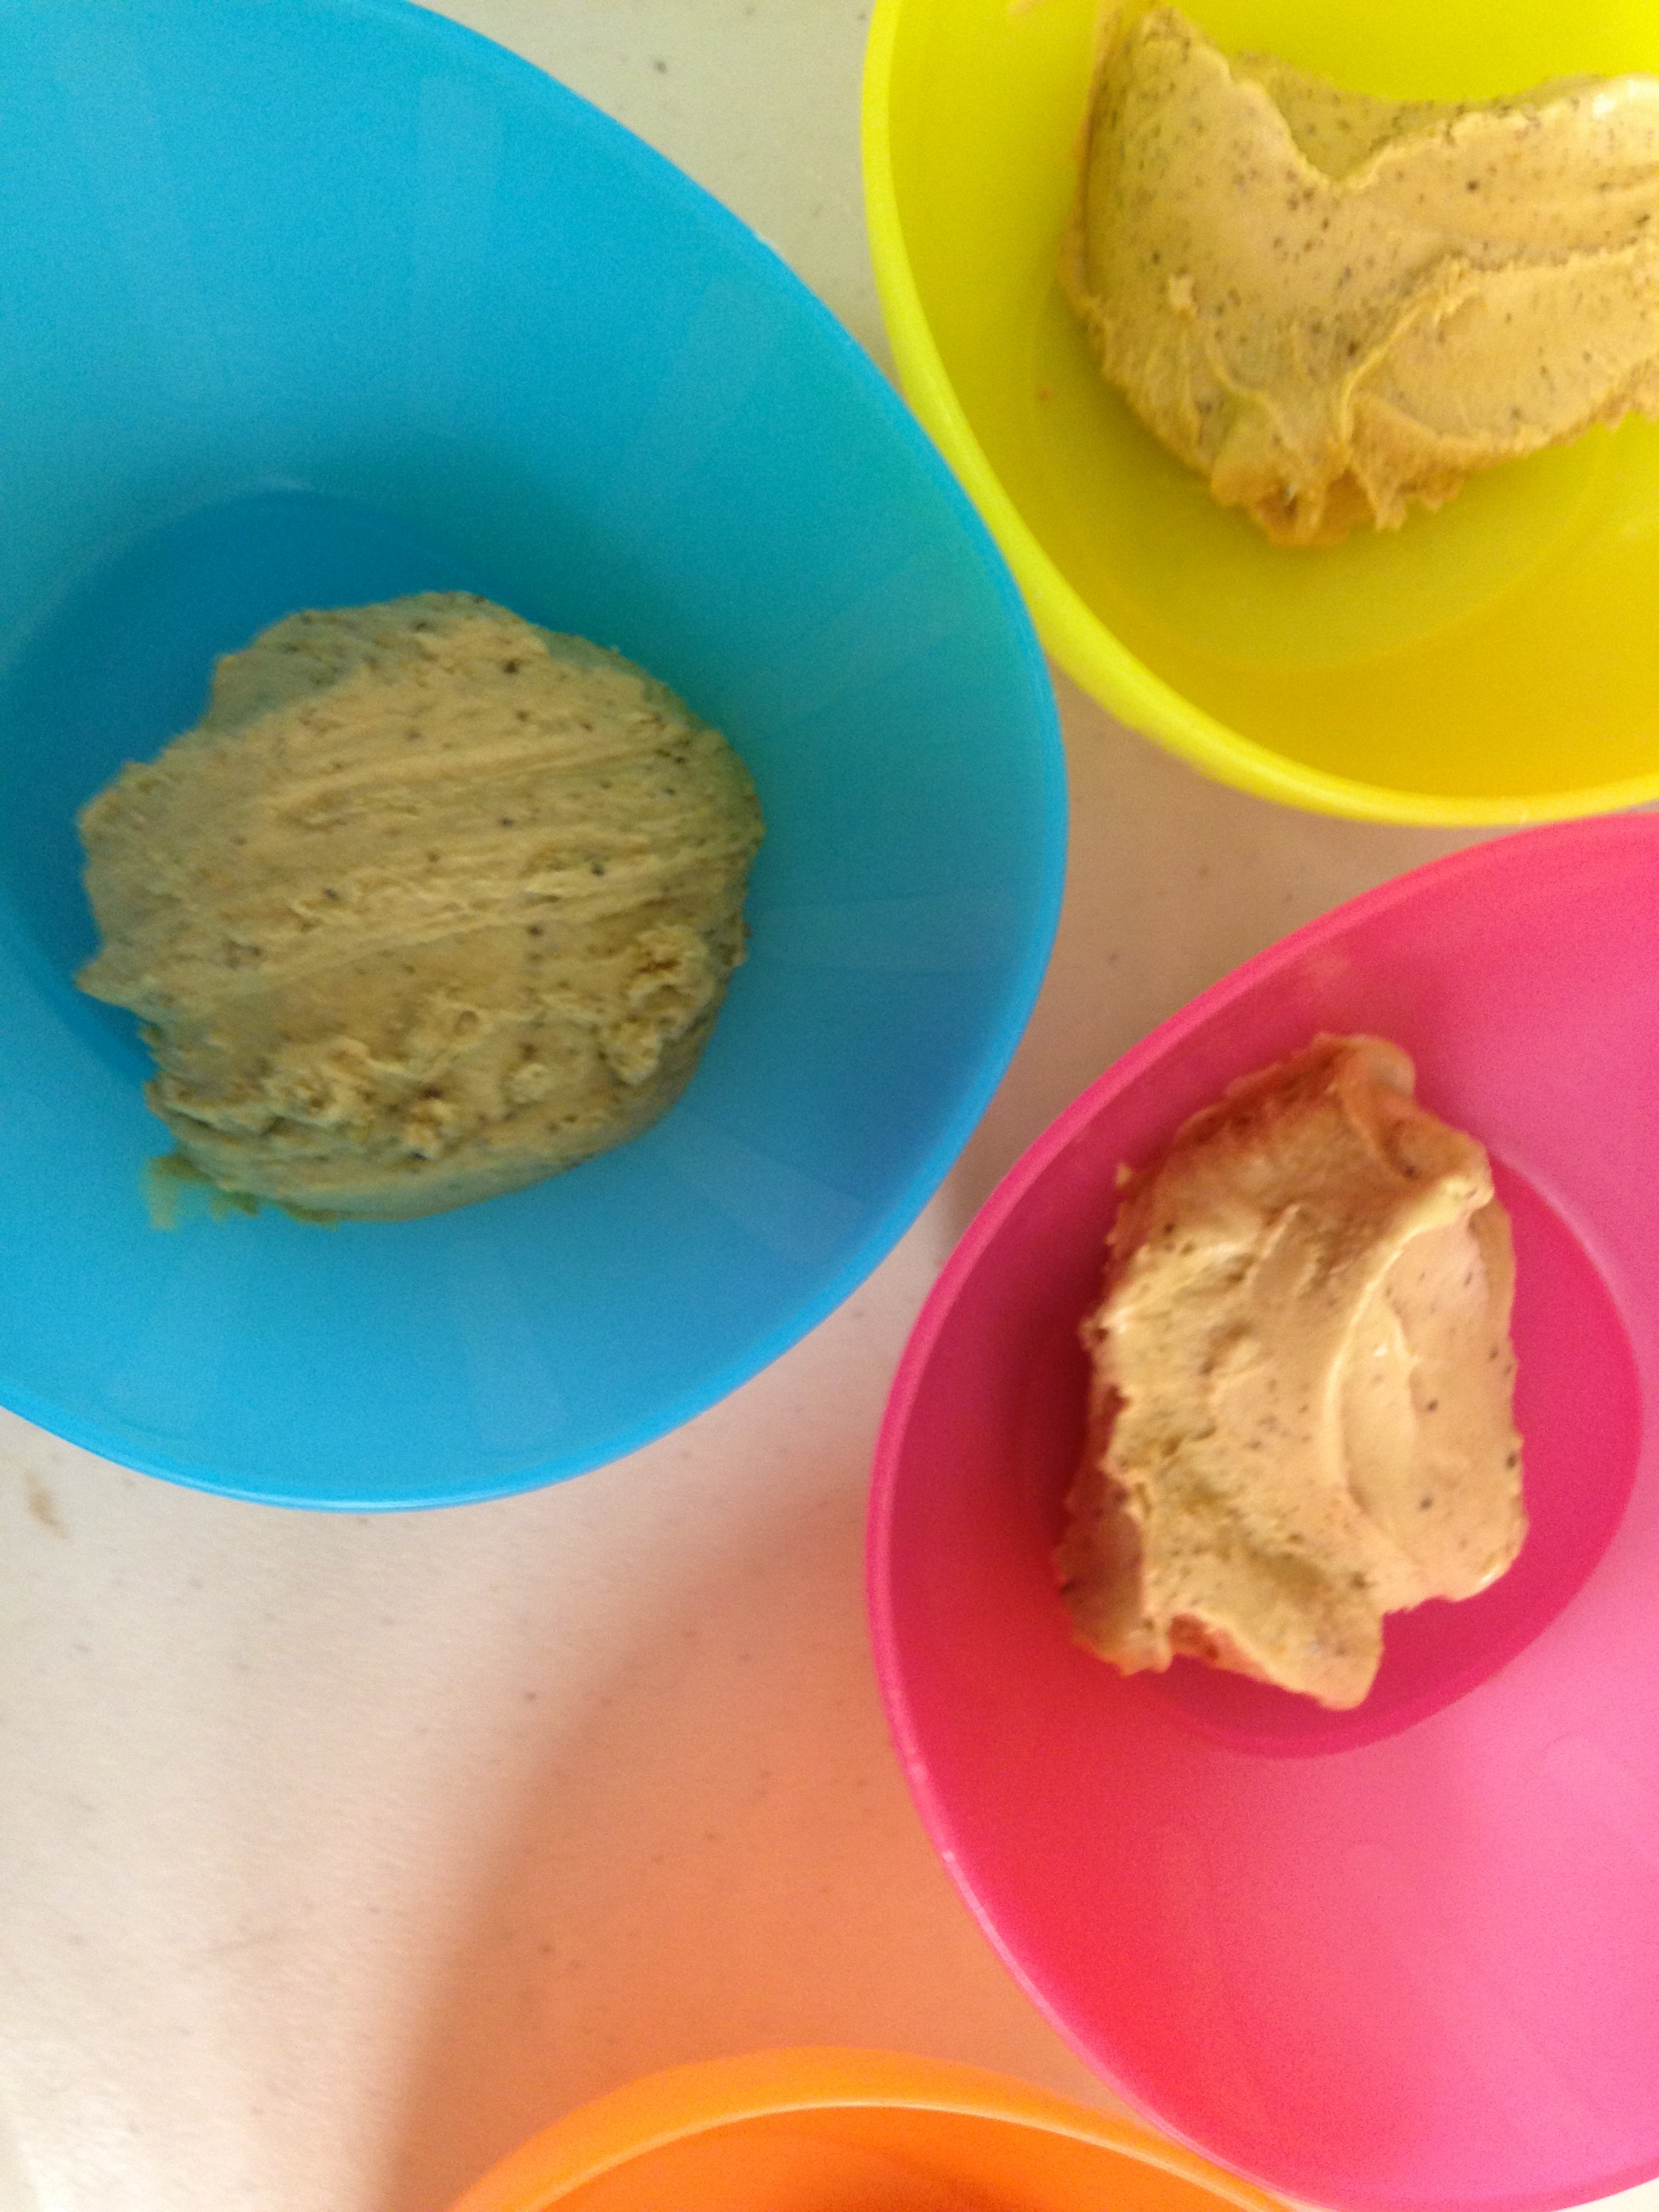
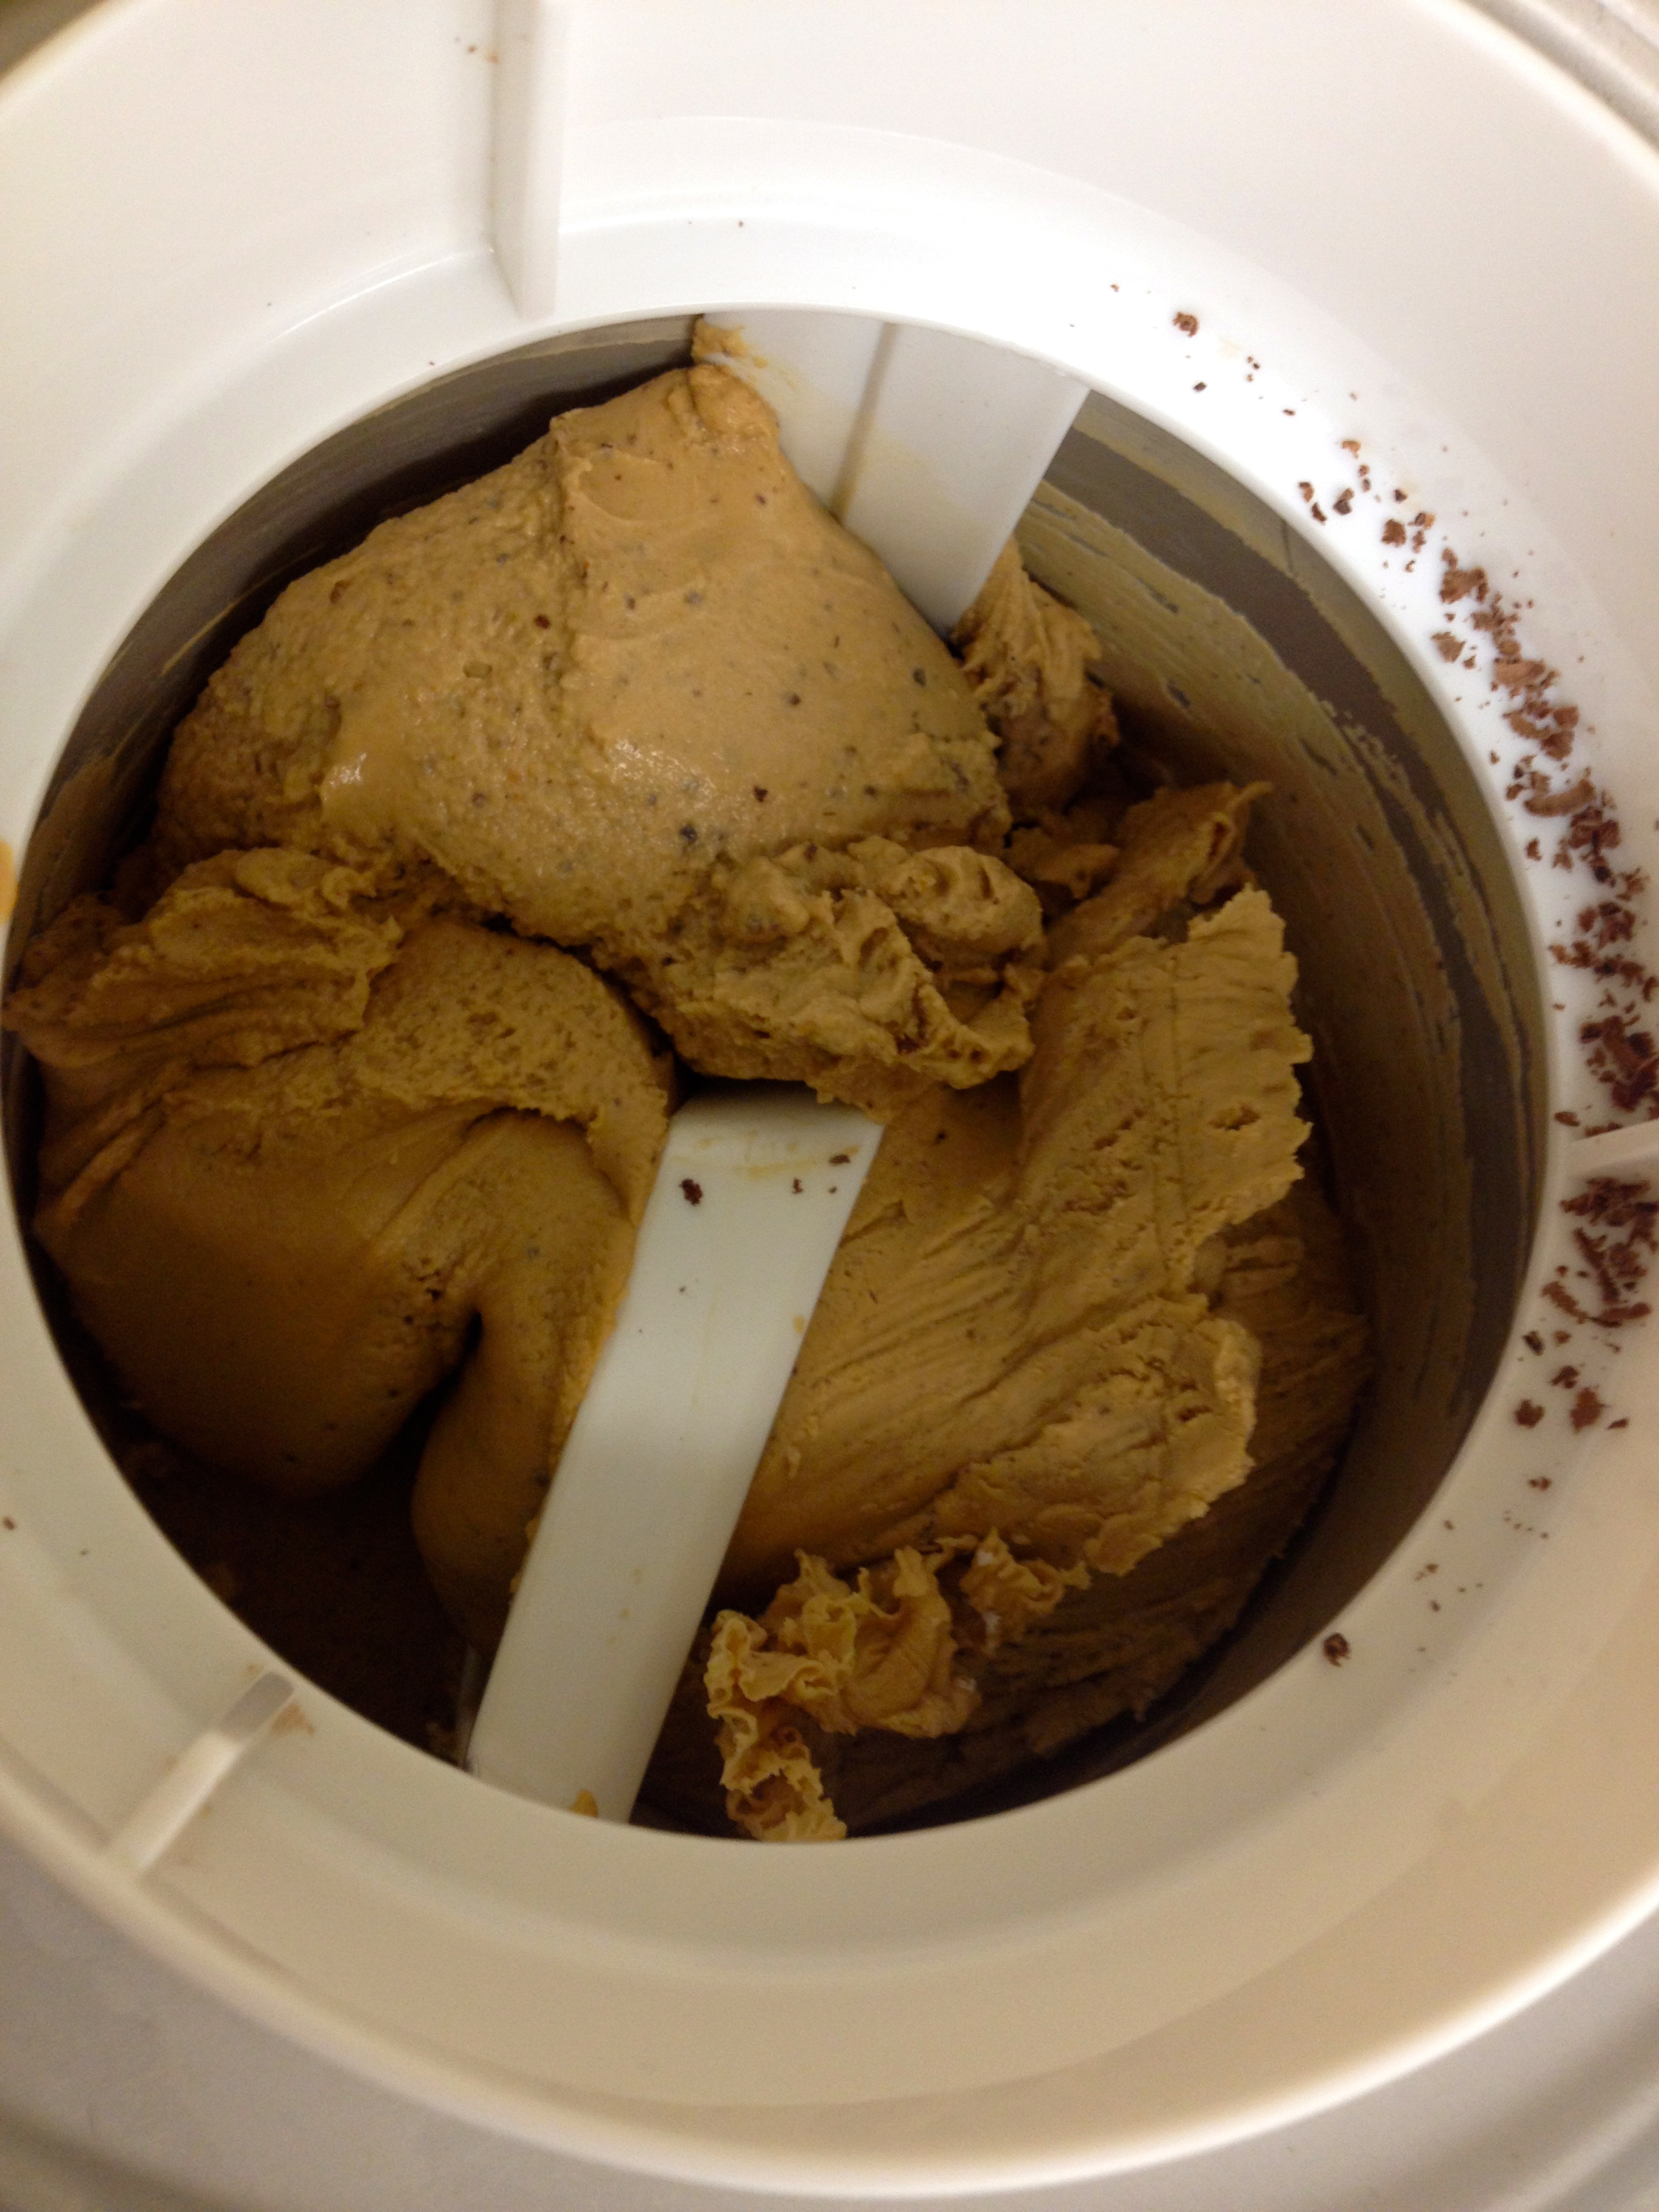
Cream shortening and coconut sugar. Add egg yolks and beat. Add cacao powder and salt, vanilla and almond extract. Stir in dry ingredients, alternately with milk. Let dough sit for 10-15 minutes.
Drop by teaspoon onto a cookie sheet. Bake at 350F for 10-12 minutes.
When done remove from cookie sheet and place on cooling rack to cool completely.
Filling:
2 egg whites
1/2 cup shortening
2 cups sugar free icing sugar*
1-2 tsp. of honey
1 tsp. vanilla
dash of salt
1 drop Peppermint essential oil (optional)**
Put all ingredients, except honey, into a bowl and mix together. Beat well and taste for sweetness. Add 1-2 teaspoons of honey to taste. Beat until light and fluffy.
**A mint filling would be delicious with these. If you’d like a mint filling, then add 1 drop of Peppermint essential oil. Measure 1 drop onto a spoon and stir into filling. Measuring onto a spoon helps prevent putting too much in! If you get two drops on your spoon instead of one then you can just wash your spoon and start again. If you measure it straight into the bowl and get too many drops then you’ll have too much mint and have to make your filling over again.
Put cookies together by taking 2 completely cooled cookies, add desired amount of filling on one side (and you can put a lot), then place the second cookie on top like a sandwich. Repeat this until you have all the cookies put together. Place in an air tight container and store in the fridge.
Note: The recipe makes a lot of filling so feel free to be generous with the amount of filling that you use for each cookie.
My kids loved these so much they are now requesting that their birthday cake simply be a giant Whoopie Pie! I’ve never done it in a big cake before but I think it can be done. I’ll keep you posted…
PS – these also make awesome treats for Valentine’s Day! Satisfy that chocolate fest and treat those you love with these delectable treats. Maybe you could even make them heart shaped? Hmmm… I bet it could be done 🙂

*Sugar Free Powdered Sugar (replacement for regular icing sugar)
1 cup nonfat powdered milk (for dairy free use powdered coconut milk)
1 cup cornstarch
2/3 cup Krisda Stevia for baking
Combine all the ingredients in a food processor or blender and whip until blended and powdered. Store in an airtight container.
This replacement can be used in any recipe calling for icing sugar.