Easy Strawberry Banana Dairy Free Ice Cream Recipe

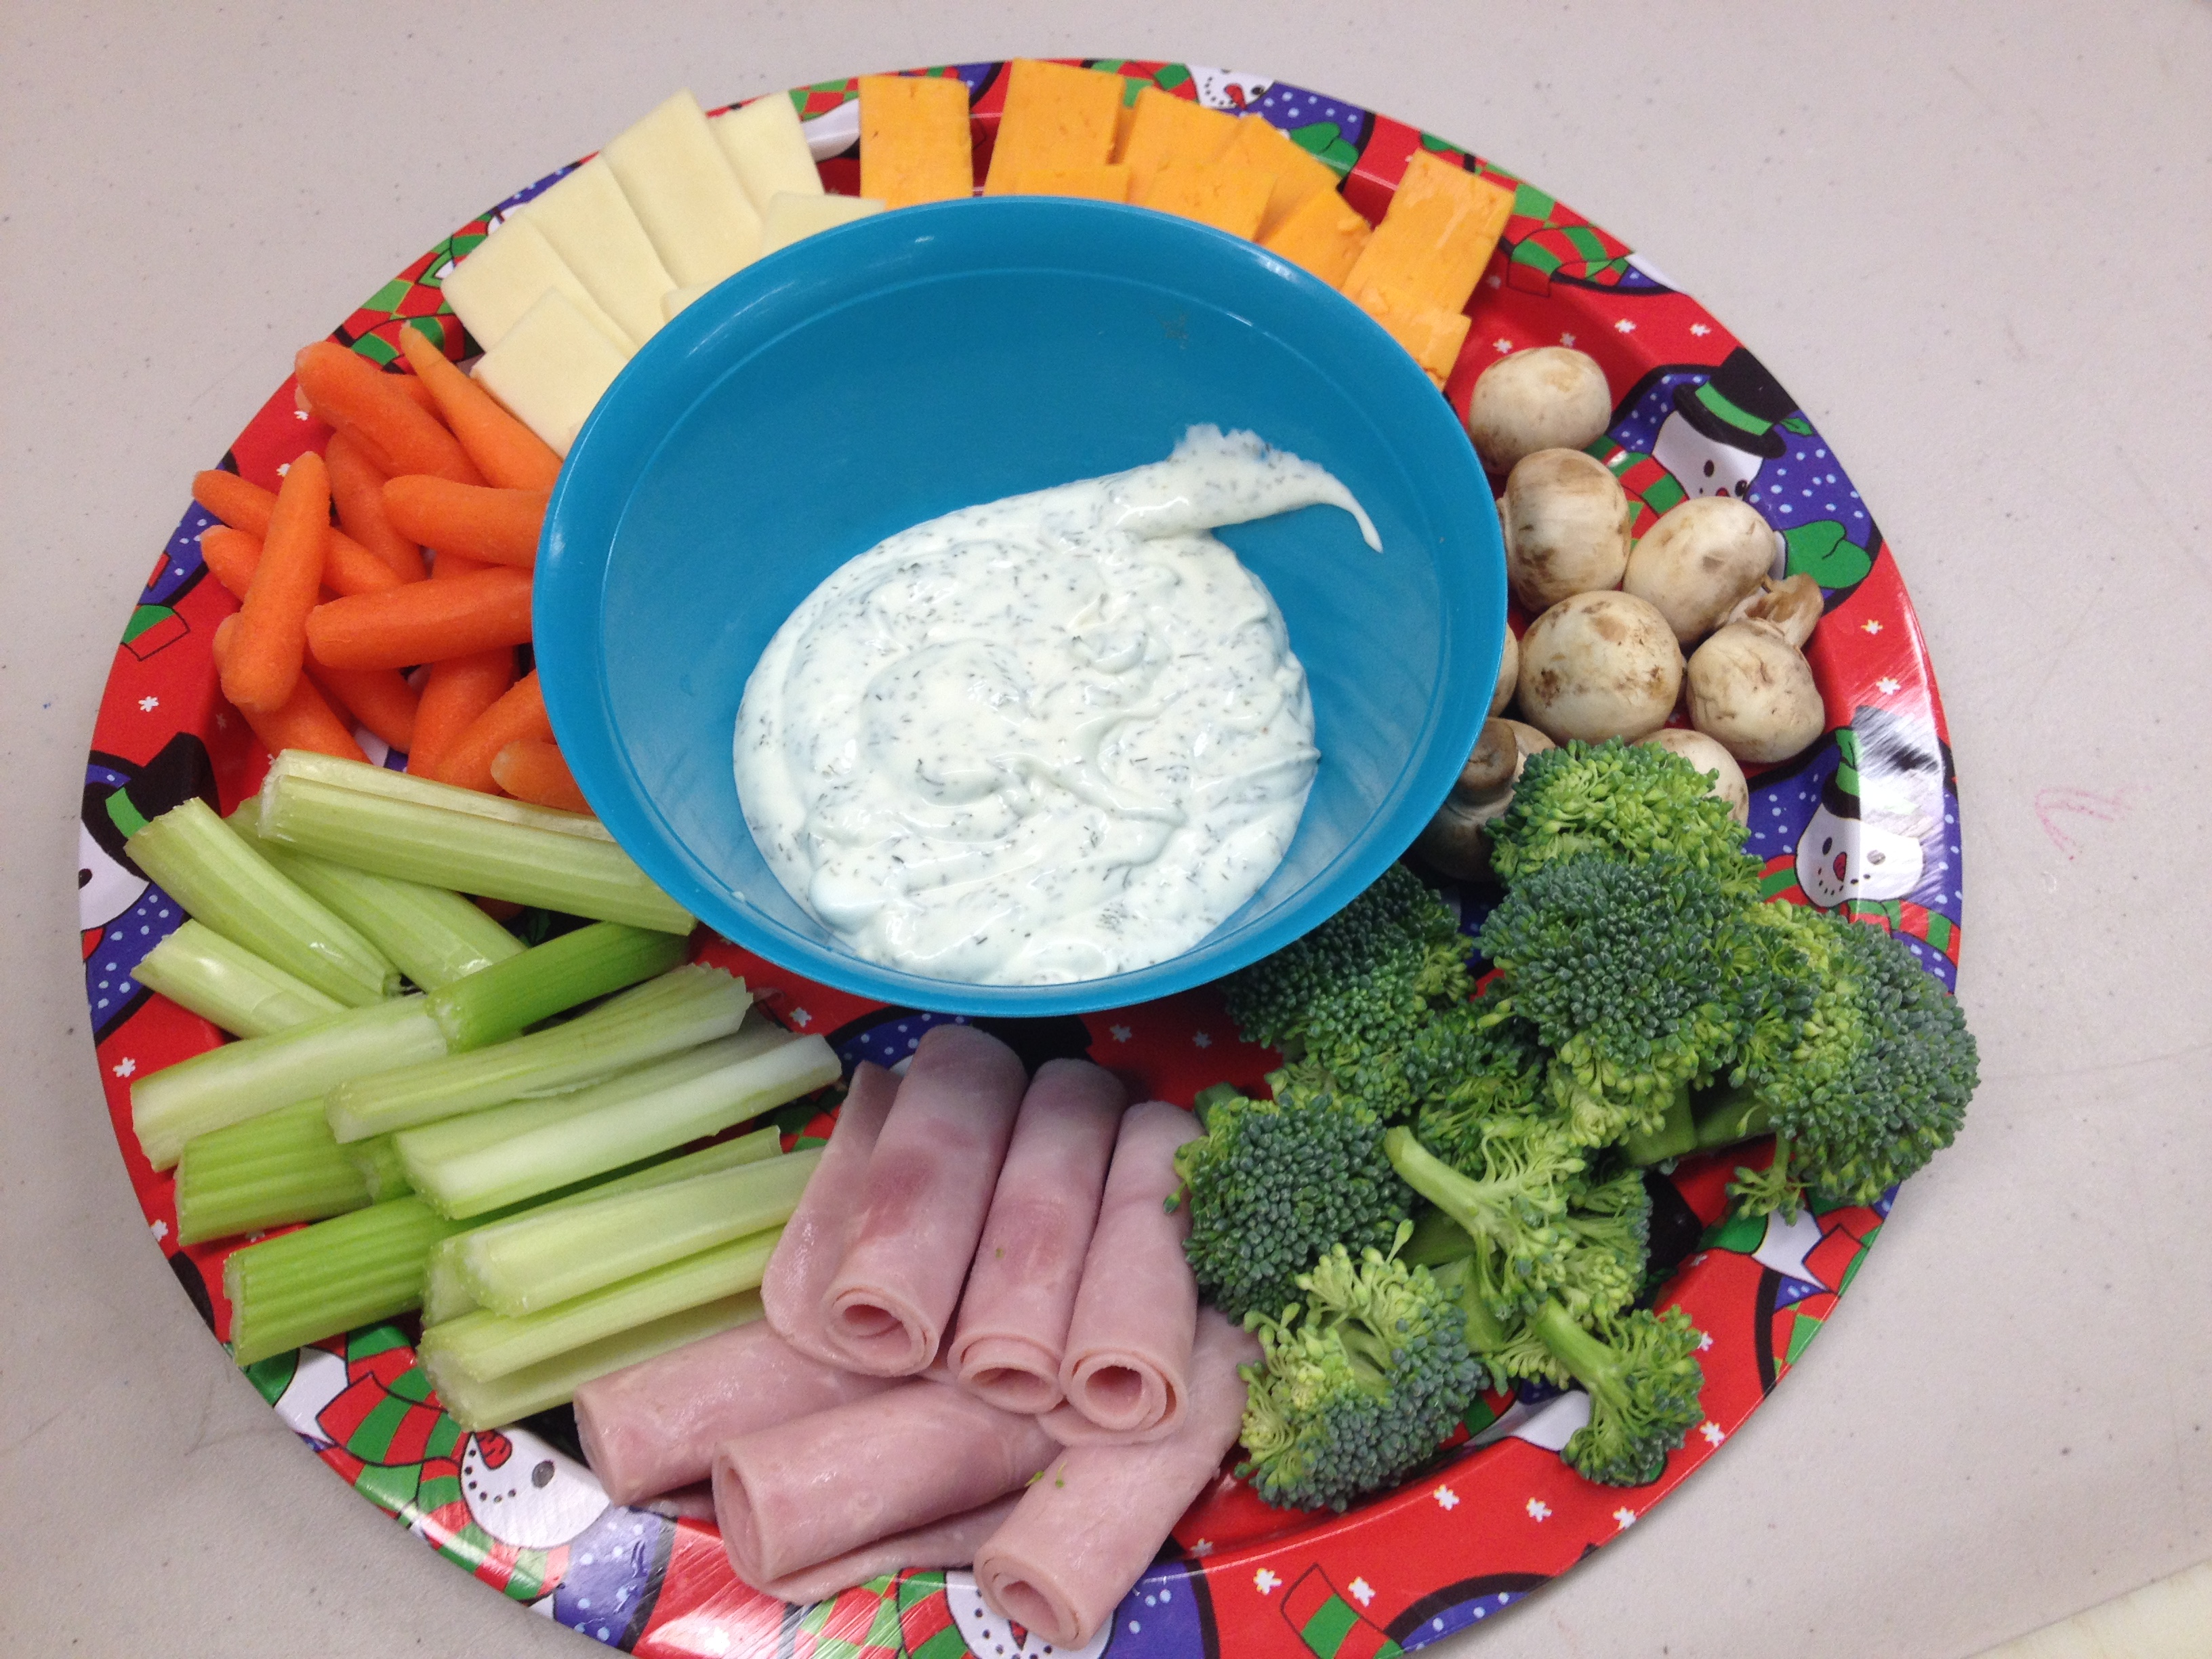
One of the things I definitely miss going dairy free is ice cream. A regular staple at my house when growing up; we often had it after supper, asking my parents hopefully if we could have some. Unless we were out, they usually said yes. Knowing that this was one thing I could not give up completely I set out to find some dairy free ice cream recipes.

dairy free ice cream recipeWhen I first started searching for dairy free ice cream recipes I thought that I would always have to make it in an ice cream maker using some kind of dairy free milk and natural sweetener. But what I have discovered is it can be even simpler than that. In fact it is so easy to make a great creamy, dairy free sugar free ice cream that as soon as you’re done reading this post, you’ll probably hop up and make some. Five minutes, maybe less, honestly you’ll be done.

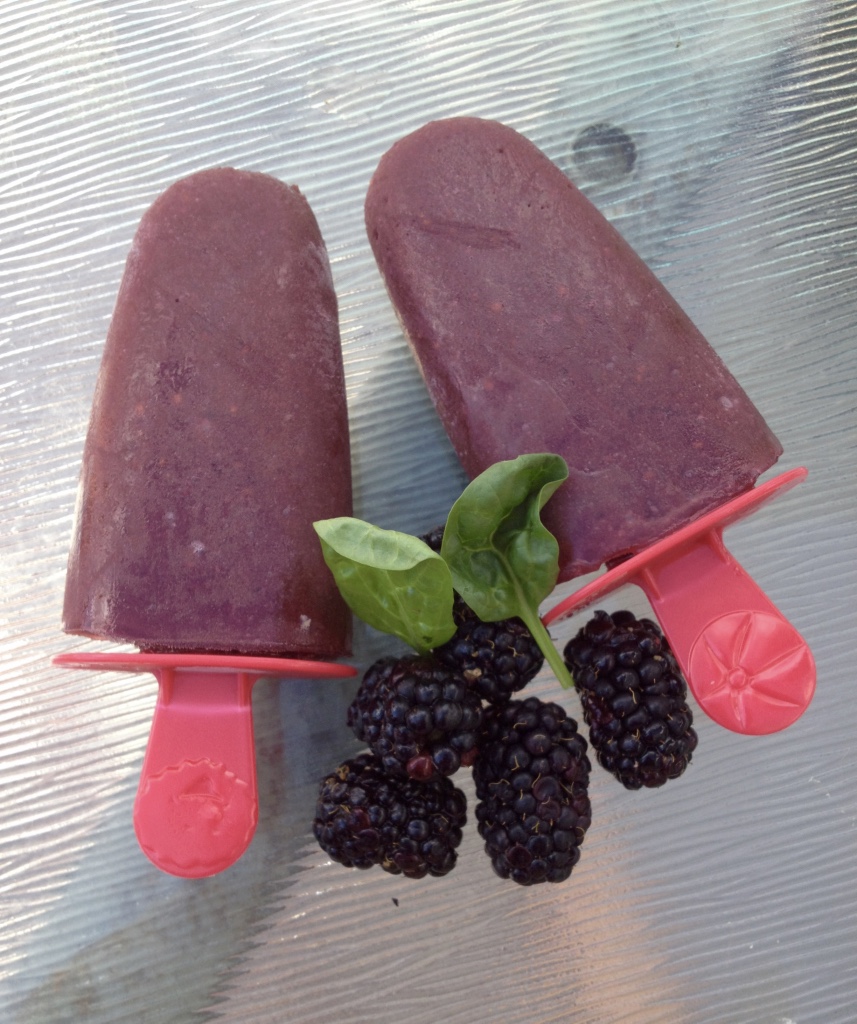
Not to say that using an ice cream maker and an alternative dairy free milk is not a good option. In fact, I have some super yummy ice cream recipes made with coconut milk, like the peanut butter ice cream, that is so creamy and delicious it is worth the few extra minutes to make it. But sometimes you just want a quick treat. Not too much work and not too much thought being put into it. This is why I like this recipe for a dairy free strawberry banana ice cream. Super simple, super tasty and the only thought you have to put into it is do I have frozen bananas?

Dairy Free Strawberry Banana Ice Cream

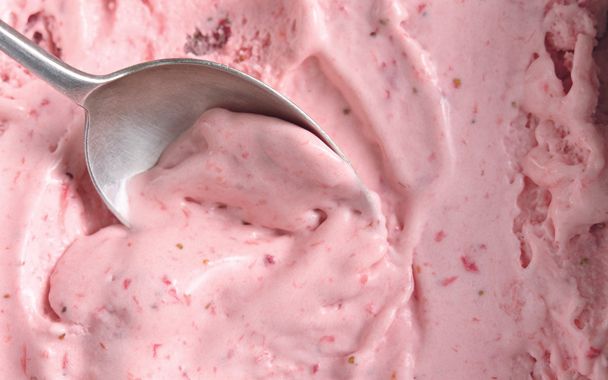
This easy dairy free ice cream recipe gives you a nice soft serve ice cream in less than five minutes

dairy free ice cream recipe1 frozen banana (*peel banana before putting into freezer)

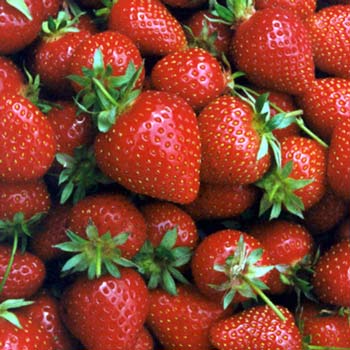
1 c. frozen strawberries

Put frozen banana and frozen strawberries into Vitamix blender. (If you do not have a Vitamix, a high powered blender of some kind is recommended due to the fruit being frozen and to prevent burning out your blender. If you have a standard blender, just proceed slower or blend fruit in smaller amounts to prevent burnout). Turn Vitamix on starting at low speed and slowly turn up to high. You may need to use tamper to push frozen fruit down to thoroughly mix. Once you have a soft serve consistency ice cream is ready to serve. Scoop into bowls and enjoy!

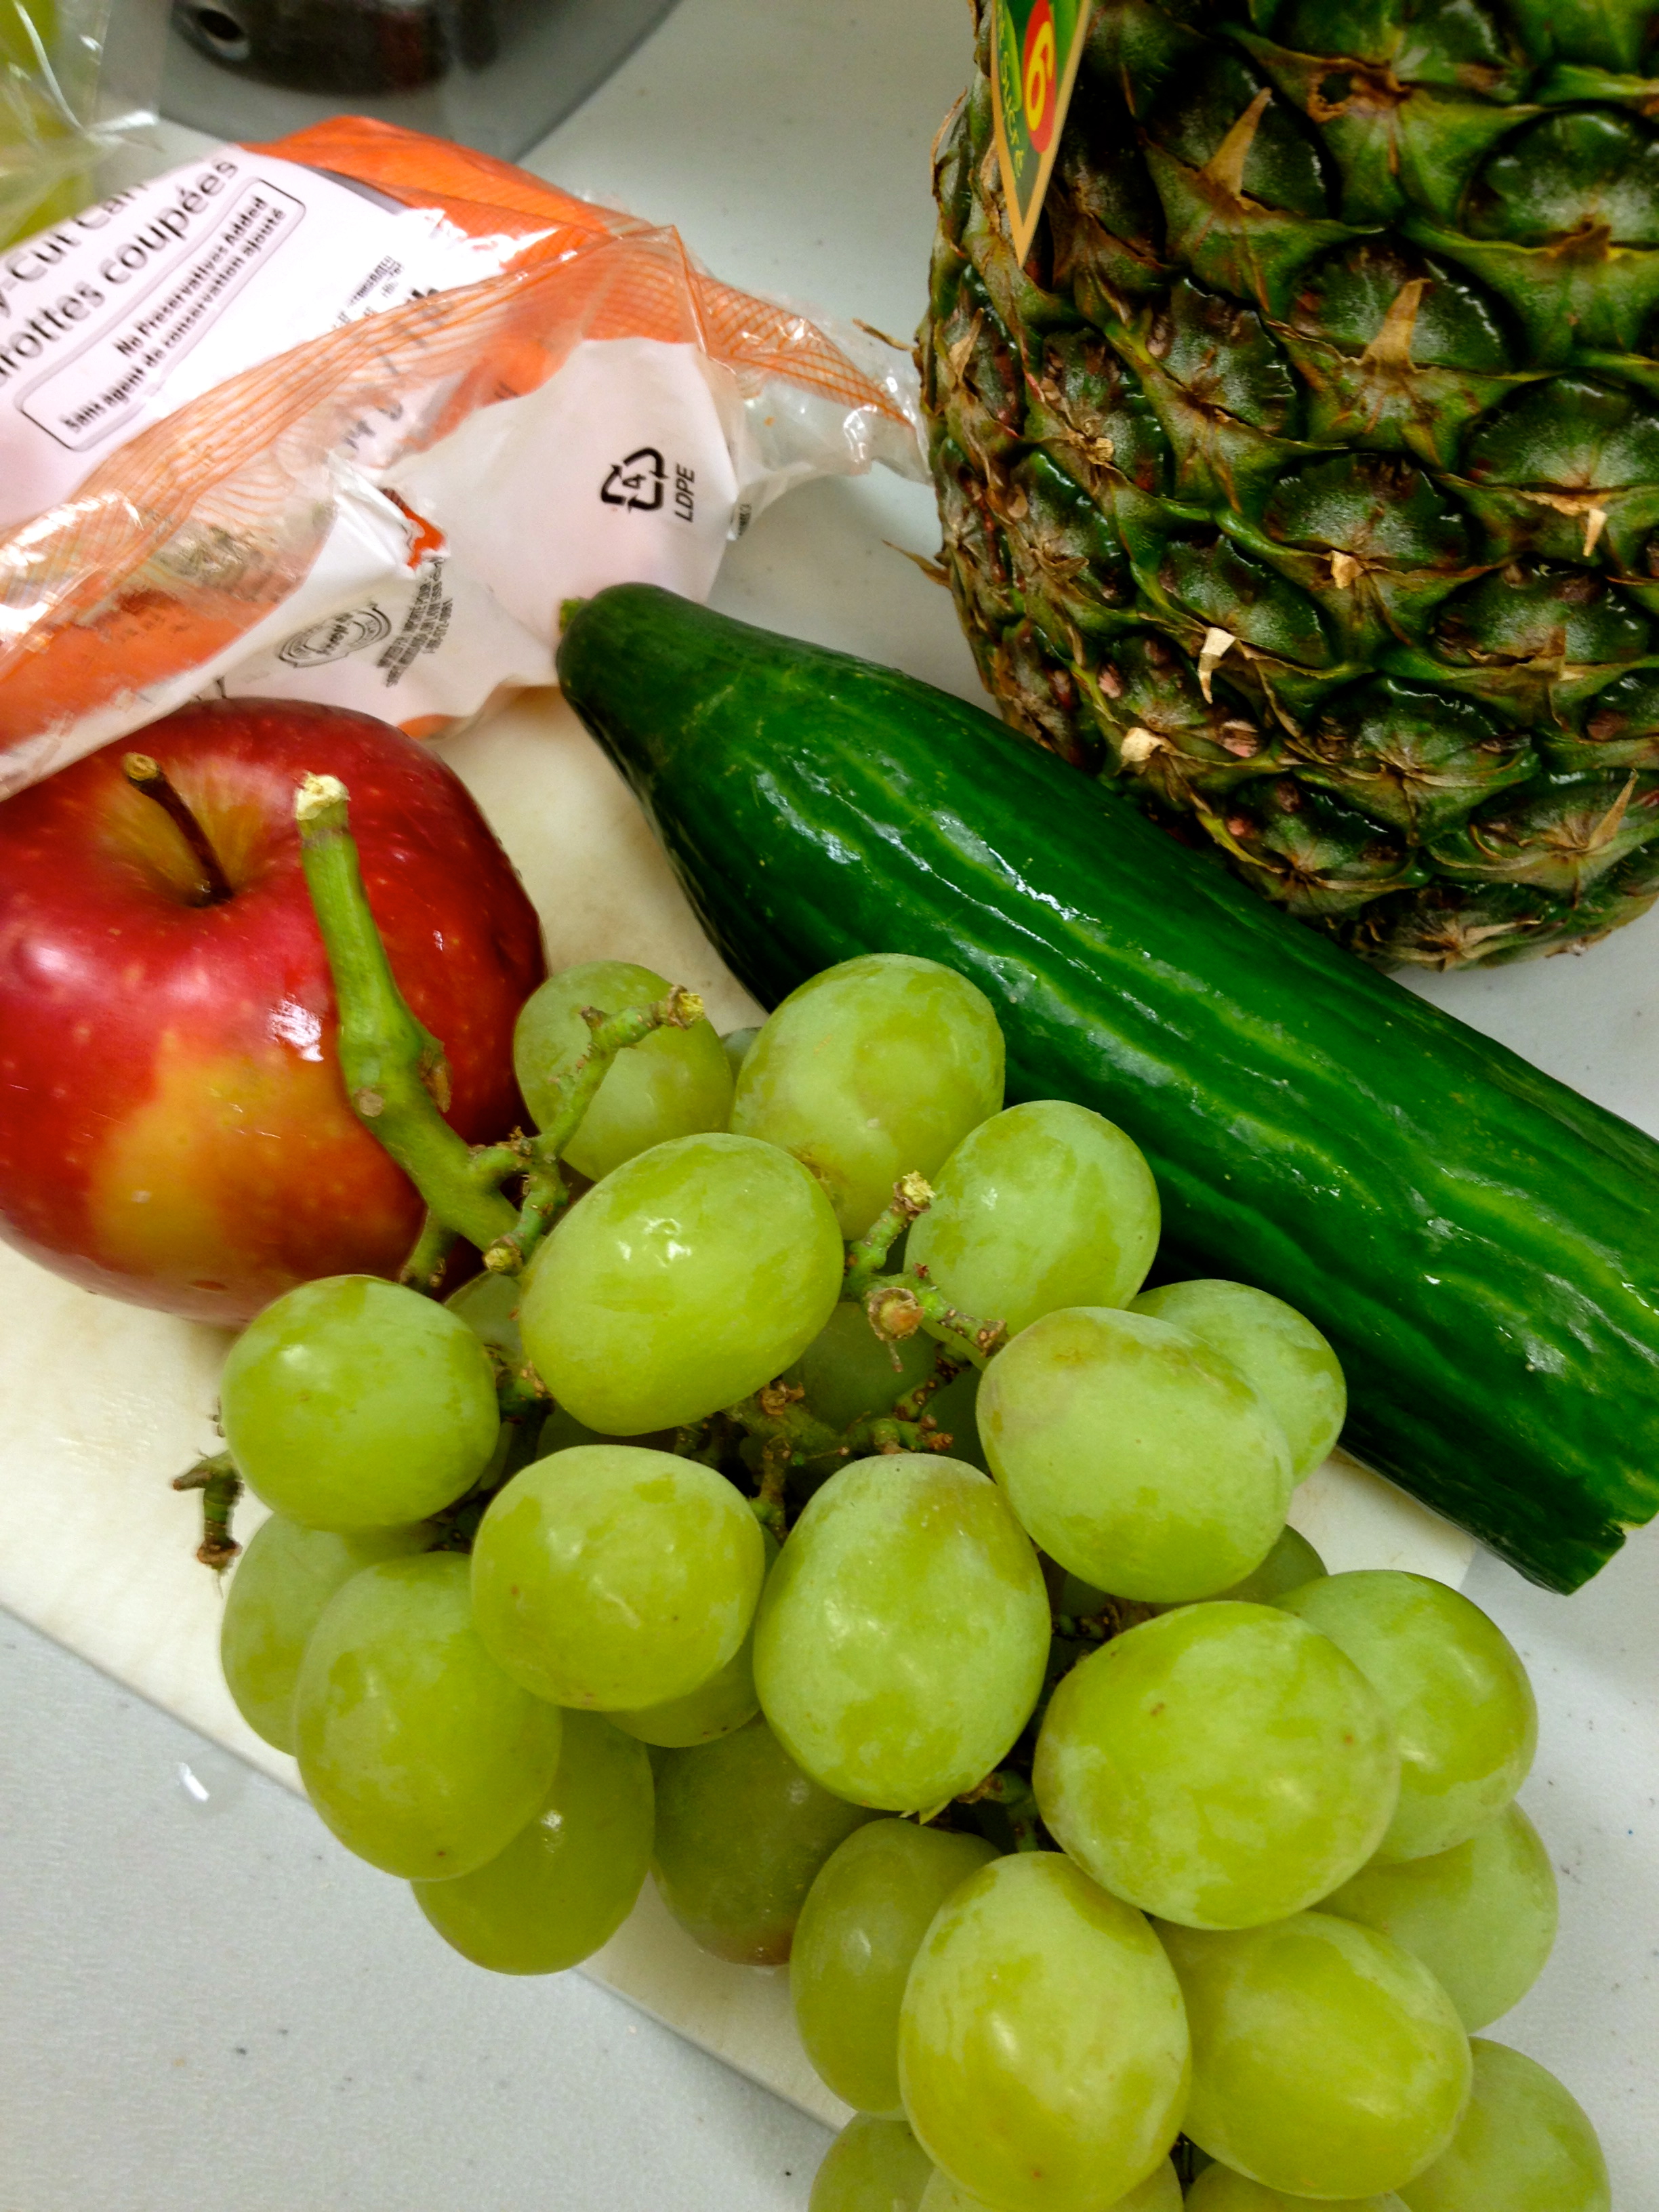
This dairy free ice cream recipe can also be made with different kinds of fruit, substituting the strawberries for raspberries or mango, etc. We have found though that the banana is a key part of the recipe in order to get that nice ice cream consistency and should always be present.

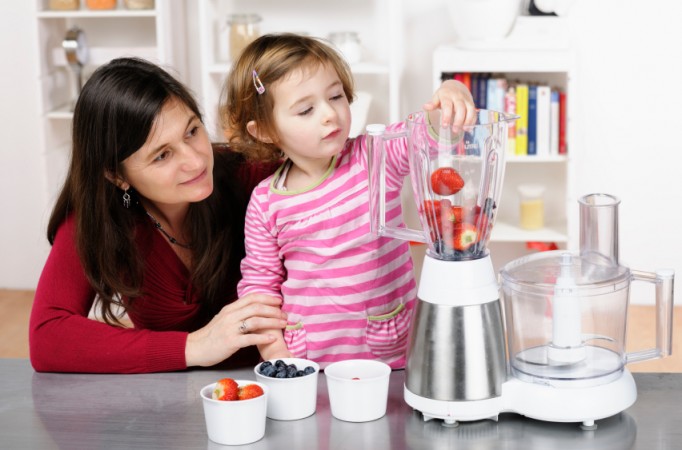
This is also a great recipe to make with kids as it is super easy for them to help with by putting the fruit into the blender or turning it on under the direction of an adult. It’s perfect for a hot summer day when you want a yummy cool treat and super quick to make. With just a little pre planning by having frozen fruit ready in the freezer you can literally whip it out in no time!

Kids Healthy Cooking – Healthy Dips for Kids

healthy dips for kidsDips are another great ‘tactic’ to use when encouraging kids to eat fruits and vegetables that they may not eat otherwise. The challenge is to find a healthy dip for kids, that they like and is not loaded with sugars and other ingredients you want to avoid. Unfortunately a lot of store bought dips have these extras that we don’t want.

The good thing is that healthy dips for kids are super easy to make at home and something that the kids can easily participate in making. A quick easy dip is simply a matter of putting the ingredients into a bowl and mixing – seriously less than five minutes!

healthy dips for kidsIt can be a challenge to find a healthy kids dip that the kids enjoy as their palates are so varied when their young and can change from day to day. There are many ingredients in dips like mayonnaise and sour cream that I did not like myself until I was closer to being an adult, but if your kids eat these already, you’re halfway there! And if they don’t eat them already introducing it mixed with other ingredients may just be the trick!

In our Mini Chefs class we made two healthy dips for kids, one for vegetables and one for fruit. Knowing that many of the children prefered sweet we made and tasted the veggie dip first (this sets things up for the most success with both dips, always introduce the sweetest last). The kids loved measuring, scooping and mixing all the ingredients, each asking for their turn, making sure not to be left out. We were literally finished in 5 minutes and trying it out. As usual, there were some kids that loved it and some that didn’t care for it, but they all tried it. I also provided a variety of vegetables for the kids too as serving a variety of vegetables, not only in texture and taste, but also in color makes it more appealing for them to try.

The fruit dip, which is a caramel dip that I discovered through Nina Manolson at Smokin’ Hot Mom, is a fantastic dairy free, sugar free, sweet dip that is fabulous with apples. Of course you can use it with other fruit (pineapple is excellent) but the combination of apple and caramel is so good. When this dip is around at our house I often eat an apple just to have some dip!

healthy dips for kidsUsing dates (which have many nutritional benefits) as your sweetener, as well as coconut oil and a few spices, this dip has many nutritional benefits that you will be happy with and the kids will have no idea. Plus it’s another easy one, just toss all the ingredients in the blender and mix until smooth. Yum!

Now don’t be deterred by the color of this dip, it is supposed to be caramel afterall. When it was ready the kids just dove in and even one of my pickiest eaters loved it! I had to laugh though when I took the leftovers after class to the staff in the office and no one would touch the caramel one because they weren’t sure what it was. That is one of the benefits of getting the kids involved in making it, they see what goes into it. Now I understand that this could go the opposite way and because they see what goes in it, they won’t even try it, but my experience has been that the majority of time the kids are more willing to try it because they saw what went into it, and they helped make it.

Caramel Dip – great with apples or fruit of choice

1 c. dates healthy dips for kids

¼-1/2 c. almond milk (or other non dairy milk of your choice) – start with less milk and add to get the blender moving smoothly and the consistency you want

1 tsp. coconut oil

1 tsp. vanilla

dash of cardamom or 1 drop of Cardamom essential oil

dash of sea salt

Put all ingredients into Vitamix or powerful blender and mix until creamy. Dip apple slices into caramel and enjoy.

Dill Dip – great with veggies and/ or tortilla chips

1/3 c. veganaise (or mayonaise)

1/4 c.  vegan sour creamhealthy dips for kids

1 tsp. parsley flakes

1/8 tsp. onion powder

1/16 tsp. celery salt

1/16 tsp. salt

1/2 tsp. dill weed

Mix all ingredients in a small bowl. Serve immediately or chill until ready to use.

Recipe can easily be doubled. Makes about 1/2 c. dip

Coming next in Kids Healthy Cooking, Energy Bites! Sticky, easy, messy and lick your fingers good!

Chocolate Dream Pie

chocolate raw dessert

Each year on Valentine’s Day I make some kind of dessert or special treat for me and the kids. It adds a little something extra to the day and something to look forward to. Usually something chocolate, I like to experiment with new recipes and new ways of doing things. Last year I made chocolate covered strawberries, dipping them in my own homemade chocolate, the year before chocolate cupcakes.

This year I made one of our new favorites Chocolate Dream Pie. This no bake, sugar free, dairy free, gluten free dessert is to die for! Made all in the blender it is delicious (and guilt free). There are a few unique ingredients, which might turn you off at first, but trust me you will not be disappointed.

Irish Moss

For instance, irish moss, which is a kind of seaweed gathered on the coast of Prince Edward Island, helps congeal and set your pie. Only a pinch is needed and depending on where you live, may be hard to find. But once you know what you are looking for you can track it down, even if you order it online. I was able to find it here locally in Calgary at the Light Cellar.

My kids love it, of course. Matthew’s eyes get big and he starts to salivate. Luke and Chloe who had their first piece, and when done, promptly asked for a second piece. I also shared it with my girlfriend today who not only asked me for the recipe, but regretted sharing it with her son (who also loved it) because she wanted more for herself 🙂

Quick and easy to make, this recipe won’t disappoint.

Chocolate Dream Pie

Crust

1 c. hazelnut mash (from making nut milk)

1 c. walnuts

3-4 tbsp. agave nectar (I like to use Ojio as it is a higher quality agave)

1/4 tsp. vanilla

Filling

3/4 oz. irish moss (soak a small pinch of irish moss in water overnight, rinse well and use in recipe)

1 1/2 c. hazelnut milk

1/4 c. agave nectar

1/4 pitted dates

1/3 c. cacao powder

1/2 tsp. vanilla powder

pinch sea salt

1 rounded tsp. non-GMO lecithin

3/4 c. coconut oil

For crust: Make the *nut milk and use the leftover mash for making the crust. Put all the ingredients into the Vitamix in order listed. Select variable 8. Quickly turn machine on and off, scraping the sides of the container with a spatula between pulses, until a damp meal is formed.

Grease a 9 inch pie plate lightly with coconut oil. Press the crust into the pie plate.

For filling: Place all ingredients in Vitamix in order listed. Select varaible 1. Turn Vitamix on slowly and increase speed to 10, then to high. Blend 30-40 seconds or until desired consistency is reached.

Pour into prepared crust. Place in fridge until set (about 1 hour).

*Hazelnut milk

Place 1 cup of hazelnuts, soaked overnight and drained, with 3 cups of water in Vitamix. Selecting variable 1, turn machine on slowly increasing speed to 10 and then to high. Blend for 30 seconds.

Over top of a medium size bowl, pour contents form Vitamix into nut bag. Strain through nut bag. Use milk and mash for recipe. Store leftover milk in fridge.


Yummy Raw Chocolate Pudding

Chloe enjoying her chocolate pudding

As a parent who endeavors to provide good healthy snacks for my kids, as I know many of us do, I was thinking the other day about what to provide for snacks other than fruit. Not that there is anything wrong with fruit, but I like variety, and so do my kids. As I think all human beings do, if we have oranges everyday for snack we may start out loving them but eventually be wishing for an apple, or some popcorn.

I read an article once that described things that appeal to kids most in their meals. They were foods that are sweet, salty, or crunchy and that if you appeal to one or more of these when planning meals and snacks you will always have success with them eating whatever you are serving.

So there are some days we make popcorn, others we have fruit, but the other day I realized that I have a great healthy chocolate pudding recipe, made from avocado and bananas. What a great snack option, sweet, chocolate and delicious! So I have added this to our snack list for afterschool. The kids love it, it is a great treat and it satisfies the sweet without the added sugar, cause there is no sugar (or dairy) in it!

And the great thing is because it has avocado in it, it curbs our body’s craving for any further sweets. My mother’s naturopath said that when our bodies crave sweets to have an avocado – and the reason is our body actually wants fat not sugar, and avocados are high in (monounsaturated) fat, so when we eat one we satisfy and give what our body needs.

I also find this pudding to be quite filling, a small portion is enough to enjoy and fill your tummy (which is good because it means there are leftovers for later!) The pudding once made will keep in the fridge for 3-5 days – if it lasts that long.

It is very easy to make, put all the ingredients in the blender and within minutes you have smooth, fluffy and delicious chocolate pudding.

Raw Chocolate Pudding

2 ripe bananas, peeled and sliced

1 avocado, pitted and peeled

2 tbsp. raw cacao powder (please note this is different than cocao powder – they are not the same things)

1 tsp. agave nectar

Put all ingredients in Vitamix blender in the order listed. Start on low, slowly turn speed up to high. Blend for 30 seconds on high or until desired consistency is reached.

Luke's pudding mustache

Makes 1 1/2 c. of pudding

Note: If you do not have a Vitamix blender, you can use your regular blender but you may find that it is too thick to mix well. What I have done is mix it in the mixer first so that everything gets fairly well mixed and then I transfer it to the blender – blending it on high- to make it smooth and fluffy.

Summer Treats -Grasshopper Popsicles

Sharing their first popsicle

Summer time is a great time of year when the days are long and lazy, the kids are off and you are often out playing and enjoying the summer sunshine. With summer comes all the summer treats that we enjoy like ice cream and popsicles.

Luke and Chloe had their first popsicle the other day and loved it! They shared it. It was so cute to watch them licking and biting it, getting it all over their faces and clothes, even though I did have the forethought to put bibs on them.

Anticipating her next bite

I have always made my own popsicles but now with our need to be sugar and dairy free it is even more important for us to do so. I have found the challenge with this change has been to still provide the ‘treats’ that kids are used to and enjoy without the sugar in them. Many store bought brands are full of sugar, artificial colors and flavorings, so in order to enjoy popsicles we have to make them ourselves. Traditionally I have made popsicles using apple or orange juice, or even sometimes juice from the juicer; but I have recently discovered some new, healthy and really yummy recipes for popsicles. The favorite, and the one that Luke and Chloe thoroughly enjoyed the other day, is Grasshopper popsicles. They have banana, blackberries and spinach in them. Yes spinach! What a great way to get those greens in.

I discovered this recipe when I bought my Vitamix this winter. The Vitamix came with a recipe book full of all kinds of sauces, beverages, dips, etc. that I could make with raw organic and sugar free ingredients.

Making your own popsicles is very easy. You can buy popsicle molds at most stores and they are fairly inexpensive. Choosing whatever ‘flavour’ you want you just fill them up, put in the stick and put them in the freezer. Voila! Cool yummy treat!

All done!

So as we enjoy our warm sunny days, where popsicles will become more in demand, I would suggest giving this recipe a whirl. It’s fast and easy -and if you don’t tell your kids what is in it, they probably won’t ask or know the difference. Even when they do find out what is in it, it doesn’t matter to them because they ate it and enjoyed it!

Grasshopper Popsicles – Vitamix

1 c. watergrasshopper popsicles

1 tbsp. fresh lemon juice

2 pitted medjool dates

2 c. spinach

2 c. fresh or frozen blackberries

2 bananas, peeled

Place all ingredients in the Vitamix in the order listed. Select variable 1. Turn the machine on slowly increasing the speed to 10 and then to High. Blend for 30-45 seconds using the tamper if needed to press ingredients into the blades. Pour into popsicle molds and freeze.