As camping season begins, I start to think about all the delicious camping meals and snacks that we enjoy. Planning carefully which ones to include, because we can’t go without the favorites, and which new ones to try.
Growing up we had many favorites, such as tin foil dinners, cinnamon apples, s’mores etc. But when we decided to modify our diets and go sugar free this made some of our favorite camping recipes a little more tricky to enjoy. Slowly but surely I have been figuring out how to adjust them to meet our needs, and not miss out on the delectable tastes!
One of the recipes I have been working on is banana boats. A delectable mix of banana, chocolate and marshmallows, warmed and melted over hot coals from the fire. Mmmm, that mix of melted chocolate marshmallow is to die for! I had figured out early on how to remedy the chocolate situation, having taken a raw organic chocolate making course a few years ago. But it was the marshmallows that stumped me – until last year – when I finally found a recipe to make marshmallows; completely healthy and sugar free!
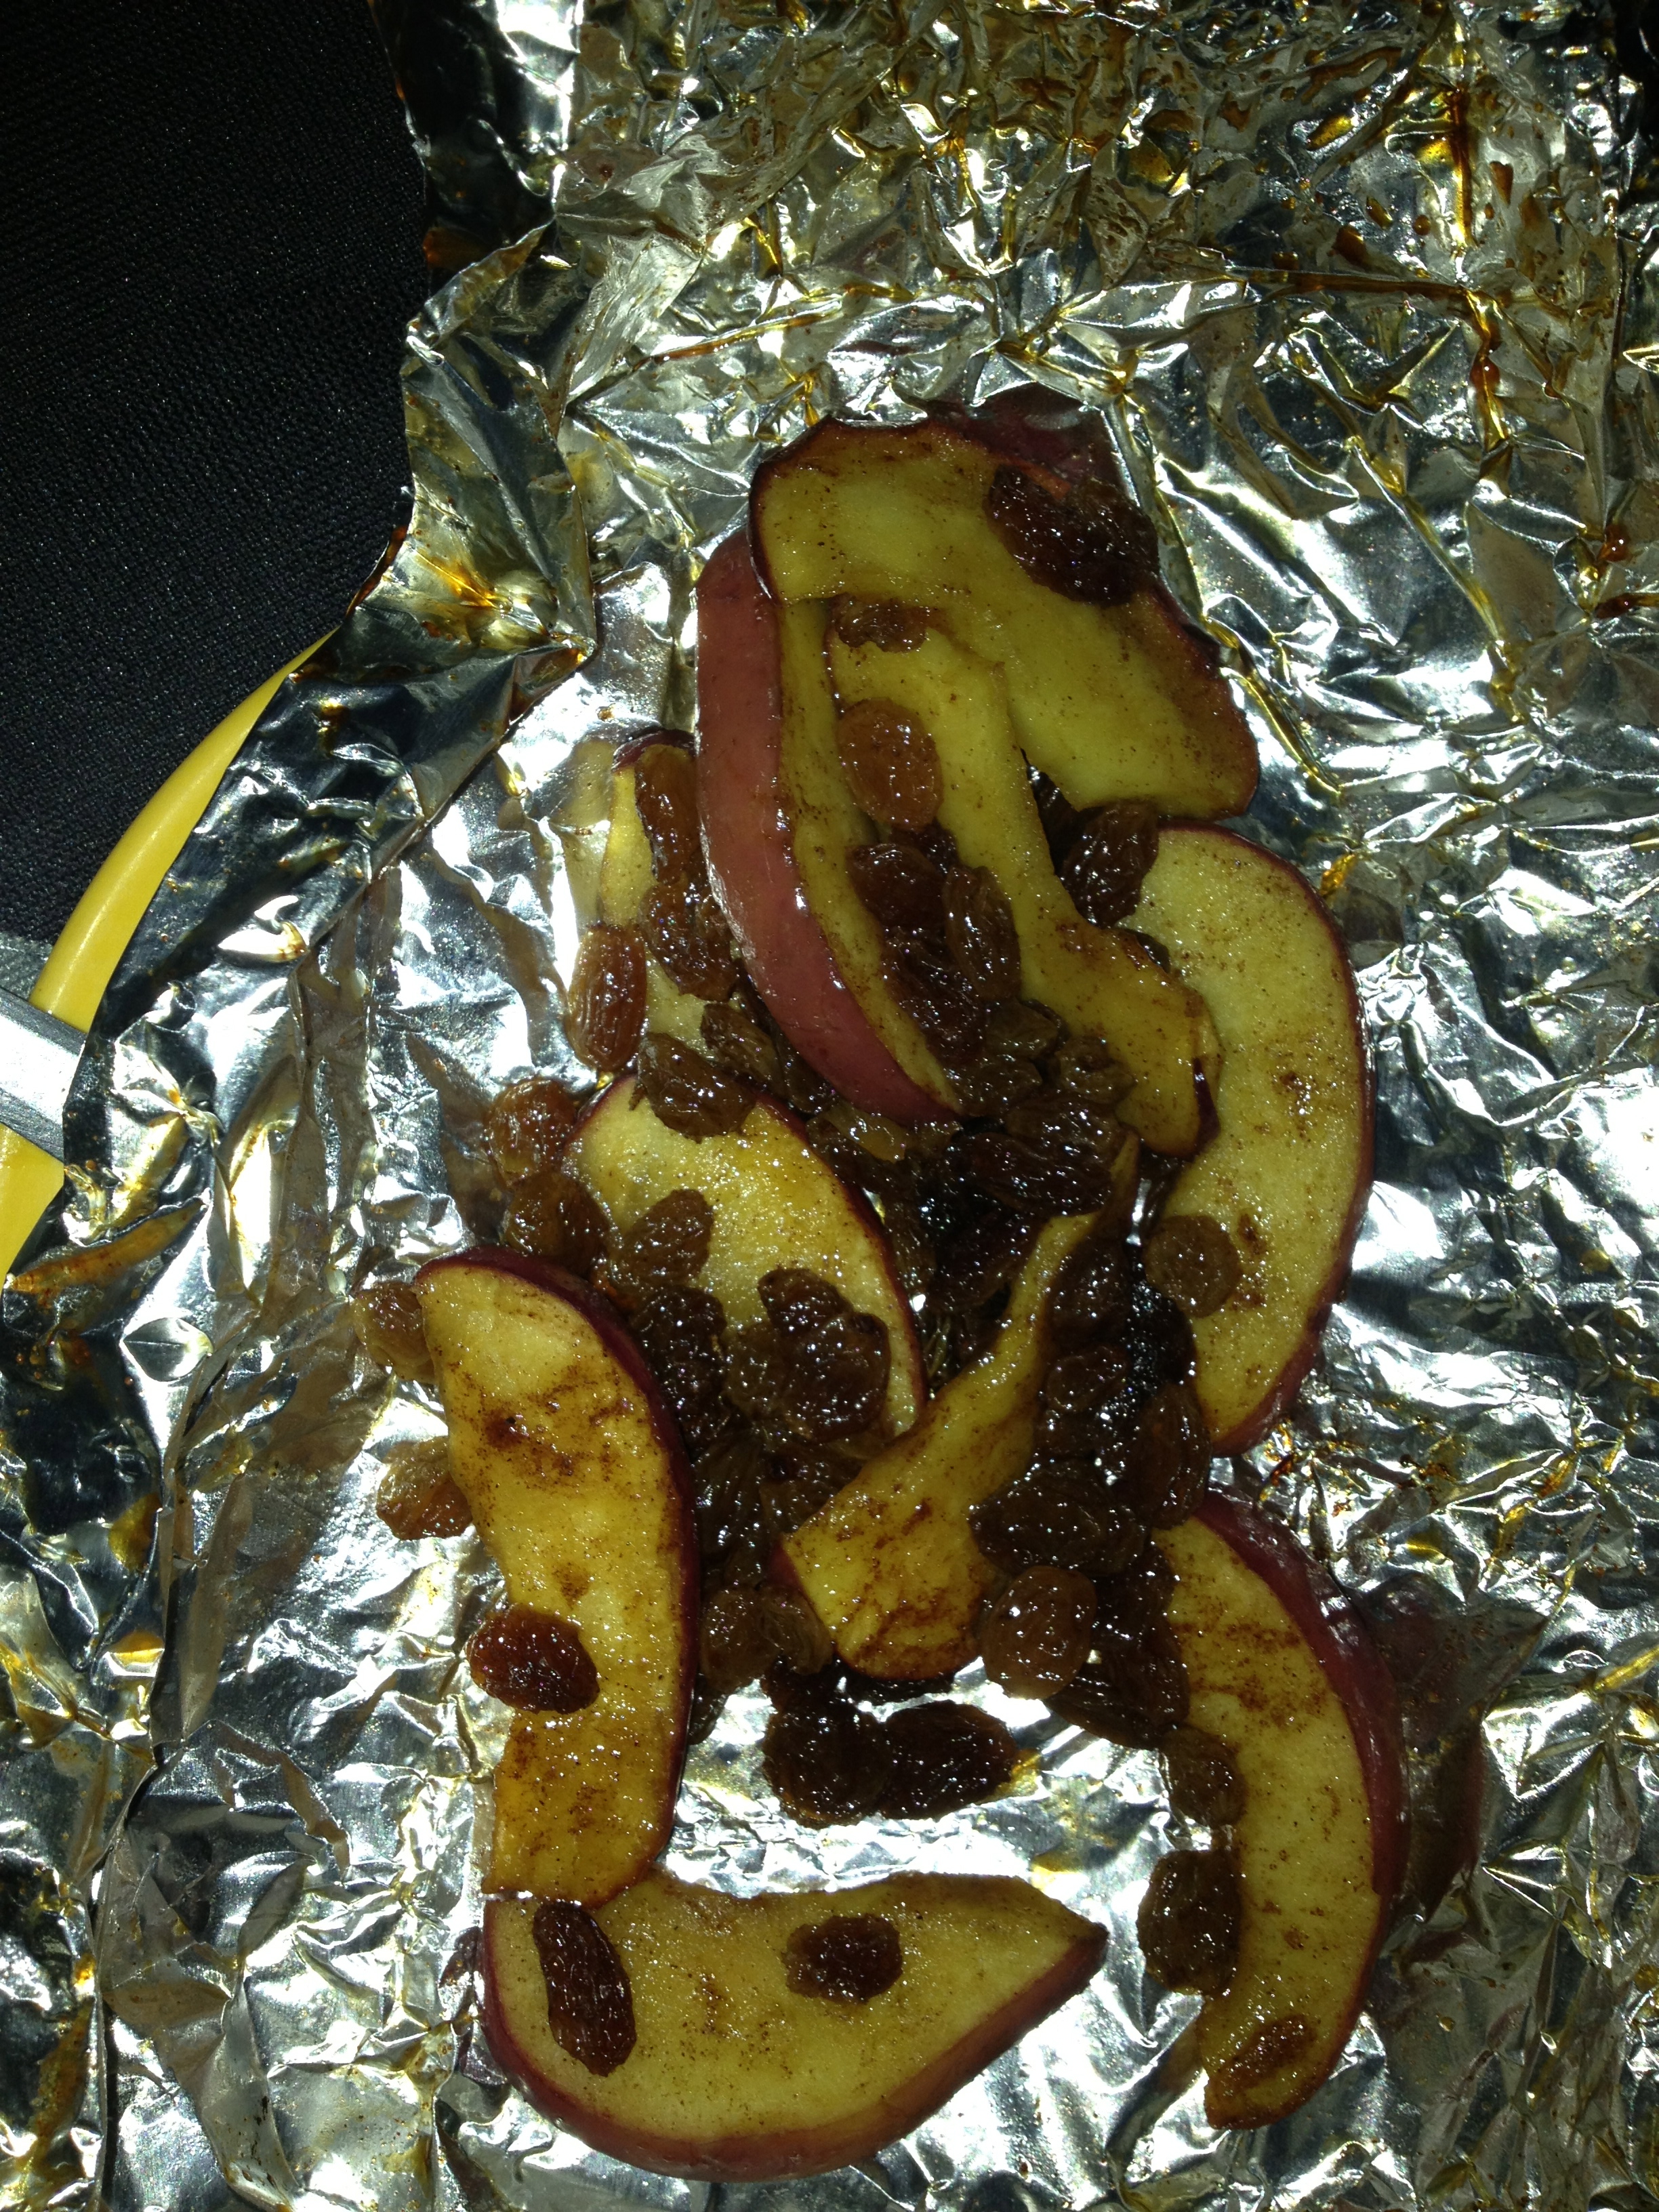
Cinnamon Apple
Now that I had all my ingredients we were able to try it out. So one lovely and sunny fall afternoon we packed up what we needed and headed out to Bragg Creek Provincial Park to enjoy a short hike and a fire, where we would enjoy roasted hot dogs and try out the banana boats.
The kids were super excited to get things started! Luke and Chloe listening attentively to the directions on how to make their banana boat. First they needed to eat out a bit of the banana, then put in their chocolate pieces and marshmallows. Then wrapped it up in tin foil and place on the hot coals. Turning once, approximately 4 minutes a side.
Luke and Chloe watched in anticipation, asking if it was ready yet, hoping that by watching it it would cook faster. The trick with banana boats is you want them cooked long enough so that the chocolate and marshmallows melt but do not disintegrate and the banana is warm and soft. Depending on the heat of your coals the cooking time could vary slightly. Notice I said coals. You want those hot red embers, not flame and fire, in order to cook your banana boats. Flame will cause your dessert to burn and cook too fast, and who wants a charred banana? 🙁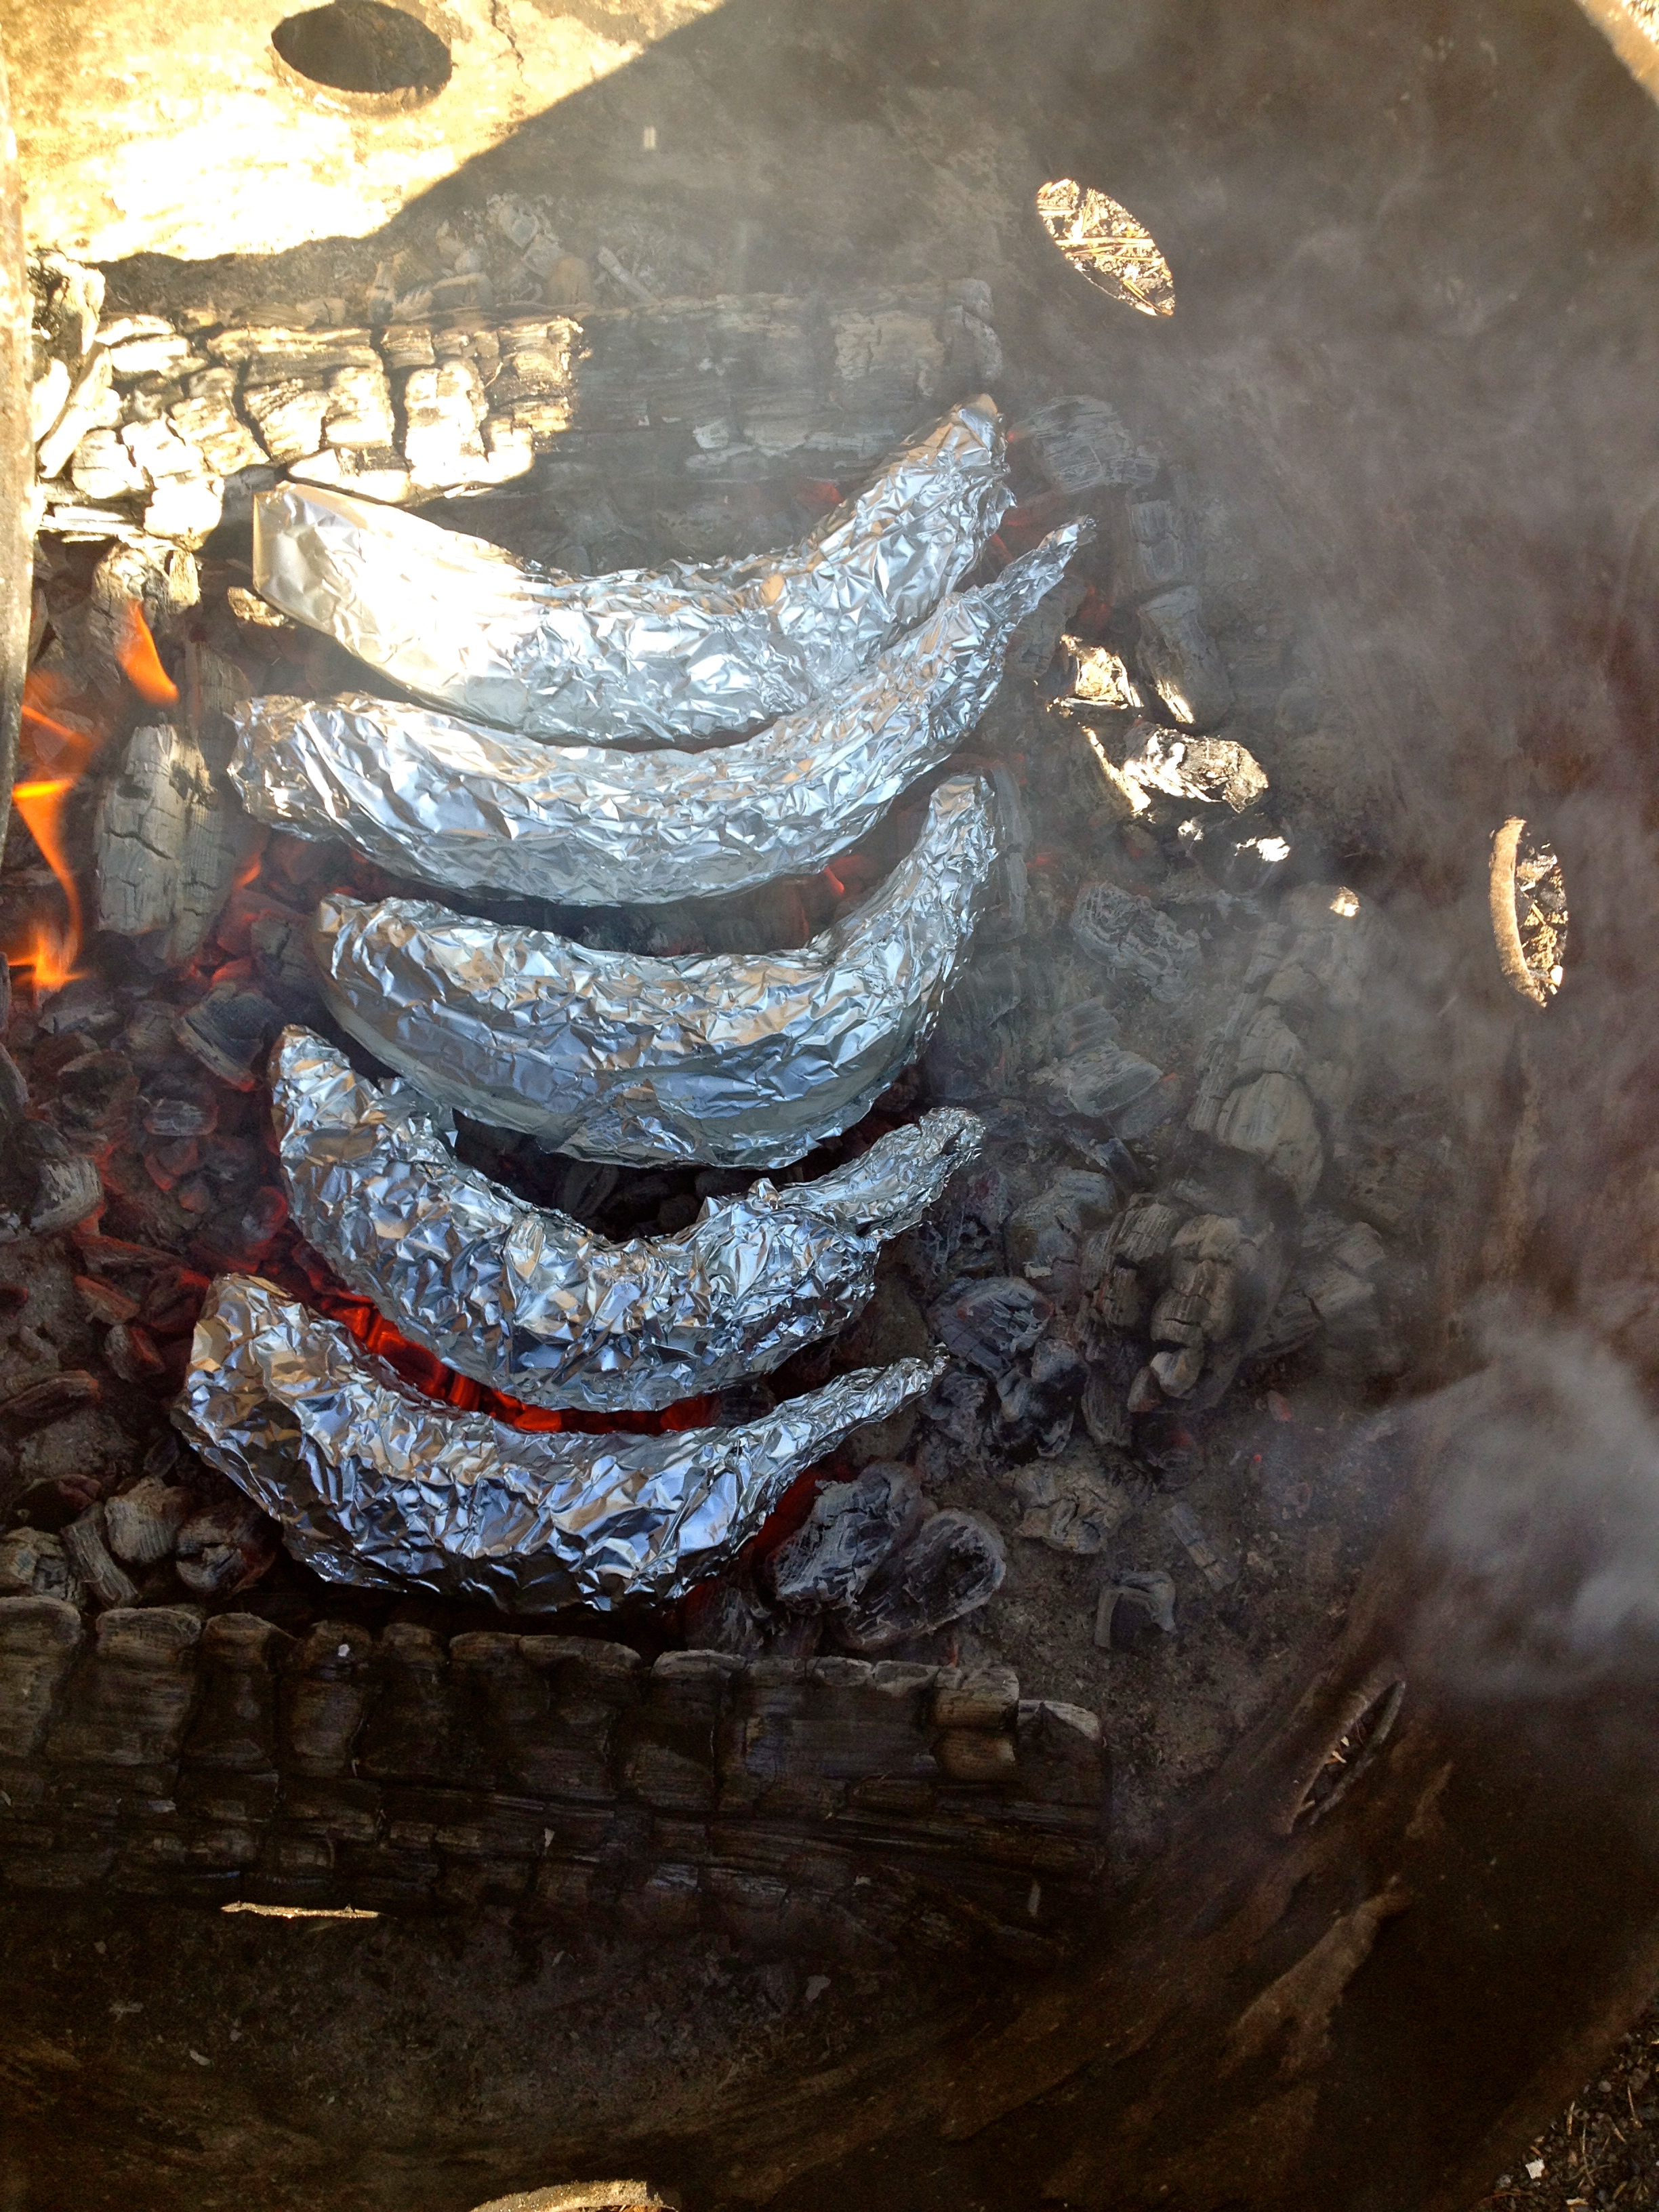
Once they were ready we took them out of the fire, using tongs as they are very hot, and placed them on the table. Carefully we unwrapped them and Luke, Chloe and Matthew, spoons in hand, were ready to dig in! I warned them that it would be hot so to let it cool slightly and/or small bites blowing on it. They heeded my advice and tentatively took a bite. Immediately their faces lit up with hugs smiles and exclamations of how yummy it was! Then quickly diving in for more. All done and faces covered in chocolate, they eagerly asked for another. Unfortunately I had only brought enough for one each, so said we’d have to make them again soon. But I was so pleased that they worked and were a hit! I cannot wait to get out there this camping season and have some more! And this time I will plan for 2 each!
What are your favorite camping desserts? Share in the comments below.
Banana Boats
*to make banana boats you will need one banana per person
Firm ripe bananas
sugar free chocolate pieces (either homemade or use unsweetened bakers chocolate)
heavy duty tinfoil
tongs
spoons
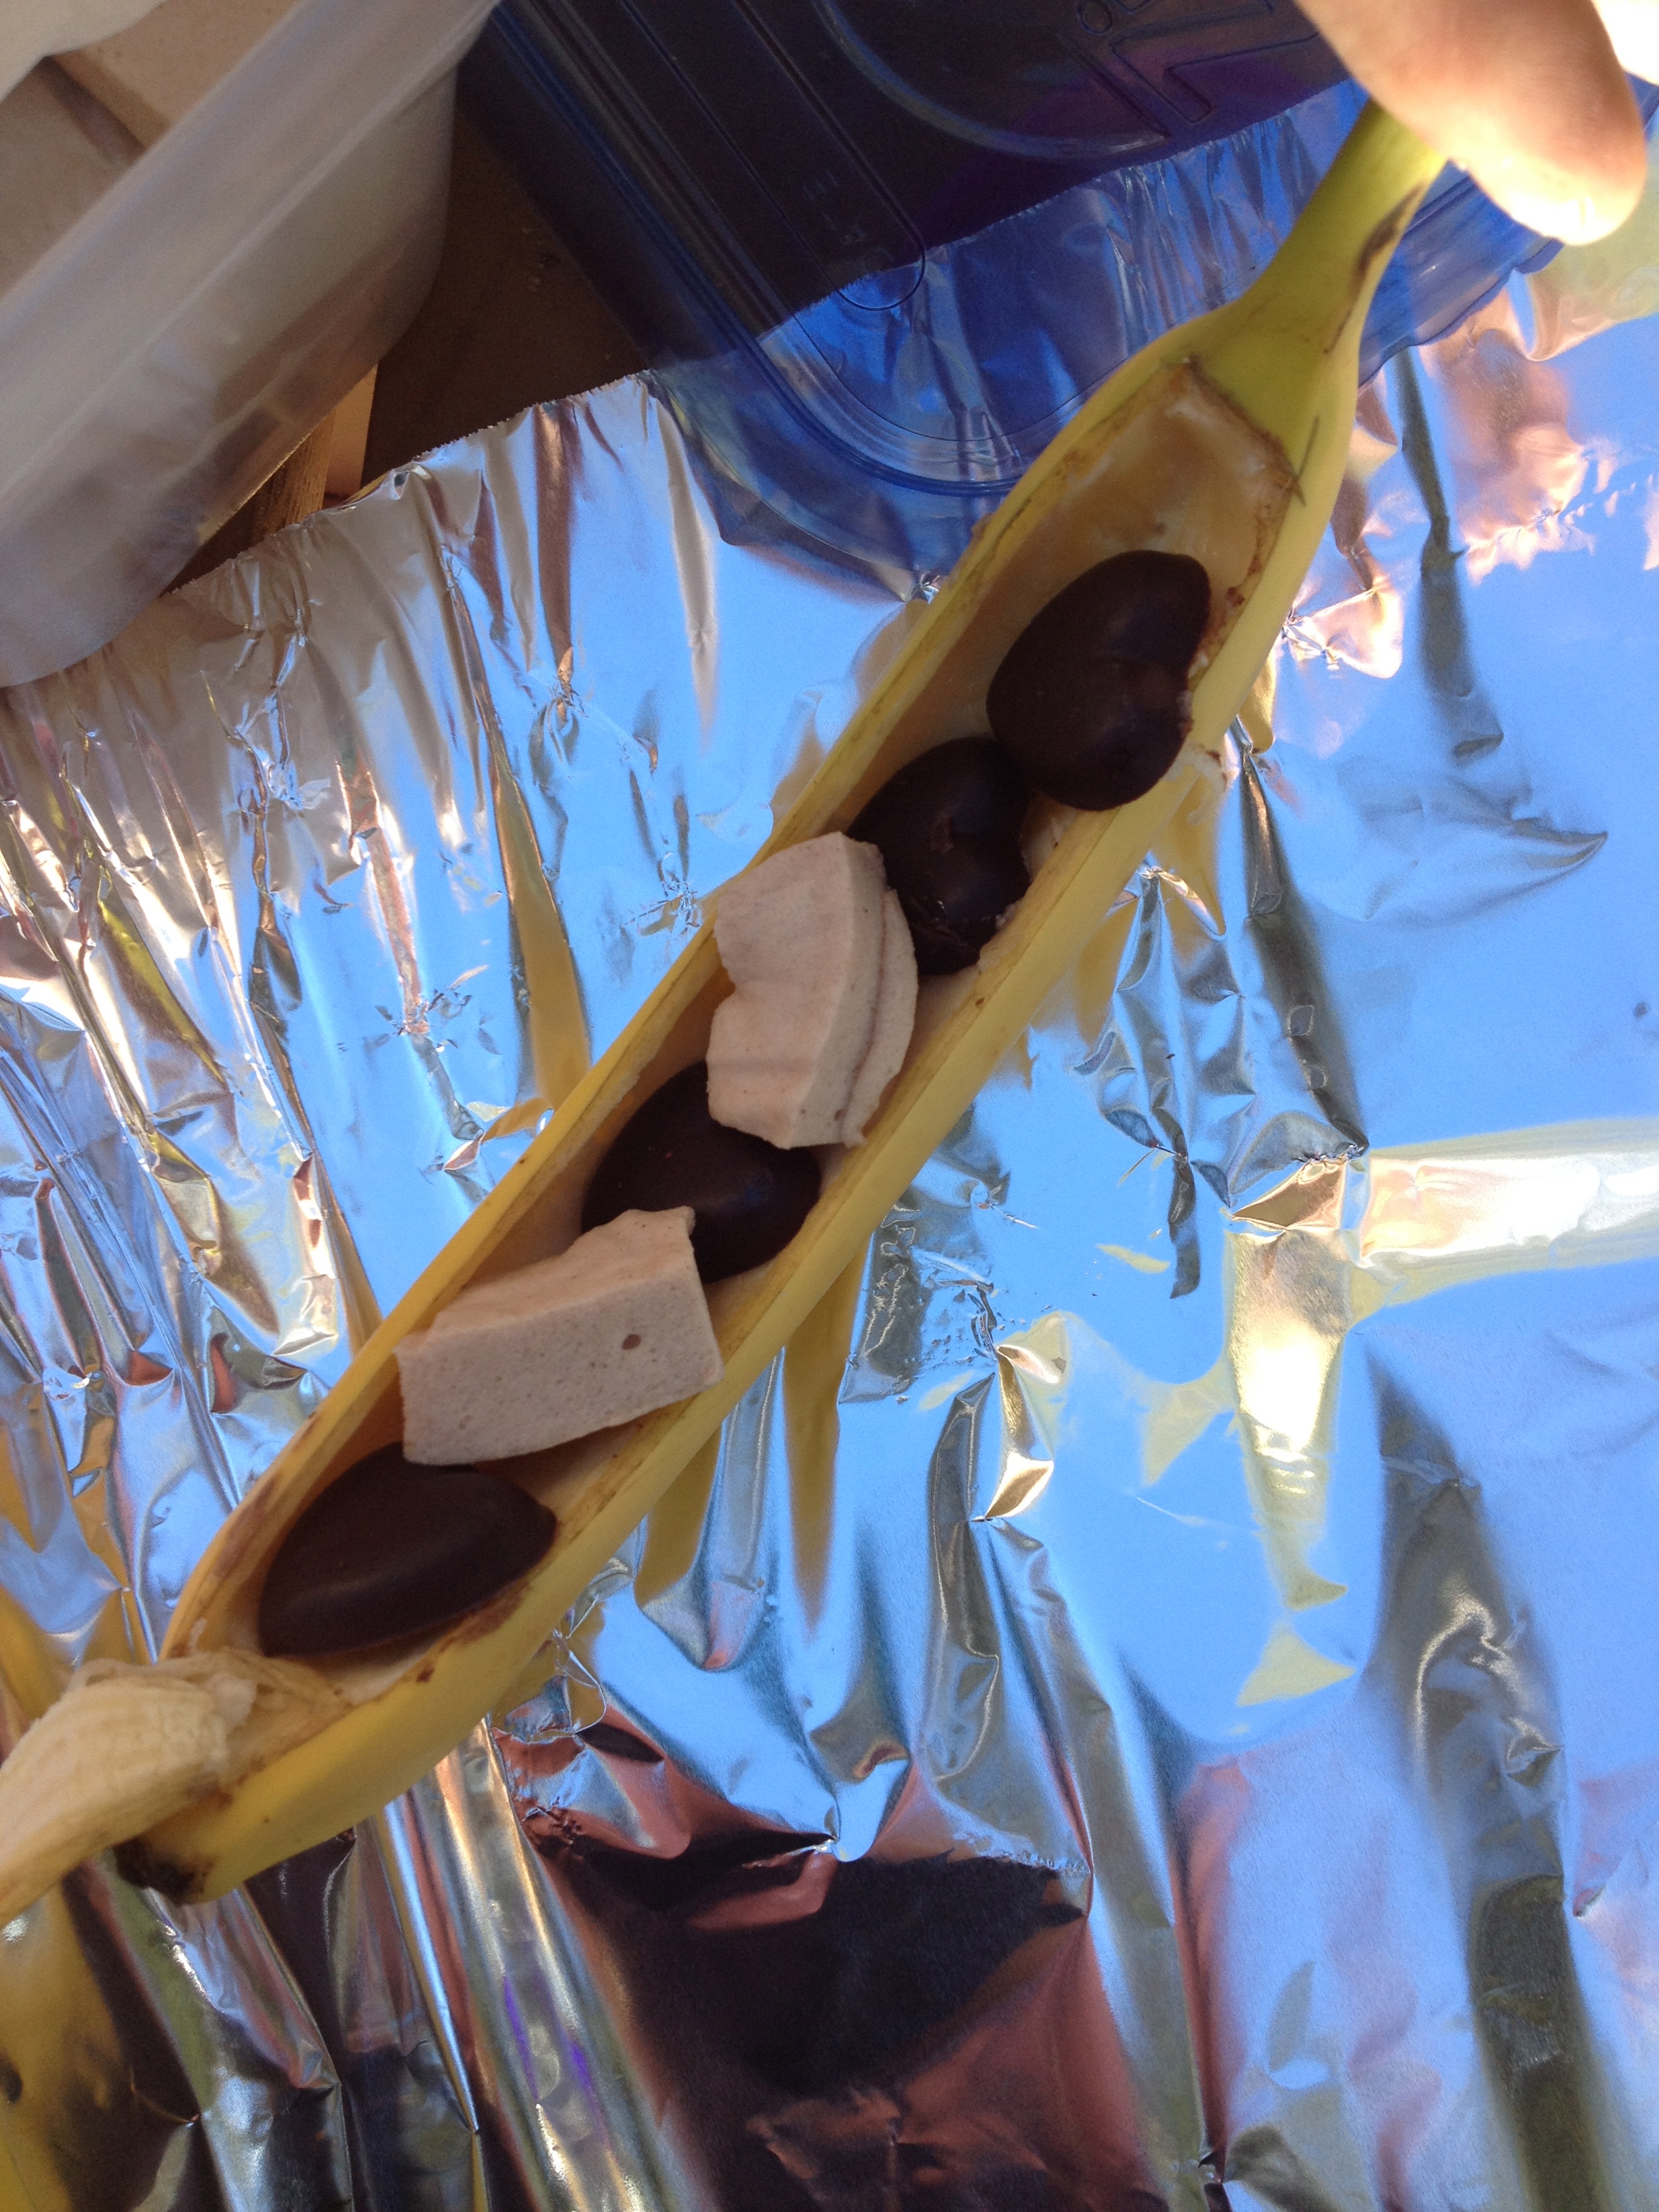
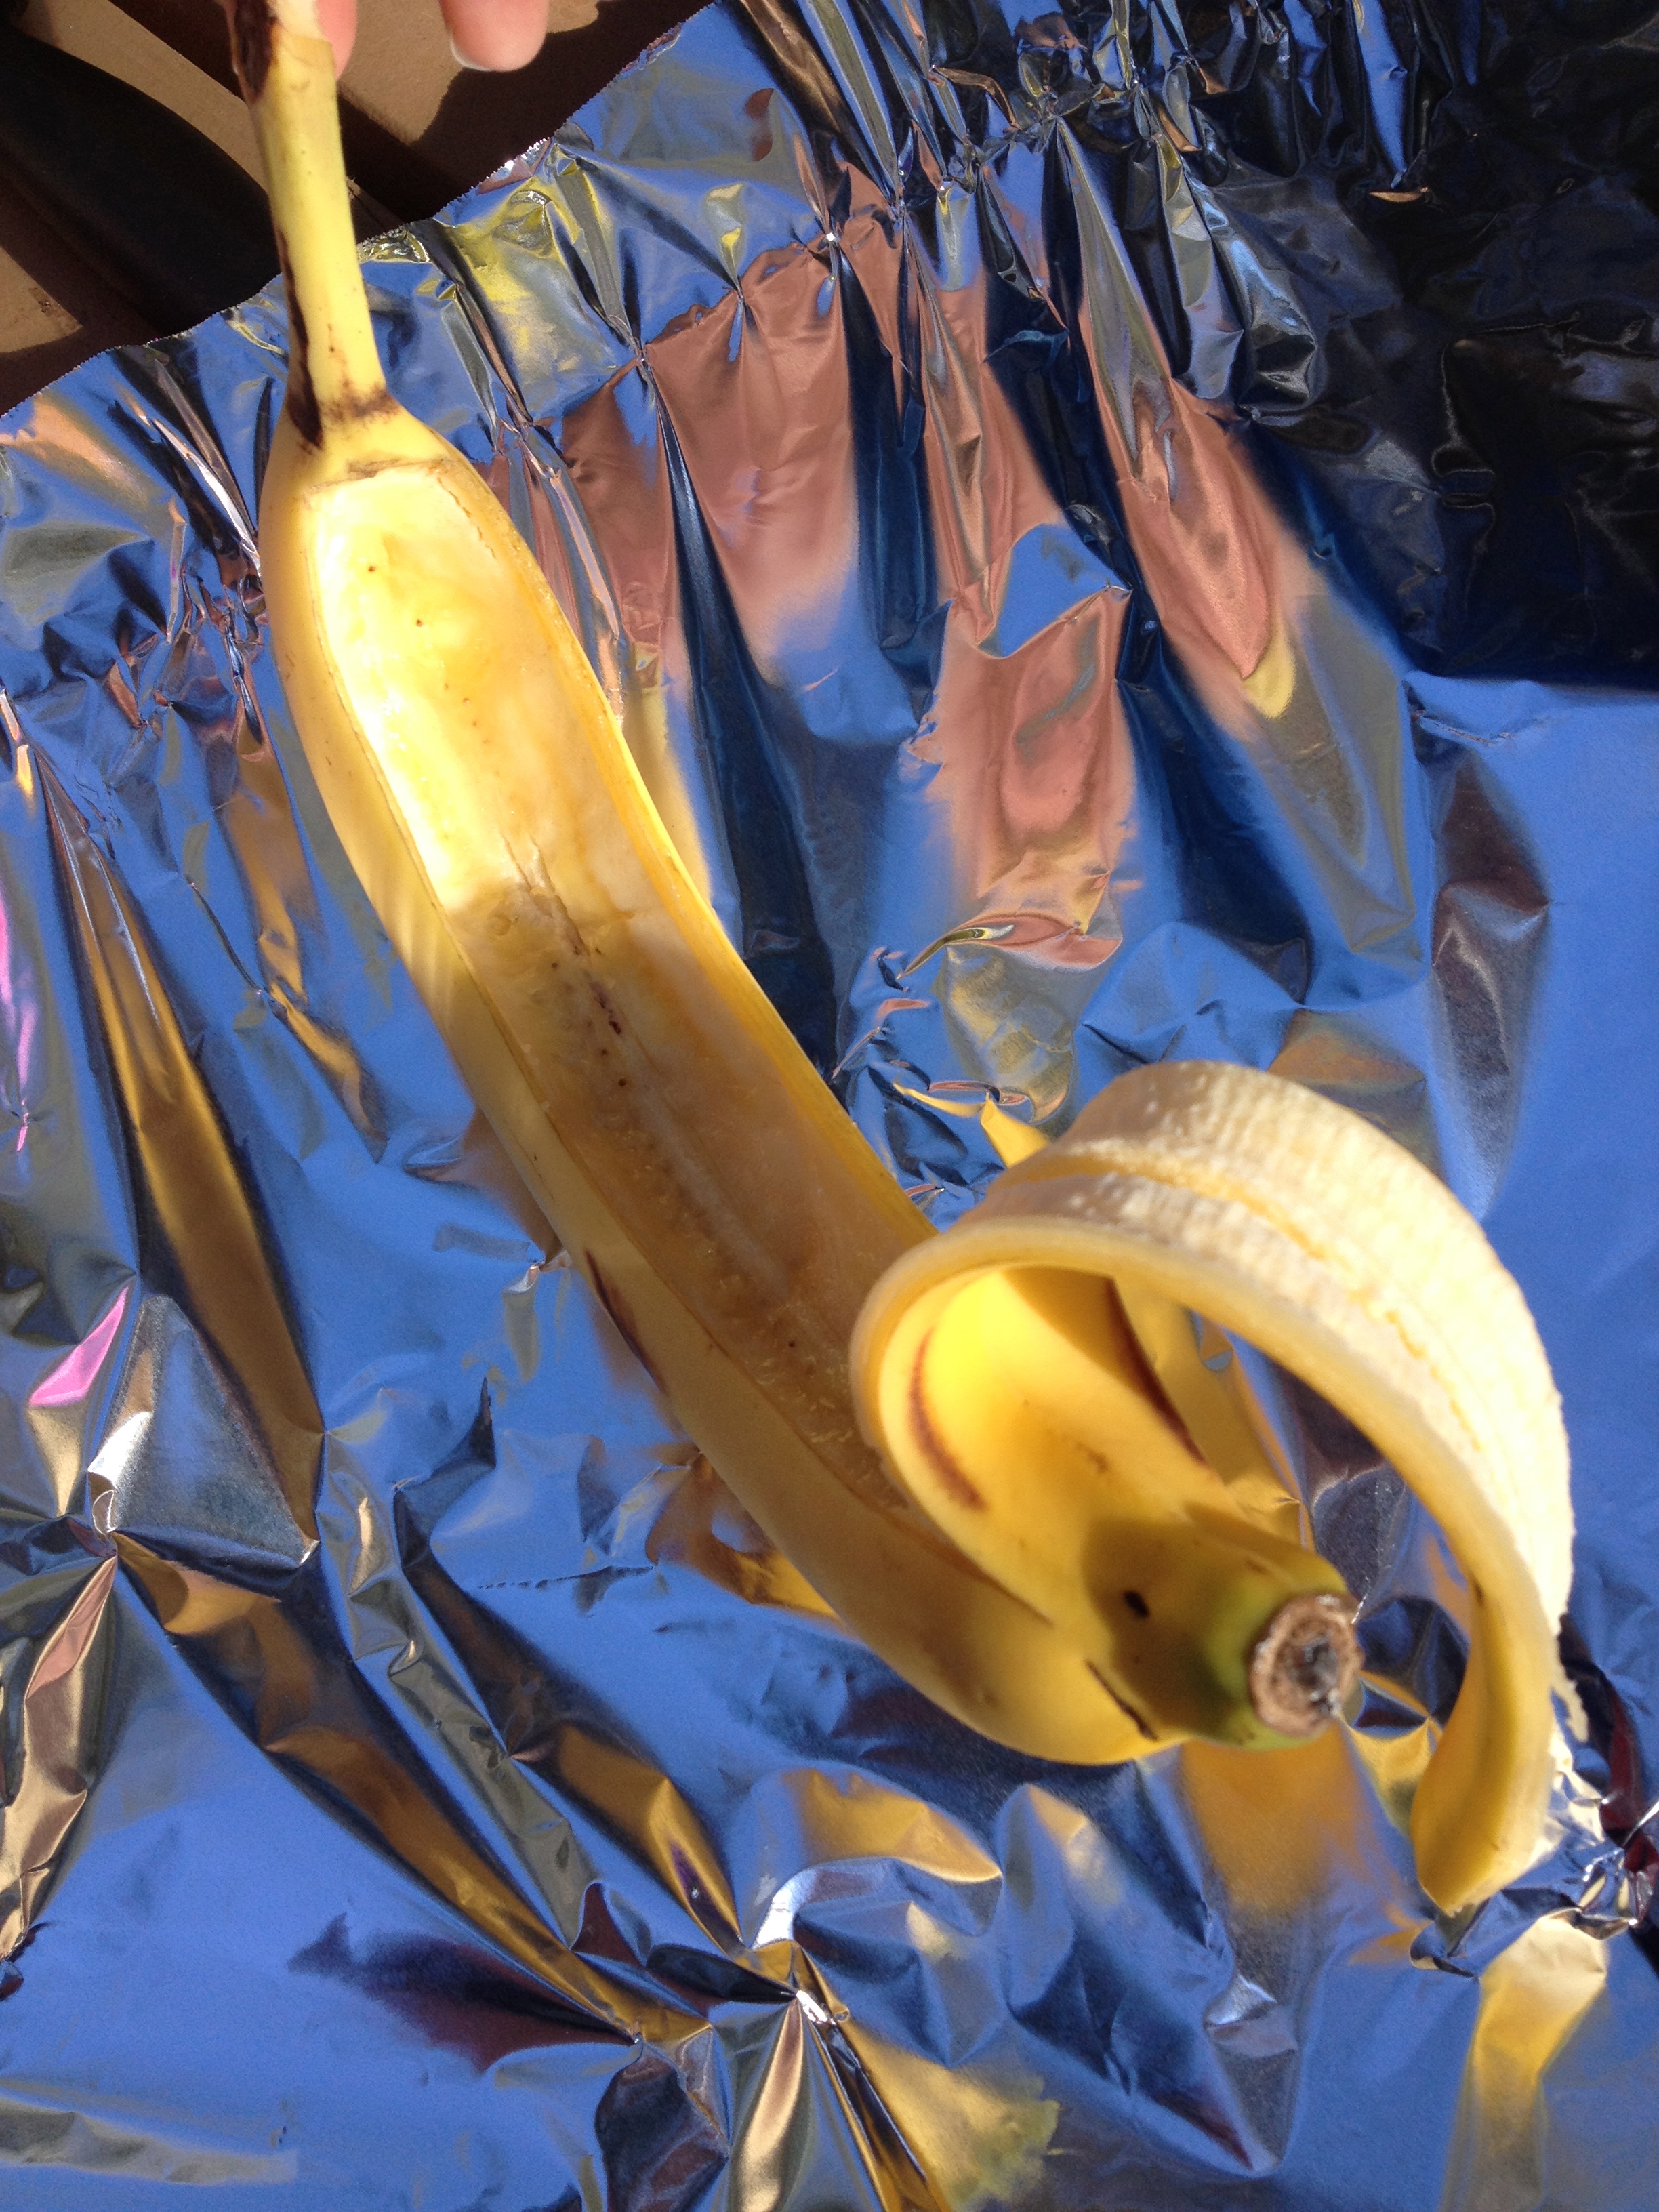 Cut peel of banana down the sides and across top of banana, creating a flap that you can open. Do not cut the bottom. With a spoon eat out part of the banana. Eat/ scoop out enough to create a space to put in chocolate and marshmallows, but do not eat down to the peel on the other side, you want to leave some banana there.
Place chocolate and marshmallow pieces inside banana. You can put in as much as you want but you do not want to overstuff it! The flap must be able to close over top, otherwise a lot of your fillings will leak out while cooking.
Place flap of banana overtop to close it. Take a medium size piece of heavy duty tinfoil (you want heavy duty as putting it in the fire is intense heat and regular foil will cause it to burn before actually cooking), wrap up your banana tightly.
 Place tin foil wrapped banana on hot coals and cook for approximately 4 minutes (cooking times may vary depending on the heat of your coals). After first 4 minutes, flip over to the other side and cook for another 4 minutes.
Remove tin foil wrapped banana from fire using tongs. Open foil very carefully, foil will be very hot! Check banana, if chocolate and marshmallows are melted, then you are ready to eat! If it is not melted as much as you would like, rewrap banana in foil and place back on coals for a few more minutes.