Camping is one of my favorite summer activities. Growing up, that is how we spent our family vacations, each year going somewhere different, though we did have our favorite spots; looking forward to it each year.
I always found that our trip was never long enough and that we never got enough camping in for the summer. I could have stayed out there for weeks, even the whole summer. There is something about being out in nature, with just the basics, playing and hanging out that I love.
I find there is a whole different mentality when I’m out camping, no matter what is going on it is more relaxing, more go with the flow and even in some respects ‘lazy’. Routine goes out the window and I just enjoy the fact that we don’t really have to be anywhere at any particular time.

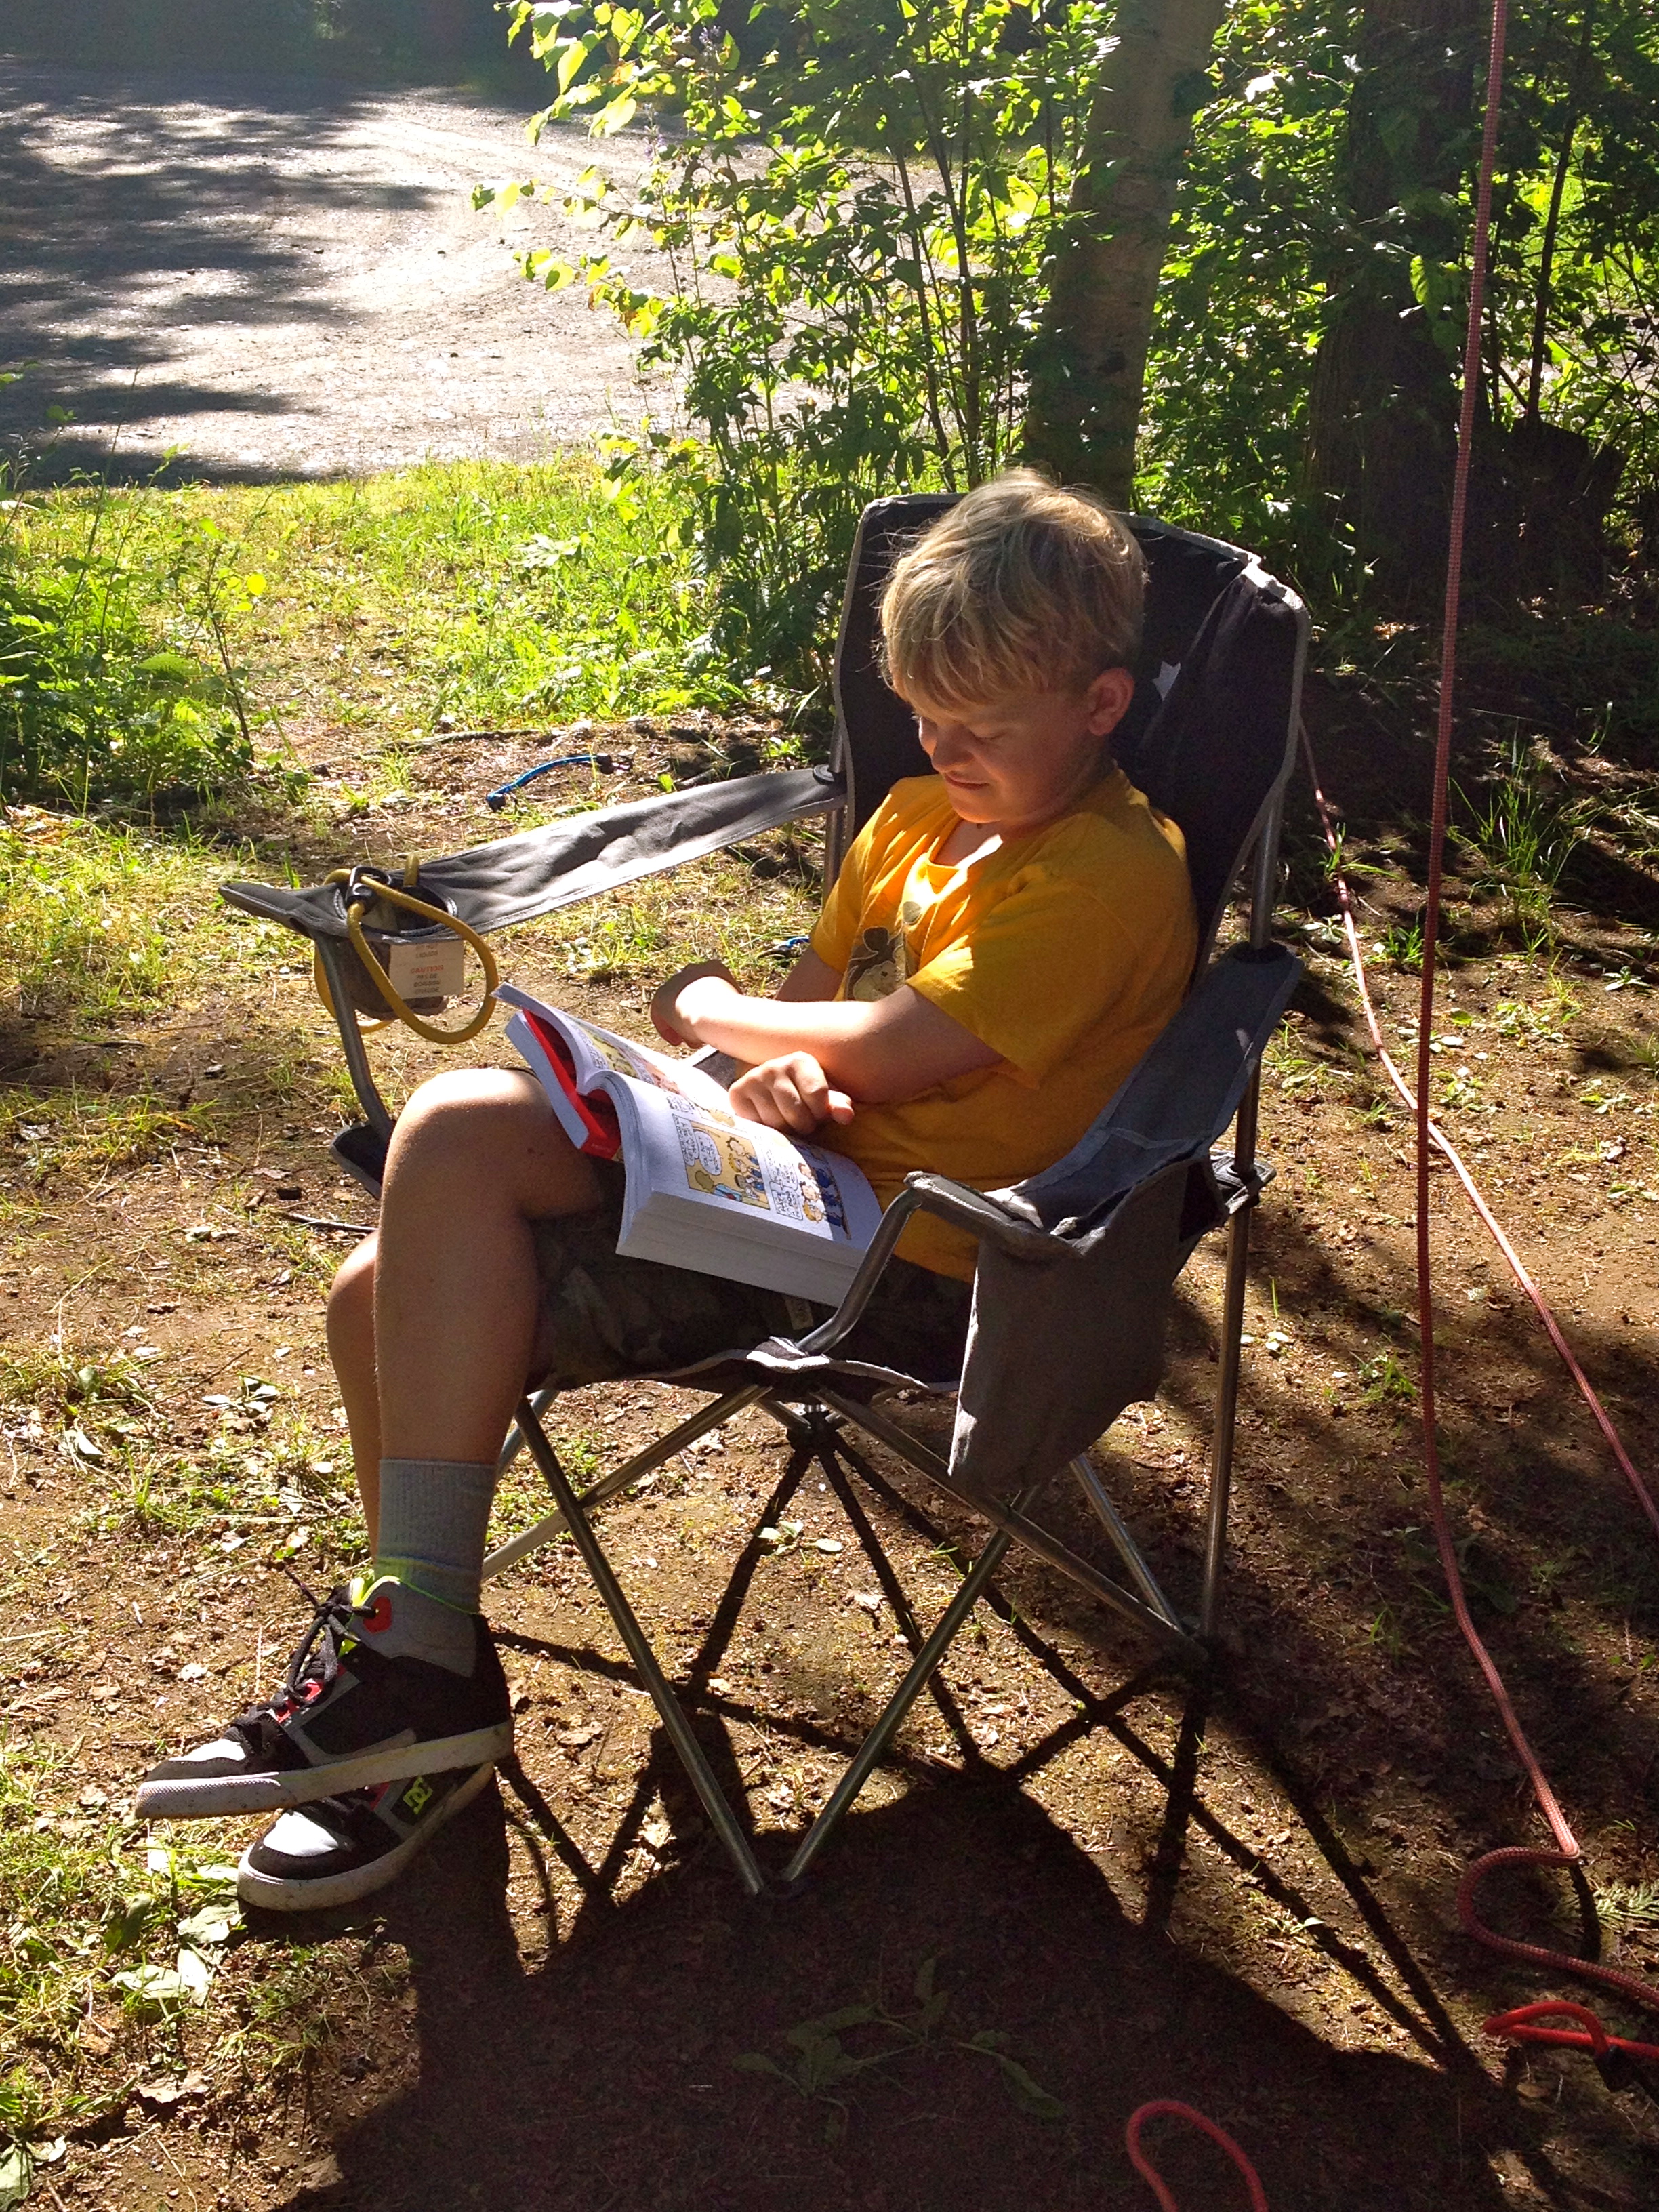
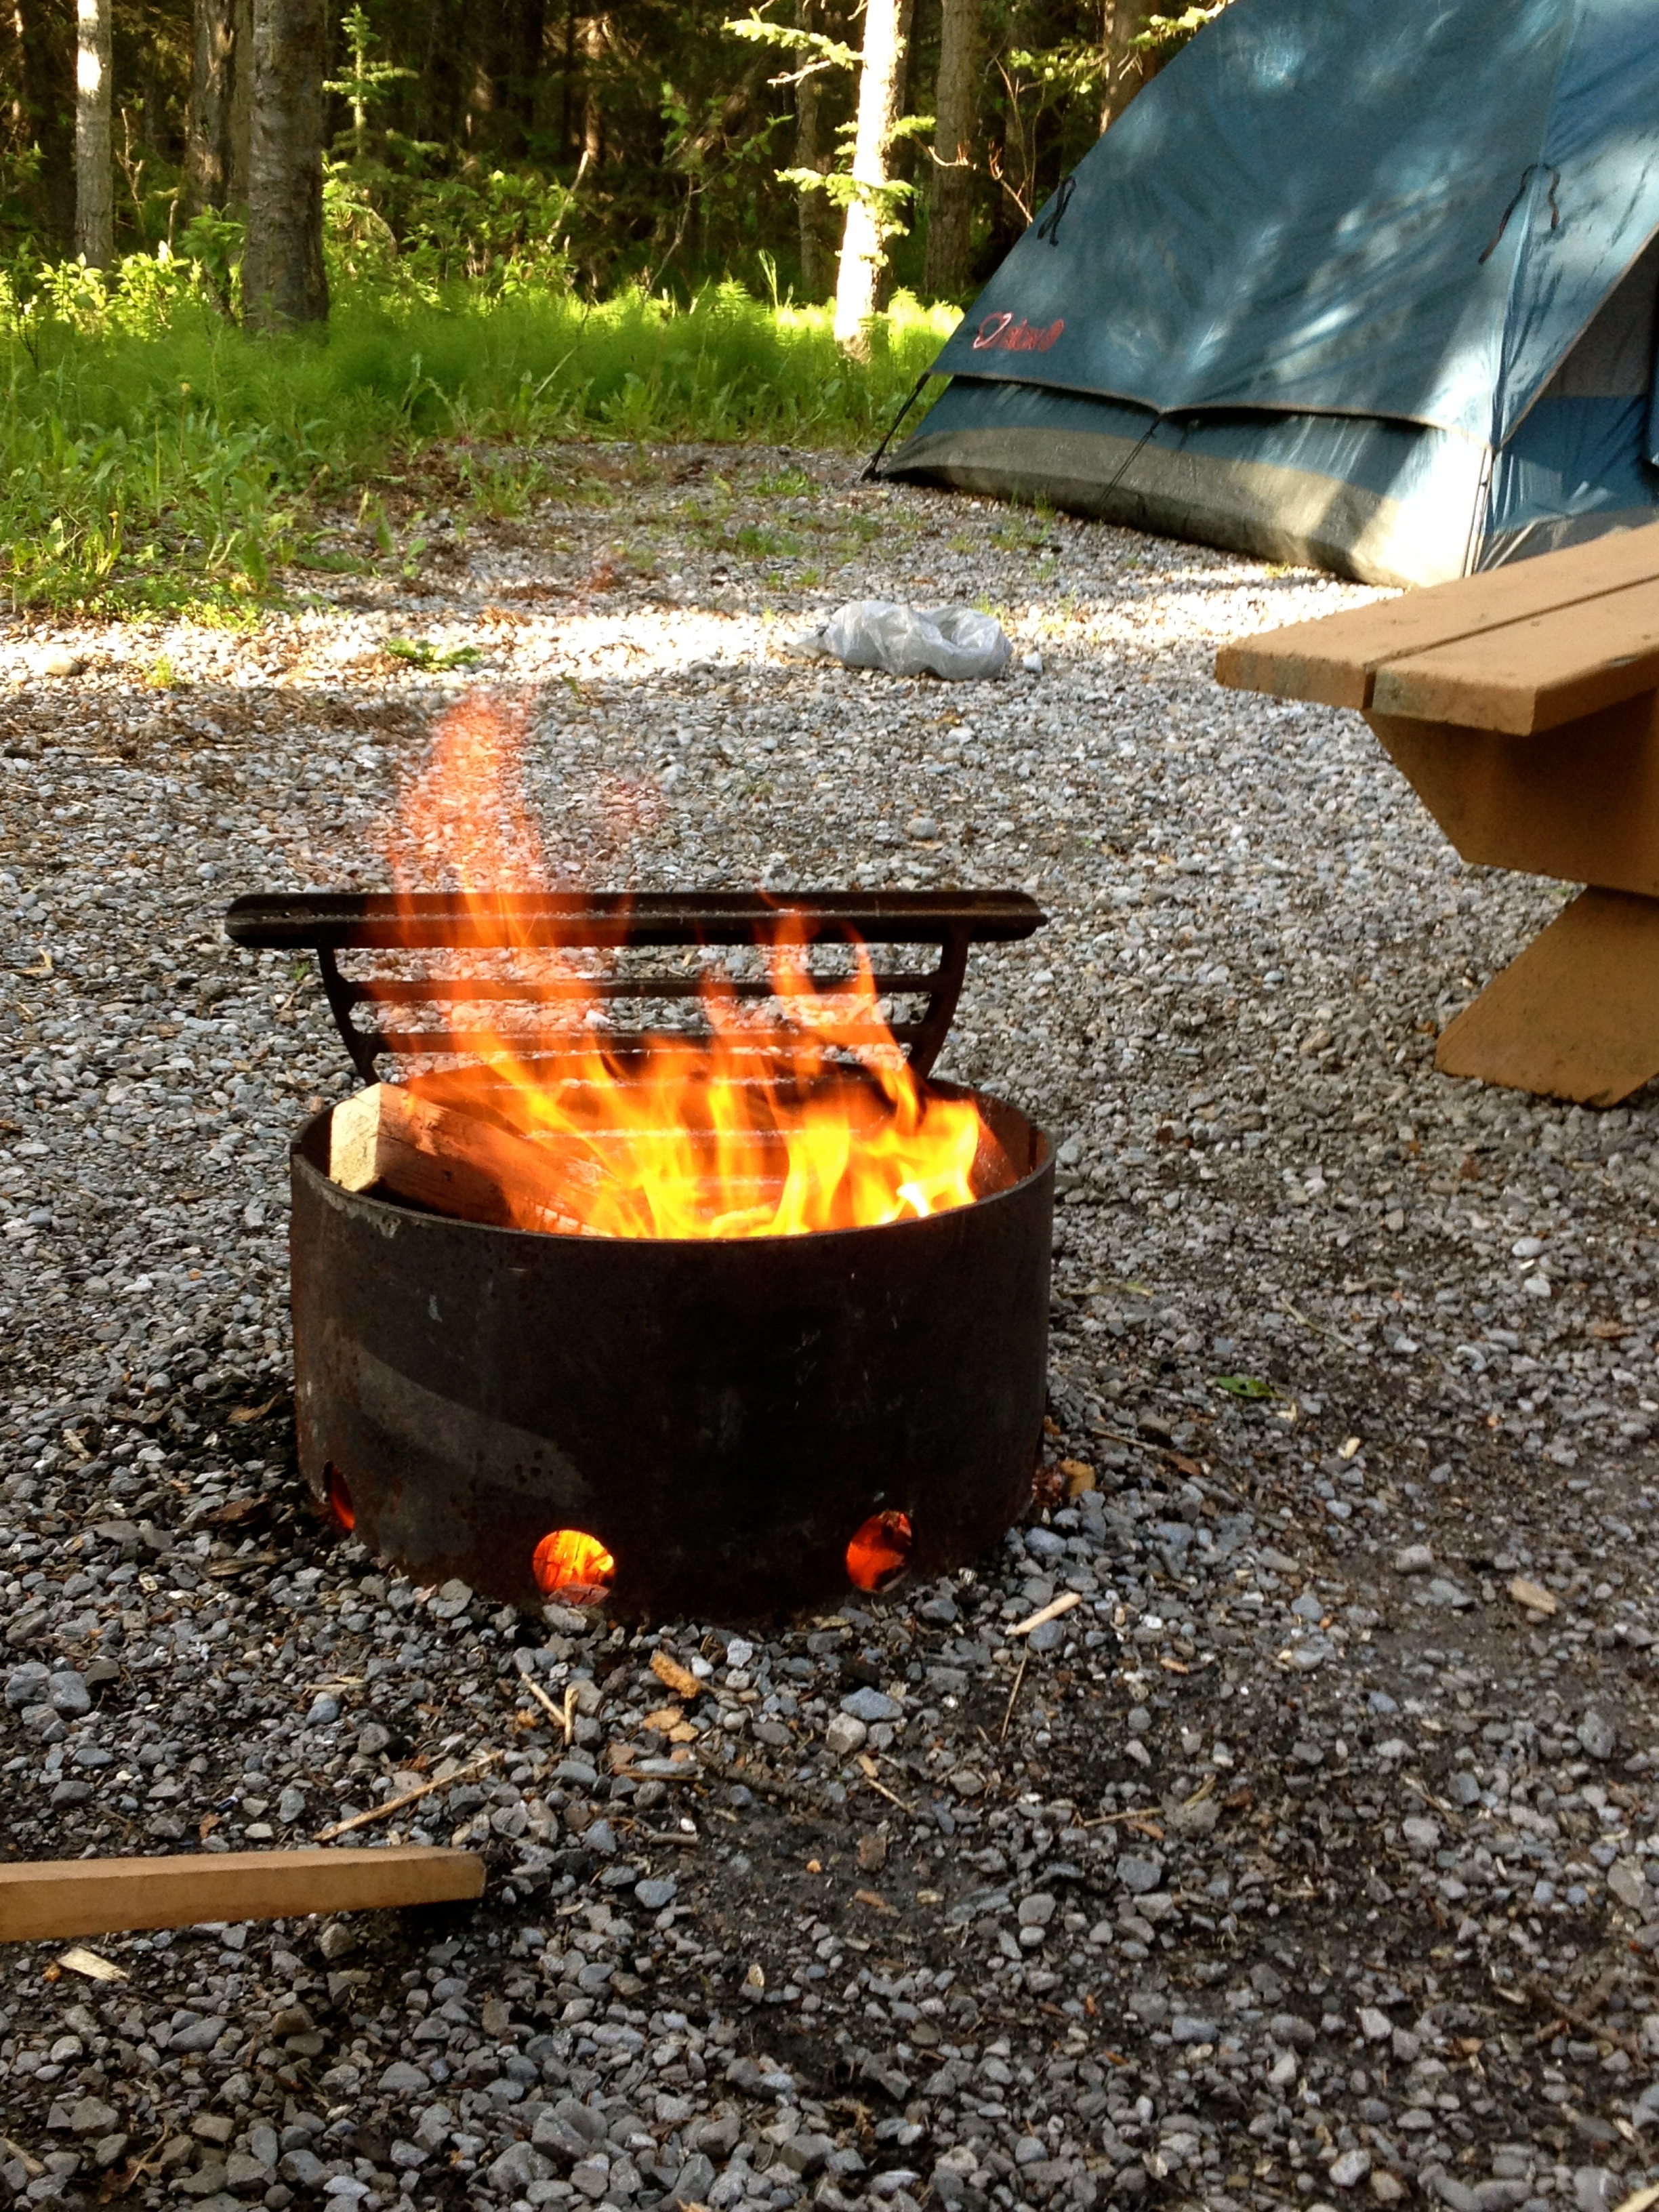
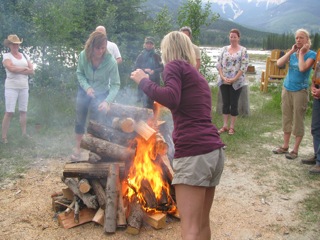
Relaxing at the campsite
This is not to say that we don’t do things while we are camping. Growing up we would often go on a hike or an interpretive walk, or sometimes go and explore a local attraction or historic site. But the whole pace of it is different. There’s no rush, no deadline.
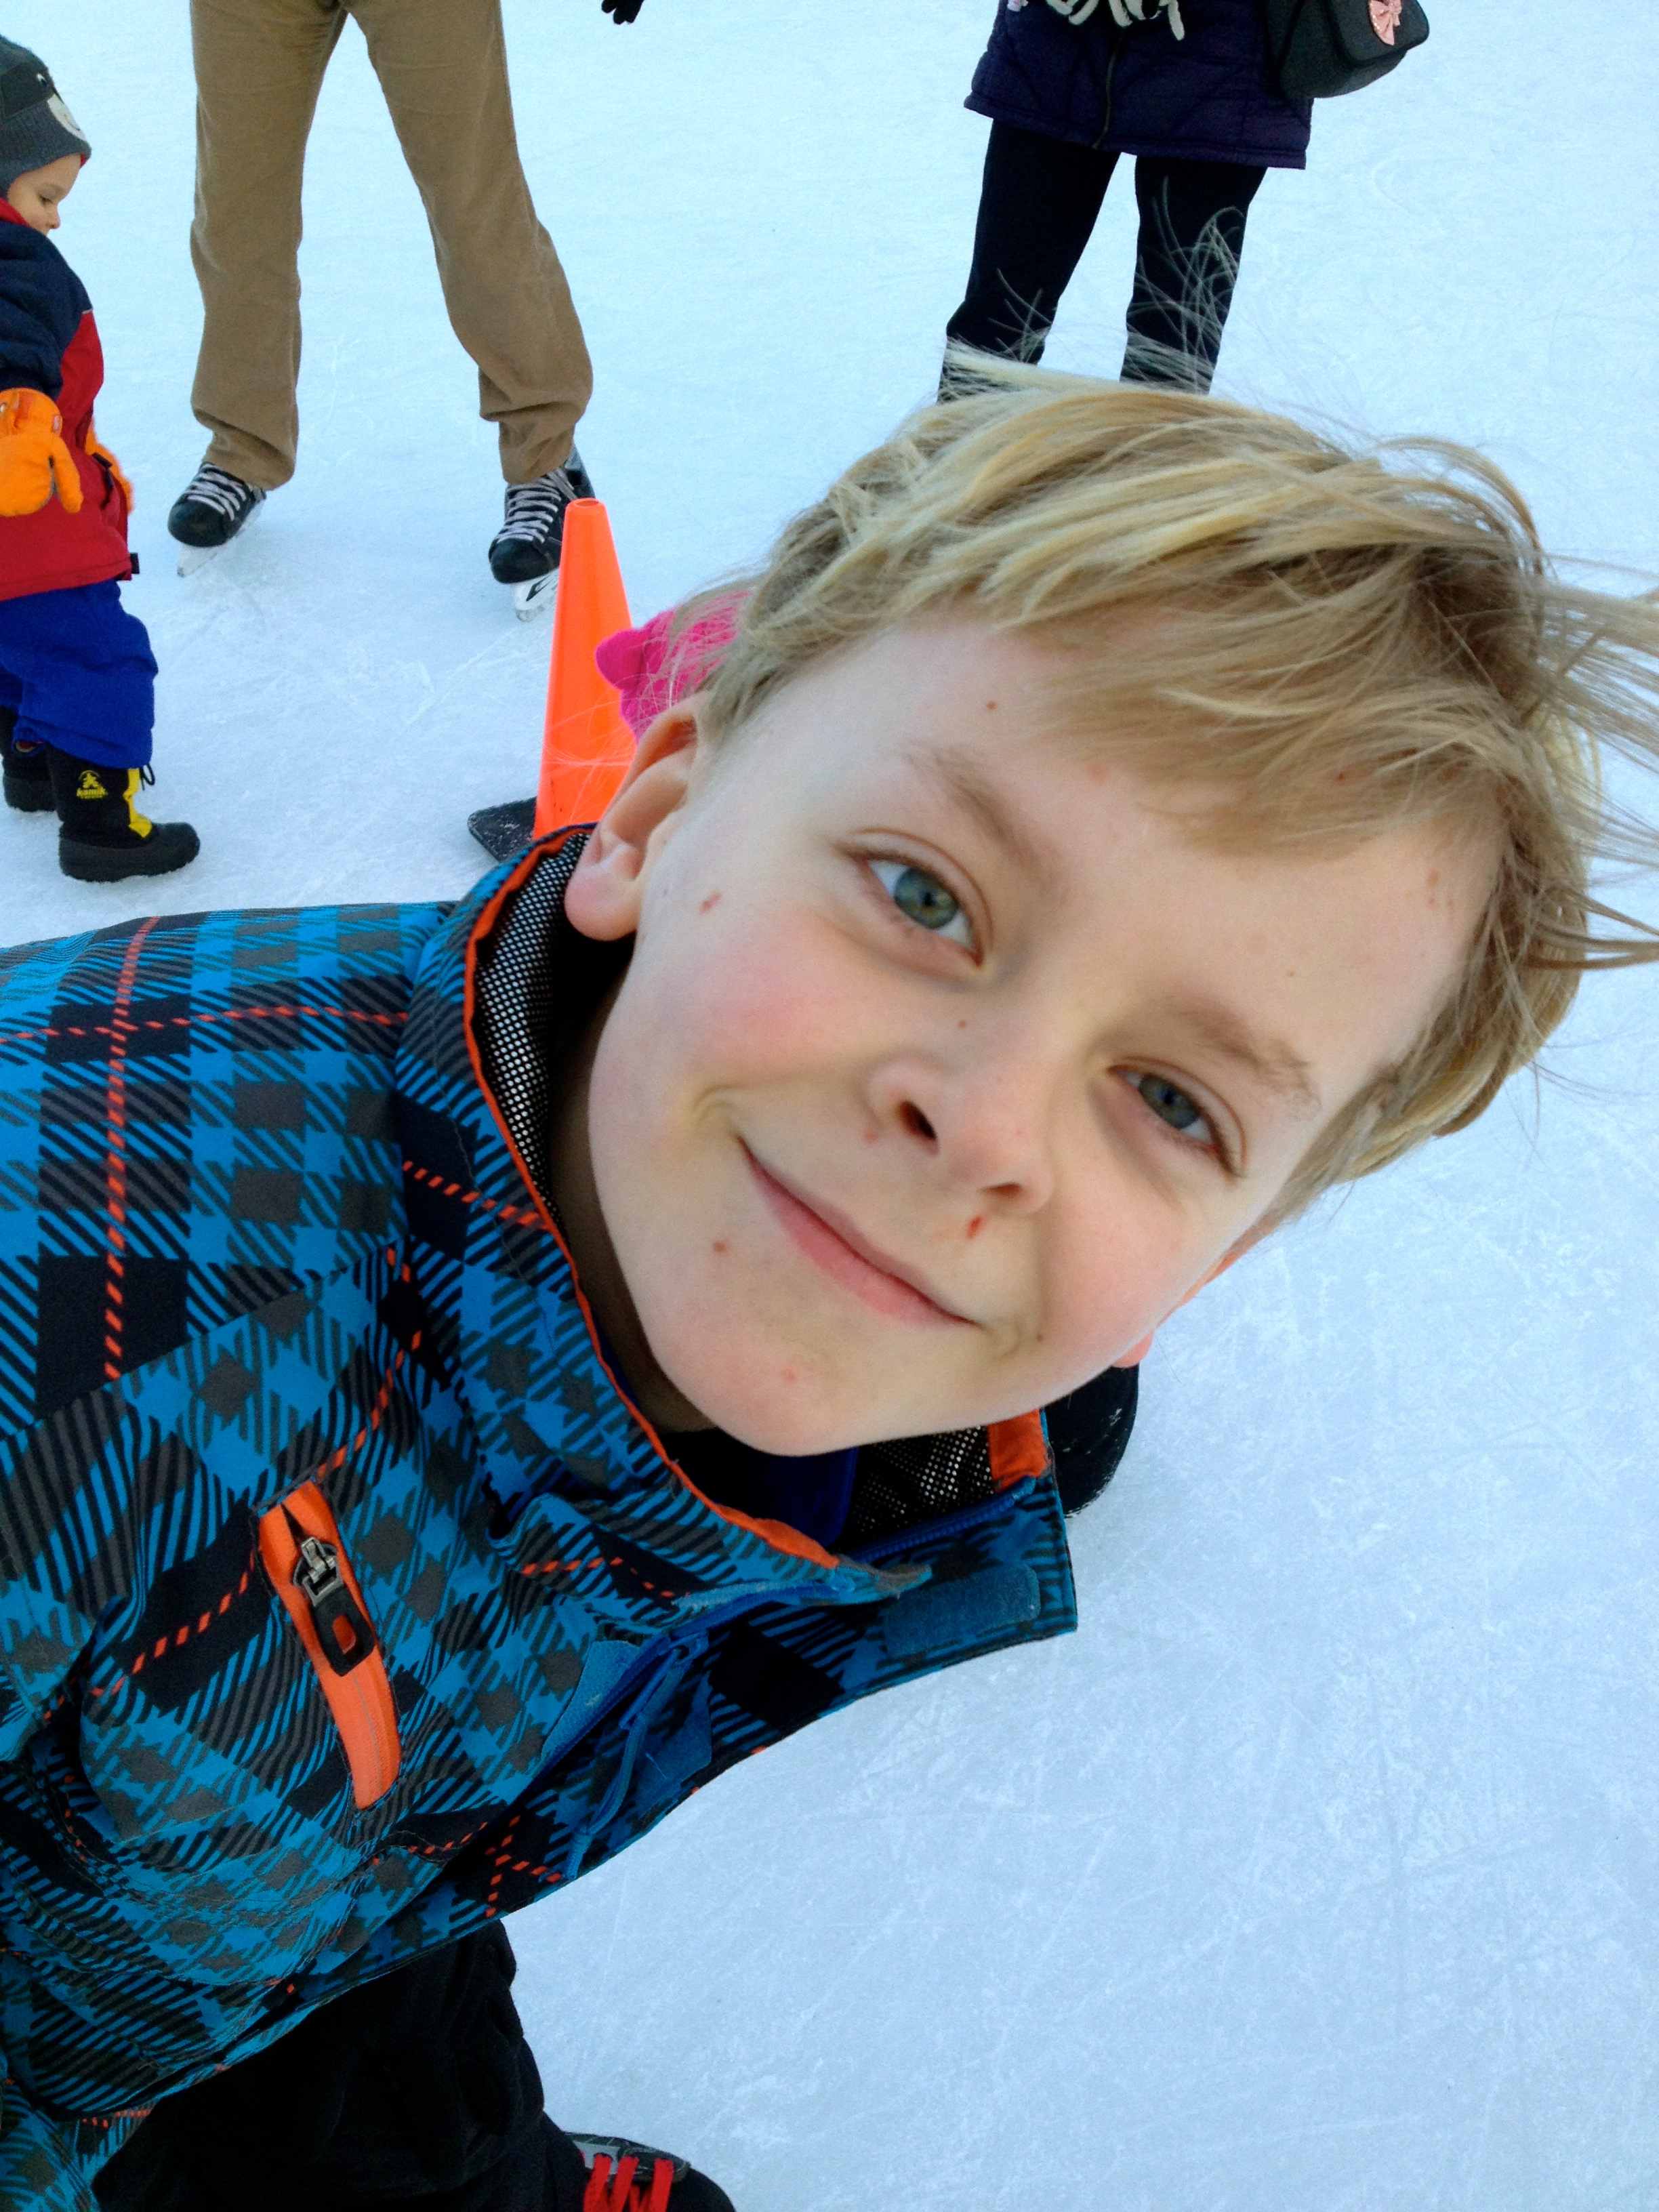
Naturally, I wanted to share and continue these experiences with all of my children. Matthew’s first camping trip was when he was 1 year old, for 1 night and it poured rain. But we have since ventured out again and Matthew loves it. He is quite the good little camper, will help around the site when asked and even learned how to safely chop wood last year (under the supervision and guidance of Grandpa Blue Eagle).
With Luke and Chloe I did not take them out as early, though I wanted to. So they went out camping for the first time this year (and like their Mom and brother), love camping as well. Up until recently I did not have another responsible adult to go with me and I didn’t feel it was prudent or safe to take the kids out by myself (and yes I am a little spooked after reading The Shack, very good book but tragic beginning).
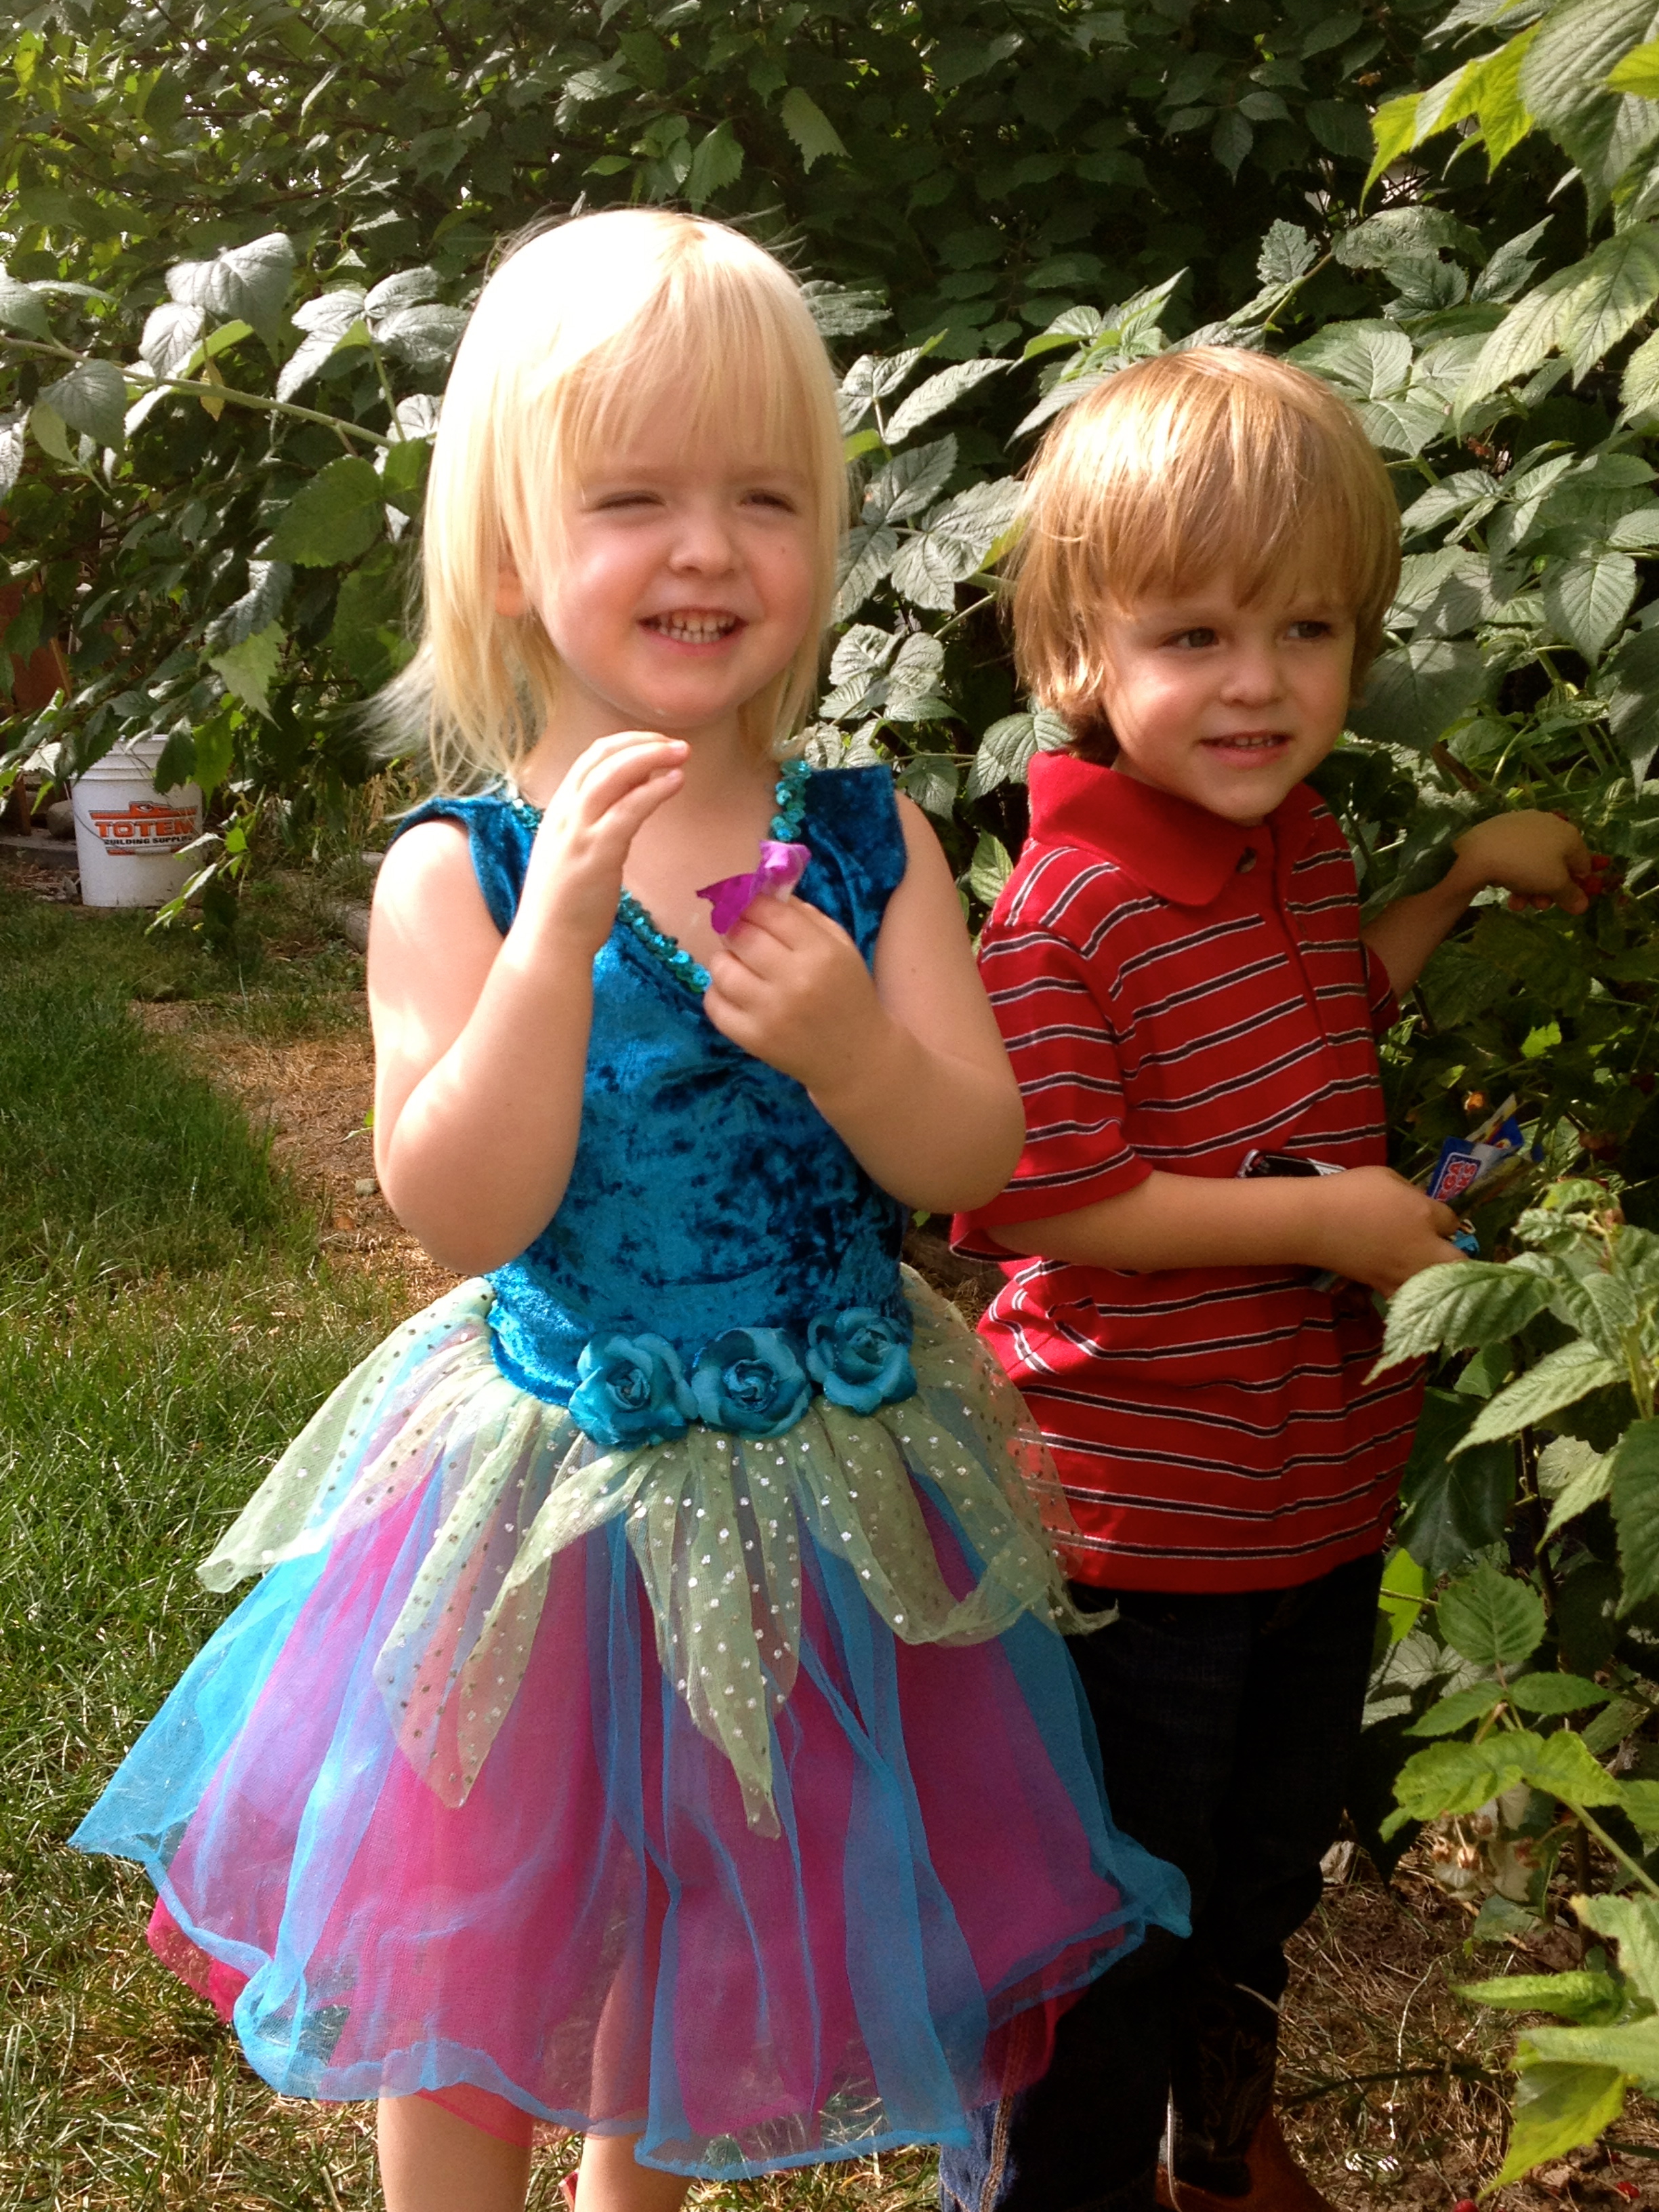
 I knew this was the year to go, I had already asked my parents to come with me one weekend and introduce the twins to the camping world, so the intention and plan was there. Interestingly though, I took them out a little earlier then planned, as one day I picked up and packed up at the last minute, when my friend at the time invited me out camping. Literally in 3 hours I had us all packed up and ready to go. When I told the twins we were going camping they were so exicted! Asking when we were leaving. I found this so interesting as they had no idea what camping even was at that point, and yet here they were clapping and excited waiting in anticipation for their trip.
We only ventured out for one night, which I think was smart considering they are still young and it was their first time. We drove out to a Provincial Park near Carseland and joined some friends in their trailer. The kids loved it, though it took them quite a while to settle when I put them to sleep, it being almost 11 pm before they went to sleep.

Bison at Elk Island
Recently we went out again, this time for 3 nights and in a tent. We camped at Elk Island National Park (where Bison are a plenty), just east of Edmonton as I wanted to make a side trip to the Jurassic Forest – a prehistoric park I learned about and wanted to check out (it was fabulous btw and I would recommend for any dinosaur lovers, young and old)
D’Wayne braved it and came with us once more (what a wonderful man!). It still took til 10 or 11 each night for the twins to settle and go to sleep, though I put them down about 8 each night, and usually with them asking to go to bed because they were tired. And though I stuck to a similar bedtime routine from home, pyjamas, brush teeth and story, they still bounced around and played no matter what we did to try and get them to sleep.
And honestly I found the same with Matthew when he was younger. There was no way we could get him to go to bed, and it was even worse because he was by himself and would come out of the tent (at least the twins play with each other and stay in the tent, well for the most part). So we ended up just keeping him up with us and all going to bed together.
 The blessing was though they went to sleep late they would sleep in til 9 or 10 in the morning, which threw everything off, but isn’t that what camping is about, throwing routine out the window?
Overall though we had a great time, though all a little tired when we came back and brave enough to head out again one more time in August!
Other than the sleep challenges I think camping in general can be easy with kids with the right attitude, the right support and person to go with. Here are some tips to make not only the kids first camping trip successful but any future ones as well.
Tips for a Successful Camping Trip with Kids
Keep to a routine – I know I said above that one of the things I love about camping is that there is no routine or deadline but even if it is not your regular routine at home I think having some kind of routine, even if it is a loose one, will help the kids and you to have a good time. Keep it somewhat predicatable so they know what’s coming i.e. breakfast, clean up, walk, lunch, play at the beach(or other activity), supper, clean up, hang out at the campsite, bed (and I would recommend keeping whatever bedtime you choose the same while you are out camping, even if it is a later one)

Breakfast time
Feed them on a regular basis – this may sound silly I know but I myself get kind of lazy when camping about meal times. Keep meal times predictable and consistent and provide more snacks (I find I am more hungry when I am out camping and we eat more in general) – don’t give the kids lunch at 4 in the afternoon, and if you’ve just finished breakfast and they say they are ready for lunch, feed them, or at least give them a snack and have lunch sooner rather than later
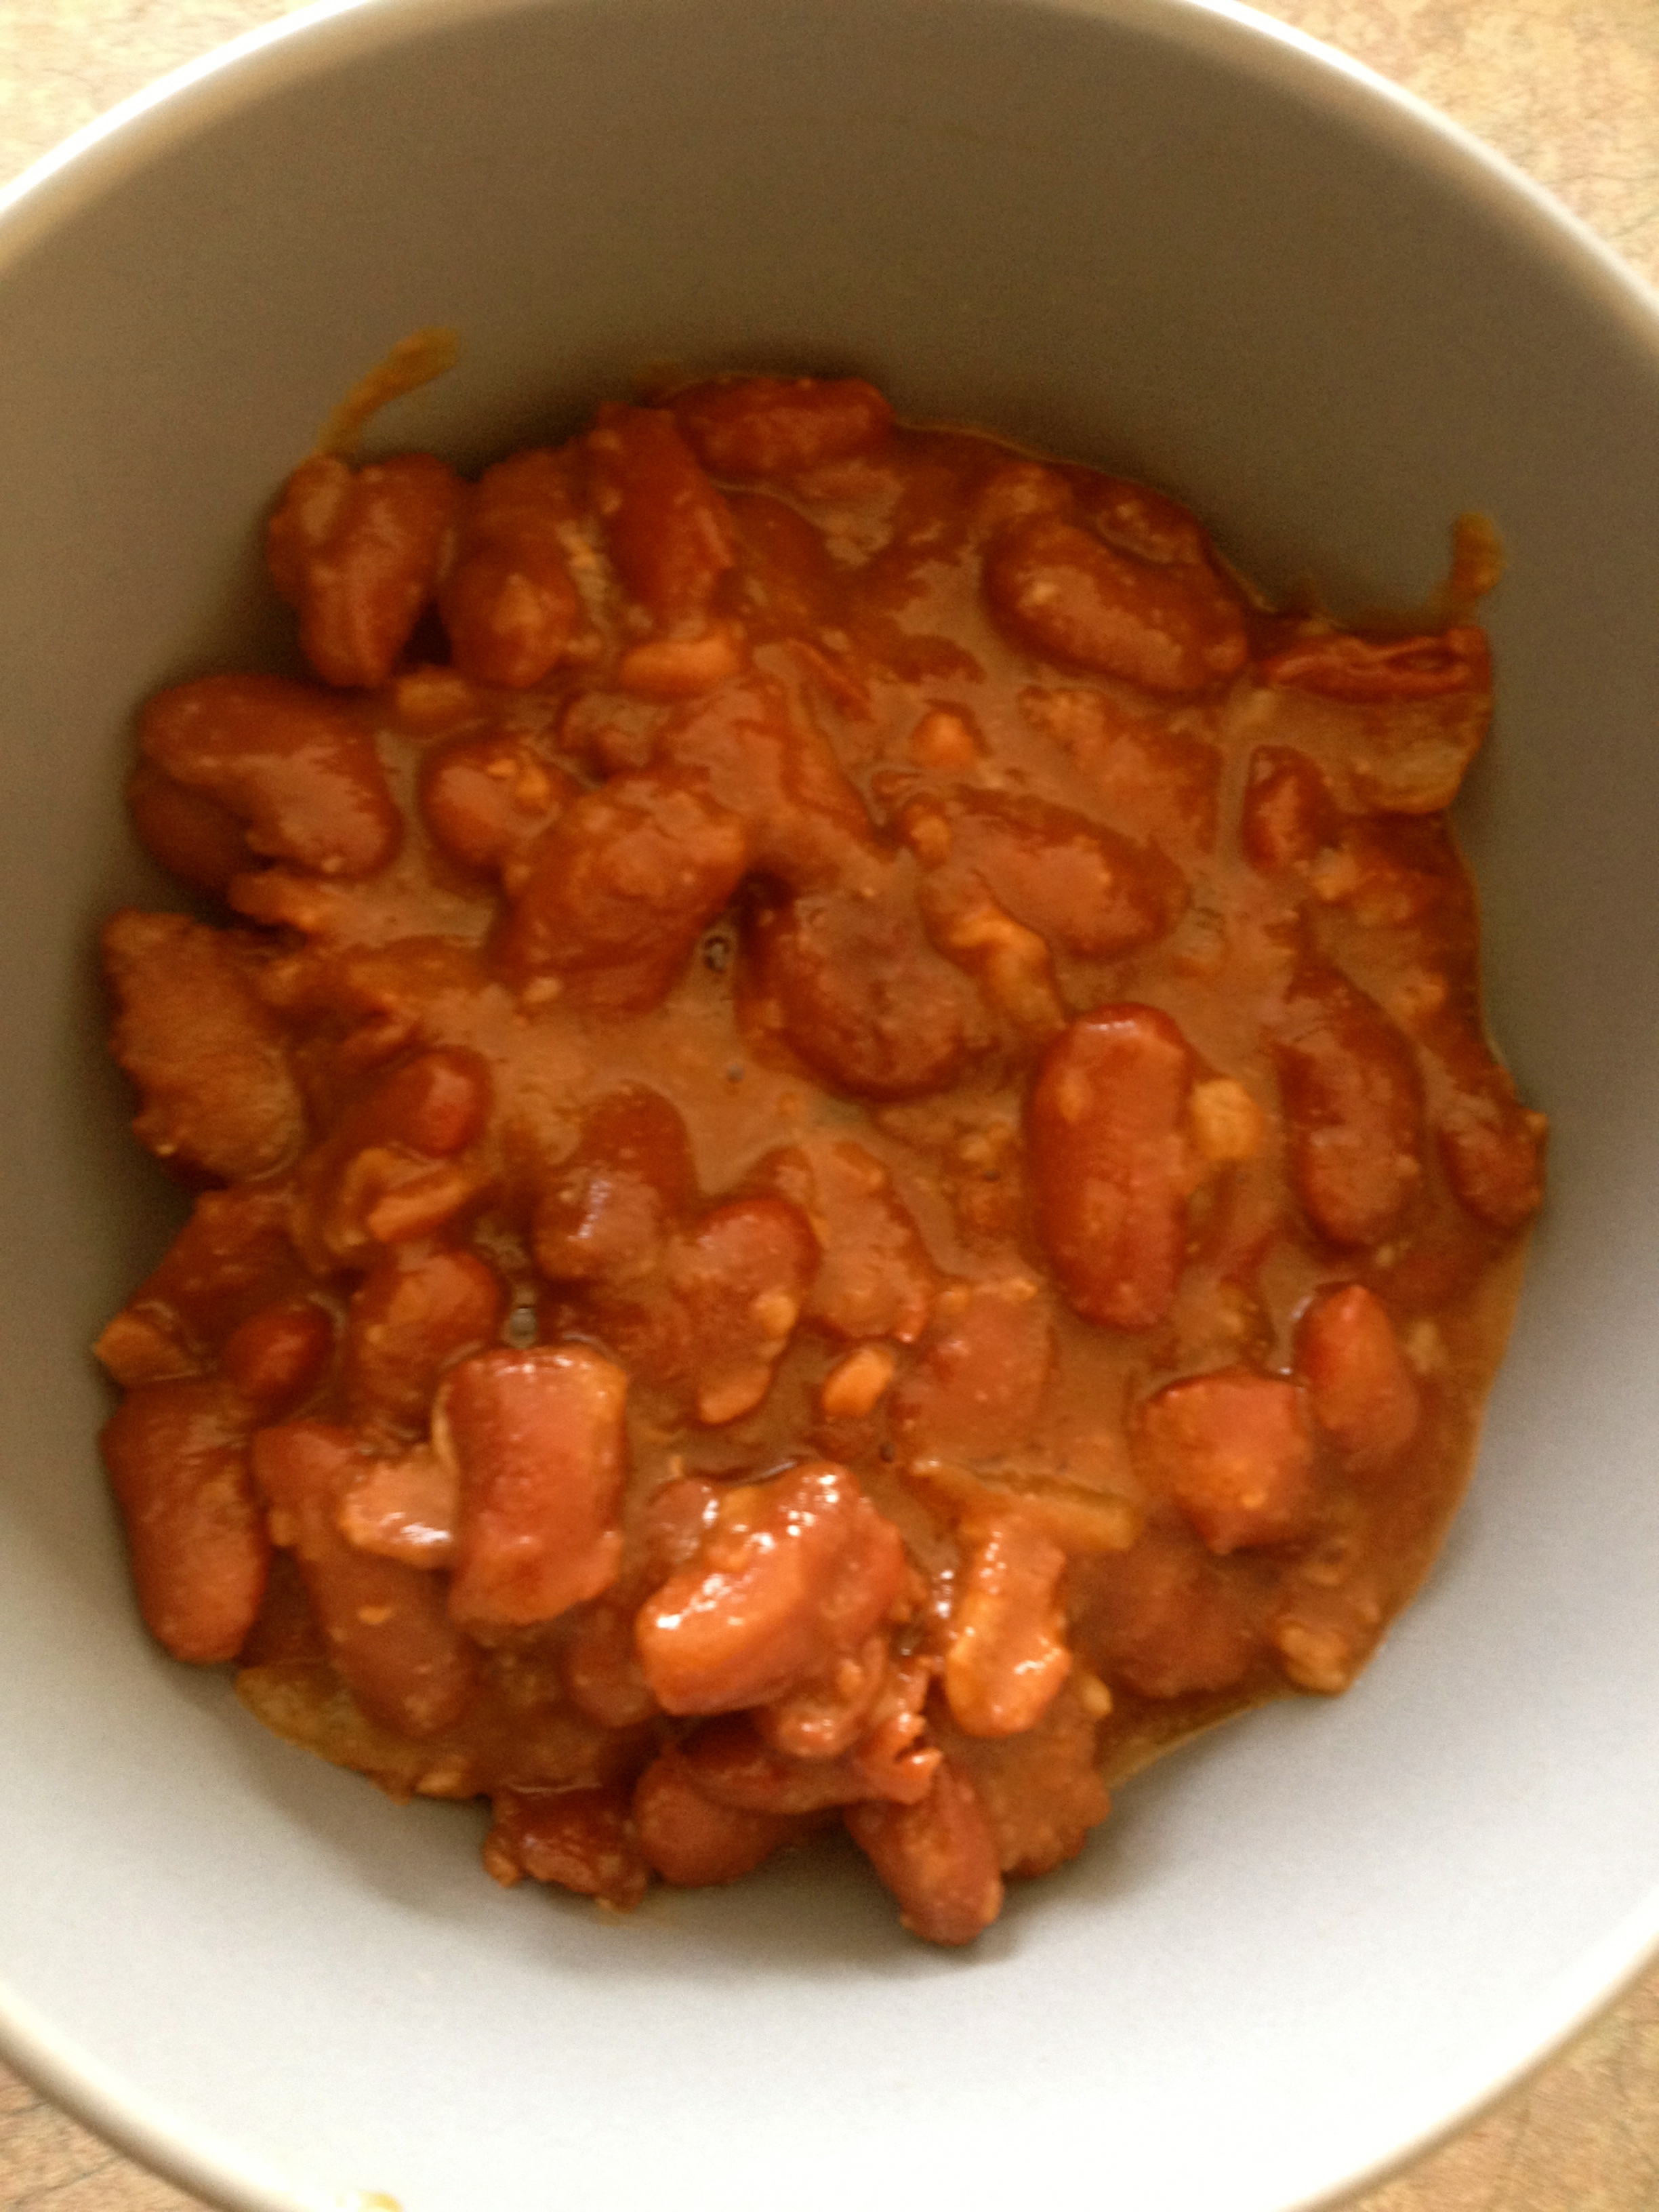
Plan meals that are fast, healthy and easy – there are lots of great camping recipes out there that are fun, easy and nutritious. You can get creative with those or use some of your regular ones. Make it easy on yourself by ensuring that they are not overly involved and they can be prepared quickly for hungry kids. This will reduce stress on yourself and prevent you from having grumpy children simply because they are hungry.
Have them drink lots of water – when they are outside they tend to burn more energy, are spending more time in the sun and are just more active all around. Keeping them hydrated will make a big difference in their fatigue and hunger levels, as well as preventing them from overheating or getting sick.
 Have a consistent bedtime – whether they are sleeping in a tent or camper and end up playing before they actually go to sleep, at least they have a predictable bed time (even if it is later than usual) and wind down before sleep. They will also be contained and even though they might be up the adults can have some kind of adult time. And you never know they might go to sleep sooner… ha ha
Pick a site close to the bathroom and a playground (or as close as possible) – this is especially important with toddlers who need to go to the bathroom more frequently. This will save you making long treks back and forth to the bathroom (I can’t tell you how many times I went to the bathroom with the twins and then went back again what felt like minutes later). Being close to the playground is also a God send as the kids can play and be entertained and you can still keep a close eye on them as you do things around your campsite. My parents always got a spot close to the playground when we went out and it made it easier for everyone.
 Bring some outdoor toys and toys that they love (things that make them feel secure – favorite blanket, pillow, stuffed toy)- my son Luke loves to play with his trucks in the sand, so when we go camping I always bring his sand toys. On our last trip our site was close to a big sand pit which he would just go and play in for long periods of time. It was great cause he was within eye sight, not too far away and engaged for a long time. We also bring other toys like a ball and glove, soccer ball, plastic horseshoes.
Start small – for the first few times out do not go on a week long camping trip or a with a long drive to get there. Take the kids out in little bits, one or two nights at a time with shorter drives, not only for the kids to get used to it but for yourself as well 🙂
Bring a nature bag – include crayons, paper, magnifying glass, plant or flower book. Kids love to explore and play in nature, some of these simple tools will enrich and enhance their experience and keep them occupied.

Mom this is a huge dandelion!
Go for a walk/ hike – Take a short walk on a nearby trail. Bring your nature bag and explore.
Do a Scavenger Hunt – you can create one yourself for around the campsite or you’ll find some campgrounds that have some pre made for you to just pick up and follow
Sleep – do your best to get enough sleep not only for the kids but yourself as well. Although tempting to stay up once the kids are finally asleep, if you are well rested you will be better able to handle the kids regardless of their moods. Maybe stay up a little but not so late that you are exhausted the next day
Patience – Be patient with yourself and the kids. You are out there to relax and enjoy yourselves. It is a time to be together and enjoy and appreciate nature as well as each other. You get to know each other on a different level when you are out camping, it is a unique and rich experience. You can adopt a go with the flow attitude and still keep the kids fed and rested so you can all have a wonderful time!

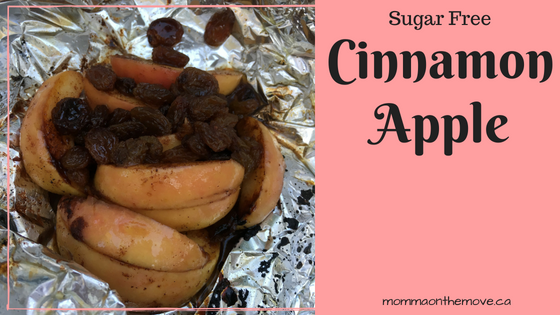
 As camping season begins, I start to think about all the delicious camping meals and snacks that we enjoy. Planning carefully which ones to include, because we can’t go without the favorites, and which new ones to try.
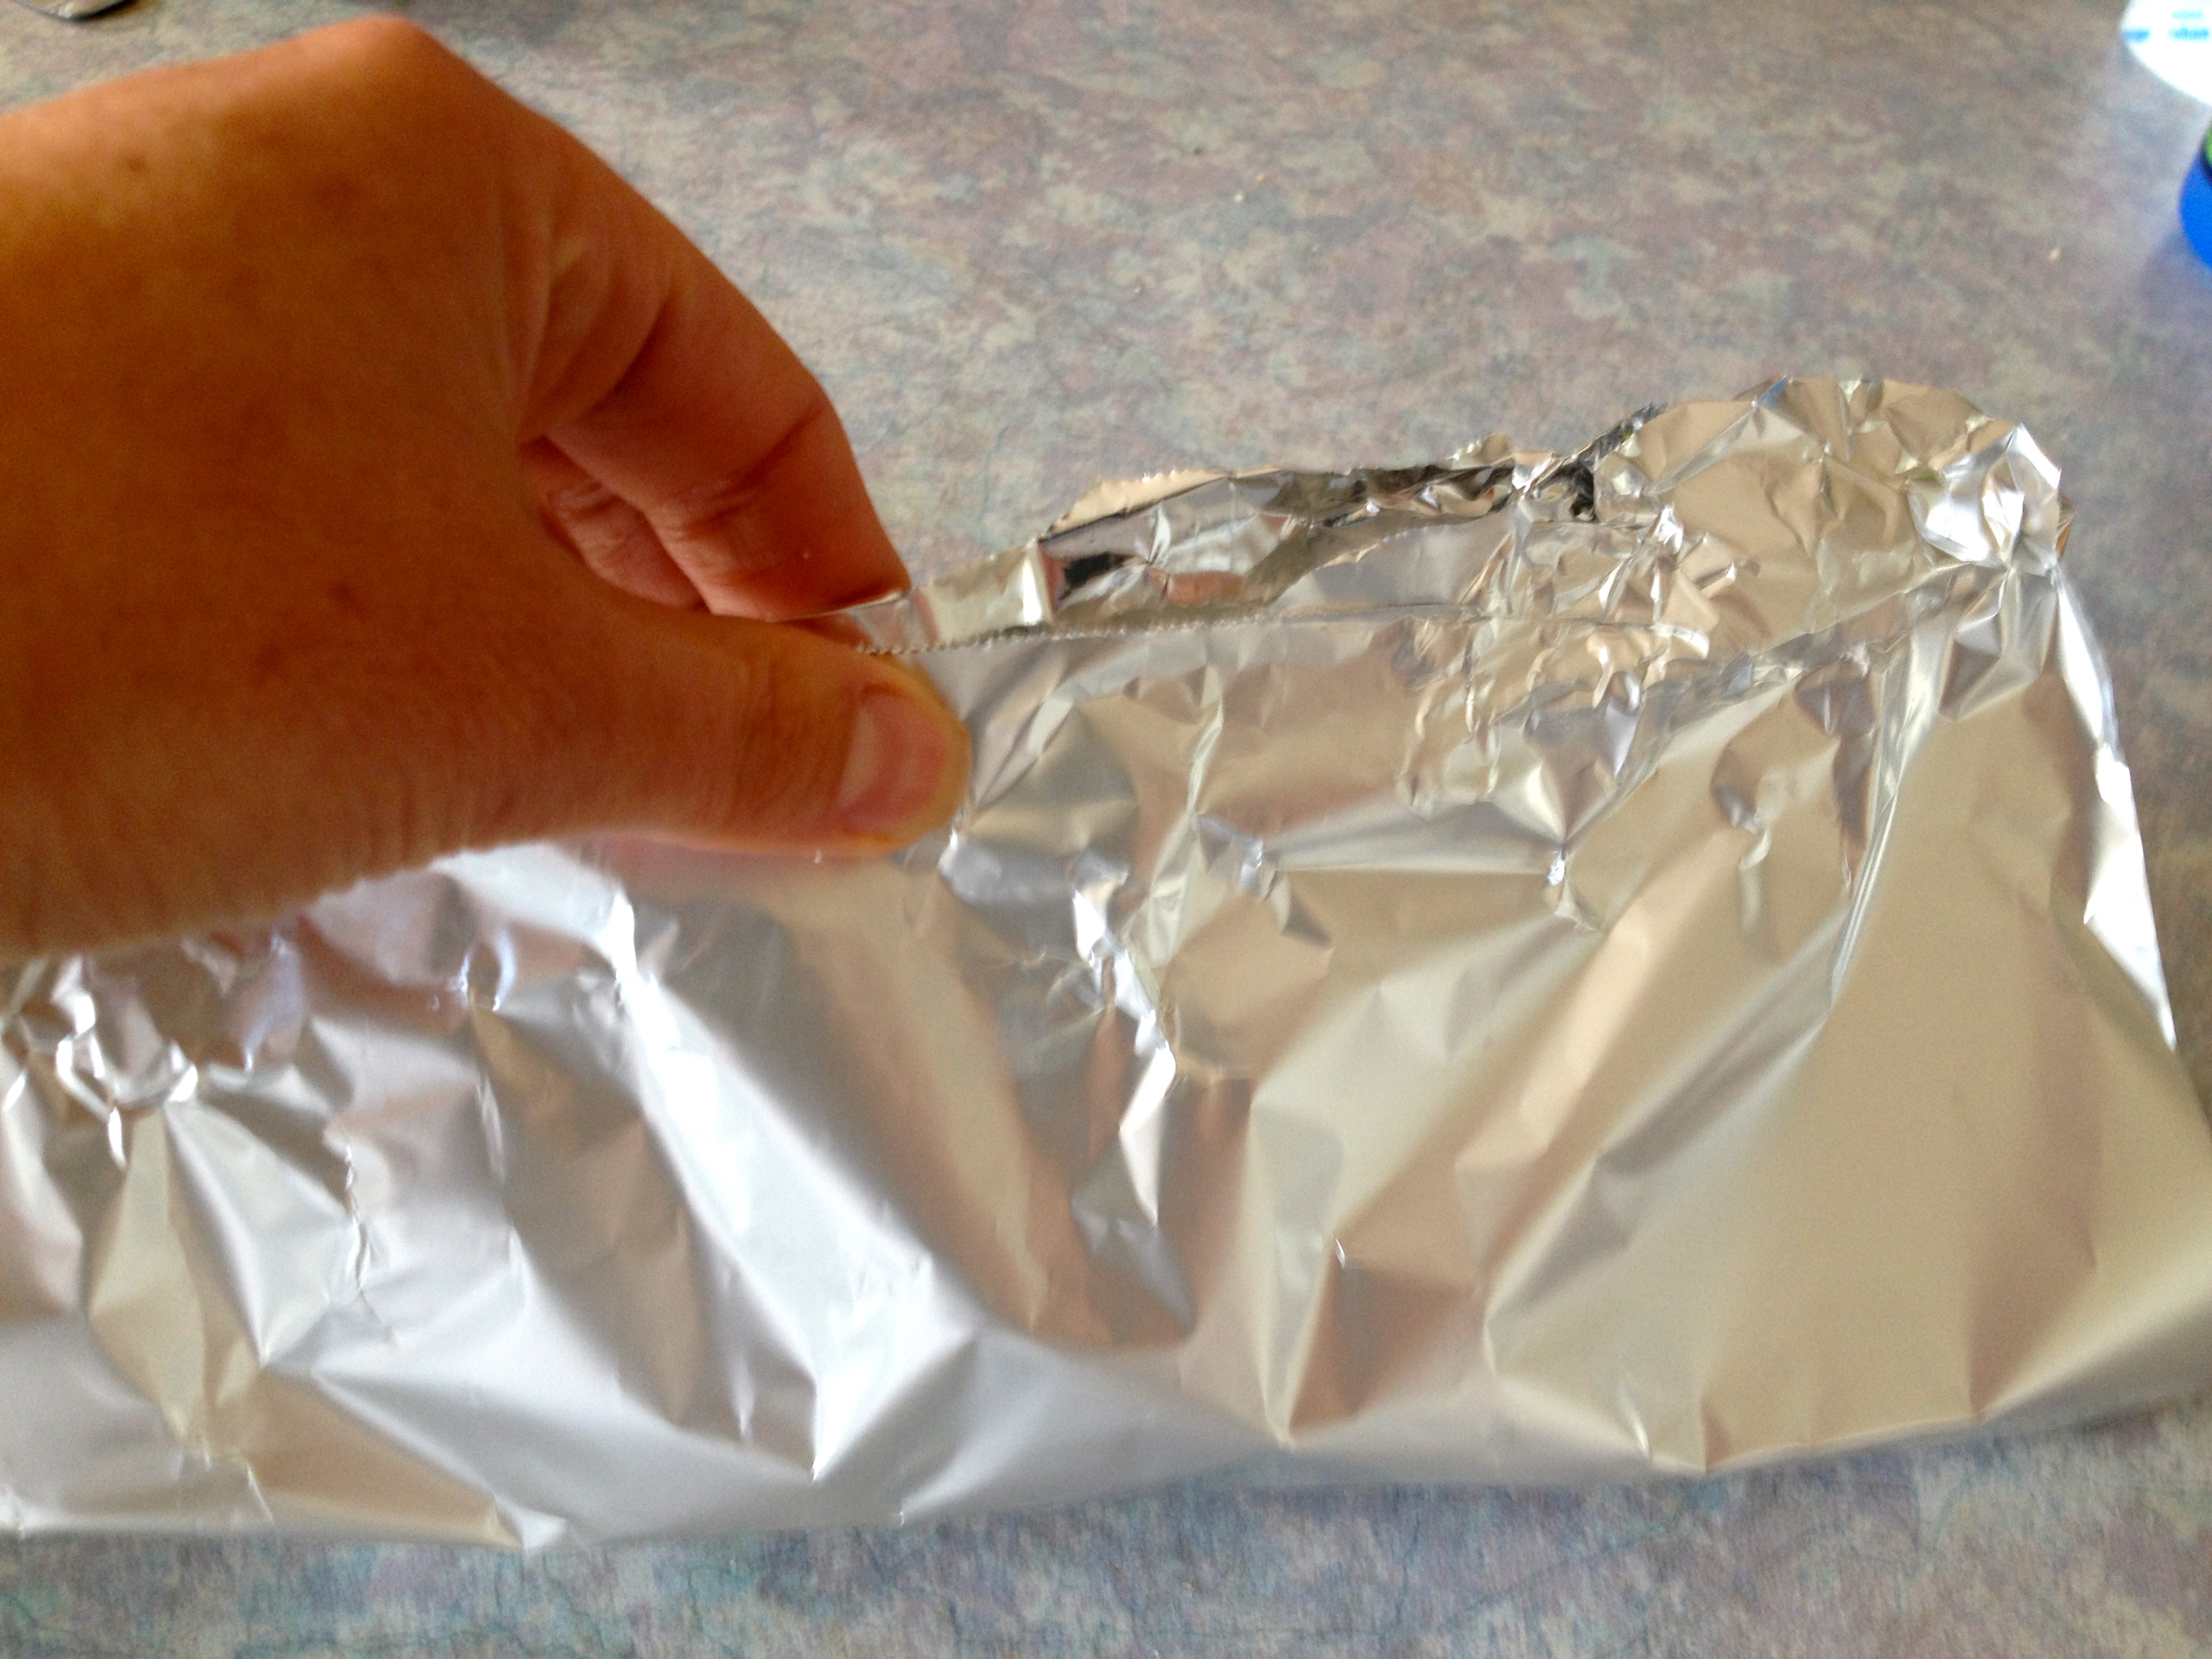
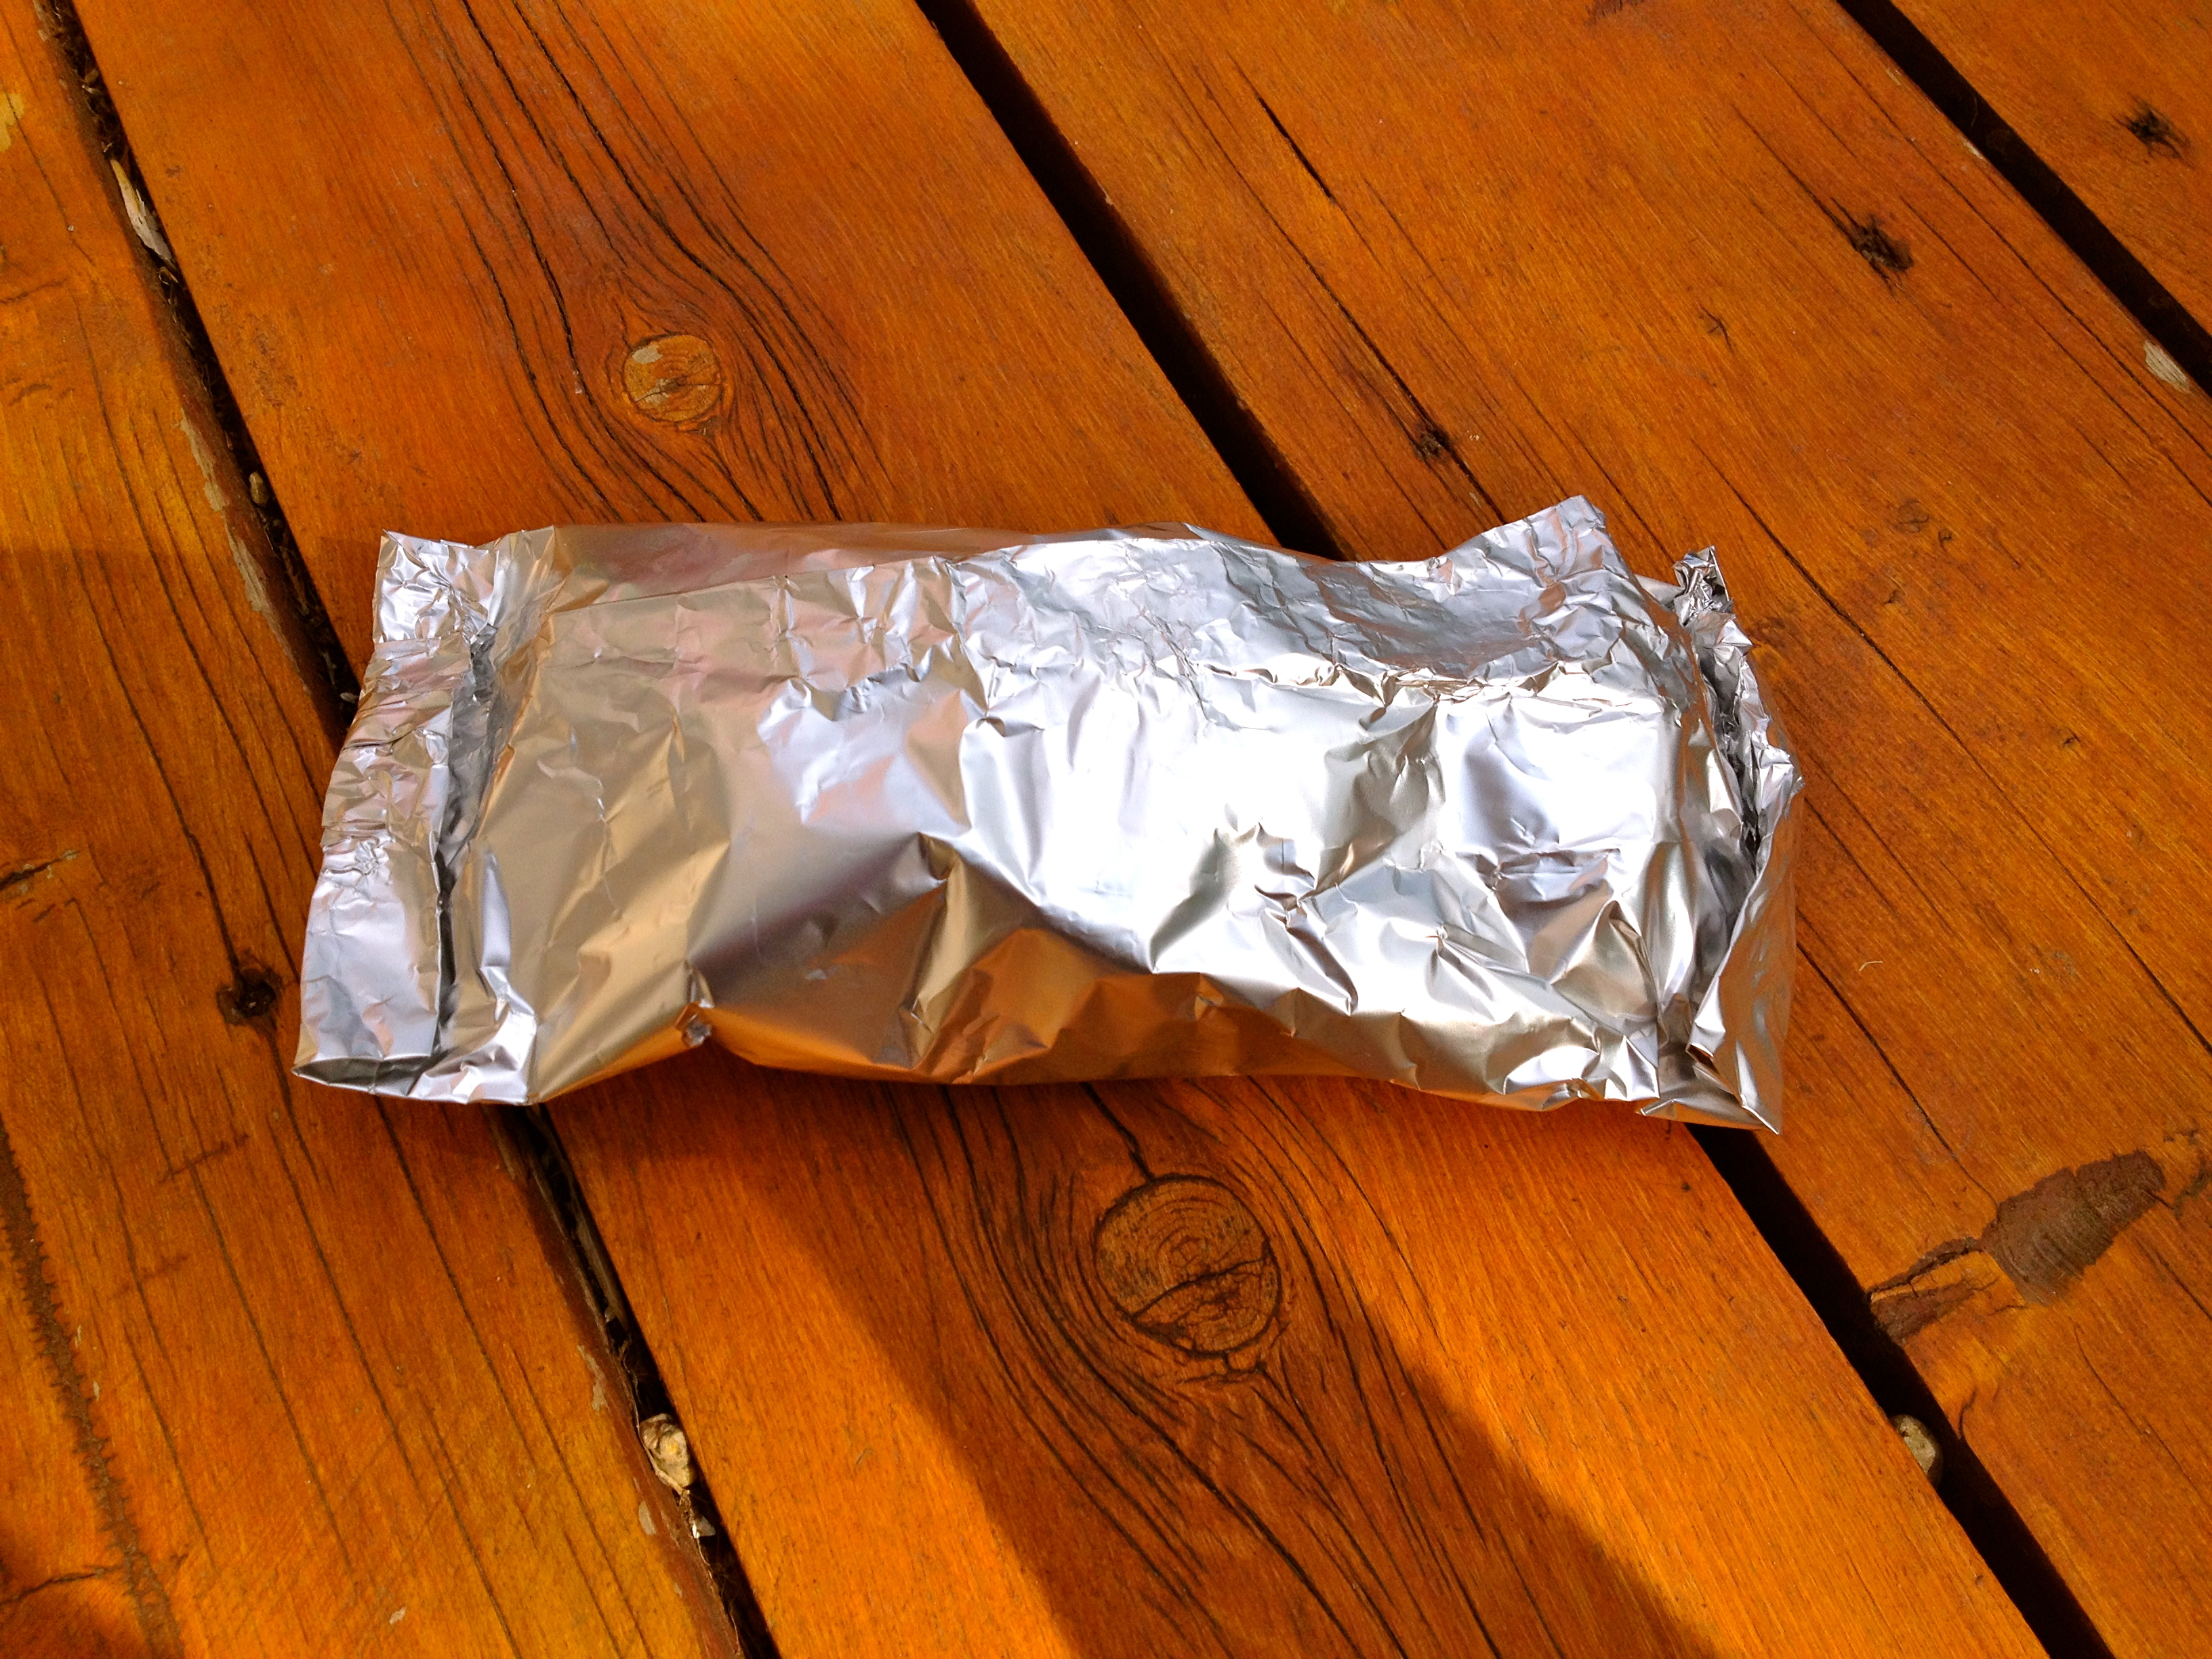
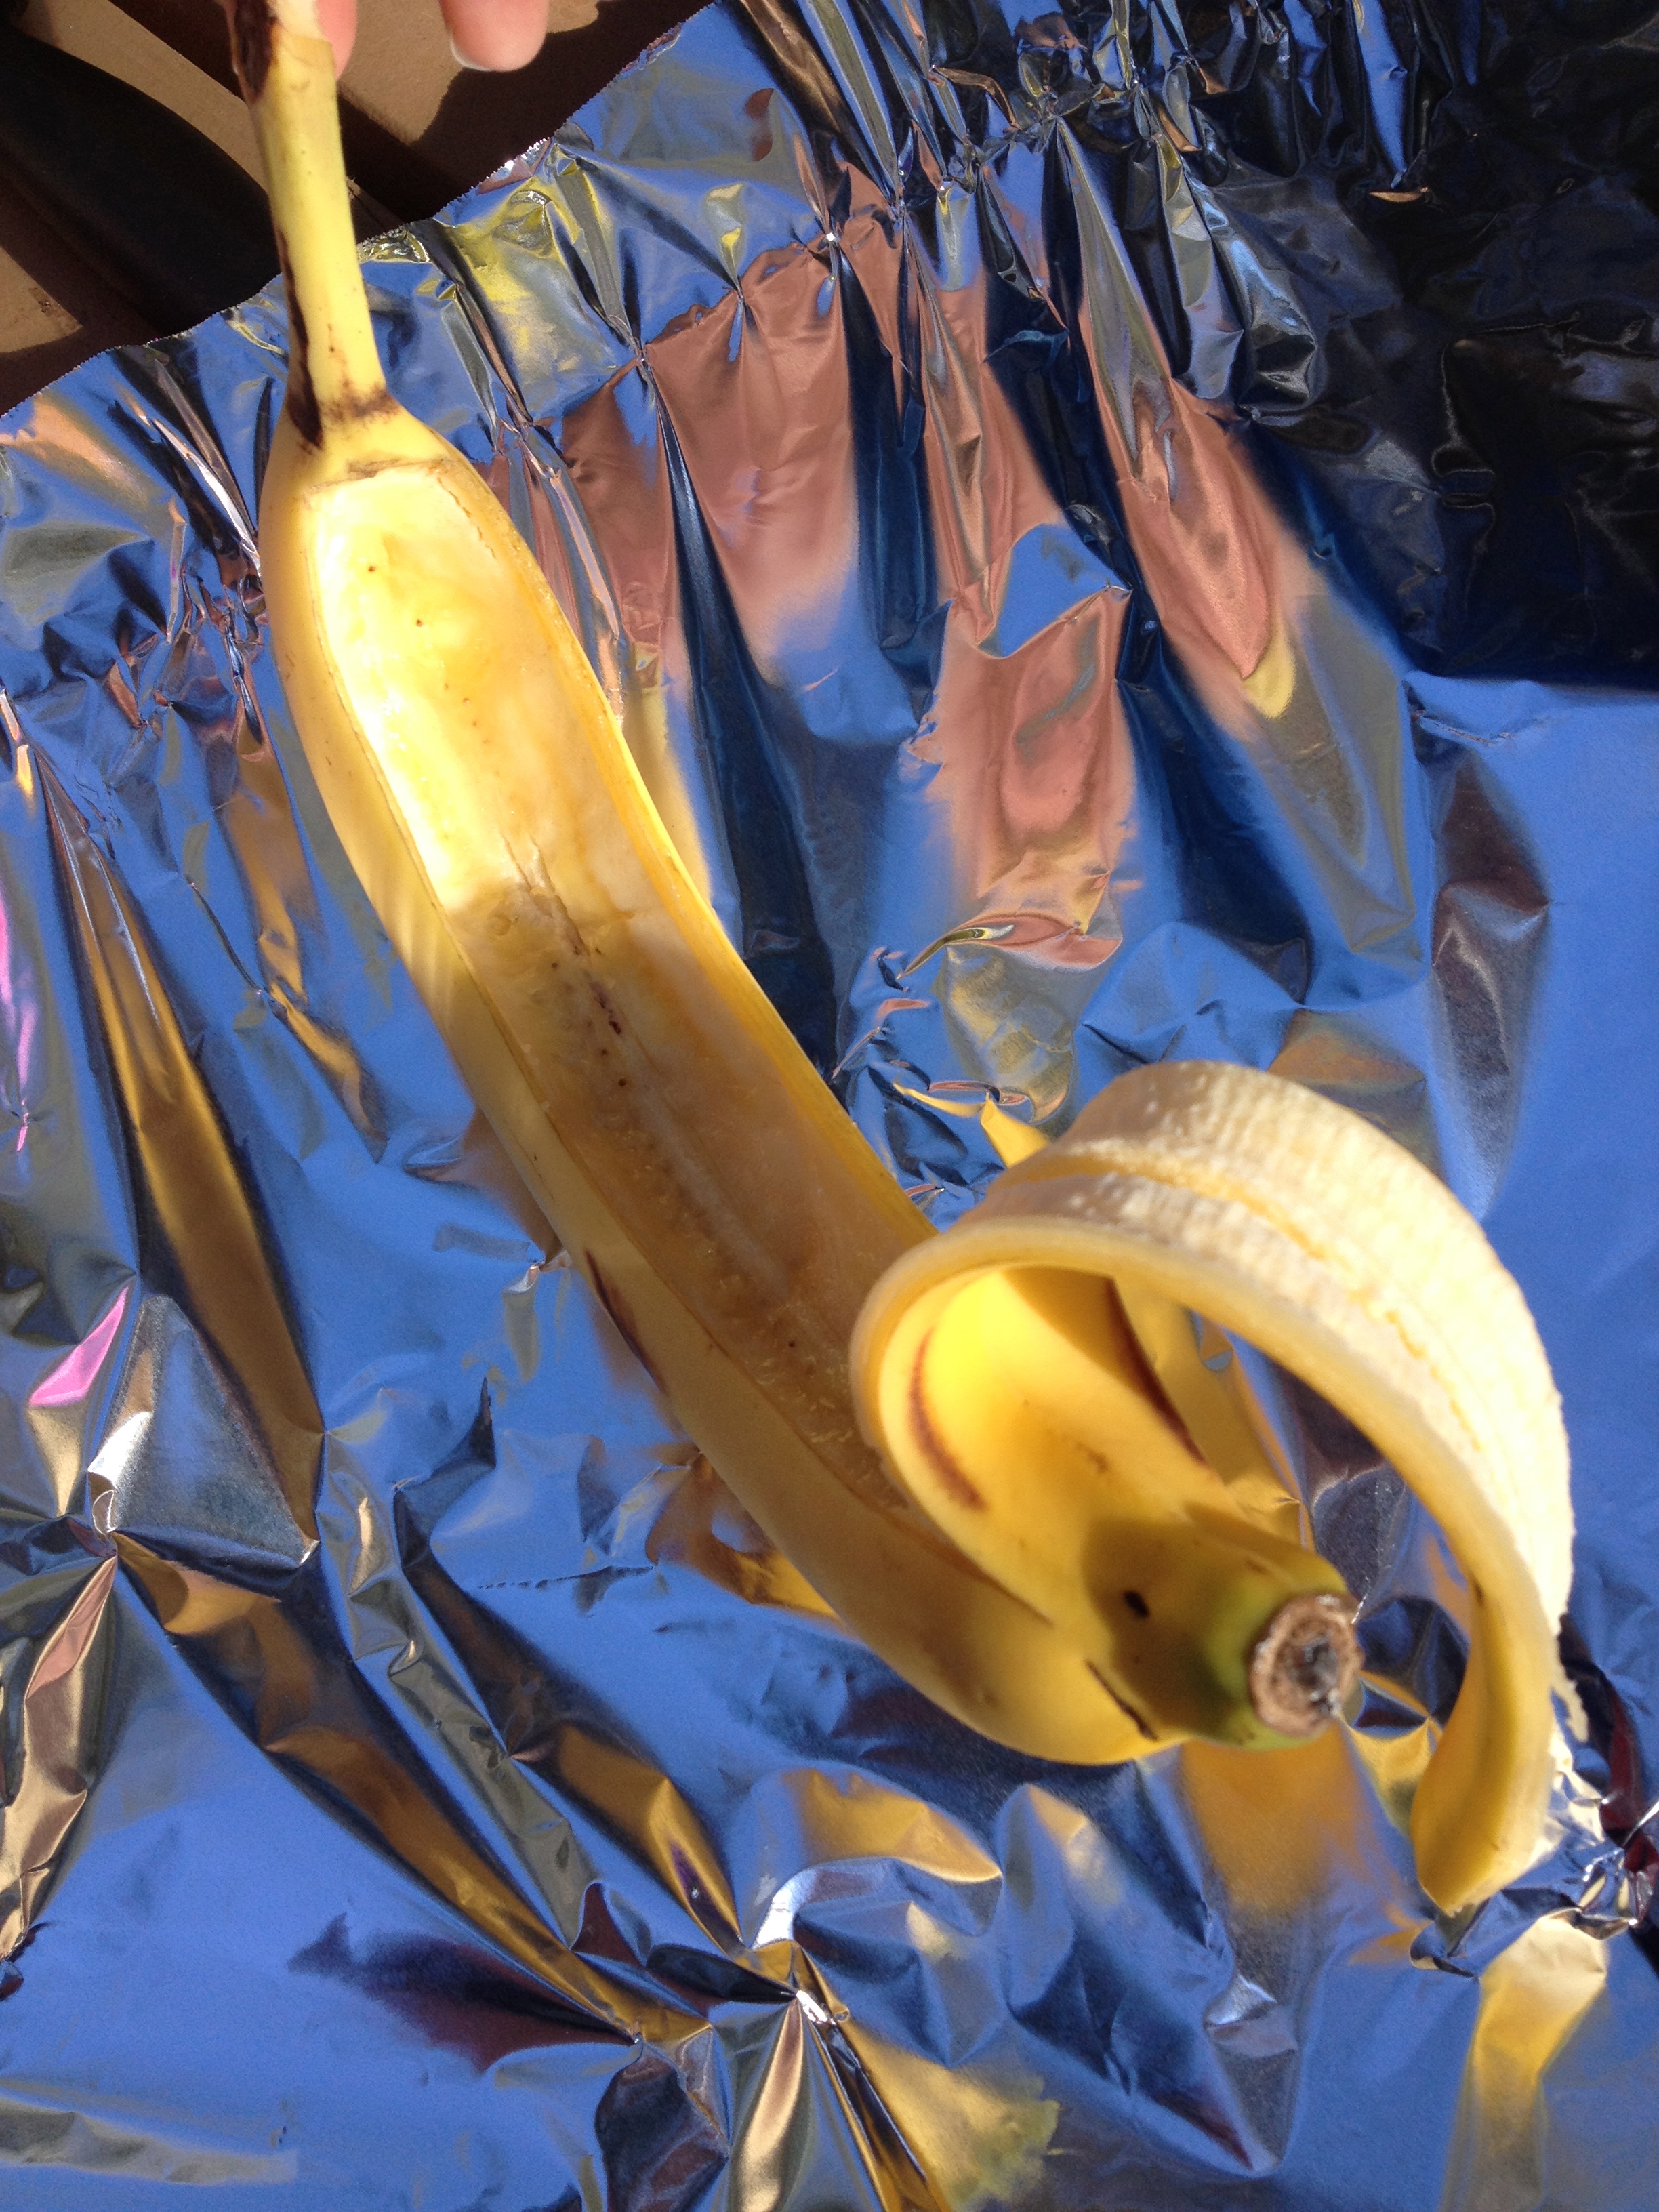 Cut peel of banana down the sides and across top of banana, creating a flap that you can open. Do not cut the bottom. With a spoon eat out part of the banana. Eat/ scoop out enough to create a space to put in chocolate and marshmallows, but do not eat down to the peel on the other side, you want to leave some banana there.
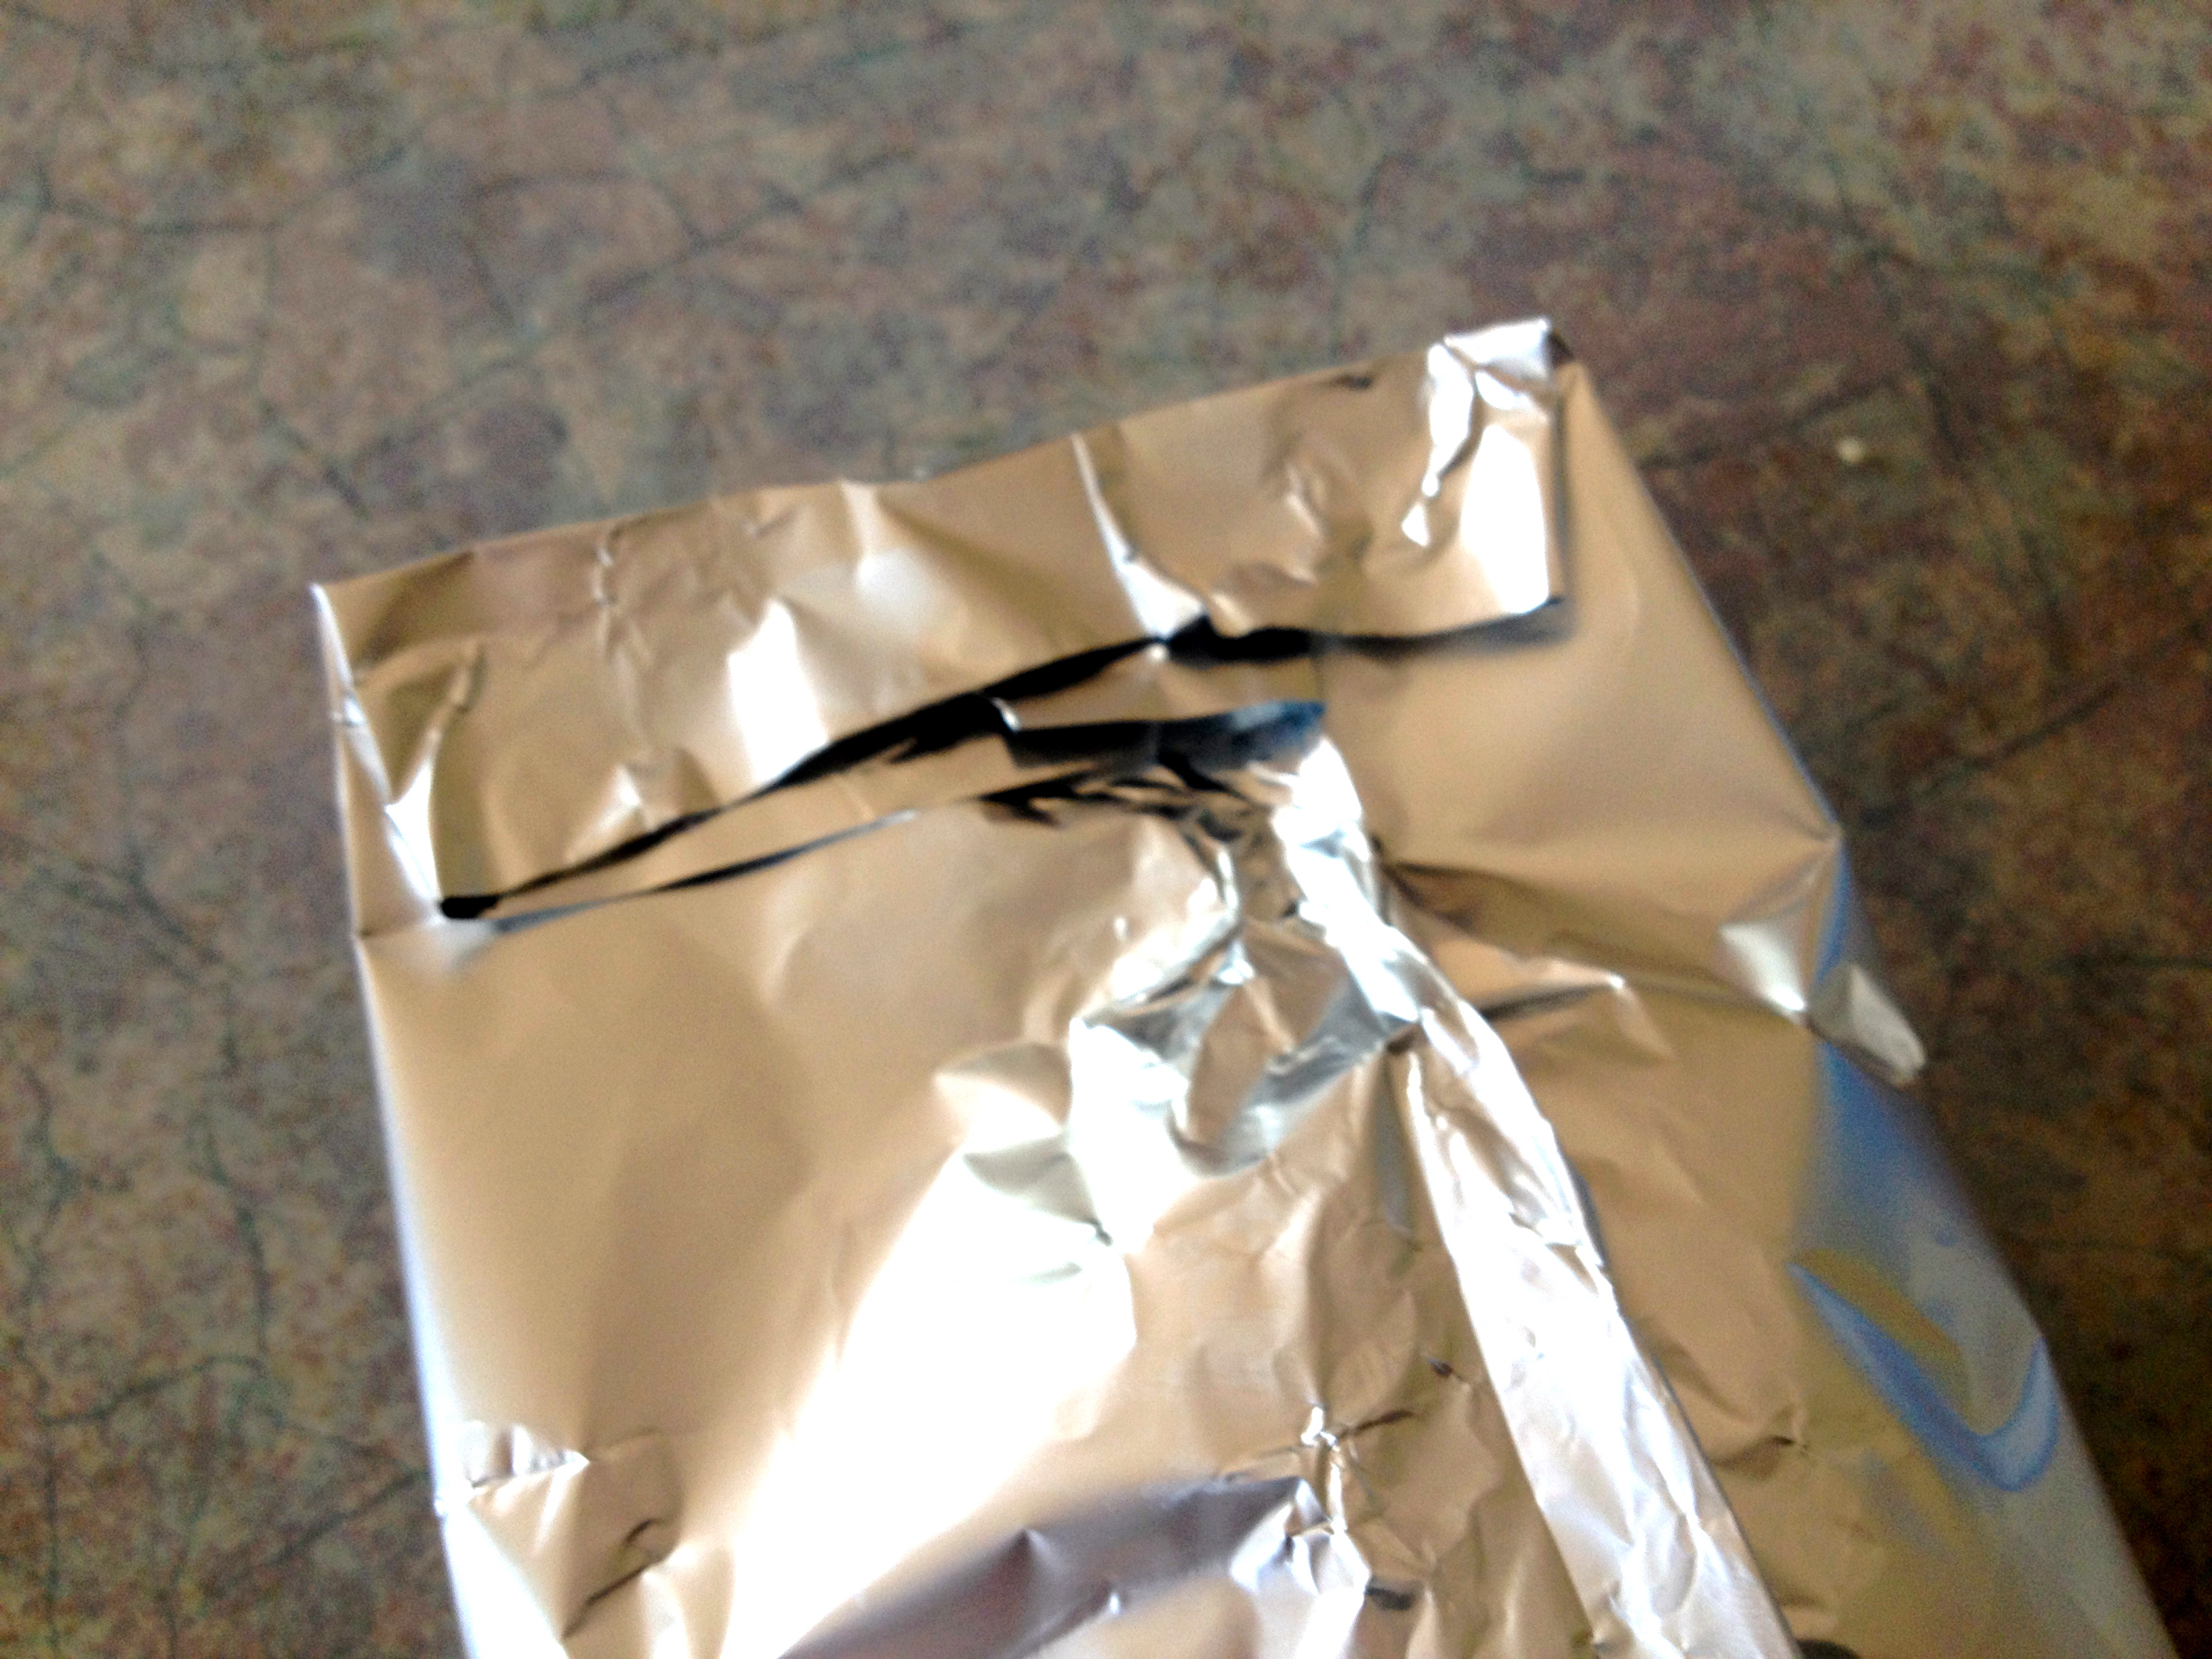
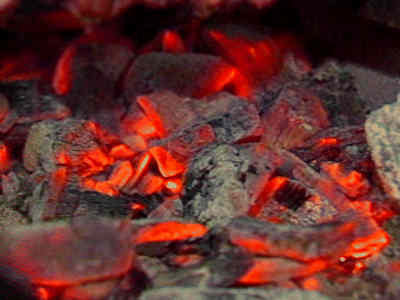
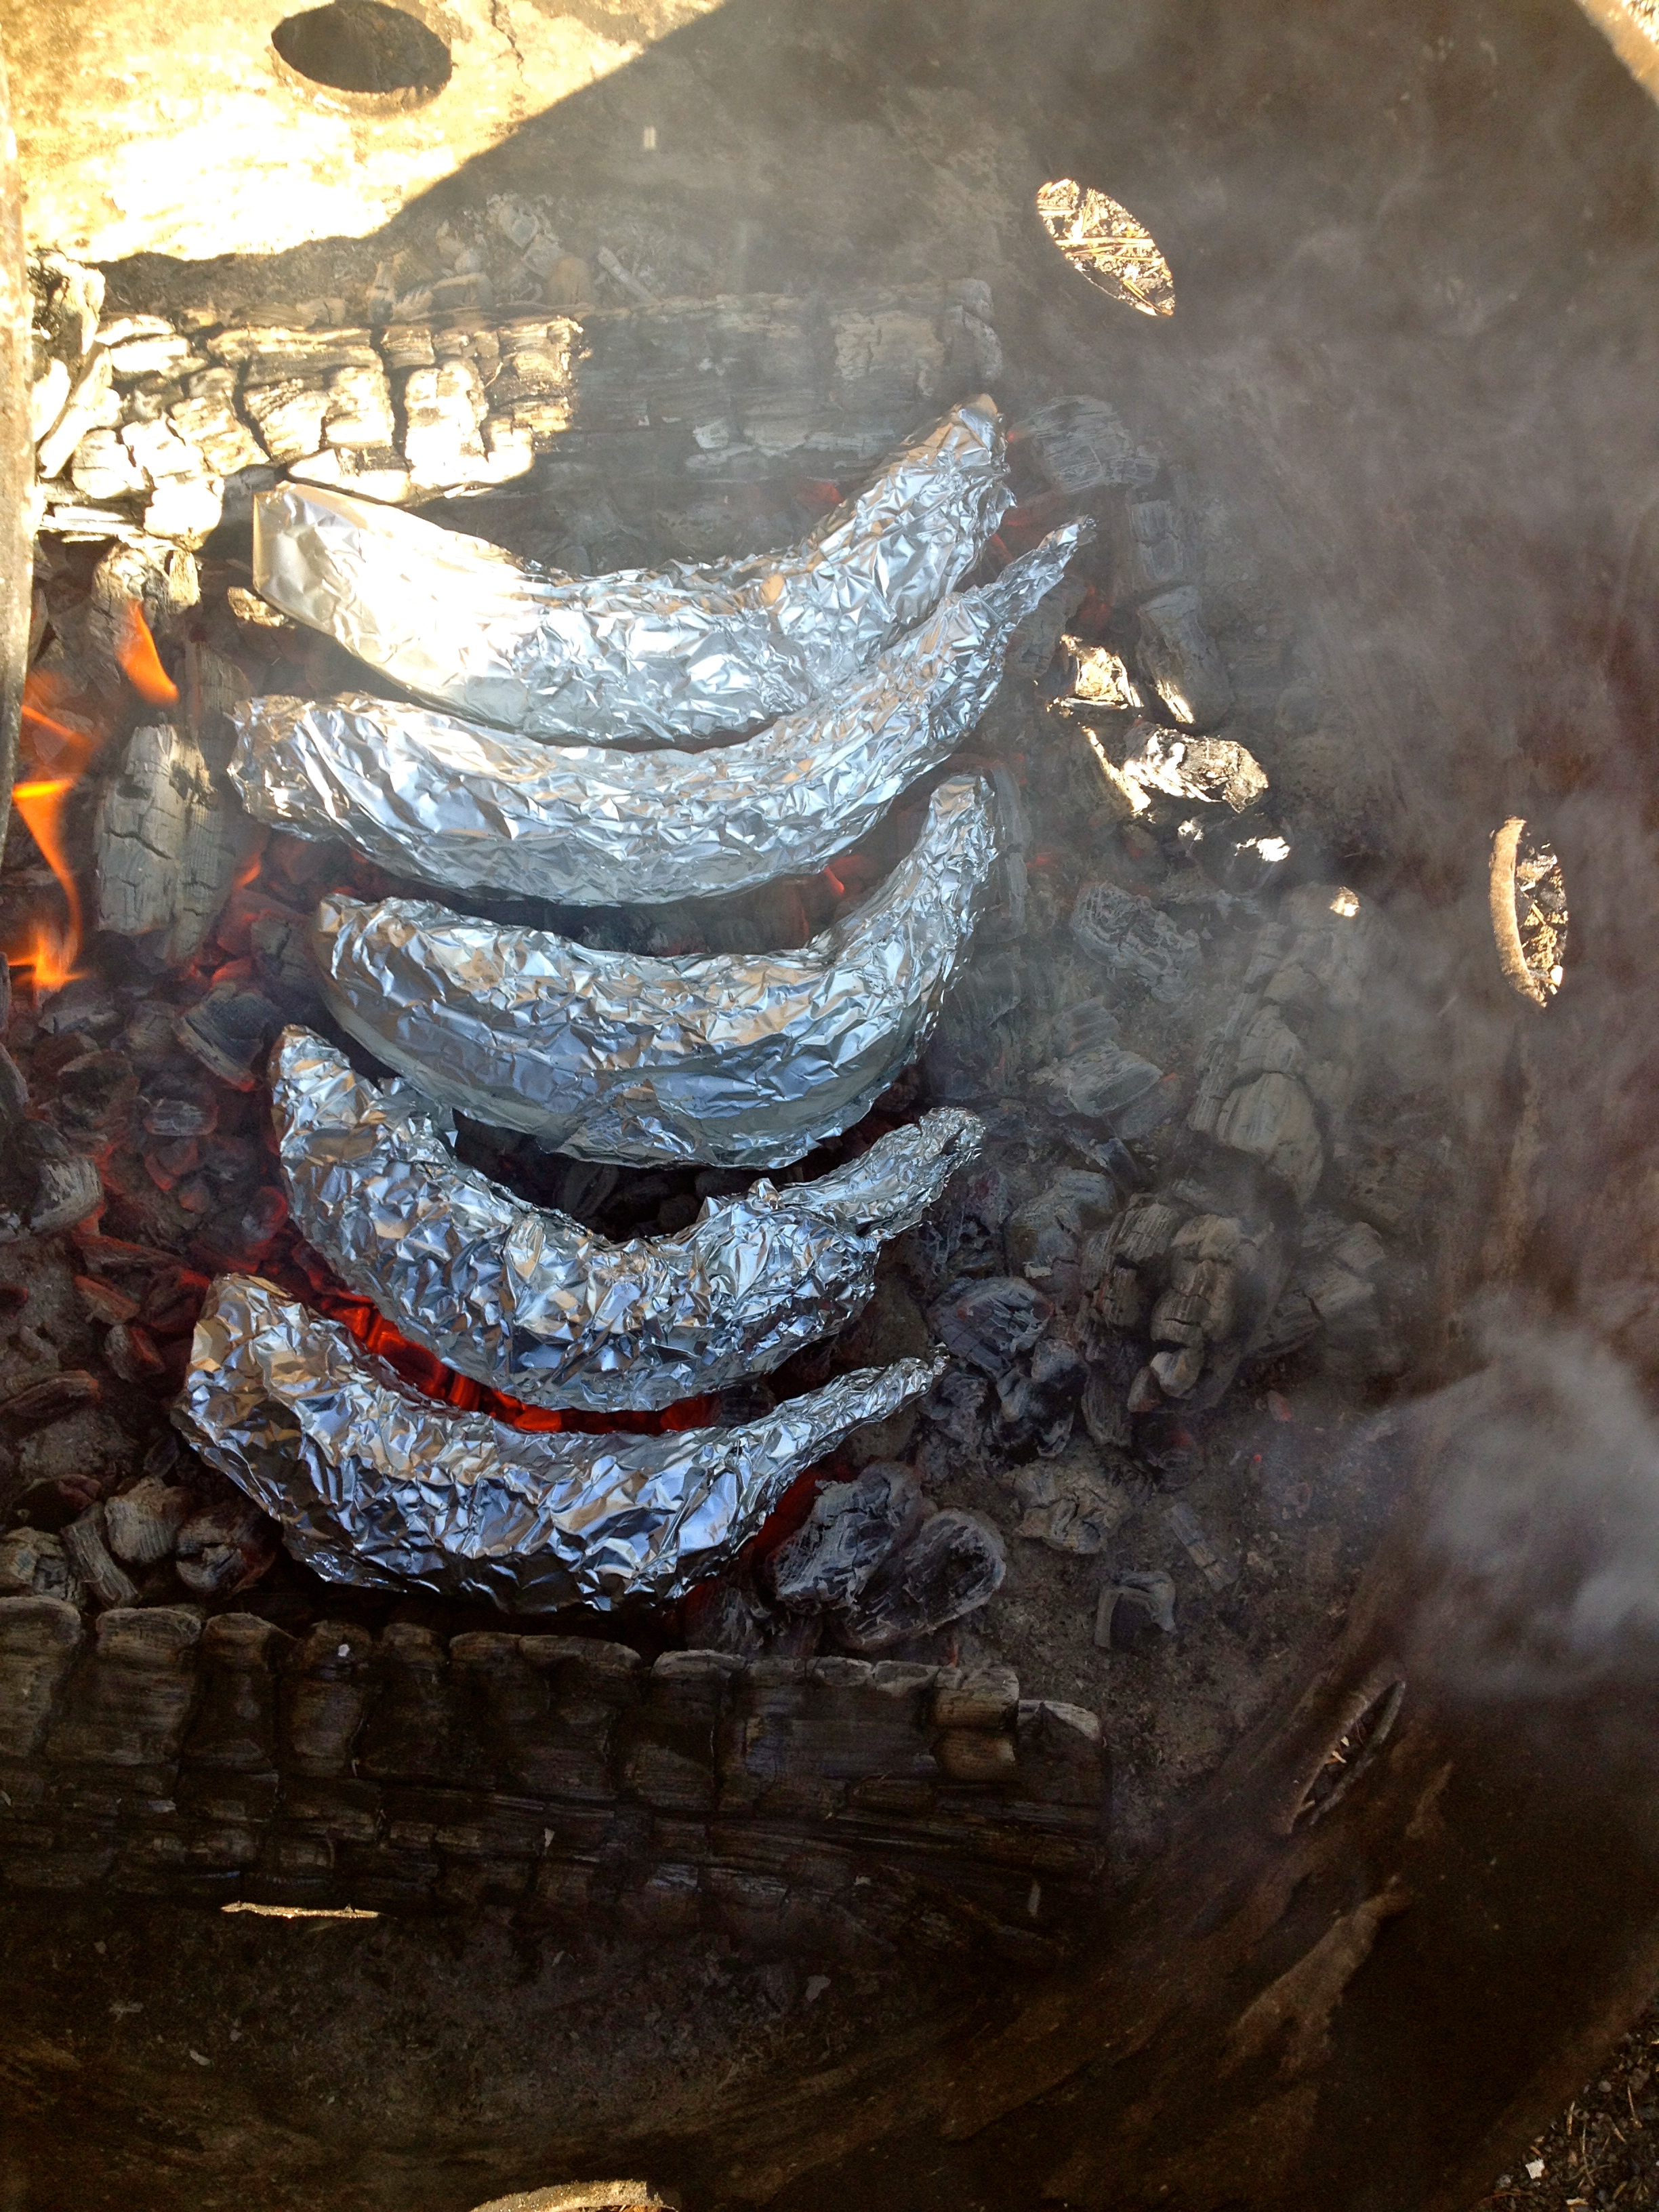
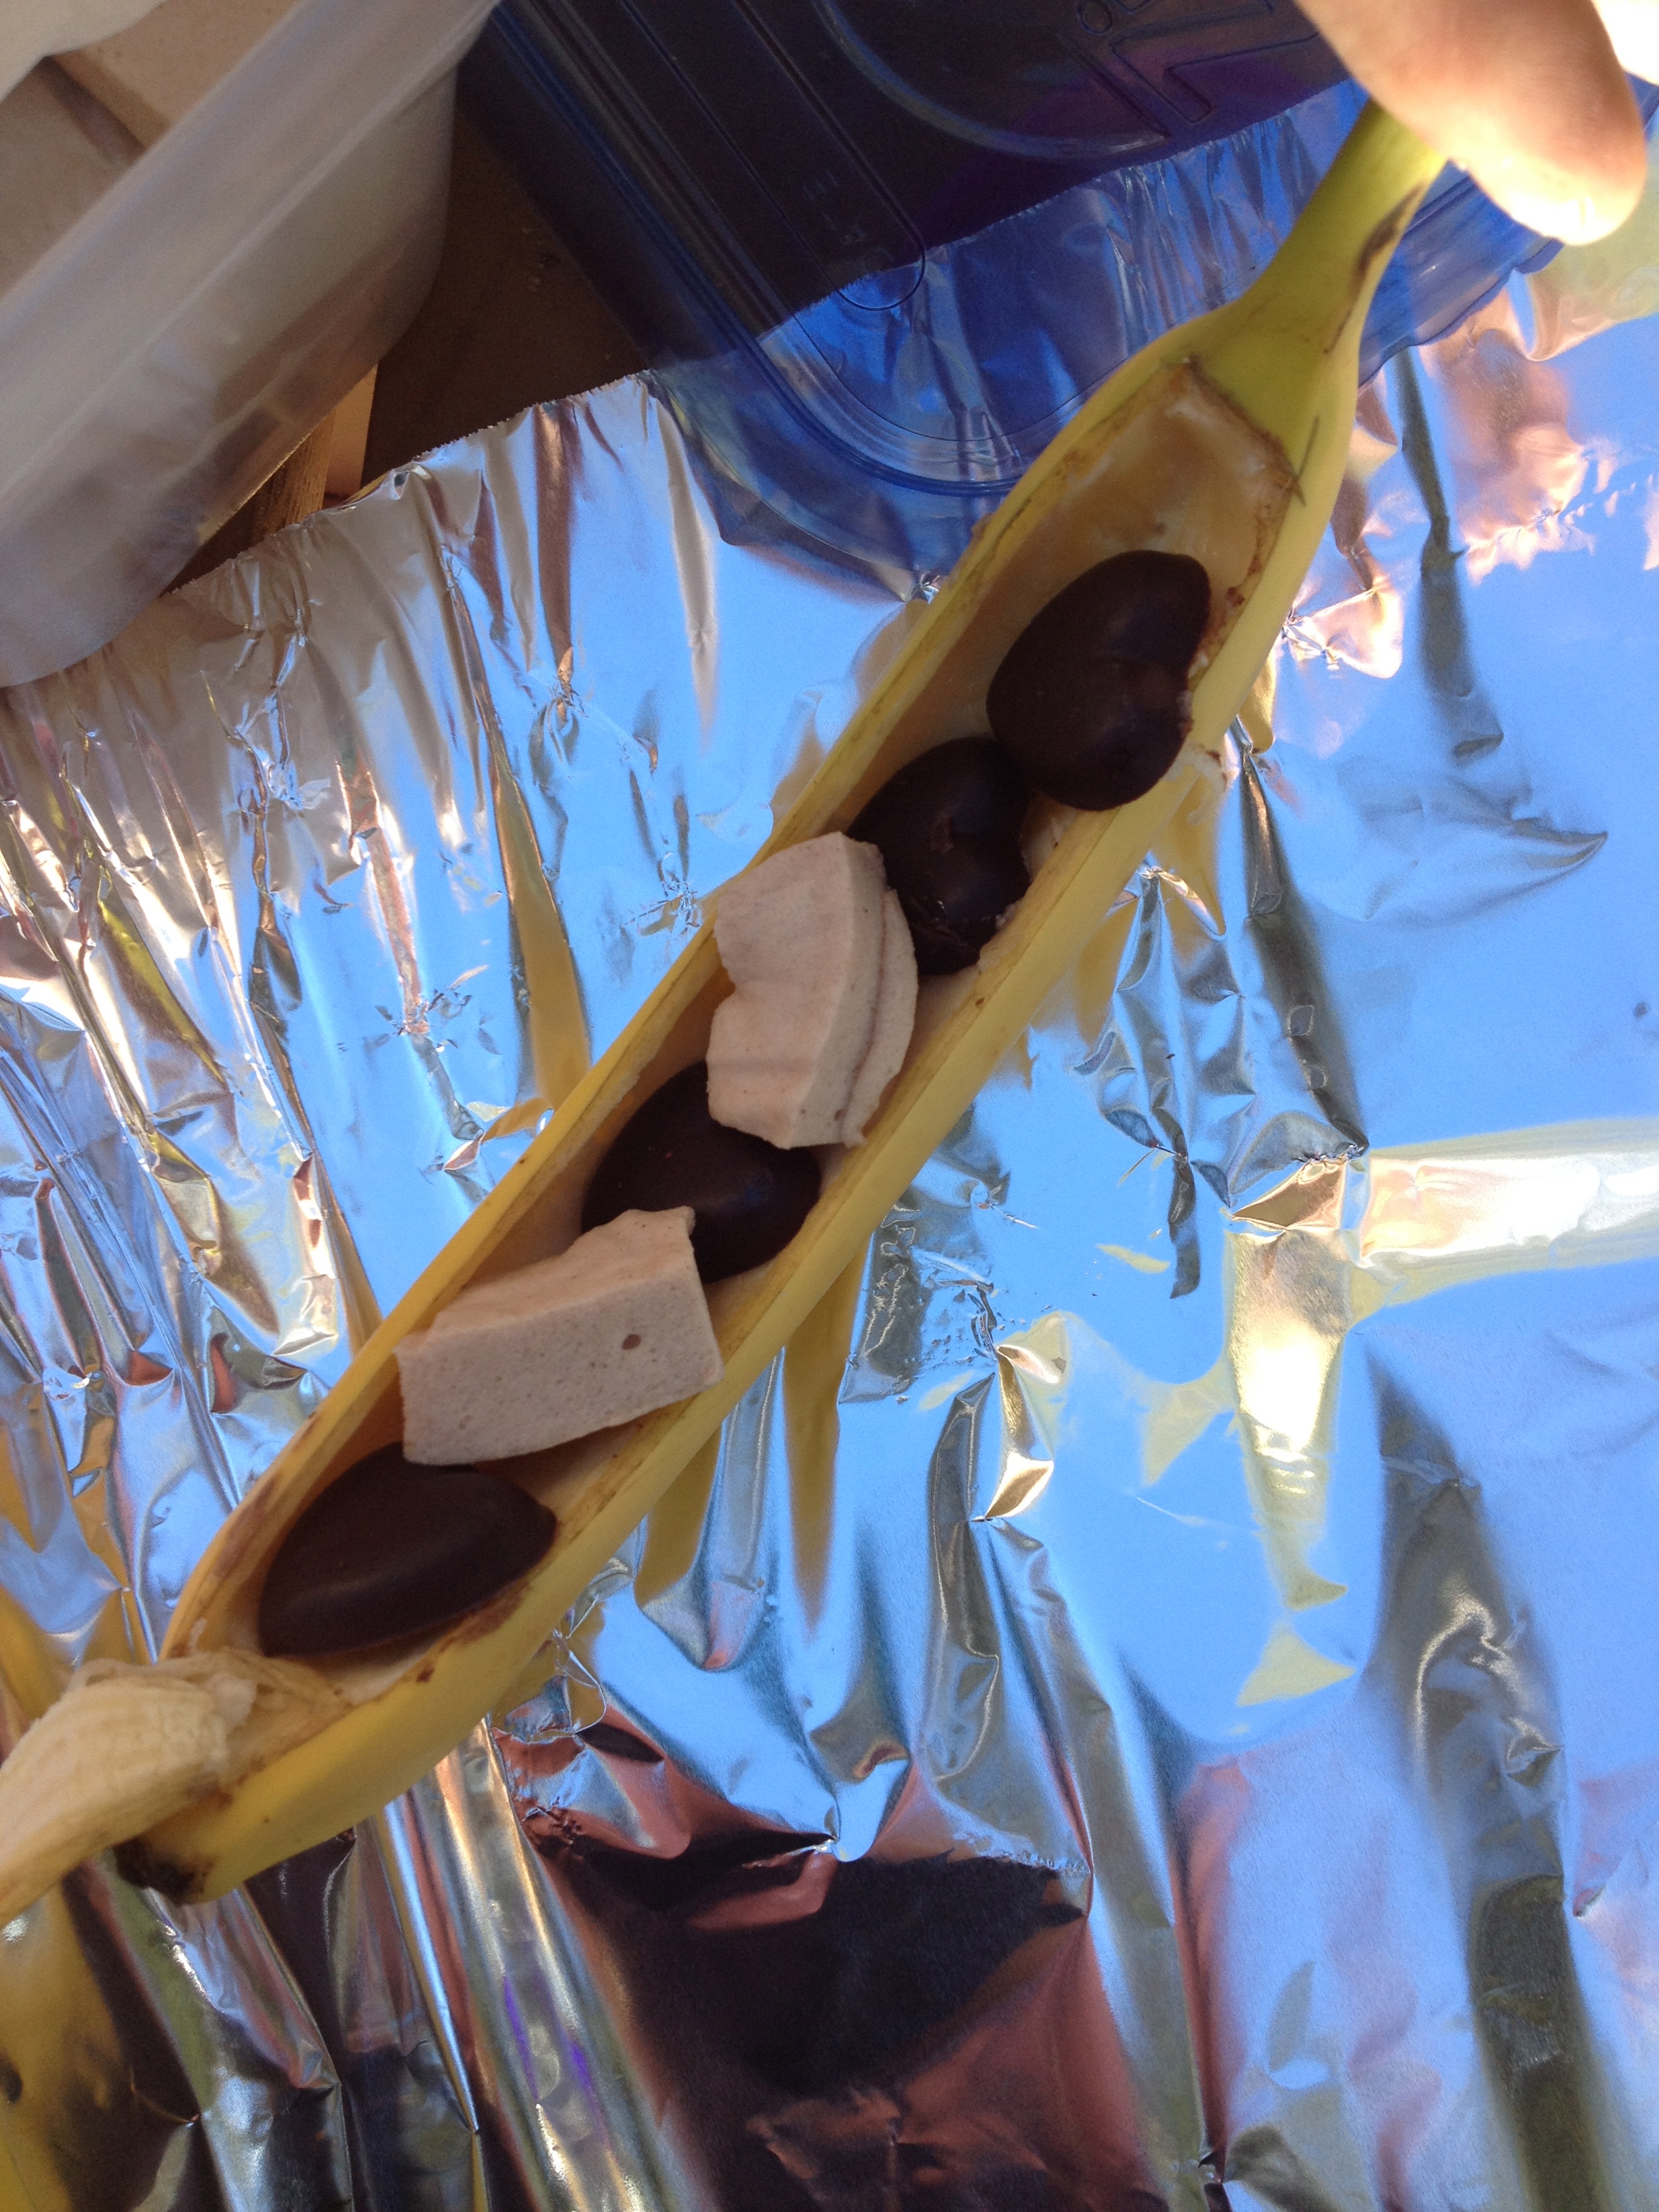 Place tin foil wrapped banana on hot coals and cook for approximately 4 minutes (cooking times may vary depending on the heat of your coals). After first 4 minutes, flip over to the other side and cook for another 4 minutes.