One of the things I love about summer is all the fresh fruit that is available. Cherries, peaches, strawberries, blueberries, etc. It’s abundantly available, and it’s fresh, sweet and luscious, a taste sensation when you put it in your mouth.
I feel lucky that my parents live in the Okanagan where fresh fruit is rapidly abundant. Fruit stands and u-picks line the sides of the roads where it is not a matter if there is fruit but where you would like to get it from.
I always tend to get a little over zealous and buy lots of fruit to bring home. I make jam, freeze, eat it straight or make various desserts like crumbles and pies.
In fact last weekend when I was in the Okanagan I bought 20 lbs of cherries for $20. It was a steal of a deal! The only thing is when you buy that much fresh fruit you have to do something with it fairly quickly or your ‘steal of a deal’ ends up going rotten and moldy very quickly.
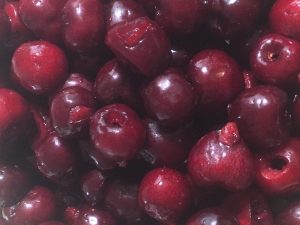 So there I was Tuesday night for 3 hours pitting and jamming cherries, trying to give some away to friends, and getting creative with what I was going to do with this fruit.
(I would highly recommend using a cherry pitter as this makes it much easier to pit cherries. It is also something the kids can do and help with – my son loves using the cherry pitter and I can easily enlist his help).
By the time I was done I was covered in cherry juice (and so was my kitchen), with a mound of cherry pits and stems in the sink and a huge mess to clean up. I never wanted to see another cherry again…
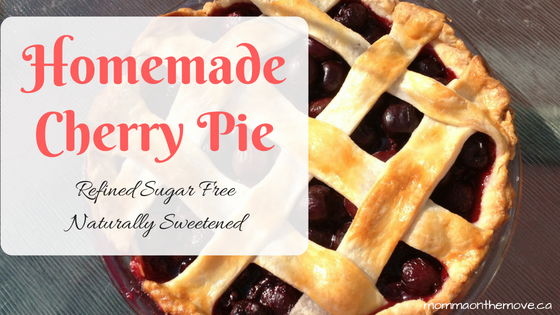
The benefit of all this was cherry pie. Cherry pie is one of my favorite pies, other than pumpkin and coconut cream, so when I was getting to the end of the cherries and still had a lot left I decided to treat myself.
 As you may know there is lots of sugar in pie, but as sugar and dairy free household, I have become adept enough to make the appropriate substitutions and still have a delicious experience (where it tastes just as good as one with sugar, if not better). My mouth was already watering at the thought of this pie, with ice cream on top.
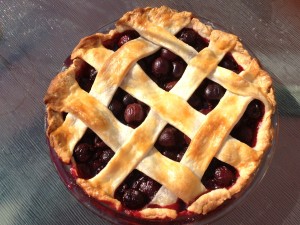
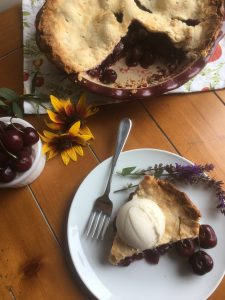
I used Martha Stewart’s Sweet Cherry Pie recipe that I found on the internet and adapted it accordingly using honey instead of sugar. It turned out beautifully and everyone had 2 pieces! With ice cream of course!
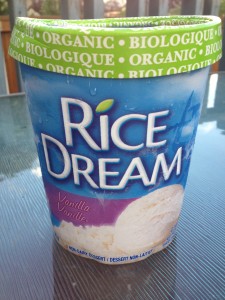
As for the ice cream, I have recently discovered Rice Dream, a lactose and gluten free ice cream available in stores. It is also sugar free, as it is sweetened with brown rice syrup and agave nectar. It is quite good, in fact it is so good I had way more ice cream than I actually did pie!
I make my own crust (and have been praised for how good it is) simply by following the recipe on the Tenderflake® box, which I use in my crust. It creates a beautiful light and flaky crust.
This pie recipe used a lattice top crust, which I don’t usually do but decided to try it out, and though I found it did look very pretty, I prefer a full crust on the top. A good crust is something we really enjoy at our house, so the more of it the better! Plus it’s really hard to cut once it’s baked (as in getting it out in a decent piece)!
- 4 cups cherries
 1/4 cup honey
- 2 -3 tablespoons arrowroot powder or cornstarch
- 2 tablespoons fresh lemon juice
- All-purpose flour, for rolling
- 1 large egg yolk, beaten with 1 tablespoon water, for egg wash
- 2-9 inch pie crusts (make your own or store bought)
- Preheat oven to 400 degrees. On a floured surface, roll out pie crust one to a 14-inch round. Fold dough in half and gently place in middle of a 9 inch pie plate. Once centered unfold dough so that it fits evenly in the plate (do not stretch dough). Using pering knife trim dough to a 1-inch overhand all around.
- In a large bowl, combine cherries, honey, arrowroot powder, and lemon juice; toss until cherries are well coated. Pour into prepared bottom crust.
- Roll out second crust to a 14-inch round. If creating lattice, cut into eight 1 1/2-inch-wide strips; discard the shortest two. Weave strips over filling to form a lattice. Using pering knife, trim strips so they hang over rim by 1 inch. Tuck strips under rim of bottom crust; press to seal. Crimp with a fork all around the edge. If choosing not to create lattice, simply fold crust in half and place over pie. Trim, press to seal and crimp as described.
- Using a pastry brush, lightly brush lattice/ crust with egg wash.
- Place pie on a rimmed baking sheet. Bake until filling is bubbling rapidly all over, 60 to 70 minutes (tent with aluminum foil when crust starts to brown, about 40 minutes). Though original recipe calls for above baking time I found that pie was done in about 50-55 minutes. Please use times as approximate and gauge it according to your oven.
- Transfer pie to a wire rack, and let cool to room temperature, at least 3 hours.
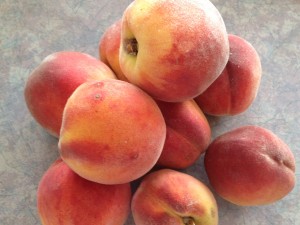
Like fruit pies? Check out my other sugar free pie recipes for Peach, Apple & Blueberry

