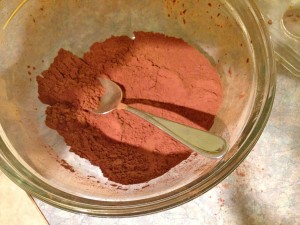
 In my last post, I shared the basic recipe for making raw organic chocolate. Very easy to do, it is a healthy and delicious way to enjoy chocolate without the guilt!
Now here is the fun part! Once you have the basic chocolate made you can add all kinds of things to your chocolates that not only make them delicious, but also add vitamins and nutrients that are good for you! You can ‘soup up’ your chocolates and no one will even know what’s in there.
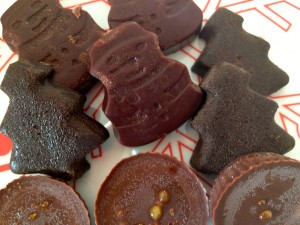
I make peppermint Christmas trees and add E3 Live to them, which is a form of algae, very high in protein and minerals. It darkens your chocolates but does not alter the taste, no one would ever know it’s in there. And Matthew loves them and as a result asks me to make them all the time!
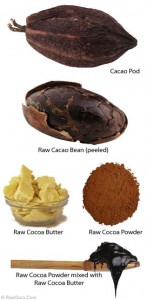
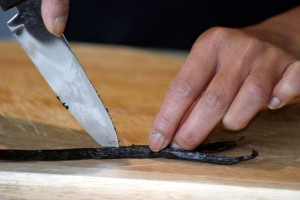
 Matthew even helps me make chocolates; as it is very easy for kids to do. He loves to experiment so we have made a variety of kinds of chocolate. We make our base chocolate, which is a combination of cacao butter, cacao powder, vanilla bean and sweetener of choice, (see my previous posts for the basics on how to make it and natural sweeteners), then we add different ingredients depending on the kind of chocolate and flavor we want. We make peanut butter cups, caramel cups, orange ginger and peppermint; and this is only what we have done so far – there are many ingredients that can be added to your chocolates to achieve the flavors that you want.
When adding ingredients to chocolate this can be done in a few ways – mix it in, usually with essential oils or powders, you can pour the ingredients on top of the chocolate, after you have poured it onto a cookie sheet, for instance with nuts and seeds, berries, coconut or you can make/ use a filling. The ingredients you add depend on what type of chocolate you want and personal preferences. Here are some ingredients to try.
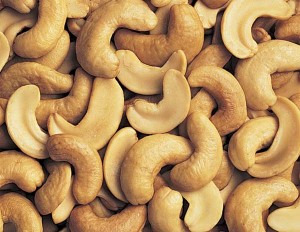
Nuts such as almonds, brazil nuts, cashews.
Seeds such as hemp seeds, sesame, sunflower or pumpkin.
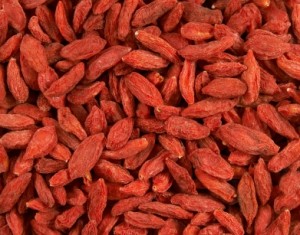
Berries such as goji, incan or mulberry.
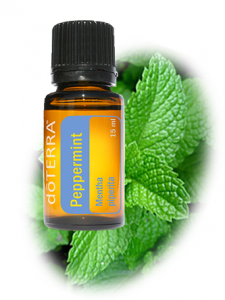
High quality essential oils such as peppermint, wild orange, cinnamon bark, etc. to flavor your chocolate. Use only a few drops and use the highest quality oils you can – they are better for you and could alter your chocolate if they are not.
Spices, such as ginger, cayenne, cinnamon, allspice.
Algae such as E3 Live, Spirulena or Chlorella. All are very high in protein, minerals and a variety of vitamins.
You can create combinations using ingredients that are high in vitamin C like coconut nectar and spirulena, or a high content of magnesium and calcium using ingredients such as mesquite and carob powder with any algae.
 Some people even add medicinal mushrooms to their chocolates, which might sound distasteful, but the neat thing is is you can’t taste it, so would have no idea that it is in there if no one told you. We have recently discovered banana flakes as an addition to our chocolate making. They are quite yummy on their own and are delicious in chocolate.
The amounts you add will depend on the size of your batch of chocolate, how strong a taste you want and also depends on the herb/ spice that is being added (some are stronger than others). A good rule of thumb is to start with half a teaspoon, taste it, and then decide if you want to add more. The great thing about making your own chocolate is that there is lots of taste testing to get it just the way you want it!
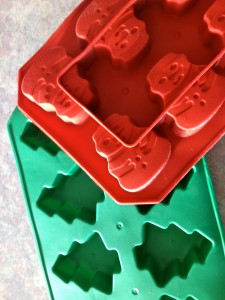
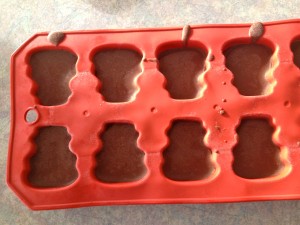 Once you have what you want you can set your chocolates in a number of ways. I buy silicon ice cube trays in a various shapes and fill those up to set. (tip – you don’t have to fill these all the way up as your chocolates can be quite thick if you do, but you want to fill them up enough so they are not too thin and break when you pop them out of the molds). There are lots of shapes to choose from; squares to hearts and around the holidays stores usually carry fun shapes related to that holiday. I have snowmen, trees and Halloween pumpkins. You can also use any of the candy molds that stores like Michael’s sell, this is where I found the mold to make peanut butter cups, they also have a variety of themes and shapes.
Of course you do not have to set your chocolate in shapes, you can just pour it onto a cookie sheet, let it set, then break it into pieces. You can also make clusters simply by mixing everything together and then dropping them by the teaspoon onto a cookie sheet lined with parchment paper.
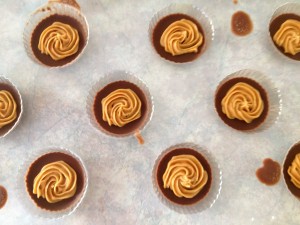
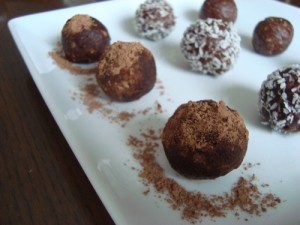 For chocolates with fillings, make or find your filling (I use unsweetened peanut butter for my peanut butter cups and make the caramel filling using dates, vanilla, mesquite and lucuma powder), pour some chocolate let it set for a few minutes til firm, then drop or spread the filling over the chocolate, then add more chocolate on top and let set completely.
There are lots of things you can add when making chocolate. Many different flavors and combinations, depending on what you want and what you like. It is also fun to experiment with different combinations, flavors and shapes and it is easy to get the kids involved – they’ll love it. So get in there and try stuff out, worse case scenario is it does not turn out the way you want it and you might have to eat it yourself!

