Winter is one of those seasons that you tend to either love or hate. The cold, the snow, the blustery wind and ice. Yet there is a beauty in winter that is unrefined, undiscovered and definitely under appreciated.
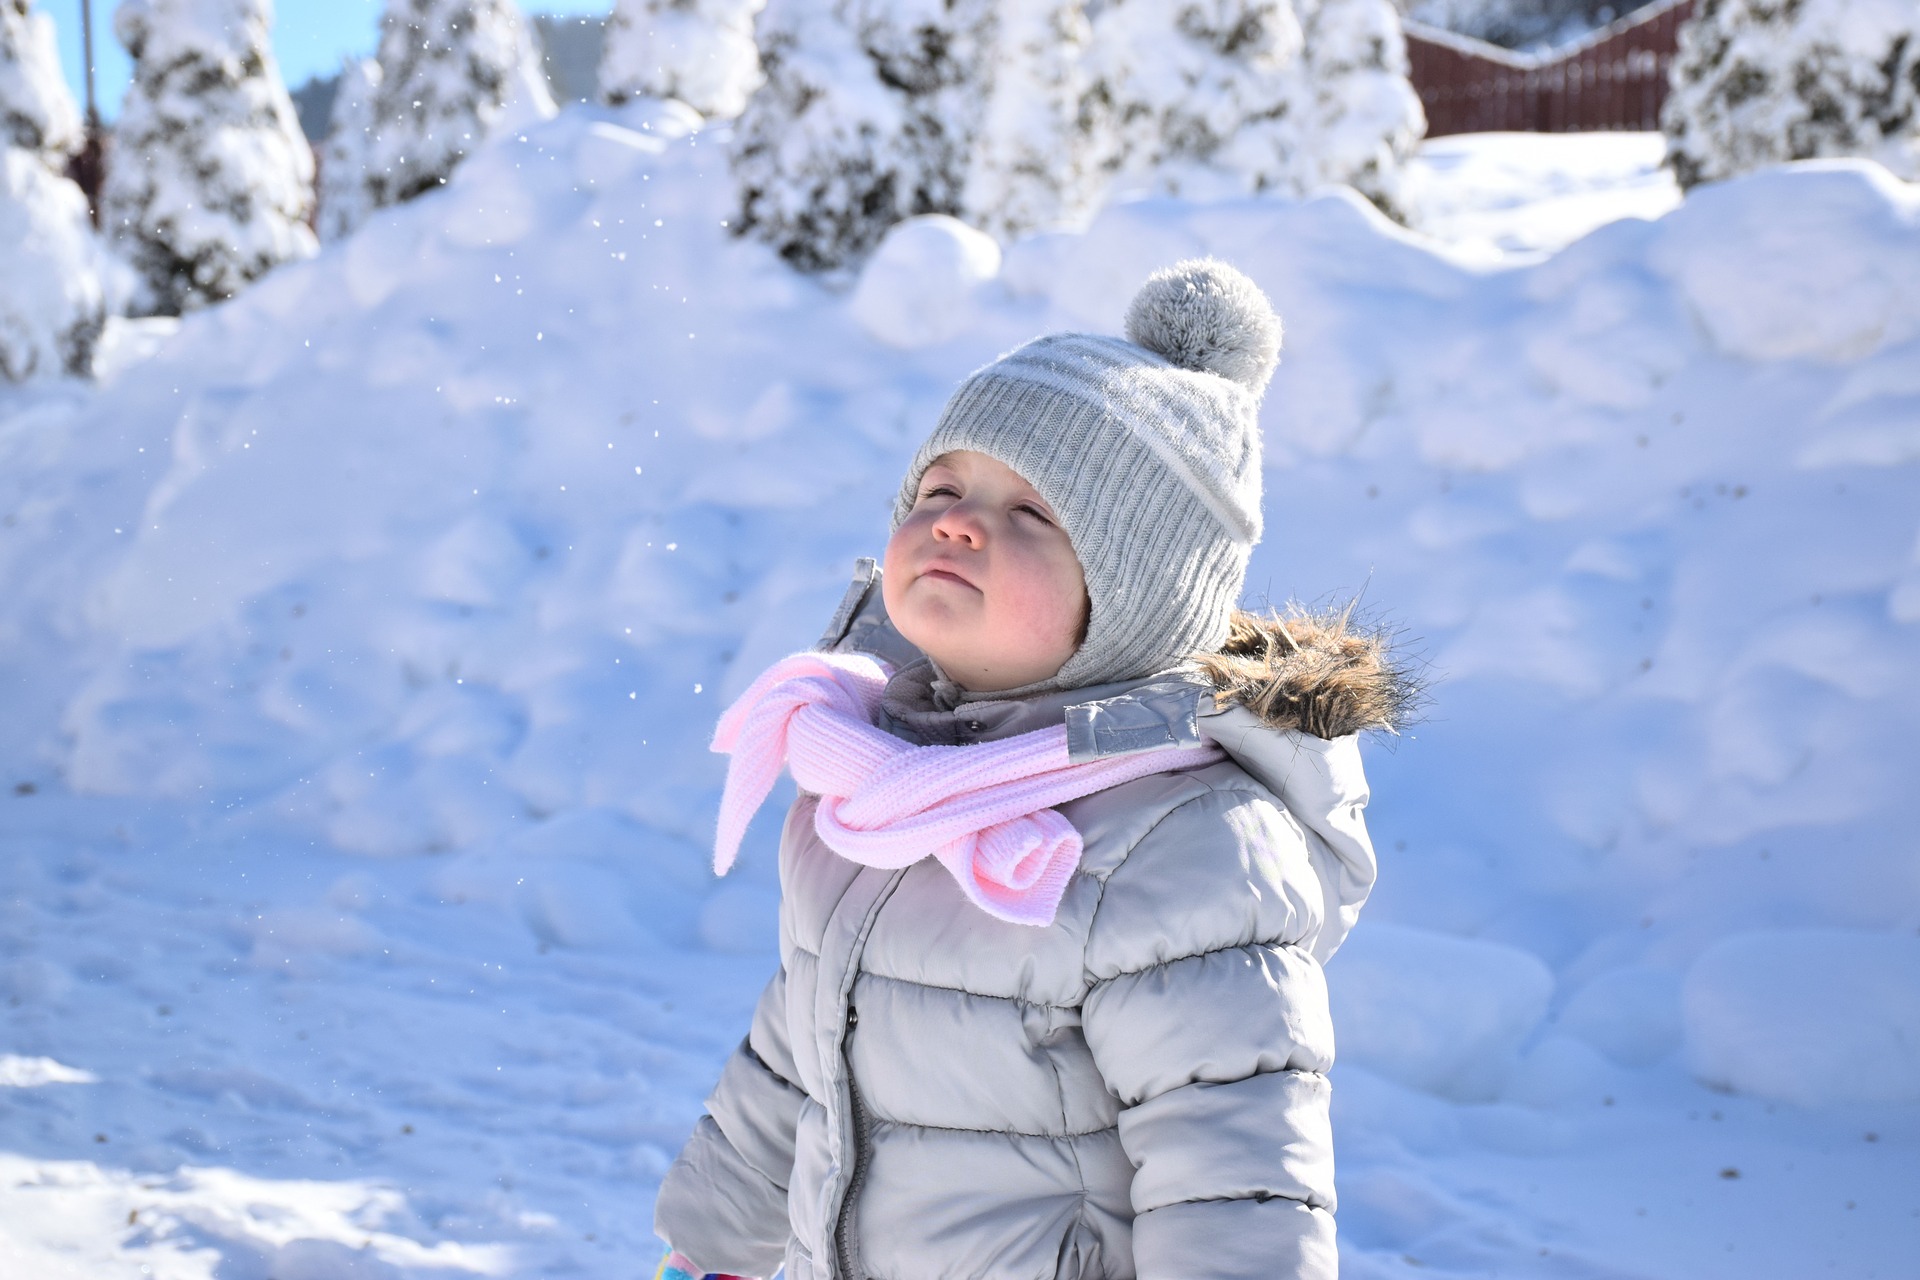
Think about how the kids light up with delight when they see those first snowflakes falling from the sky, excited to get home and play in it, even if it is just the tiniest fluff. They’re not thinking about how they have to shovel it or how the roads are going to be. My kids often can’t wait to build a snowman or make a snow angel, and sometimes I have to tell them there just isn’t enough snow. But they go out anyway and try it or create something else.
I believe the key to appreciating winter is going out and doing fun activities that you enjoy, as well as knowing how to dress and how long to stay depending on the temperature. Because you don’t want to get frost bite or hypothermia no matter how much fun you’re having!
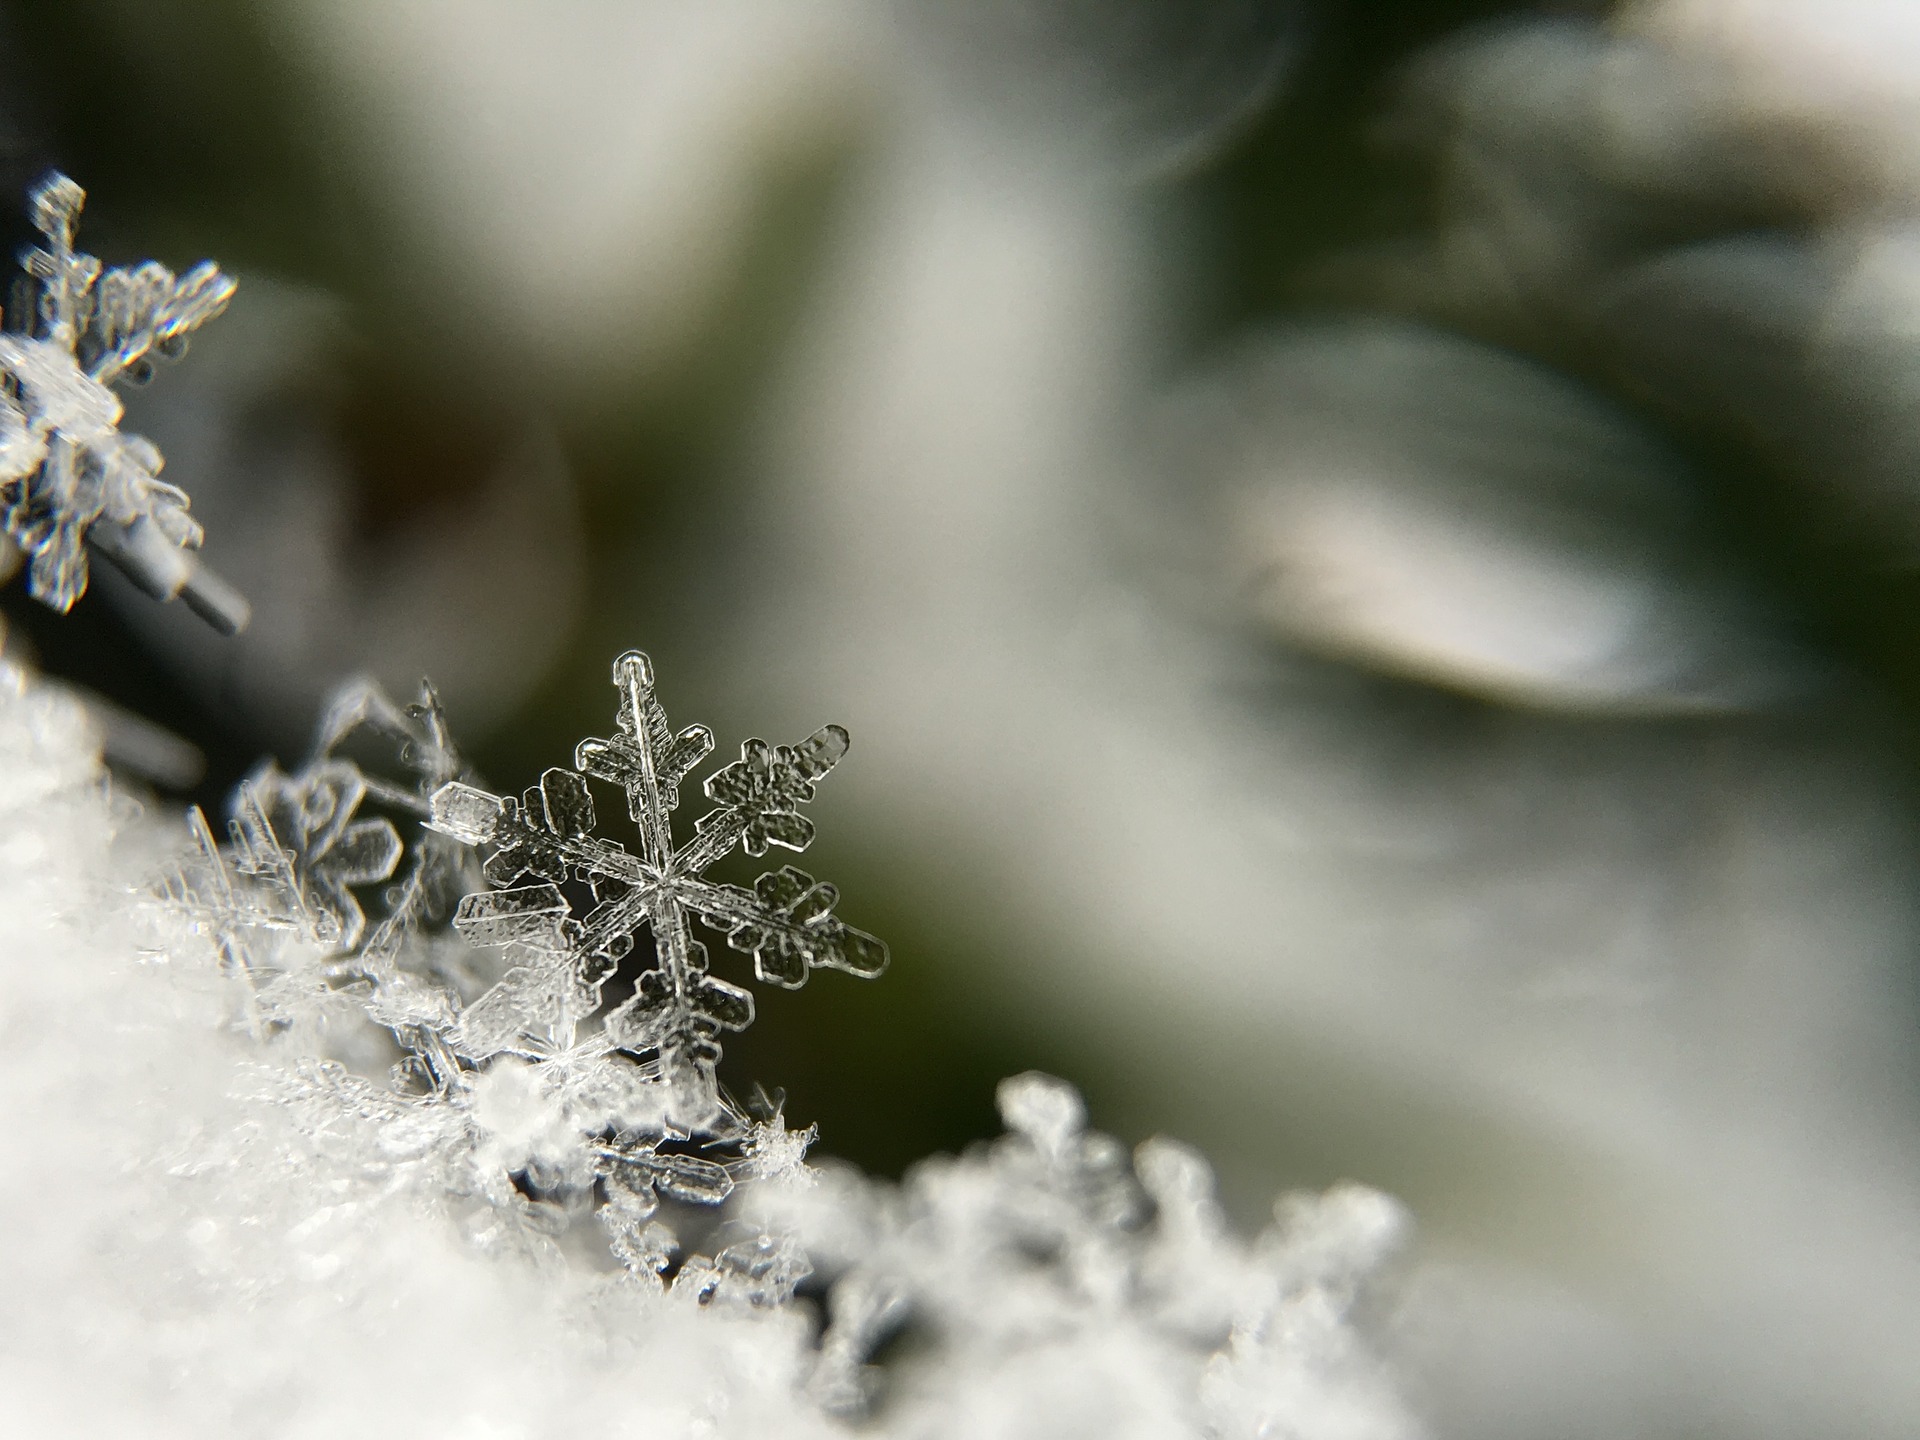
Also exploring winter in different ways allows you to appreciate the unique things that the season offers, as well as providing some knowledge and understanding. Winter is a really beautiful season full of wonder. Think about the sunshine sparkling off the new fallen snow, glimmering in the the sunlight. The beauty and intricacy of a snowflake and how no two are ever alike.
It’s important to teach our children about the season and how to get out and enjoy it. Because let’s be honest, winter is not going to go away. It will always be here and unless you move – it’s happening. And with the growing rates of inactivity in children, it’s even more important to get them active and outside.
8 Fun Snow Activities for Kids
Use these snow activities to teach children about the beauty of winter and how to appreciate it. Children are naturally creative so these snow activities capitalize on their imaginations while using materials that are common in winter. It also helps them learn and question about what’s happening in the season.
Snow Painting
 A very simple but creative activity for children is painting or coloring in the snow. I did this with my preschool class at Trico and they were very engaged in it. We only had about 20 minutes that day but we could have easily doubled that time and kept them interested.
Mix a few drops of food coloring and water in a spray bottle and mix together. Pick a spot of undisturbed snow and spray the color on the snow. Sometimes we use plastic cookie cutters as a pattern and create a design. Do this by placing the cookie cutter on top of the snow and then have the child spray their color inside the cookie cutter. Gently lift the cookie cutter off the snow and voila! a perfect shape. You can also buy snow markers which comes with a colored powder that you add water to and mix in the marker bottle. This is a great idea but it is a one use for the mixture. The great thing about them is you have the marker container after the mixture is gone, which you can reuse again and again. Just add your own food coloring and water mixture.
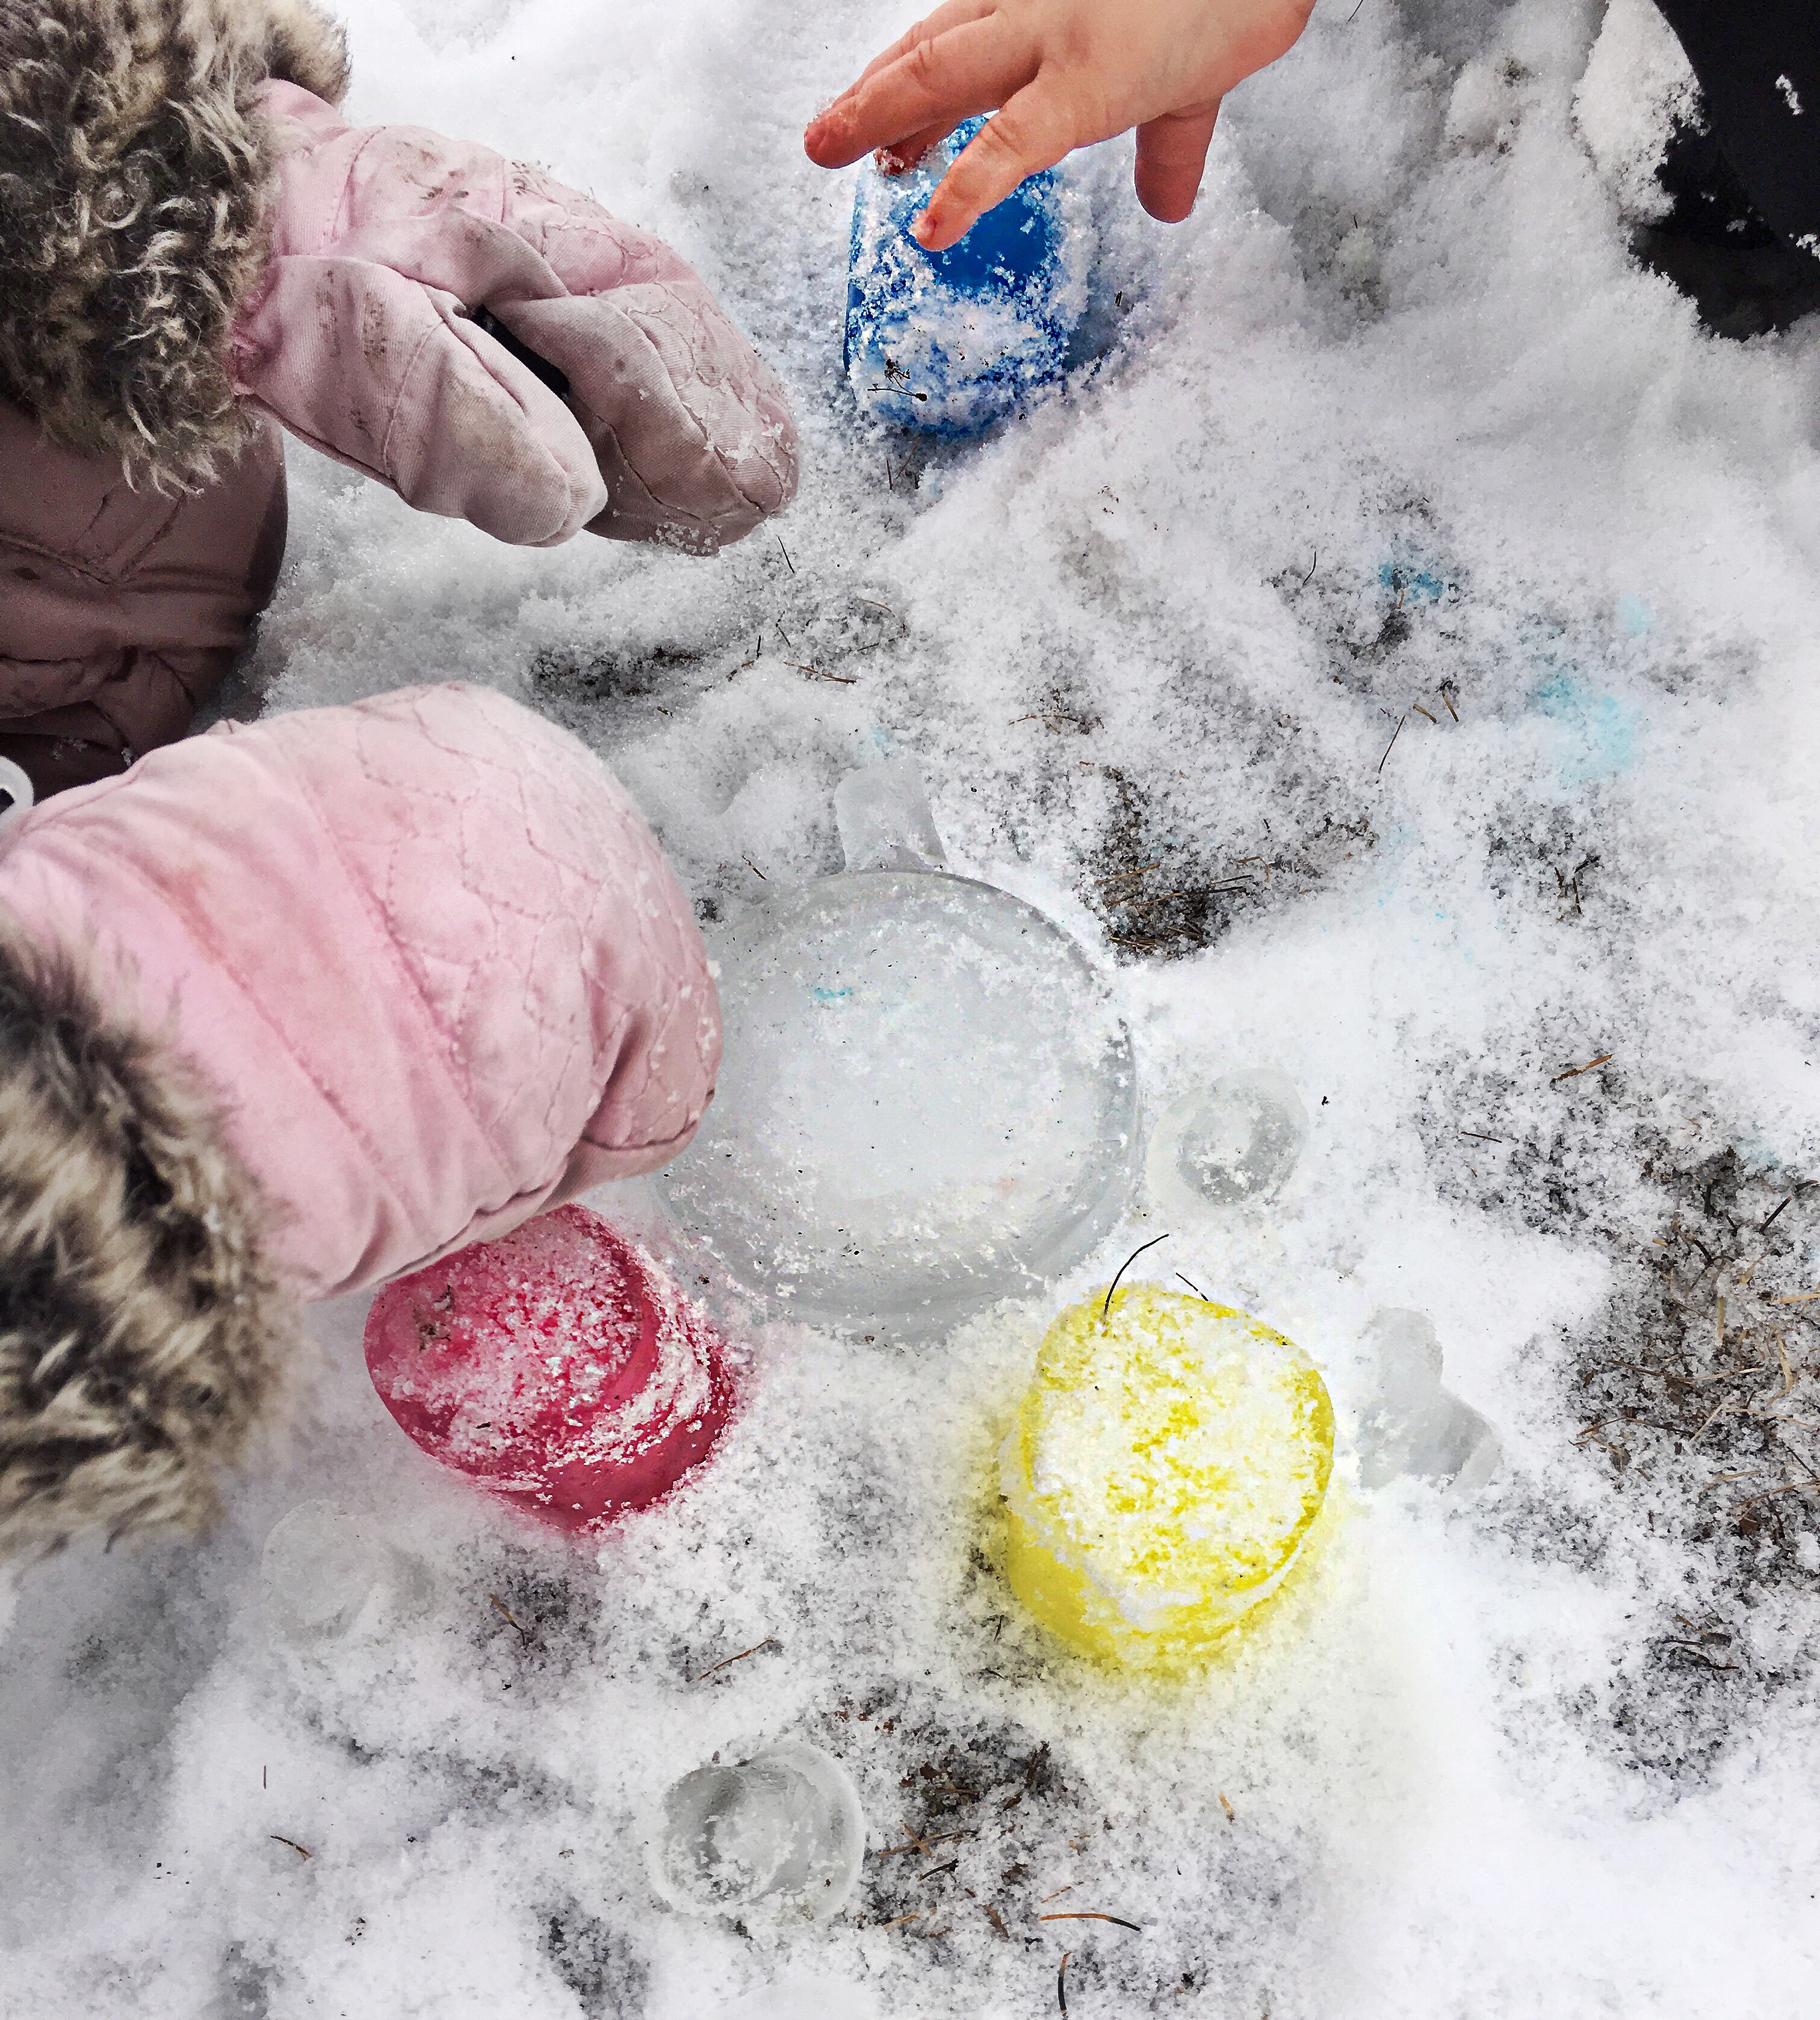
Ice Castles
 This is one of my favorite snow activities for kids. It is like building a sand castle but you’re using ice instead! You have to plan ahead slightly to have your ice pieces ready but it is super fun, especially when you have beautiful colored blocks.
In a number of different sized containers, fill them with water and put in the freezer to freeze. If desired add food coloring to your water before freezing – this makes beautiful colored ice to use. Freeze a variety of shapes and colors – from ice cube trays to small yogurt containers.
Once frozen pop the ice out of the containers and let the children start building. They can create towers, cities or different kinds of sculptures. Encourage them to use the snow to help the ice stick together when needed.
Blow Bubbles
 Have you ever blown bubbles outside in the winter? This is a really cool activity as the bubbles actually freeze. When the bubbles freeze you get amazing crystals of ice forming with unique designs (something you would’t see in warmer temperatures). It’s very cool because children can actually watch the bubbles freeze and the crystals form in the bubble. It’s a fascinating experience and one that will be different every time.
Snow Obstacle Course
Set up a small obstacle course in the snow. Pile up snow to make hills to go over or around, add in things like hula hoops for hopping or smaller piles of snow for weaving in and out of. Get the kids to help you create the obstacle course and then try it out!
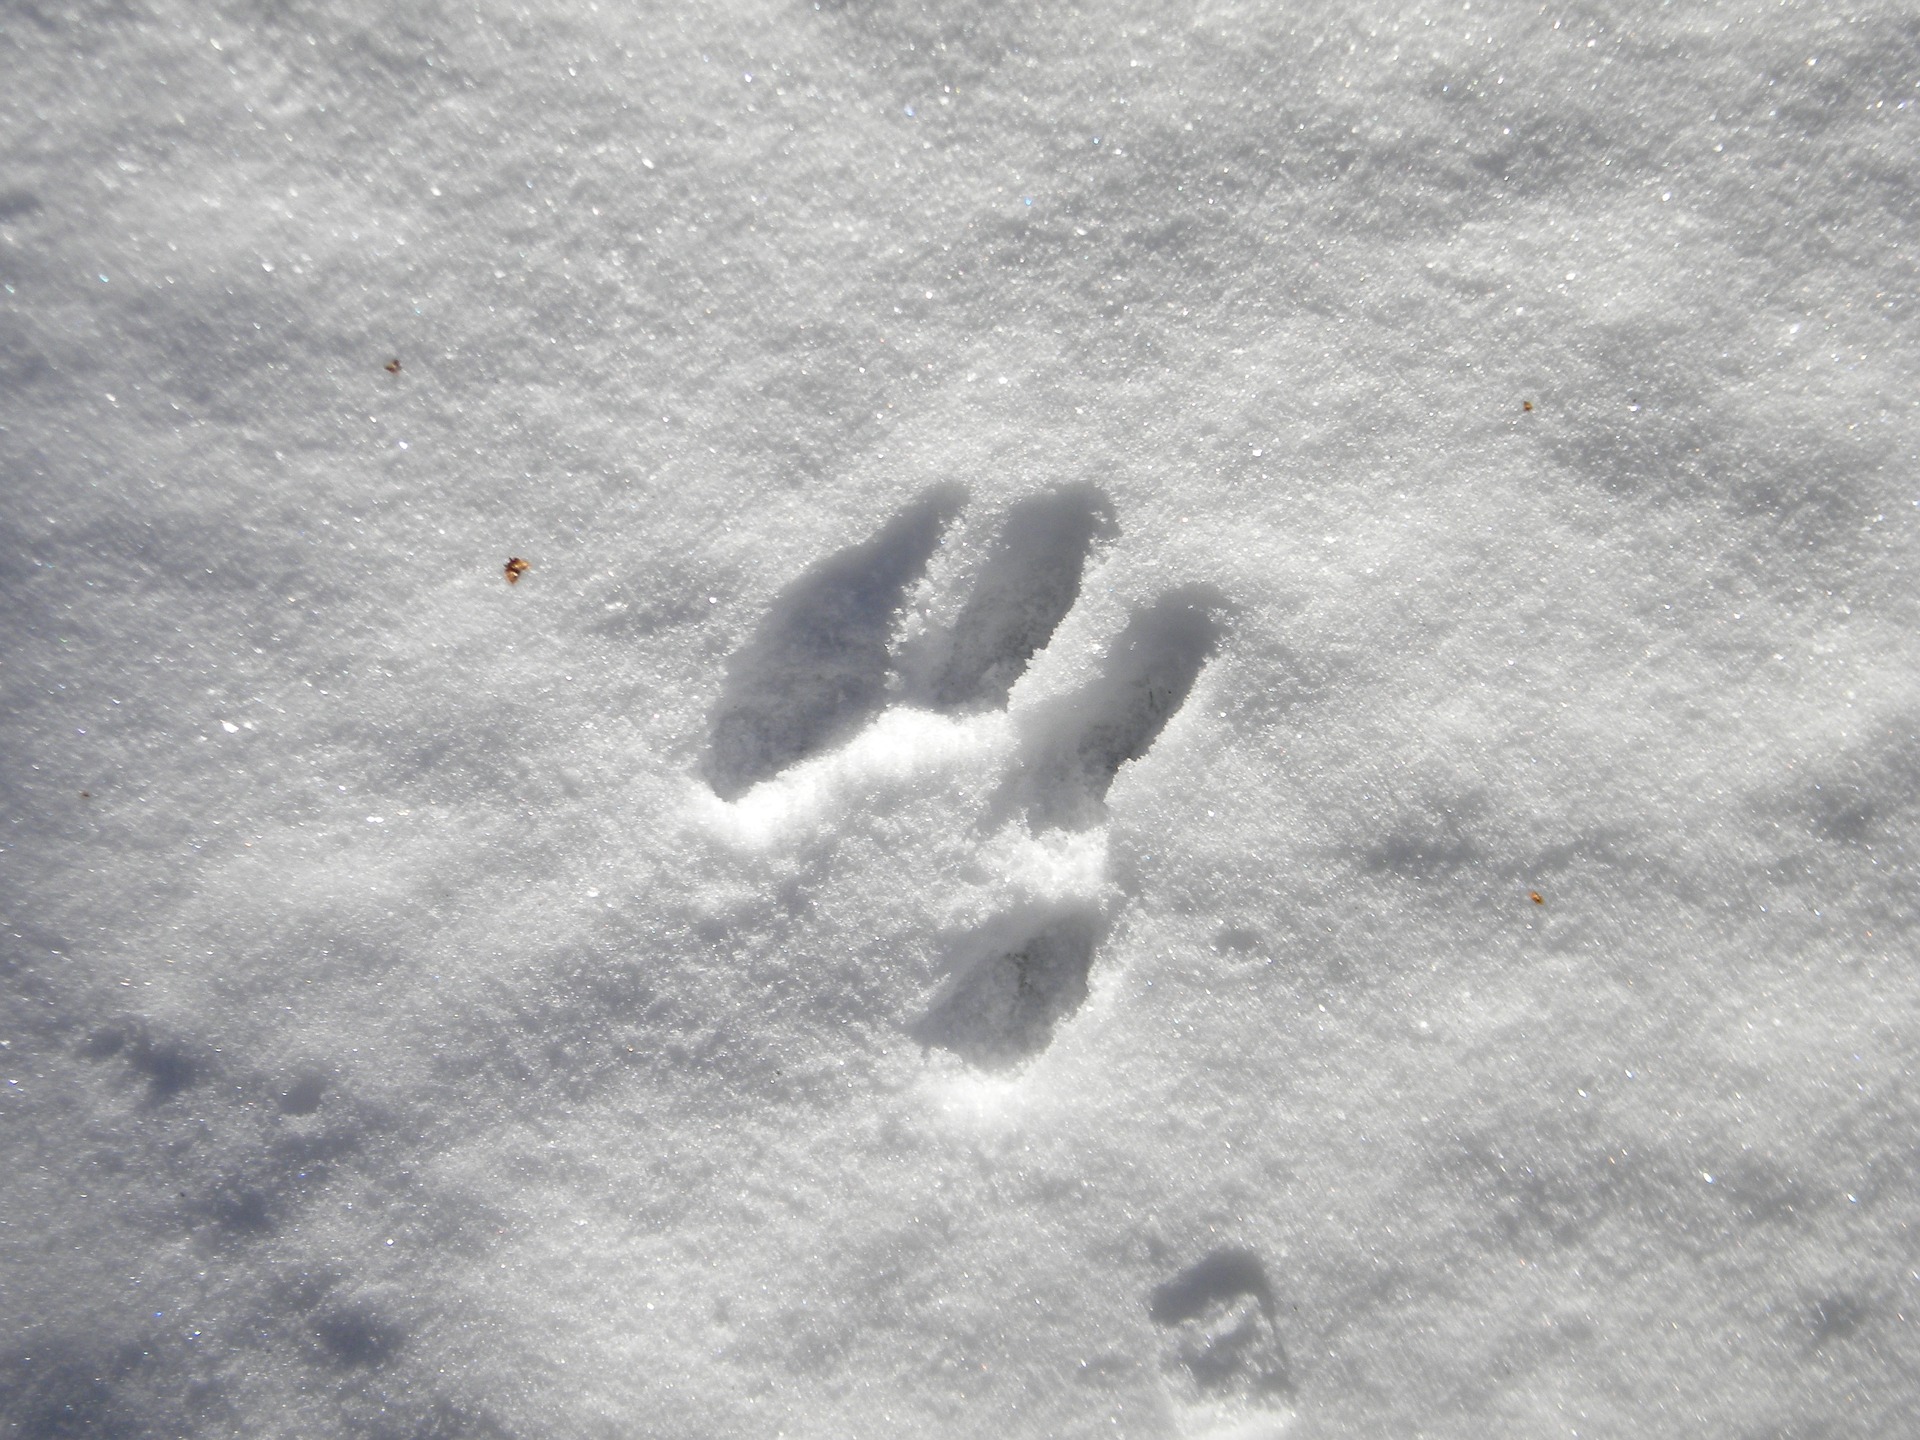
Go Hunting for Tracks
 Go exploring and look for animal tracks with the kids. Winter is one of the best times to see tracks as you have a great surface to create imprints. Help the kids identify the tracks and even create some of your own. This is best done in an area that is undisturbed by human traffic but to get started could be done around your neighborhood to discover dog, cat and bunny tracks.
Tic Tac Snow
Create a giant tic tac toe board in the snow. Use natural items like pine cones or twigs for the x’s and o’s. Taking turns one at a time each, each child places their natural item in a square, alternating until the board is full or one of them gets three in a row. The goal is to get a line of three of their natural items to win.
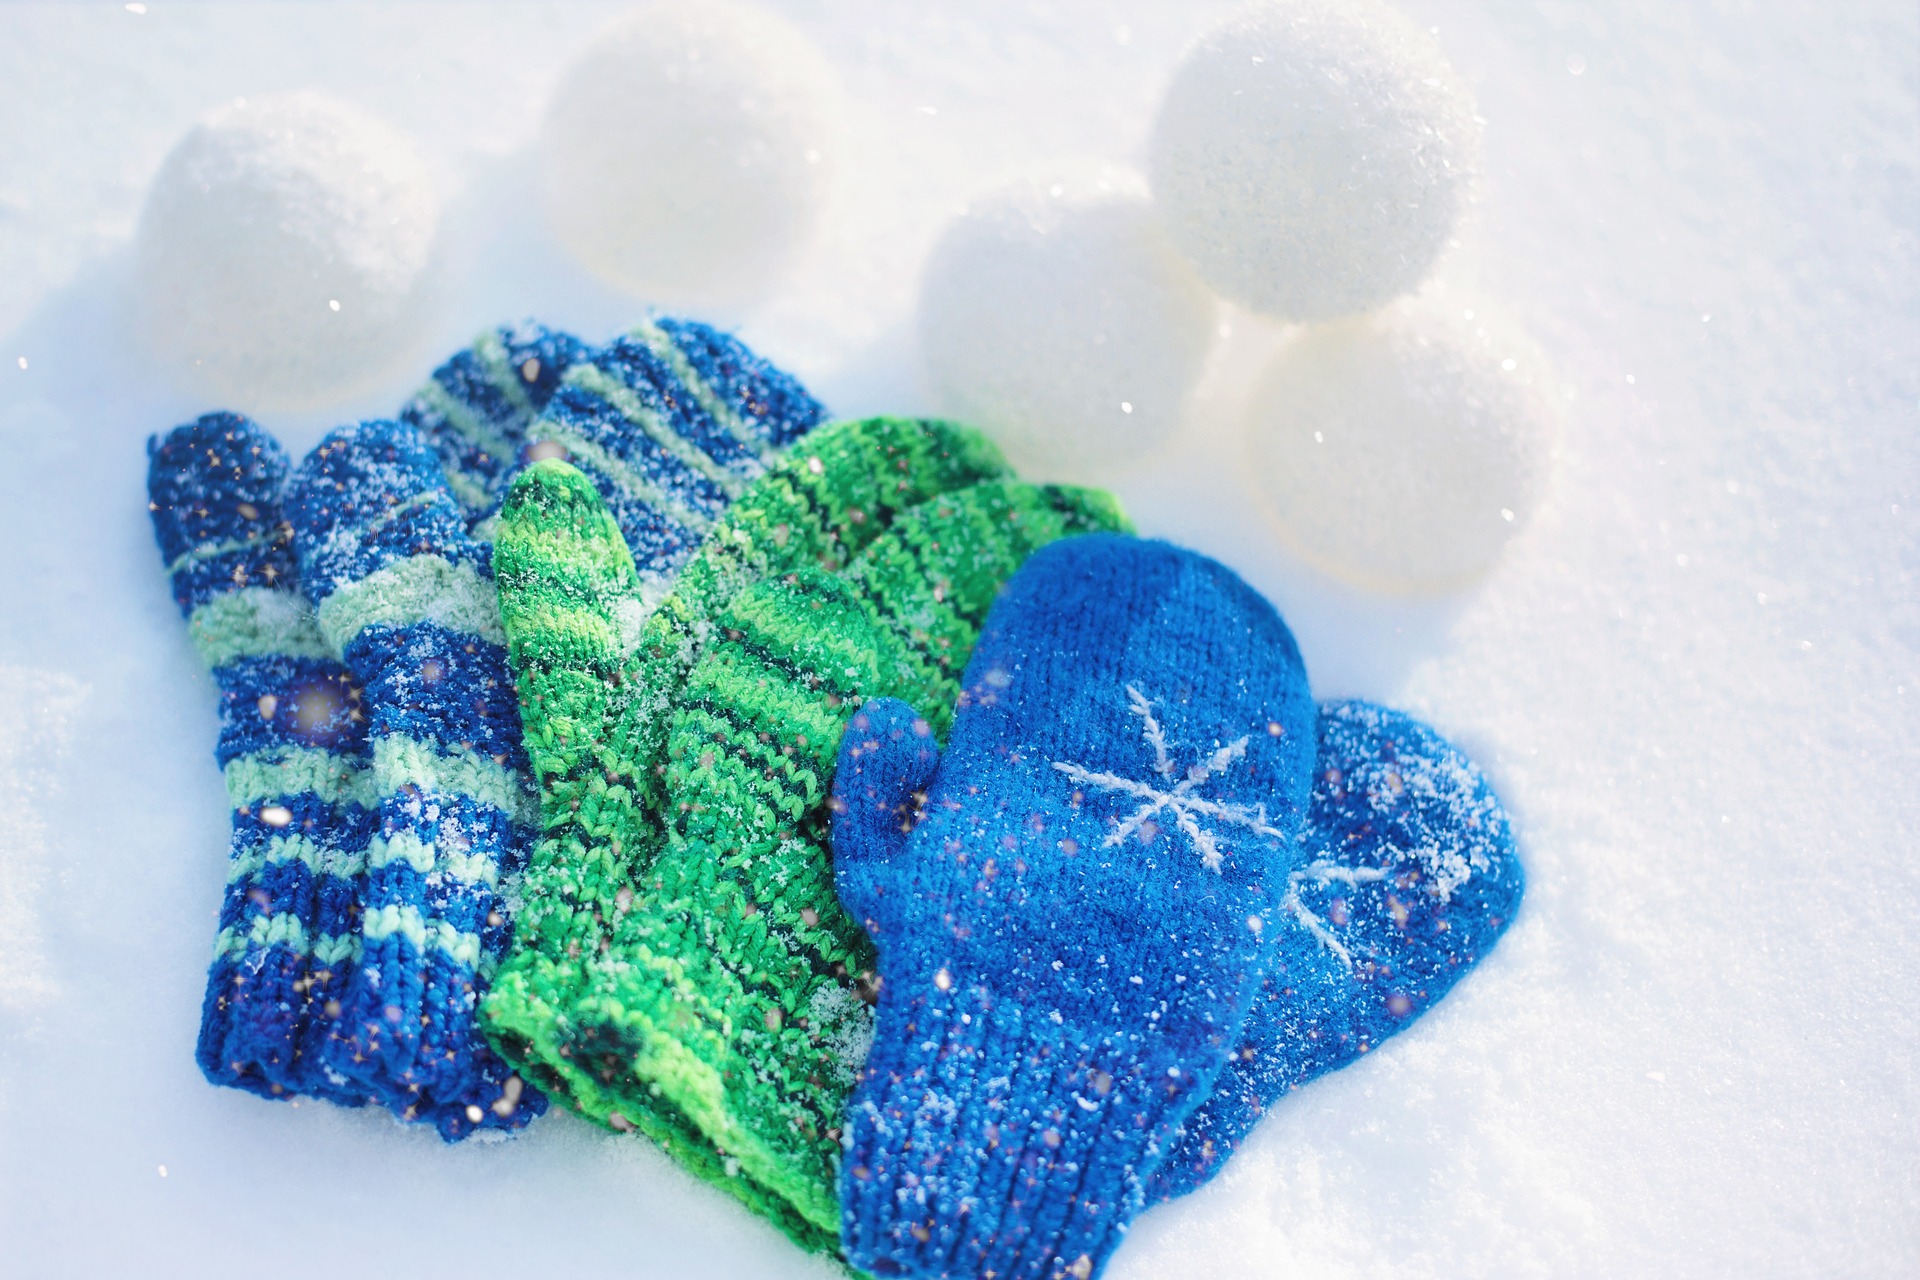
Snoball Throwing Contest
 Draw a large circle in the snow. Have the children each create a pile of snowballs. Depending on the number in your group and the age of the children will depend on how many snowballs. With 3-5 year olds I would suggest they each make 2 or 3 each. Children 5 and up 3-5 snowballs. Draw a line in front of the circle for them to throw from. Again where you place this line will depend on the ages of the children. Have each child take a turn one at a time, throwing their snowball aiming to get it into and as close to the middle of the circle. Each child throws one snowball and then the next person goes, rotating until all the children have thrown all their snowballs. Whoever is closest to the middle of the circle wins.
Variation: Draw a circle in the snow for each child participating. Make sure the circles are all the same size and the ‘throw line’ is the same distance from each circle. Each child then throws their snowballs into their circle one at a time. This reduces wait time and allows each child to only compete with themselves, which is often more ideal with smaller children as they remain more engaged.
Explore with a Magnifying Glass
 I find a magnifying glass to be a wonderful thing. It is very cool to see the world up close and even more so to make it a little bigger. Children often discover things they may not have before by just looking at something through a magnifying glass. In winter, let them explore by looking at snow, ice, tracks, and other natural items. Enhance this activity by getting them to look at different forms of ice and noticing the differences or similarities, like icicles or a sheet of ice over water (like a puddle). You can do this with snow (fresh undisturbed snow, compared to compact walked in snow) and other natural winter items.
If you want to take it one more level, get the children to draw what they saw through their magnifying glass on a piece of paper or journal. (Either have clipboards and pencils ready to do it outside or get them to do it once they return inside. If possible best to do it outside in the moment as they can not only see the item but their memory is the freshest).
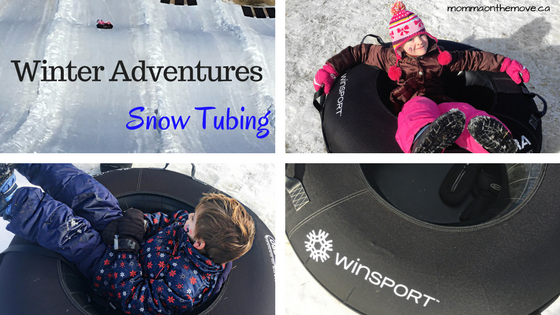
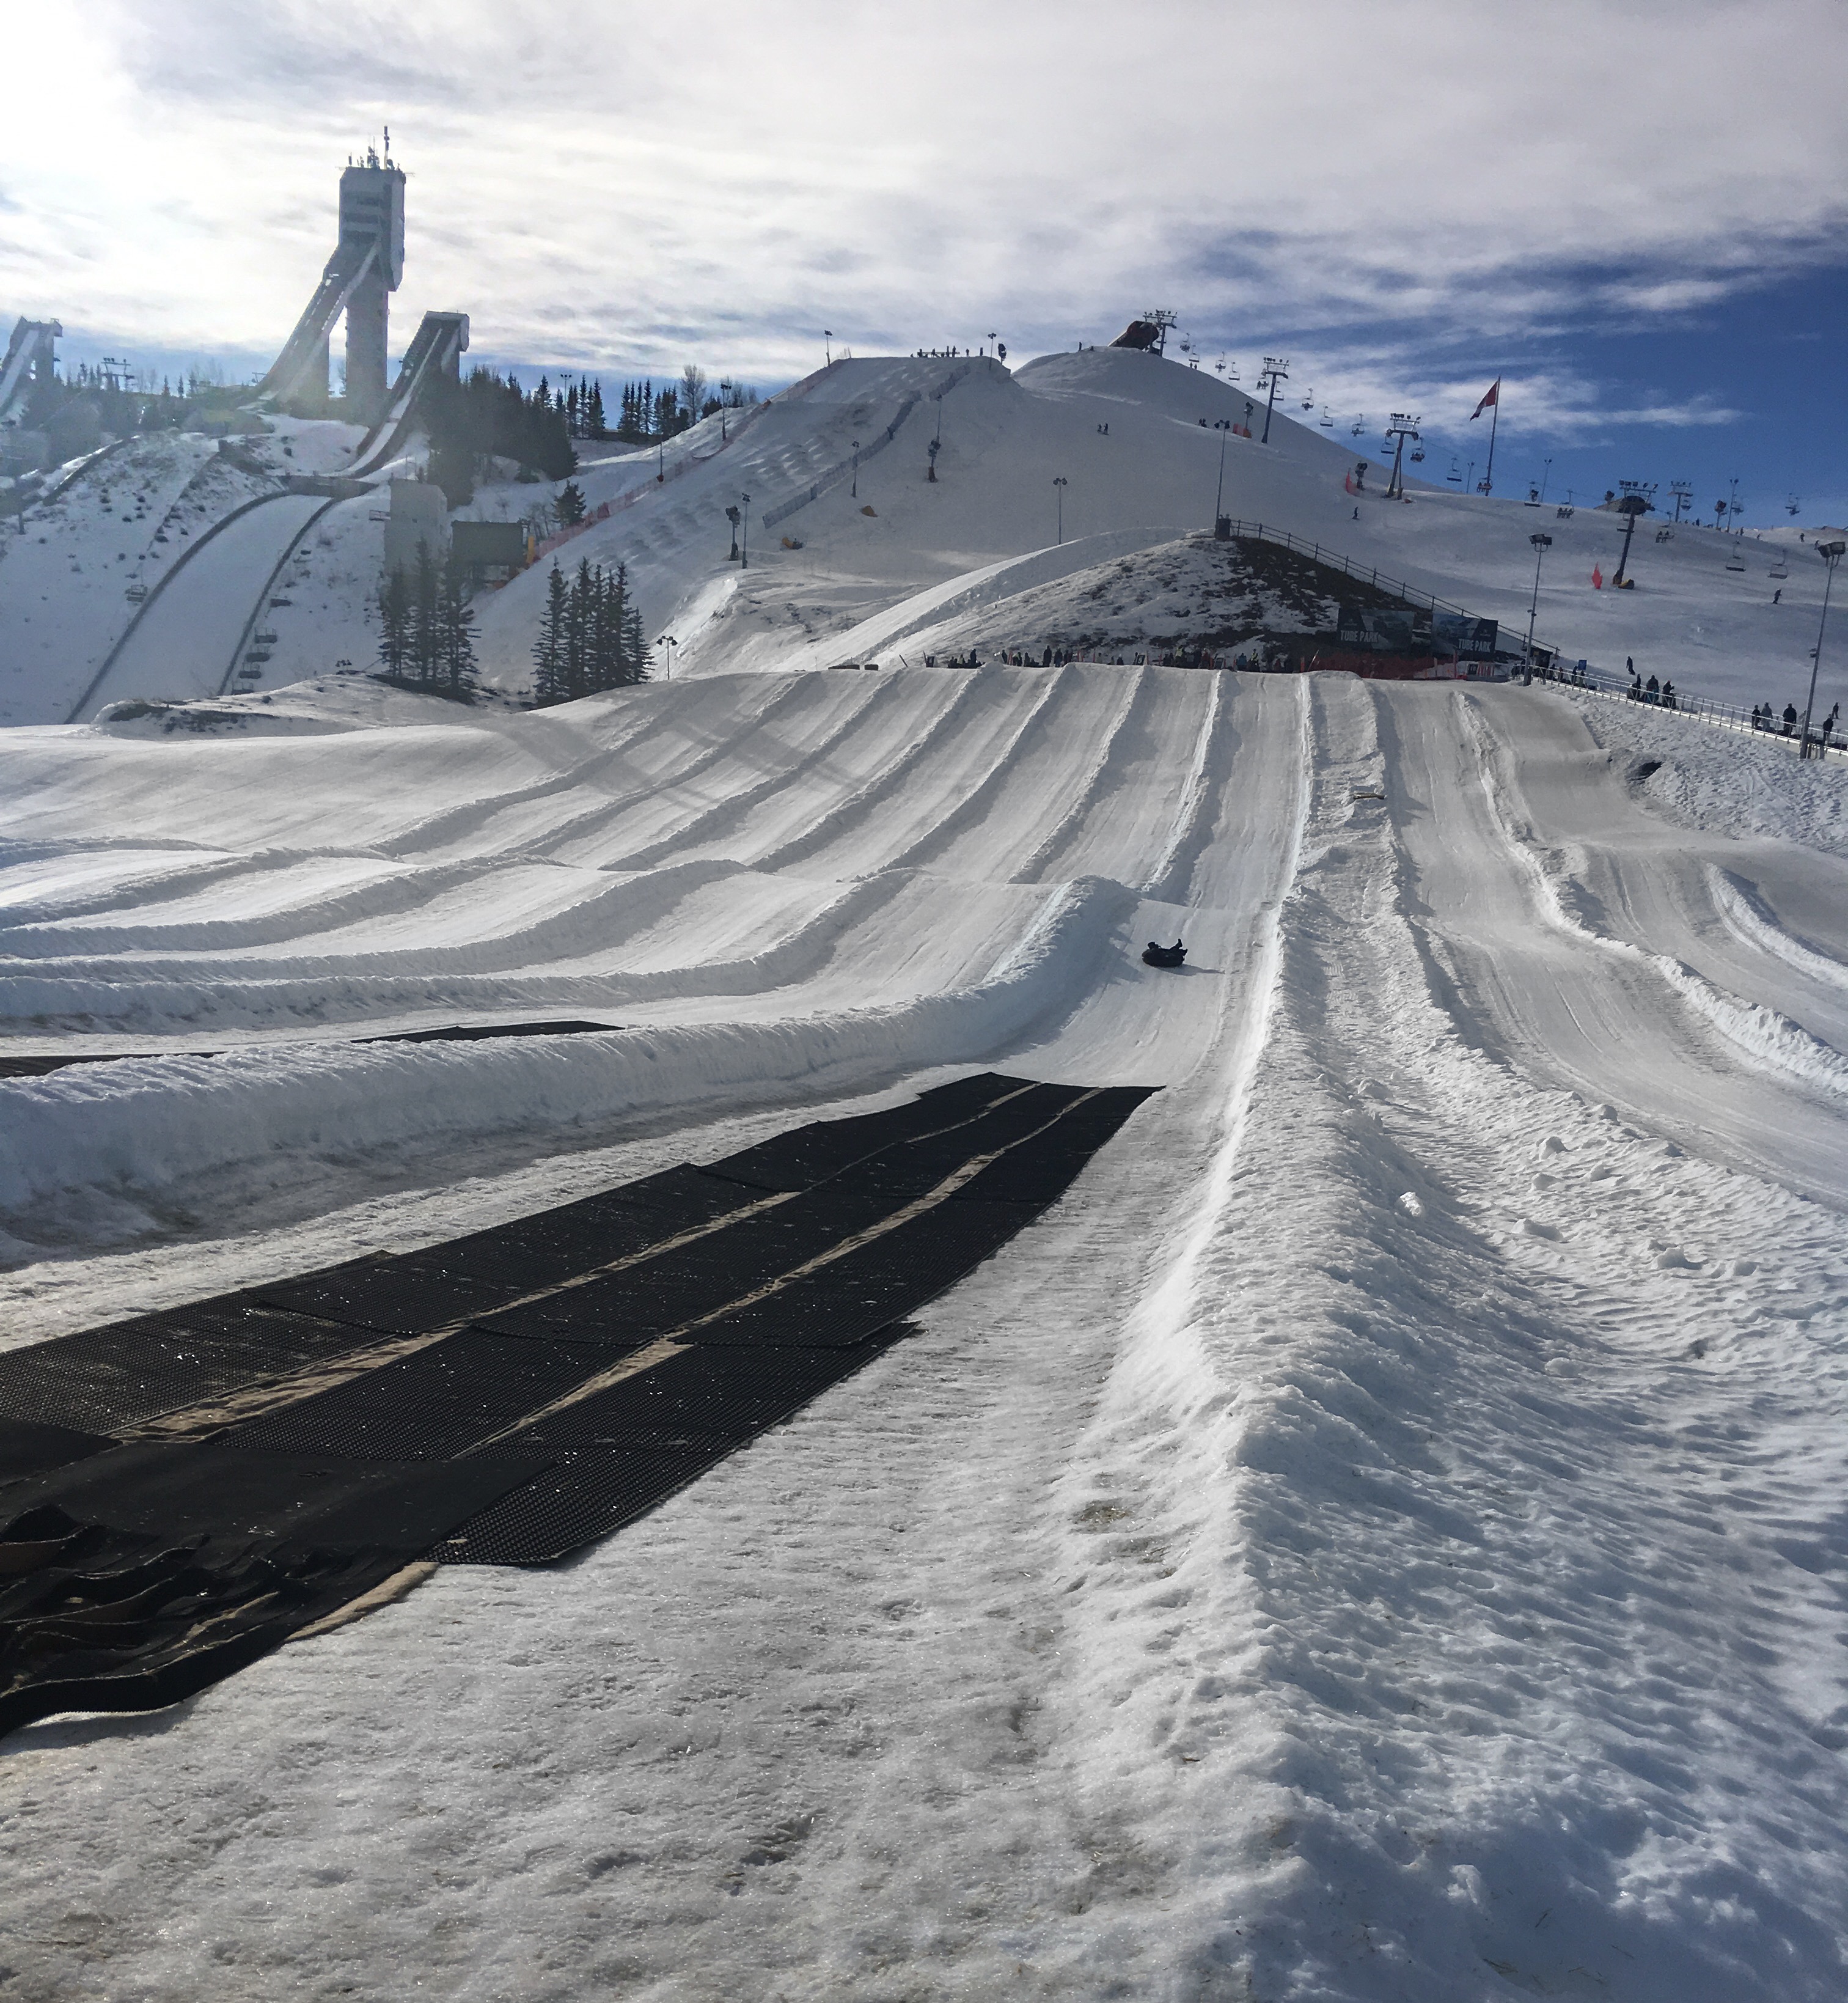
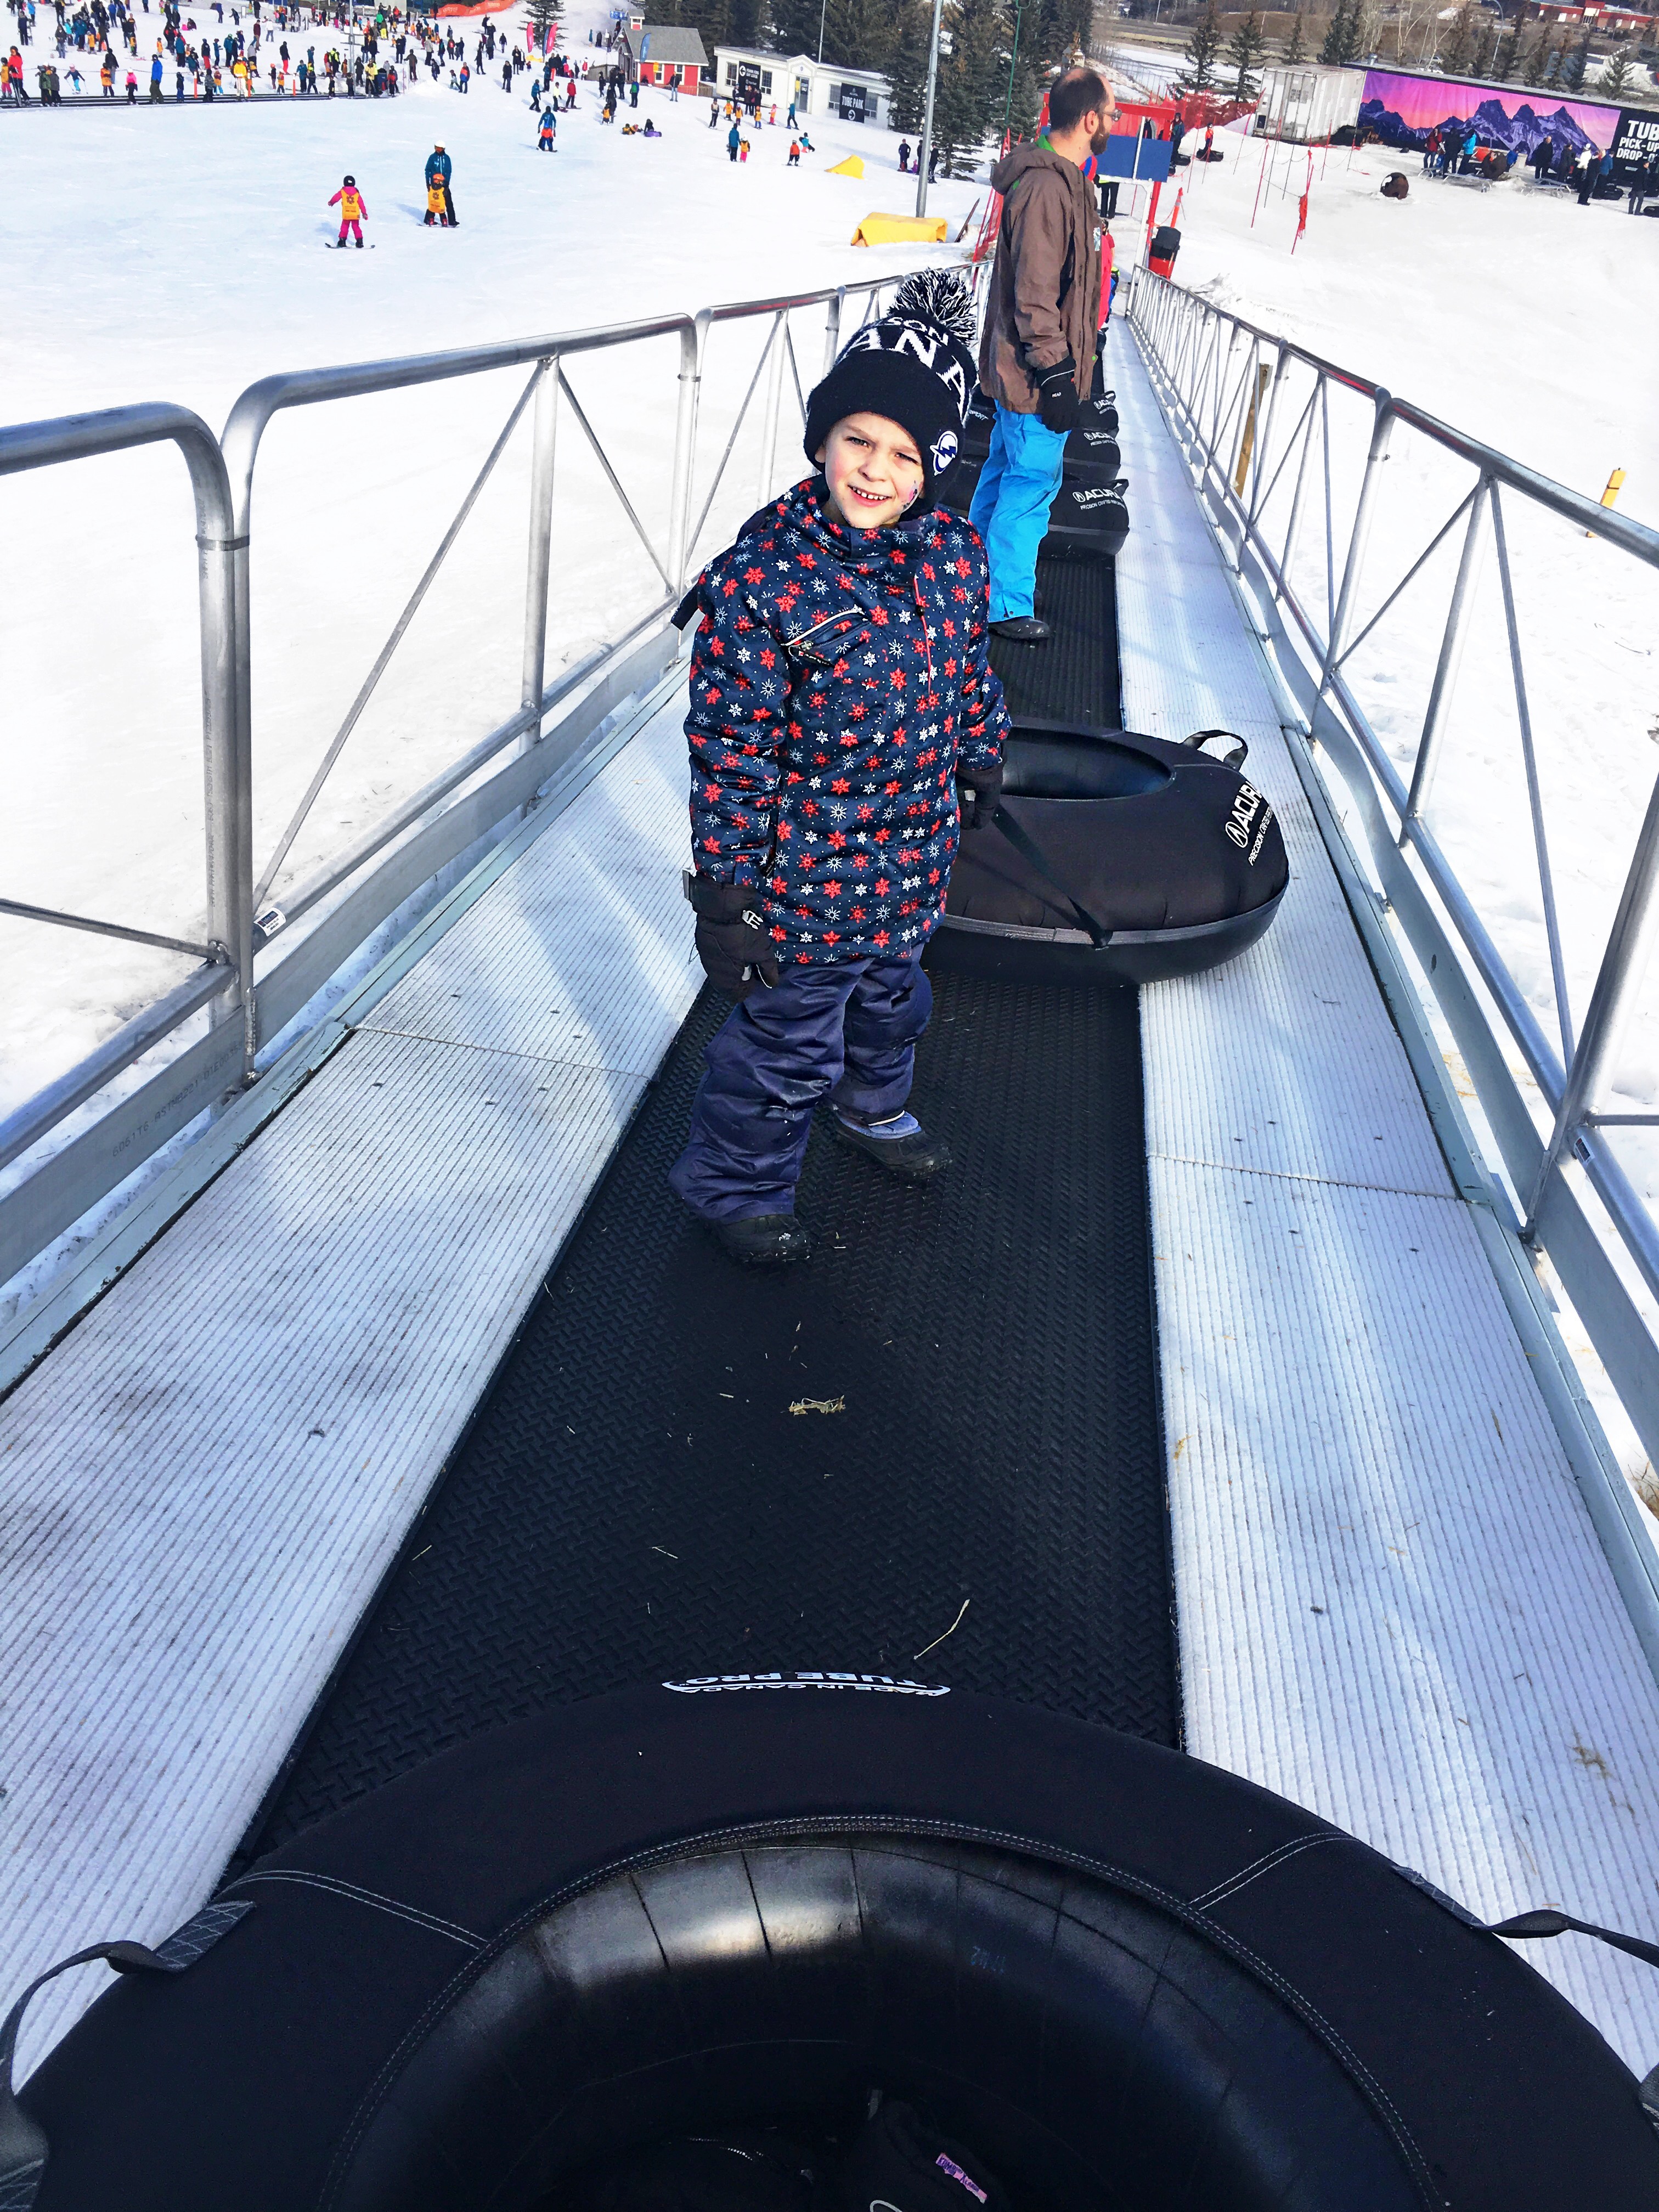
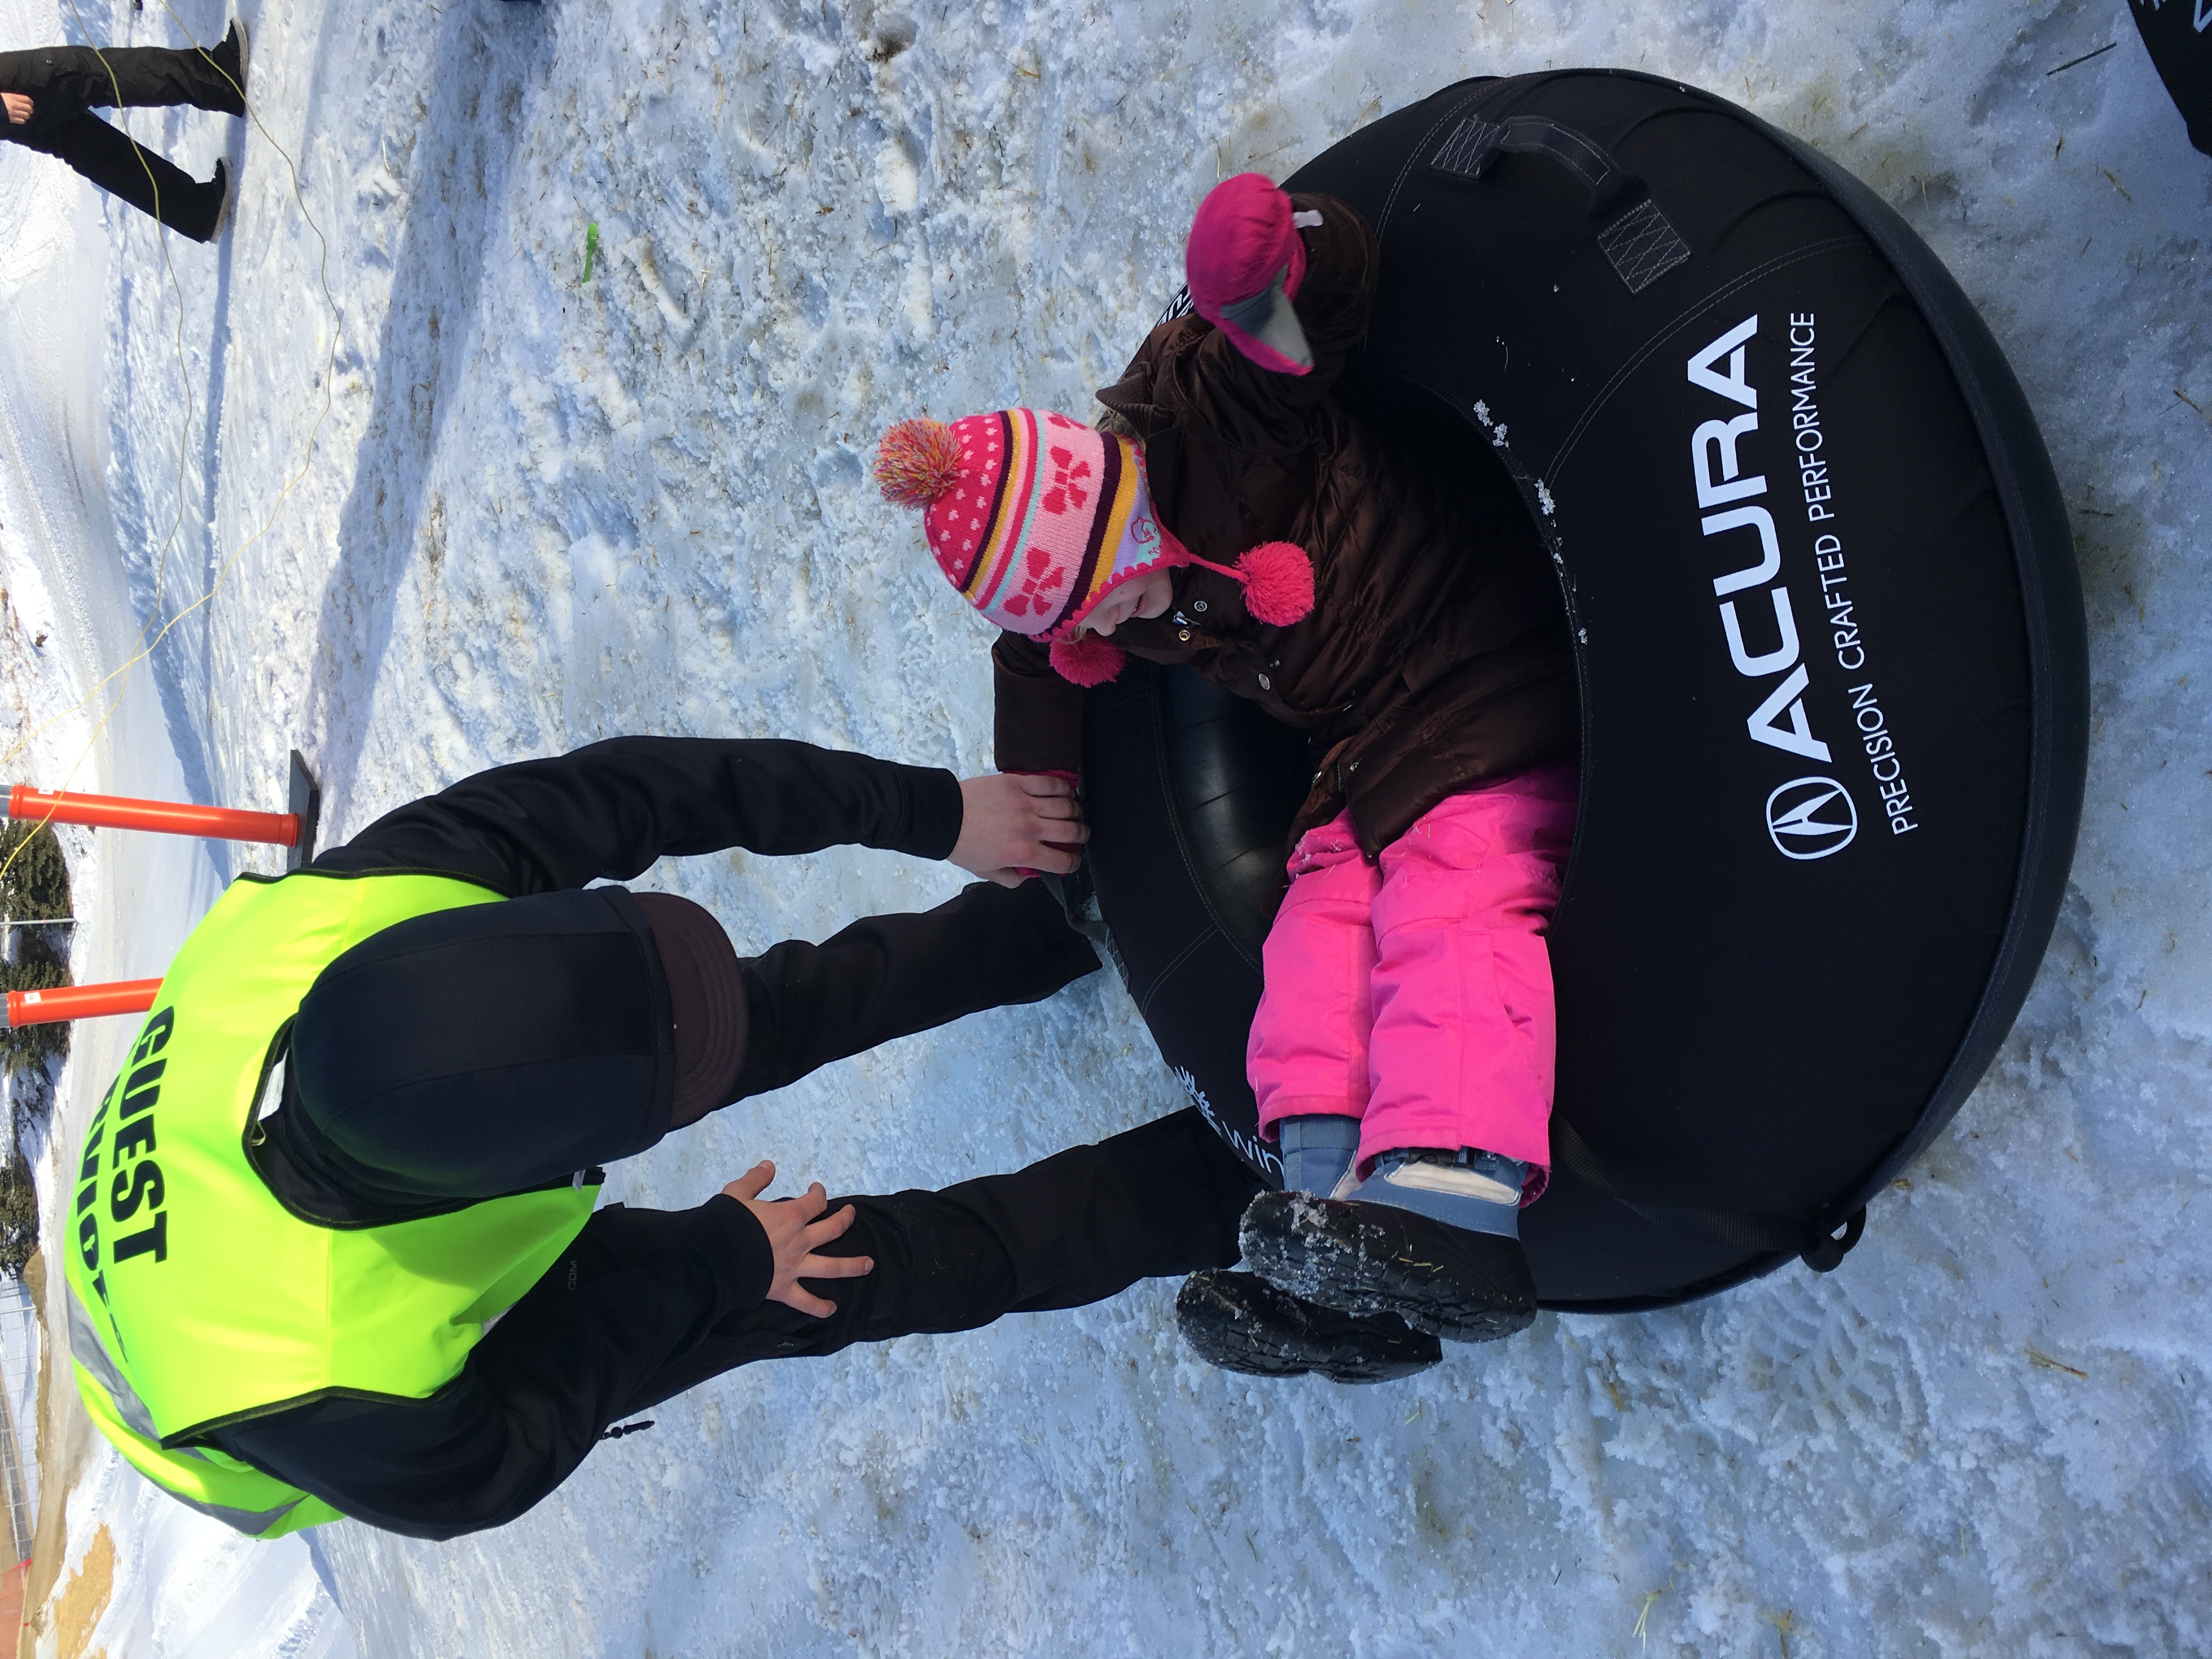
Enjoying the snow can be more than the traditional snowmen, snow forts, skiing, toboganning, snow tubing, etc. Not that their is anything wrong with those activities but in some cases they are not always accessible. Expanding children’s horizons and understanding of winter in a unique way makes them love and appreciate this beautiful wonderous season. Plus there are minimal materials and equipment needed and are easy to do in your own backyard. These activities are great for adults too! so get out there and enjoy it with them.

What is your favorite snow activity and why? Share in the comments below.


 1 tsp. baking powder
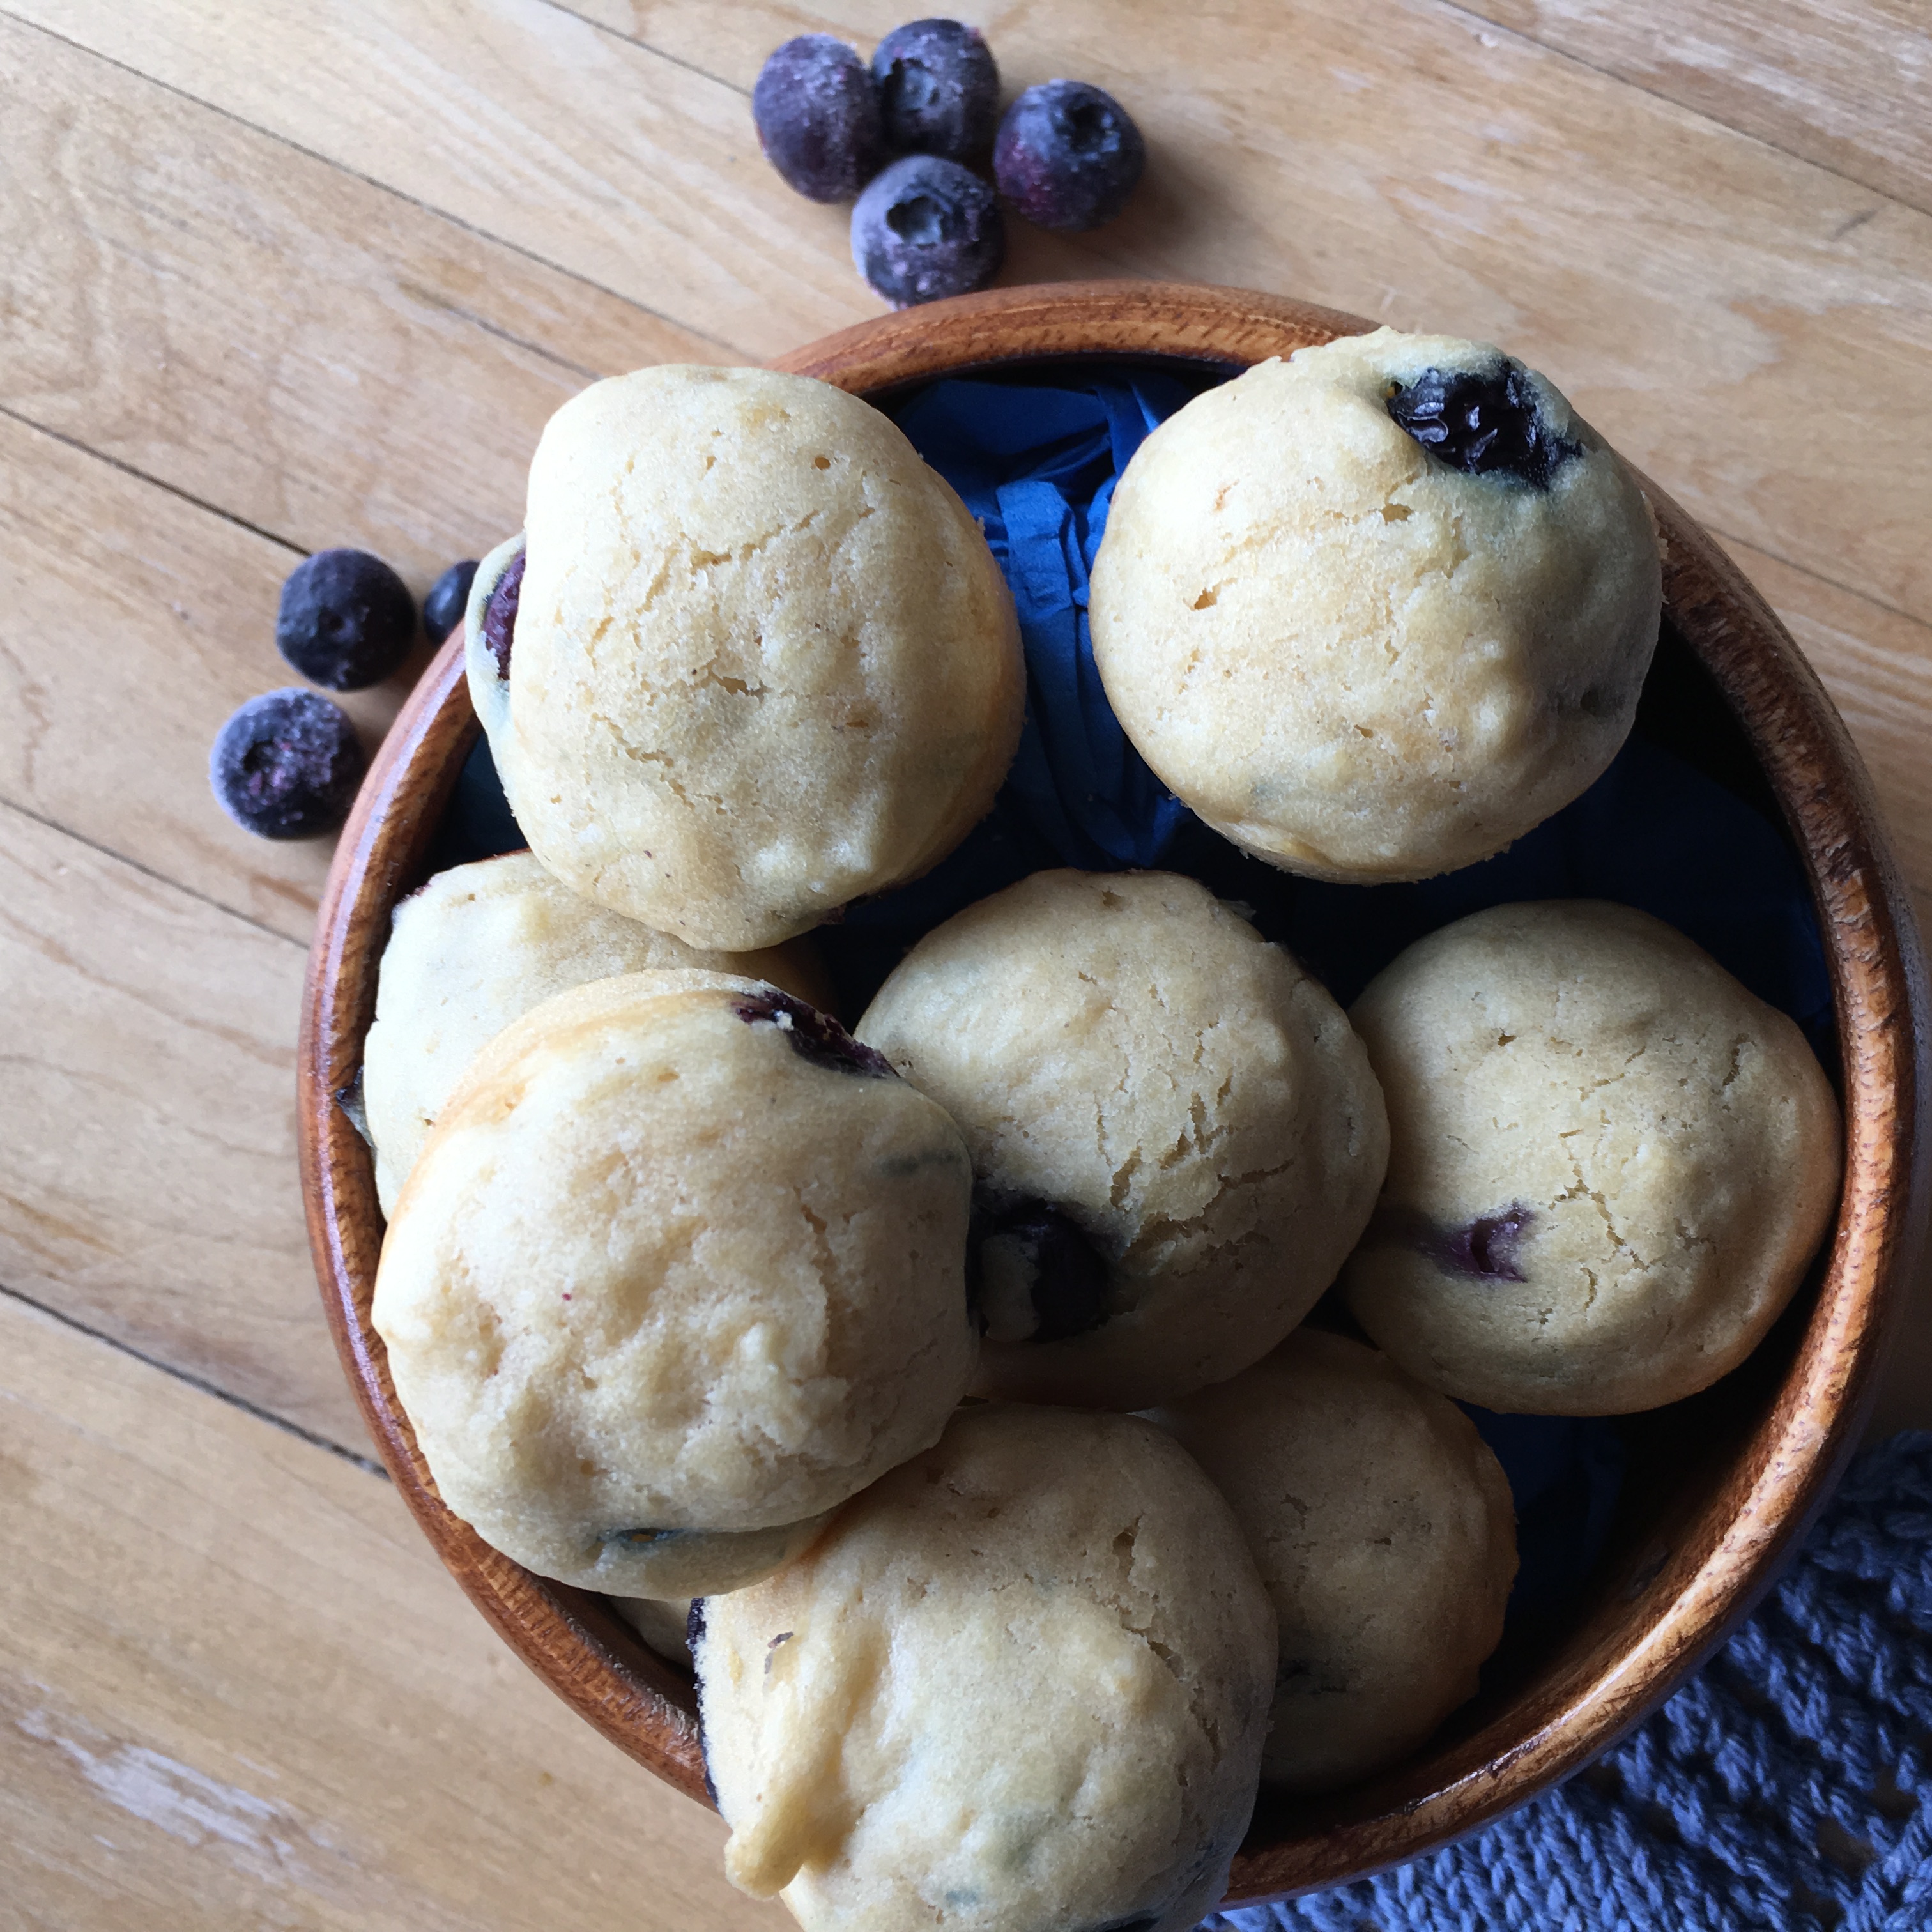 These are also easily frozen ready to grab later or on those mornings you’re a little rushed. Freeze in an airtight container with a piece of wax or parchment paper between layers.