Kids Healthy Cooking – Healthy Dips for Kids

healthy dips for kids
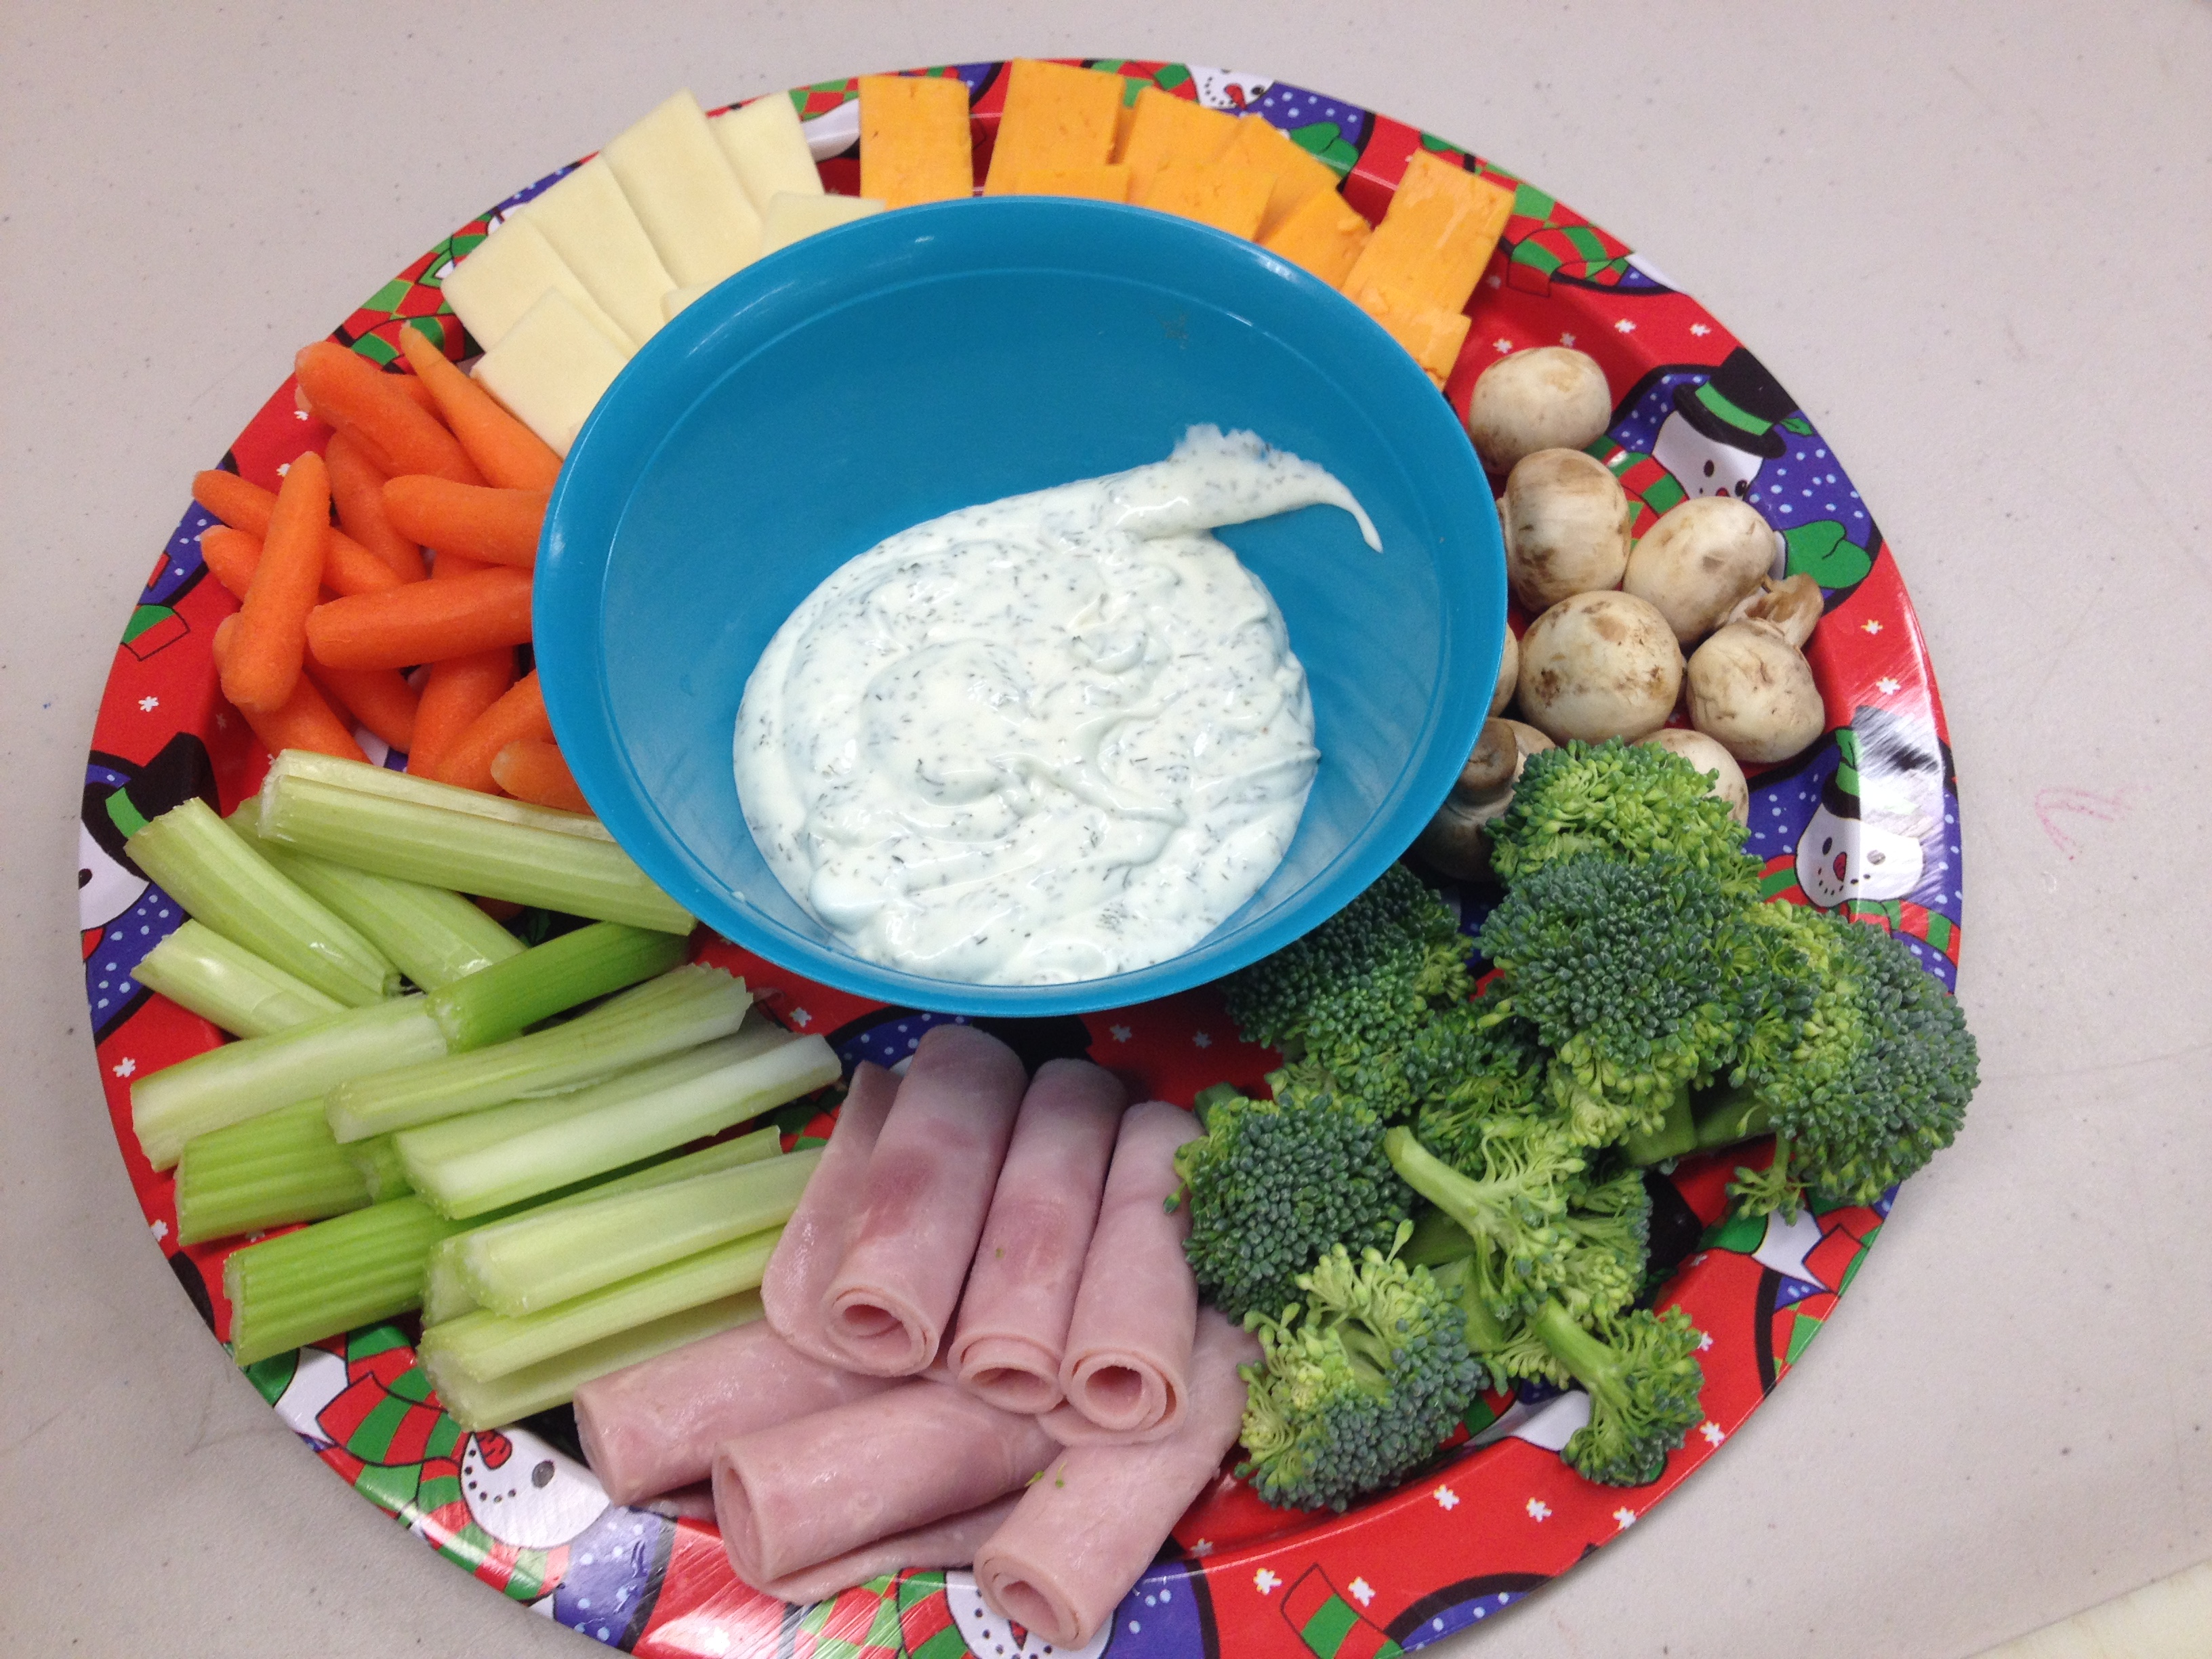
Dips are another great ‘tactic’ to use when encouraging kids to eat fruits and vegetables that they may not eat otherwise. The challenge is to find a healthy dip for kids, that they like and is not loaded with sugars and other ingredients you want to avoid. Unfortunately a lot of store bought dips have these extras that we don’t want.

The good thing is that healthy dips for kids are super easy to make at home and something that the kids can easily participate in making. A quick easy dip is simply a matter of putting the ingredients into a bowl and mixing – seriously less than five minutes!

healthy dips for kidsIt can be a challenge to find a healthy kids dip that the kids enjoy as their palates are so varied when their young and can change from day to day. There are many ingredients in dips like mayonnaise and sour cream that I did not like myself until I was closer to being an adult, but if your kids eat these already, you’re halfway there! And if they don’t eat them already introducing it mixed with other ingredients may just be the trick!

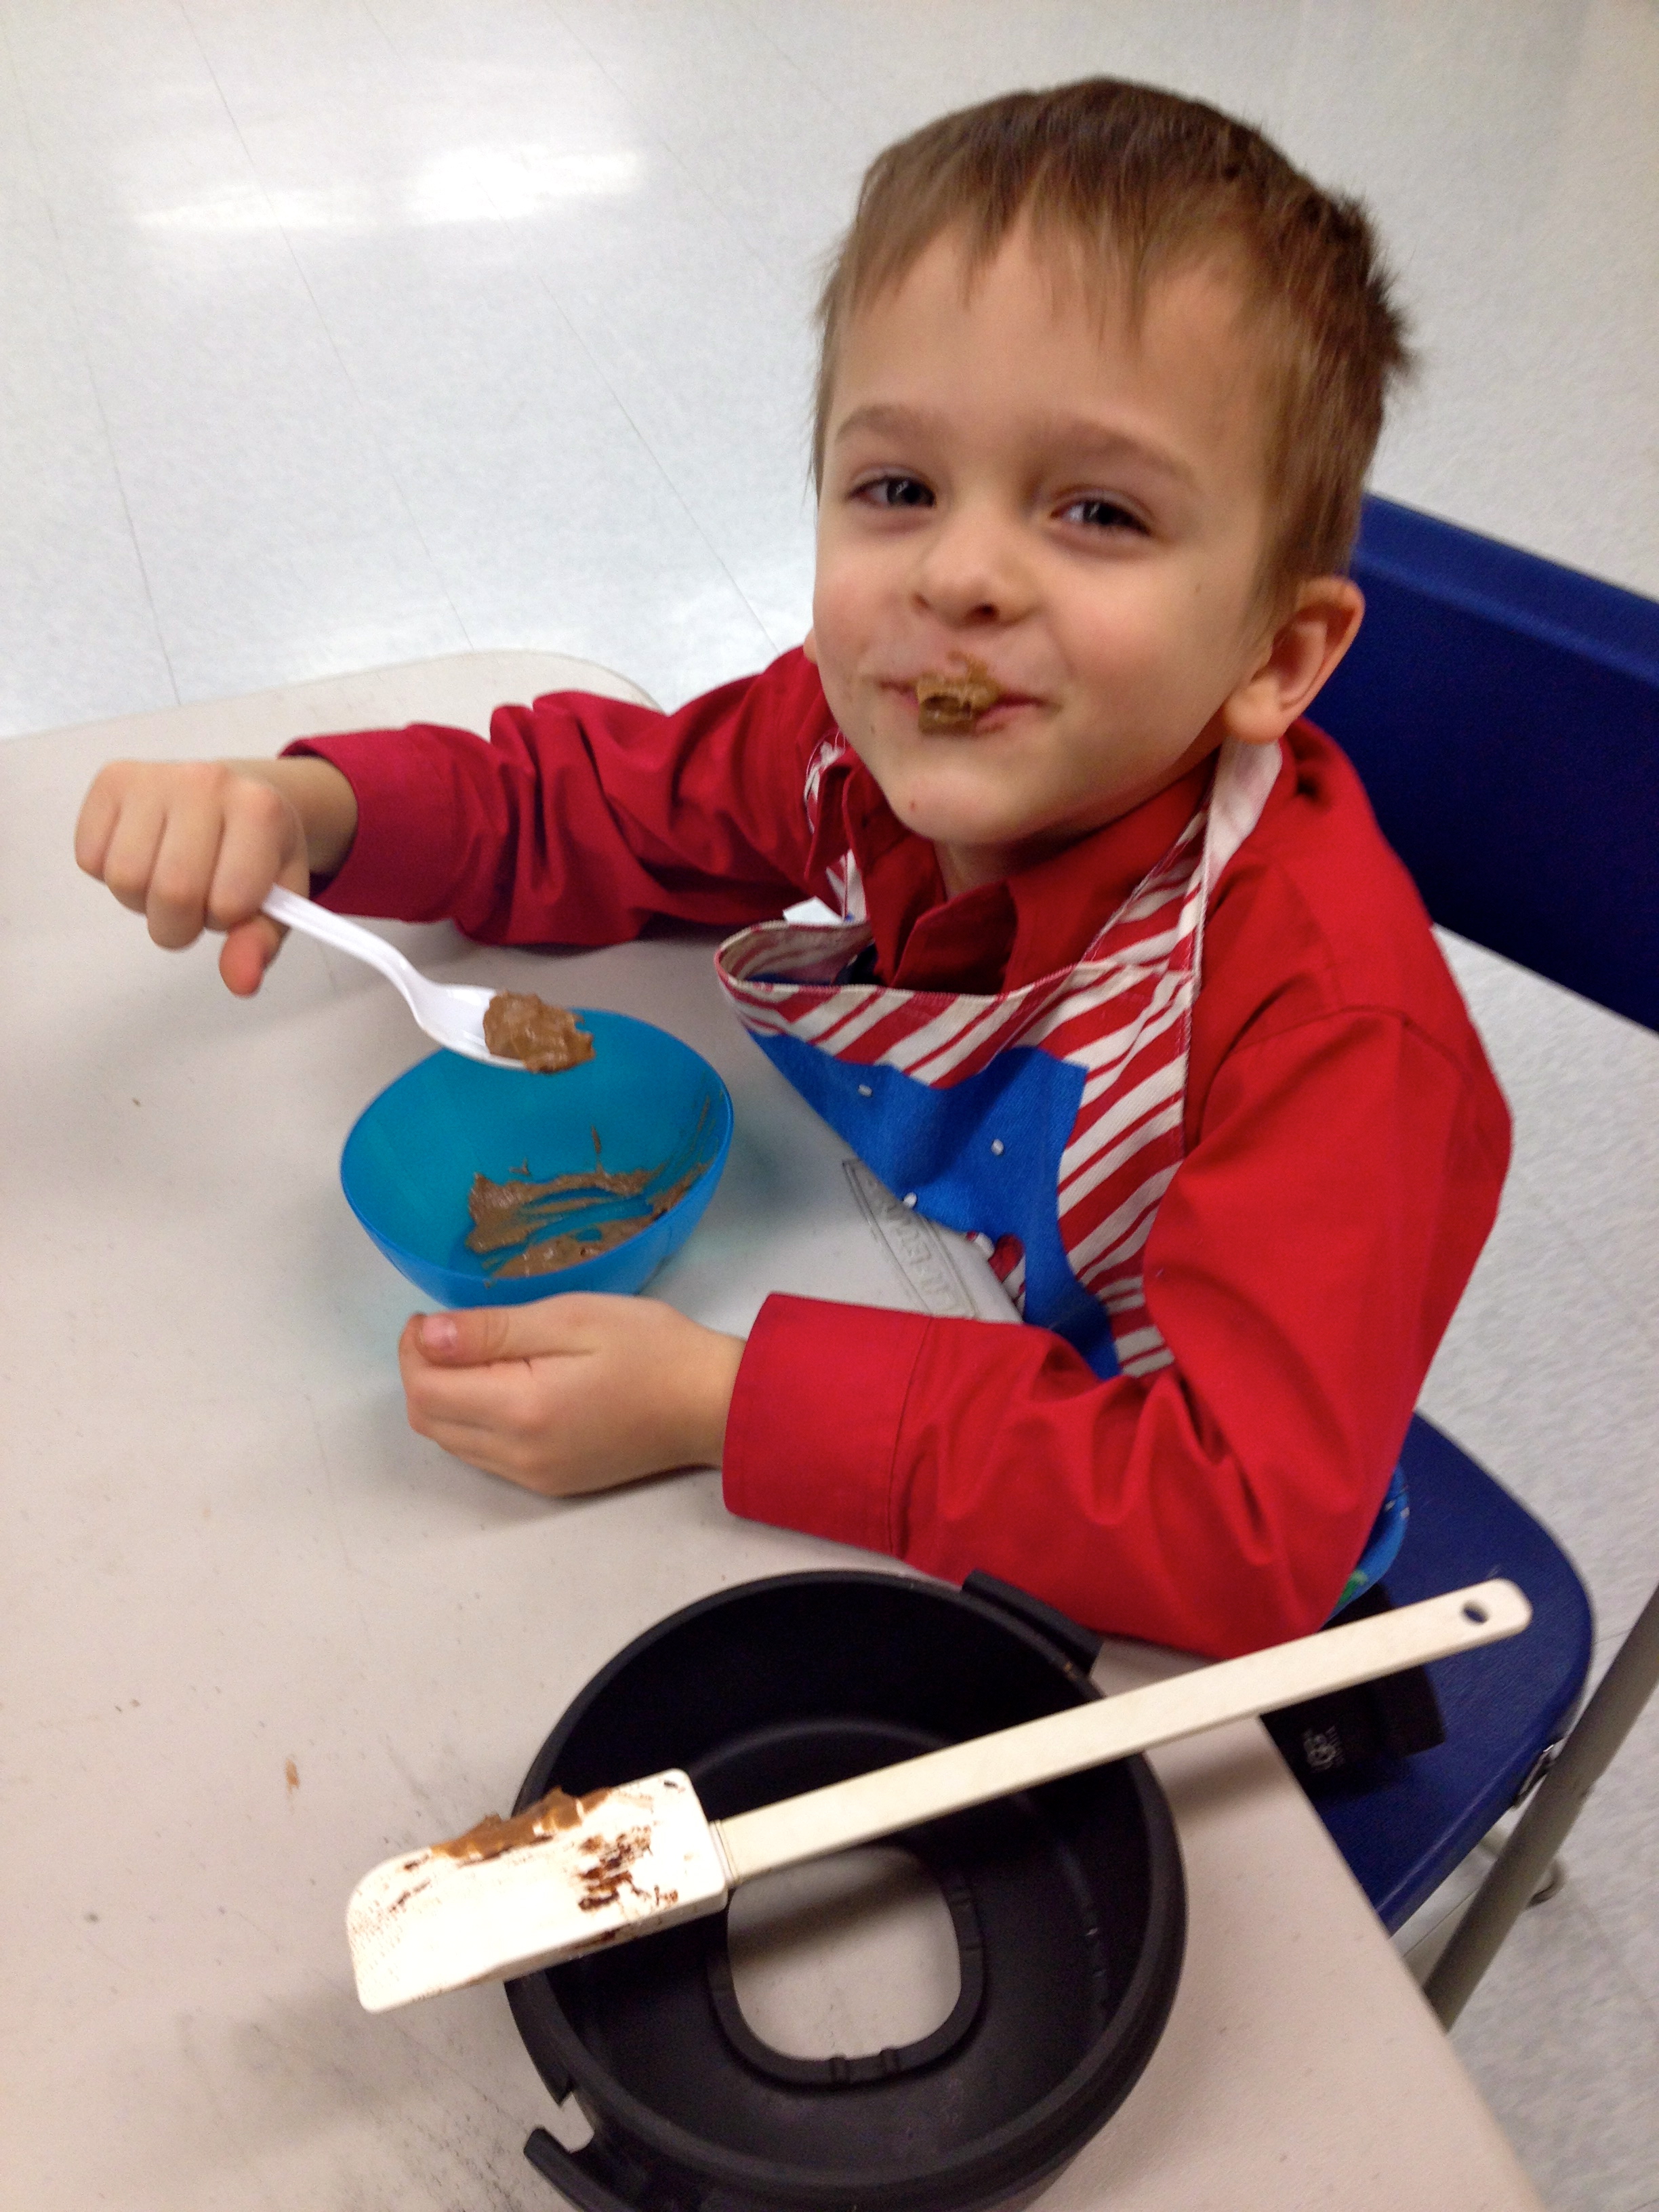
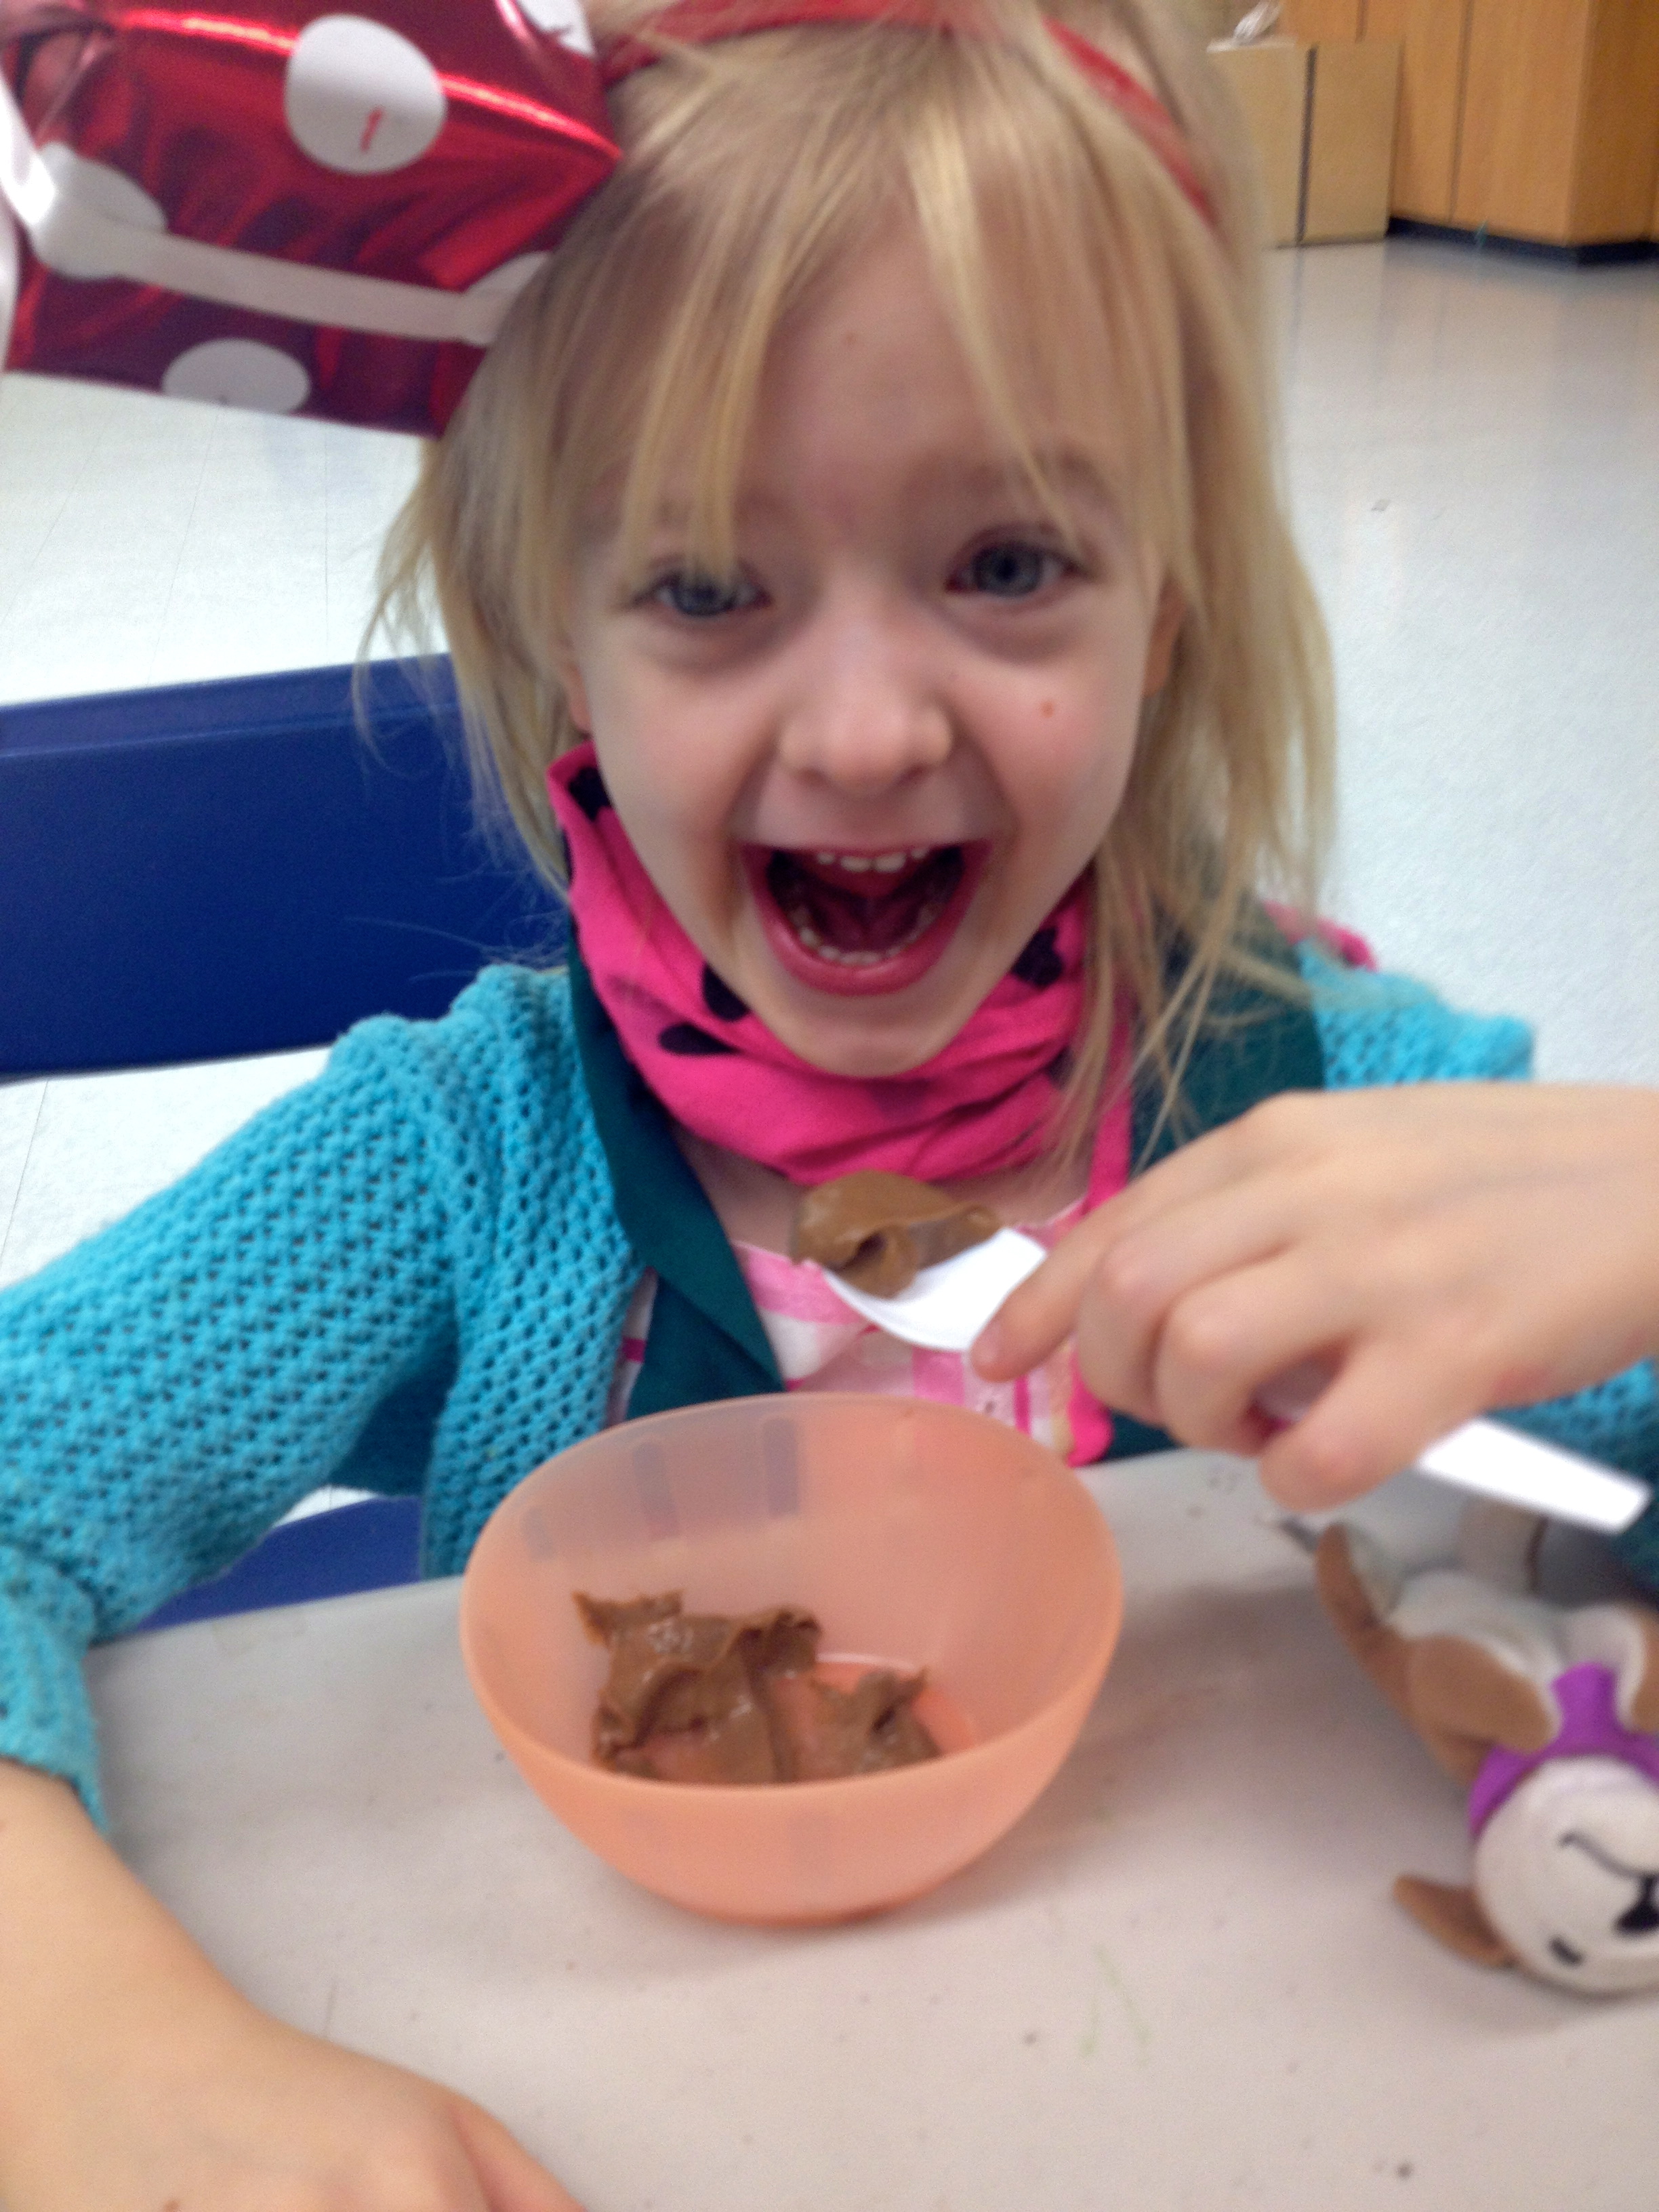
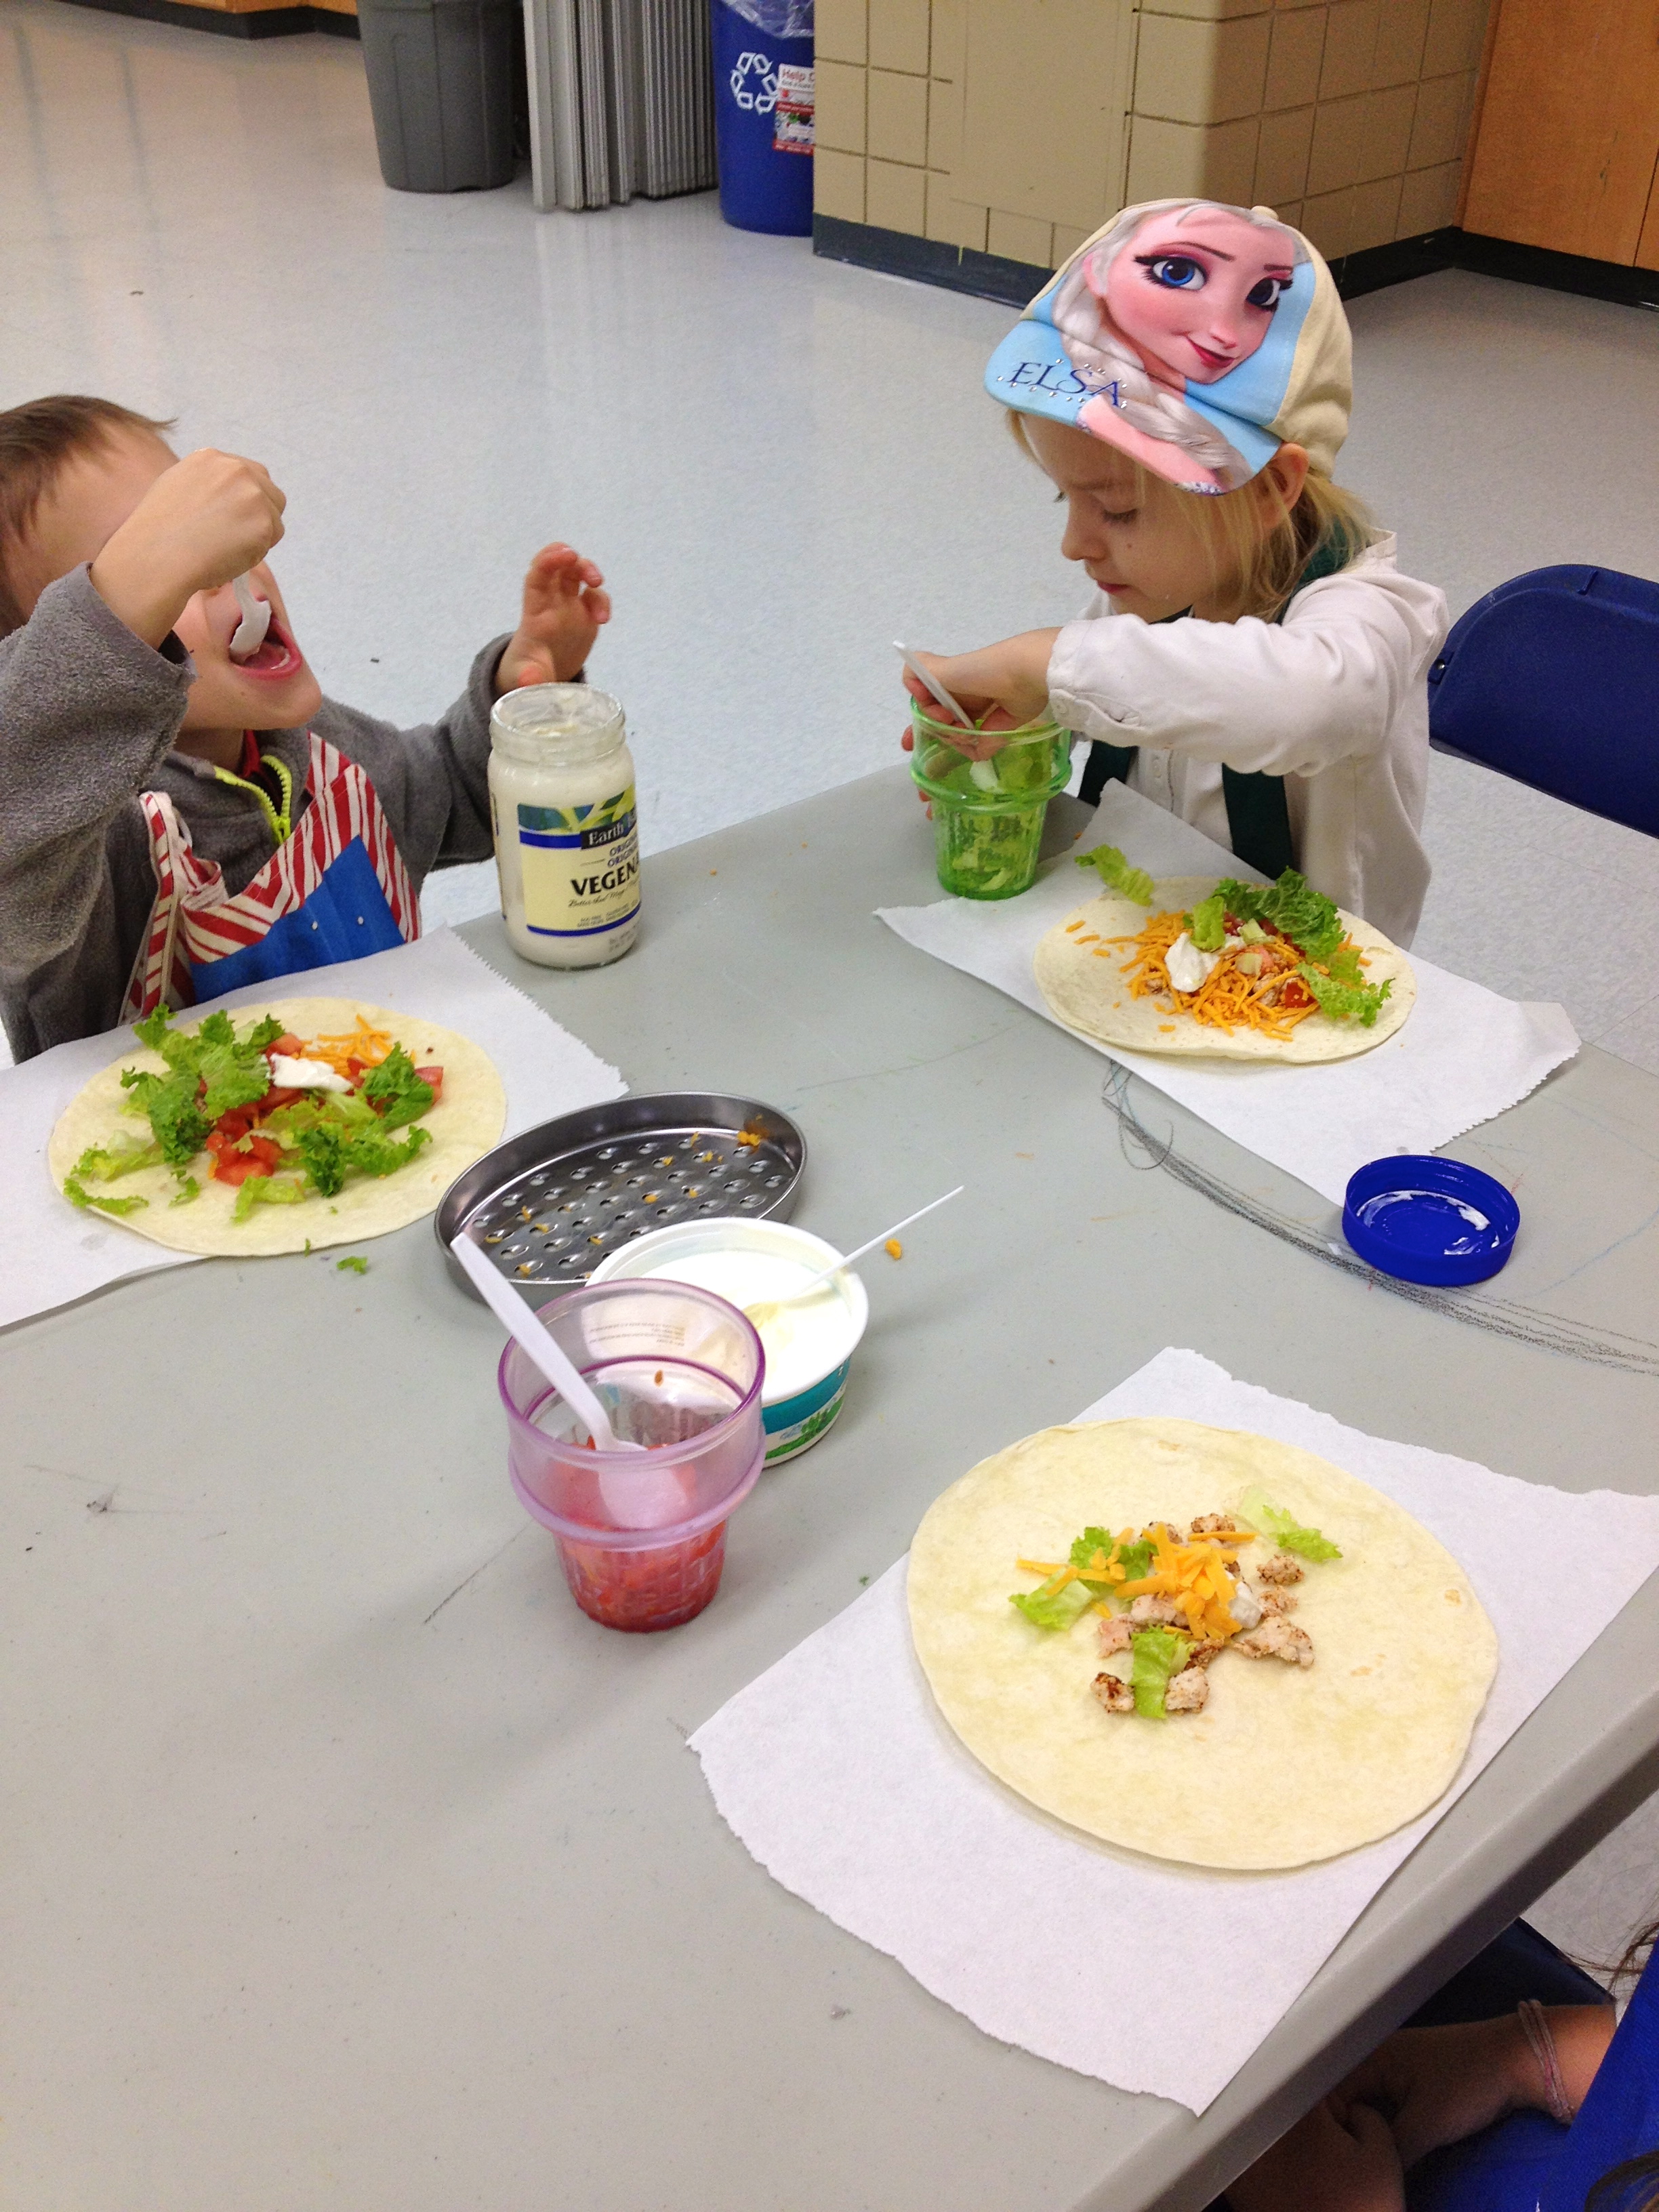
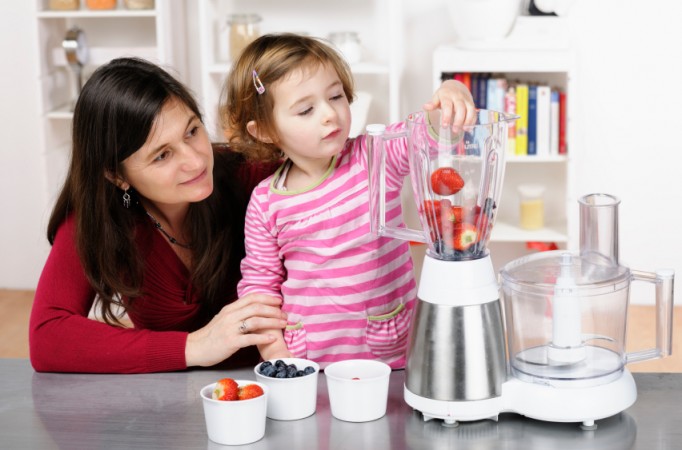
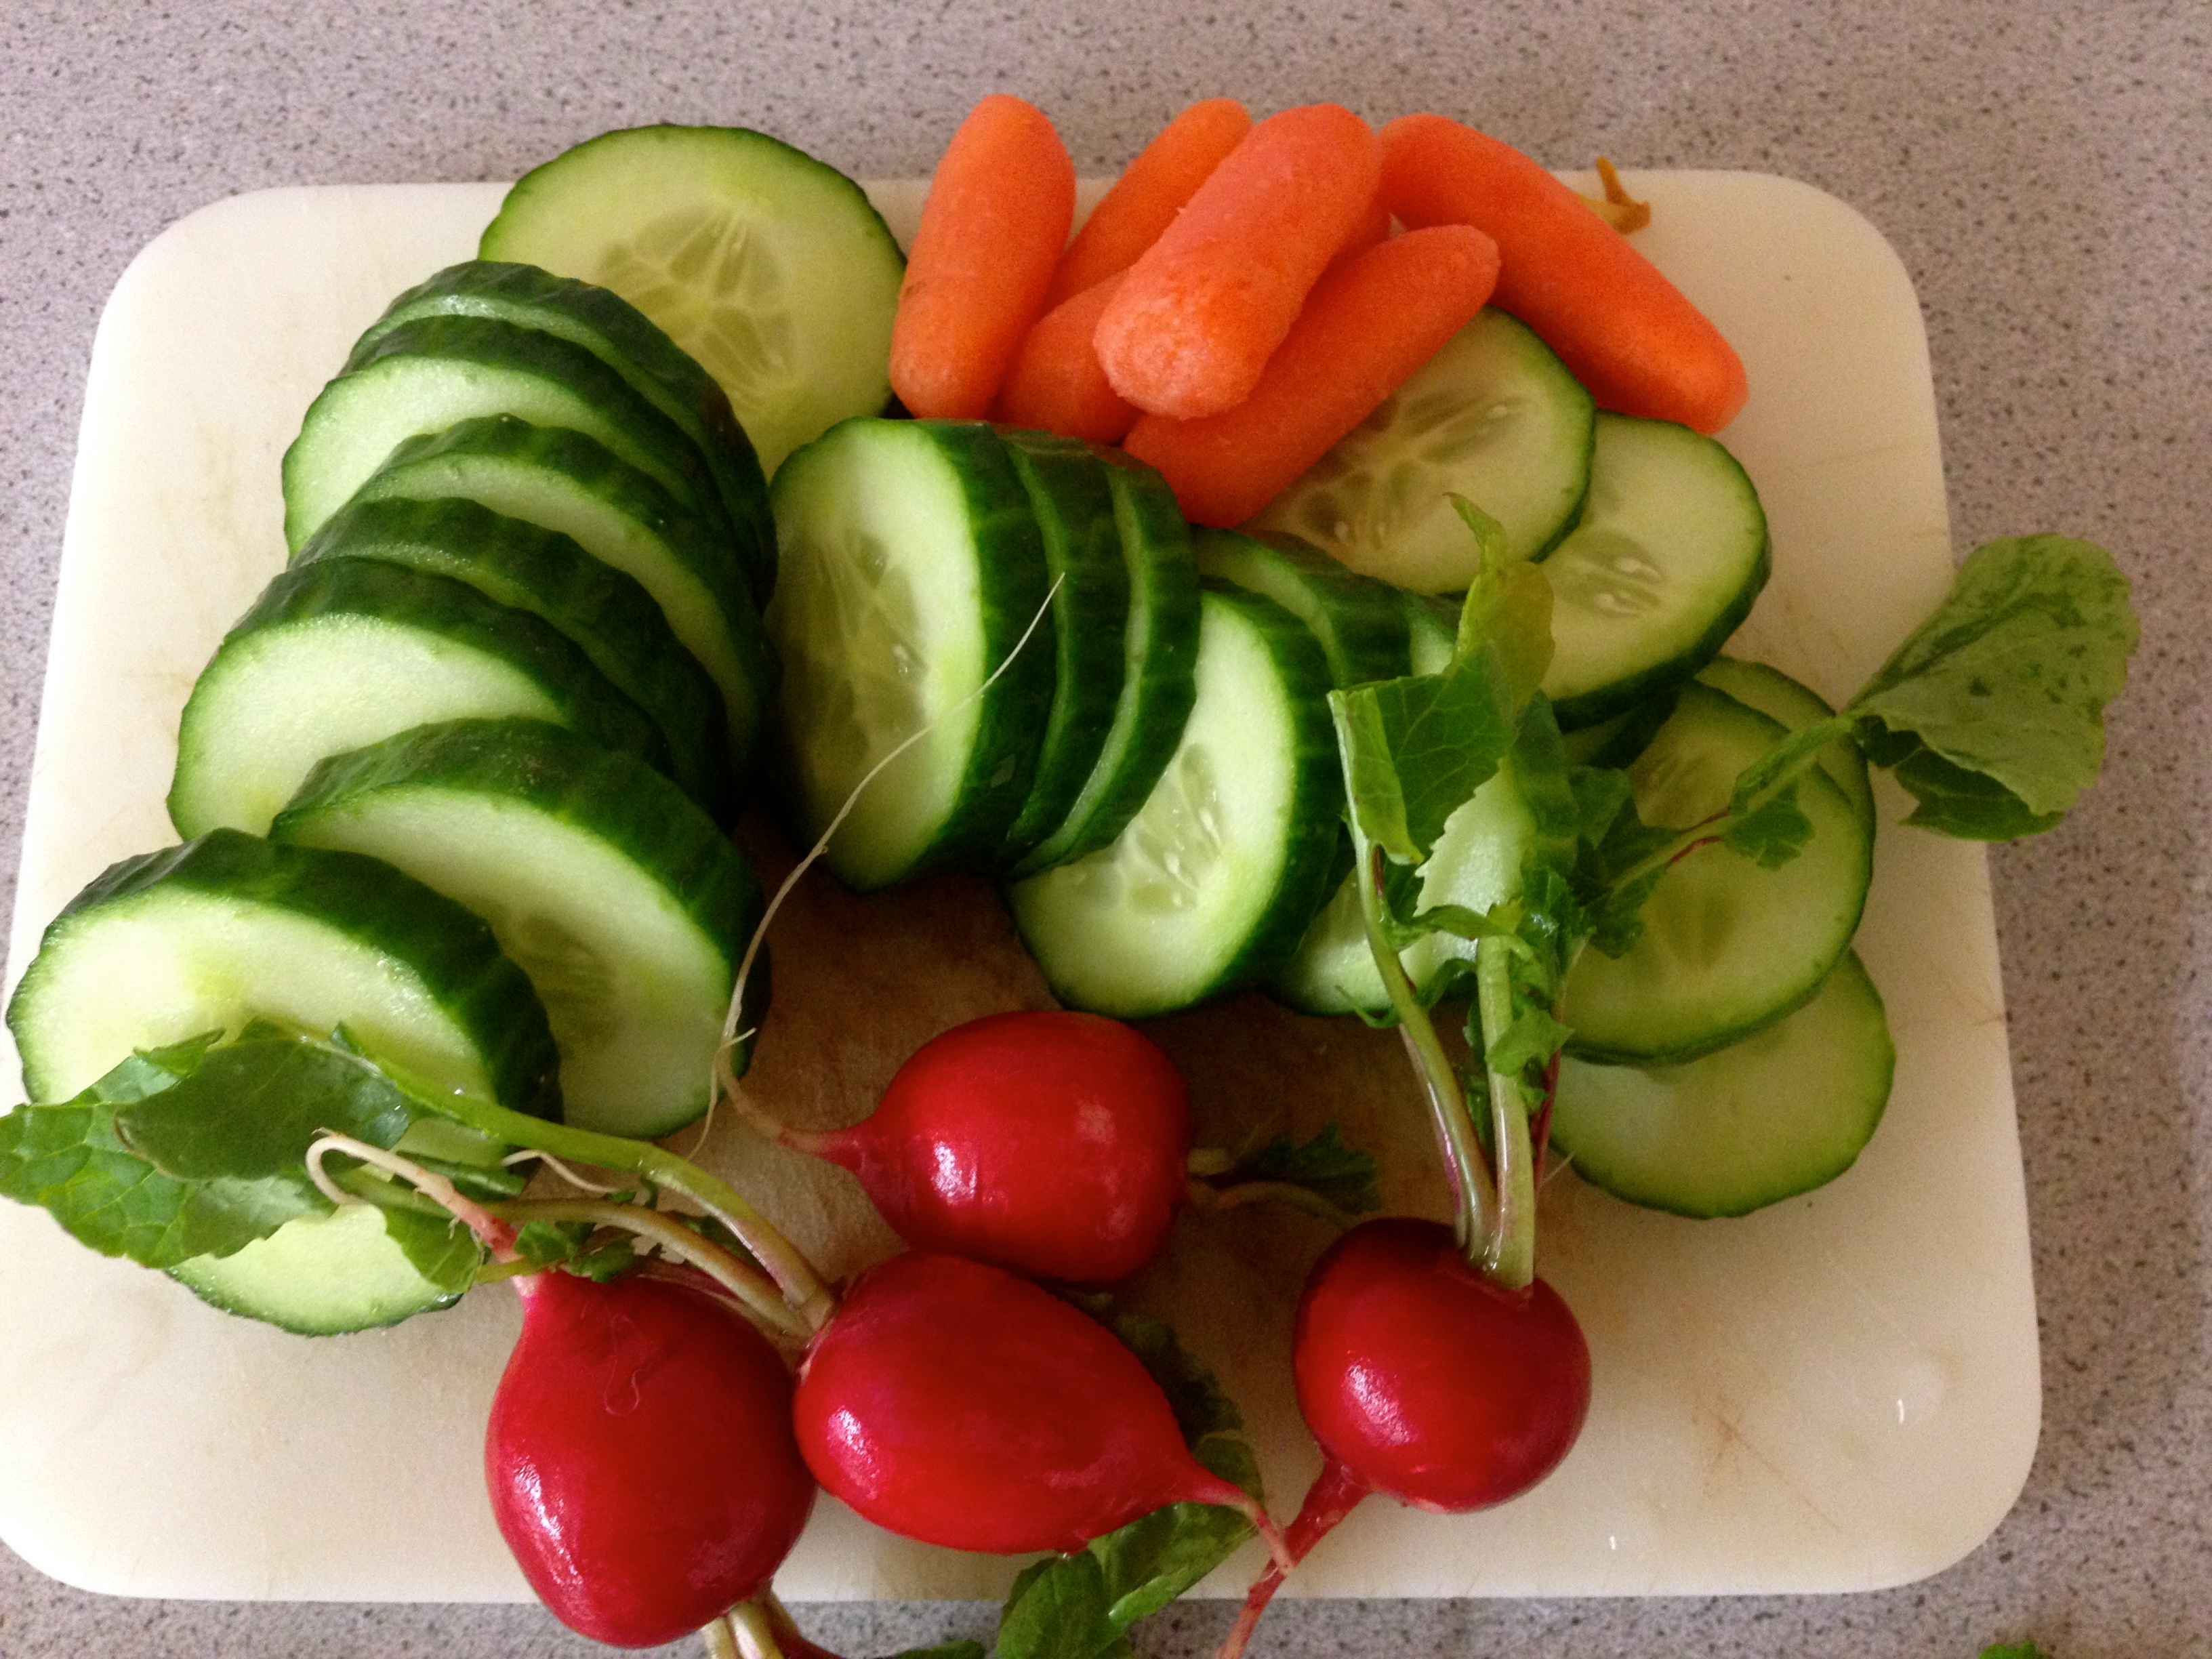
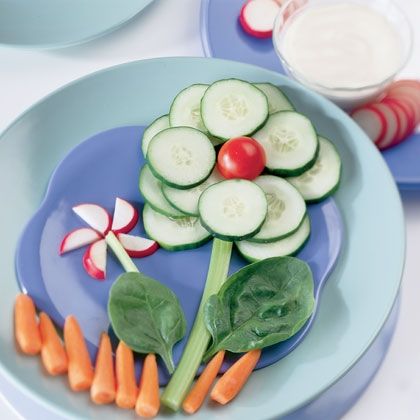
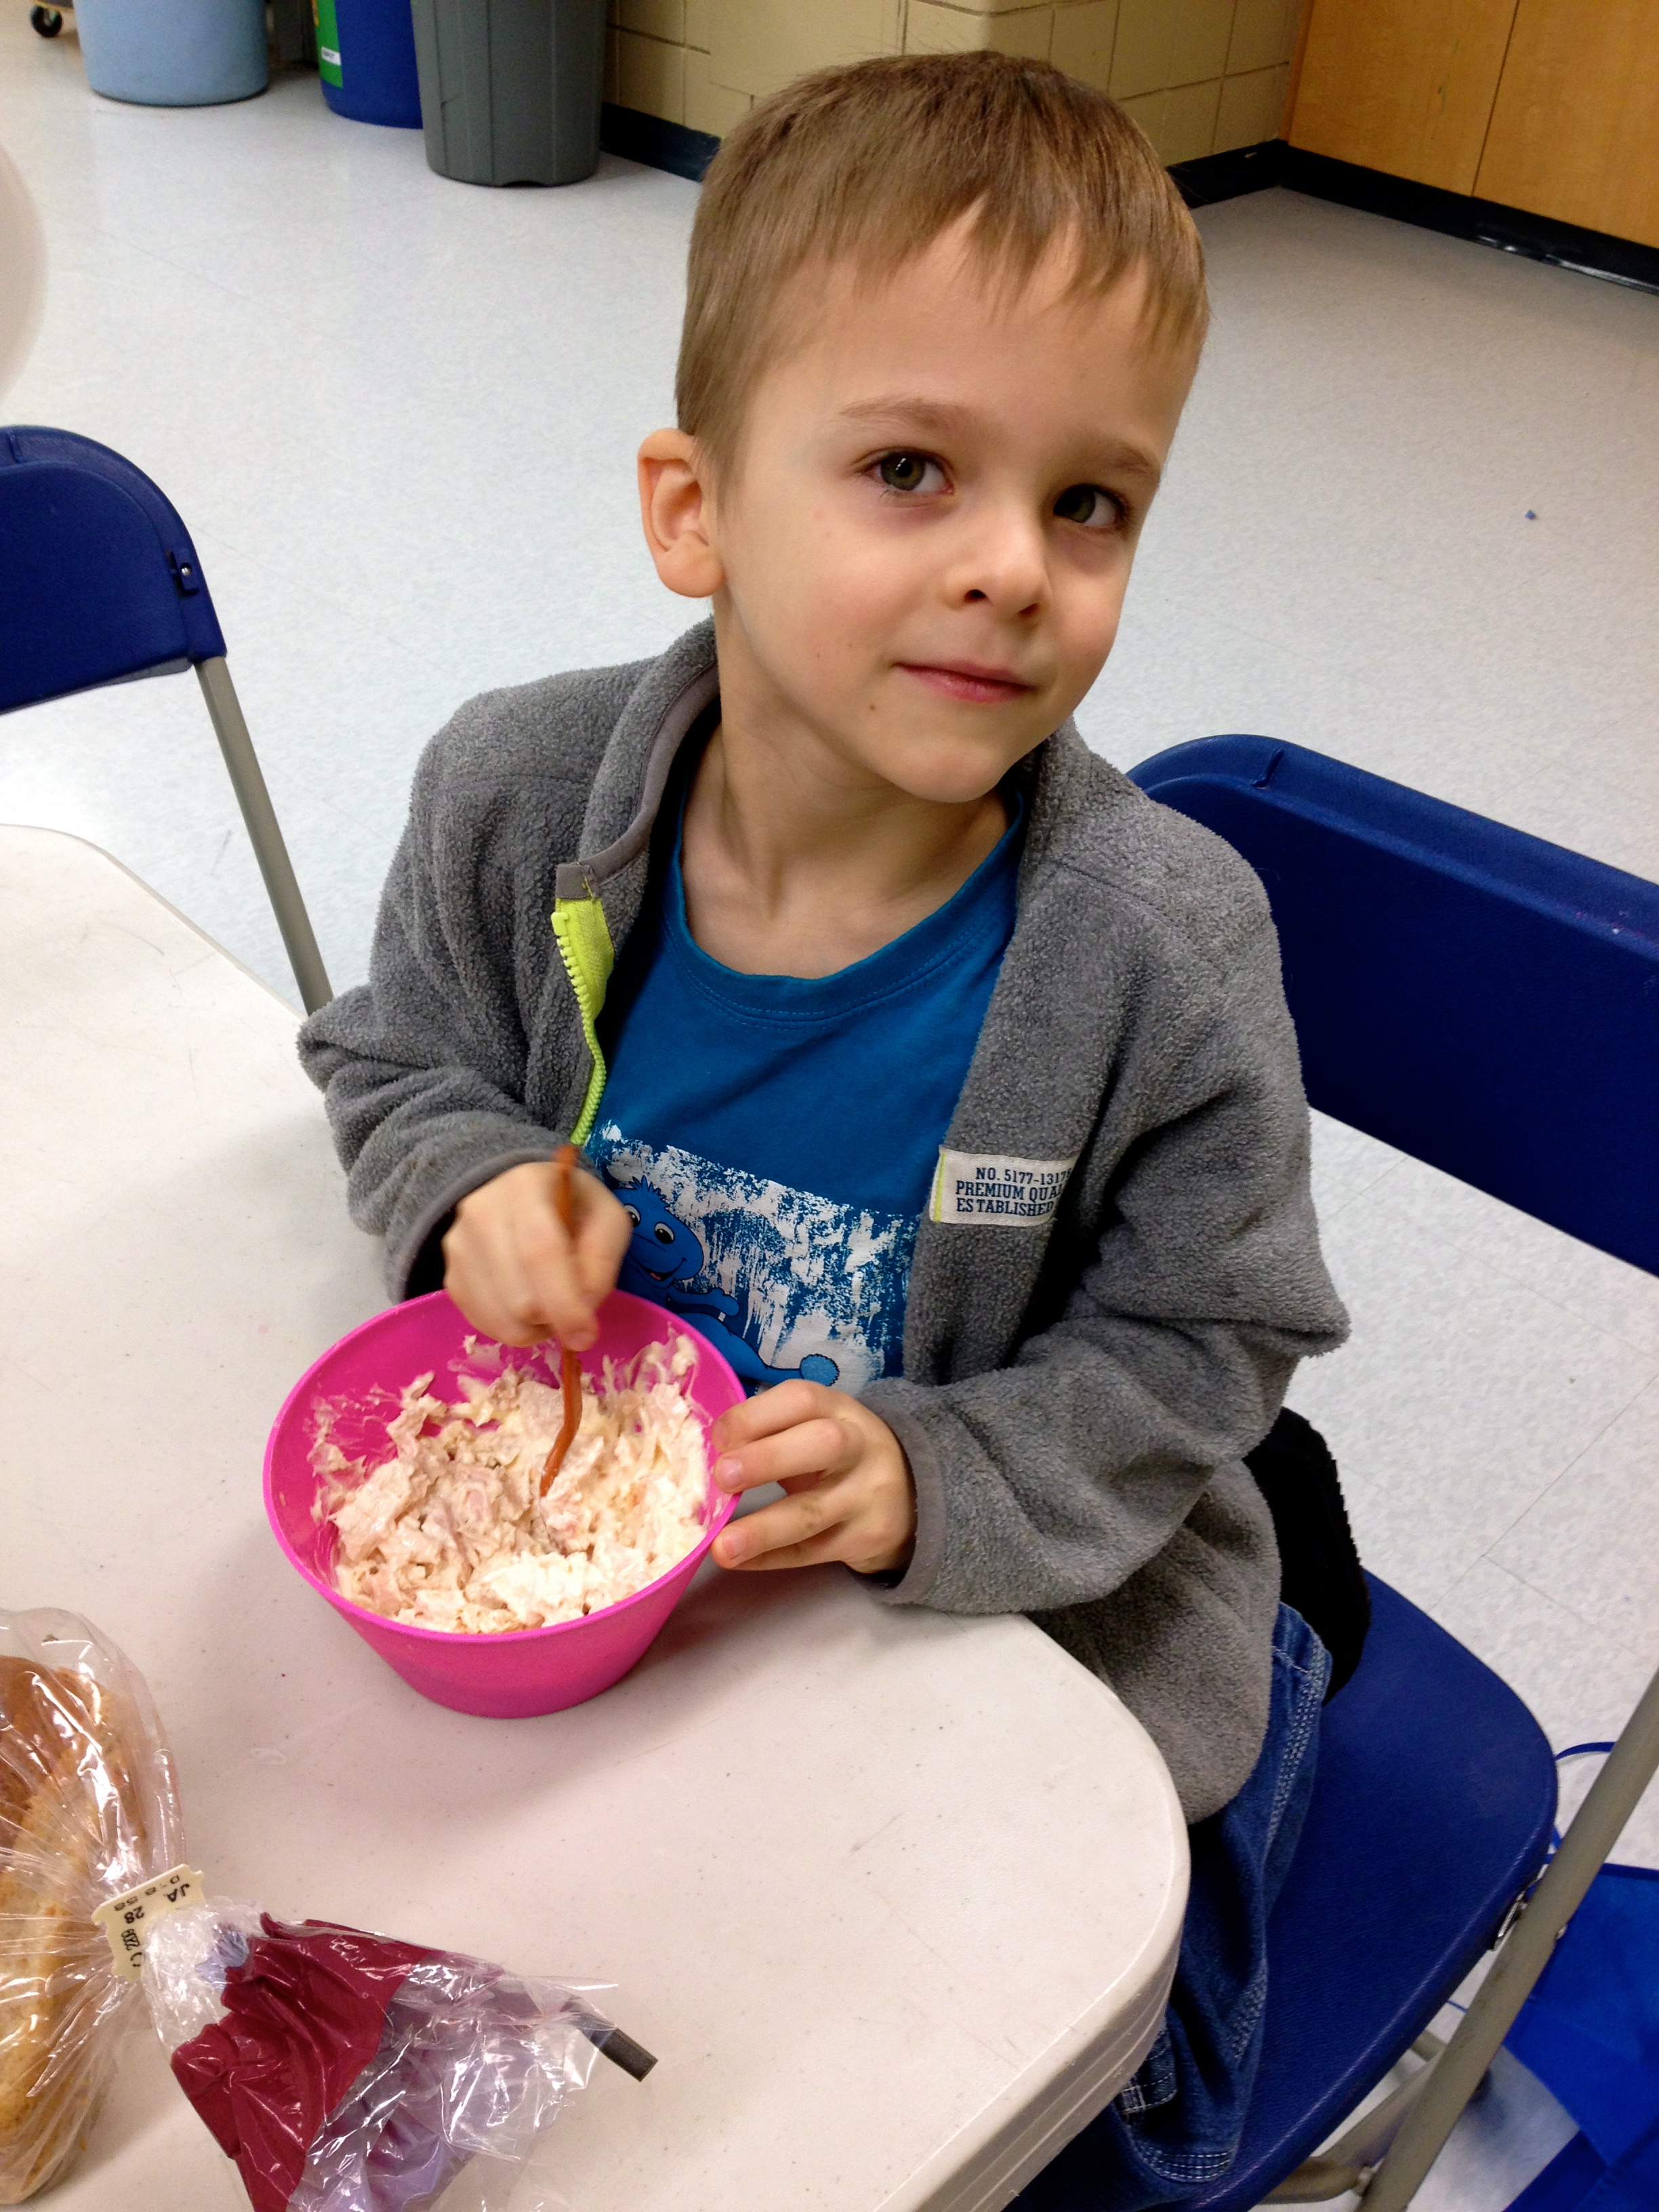
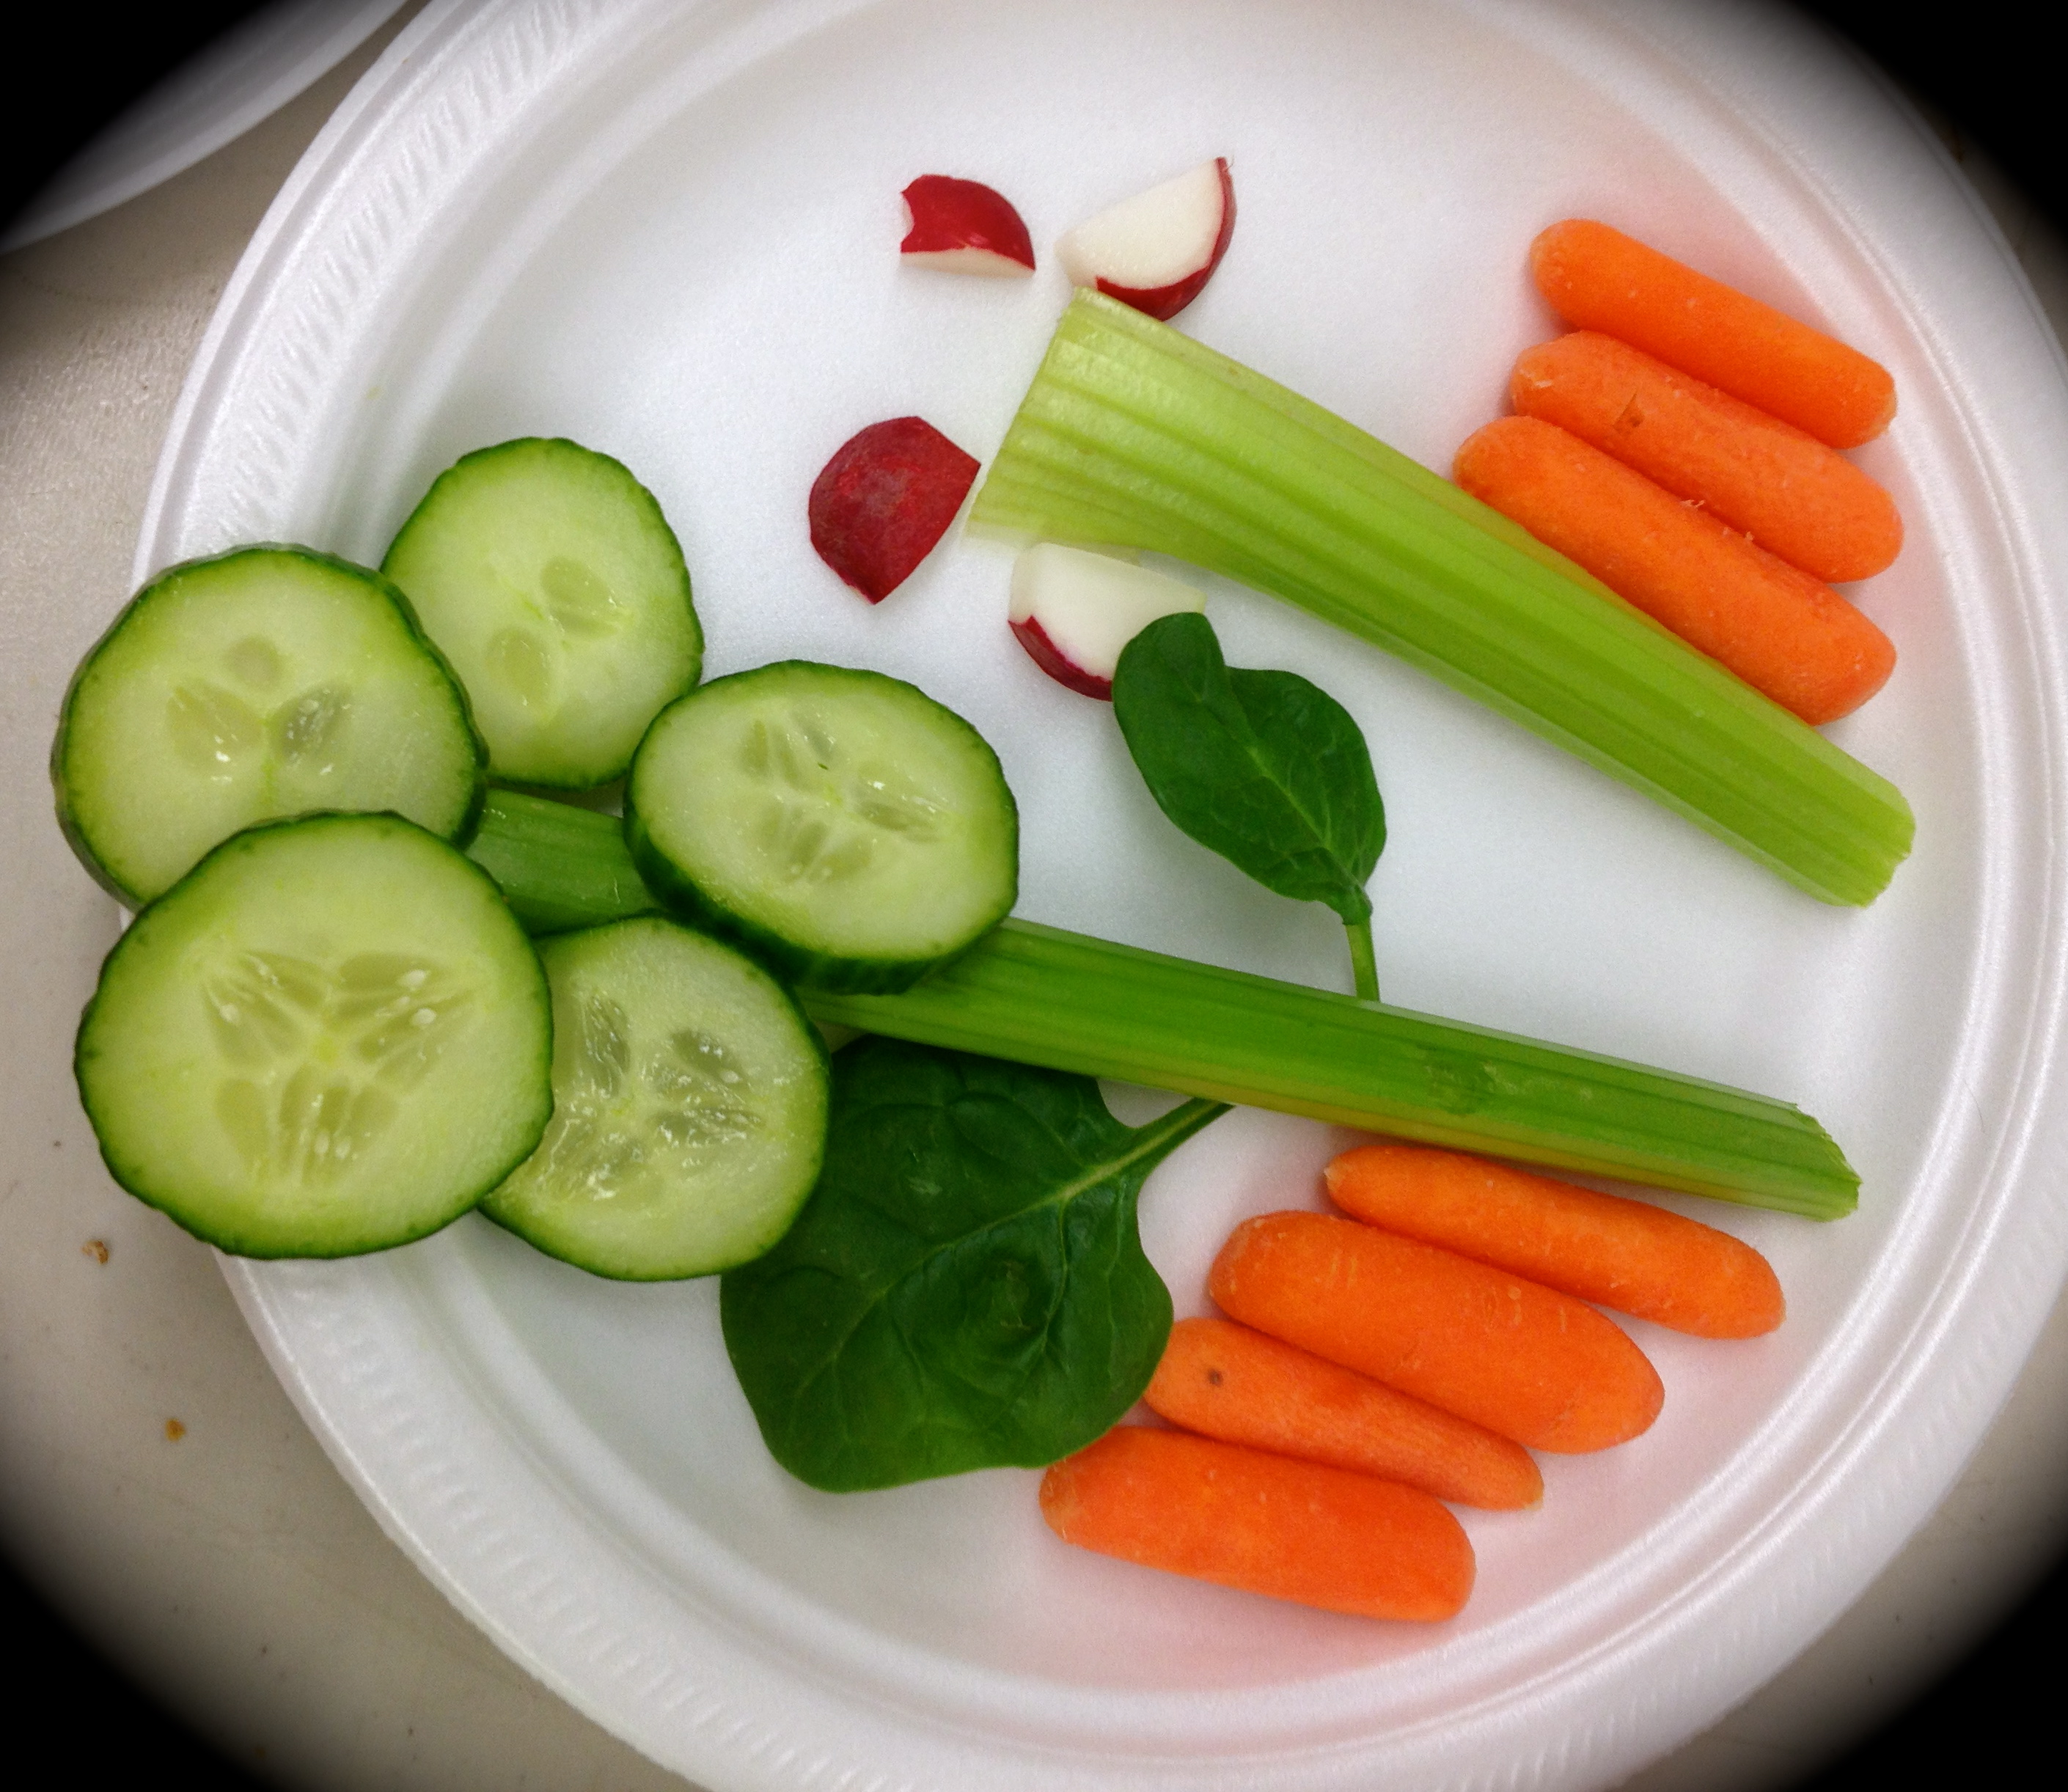
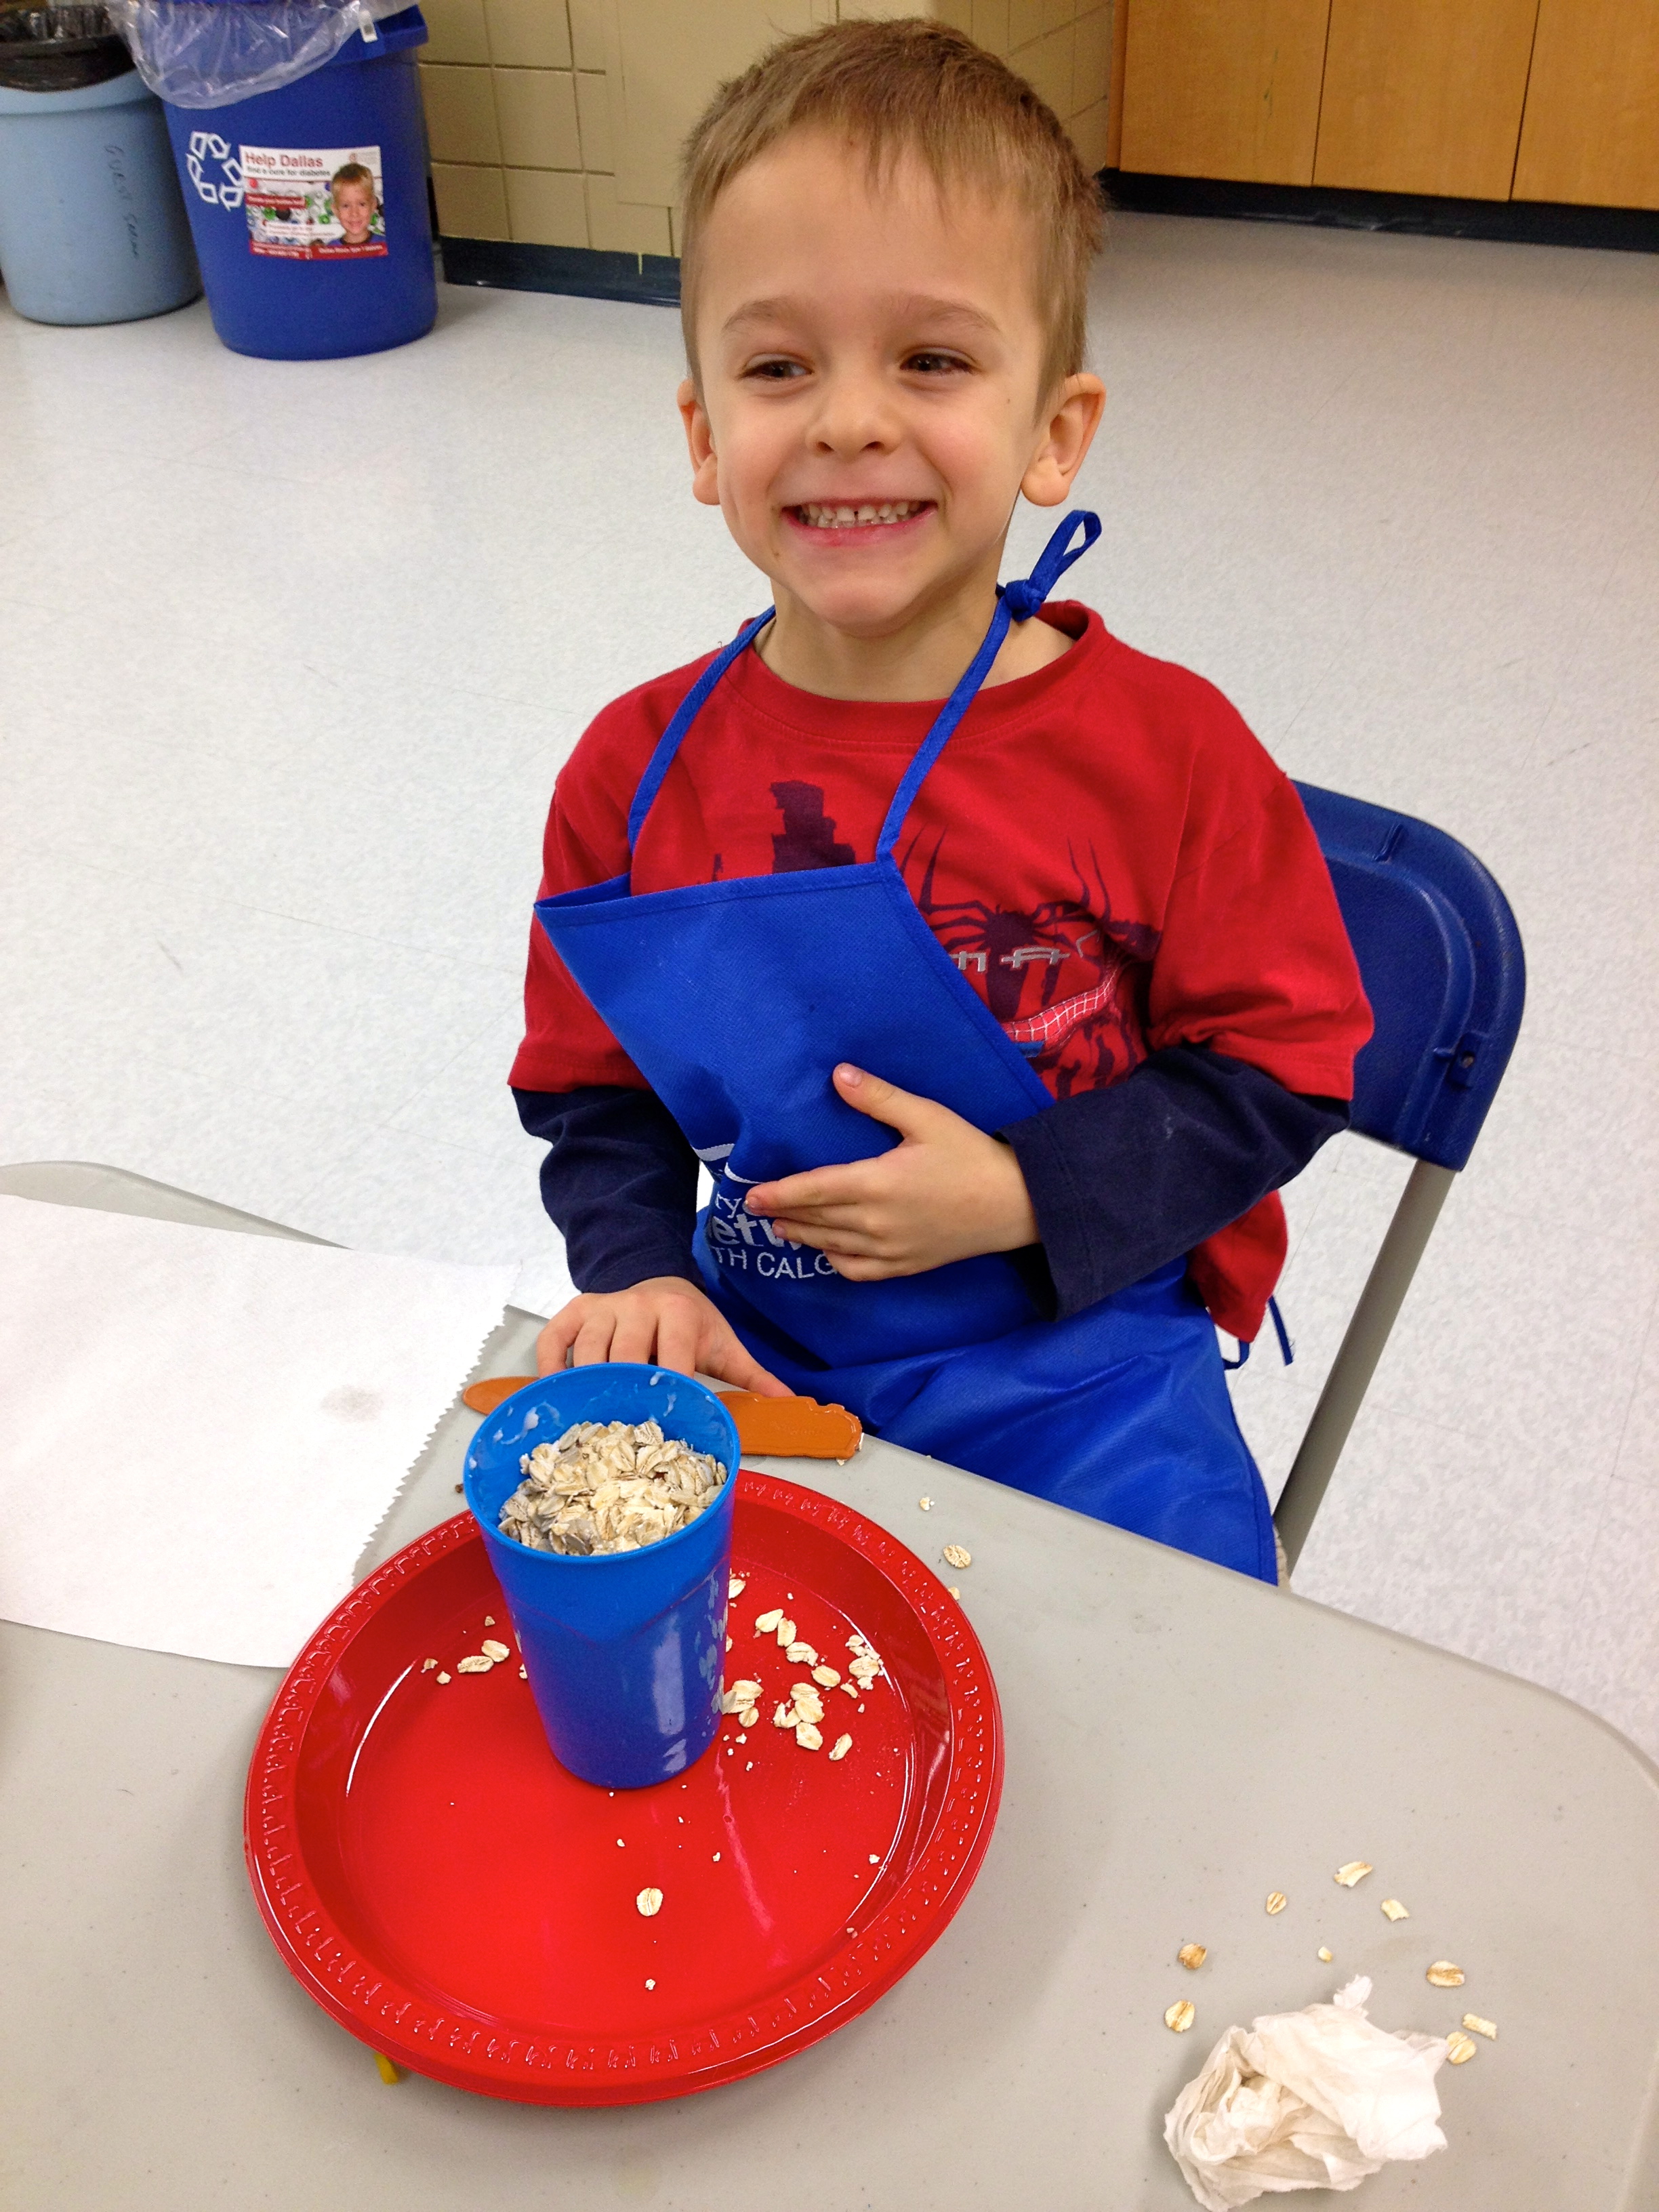
In our Mini Chefs class we made two healthy dips for kids, one for vegetables and one for fruit. Knowing that many of the children prefered sweet we made and tasted the veggie dip first (this sets things up for the most success with both dips, always introduce the sweetest last). The kids loved measuring, scooping and mixing all the ingredients, each asking for their turn, making sure not to be left out. We were literally finished in 5 minutes and trying it out. As usual, there were some kids that loved it and some that didn’t care for it, but they all tried it. I also provided a variety of vegetables for the kids too as serving a variety of vegetables, not only in texture and taste, but also in color makes it more appealing for them to try.

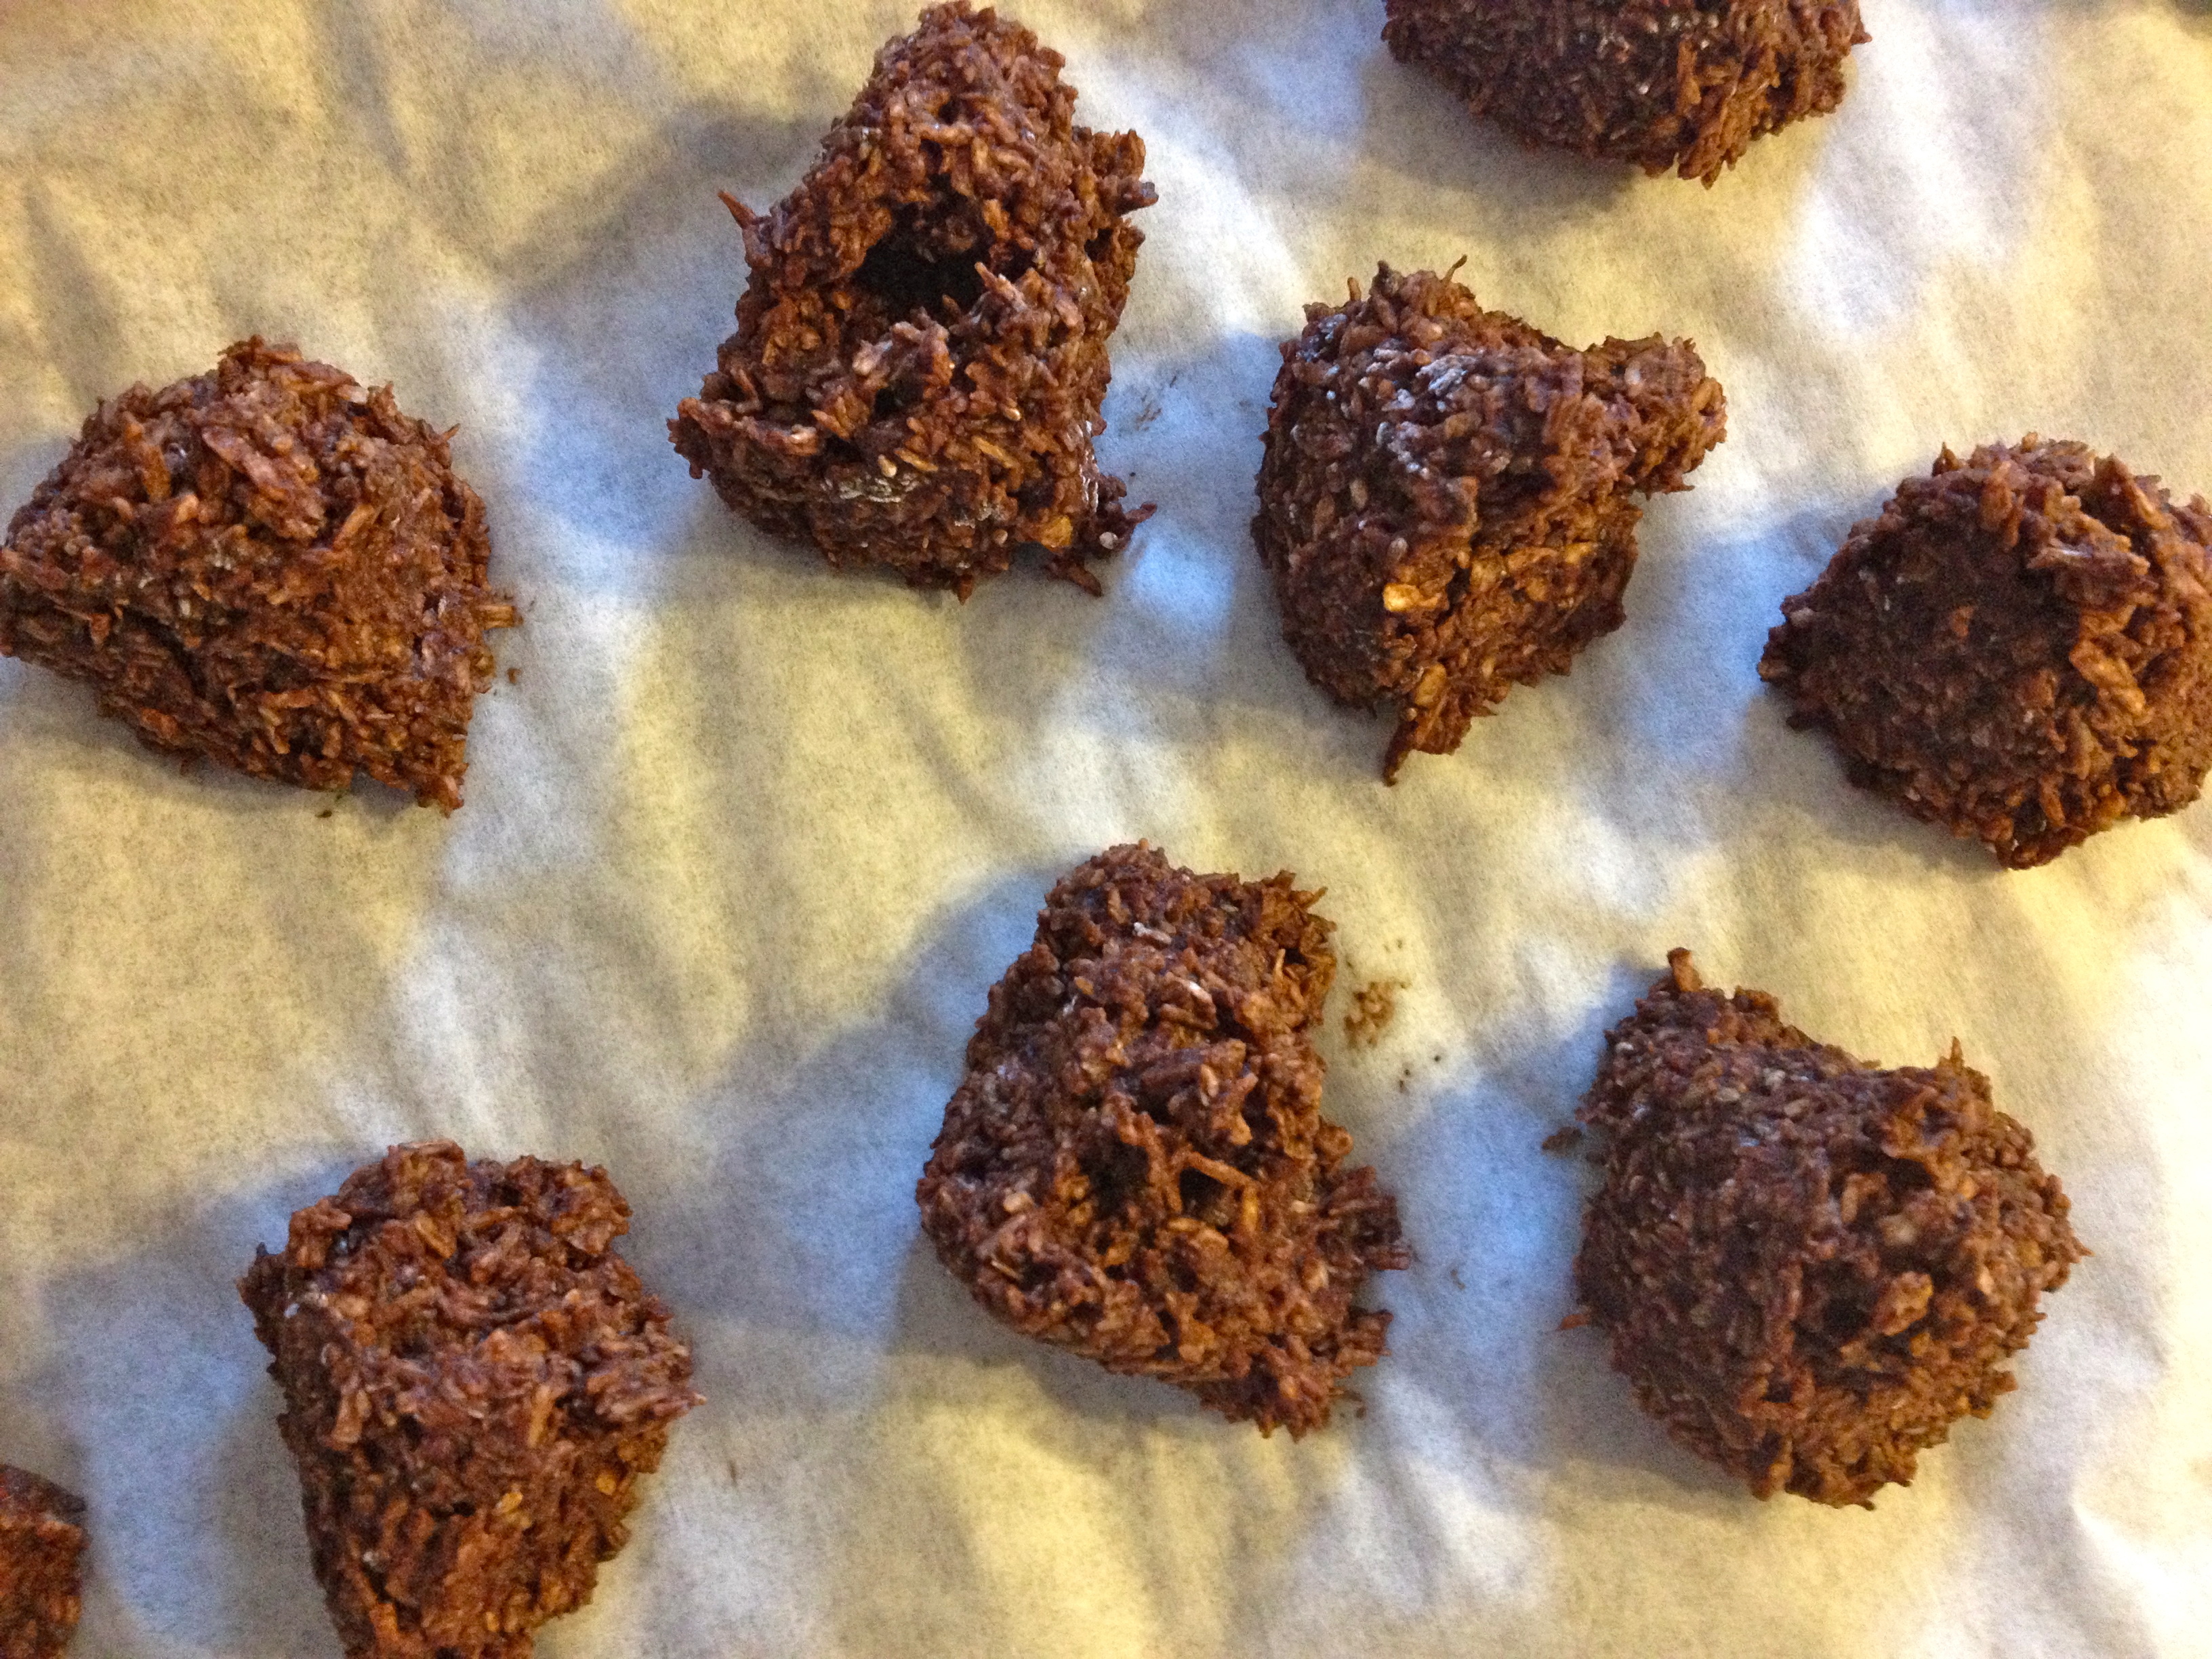
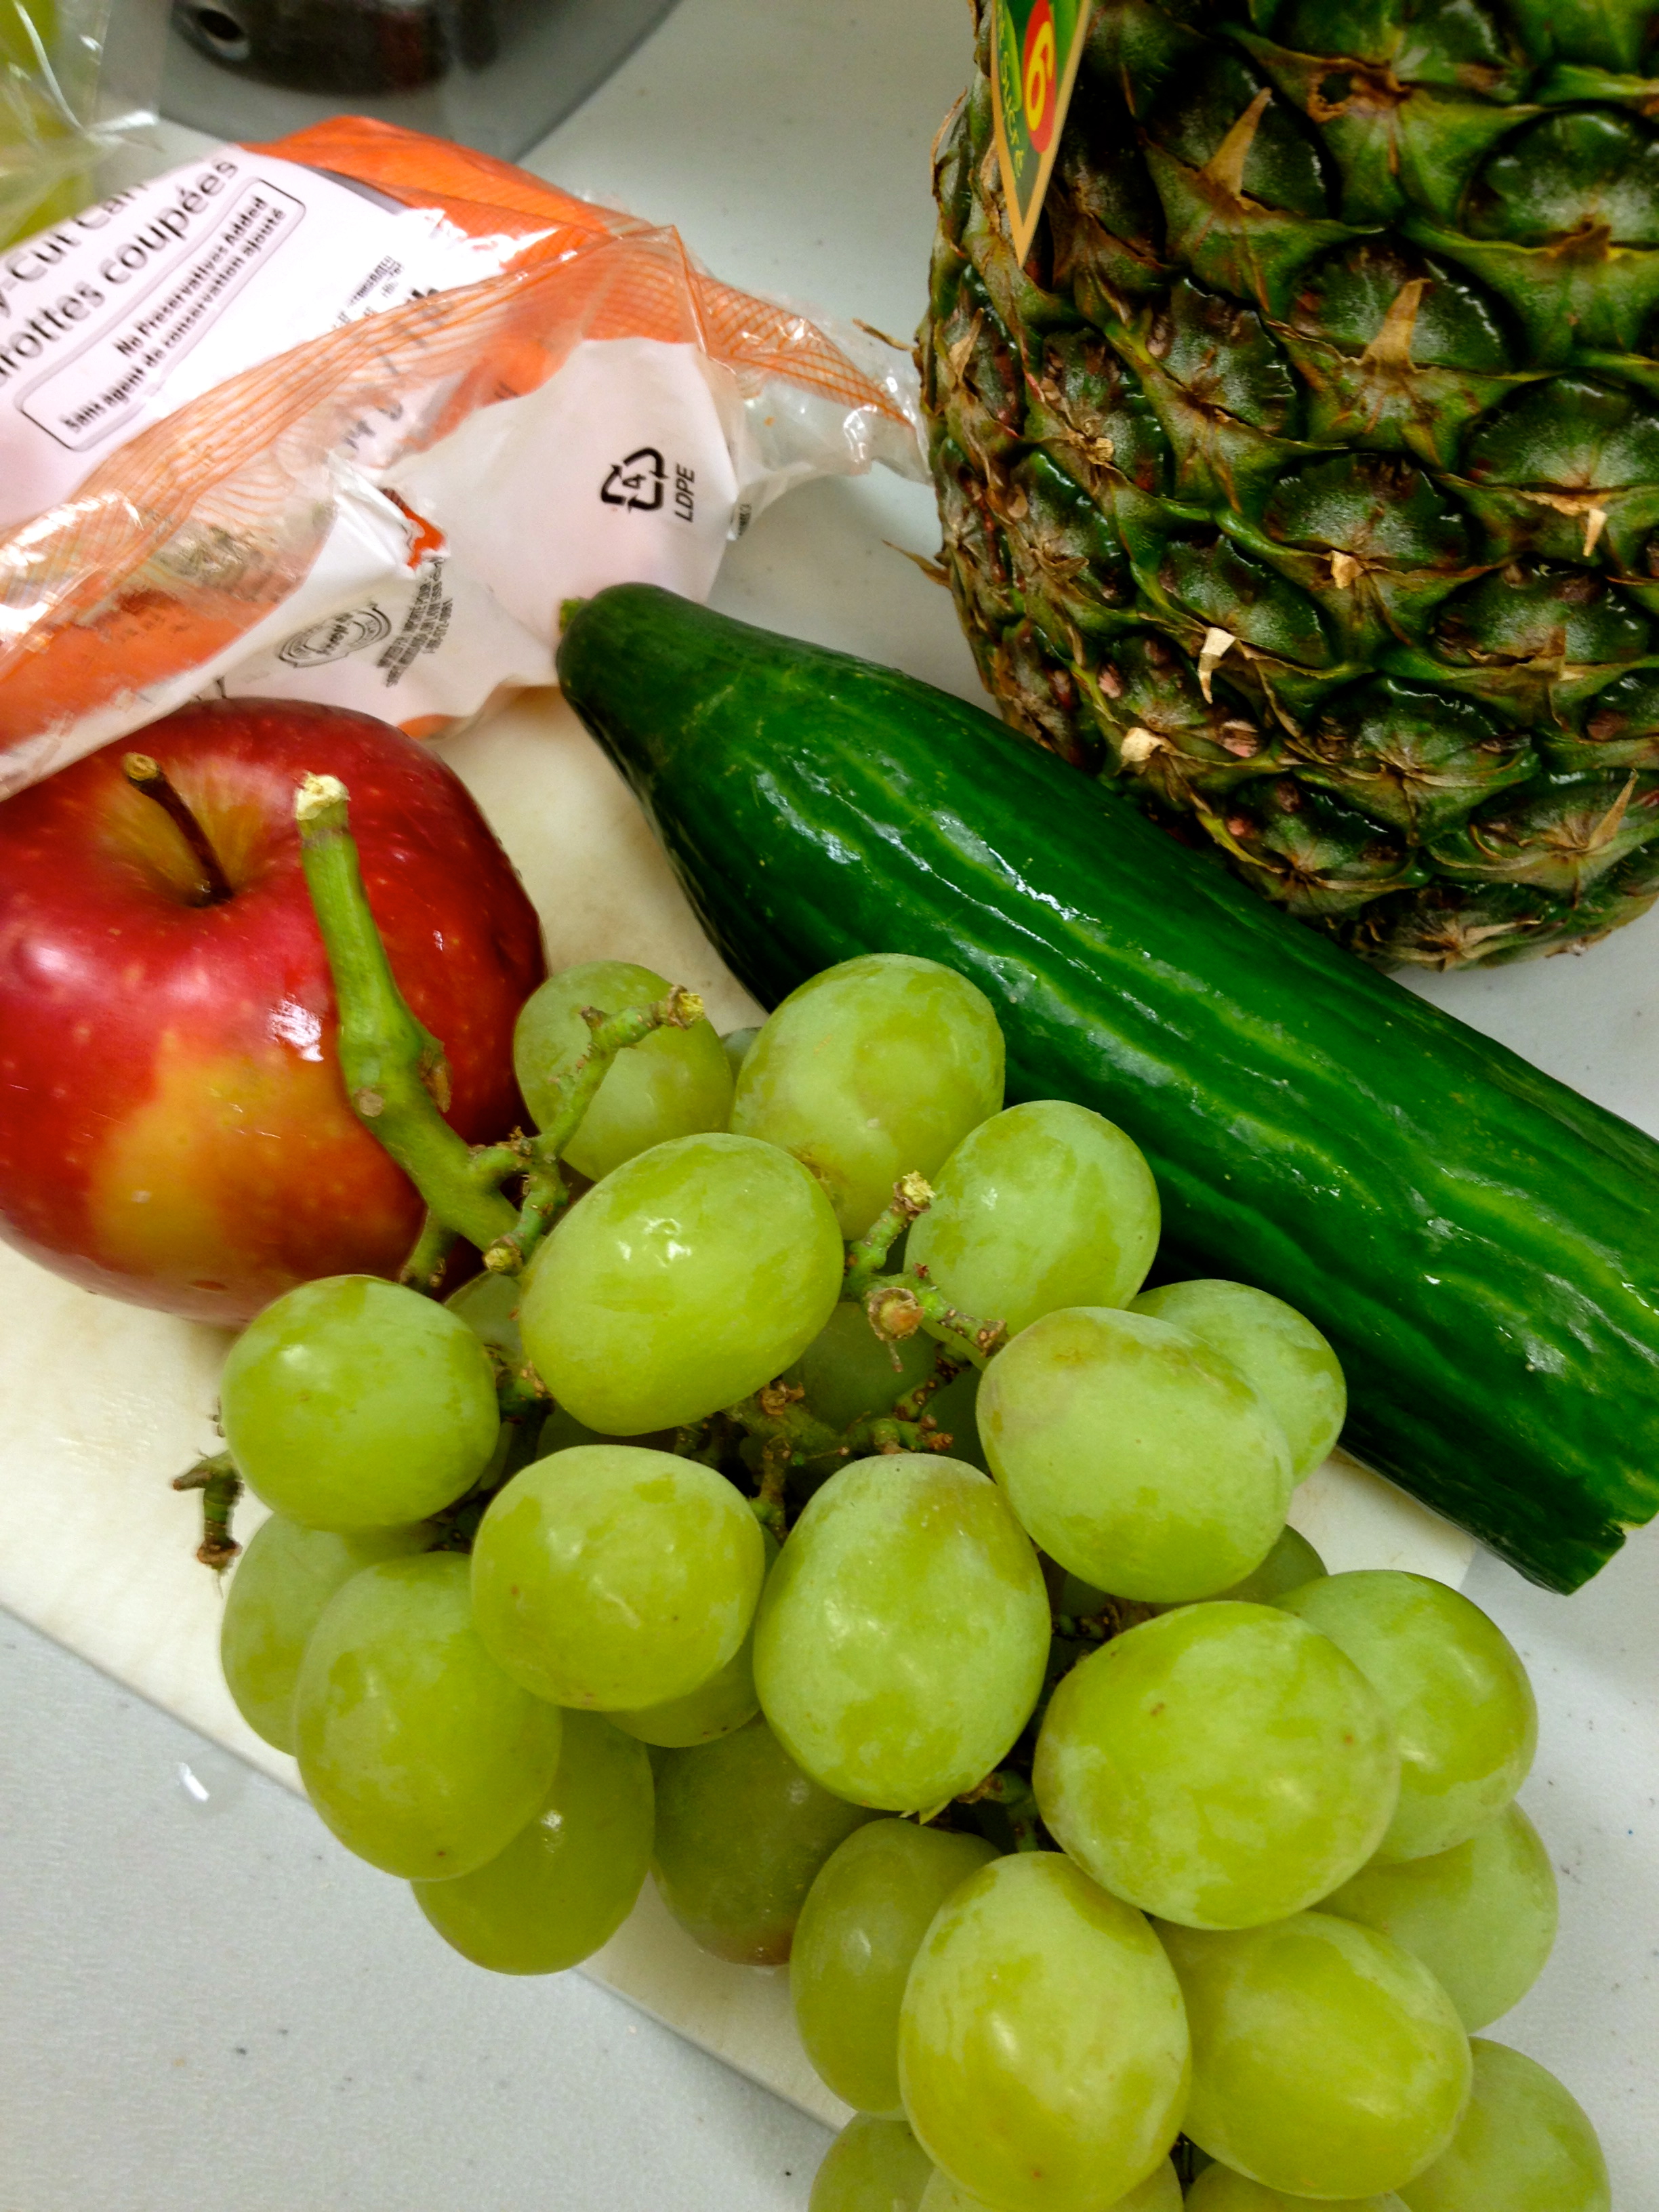
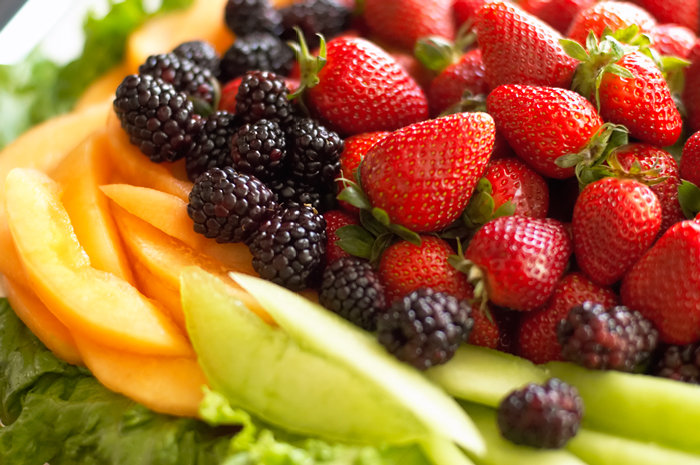
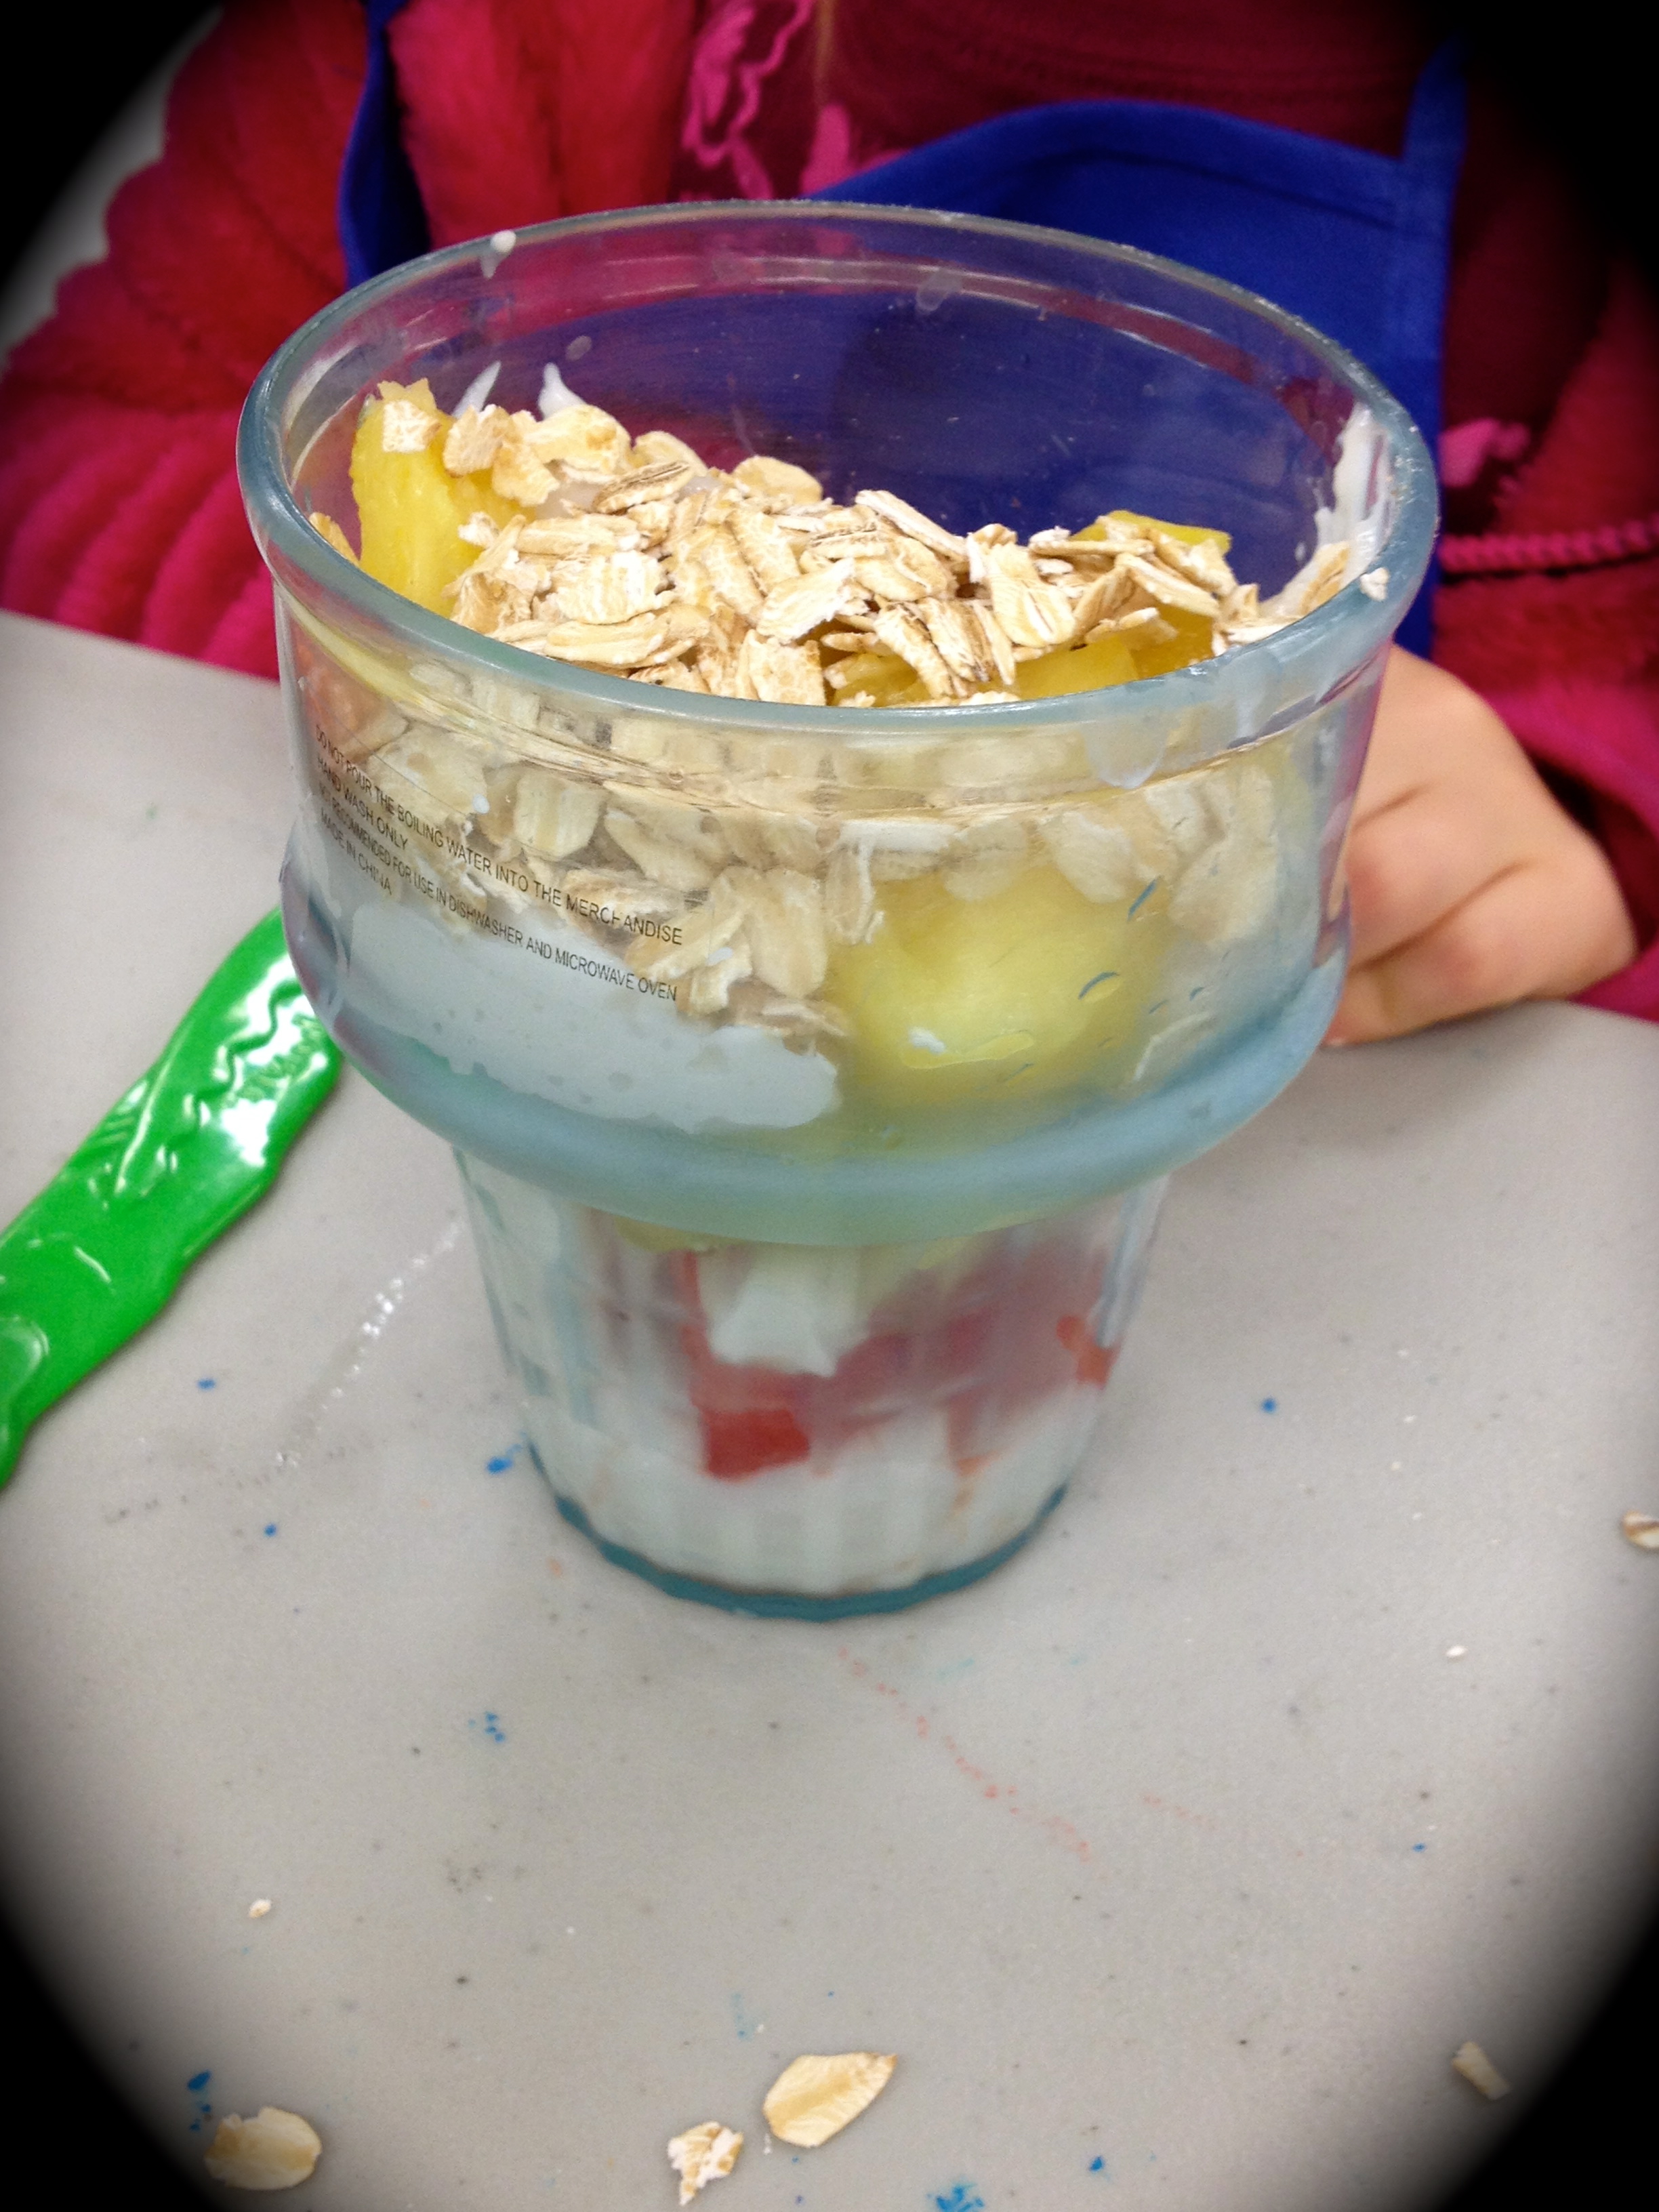
The fruit dip, which is a caramel dip that I discovered through Nina Manolson at Smokin’ Hot Mom, is a fantastic dairy free, sugar free, sweet dip that is fabulous with apples. Of course you can use it with other fruit (pineapple is excellent) but the combination of apple and caramel is so good. When this dip is around at our house I often eat an apple just to have some dip!

healthy dips for kids
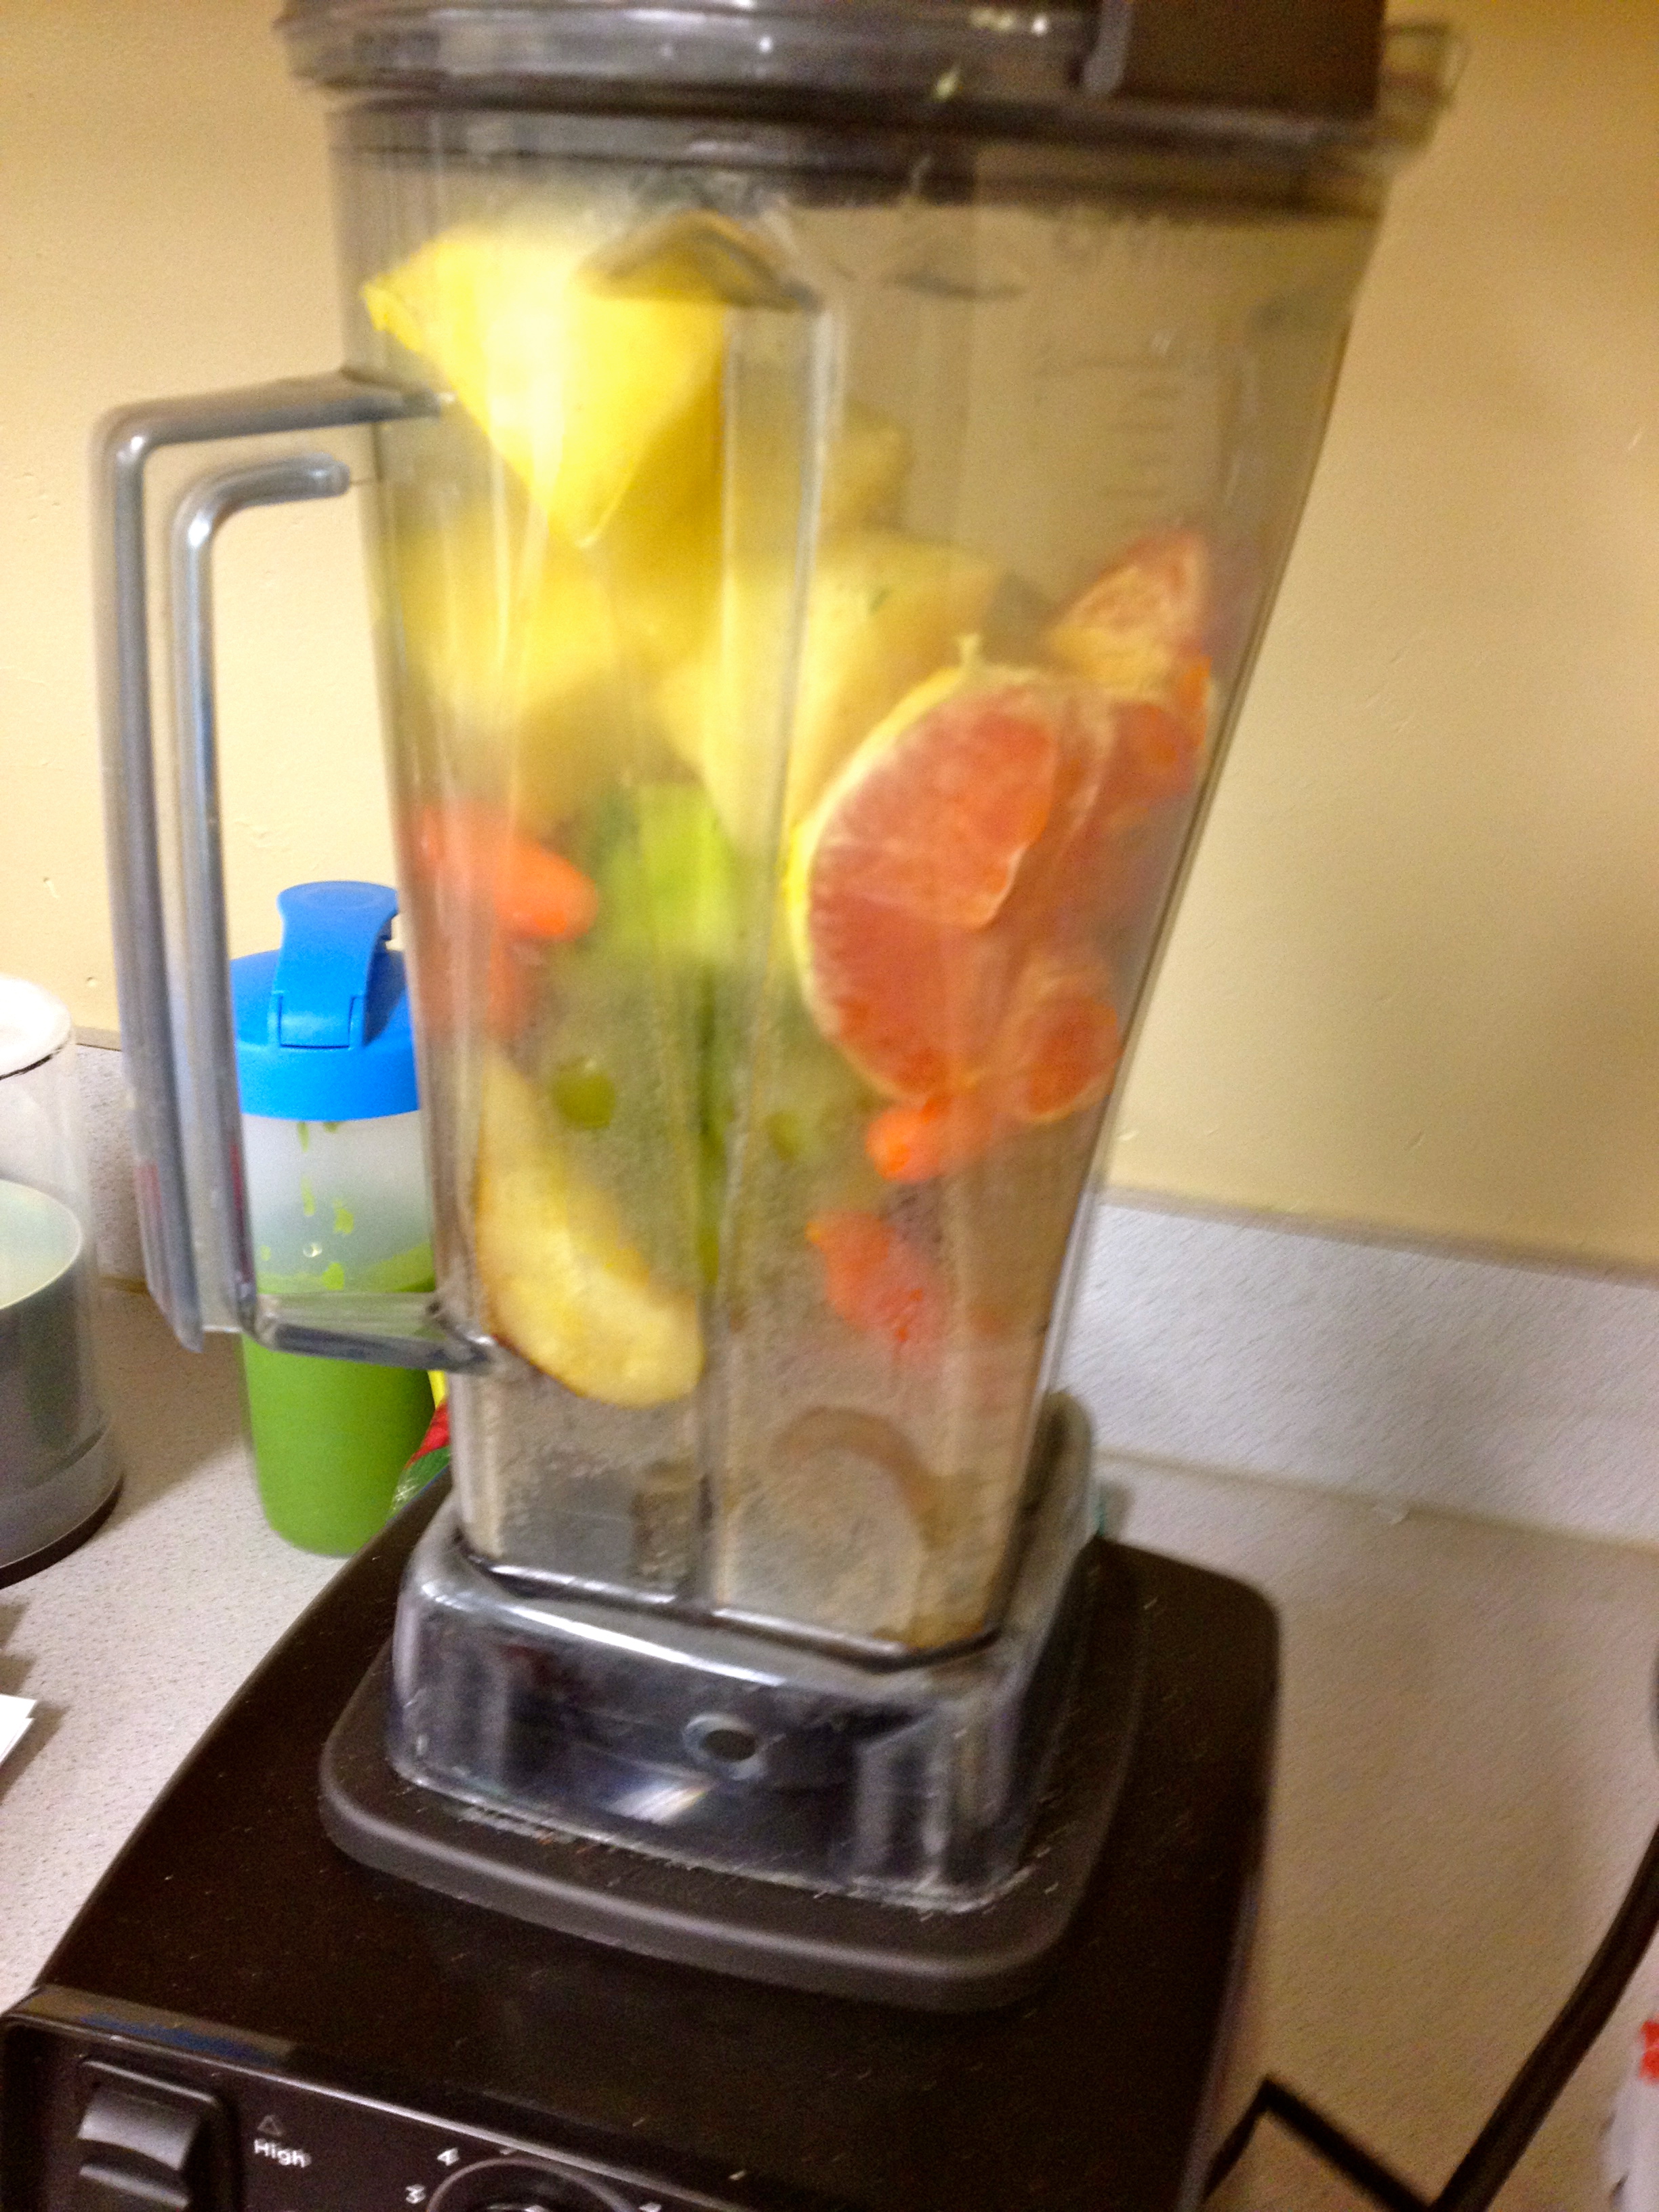
Using dates (which have many nutritional benefits) as your sweetener, as well as coconut oil and a few spices, this dip has many nutritional benefits that you will be happy with and the kids will have no idea. Plus it’s another easy one, just toss all the ingredients in the blender and mix until smooth. Yum!

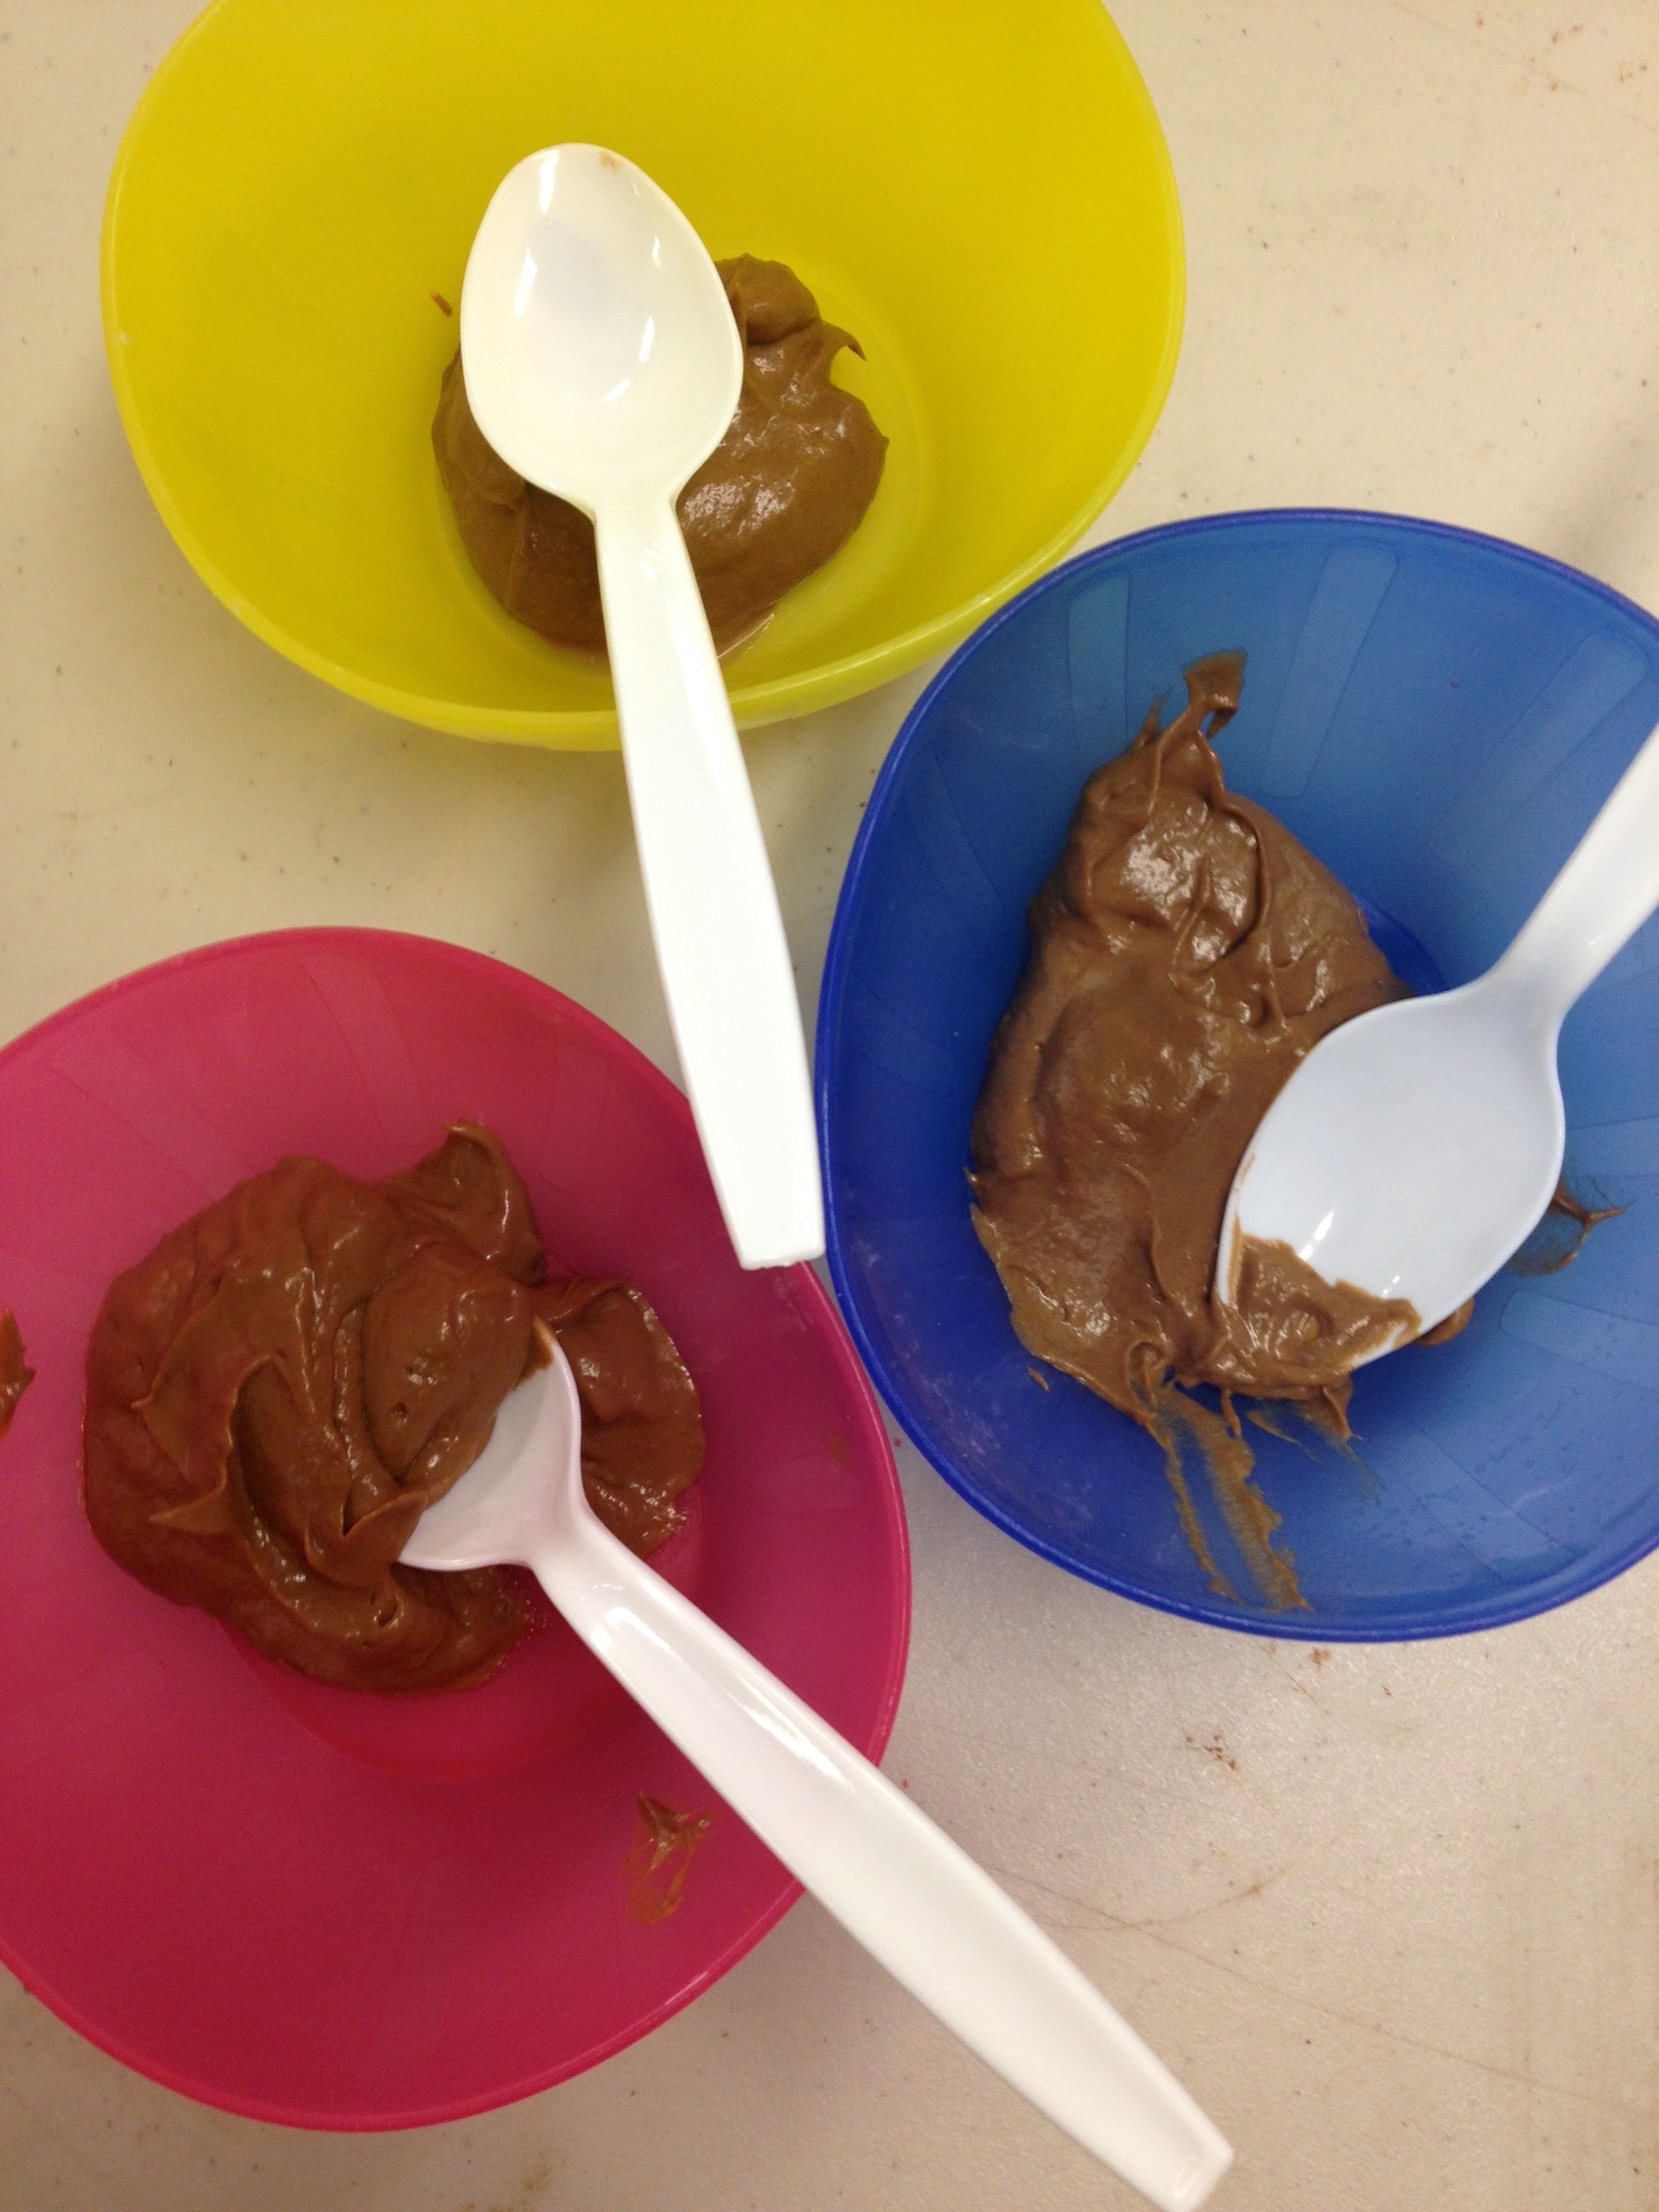
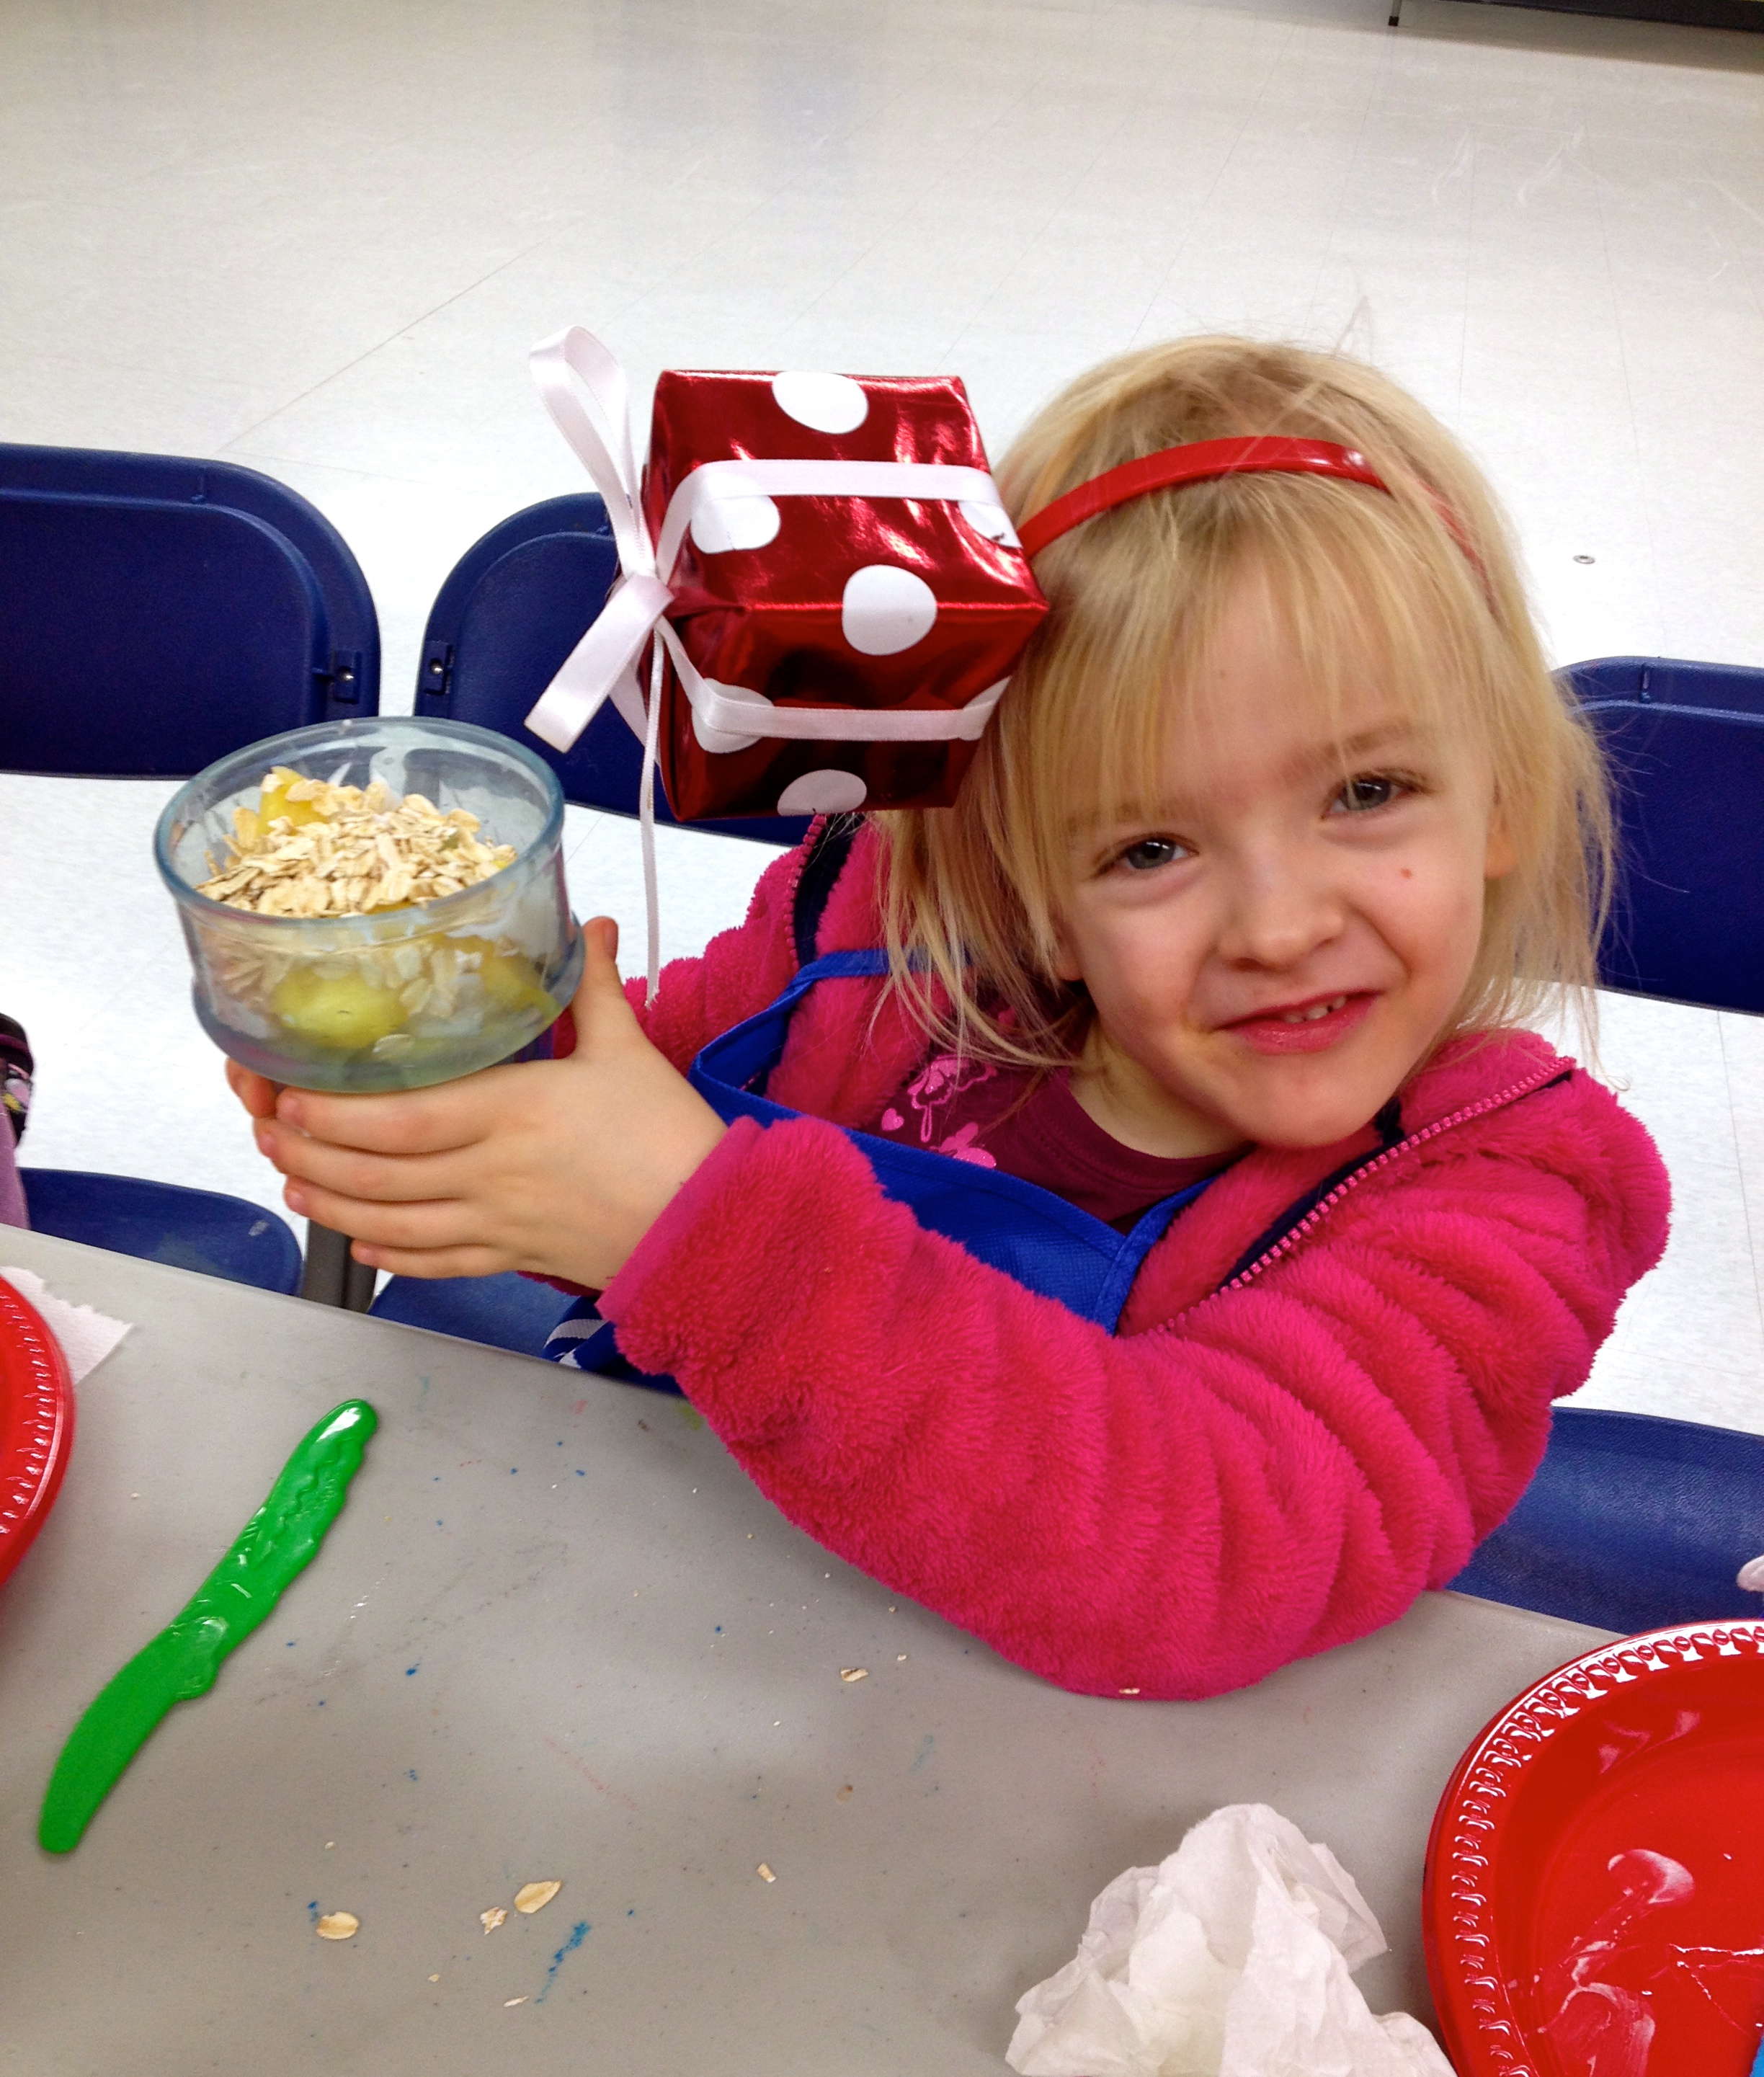
Now don’t be deterred by the color of this dip, it is supposed to be caramel afterall. When it was ready the kids just dove in and even one of my pickiest eaters loved it! I had to laugh though when I took the leftovers after class to the staff in the office and no one would touch the caramel one because they weren’t sure what it was. That is one of the benefits of getting the kids involved in making it, they see what goes into it. Now I understand that this could go the opposite way and because they see what goes in it, they won’t even try it, but my experience has been that the majority of time the kids are more willing to try it because they saw what went into it, and they helped make it.

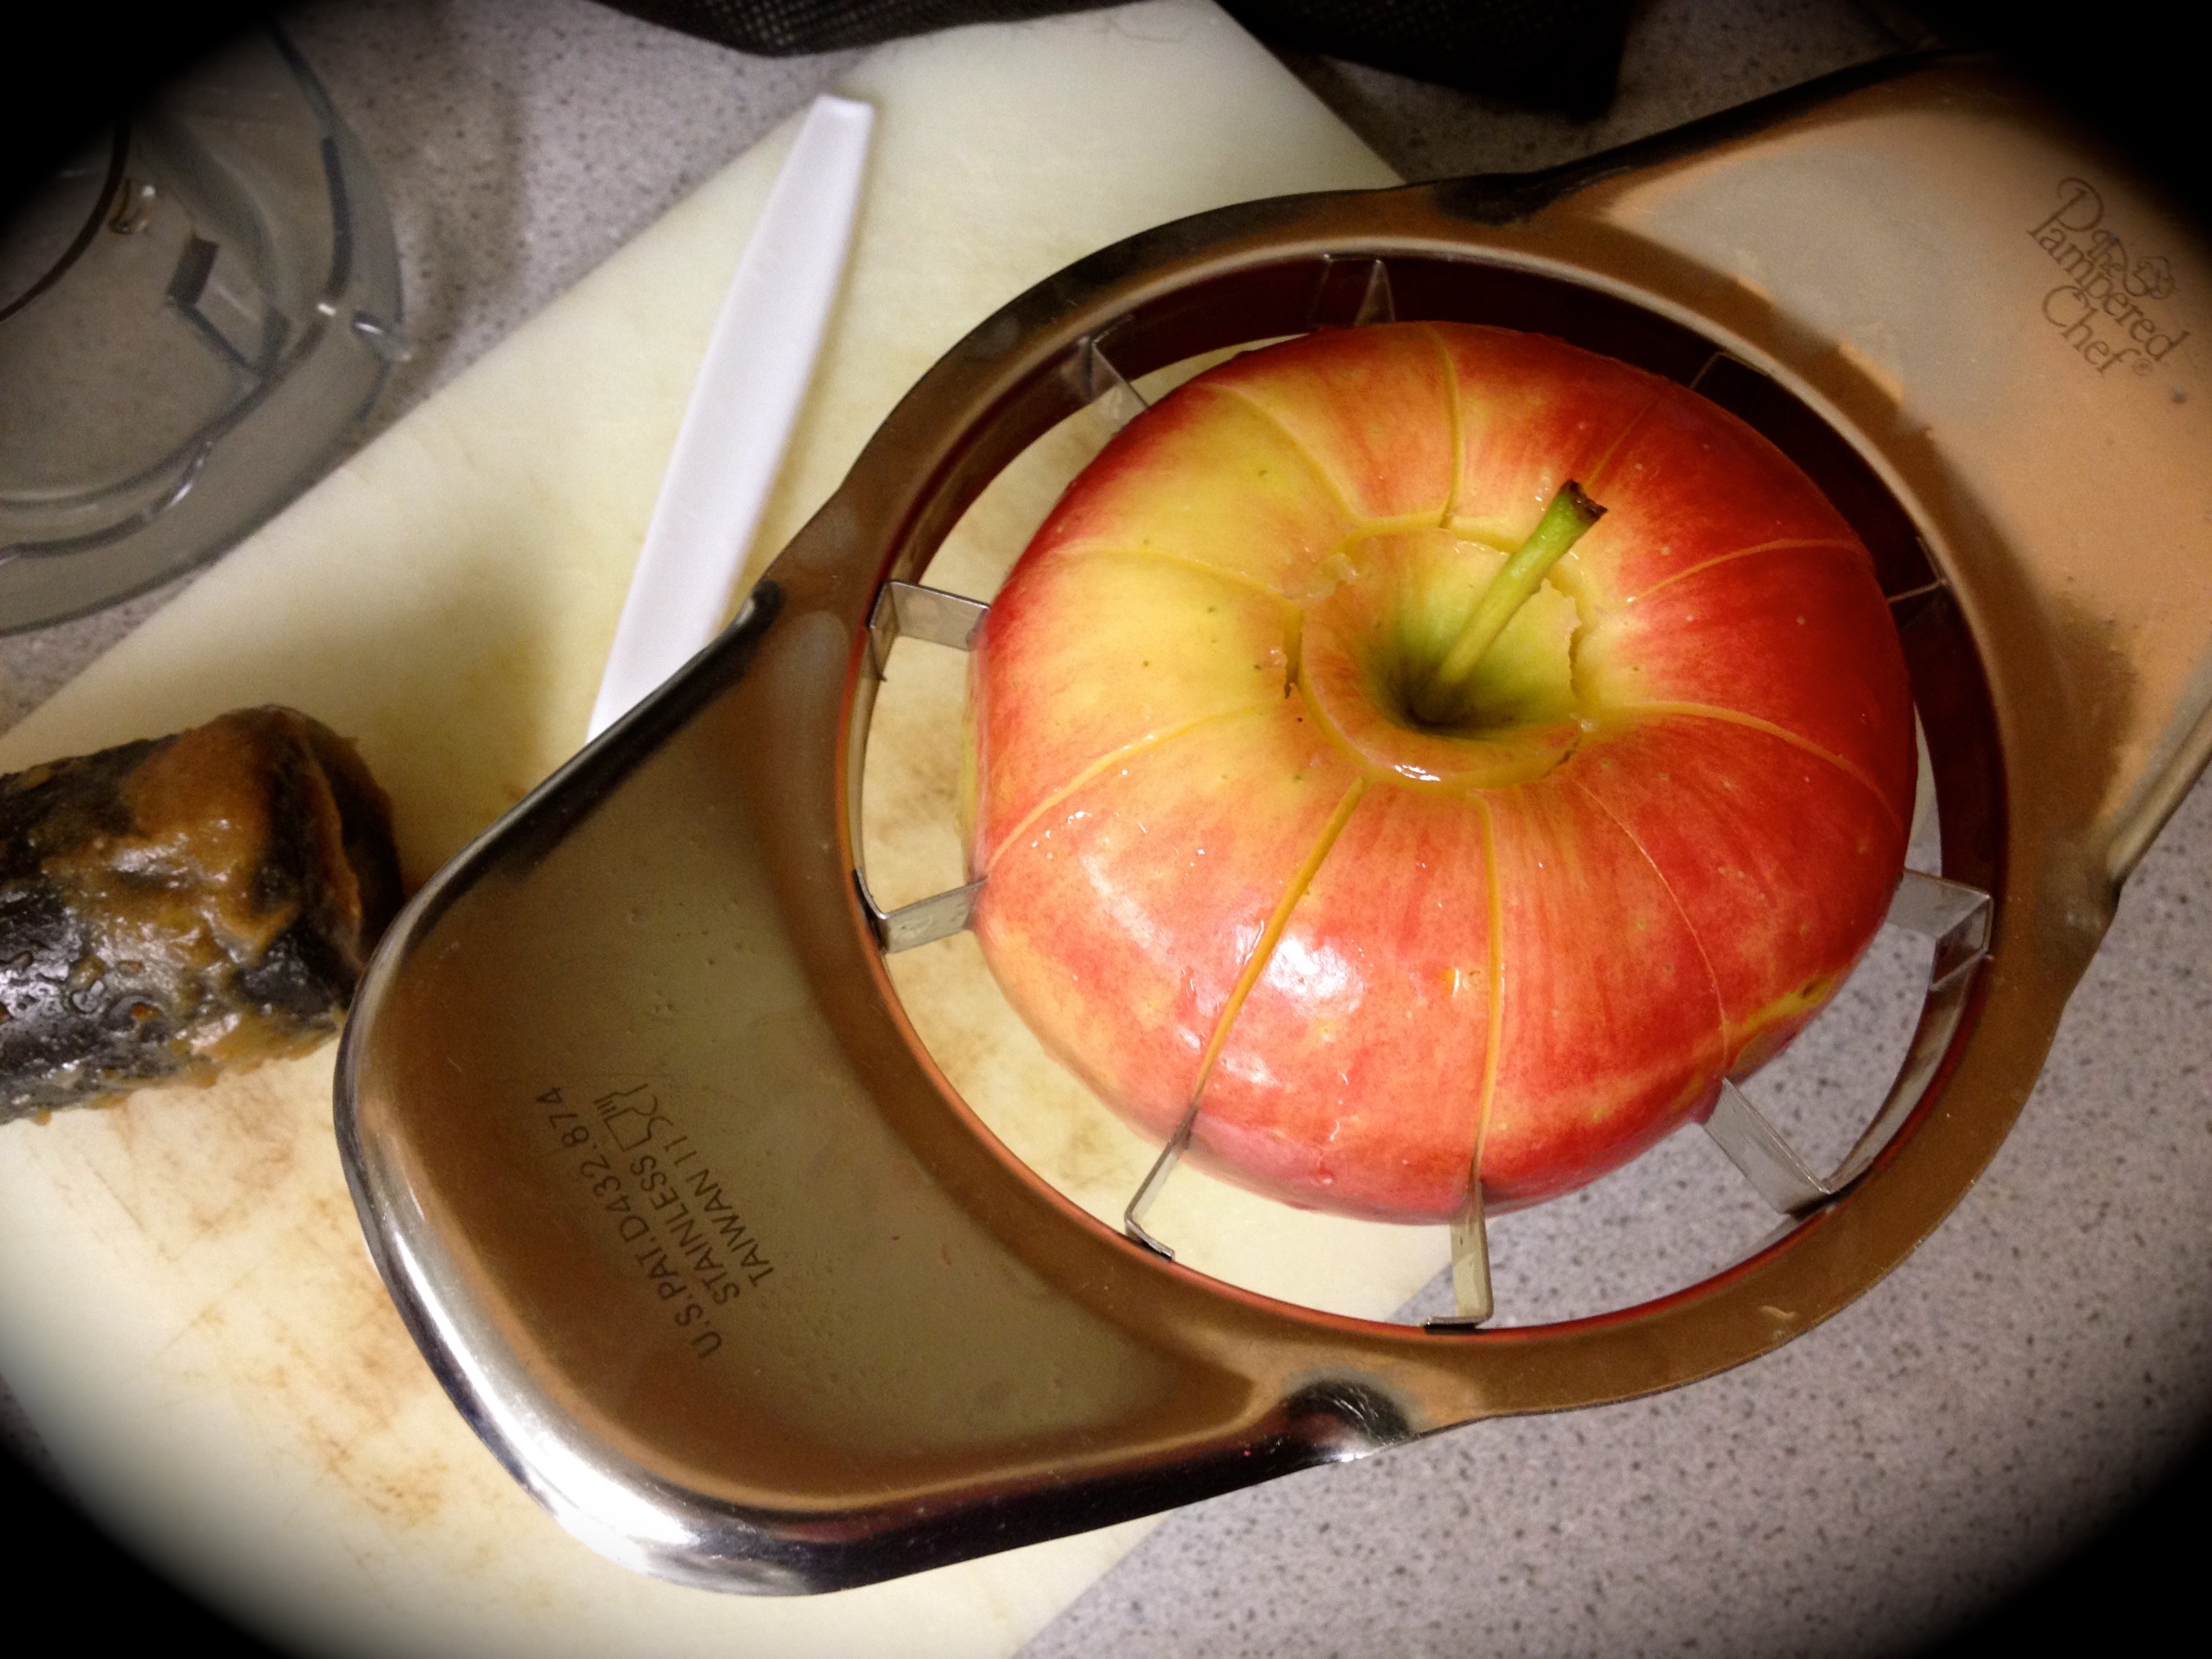
Caramel Dip – great with apples or fruit of choice

1 c. dates healthy dips for kids

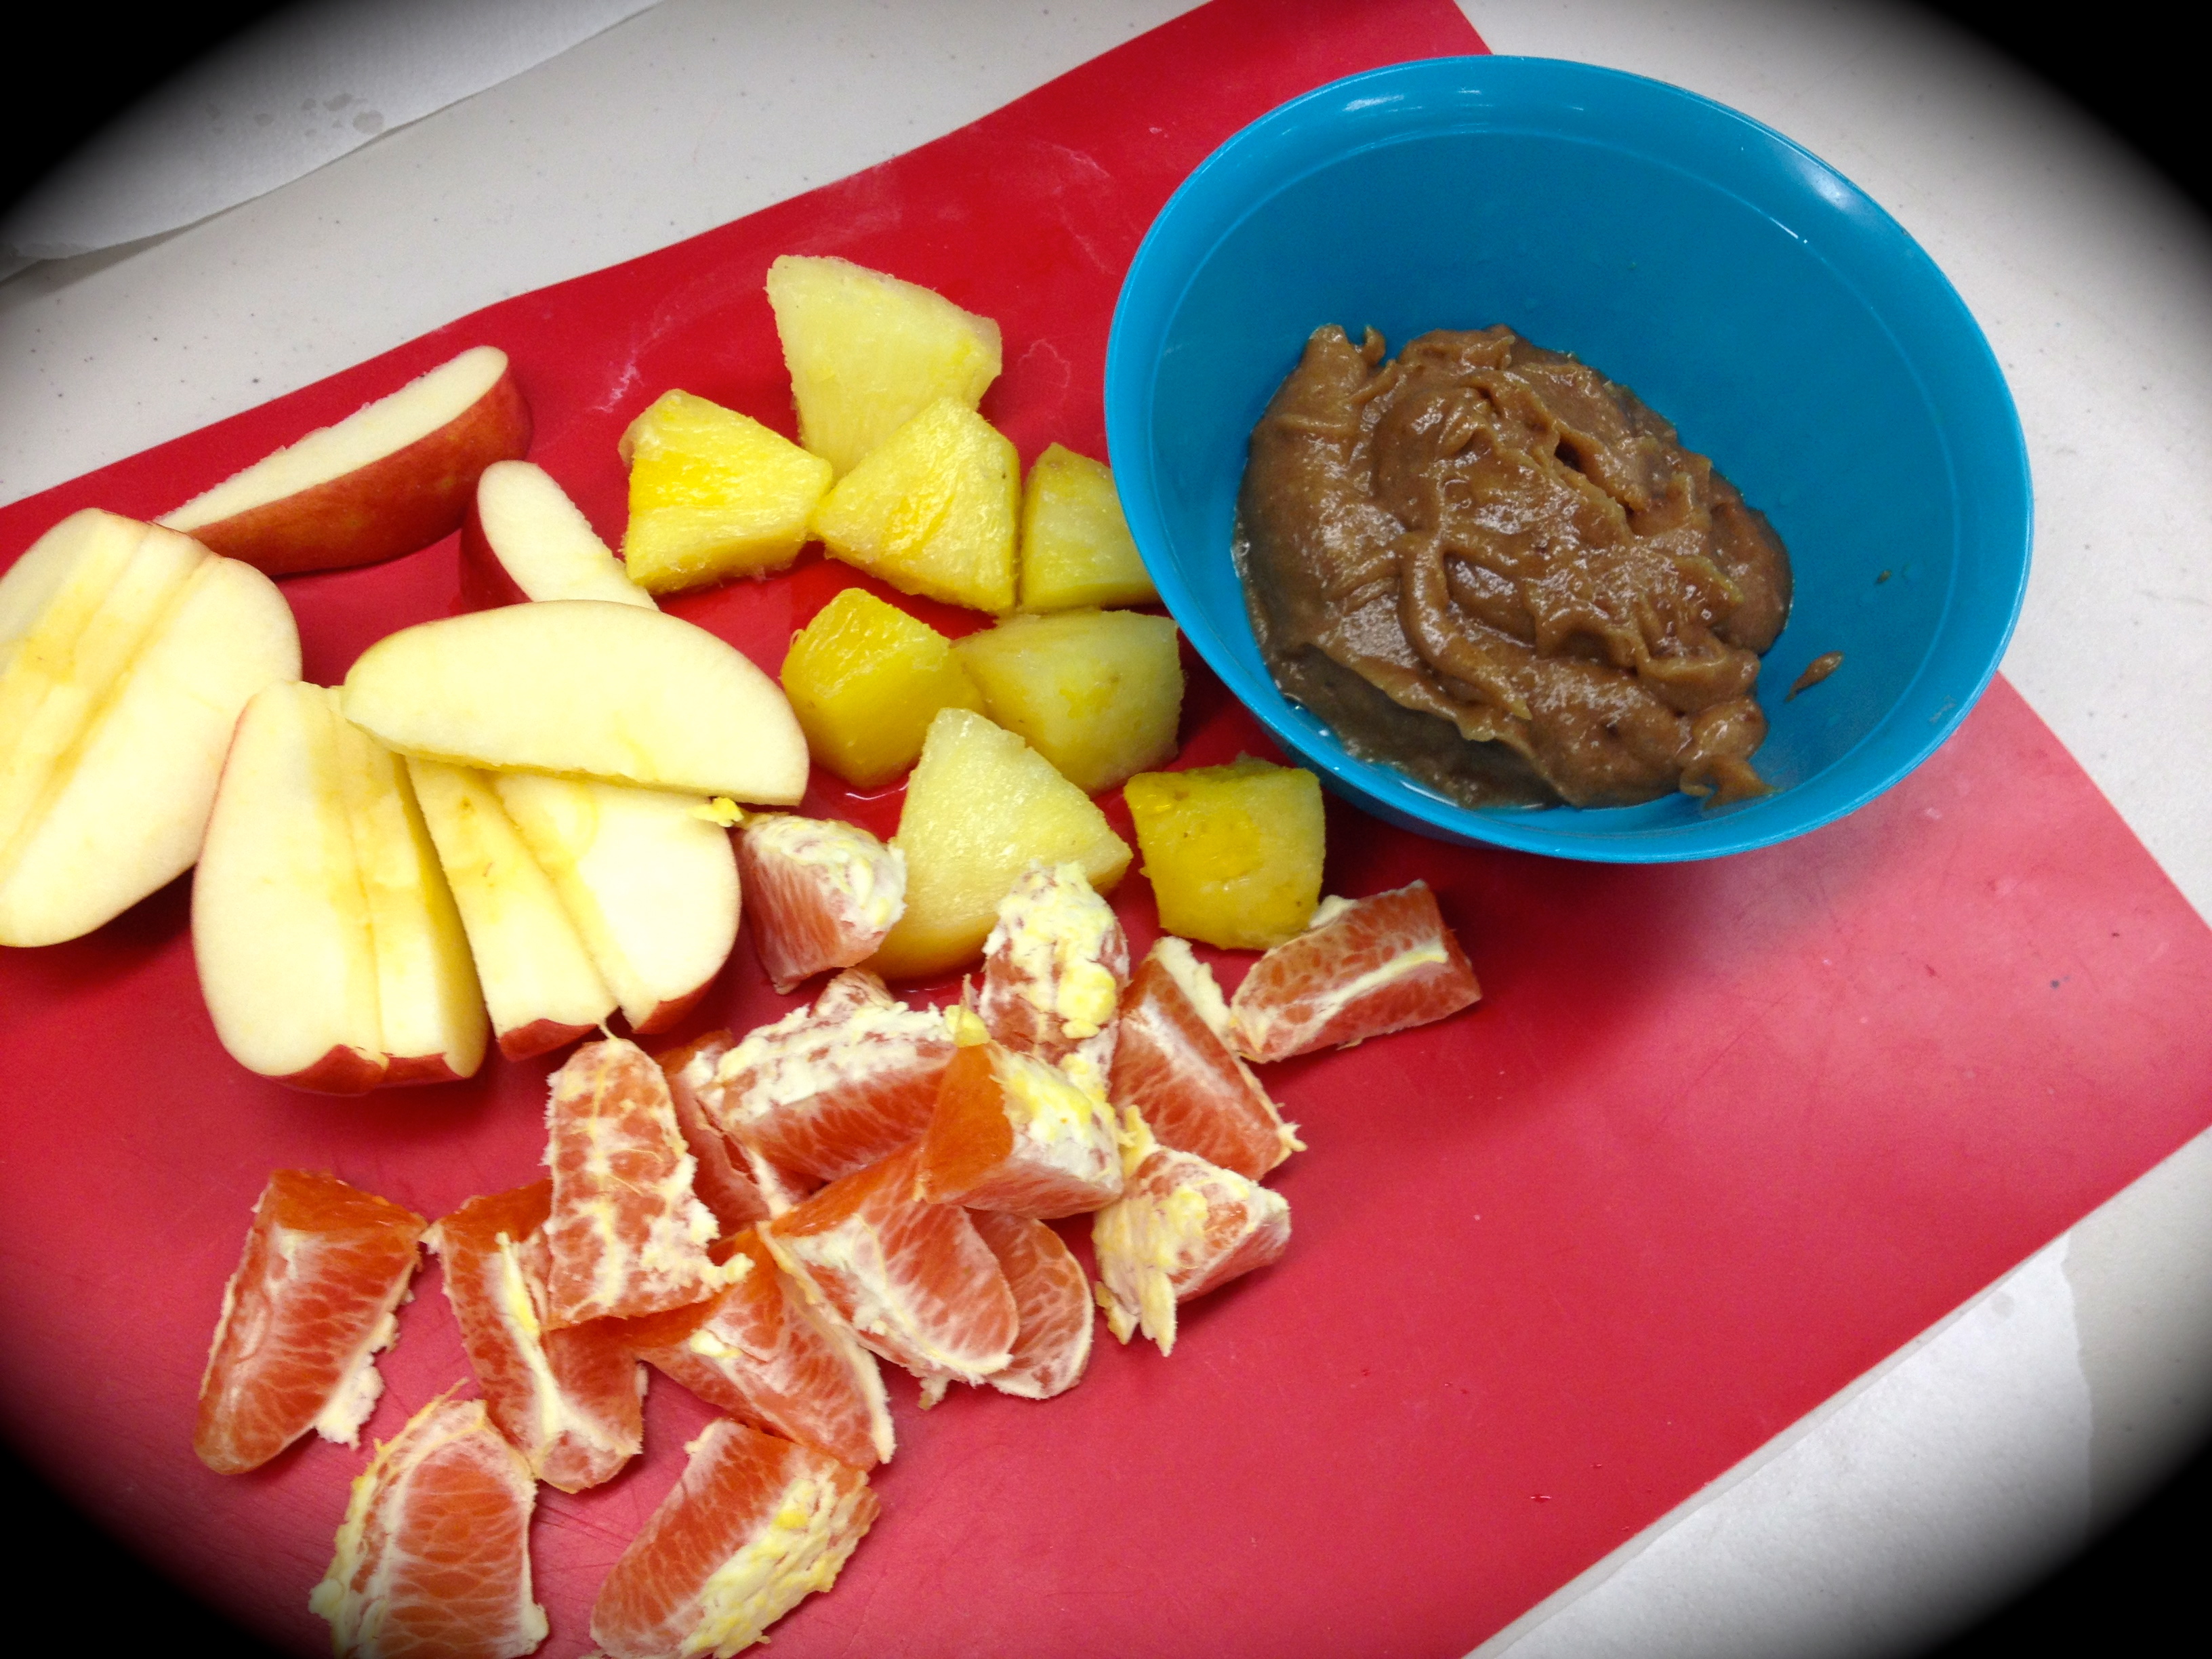
¼-1/2 c. almond milk (or other non dairy milk of your choice) – start with less milk and add to get the blender moving smoothly and the consistency you want

1 tsp. coconut oil

1 tsp. vanilla

dash of cardamom or 1 drop of Cardamom essential oil

dash of sea salt

Put all ingredients into Vitamix or powerful blender and mix until creamy. Dip apple slices into caramel and enjoy.

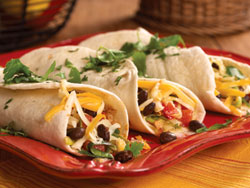
Dill Dip – great with veggies and/ or tortilla chips

1/3 c. veganaise (or mayonaise)

1/4 c.  vegan sour creamhealthy dips for kids

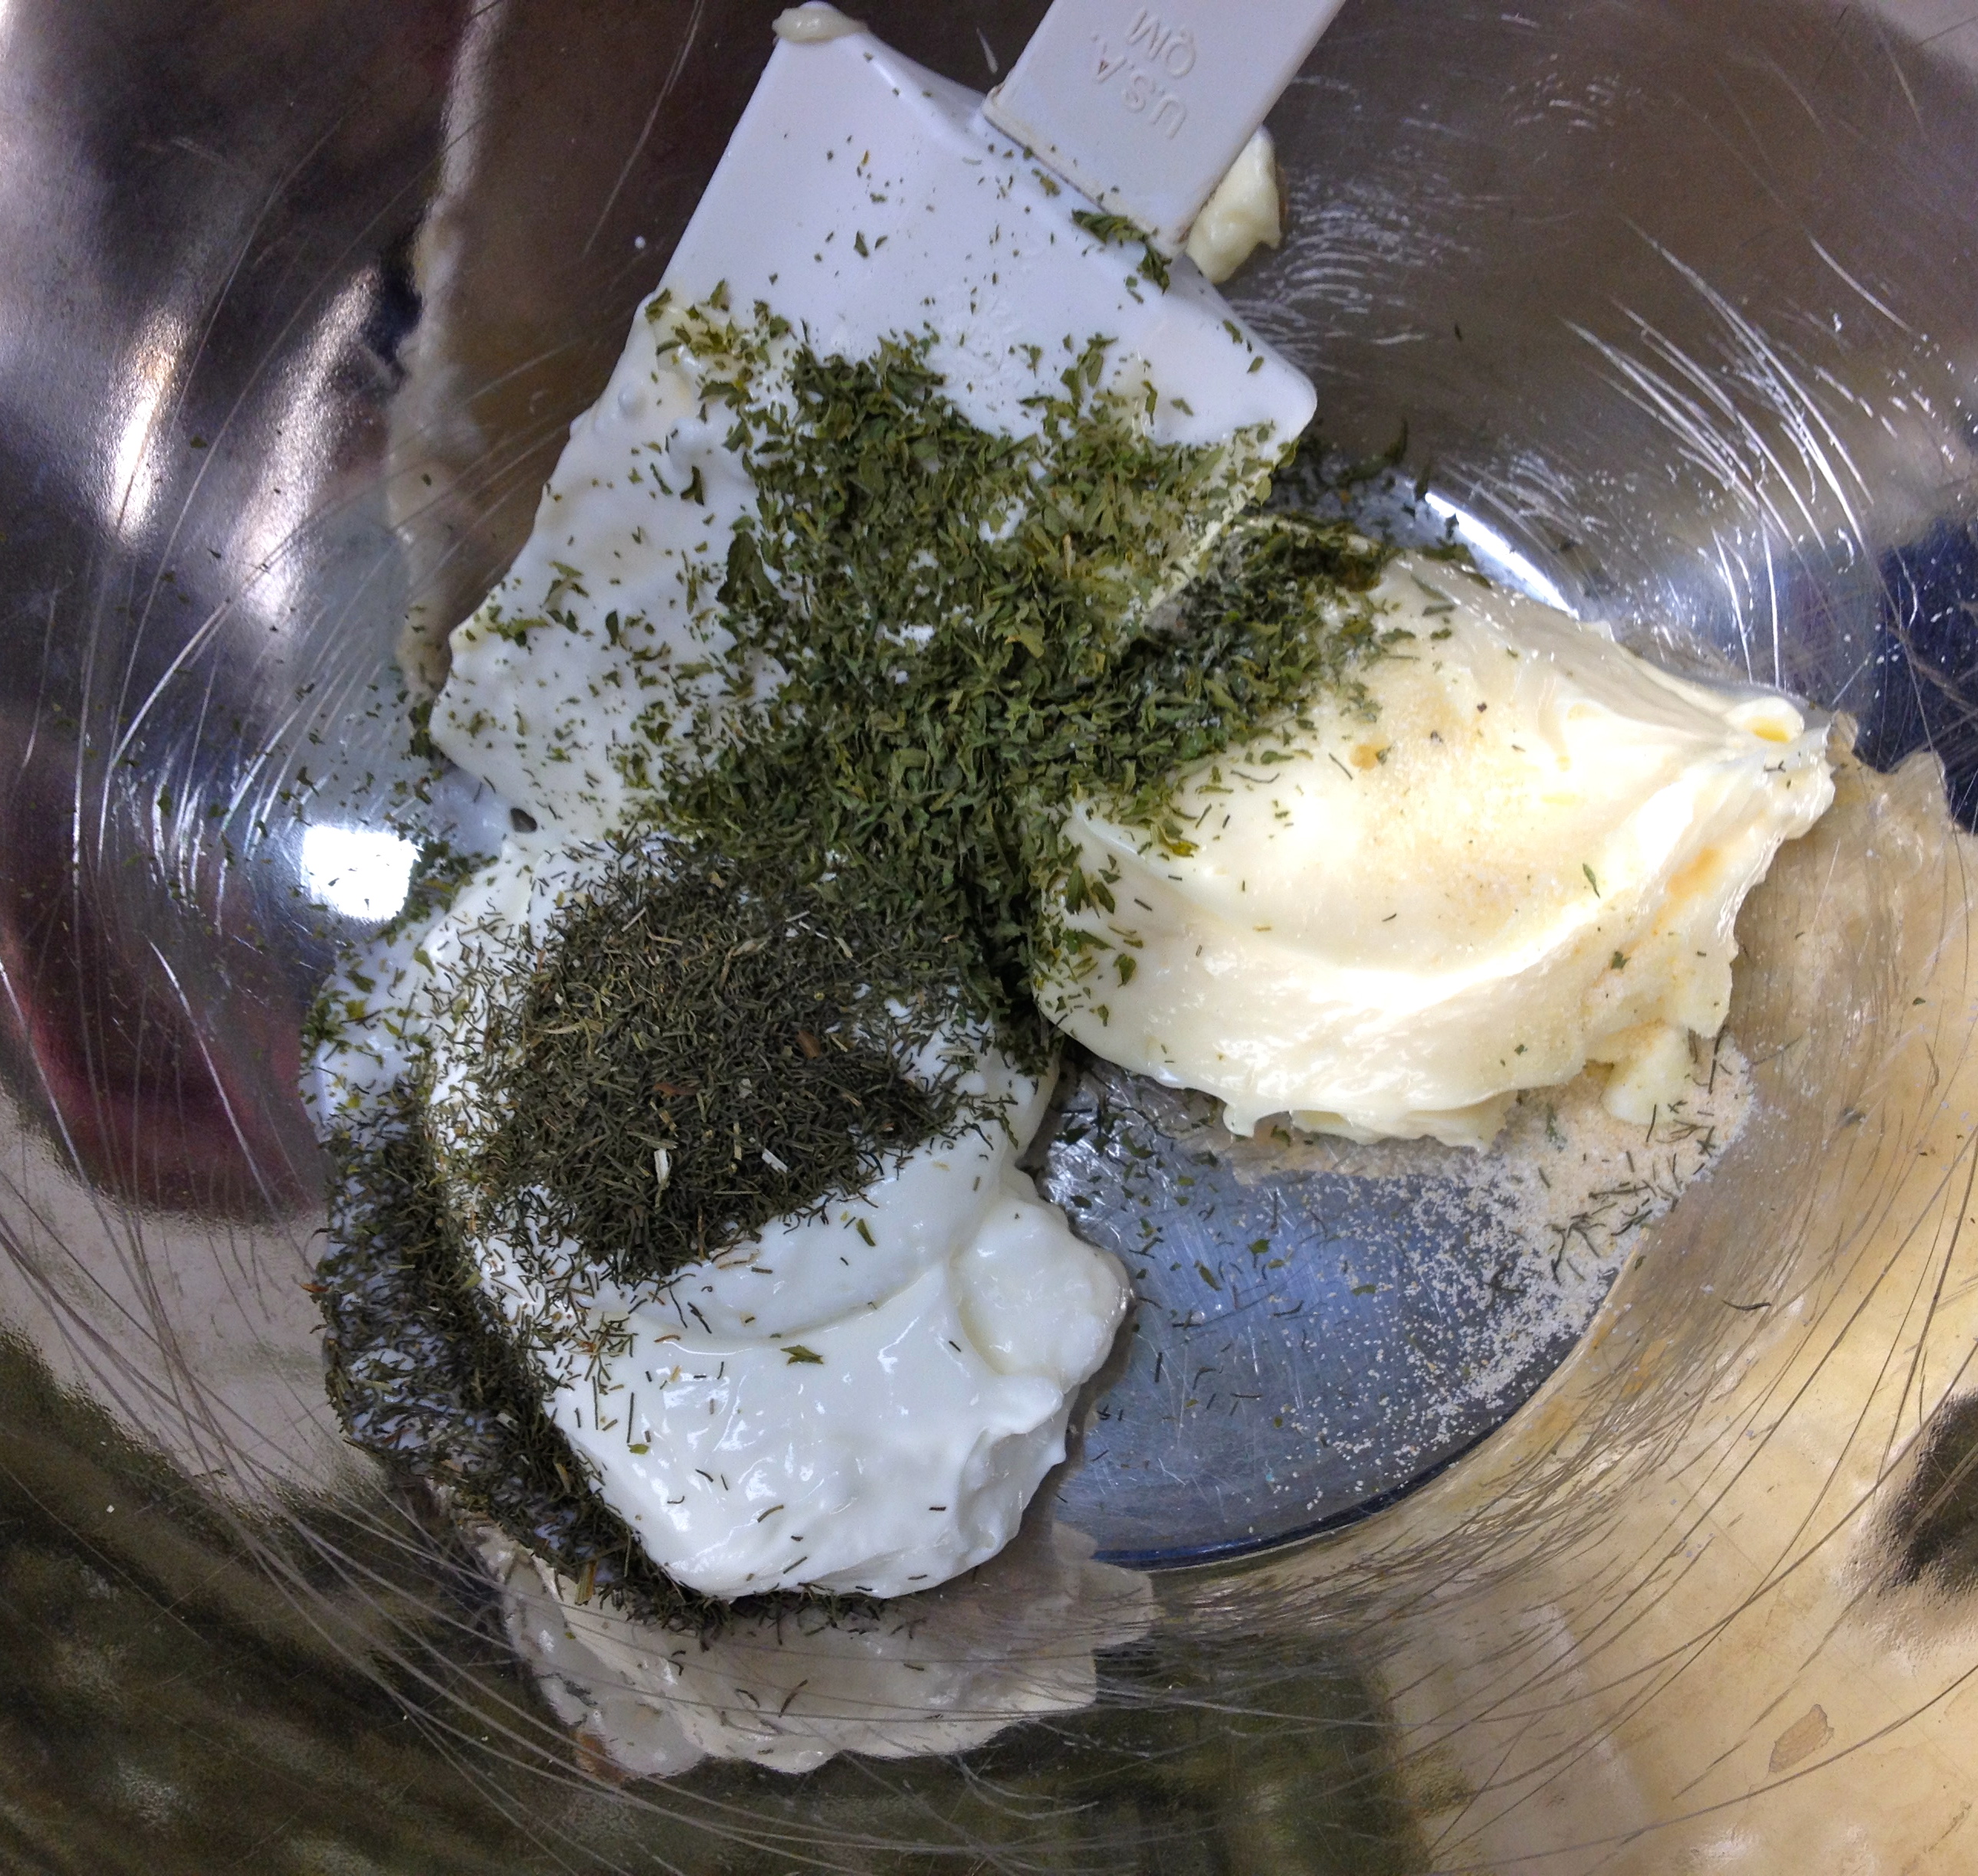
1 tsp. parsley flakes

1/8 tsp. onion powder

1/16 tsp. celery salt

1/16 tsp. salt

1/2 tsp. dill weed

Mix all ingredients in a small bowl. Serve immediately or chill until ready to use.

Recipe can easily be doubled. Makes about 1/2 c. dip

Coming next in Kids Healthy Cooking, Energy Bites! Sticky, easy, messy and lick your fingers good!

Kids Healthy Cooking – The Perfect Mini Pizza

making mini pizzas with kidsPizza is another one of those fabulous recipes to make with kids that is super easy and fun. Not only do kids like eating pizza, kids like making pizza to! It is fun, easy and something they can get their hands into.

Making mini pizzas with kids is great because they can choose their own ingredients and put on what they like. Giving them choice and control over what they are having. It is also great because they use their hands to make it, and most kids, (though I do know some who don’t), like getting messy and using their hands to make and create things.

The key as the adult is providing a number of ingredients for them to choose from, not only in hopes that they will choose ingredients that will provide a balanced diet, but also an opportunity for them to try something new.

making mini pizzas with kidsMaking mini pizzas is also a great way to give kids further autonomy over their pizza because they are truly making their own, that they are going to eat and no one else.

I had to laugh when we made these in our Mini Chefs class. As soon as I took out the ingredients we were using, little ones started expressing how they did not like tomato sauce, or mushrooms, etc. I just smiled and said that was the great thing about making your own pizza is that they could put whatever they wanted on it!

So they did. Some of them completely excluding the tomato sauce and just placing ham and cheese on top. Others experimented with all the ingredients, while some went for the simple straight forward ‘just cheese’.

And it’s so great to watch them experiment and try new things. Sometimes I don’t know what is actually new for them until after class when I talk to Mom and say “Suzy had ham and cheese on her pizza today.” Then Mom looks at me in surprise and says “Wow, she tried ham, she won’t touch it at home,” looking impressed.

Once you have the kids making a basic mini pizza, you can then start adding in some new ingredients the next time you make them, like spinach or feta. You can also get creative around holidays like Halloween and have them make spooky faces on their pizzas (again adding new ingredients to try like peppers or olives – they’re great for faces). Pizza options really are endless and once they’re hooked and involved they’ll be no limit to what you and they can try.

Mini Pizzas

Ingredients:

Tomato saucemaking mini pizzas with kids

Daiya mozzarella cheese (or regular mozza if preferred)

Sliced ham

Pineapple, sliced and cut into pieces

Mushrooms, sliced

Whole Wheat English muffins

Cut english muffins in half. Place both halves face up on counter. Spoon on 1-2 tablespoons of tomato sauce (to taste). Be careful not to use too much as it will make the muffin soggy. Place desired toppings, ham, mushrooms, pineapple on top of tomato sauce. Spread toppings evenly. Sprinkle with Daiya mozarella.

making mini pizzas with kidsPlace in pre-heated oven (350F) or toaster oven until cheese is melted and muffin is golden brown around the edges – approximately 5-10 minutes. Keep an eye on your pizza as some ovens are warmer than others and may cook faster.

Next week we experiment with dips – the caramel one is to die for (and is fabulous with apples – you’ll want to eat an apple just to eat the dip)!

Kids Healthy Cooking – Plain Pancakes

plain pancake recipeIn the spirit of celebrating Pancake Tuesday recently in February, I decided to make pancakes in my Mini Chefs class at Trico Center. Pancake Tuesday is a holiday I love, also called Fat Tuesday or Mardi Gras, it is the day before the beginning of Lent, and in the times of no refrigerator, it was a time to eat up all the foods that were considered fatty, would go bad and that people would ‘give up’ during the Lenten season.

Besides what child does not love pancakes? I do not know many, so I knew that they would be a hit with all my kids, even some of my more particular eaters. I decided to go with a basic plain pancake recipe, as I feel this should be a staple in every home, plus it is easy to ‘dress up’ in a variety of different ways. Of course, there is the traditional maple syrup and butter, but you can also have fruit toppings, ice cream and whip cream to name a few options.

plain pancake recipePlain pancakes are also really easy to make with kids, as there is a lot of measuring, scooping and mixing involved. It actually takes longer to cook the pancakes than it does to make the batter! I had each of the kids take a turn measuring an ingredient and dumping it into the bowl. Then a few of them had a turn mixing it up, which honestly this job is easily done by one person, but I find the kids really love to mix stuff. I could easily occupy them all day with mixing (parents something to think about lol).

plain pancake recipeThe kids were also very interested in watching the pancakes cook. I had them all stand at a safe distance from the pan and they watched as I poured the batter in and then waited for them to cook. For those that were interested, I pointed out the bubbles that were forming on top and that when they had lots of bubbles it meant it was time to flip them over. One little girl thought this was fascinating.

Once we had all the pancakes cooked we sat down to enjoy them! I had cut up fruit in advance, bananas, apples and strawberries and told them were we going to make faces on our pancakes with our fruit. Chloe who had done this before at our house, demonstrated what to do and then picked up her pancake and started eating. I was surprised to see all the other kids follow suit, with not a single one asking where the maple syrup was – which I actually did have to go with our pancakes that day. But since they did not ask for it, I just tucked it away and let them enjoy the pancakes and fruit faces they made. It was pretty easy and it was super fun.

Plain Pancakes

2 c. whole wheat flourplain pancake recipe

6 tsp. baking powder

1 tsp. salt

1 egg

2 ¼ c.  non-dairy milk of choice – almond milk, coconut milk, etc.

Mix together all ingredients in a bowl. Pour ¼ c. batter on hot griddle. When bubbles form on top, flip pancakes over. Cook for another 3 minutes. Top with favorite fruit or enjoy with pure maple syrup.plain pancake recipe


Coming up next in Kids Healthy Cooking Mini Pizzas!

What Parents wouldn’t do for their Child’s Birthday – Make Healthy Sugar Free Jello

sugar free jelloI love birthdays. They are fabulous days to celebrate people, how much we love and appreciate them and how happy we are to have them in our lives. Celebrating kids birthdays are some of the best, as they can be super fun and creative.

There are so many themes, games, crafts and activities to do around a kids birthday and I personally love a good theme. I get really into it, creating details from the cake right down to the decorations.

The one thing that is part and parcel of a birthday is of course, the cake. It is a tradition that has been around for centuries and one I honestly feel is just wrong if absent on a birthday (I hear in Sweden they start birthdays with cake for breakfast – they know what they’re doing). I have always loved the idea of a cut up cake, or a theme cake, something more than your traditional round or square. The designs, the colors, the creativity. My Mom made them for us growing up and well, even though my Mom warned me not to, I continued that tradition with my children.

sugar free rice krispie squares

Homemade Marshmallows

So for the twins, who just recently turned 6, we had a Minecraft and an Elsa cake this year; which I thought would be fairly simple. And well, once I figured out what I was doing, and all the pieces I needed, they were.

Because we chose a number of years ago to go sugar free this has created some challenges in creating things like a sugar free birthday cake. The cake itself was easy enough to do but it was the decorating, the icing and other accessories that made it interesting. This year for Luke’s Minecraft cake we discovered a design that was pretty simple in itself but required Jello and Rice Krispie squares – which I had yet to figure out how to make sugar free jello or sugar free rice krispie squares. I had some ideas on how to do this but had not made them before.

The Rice Krispie squares were easy enough. A couple of years ago I discovered a recipe sugar free rice krispie squareson Wellness Mama to make marshmallows, so I simply made that recipe and then mixed in the gluten free rice krispies right away while the marshmallow cream was still soft (at one point I thought I would have to make the marshmallows let them set then melt them down…luckily my rational brain kicked in and realized that they would already be soft before they set and I could just mix it all together right away). Once it was mixed in I just pressed the rice krispies into a pan like I usually would. They turned out quite well, though not as sweet as an original Rice Krispie square, which I think was largely due to the gluten free cereal which is not as sweet to start with; otherwise they were great.

The Jello was a little more of a challenge and this was simply because of the color I needed. Jello in itself is easy you use plain gelatin add water and let it set. But when you’re using natural fruit juice as a base and trying to make blue… Did you know there is no natural fruit that creates the color blue? You might think what about blueberries? Nope purple. Red cabbage is as a natural food dye, also purple. I even Googled it to see if I could find anything. No luck.

sugar free jelloEventually I found somewhere, the idea of using white grape juice and then adding a drop or two of blue food coloring. Though I would have prefered not to use the artificial food coloring I thought how much work did I want to do for this Jello. I decided a drop or two would be ok. So I found a natural Jello recipe on Wellness Mama (the same site for the marshmallows) and had it made setting in the fridge in about 5 minutes. Easy.

It tasted great too. In fact I prefered the Jello to the Rice Krispie squares. With this Jello though you have to like white grape juice, which some people don’t. I find it is a distinct taste that you either like or don’t. With my kids, Chloe loved it and Luke did not. The great thing is that unless you are making an odd color of Jello, like blue, you can find fruit juice out there that will give you the color you need without adding any food coloring. Like I wish I had needed red, easy! raspberry, cherry, cranberry

In general, I was really pleased with how these turned out and how the cake turned out in the end. It looked great and tasted good, with the finishing touches being the Minecraft figures on top, which thankfully Luke got from Gran for his birthday and was quite happy to put on top (I was going to sit down and draw and design these things). Luke was really pleased with the result and everyone ooed and awed over the cake when they saw it. That’s the kind of reaction that I like, and what makes it worth it. Now Chloe’s Elsa cake this year… that is another story…

Sugar Free Jello

1 1/2 cups of white grape juicesugar free jello

1/4 c. cool water

1/4 c. hot water

1 tbsp. grain fed gelatin powder

1-2 drops of blue food coloring (number of drops depends on how deep a blue you want)

Pour the cool water in a large mixing cup or quart sized mason jar and add the gelatin powder. Stir until mixed- it will start to thicken a lot. Add the ¼ cup of really hot water and stir to mix- it should be thinner now. Combine this with the juice and mix well. Pour the jello mixture into an 8×8 dish. Put in the fridge, covered, for at least 2-3 hours or overnight and serve. Cut into cubes or scoop out with a melon spoon to make cute shapes.
Serves 4-6

Kids Healthy Cooking – Healthy Sweet Treats

IMG_6963As human beings one of our biggest vices is all things sweet. The same goes for our kids as well, they prefer bananas over carrots, the cookie over the banana and so on. But what if we could create healthy sweet treats for kids that they would not only love and meet their need for sweet, but would provide them with a nutritional impact full of vitamins, minerals and other nutrients?

When we decided to go sugar free at our house I got a lot of looks from other people and questions about how can I deny them all the yummy things that are part of a regular kids life, like cupcakes, chocolates and cookies. The truth is they have never been denied, they still enjoy all those things at our house and more. The difference is not in the taste which is just as yummy if not more so than the ‘original’ – but in what they are made of. We have simply switched to natural sweeteners and added in foods that are super high in nutrients. And honestly they not only gobble them up but request them.

It is easy to make the switch at your house too. Just start slowly adding in one or two recipes and go from there. Make it easy. Plus if you get the kids involved in making these healthy sweet treats your chances of them eating them goes up simply because they have helped.

Also starting with ingredients and foods that they like is key to success when getting kids to eat and try new things. If you pick something they like, they are already interested and will be more open. This is why just before Valentine’s Day in our Mini Chefs class I chose two healthy sweet treat recipes for kids that were chocolate. You should have seen the kids eyes get big and how excited they got when I told them what we were making that day was chocolate (same thing happened when we made the chocolate banana smoothie a few weeks ago).

They were all so excited to try it when it was ready to eat, even though they had watched some ‘weird’ ingredients go in like avocado and chia seeds. Chocolate overruled it all.

Raw Chocolate Pudding

The thing I love about this recipe is the fact that you simply put all the ingredients in the blender and mix. In just minutes you have a smooth, fluffy and delicious chocolate pudding.

2 ripe bananas, peeled and slicedhealthy sweet treats for kids

1 avocado, pitted and peeled

2 tbsp. raw cacao powder (this is different than cocao powder)

1 tsp. agave nectar

Put all ingredients in blender in the order listed. Start on low, slowly turn speed up to high. Blend for 30 seconds on high or until desired consistency is reached. *it’s sweet as is, but if you’d like to increase sweetness add more agave nectar to taste – agave is twice as sweet as sugar so use small amounts and taste before adding more 

Avocados are fantastic additions to recipes. Not only are they mild in taste, they are high in vitamins and minerals such as Vitamin K, B5, B6, C and E as well as Omega 3’s. They offer a lot of health benefits like improved mood, reduced stress, good eye health and more. They are also a great food that actually curbs sugar cravings! Because they are high in healthy fats they slow digestion and prevent the body’s blood sugar from spiking after eating. It is also true that when we crave sugar it is often because we are missing certain nutrients and adding a healthy fat will curb this craving as the body becomes satisfied.

No Bake Chocolate Macaroons

1 bananahealthy sweet treats for kids

¼ c. coconut oil, melted

¼ c. pure maple syrup

½ tsp. vanilla or 2-3 drops madagascar vanilla essential oil

6 tbsp. cacao powder

1.5 c. unsweetened coconut

1 tbsp. chia seeds

small pinch sea salt

In a medium size bowl mash banana well until there are no clumps. Stir in melted coconut oil, maple syrup and vanilla. Sift cacao powder and stir into banana mixture. Stir in chia seeds, coconut and salt.

Line baking sheet with parchment paper. Drop a teaspoon at a time onto parchment paper. Put in freezer for 20 minutes or until firm. Store in freezer until ready to enjoy.

Makes approx 15 macaroons

Chia seeds are not only high in dietary fibre and protein as well as many other vitamins, they make you feel full as well as being an ingredient that stabilizes blood sugar. Cacao powder is rich in vitamins and nutrients such as iron, antioxidants and high in B Vitamins. Cacao does differ from cocoa as though they come from the same plant the difference is in how they are processed and the amount of nutrients that are left in it. Cacao is also considered a superfood while cocoa is not.healthy sweet treats for kids

So have fun, enjoy! not only will the kids love these healthy sweet treats you may find that you love them to (I have a hard time eating only one chocolate macaroon at a time…) They are quick easy and so yummy you and your kids will forget that they are actually good for you.

Next week pancakes with super cool faces!

Kids Healthy Cooking – How to Make Tacos

how to make tacos with kidsTacos are one of those great foods that are an quick easy dinner solution that you can easily incorporate many food groups (including vegetables) and taste delicious. They are also a fabulous way to get the kids involved in helping make dinner as there is lots of scooping and use of their hands. You may think it will create a big mess, but here are some easy ways how to make tacos with the kids and be successful!

How to Make Tacos with Kids

1. Prep in advance – Chop, grate, cut the ingredients you are using in advance and put them into separate bowls that the kids can easily scoop or grab things out of. Place a spoon with each item so they don’t mix them.

2. Provide a variety of ingredients – in Mini Chefs we used just lettuce and tomato and cheese, but you could include avocado, cucumber, spinach…basically any vegetable. Providing variety will not only makes the kids curious but it will also encourage them to try a little, especially when they are making their own.

3. Use some kind of dip or spread – sour cream, Veganaise or mayonaise, guacamole, salsa all add a little flavor and variety to their taco. It also makes it less dry and provides nice texture and easier on the palate.

4. Demo what it looks like – make one and show them what you would typically put in it, everything from sour cream to tomatoes and cheese. Let them know that if they choose not to put an ingredient in that’s ok. The example will not only show them what can go in it but might encourage them to put some of those ingredients in themselves.

5. Let them make their own – give them the tortilla or taco shell and show them all the options, then let them decide which ingredients they want to put in and how much. (Remind them that they need to close up the tortilla so not to put too much in). When they make their own they are more likely to eat it.

how to make tacos with kidsWhen I did this with my Mini Chefs class I had everything ready in advance and this made it very smooth when making them. The only thing we prepped together was to cook the ground chicken, which I did and they watched. They all really like watching what is happening as their curiosity makes them interested and that is the best way to get them engaged.

Many of them tried different ingredients, creating their own with various amounts of the things they liked. We used soft tortillas, which I find easier with kids because you can roll them up and have less stuff falling out! but you can use hard taco shells if you prefer. I did have to remind them that though they could put in what they liked, not to put too much in as we needed to roll it up and have it all fit.

Rolling them up was the fun part. I showed them how to do it and then helped each child coaching them through rolling it up themselves, which each of them did quite successfully. Once we had it rolled up then we chowed down and enjoyed our tasty creations.

I even had the next week a Mom share with me that her son had made tacos for supper one night after this particular class, which I was so pleased to hear. She said he insisted on clearing up which he never does and he is now also eating lettuce, which he never ate lettuce. Wrapping it up and presenting it in a different way is one of the many reasons why this has occurred. Plus he (and the other children) were allowed choice in what they could put in and weren’t told that they had to use this ingredient or that one.

I feel that this class has been our most successful class so far and that learning how to make tacos has taken the children’s learning in the kitchen to the next level. It really is a simple nutrition packed meal which can easily be modified if you want it dairy free, vegetarian or packed with protein (add kidney beans or chick peas). There are a large variety of different taco recipes and combinations to try, but I would recommend starting with a basic recipe to get the kids into it, and then expand upon it from there.

Tacos

Ingredients:

1 pkg. ground chicken (or any choice of ground meat)how to make tacos

1 tbsp. taco seasoning (recipe below)

tomatoes, chopped

lettuce, chopped

Daiya cheddar cheese, shredded (or regular cheddar if desired)

Vegan sour cream – I love Earth Island (or regular sour cream)

tortillas

Brown ground chicken in frying pan. Add 1 tbsp. of taco spice and mix.  Lay out one tortilla flat on counter or plate, spread a spoonful of sour cream on tortilla, add spoonful of chicken, tomato, lettuce and cheese. Fold tortilla over once, tuck in ends by folding over on each side, then roll the rest of the tortilla to end.

Taco Seasoning

(this is an easy seasoning that can be made at home with spices you likely already have in your cupboard. Pre-make it and skip the processed package stuff from the store)

Ingredients

1 tablespoon chili powderhow to make tacos

1/4 teaspoon garlic powder

1/4 teaspoon onion powder

1/4 teaspoon crushed red pepper flakes

1/4 teaspoon dried oregano

1/2 teaspoon paprika

1 1/2 teaspoons ground cumin

1 teaspoon sea salt

1 teaspoon black pepper

Mix all ingredients together. Store in an airtight container.

Do you have a favorite taco recipe that your kids love? Share it below

Coming up next…some chocolate delights, macaroons and chocolate pudding!

Don’t miss our other kids healthy cooking recipes such as yogurt parfaits, tuna melts and kids smoothies

How Many Ways Can You Make Hot Chocolate – YYC Hot Chocolate Fest

YYC Hot Chocolate FestWarm delectable chocolate and sweet cherries delight the palate, filling the senses and warming the soul…aaahhh heaven. The Black Forest hot chocolate, one of 36 possible heavens in the YYC Hot Chocolate Fest this February. A fundraiser to support Calgary Meals on Wheels, this is the 5th year various coffee shops, restaurants and chocolatiers in Calgary roll out their signature hot chocolate recipes and compete for the best hot chocolate in town.

I was very excited to discover this event this year (and wondered why I had not heard of it before). Throughout the month of February you can try as many hot chocolates as you like, then go online to vote for your favorite, as well as leave comments and participate in the additional contests.

Hot Chocolate Fest

Black Forest

I have had the pleasure of enjoying 3 so far, the Black Forest, Australian Summer and the Creamy TLC, all different and unique, all with flavors that are hard to compete with. My goal is to try them all, which will be a challenge in itself in just 28 days, but it’s hard to resist when there are flavors such as Red Velvet, Tiramisu and Butterfinger Peanut Cup to enjoy.

I realize this means that there may be some days where I will have to have two or three hot chocolates just to make sure that I get them all in before the 28th, but sacrifices have to be made, and happily I will make this one.

Hot Chocolate FestI love the idea behind this Hot Chocolate Fest, (especially with chocolate involved!), it’s fun, gets the community involved and is a great way to create awareness. It also supports local businesses, encouraging people to explore the unique coffee shops and niches in Calgary, it’s creative, expressive and supports a good cause! It is also a great social event, one where you can invite friends to join you, and create more of a network online. Who doesn’t love hot chocolate? (yes I realize that maybe someone doesn’t, but many of us enjoy the thought of a nice warm drink on a cold day. It means cozy, it means social, it means tastes buds coming alive with the different and unique combinations to enjoy).

The other thing I love about the Hot Chocolate Fest is many of the vendors offer dairy free options for those of us who wish to do so. When I ordered my Black Forest at the Higher Ground Cafe, I could choose from soy milk, almond milk or coconut milk. Now this did mean no whip cream and my cherry sunk to the bottom, but it was great that this option was available so I could participate too, and my body would be happy with me.

A Hot Chocolate Fest just gives me an all around good happy feeling, making me feel all warm and fuzzy inside. So whether you are tempted to try one or try them all, go out and check out the YYC Hot Chocolate Fest. Don’t forget to pick up your Hot Chocolate Passport from one of the vendors and check off each one as you go along to enter for additional prizes. I might see you out there. Come back here and share what your favorite was. Happy Hot Chocolate Drinking!Hot Chocolate Fest

Kids Healthy Cooking – How to get your Kids Eating Vegetables

get kids eating vegetablesIt is amazing how many kids do not like vegetables. Or if they do, they like only one, like carrots, or cucumbers, but otherwise that’s it. I know many parents experience this struggle of expanding their children’s vegetable palate. That’s why getting creative to get kids eating vegetables is key.

In our Mini Chefs class last week we created vegetable flowers. This is a great way to get kids eating vegetables – it is fun, offers them diverse food colors and creates a pattern, which are all proven ways to get them eating. The ‘flower’ was a combination of celery, radish, carrot, cucumber, spinach, and grape tomato (lots of colors).

veggie flowerWhen we were creating our vegetable flowers, many of the kids told me right away which vegetables they did not like. Though I acknowledged it, I encouraged them to make the flower anyway and then they could eat the parts they did like and leave the rest (not forcing the kids to eat what they don’t like, but acknowledging and encouraging is another way to get kids eating vegetables, and a variety). I praised and encouraged them as they were creating, telling them how much I liked the ‘grass’ they had made or the ‘petals’ on the flower. When we were done, all the ‘flowers’ were unique. Similar to the example but with their own creative flare!

Then of course we ate them and some of the kids not only ate the parts they liked but branched out and tried something new. I had to laugh when I watched two girls each try a spinach leaf and heard them exclaim “oh this is so yummy!”

This is why cooking with your kids is such a great benefit! It gets them involved, creative and gives them opportunities to try something new. Making food fun, will encourage them to try it out and maybe, hopefully expand their palates. It also is an opportunity to teach them about nutrition and why we need balance in what we eat.

IMG_6922Also that day we made Tuna Melts, which is one of my favorites! It is a simple quick recipe and great to do with kids. All you need is bread, tuna, Veganaise (or your favorite mayonaise) and cheddar cheese. This recipe is a great one for kids to practice stirring and spreading (the tuna). Parents of course should do the opening of the can, cutting and using the oven as these tasks need to be closely supervised with small children.

Again we had a few kids who said they didn’t like tuna, but I encouraged them to at least try it. For some kids, it could simply be the Veganaise (mayo) that they don’t actually like. I remember when I was little I did not care for mayonaise at all. It wasn’t until I was much older that I actually liked it. If you think this may be the case, you can either change your mayo choice (not all mayos are created equal) or you could leave it out and not mix it in your tuna – though this would leave the tuna a little dry the melted cheese on top could help with this. Experiment, let your child taste the items separately to determine what part they don’t care for and then adjust from there.

Cooking with kids is always an adventure and getting kids to eat vegetables just makes it that much more interesting! But recognizing and praising them for what they do and trying new things definitely puts them on a path to enjoying their food and exploring new recipes!

Tuna Meltstuna melt with Daiya cheddar

Ingredients:

Slices of bread

1 can of tuna

Veganaise (or choose your favorite mayonaise)

Slices of Daiya cheddar (or regular cheddar)

Mix tuna with Veganaise. Start with one to two spoonfuls of Veganaise and mix. Add more if needed to taste, you do not want the tuna to be dry, but you don’t want it sopping wet. Spread tuna on slice of bread. Place cheddar slices on top of tuna.

Place on a cookie sheet in oven on broil. When cheese has melted it is ready to eat! this only takes one or two minutes so make sure you keep an eye on it. Take out of oven and let cool slightly, then eat and enjoy!

Vegetable Flower

Ingredients:IMG_6930

Cucumber slices

Celery

1 grape or cherry tomato

1 radish

2 spinach leaves

8 baby carrots

Wash all vegetables. Slice cucumbers, radish and 2 pieces of celery (one big and one small) to make stems of flowers. On a plate place 2 pieces of celery. At the top of the big piece arrange cucumber slices into a flower shape. At the top of the small piece of celery arrange the radish to make petals of flower. Place grape or cherry tomato in middle of the cucumbers to form center of big flower. Place two pieces of spinach on either side of big piece of celery to make leaves. Line the bottom of flowers with baby carrots to create ground/ grass. Take a picture of your creation! Enjoy plain or with your favorite dip.IMG_6925

Missed last week’s kids healthy eating recipe? Click for Yogurt Parfaits and more great tips on cooking with kids

Looking for more creative fun ideas to get kids eating vegetables? Check out these great ideas 

Next week Kids Smoothies – 3 delicious recipes, one with chocolate! how can you go wrong?

Kids Healthy Cooking – Tips and Tricks for making it easy and fun!

kids healthy cooking

Cooking with kids can be a challenge. It’s messier, it’s slower, and often times can try your patience as a parent. Kids healthy cooking can be even more of a challenge with your little munchkins palates changing and developing, being sensitive to textures, smells and levels of salt and sweetness. One day they like a certain food and all of a sudden the next day they don’t? Even with these challenges, there are many benefits to getting little ones into the kitchen at a young age, benefits that will set a foundation for their eating and nutrition choices for life.  And these benefits will outweigh the extra time and patience you have to spend in the kitchen.

fruit2For little hands, time in the kitchen allows them to build basic skills, explore with their senses and create an adventurous palate! You can introduce healthy foods in a fun and unique way that will get them eating and enjoying it. Kids are also more likely to eat what they have made and it creates a foundation for them later in life – when they’re older in college and can actually cook. Not only that, but it creates a great opportunity for you and your child to spend some quality time together, learning and creating together, even having a little fun.

I recently started teaching a preschool class at the Trico Center called Mini Chefs and it is one of my favorite classes. You may think that cooking with a preschooler would be difficult, but when you choose recipes that are simple, easy and appropriate for their age, it is actually a lot of fun. I love how excited the kids are each week, curious about what we are making and what is in it.

IMG_6903One of the keys to making kids healthy cooking successful (especially with preschoolers) is to pick something with less than 5 ingredients and things that they can do themselves, like scooping, mixing, tearing (lettuce). Most kids at this age love to help and get very excited about mixing things, or scooping out the flour. Yes you may have a little more flour on the floor but encouraging them and letting them do it, will make them want to do it again.

For our first class we created Yogurt Parfaits, which is a very easy, hands on recipe with 3 basic ingredients and lots of scooping and sprinkling. They all wondered what a yogurt parfait was, as even my children had not made one of these before. What was in it? How did we make it? When were we going to make it? The when question was the best. They are so keen at this age to get started!

This is why it is very advantageous and less stressful for you to prepare things in advance so that the cooking process goes more smoothly. For the parfaits, I had the yogurt already in a bowl with a spoon for scooping, the fruit cut and the granola in a bowl ready for scooping as well. Parfait glasses were in a stack ready for me to hand out as well as the spoons. This made it easier for each child to do what they could themselves, once I explained how we made the parfaits.

It was so fun to watch each child create their parfait, scooping in their yogurt (some with fairly large scoops and some very small), choosing their fruit, then scooping in some yogurt again. Each parfait was creative and unique, and honestly it was not that messy. Some kids had lots of yogurt in theirs and less fruit, some had a lot of both, while others just wanted the granola off the top. Either way they all had fun and all tried it, it was a new taste adventure for many of them.

Now my kids ask for yogurt and fruit all the time now and it makes a very healthy snack!

Yogurt ParfaitIMG_6905

Ingredients:

Non-dairy vanilla yogurt  – such as coconut, almond or soy   *(can easily substitute dairy yogurts if desired)

Fruit – pick your favorite! Blueberries, strawberries, banana, honeydew

Granola (store bought or make your own – you can also substitute large oats if desired)

In a bowl or cup place desired amount of yogurt. Then place fruit of choice on top, layer with yogurt then another layer of fruit. One more layer of yogurt and top with granola. Enjoy!

And don’t forget, get the kids to help you clean up after as well. They are willing at this age and that way they learn that cooking whether creative, messy or fun, requires clean up at the end.IMG_6904

Next week… Tuna melts and Vegetable Flowers – who says vegetables can’t be fun!