Exploring the Alder Trail

alder trail
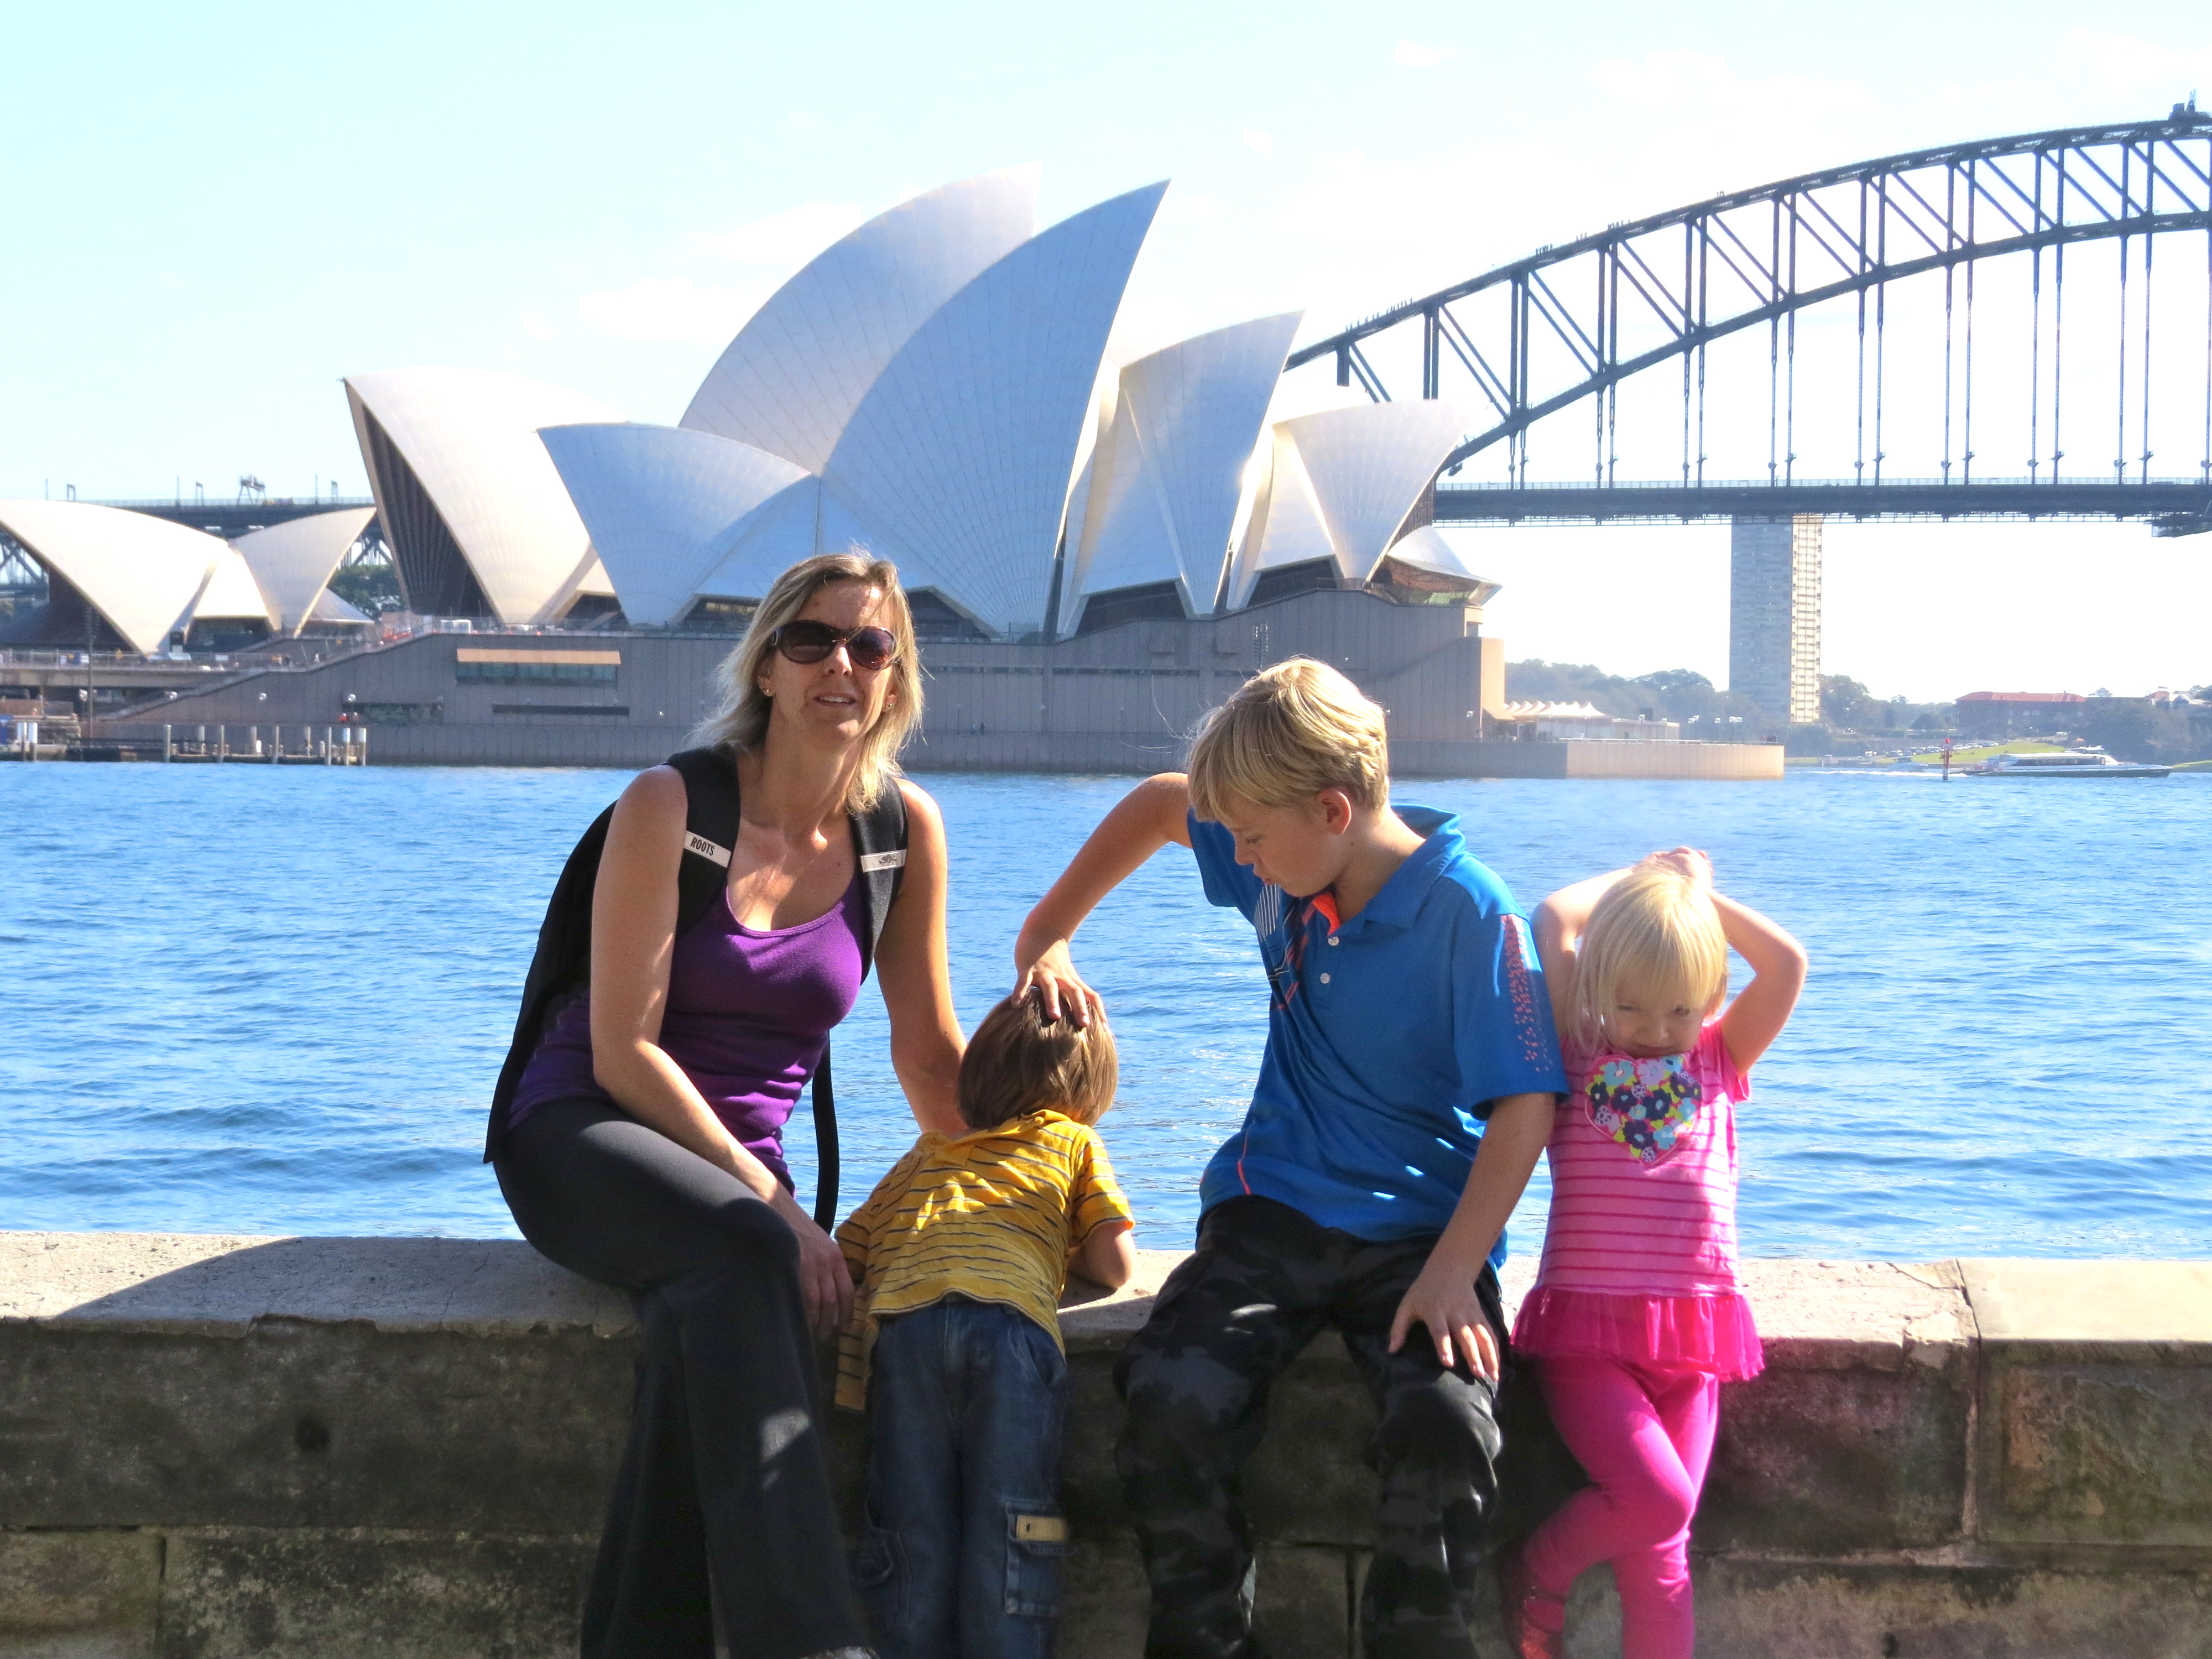
One of the things I love about Thanksgiving weekend (and Fall in general) is that it is usually a beautiful sunny weekend, with crisp mornings, blue skies and warm afternoons, surrounded by the gorgeous colors of leaves turning. This is the time of year when I really enjoy getting out hiking, or for short walks in nature. With or without kids, I love to explore the forests, park, mountains or whatever location it is that we decided to go and check out during this beautiful season.

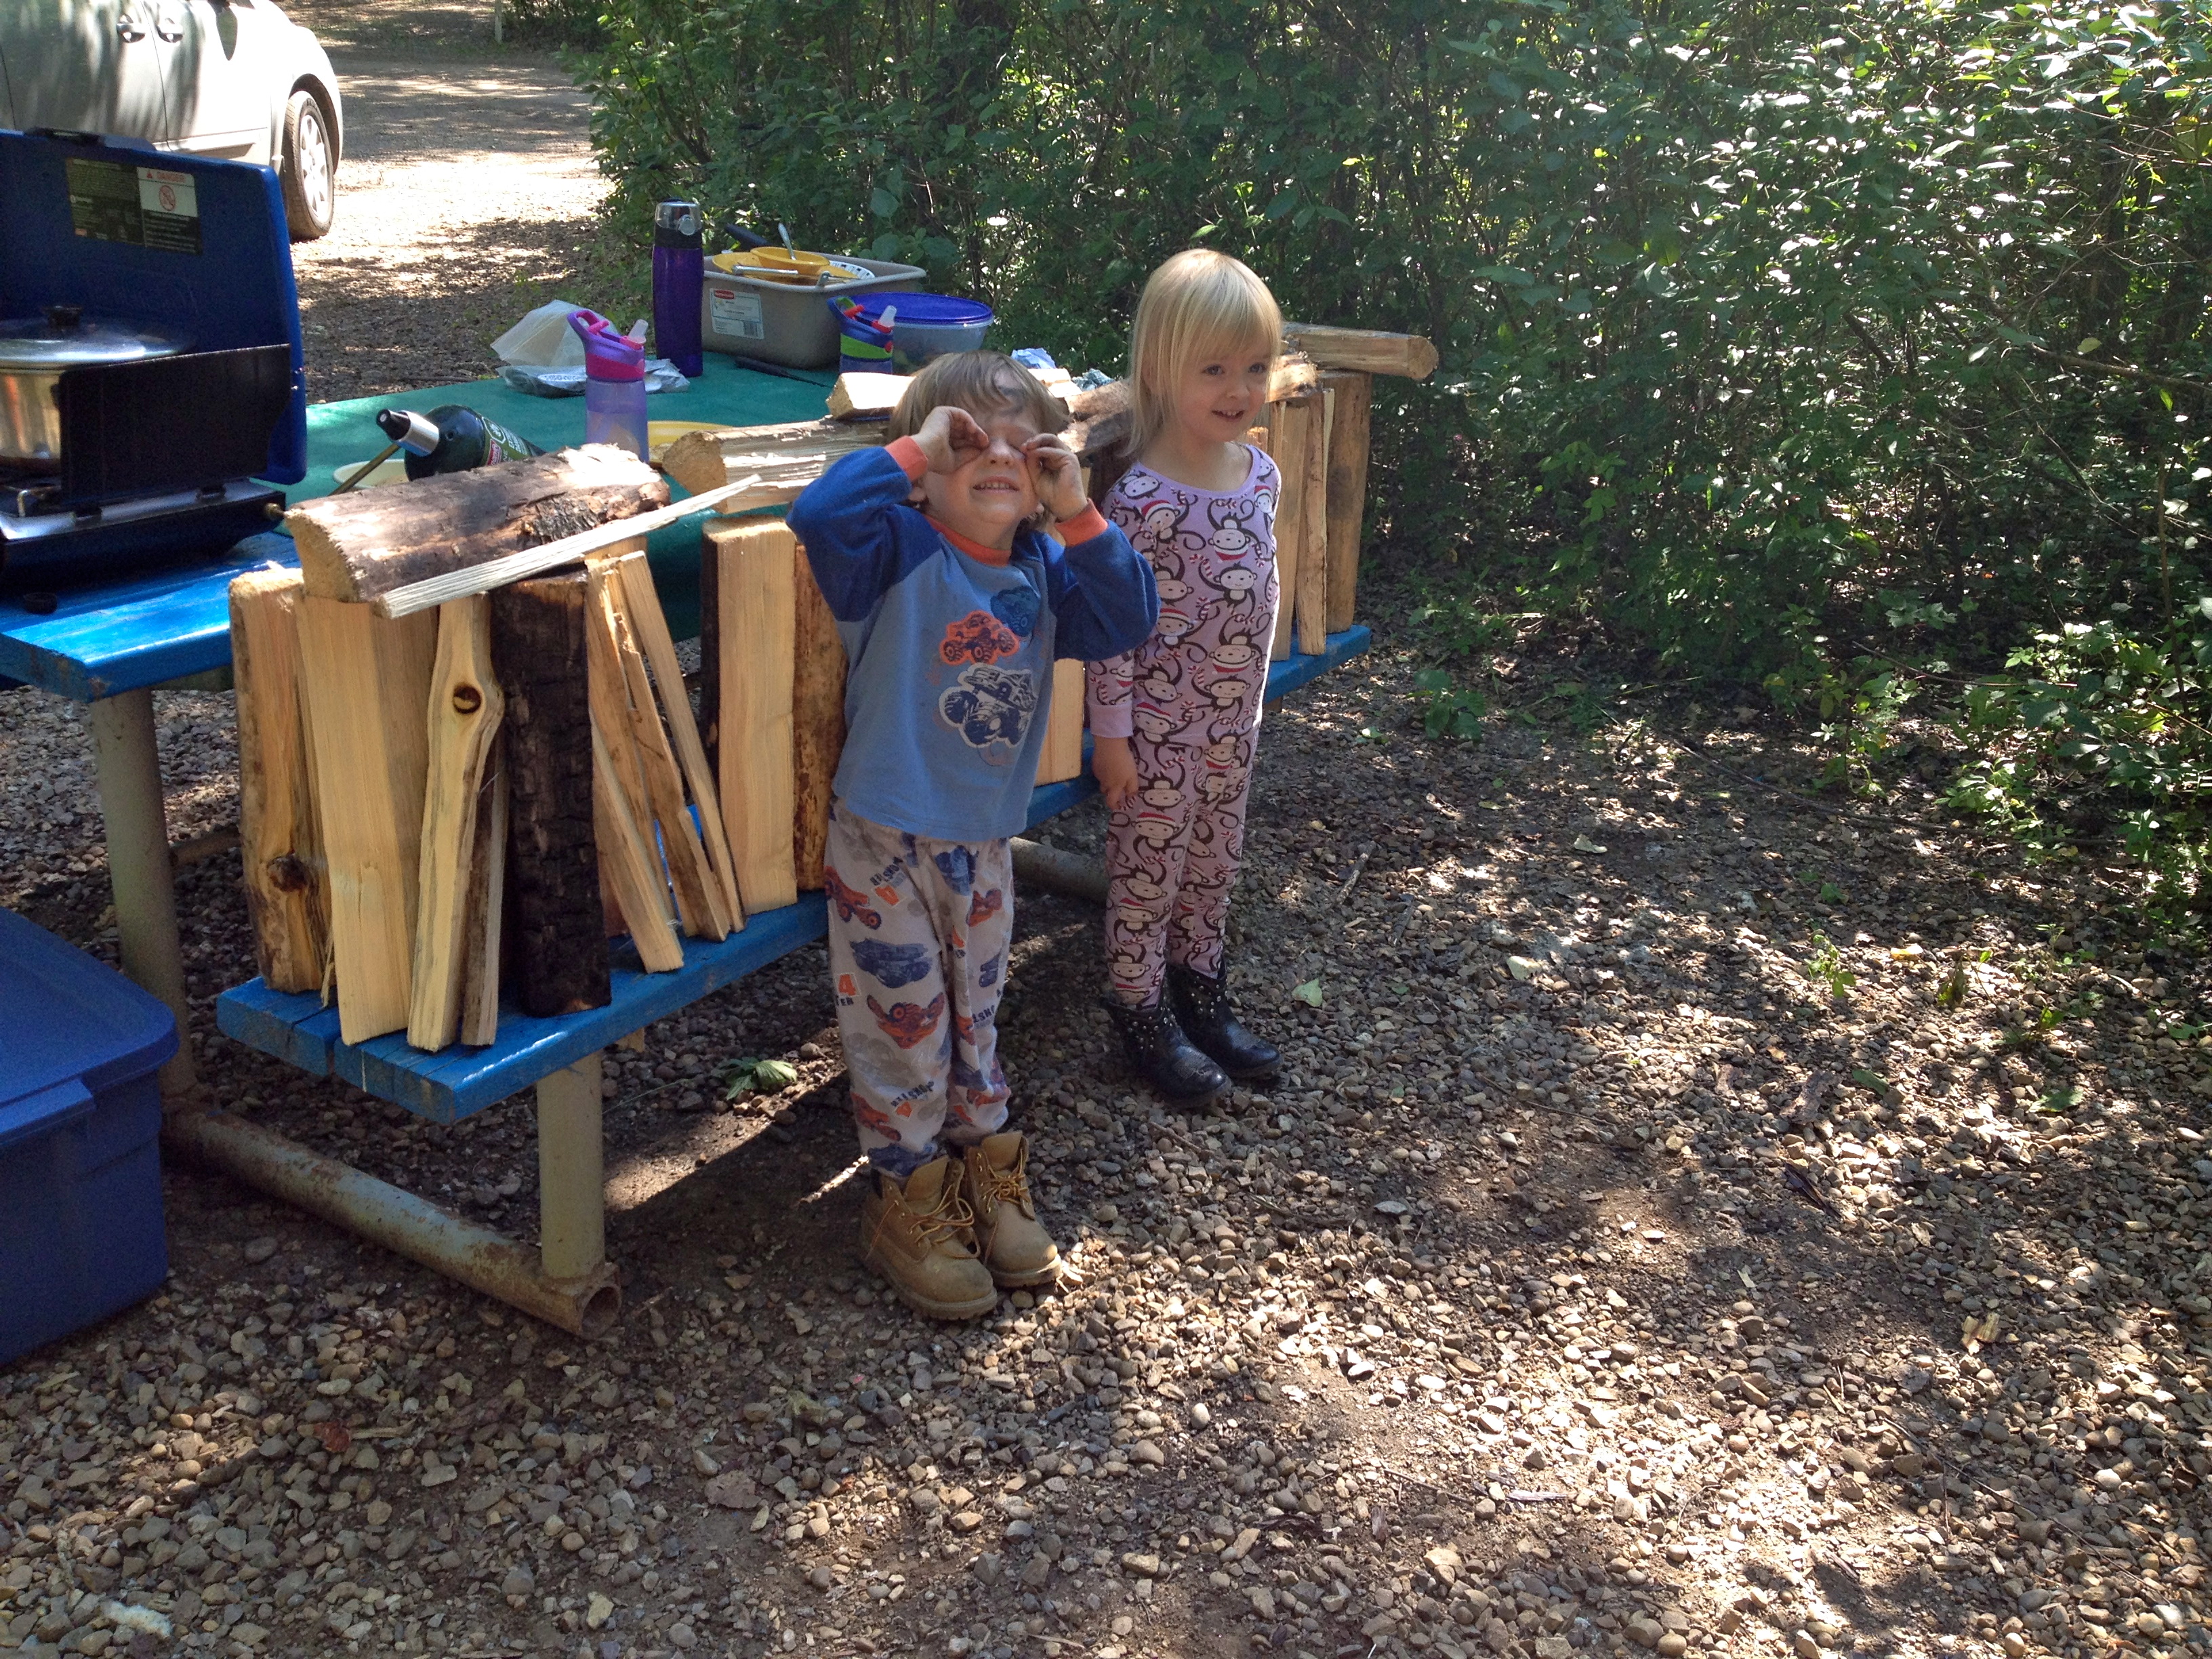
This weekend we went out to Bragg Creek, which is only a 30 minute drive from our house, to the provincial park. It is a beautiful spot with picnic tables and fire pits, just up from the river with lots of lovely walking trails, of various lengths.

IMG_4178The kids were excited to pack up and go for a picnic and have a fire. In fact, I have not seen Luke and Chloe get ready so fast and out to the car, chomping at the bit to go! I was still packing things up and they were already in the car!

Once we got out there and claimed our spot we went for a short walk before enjoying our picnic (which would be roasted hot dogs and banana boats). A few weeks earlier I had been out there and came across the alder trail, which is a 1.6 km loop. At the time I wasn’t sure how long the trail actually was so decided not to complete the loop that particular day due to time constraints. I was looking forward to discovering this trail and what it was all about.

It turned out to be a beautiful trail, through moss covered floors and old growth forest. The trees were tall and covered in old man’s beard, which I pointed out to Luke and Chloe. They looked on in amazement and giggled as I asked them if they would like a beard of lichen.

The trail is fairly flat and great for kids, with interpretive signs along the way describing the life of the forest. With information on everything from the animals that live there to why we experience chinooks and the effect they have on our environment. Both Luke and Chloe asked me to read every sign and listened attentively as I read. Matthew even stopped at each sign and read what it had to say before moseying on.IMG_4182

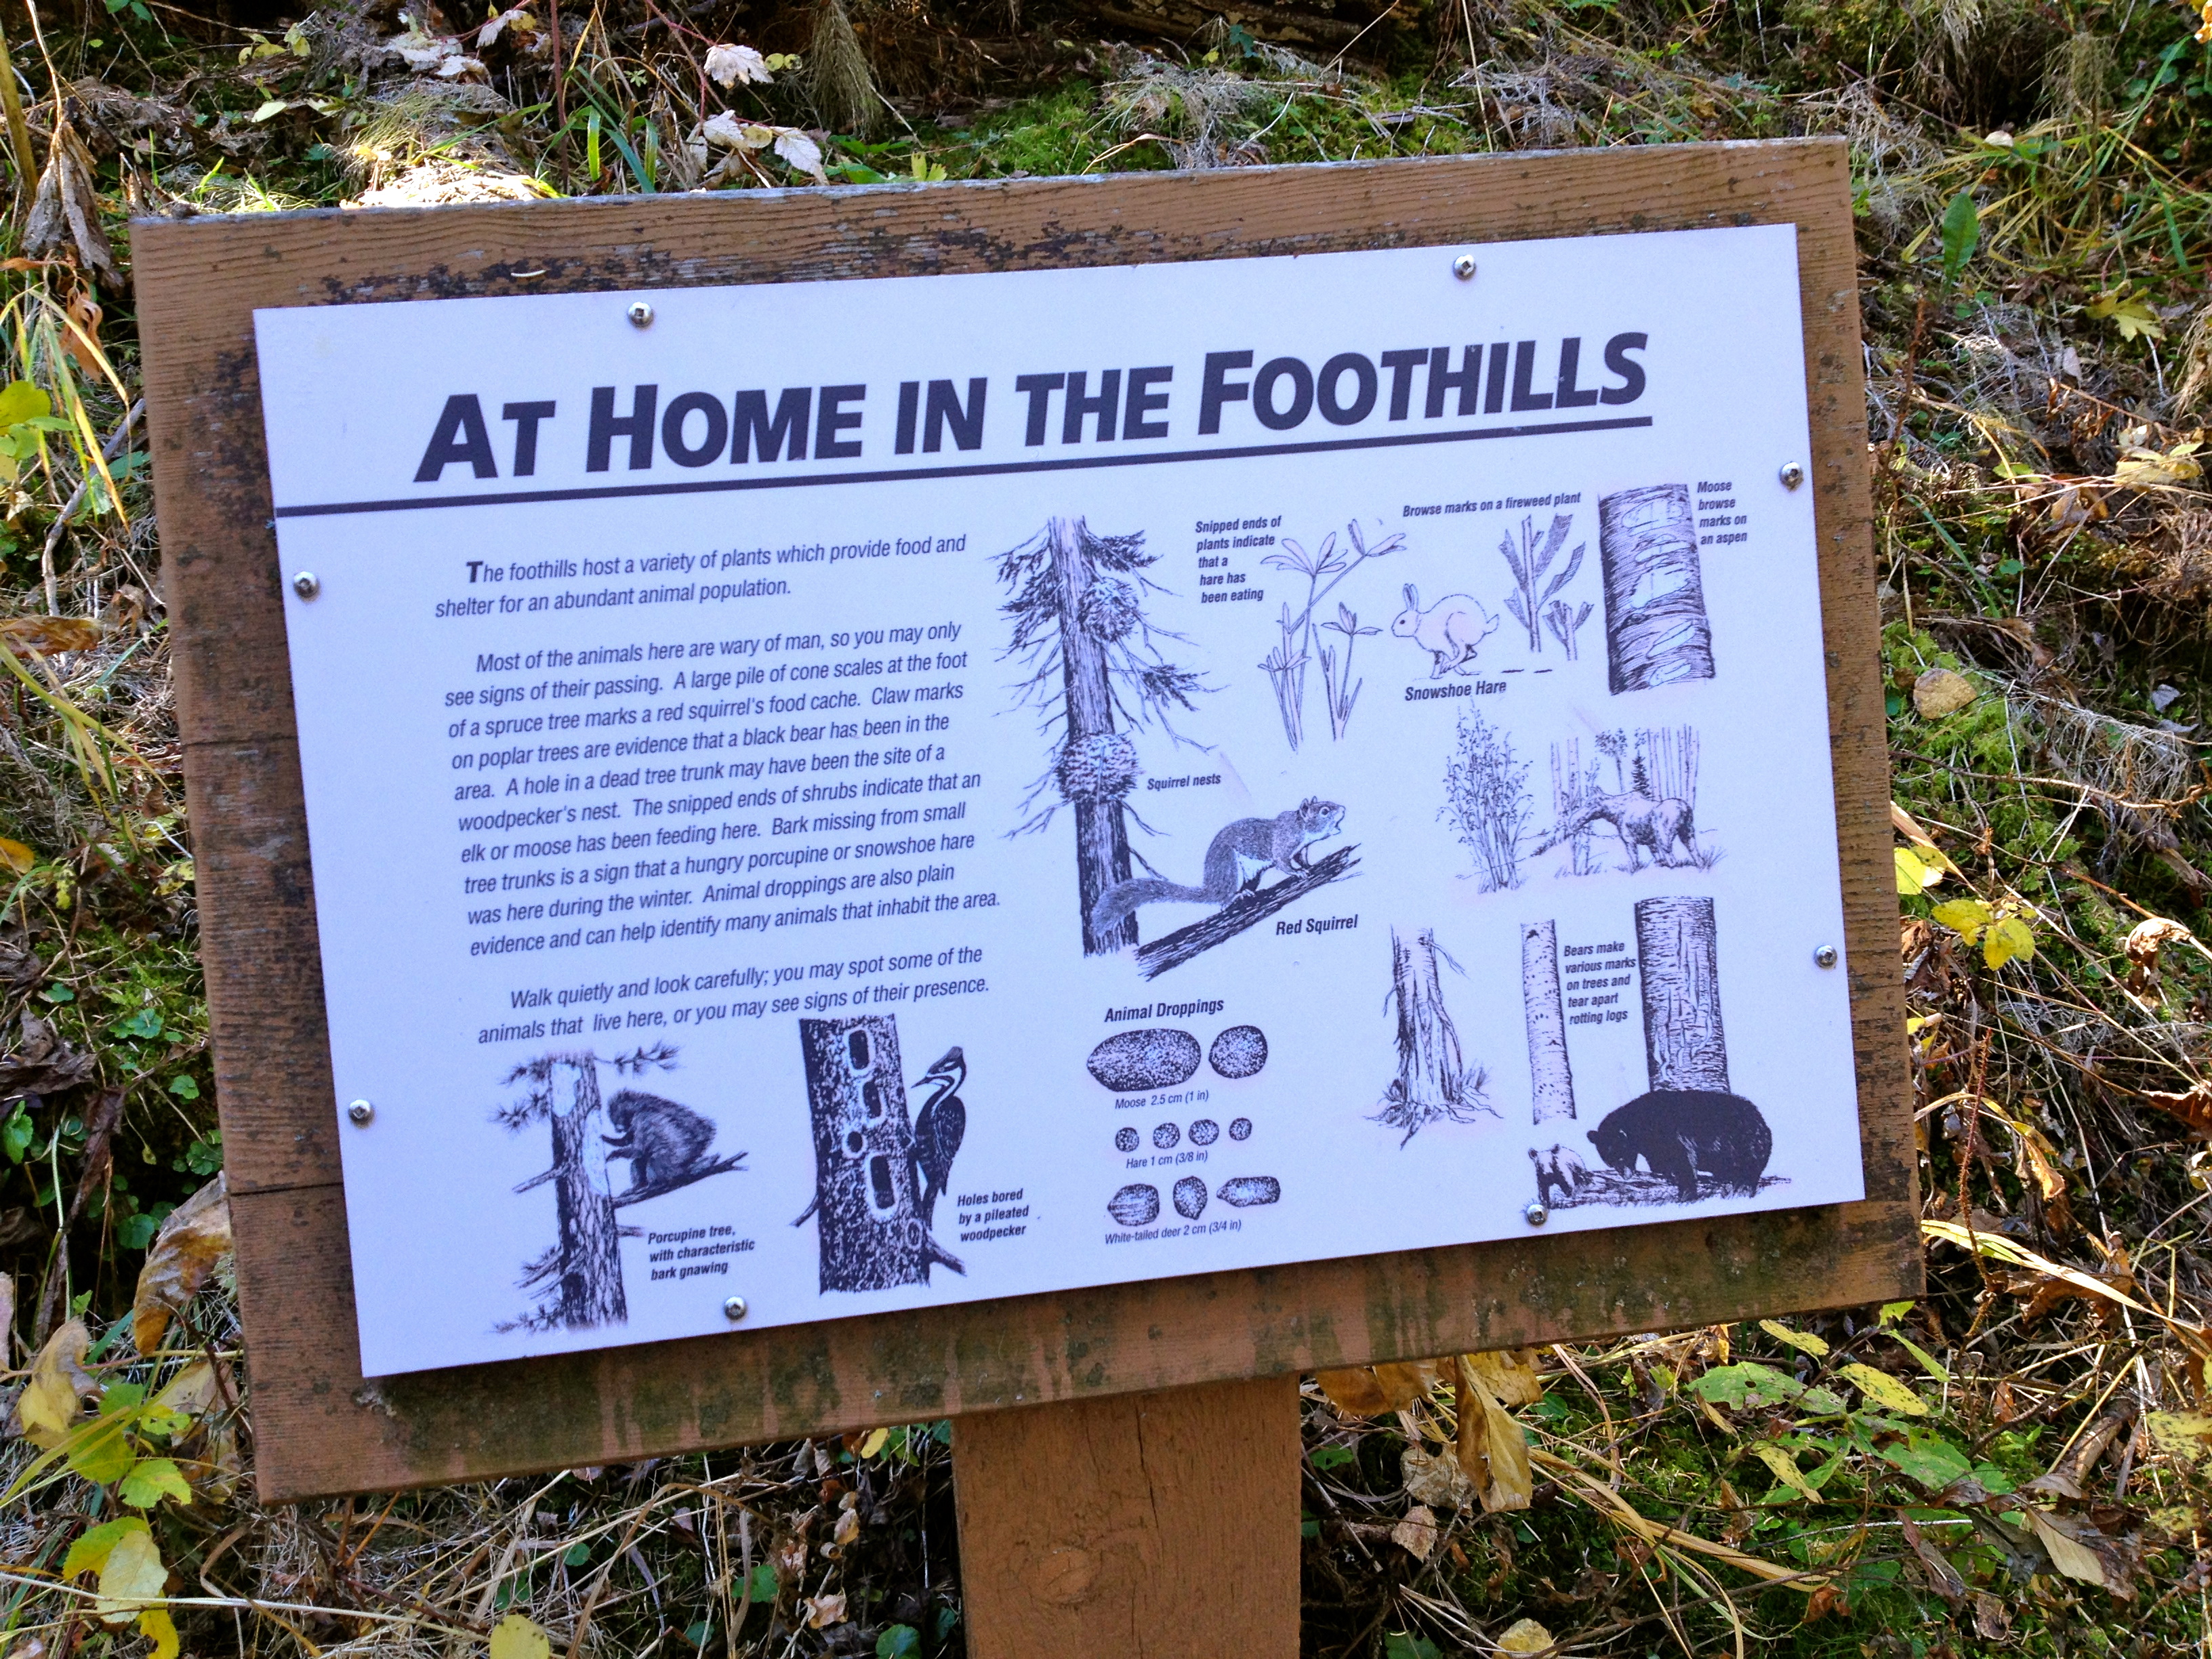
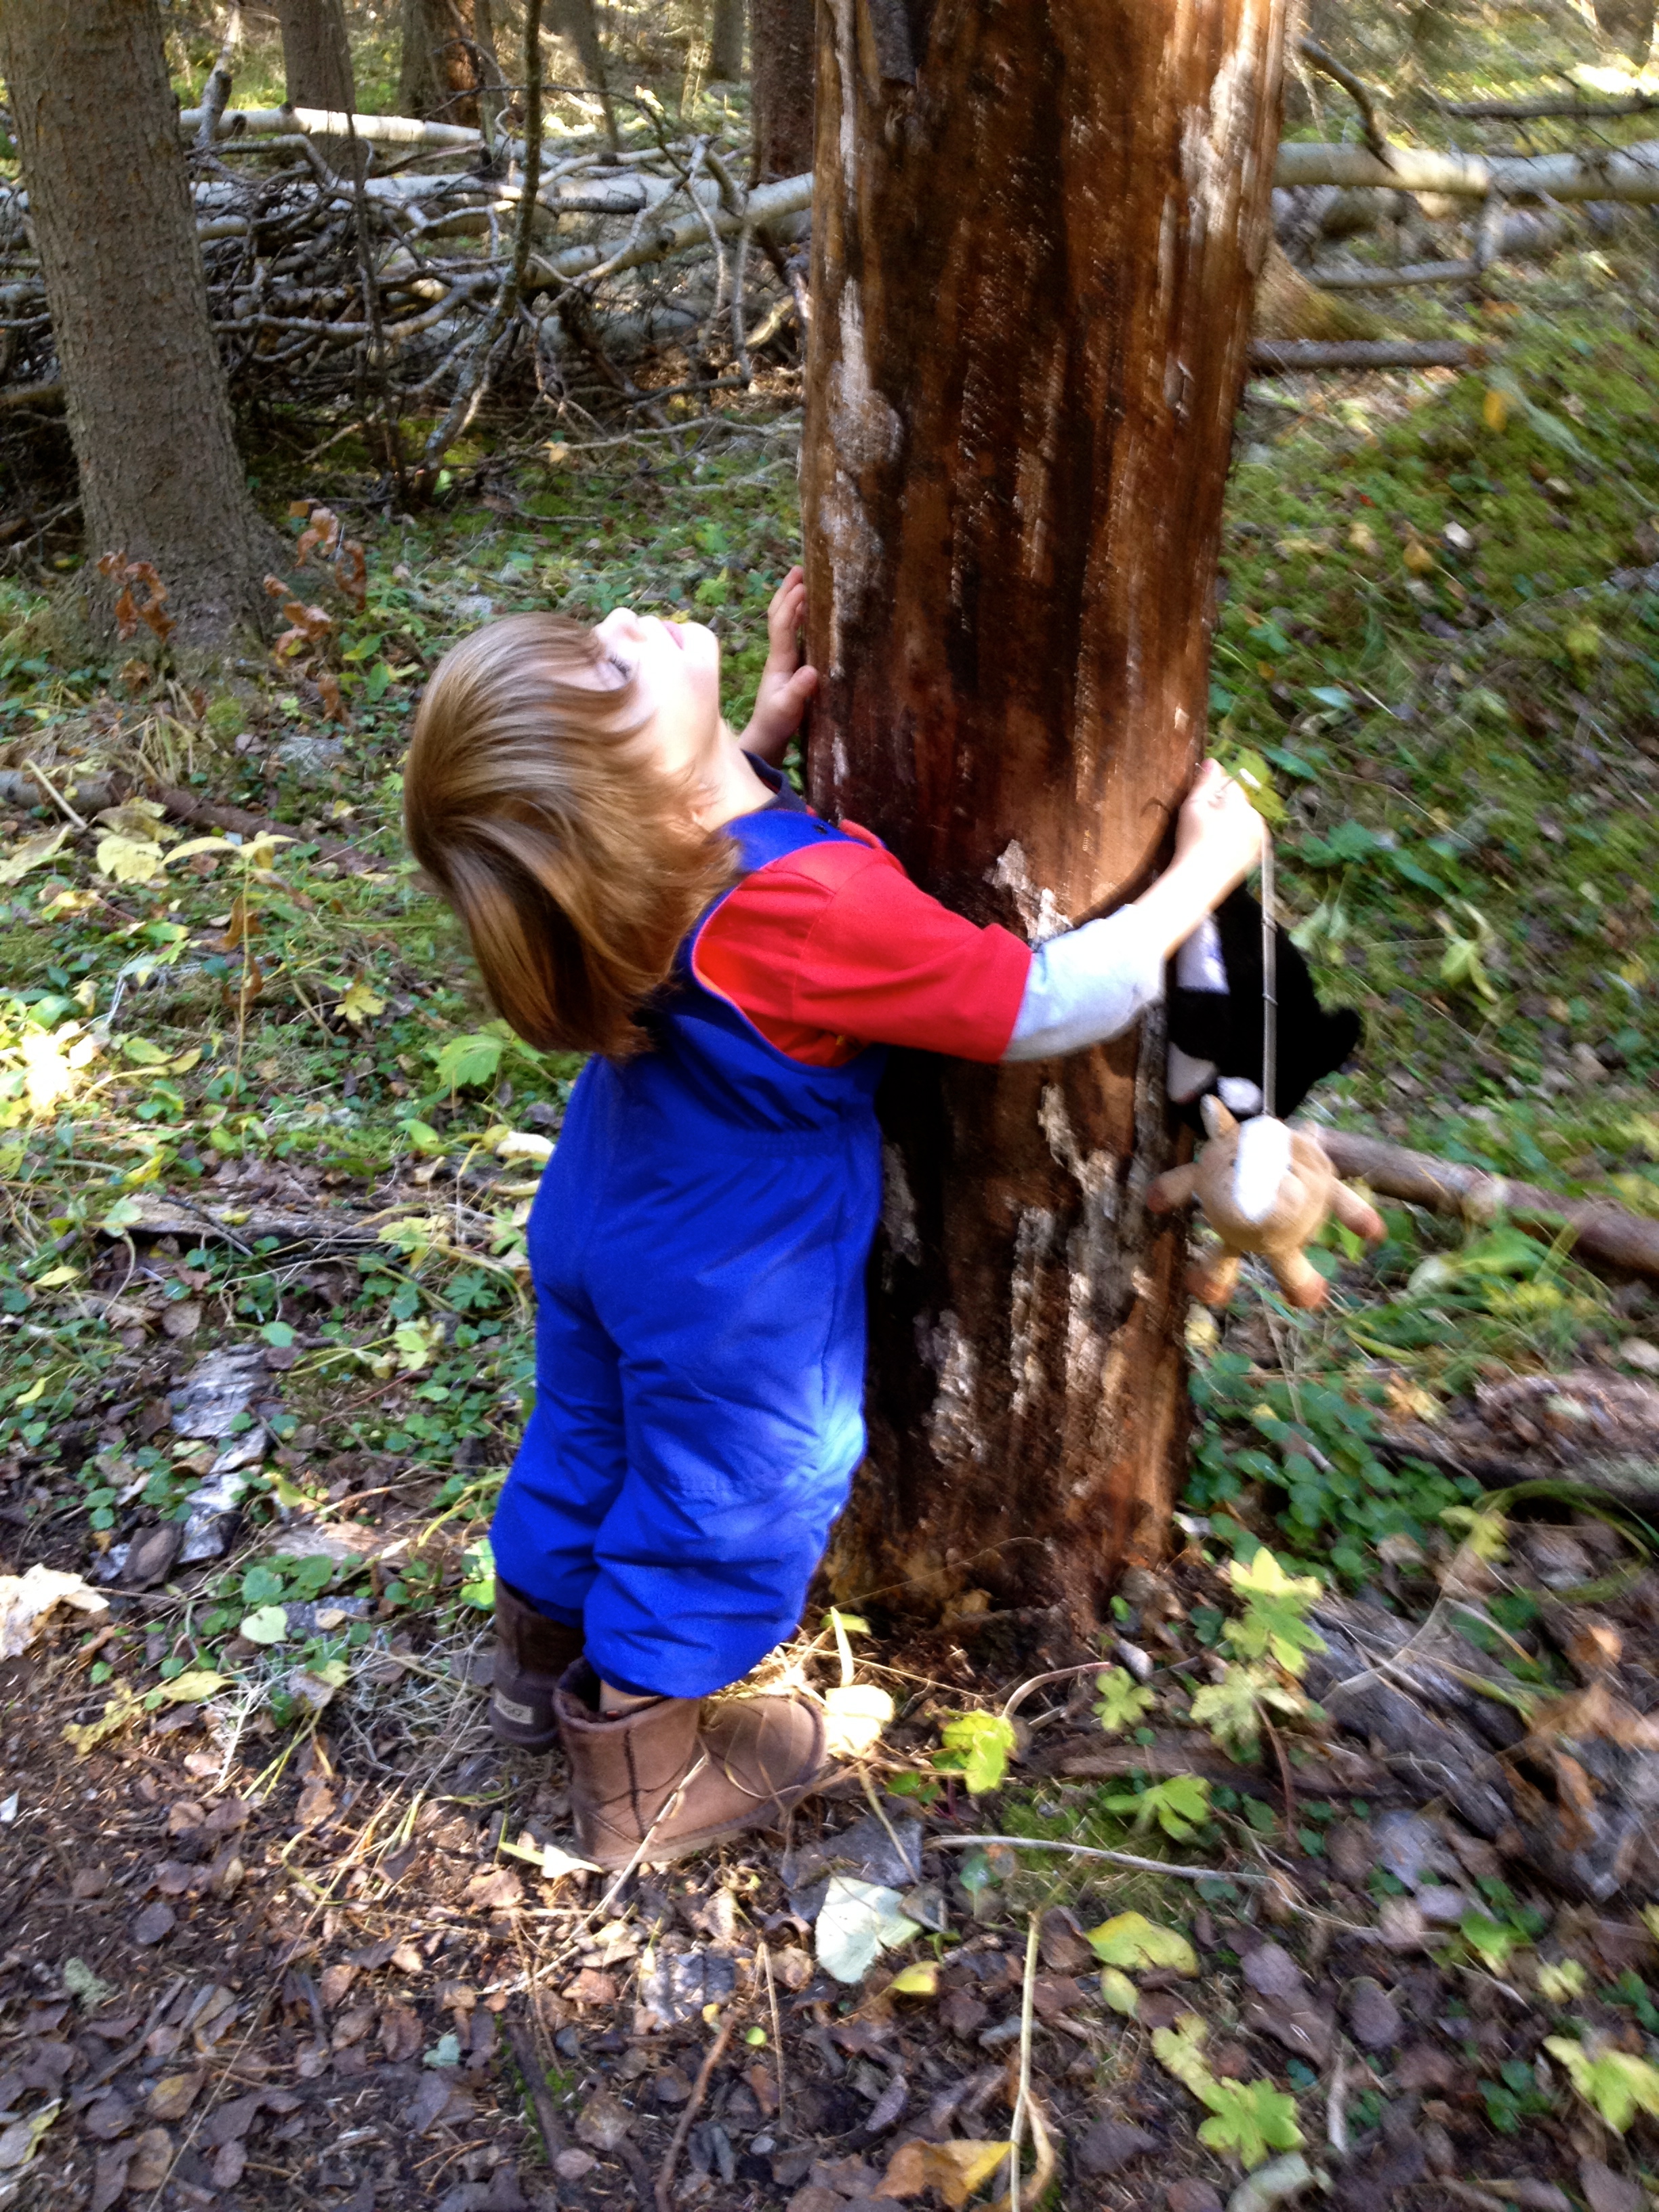
Luke was often stopping at trees and knocking on them or giving them hugs, Chloe and Matthew (my more adventurous ones) attempting to climb the trees. Our pace was not rushed but not too slow and everyone enjoyed exploring the trail. All in all our hike took us about an hour (which I thought was pretty good with two 4 year olds) and we returned to the picnic area ready to roast hot dogs and enjoy the fire.

We rounded out the afternoon with some soccer and frisbee, yes it felt like the perfect family scene, tacky but nice; and a short trip down to the river. Exploring along the river bed and tossing rocks into the stream.

Exhausted, satisfied and happy we hopped back into the car for the short drive home. I feel blessed living so close to such a beautiful area that we can enjoy and explore. To me getting out in nature with kids is so important, and not just going out for a picnic but going for a walk or hike of some kind. I had to pry my oldest away from his iPad, but will do so again (and again) as we all need to get outside more and enjoy our natural environment. Cause each time you go out there, it’s different. You find something new to share, learn about and appreciate that you may not have before.IMG_4203

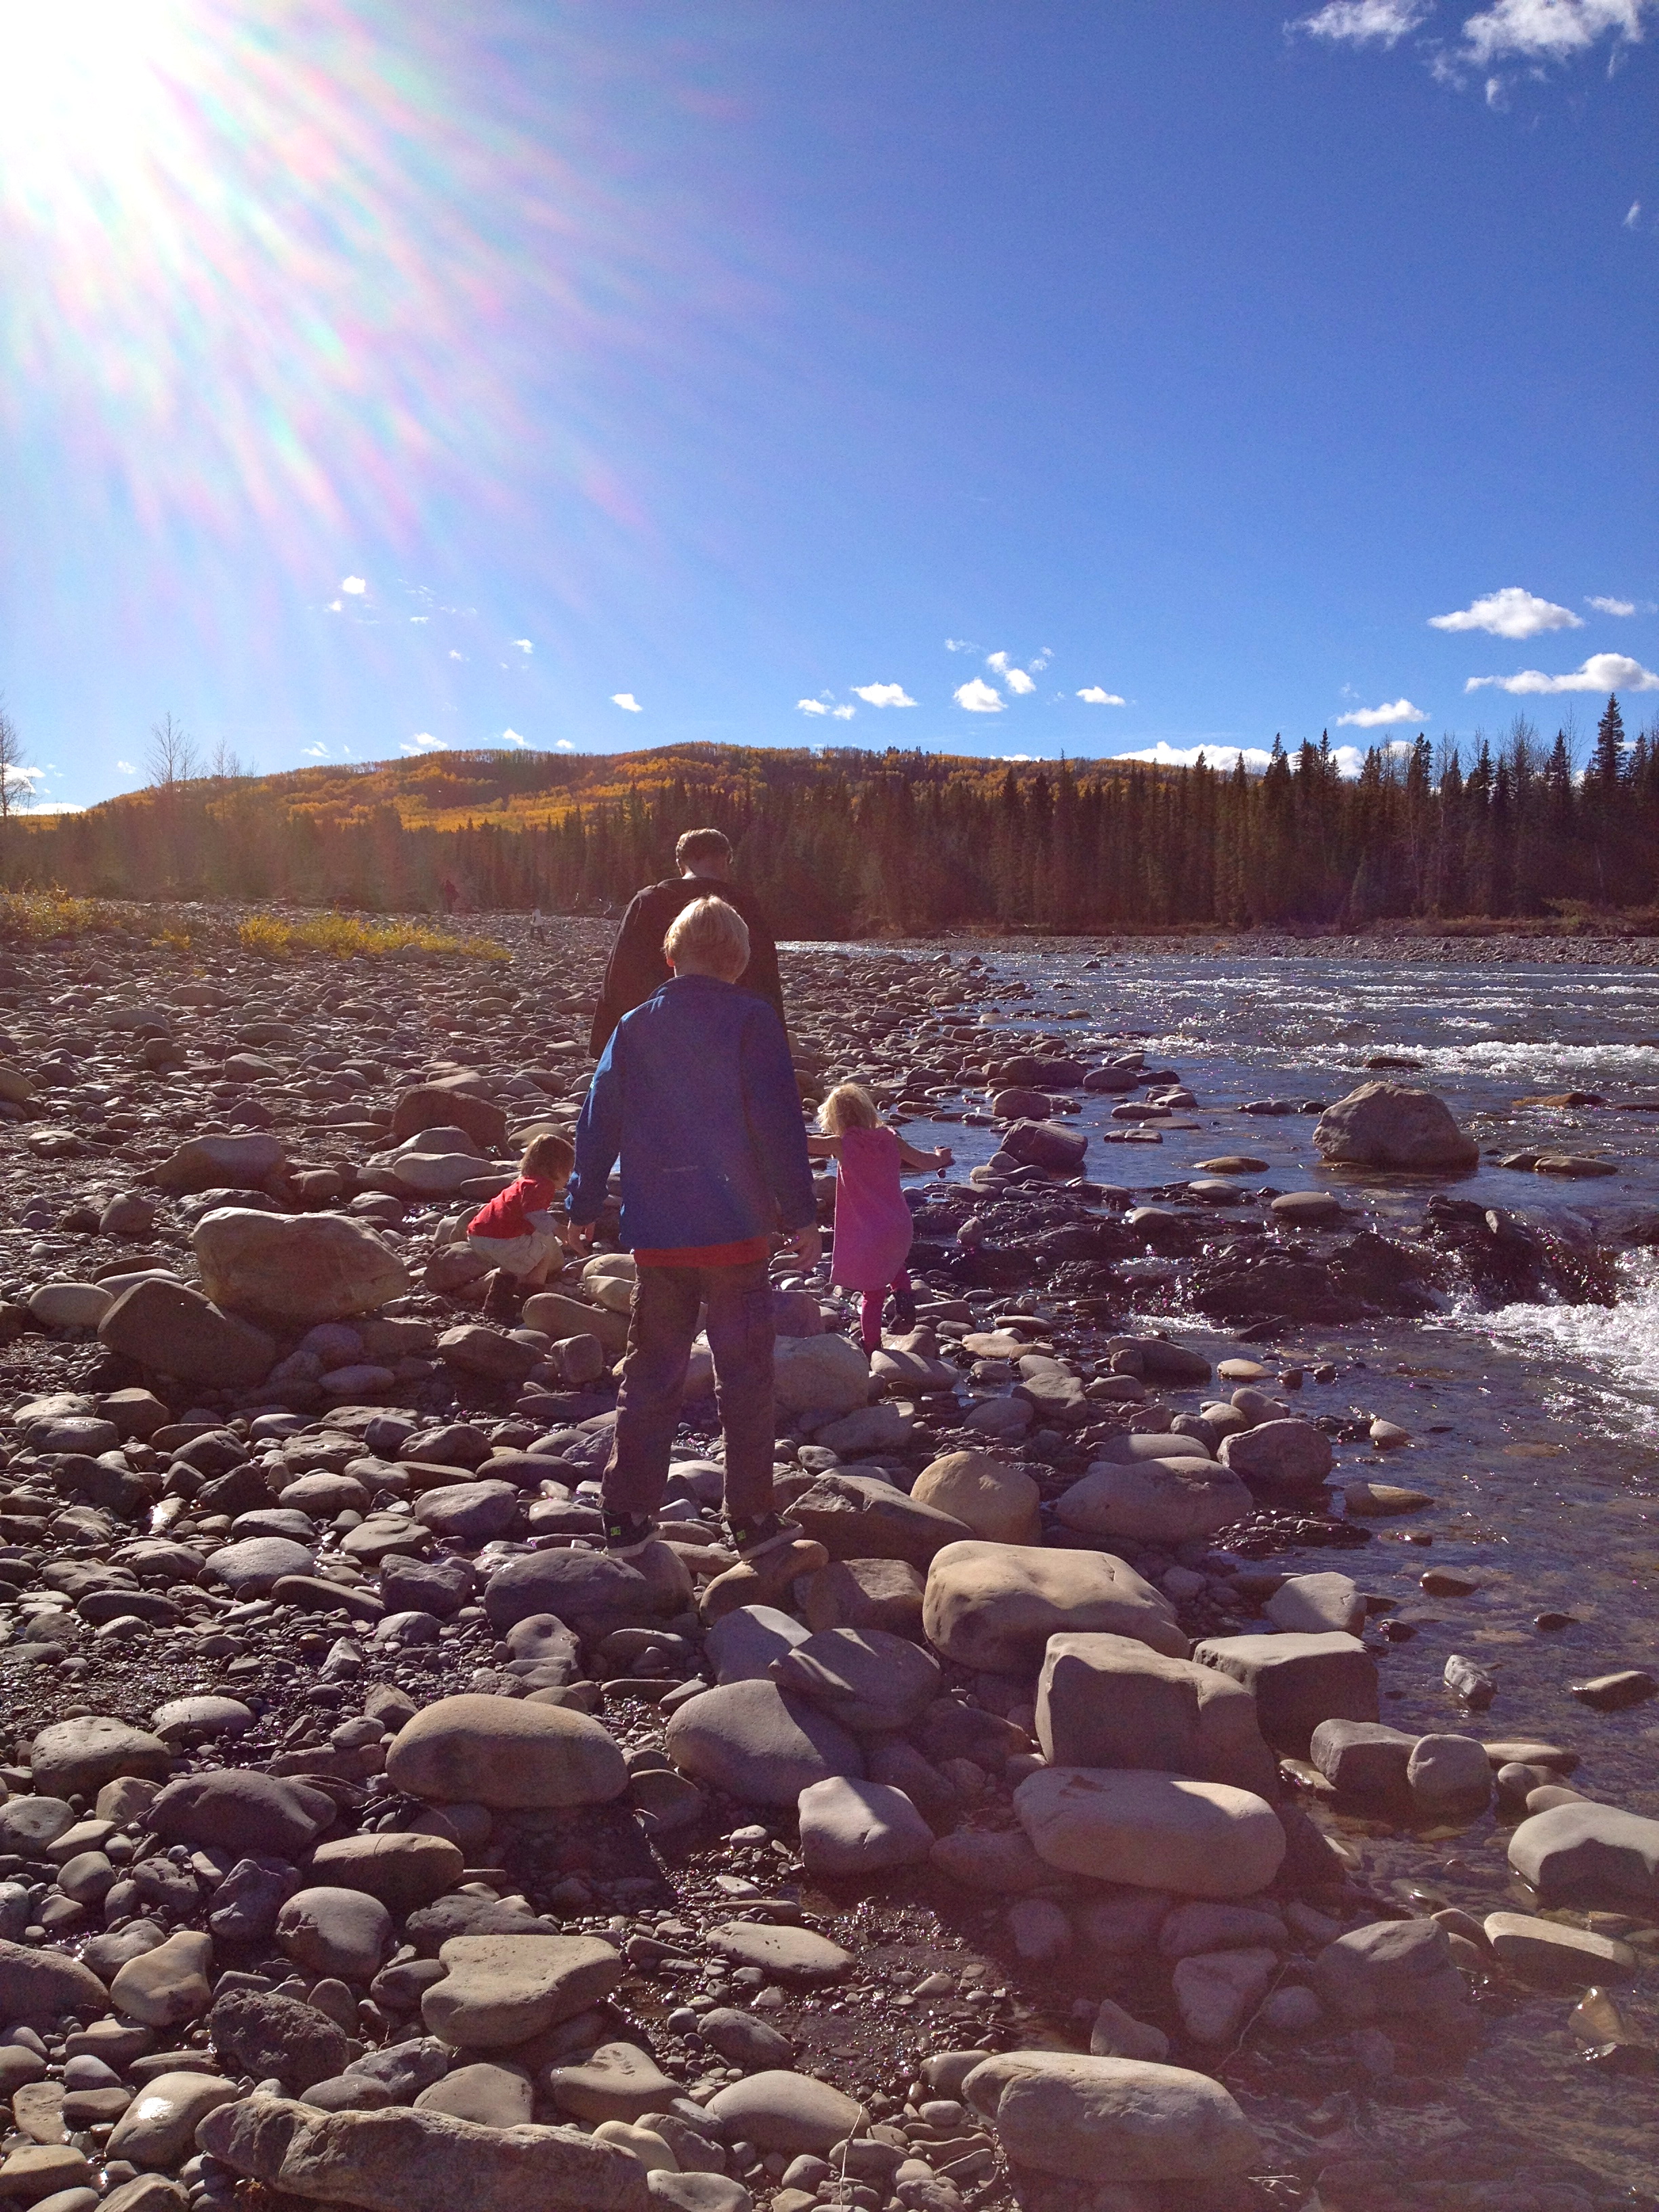
Want to get out hiking more with the kids? Start them at a young age with ease with these tips for creating successful hikes with kids.

For the Love of Fall… and a peek of what’s to come

IMG_3169

Camping in Drumheller

It’s that time of year again, back to school, back to routines and also time to try new things.   We had a fantastic summer full of camping trips, days at the lake and all kinds of other adventures. You may have noticed I was suspiciously absent during the month of August. This is because I packed up the kids and went to Australia for 3 and a half weeks! My sister is there for a year with her family as her husband is on a teacher exchange.

I couldn’t resist the opportunity, as Australia is a place I absolutely love! And even though I have been before there is so much to see and do, it was time to go again. Plus this time we included a week in New Zealand, which I had not been to before.

IMG_0110

Sydney Harbour, Australia

As a result I have tons of things to share with you and lots of blog posts to write about where to go and what to see in that area of the world. So this Fall I will include a weekly feature about some fabulous place in Australia or New Zealand. Giving you the scoop on how it works for families and children and what recommendations we have.

Also this Fall I will continue with sharing fabulous recipes that I have found and tried, that are sugar and dairy free, and sometimes gluten free. There seems to be an endless stream of yummy recipes out there! and I have a big bag (literally) full of them to try. For instance this morning I made Apple Cinnamon muffins again, which I tried last year and we really enjoyed. This year I tried something a little different, using leftover almond mash from making almond milk. They were so moist and yummy… Of course I promptly shared them with my neighbor and friends this morning over coffee as we sat outside amongst the beautiful fall leaves.

IMG_2135

Apple Cake Muffin

These are the posts I will guarantee in amongst all the joys, trials and insights of having 3 children, whether it be tips on how to get them out the door in the morning or programs and crafts that I would recommend. And sometimes whatever moves me, whether it be a good book I’ve enjoyed or a moment I need to share. This is the joy of blogging!

Right now I am up to my ears in apples, like last year, we have reaped an abundant crop from our tree and are enjoying apple everything. I have made more crumbles than I can count, as well as pie, muffins, smoothies (ever tried an apple pie smoothie? Yum!), juice, etc. Though I have recently discovered apple butter – OMG! delicious and might try making that.

Fall is also my most favorite time of year! and I get super excited and motivated at this time of the year. Seasonally it is a time of ending, getting ready for a period of ‘rest’, but I see it as a time of new beginnings with all kinds of things that I want to try, or the kids want to try. Plus I love the warm golden sunny days, and the crisp Fall evenings. Gorgeous.

IMG_4087With that, I will leave you with the promise of what’s to come, and thoughts of what you’re favorite things about Fall are, or famous apple recipes you love. May you enjoy all that the season has to bring and more.

What are your favorite things/ activities in Fall? Have any good apple recipes? I’d love to try them. Please post in the comments below.

Apple Stamping

My kids love to paint. They make a glorious mess while doing it, but it keeps them occupied and happy and the mess they make is usually worth it for the amount of time it keeps them busy. They can sit there for a good half hour or more working on painting after painting. As long as I keep an eye on them and supply them with fresh paper they are happy and I can do a few things nearby while they are creating.

I like to try different methods of painting with the kids, allowing them to explore and create, showing them that there is more to painting than just using paint and a brush. This allows them to explore different textures, colors and methods of creating pictures. Now this does not always work out as planned but at least I am able to introduce the concept to them.

So the other day we did apple stamping (yes more apples). Similar to potato stamping it is a unique and interesting way to create a picture. We have so many apples, so many that I have been baking daily to use them up before they go bad; that I felt covering one or 2 in paint would not be a waste. Besides there are more things to do with apples other than eat them, at least I thought so.

Apple stamping is quite easy to do. Simply cut an apple in half crosswise, so that you have the ‘star’ pattern in the middle. Cover the cut side of the apple with paint and then stamp it on your paper. Do this repeatedly making any pattern you desire.

Now with the twins, at first I put a bit of paint on a piece of paper and let them dip the apple in the paint and stamp it on the paper. This method put too much paint on the apple and did not create the pattern when it was stamped; instead just created a large glob. Then Luke decided to get a paint brush and brush paint onto his apple. This worked much better. It enabled him to put on enough paint to get a good stamp and he could stamp it a few times before needing to reapply. It also created less mess and minimized the amount of paint everywhere else!

Painting with kids though can be messy. It is challenging to get away from it and I feel as that getting messy can be part of the fun, and the creating. Some things I have learned though to at least minimize the mess when painting with young children, are the following:

  1. Put out the paint in little bits at a time by filling a container like an egg carton or something similar. Do not leave the paint bottle out as when they feel they need more paint they will pour it out where they see fit or fill the egg carton themselves. The other day I made this mistake and turned around to find Luke filling each space in the egg carton with green paint. Way more than they would use at the time as well as no room for any other colors.
  2. Always use an old shirt or paint smock as there is bound to be paint everywhere including the children. You do run the risk of the children becoming painted themselves as Luke and Chloe decided to purposely paint their bodies as well as making their pictures.
  3. Put out a small cup of water for color changes for their brush. Only use a small bit of water though as this can get water everywhere as they are learning how to do this.
  4. Set some guidlelines for them, where to put the paint, how to dip your brush to change colors, etc. Simple and few guidelines for small children, more with older children if needed.
  5. Be patient. Take the time to show your children what to do and how to do it; but don’t insist they do it exactly the way you want or envision it. My vision of what the apple stamp pictures would look like was very different than what they ended up with. And it was ok, they tried it and then branched out and created from there. They took what they needed out of it and had fun.
What I want to try next is dinosaur footprints! I found this idea on the internet where you take a plastic dinosaur dip the feet in paint and then stamp them along the paper. Looks so cool, but I bet will turn out very differently! (Maybe the dinosaurs will eat up the rest of my apples – ha ha)
Enjoy painting, creating, the mess that comes with it and your children!

Homemade (Sugar Free) Apple Pie

apple pie

It was a busy weekend at our house with the Fall activities beginning, soccer evaluations, Ju Jitsu and Leaders in Training. Rallying the kids, getting them ready and myself ready was quite the challenge, but we managed to get it all right. Well almost all. Somehow we mixed up the times for Matthew’s Ju Jitsu grading and unfortunately he missed it. He was pretty upset and now can’t grade until December, but his Dad ended up taking him for a motorcycle ride to ease his disappointment and they had a glorious time! It was a gorgeous warm, fall afternoon, with bright sunny blue skies.

In the midst of all this activity, I still had a huge basket of apples in my kitchen, and though we were diligently eating them, there were still quite a few. So Saturday afternoon while Matthew was out I decided to make apple pie. I had yet to try a sugar free version of this pie but was fairly confident after the success I had with the cherry pie in the summer (see earlier post for Sugar Free Cherry Pie recipe).

I had pulled my pie crust from the freezer earlier that morning. (I make a it from scratch, simply using the recipe on the Tenderflake® box, making a whole batch at once which is six pie crusts, and freeze it for later). This makes it a lot easier and quicker to make a pie when the crust is ready. Plus I make a killer pie crust, even my sister, who loves to cook and bake, is envious of my crust as she cannot make one as light and flaky as mine 🙂 I simply roll it out, prepare the filling with the pie in the oven within 15-20 minutes.

I used my apple peeler corer slicer once again to prepare my apples, also a great time saving device as you can peel, core and slice an apple in less than a minute. Mixed up the filling, estimating the amount of honey to substitute for the sugar, poured it over, put the crust on top and placed it into oven.

sugar free apple pieWhen substituting honey for sugar you reduce the amount of honey by 1/2 to 2/3 of the amount of sugar. Honey can be is 2-3 times sweeter than sugar so you don’t need to use as much. The amount of honey you will use will depend on the kind of honey you’re using (as some flavors are sweeter than others), and how sweet you like things. I found that using 1/2 cup of honey for the pie worked really well. Not too sweet that it overtook the flavour of the apples, but nice enough to sweeten it up a bit.

The pie turned out beautifully. Matthew jumped for joy when he came in from his ride and saw it on the counter. The twins, who were dubious at first, wanted apple crumble, not understanding or knowing what apple pie was, as they had never had it before.

Chloe especially insisted that she have crumble, but once she tasted her pie, she was sold and had 2 pieces! In fact, everyone loved it, ooed and awed and almost polished off the the whole pie! We had one piece leftover, which Matthew was lucky enough to take in his lunch to school.

I managed to put a good dent in my apples but I still need to make a few more things to use them up. I’ll make applesauce for the kids, but I may have to make another crumble or a pie…

Apple Pie

apple pie2 – 9 inch pie crusts (store bought or make your own)

5 c. apples (6-8 medium apples)

1/2 c. honey

2 tbsp. flour

Cinnamon

Roll bottom pastry and fit into a 9 inch pie plate. Let excess drape over the edge of plate.

Peel, core and slice apples and put into pie plate, arranging evenly. Sprinkle apples with cinnamon, to taste.

Mix honey and flour together. Pour evenly over apples. Roll out top pastry, dampen edges with water and place top pastry covering apples. Press and crimp edges together, then cut off excess pastry. Cut several slits in the top to allow steam to escape.

Bake in 350 F oven until apples are tender, about 45 minutes. Serves 6-8.

Enjoy!