Summer Sippers – Easy Summer Drink Recipes with Essential Oils

Summer is here! And you know what that means, fun fancy drinks on the patio on those hot summer days. Yum!

Don’t you love sitting out on the patio, socializing with friends and enjoying that yummy drink? But a few yummy drinks later and usually your sugar intake is good for the week!

I love incorporating some easy seasonal natural flavors combined with my essential oils and not only have I reduced the sugary intake, I now have more healthy options to enjoy on those summer days.

Which Oils Can I Use?

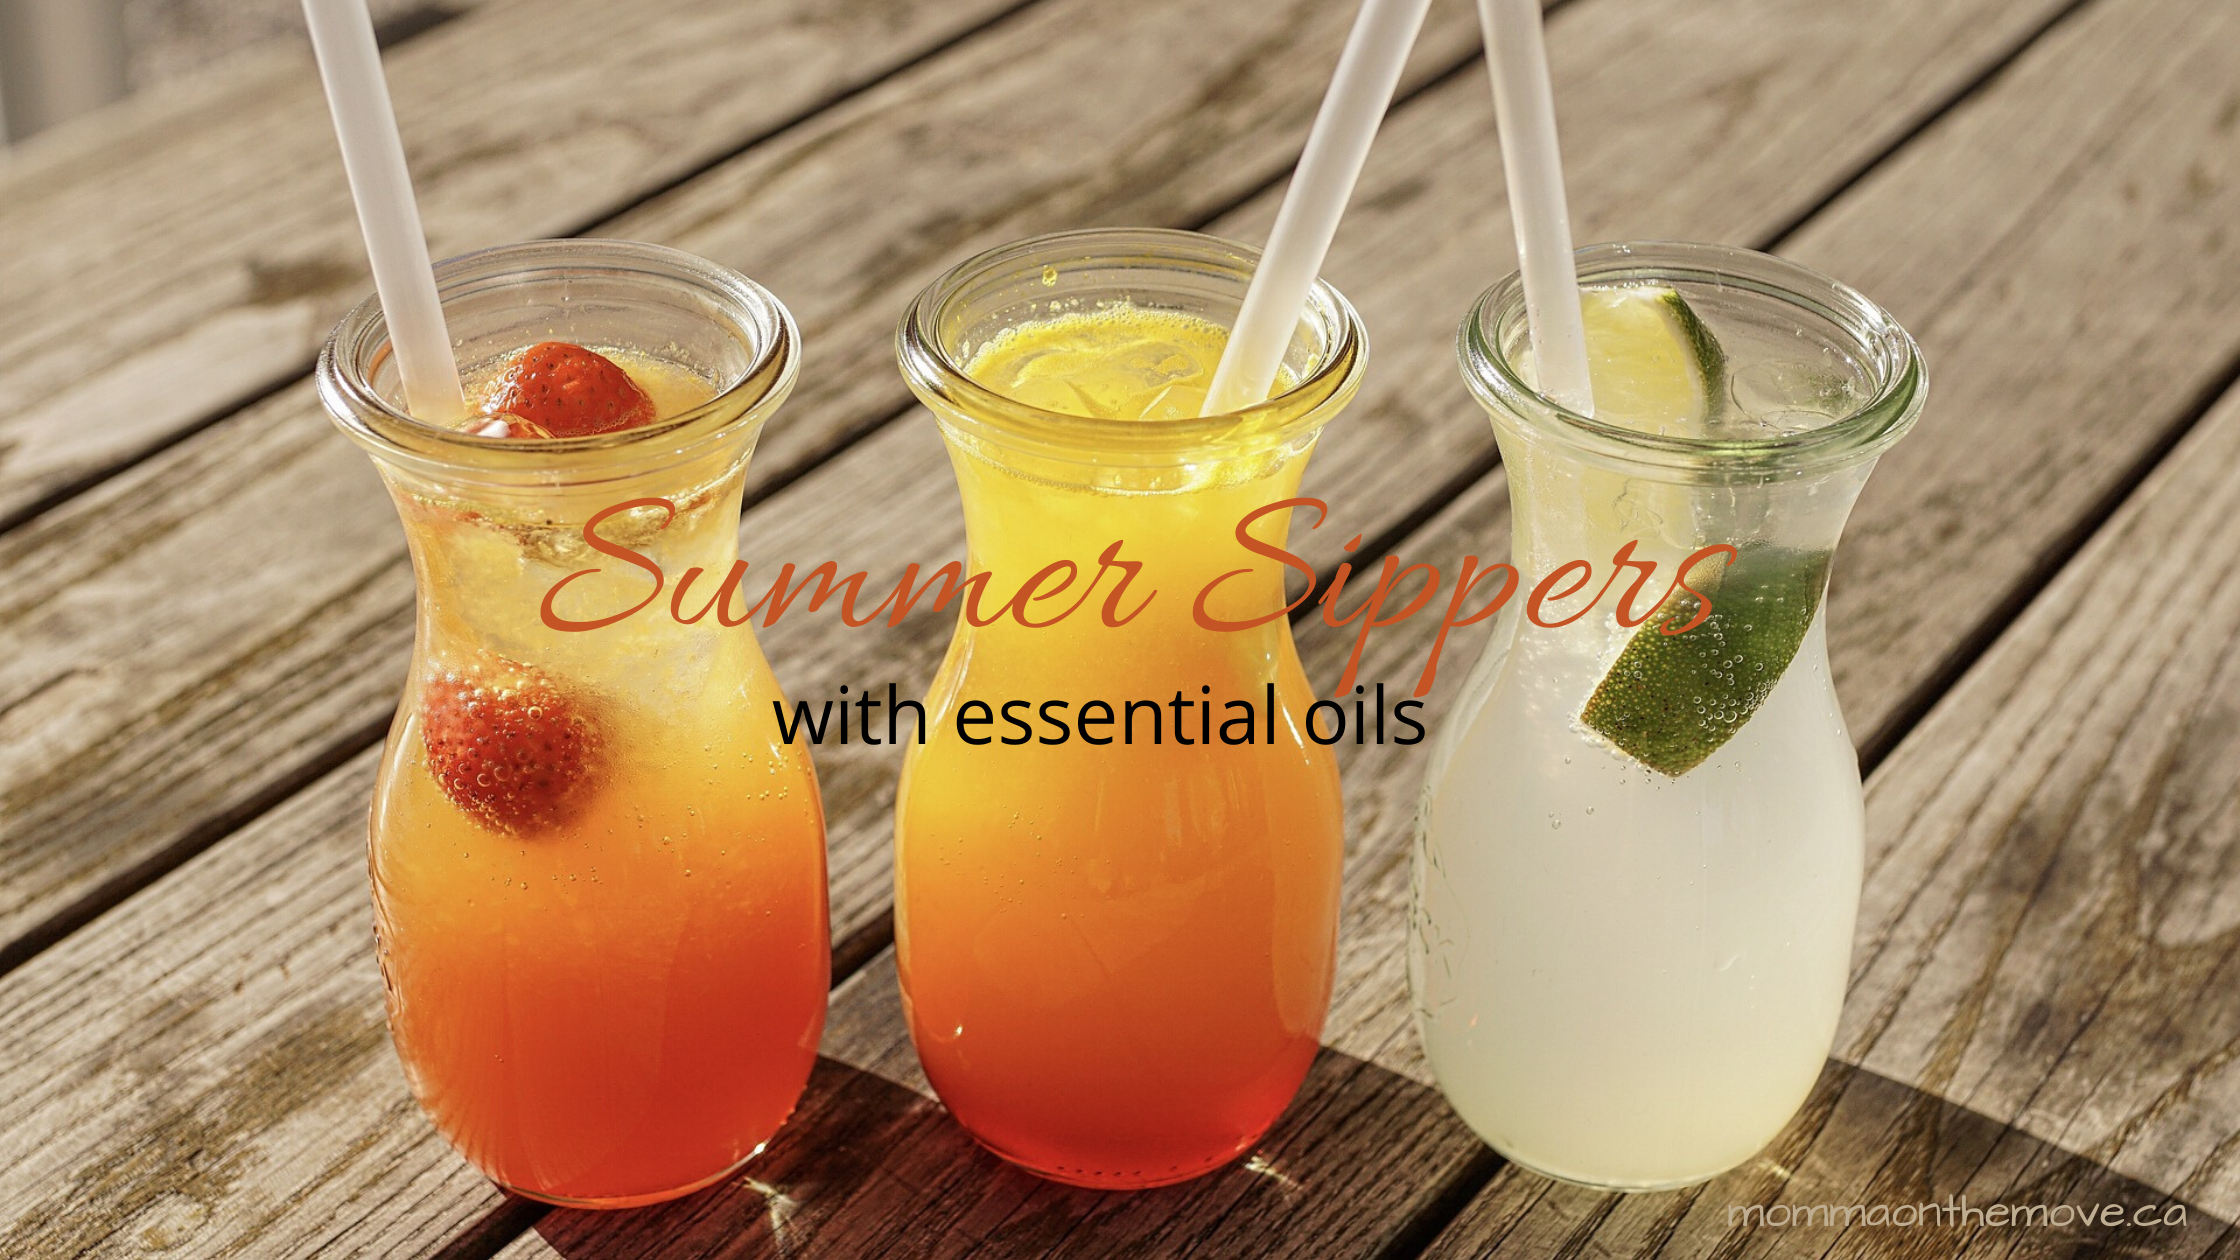
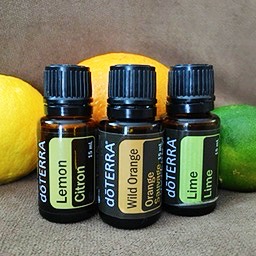
Citrus oils are a good bet in any summer drink. Lemon, Lime and Wild Orange all go very well in drinks and add that little extra punch to whatever your drinking. Plus they are great in a pinch when you don’t have those fresh lemons or limes on hand.

You can also use oils like Lavender, Basil or Celery Seed to create unique or spicier drinks for some of those classics (if you’re a Caesar fan Celery Seed here I come).

Whether you are creating your own or trying out a recipe, using your oils gives you great versatility and options to create those yummy refreshing summer drinks.

A Few Recipes to Try

Whether you are looking for just a summer refresher or something with a little more punch, all these recipes can either be made as mocktails or with a splash of your favorite spirit.

Lavender Lemonade

A twist on the classic lemonade, adding Lavender to this recipe gives it a softness and unique taste that’s pleasing to the palate.

Orange Martini

This yummy martini is lovely and creamy with the fresh orange juice and Wild Orange essential oil. Easy to make without the alcohol if you choose and just as delicious.

Classic Mojito

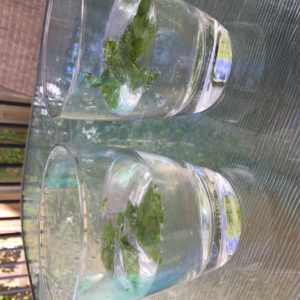
This virgin version of your classic mojito is so easy and refreshing.

Raspberry Limo-nade

Raspberries and lime are so good together. The lime really enhances the flavors of those already delicious berries. And I love that it’s naturally sweetened with honey (use local and get even more health benefits)

Of course the possibilities are endless! and you could basically take any of your favorite drinks and substitute essential oils in place of your fresh lemons, limes, mints etc. Why would you want to do that you ask?

Well one is convenience. Your essential oil is always on hand, you don’t have to worry about having the fresh stuff or having it go bad. It is also great for when you go camping, so hard to keep the fresh stuff from going bad!

Two, it saves money. When you buy that fresh basil for that drink and you either a) use it once and then the rest goes to mush in the fridge b) you have good intentions but then forget to use it all together and it goes to mush in the fridge. Plus your 15 ml bottle has 250 drops of oil in it, and when you use 2-3 drops per drink you can use it up to 83 times and works out to about 14 cents, which is less than what you would purchase fresh for.

Fresh is wonderful of course and adds so many things to your food and drinks, but your essential oils are great alternatives and so handy when it works!

Which Summer Sipper are you going to try first?


Save on Music, Books and DVDs at Indigo.ca

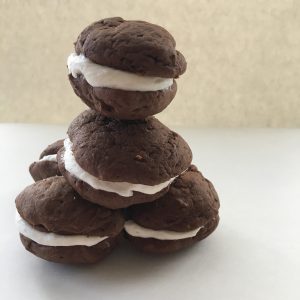
Sugar Free Whoopie Pies

sugar free whoopie pies

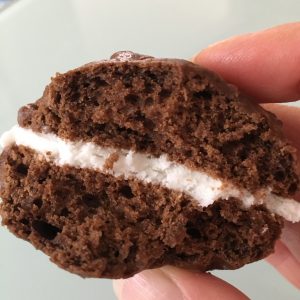
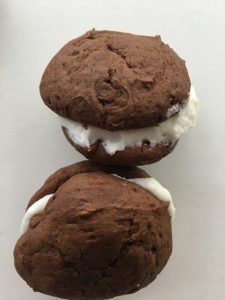
Moist soft chocolate cake type cookies with a massive amount of creamy white filling inside…. these are whoopie pies and OMG are they delicious! Absolutely Divine!

Growing up these were a special treat in my house and needless to say they didn’t last very long. I could easily pop 3 in a sitting and unless you doubled the recipe there were only about 16 in a batch, so really in a house of 5 that didn’t make for many in your tummy unless you were fast!

When we made the switch to a sugar free household, sadly whoopie pies were one recipe that I didn’t make anymore because I had no idea how to modify the recipe. Being new to the whole sugar free world and substitutions I was at a loss. So they were left unmade for years. Until this weekend….

My youngest son and I decided to take the plunge and modify the recipe to see if we could create these whoopie pies successfully. We debated between using honey or coconut sugar as the sweetener, and decided we’d try one and if it didn’t work out, we’d try the other one later. I am happy to report we got it right the first time and now I can share these delectable sugar free treats with you! (I would suggest just doubling the recipe right from the start, I mean really why deny yourself?)

Deals of the Week: New deals every week, online only!

Sugar Free Whoopie Pies

Cookie:

1/2 cup shorteningsugar free whoopie pies
1 cup coconut sugar
2 egg yolks
2 cups flour
1/2 tsp. baking soda
1 tsp. baking powder
1/2 tsp. sea salt
5 tbsp. cacao powder
1 cup almond milk (or non dairy milk of choice)
1/2 tsp. vanilla
1/4 tsp. almond extract

Cream shortening and coconut sugar. Add egg yolks and beat. Add cacao powder and salt, vanilla and almond extract. Stir in dry ingredients, alternately with milk. Let dough sit for 10-15 minutes.

Drop by teaspoon onto a cookie sheet. Bake at 350F for 10-12 minutes.

When done remove from cookie sheet and place on cooling rack to cool completely.

Filling:

2 egg whitessugar free whoopie pies
1/2 cup shortening
2 cups sugar free icing sugar*
1-2 tsp. of honey
1 tsp. vanilla
dash of salt
1 drop Peppermint essential oil (optional)**

Put all ingredients, except honey, into a bowl and mix together. Beat well and taste for sweetness. Add 1-2 teaspoons of honey to taste. Beat until light and fluffy.

**A mint filling would be delicious with these. If you’d like a mint filling, then add 1 drop of Peppermint essential oil. Measure 1 drop onto a spoon and stir into filling. Measuring onto a spoon helps prevent putting too much in! If you get two drops on your spoon instead of one then you can just wash your spoon and start again. If you measure it straight into the bowl and get too many drops then you’ll have too much mint and have to make your filling over again.

Put cookies together by taking 2 completely cooled cookies, add desired amount of filling on one side (and you can put a lot), then place the second cookie on top like a sandwich. Repeat this until you have all the cookies put together. Place in an air tight container and store in the fridge.

Note: The recipe makes a lot of filling so feel free to be generous with the amount of filling that you use for each cookie.

My kids loved these so much they are now requesting that their birthday cake simply be a giant Whoopie Pie! I’ve never done it in a big cake before but I think it can be done. I’ll keep you posted…

PS –  these also make awesome treats for Valentine’s Day! Satisfy that chocolate fest and treat those you love with these delectable treats. Maybe you could even make them heart shaped? Hmmm… I bet it could be done 🙂

sugar free whoopie pies

*Sugar Free Powdered Sugar (replacement for regular icing sugar)

1 cup nonfat powdered milk (for dairy free use powdered coconut milk)
1 cup cornstarch
2/3 cup Krisda Stevia for baking

Combine all the ingredients in a food processor or blender and whip until blended and powdered. Store in an airtight container.

This replacement can be used in any recipe calling for icing sugar.


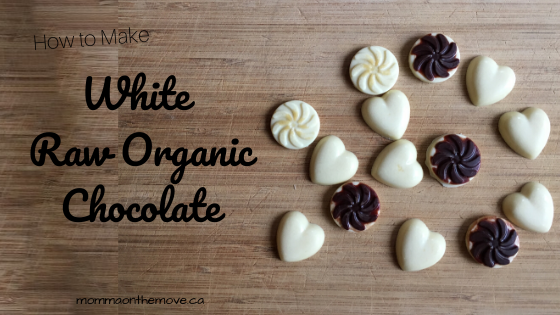
Raw Organic White Chocolate

white chocolate

When I first learned how to make my own chocolate I never even considered that making white chocolate would also be an option. I was so excited about just making the regular chocolate that I didn’t even think about white.

It wasn’t until years later, when I was looking at making white chocolate macadamia nut cookies that I wondered if I could somehow create white chocolate? Of course it had to be possible, it existed, so someone somewhere would have had to have figured out how to do it.

So I poked around a little bit, did a little googling and had my answer within minutes. Of course when I read what needed to be done it made perfect sense. Why I had not thought of it myself, who knows. But you know how sometimes you need someone to point out the obvious to you….

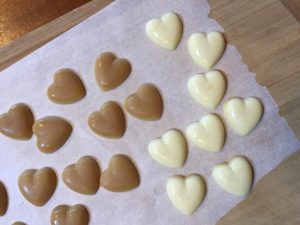
The basic trick in making raw organic white chocolate was that you need to use another powder than cacao powder, that was white. You need to use the powder to thicken it and bring it all together, because otherwise you would literally just have the cacao butter, though the right color, on it’s own is kind of oily and tasteless, which kind of defeats the purpose.
white chocolateThe magic answer is simply, milk powder. It is the right color and consistency and the good news is, ANY milk powder will do. If you want to keep your chocolate dairy free, there are non-dairy milk powders such as soy or coconut to make that work. It was so easy!

Another thing to keep in mind when creating white chocolate is using a fresh vanilla bean will no longer work, unless you want little black dots in your white chocolate. Even regular vanilla extract is brown in color, so to keep it purely white, use clear vanilla extract instead.

Otherwise go to it! If you have already tried the regular raw organic chocolate recipe you’ll be able to white with ease. And if you are new to chocolate making, it really is easy, so you’ll be a pro in no time!

Raw Organic White Chocolate

3/4 – 1 cup cacao butter

2-6 tbsp Soy milk powder or Coconut milk powder (just a caution if choosing soy milk powder, it is not pure white and has a slight tan tinge to it, so if you want it more of a caramel color perfect! but if you want white then I would choose coconut milk powder instead)

1-2 drops of clear vanilla extract (use a pipette if using vanilla extract as you only need a tiny bit, adding too much can ruin your chocolate)

2 tsp. to start Natural Sweetener of choice (again consider color I find clear stevia drops are best or even white stevia powder – honey and pure maple syrup will make your white chocolate more tan or caramel)

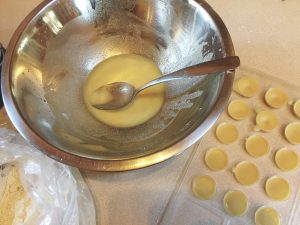
  1. In a medium metal bowl add boiling water about halfway up the bowl. *a metal bowl is best as it retains the heat well but can get hot to the touch Place second smaller metal bowl on top of large bowl so that it sits on top of the rim of the first bowl.
  2. Put desired amount of cacao butter into top bowl. Cacao butter will start to melt.
  3. While cacao butter is melting, add clear vanilla extract. Drop 1-2 drops at the most into cacao butter and stir.
  4. Once cacao butter is completely melted add 2-4 tablespoons of coconut milk powder. Taste for desired level of chocolatey-ness. If you’d like it richer add more milk powder.
  5. Once satisfied with amount of coconut milk powder add natural sweetener of choice. Start with 10 drops of clear stevia drops. (You may choose another sweetener but be aware that if you choose something like pure maple syrup this may darken your white chocolate, if so start with 3 teaspoons to sweeten). Taste, if desired level of sweetness has not been reached, add 2-5 drops of stevia and taste again (1-2 teaspoons if using another natural sweetener). Once level of desired sweetness has been reached you have your base chocolate.
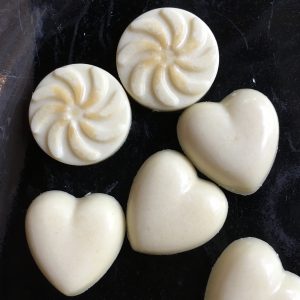
  6. For plain white chocolate, spoon your white chocolate into molds and let set in freezer or fridge.
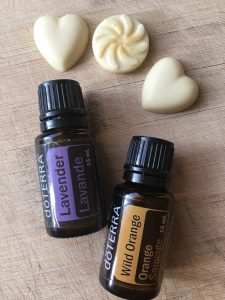
  7. white chocolateIf desired, before setting add additional ingredients such as nuts, dried fruit, coconut, essential oils such as Wild Orange, Peppermint, Lavender, etc. Ensure that the essential oils you are using are safe to ingest, as not all essential oil brands are created equal and many have synthetics and fillers in them that you definitely don’t want in your body! Also if oils are naturally colored they may change the color of your chocolate slightly (like Wild Orange). Pour white chocolate onto a cookie sheet or into a pan to let set for bulky additions, like fruit and nuts. If using essential oils you can pour into molds to set if desired.
  8. Put pan or molds into the freezer for about 5 minutes. Check to see if firm. If firm you can pop them out of your molds or break it up from the pan. If not leave in the freezer for a few more minutes and check again. Chocolate is best set in freezer (and ready faster!) but may also be set in fridge.

More Tips for Making White Chocolate
*Be very careful not to get any water into your chocolate as it will not work if you do. If your second bowl sits nicely on top, this should not be an issue as you do not need to lift the second bowl off the one with the water in it until you are done making your chocolate.

**you could use a vanilla bean in this recipe if you wanted, but because it is white chocolate you will see small black dots in the chocolate. If you would prefer solid white stick with the clear vanilla extract.

***when adding essential oils to your chocolate, measure 1 drop onto a teaspoon and stir it into your chocolate. This way if 2 or 3 drops come out instead, it’s on your spoon and not in the chocolate with the flavor way too strong!

****when popping out the chocolate from your molds, use a cutting board on parchment paper or plate. Popping them out directly onto the counter not only makes it hard to pick up, but it also may start to melt as often times the counter is warm.

*****You could also make the chocolate with fillings such as caramel, nuts or other desired filling, in the middle. For this you simply put a bit of chocolate in the bottom of your mold, let it set then add your filling and top up the mold with chocolate and let set completely. If you wanted to get really fancy, make a batch of regular chocolate as well and make layers – have them be white and dark. White chocolate is also great to use for Chocolate Dipped Strawberries! In fact, I discovered a cute Halloween treat this year that are strawberry ghosts. What a great idea! Fun and healthy.
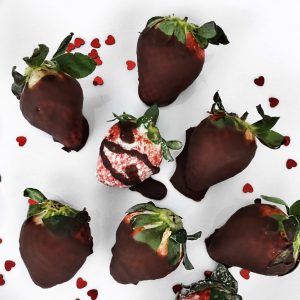
sugar free valentines treats

Making white chocolate opens up a whole new world of possibility and is just as fun as making regular chocolate. And now you can get even more creative with it! Who knows maybe next you can make swirls!
Delicious Blueberry Pie – Sugar Free & Naturally Sweetened

sugar free blueberry pie

Fresh blueberries are a popular summer treat. Those succulent little juicy berries are delicious and nutritious with many health benefits. Blueberries are one of the richest food source of Anthocyanins, a plant compound which gives it it’s blue color and it’s many health benefits. They have been shown to benefit heart health, bone strength, mental health, cancer, healthy blood pressure and are extremely high in antioxidants. Who knew these little blue berries could pack such a punch?

I often buy copious amounts of blueberries in the summer and do all kinds of things with them. From simply eating them straight to freezing them for later, to muffins and smoothie combinations. One of the things that I hadn’t done for a while though was to make a blueberry pie. I have no idea why, as I make all other kinds of pies in the summer like cherry and peach. I guess I somehow had it in my head that I should freeze them all and that they were too small to make a pie out of. (This could relate to the many summers my sisters and I would go up to the blueberry patch on the barrens to pick blueberries – with intentions of picking enough to make a pie. It took us hours to get the amount we needed and sometimes we were not able to get enough).

But this year, when I did my regular purchase of fresh Okanagan fruit I decided that I needed blueberries as well and was definitely going to make a sugar free blueberry pie! (In fact, I even went back to the fruit stand before we left Oliver to get the blueberries as I had not purchased them the day before when I got the peaches and cherries).

sugar free blueberry pieOf course, I had to create a recipe that was sugar free, which by now has become fairly easy to do after many years of being sugar free and using natural sweeteners. Honey is my favorite sweetener due to its many health benefits and being one of the more natural sweeteners (things like stevia and agave nectar are still processed and under controversy as to whether or not they are any better than using refined sugar).

I played a little bit, taking a bit of this and that from a few recipes and then combining and modifying ingredients to make my own. I even got a little fancy with the crust by creating a full top and then adding small shaped hearts on top (believe me I do not always have the time or the desire to do this).

The kids of course waited in anticipation as the pie baked. Turning on the light in the oven to check on it and see if it was ready. Chloe even remarked on the little hearts and thought that was a good idea (she likes to create other shapes and treats with the leftover pastry – you know the pieces that are left over but are too small to really do much with, but you hate to throw out?)

Once the pie was ready and we let it cool – well enough to cut anyway – we dove in! I had forgotten how much I enjoyed blueberry pie and also how much easier it is to make than other pies like cherry and peach where you have to chop and pit the fruit first. Blueberries you just wash and pour them in.

Unfortunately we didn’t have any ice cream on hand (but decided not to wait to get that organized) and fully enjoyed it anyways! In fact, the kids asked hopefully if they could have a piece for breakfast. I said I’d think about it…

Sugar Free Blueberry Pie

2 – 9 inch pie crusts

sugar free blueberry pie5 c. fresh blueberries

3 tbsp arrowroot powder

1/4 tsp salt

1/2 tsp lemon zest

1/2 tsp cinnamon (or 1 drop cinnamon bark essential oil)

1/4 – 1/3 c. liquid honey

Prepare pie crust – whether you are making your own or have purchased pre made. If you have made your own roll out crust and fit to bottom of pie plate. Crust should cover the bottom and up the sides and over the edges slightly.

Place fresh blueberries in bottom pie crust. Mix together cinnamon, salt and arrowroot powder together and sprinkle over blueberries (if you are using cinnamon bark essential oil in place of ground cinnamon omit here and add essential oil to honey before drizzling over blueberries). Measure honey (1/4 -1/3 cup depending on desired level of sweetness) and drizzle evenly over the blueberries.

Roll out second pie crust to cover the blueberries and to the edges of the crust. Leave enough so that you can press the crusts together and crimp the edges. If using pre made crust, place and fit crust over fruit similarly.

With a knife make small slits in top of crust – this is to allow for air and for juices to bubble. Place in a pre heated 425 F oven and bake for 10 minutes. After 10 minutes reduce heat to 375 F and bake for another 40 – 45 minutes until crust is golden brown.

Remove from oven and let cool. *Note you can cut pie while still warm but it will not have set and will likely have juices running out. Let cool completely if you’d like it set and to avoid this.

Yum! Enjoy 🙂sugar free blueberry pie


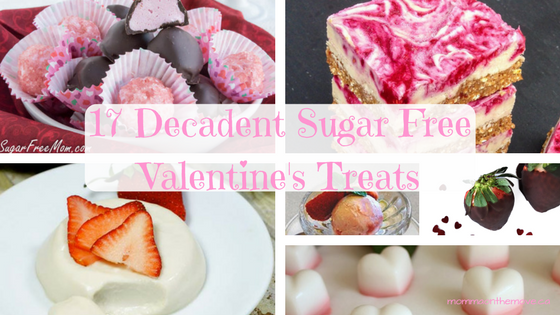
17 Decadent Sugar Free Valentine’s Treats

sugar free valentines treats

Sugar free Valentines treats sound like an anomaly. A dream perhaps that one can indulge and enjoy the decadence of the day and not feel guilty later. Valentine’s Day is another one of those holidays where sweet indulgences abound. Even though it is only one day, it is hard to resist all the sugary treats, especially the chocolate. You may find yourself often saying no thank you when you really just want to bite into that chocolatey something!

Valentine’s Day does not have to be that way! It is possible to indulge with sweet treats (chocolate and otherwise) that are not only sugar free but actually good for you.

When we went sugar free at our house there were two things I was not going to compromise. One was tasty food, if we were eliminating sugar then the food still had to taste delicious! not bland or like cardboard. The second, was that we were still going to celebrate and enjoy the holidays (including the food) – from Christmas to Easter – and no one was going to be denied yummy treats or feel like they always had to say no thank you.


Shop Family Organizers at Calendars.com Today!

So for each holiday I have either transformed our favorite recipes or sought out new ones – which is fun because I like to experiment, and compiled a list. The problem is, I usually want to make them all but realize that that is just unrealistic. So I pick a few favorites and try a few new ones. (It’s so hard to choose!) Thanks to all the wonderful bloggers out there (and some of my own recipes) I have a fantastic list of sugar free valentine’s treats and indulgences. Easy to make and enjoy guilt free!

Sugar Free Valentine’s Treats

At Valentine’s the popular treats seem to include either chocolate or raspberries, which is not such a bad thing, but I also like a little variety, so there’s a nice mix of sweet treats that would easily fit into the Valentine’s theme. Whether you’re treating your love, your kids, your friends or just for yourself it’ll be hard to choose which one to make first!

sugar free valentines treats

Photo credit: Brenda Bennett Sugar Free Mom

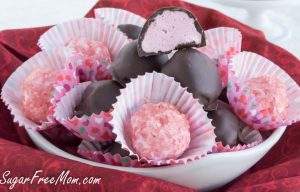
Raspberry Cheesecake Truffles

sugar free valentines treats

Photo credit: Brenda Bennett Sugar Free Mom

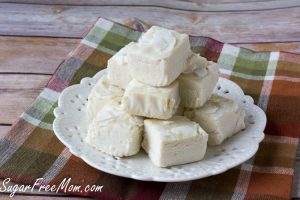
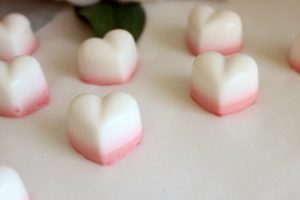
White Chocolate Coconut Fudge

sugar free valentines treats

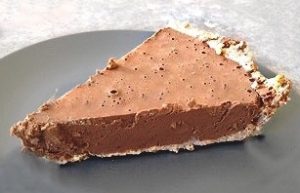
Chocolate Dream Pie

sugar free valentines treats

Strawberries and Cream Gummies

sugar free valentines treats

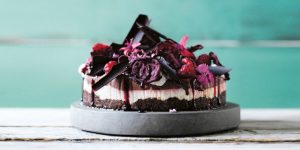
Beetroot Red Velvet Cheesecake

sugar free valentines treats

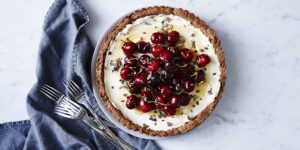
Chocolate Cherry Tart

sugar free valentines treats

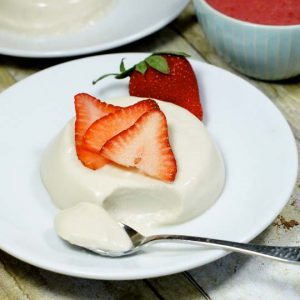
Coconut Panna Cotta

sugar free valentines treats

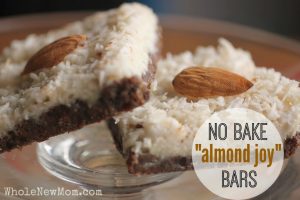
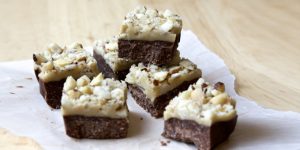
Almond Joy Bars

sugar free valentines treats

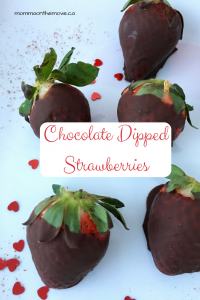
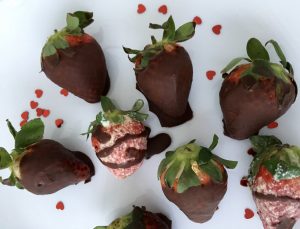
Chocolate Dipped Strawberries

sugar free valentines treats

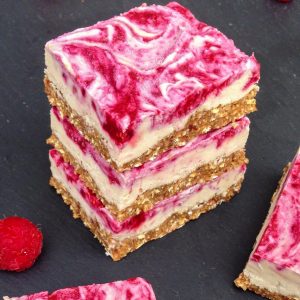
Vegan Raspberry Cheesecake Bars

sugar free valentines treats

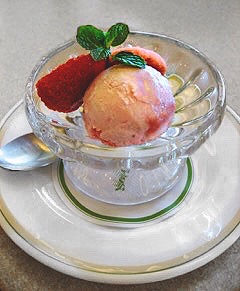
Strawberry Ice Cream

sugar free valentines treats

Caramel Nut Slice

sugar free valentines treats

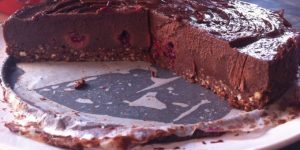
Raw Chocolate Raspberry Cheesecake

sugar free valentines treats

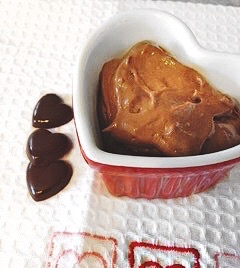
Chocolate Pudding

sugar free valentines treats

Homemade Chocolates

sugar free valentines treats

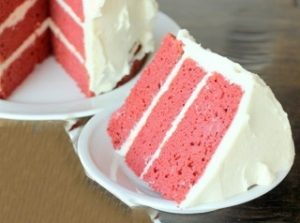
Red Velvet Cake

sugar free valentines treats

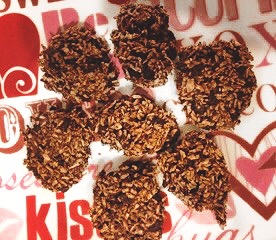
Chocolate Macaroons

Hard to choose isn’t it? Which one are you going to try first?

Thanks to all who contributed to this post! Brenda of Sugar Free Mom, Krissy of Pretty Wee Things, Megan of Detoxinista, Adrienne of Whole New Mom, Jess of Choosing Chia, Sara of I Quit Sugar and Maria of Maria Mind Body Health.


valentines day

How to Make Chocolate Dipped Strawberries (with homemade chocolate)

chocolate dipped strawberriesChocolate dipped strawberries are one of those simple decadent treats that are easy to make and delicious. Often paired with champagne and Valentine’s Day they always give me the feeling of richness and luxury.

Imagine… the red juicy strawberry dipped into firm dark chocolate. As you bite into it, the taste sensation bursts in your mouth with the sweetness of the fruit and the richness of dark chocolate. There is just something about that combination.

chocolate dipped strawberriesEven though chocolate dipped strawberries have this air of luxury and decadence they are actually very easy to make and you can usually make a batch in about 15 minutes. They are also very healthy for you! As strawberries are high in Vitamin C, potassium, folate, fiber and antioxidants, while dark chocolate is high in maganese, iron and copper. And if you make your own chocolate as well, like I do, you can control the amount and type of sugar that goes into it as well! (I always use natural sweeteners, with honey being my top choice).

I often wonder if they’re so good for us why I don’t make them more often? Perhaps it is because they have this air of luxury (in my mind) and I really consider them a treat. (And why don’t we treat ourselves more often? – that is a whole other conversation)

So let’s get to it!

How to Make Chocolate Dipped Strawberries at Home (with homemade dark chocolate)

  1. Line a cookie sheet with parchment paper and set aside.
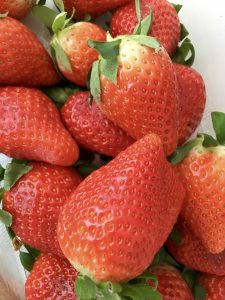
  2. Rinse and pat dry the strawberries. Two tips here – one is to make sure you have fresh firm strawberries, second is to make sure that your strawberries are very very dry after you have rinsed them. If there is any water or moisture on them then the chocolate won’t stick.
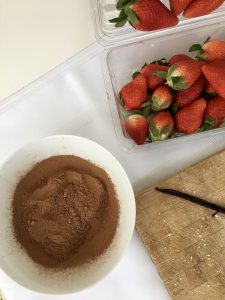
  3. chocolate dipped strawberriesPrepare your homemade dark chocolate. I use this very simple method to make my chocolate. No stove involved just a kettle, boiling water and two bowls. It is important to be very careful when making the chocolate that you do not get any water in it as it will change the mixture and your chocolate wont’t turn out. As I said I love using honey as my sweetener but in this case I would use pure maple syrup or liquid stevia, as sometimes the honey does not mix as well and will separate when it sets.
  4. Dip your strawberry into chocolate. Grab strawberry by the green leafy top and dip into the chocolate. Turn and twist your strawberry to get the coverage you want on all sides. Gently place your dipped strawberry on your parchment paper lined cookie sheet and dip the next strawberry.
  5. Once you have dipped all your strawberries place the cookie sheet into the fridge. This helps your chocolate set faster.
  6. If desired, you can dip your strawberries in the chocolate a second time for a thicker covering, better coverage or just more chocolate! You do need to wait until the first layer is set and firm before dipping the second time.
  7. Set back into the fridge until chocolate is set.
  8. Serve and enjoy!

**if you want to get really fancy you can make a batch of white chocolate and drizzle it over the dark chocolate. You would have to let it set again and wait a little longer but it looks great aesthetically, which is great to impress guests if you’re having a party or event.chocolate dipped strawberries


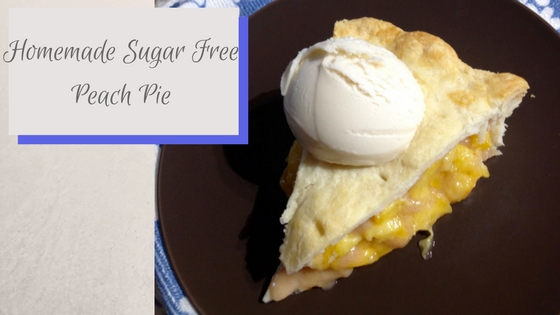
Homemade Sugar Free Peach Pie

sugar free peach pie

Peaches are one of the wonderful fruits that are fresh and abundant in the summer months. Stock full of vitamins and minerals (like Vitamin E, K, A and lots of B’s), there’s nothing like biting into a fresh juicy peach on a summer’s day.

We often get our peaches fresh from the Okanagan fruit stands while out visiting Gran and Grandpa in BC, ok that is the only place we get our peaches. Once I’ve bitten into a fresh ripe Okanagan peach I just can’t bring myself to buy them in the store. They simply aren’t as good, not as juicy and not as flavorful. So once we’ve eaten them all I don’t get any more (unless I can go back to BC and get some).

Besides eating them fresh (my son sometimes eating 4-6 at a time!), I usually make peach jam, (which I love!), and make the odd crumble. It wasn’t until my neighbor went on one time about how much he loved peach pie that I even considered the possibility. I love making pies in the summer with all the fresh fruit, cherry pie being my favorite, but I had never made peach. So I set out to experiment.

sugar free peach pieWhen I originally found and made this peach pie recipe it was before we had eliminated refined sugars from our diet. So when I pulled up the recipe this summer (as my mother was asking that I share it with her) I had to make a few adjustments. I hadn’t realized that it still had white sugar in it.

I thought about using agave nectar, which I knew would work and is what I did originally when I transformed my cherry pie recipe, but I have heard a number of reports lately that agave is no better than refined white sugar. I had recently tried using honey in a pound cake recipe that turned out successfully so I decided to give honey a go for the peach pie.

As luck would have it, it turned out great, and everybody ate it up. With my oldest son even commenting that my pies are way better than Gran’s, as he inhaled his pie. My tip though is to make sure that you mix the honey in very well with the flour mixture so you don’t get any clumps of flour. The other option is to do the flour mixture without the honey, sprinkle it over the peaches, and then pour the honey over the peaches. It does produce a lot of juice regardless so I recommend a deep pie dish for sure.

Sugar Free Peach Pie

2 – 9″ pie crusts (store bought or homemade*)

1 egg beatensugar free peach pie

5c. sliced peaches, peeled and sliced

2 tbsp. lemon juice

½ c. flour

1 c. honey

½ tsp. cinnamon

1/4 tsp. nutmeg

1/4 tsp. salt

2 tbsp. butter

Brush some of the beaten egg on crust to keep from getting soggy. Place peaches in a bowl and sprinkle with some lemon juice, mix gently. In a separate bowl, mix flour, honey, spices and pour over peaches, mix gently. Pour into pie crust, dot with butter. Put on top crust fold edges under. Flute or seal by pressing with a fork dipped in egg. Brush egg over the top crust.
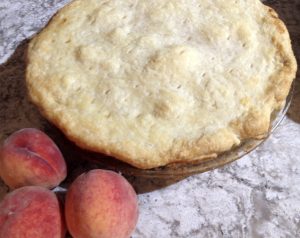
Bake at 450 F for 10 minutes, then reduce heat and bake for 30-35 minutes until crust is brown.

Enjoy! (And don’t forget the ice cream! We enjoy a delectable creamy non dairy vanilla ice cream by Rice Dream. It’s fantastic.)

* I make my own pie crust which turns out flaky and delicious every time simply by using Tenderflake and following their recipe on the box.

What’s your favorite kind of pie in the summer? Share in the comments below.

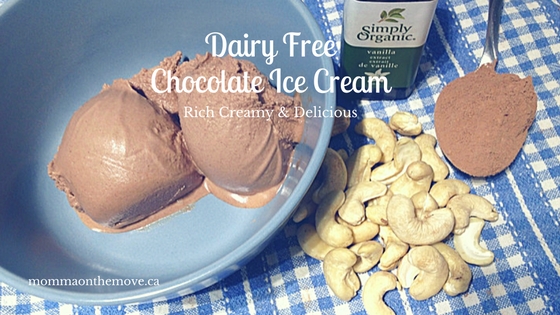
Rich Creamy Dairy Free Chocolate Ice Cream


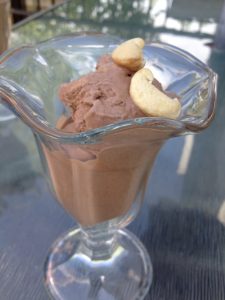
dairy free chocolate ice cream

One of the most popular frozen sweet treats in the summer is most definitely ice cream. It’s great to be able to stop and enjoy an ice cream cone on a warm summer’s day. In fact I was drooling over them yesterday at the zoo, as everyone was walking around with a yummy soft serve ice cream.

When we went dairy free I was sad to miss out on all the wonderful ice cream flavors and the sweet yummy treat it provided. (I really missed ice cream and also cheese when I went dairy free, cause at the time there were not any really good dairy free alternatives). Not only was ice cream a great summer treat it used to be a staple at my house! When we were little we’d often anticipate ice cream after dinner, with my Dad being the worst contender.

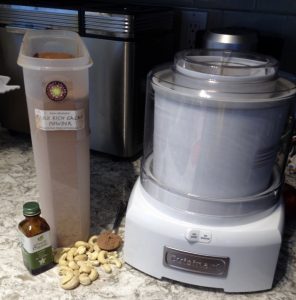
I knew there were ways though that I could still indulge in my ice cream fetish that were still yummy and delicious without all the dairy. My first step was to buy a ice cream maker. Though not a necessity to make ice cream, there is just something fun about watching your liquid concoction turn into yummy ice cream. I also tried out some of the non dairy ice creams on the market, which there are some good ones, such as Rice Dream and Coconut Bliss, but they are very expensive and making my own was a much cheaper alternative. Besides I could control what I put into my ice cream and could avoid all the preservatives present in store bought brands.

dairy free chocolate ice creamAnd honestly, making your own ice cream does not take long at all. It is basically the time to mix your ingredients in your blender and churn it in the ice cream maker (usually about 30 minutes tops). So if you time it right there really is no waiting at all (and even if there is, doesn’t that create anticipation and excitement therefore enjoying even more the result?)

Making ice cream is also fun and easy to do with the kids. My kids help mix everything up and also love watching it churn. So far we have tried a few dairy free ice cream recipes, such as Simple Vanilla and Strawberry Banana, but our favorite so far is Peanut Butter Ice Cream, oh so yummy!

But what I like about this dairy free chocolate ice cream is the fact that there is no milk in it whatsoever, not even non-dairy, and uses cashews instead to create the creamy texture, which really amps up the nutrition. Cashews are a great source of fibre and are packed with vitamins, minerals and antioxidants like copper, Vitamin E and magnesium. I love it when I get to enjoy a yummy sweet treat and it is super good for me and for the kids (nothing like sneaking in the good stuff right?).

The other element that is important when I am trying out recipes is that they are sugar free, using natural sweeteners to sweeten if needed. So not only is this dairy free chocolate ice cream without dairy, it also has no refined sugars or sweeteners. And believe me taste is not compromised. This is a rich creamy chocolate ice cream that you will not believe is sugar or dairy free. You can serve it to you friends and they will be none the wiser.

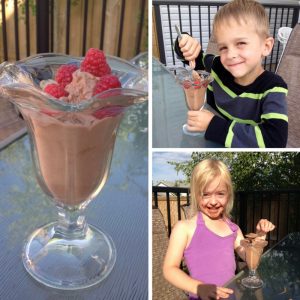
My kids of course, gobbled it up and asked for seconds. Chloe got chocolate all over her face and they both got a little creative adding raspberries that they’d freshly picked from our raspberry bush, which made it even more delicious.

You could also add in other ingredients to this chocolate ice cream, like coconut or chocolate pieces.

Dairy Free Chocolate Ice Cream

1 3/4 c. cashewsdairy free chocolate ice cream

1 3/4 c. water

1 c. pure maple syrup

2 tsp. vanilla

1/2 c. cacao powder

Combine all ingredients in a blender and mix well. Pour into an ice cream maker and freeze according to instructions.

I found that our ice cream maker brought it to a nice soft serve consistency, which is what I believe most ice cream makers do. You can serve as is or if you’d like to have a firmer consistency transfer contents from ice cream maker into freezable container and put in your freezer til firm.

*If you do not have an ice cream maker don’t despair! Once ingredients are combined pour into a freezeable container with lid and place in your freezer for 6-8 hours or overnight. The advantage of an ice cream maker is simply that your ice cream is ready a little bit faster.dairy free chocolate ice cream

Do you have a favorite non-dairy ice cream recipe? Share in the comments below.

Easy Strawberry Banana Dairy Free Ice Cream Recipe

One of the things I definitely miss going dairy free is ice cream. A regular staple at my house when growing up; we often had it after supper, asking my parents hopefully if we could have some. Unless we were out, they usually said yes. Knowing that this was one thing I could not give up completely I set out to find some dairy free ice cream recipes.

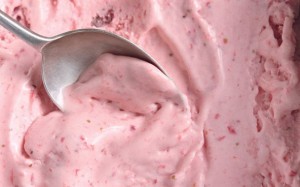
dairy free ice cream recipeWhen I first started searching for dairy free ice cream recipes I thought that I would always have to make it in an ice cream maker using some kind of dairy free milk and natural sweetener. But what I have discovered is it can be even simpler than that. In fact it is so easy to make a great creamy, dairy free sugar free ice cream that as soon as you’re done reading this post, you’ll probably hop up and make some. Five minutes, maybe less, honestly you’ll be done.

Not to say that using an ice cream maker and an alternative dairy free milk is not a good option. In fact, I have some super yummy ice cream recipes made with coconut milk, like the peanut butter ice cream, that is so creamy and delicious it is worth the few extra minutes to make it. But sometimes you just want a quick treat. Not too much work and not too much thought being put into it. This is why I like this recipe for a dairy free strawberry banana ice cream. Super simple, super tasty and the only thought you have to put into it is do I have frozen bananas?

Dairy Free Strawberry Banana Ice Cream

This easy dairy free ice cream recipe gives you a nice soft serve ice cream in less than five minutes

dairy free ice cream recipe1 frozen banana (*peel banana before putting into freezer)

1 c. frozen strawberries

Put frozen banana and frozen strawberries into Vitamix blender. (If you do not have a Vitamix, a high powered blender of some kind is recommended due to the fruit being frozen and to prevent burning out your blender. If you have a standard blender, just proceed slower or blend fruit in smaller amounts to prevent burnout). Turn Vitamix on starting at low speed and slowly turn up to high. You may need to use tamper to push frozen fruit down to thoroughly mix. Once you have a soft serve consistency ice cream is ready to serve. Scoop into bowls and enjoy!

This dairy free ice cream recipe can also be made with different kinds of fruit, substituting the strawberries for raspberries or mango, etc. We have found though that the banana is a key part of the recipe in order to get that nice ice cream consistency and should always be present.

This is also a great recipe to make with kids as it is super easy for them to help with by putting the fruit into the blender or turning it on under the direction of an adult. It’s perfect for a hot summer day when you want a yummy cool treat and super quick to make. With just a little pre planning by having frozen fruit ready in the freezer you can literally whip it out in no time!

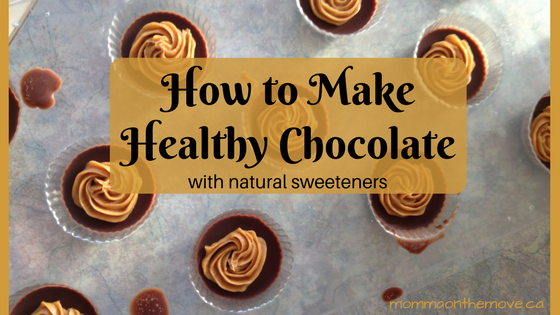
Kids Healthy Cooking – Healthy Chocolate with Natural Sweeteners

healthy chocolate

Kids and chocolate. They go together well. All the memories of chocolate covered faces, whether from ice cream or pudding or just a good old fashioned chocolate bar. Yes they say too much chocolate is not good for you, but honestly there is such a thing as healthy chocolate.

A lot of the trouble with chocolate is the amount of sugar in it, but chocolate without sugar and natural sweeteners instead, is a different story. Chocolate itself is rich in antioxidants and is actually very good for us. It is the sugar that is the problem.

healthy chocolateWhen I learned to make my own healthy chocolate, I was surprised at how quick and easy it was. It was so easy that I came home and made it with my oldest son, who at the time was only 6. Four simple ingredients gave us our base chocolate, and then we could create whatever we wanted. He loved it! and wanted to make more. Now my twins who are also 6, love making it as well. It is so easy to make with kids.

So when it came to our last class of Mini Chefs, making healthy chocolate was really a no brainer. I wanted a nice sweet, fun, but healthy treat, so this was perfect. In class, we made the plain chocolate and kept it in liquid form for fondue, dipping a variety of fruit into it; such as apples, oranges and bananas. All of the kids loved it! And yes ended up with chocolate faces 🙂

Raw Organic Chocolate

Ingredients:

3/4 – 1 cup Cacao butterhealthy chocolate

2 -6 tbsp. Cacao powder

1 vanilla bean or 1-2 drops vanilla extract (use a pipette if using vanilla extract as you only need a tiny bit, adding too much can ruin your chocolate)

2 tbsp. to start of pure maple syrup or honey

*amounts depend on how much chocolate you want to make

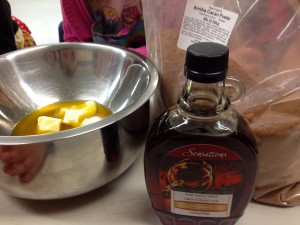
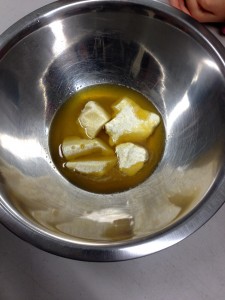
Boil water in kettle. Pour boiled water into a large metal bowl, place second smaller metal bowl on top of large bowl so that it sits on top. Place cacao butter into top bowl. Cacao butter will start to melt. While cacao butter is melting slice vanilla bean down the middle and scrape out the inside seeds with a spoon. Put seeds into melted cacao, it is ok if cacao butter is not completely melted yet. Stir.

*Be very careful not to get any water into your chocolate as it will not work if you do. If your second bowl sits nicely on top, this should not be an issue as you do not need to lift the second bowl off the one with the water in it until you are done making your chocolate. 

Sift cacao powder into a separate bowl. Once cacao butter is completely melted add 2-4 tablespoons of cacao powder. Taste for desired level of chocolatey-ness. If you’d like it richer add more cacao powder. Once satisfied with amount of cacao powder add natural sweetener of choice. Start with 3 teaspoons and mix. Taste, if desired level of sweetness has not been reached, add 1-2 more tablespoons and taste again. Once level of desired sweetness has been reached you have your base chocolate. This can now be kept liquid and used as a fondue, or can be poured into chocolate molds to form chocolates.

Another option at this point is to add additional ingredients such as nuts, dried fruit, coconut, essential oils (ensure that the essential oils you are using are safe to ingest), etc and pour onto a cookie sheet to let set. Or  make it with fillings such as peanut butter for peanut butter cups (as pictured above) or nuts in the middle or caramel. For this you simply put a bit of chocolate in the bottom of your mold, let it set then add your peanut butter (or other chosen filling) and top up the mold with chocolate and let set completely. Chocolate is best set in freezer but may also be set in fridge.healthy chocolate

I had also been promising the kids we would make ice cream for a number of classes and many of them kept asking when we were going to make it. Since it was the last class we did make peanut butter ice cream as well. Sugar free, dairy free and super easy to make with kids. Look for the peanut butter ice cream recipe in the next kids healthy cooking post.