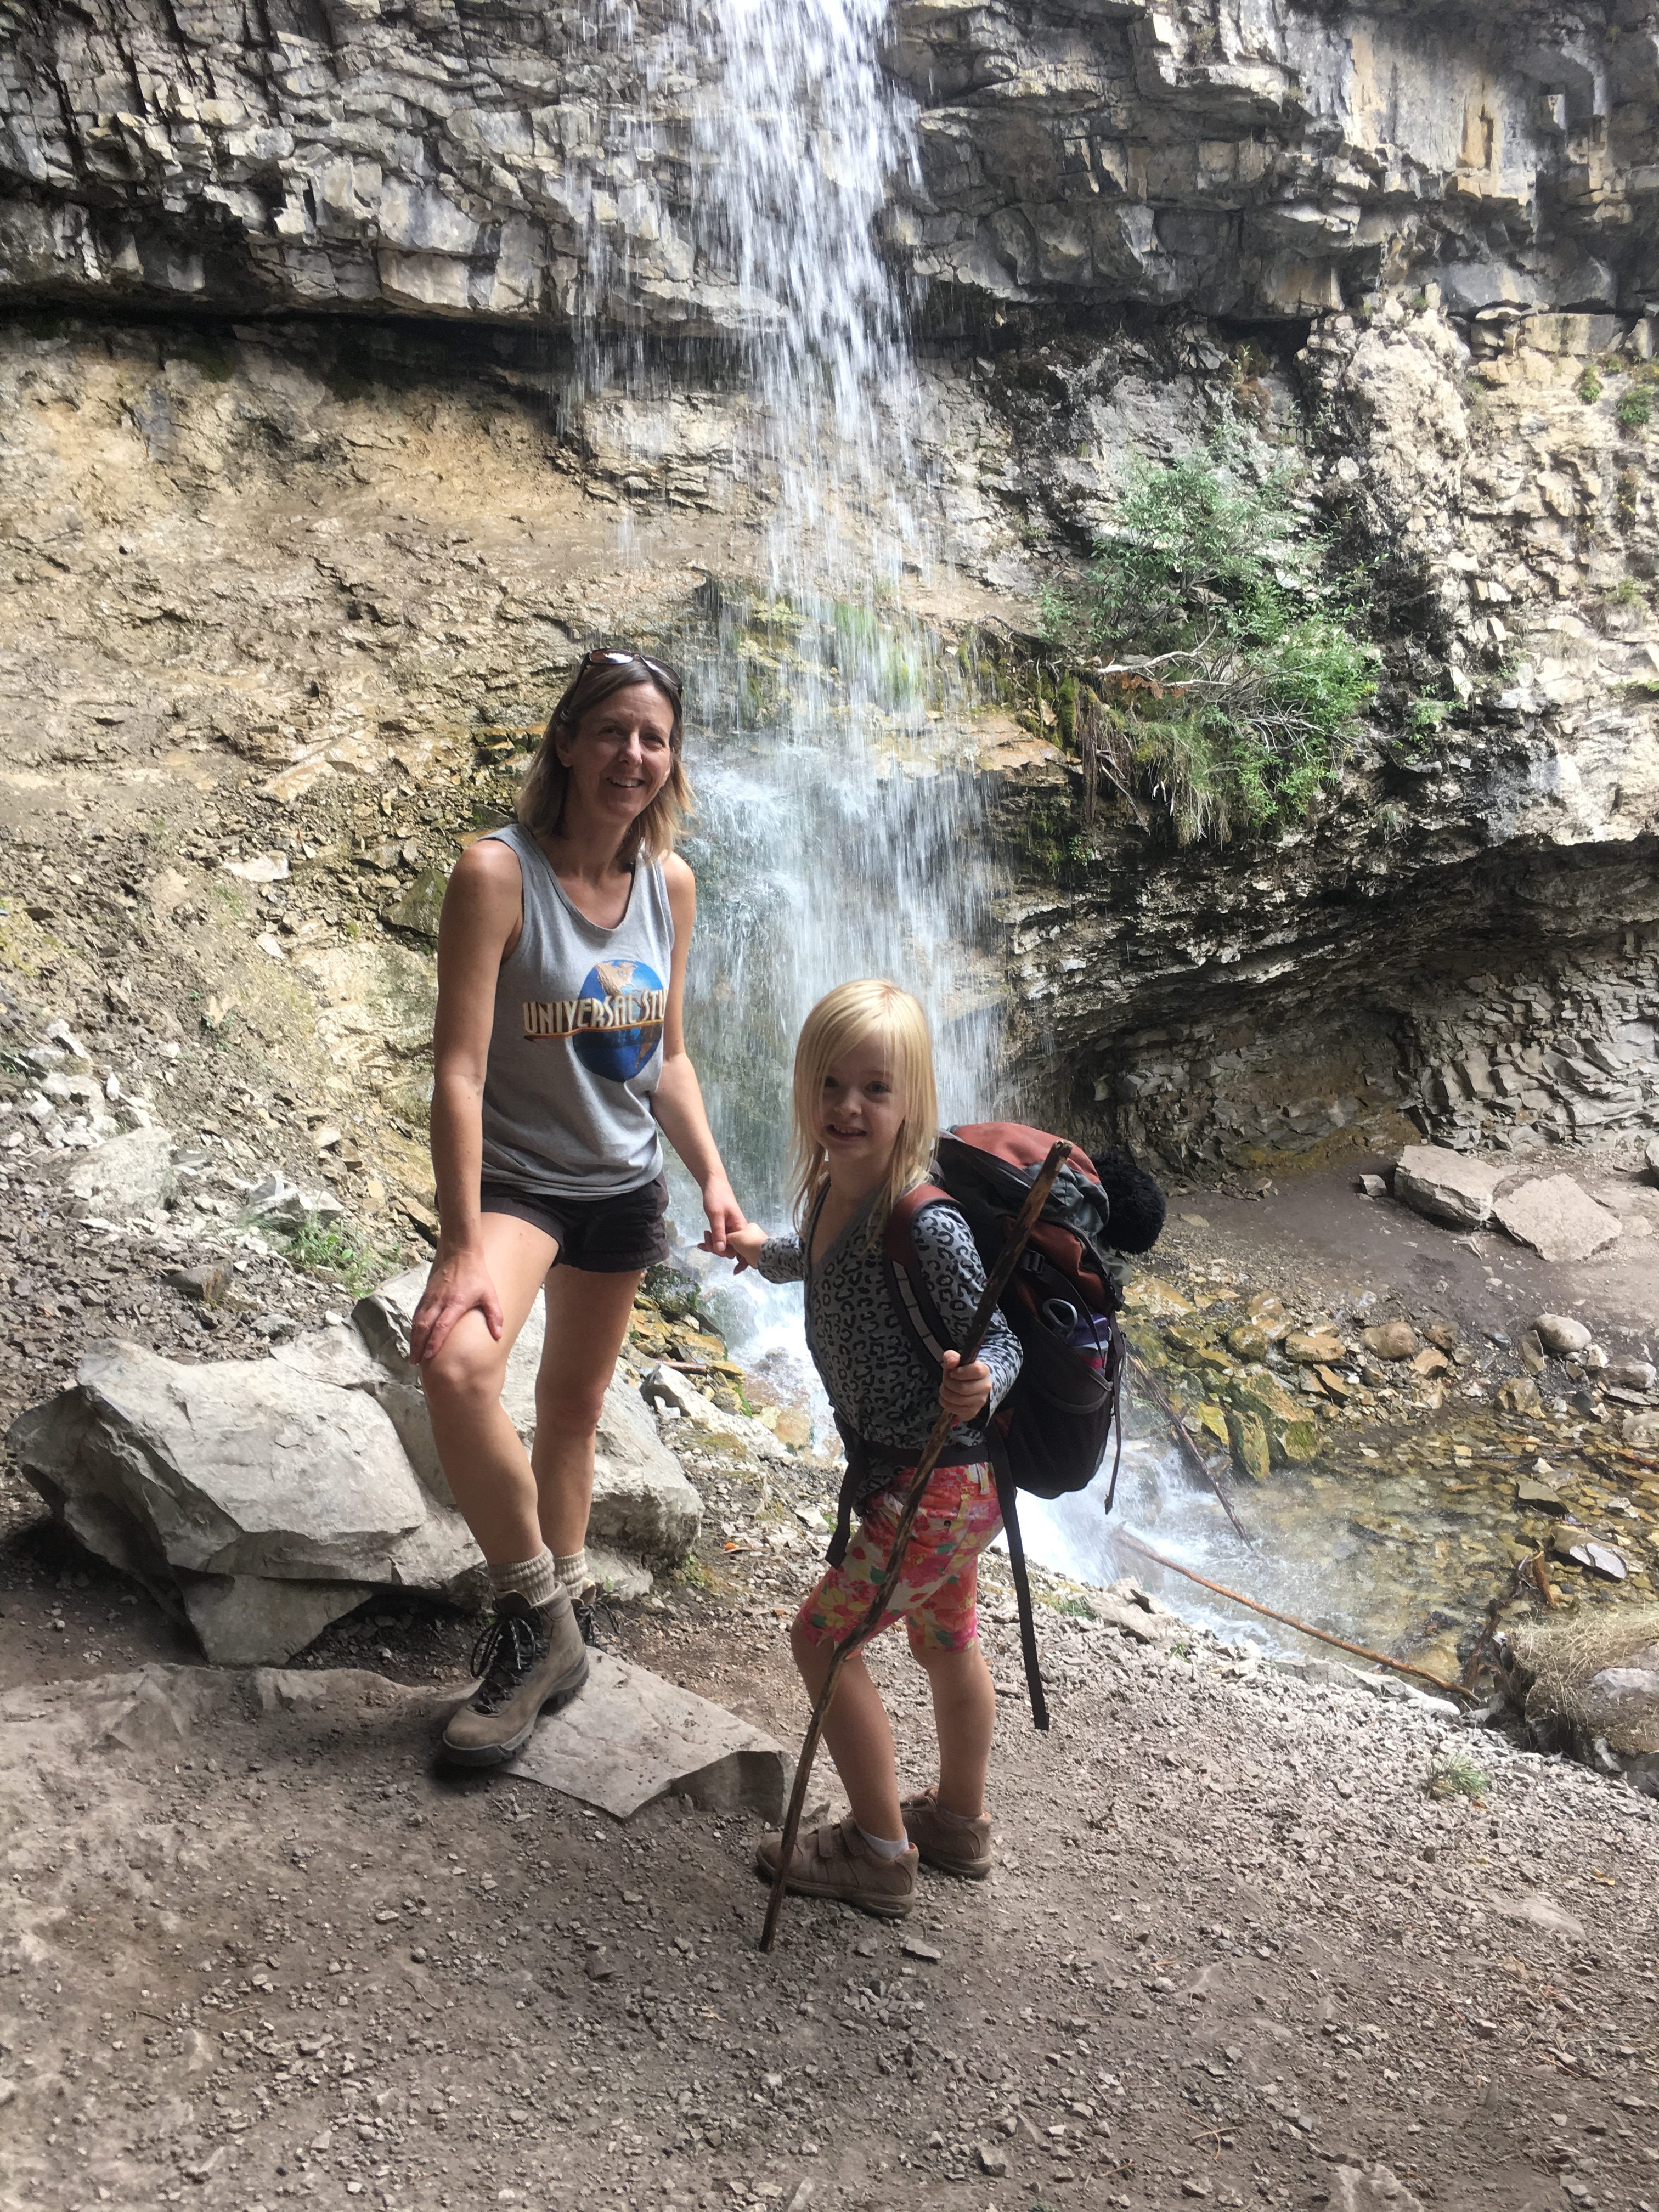
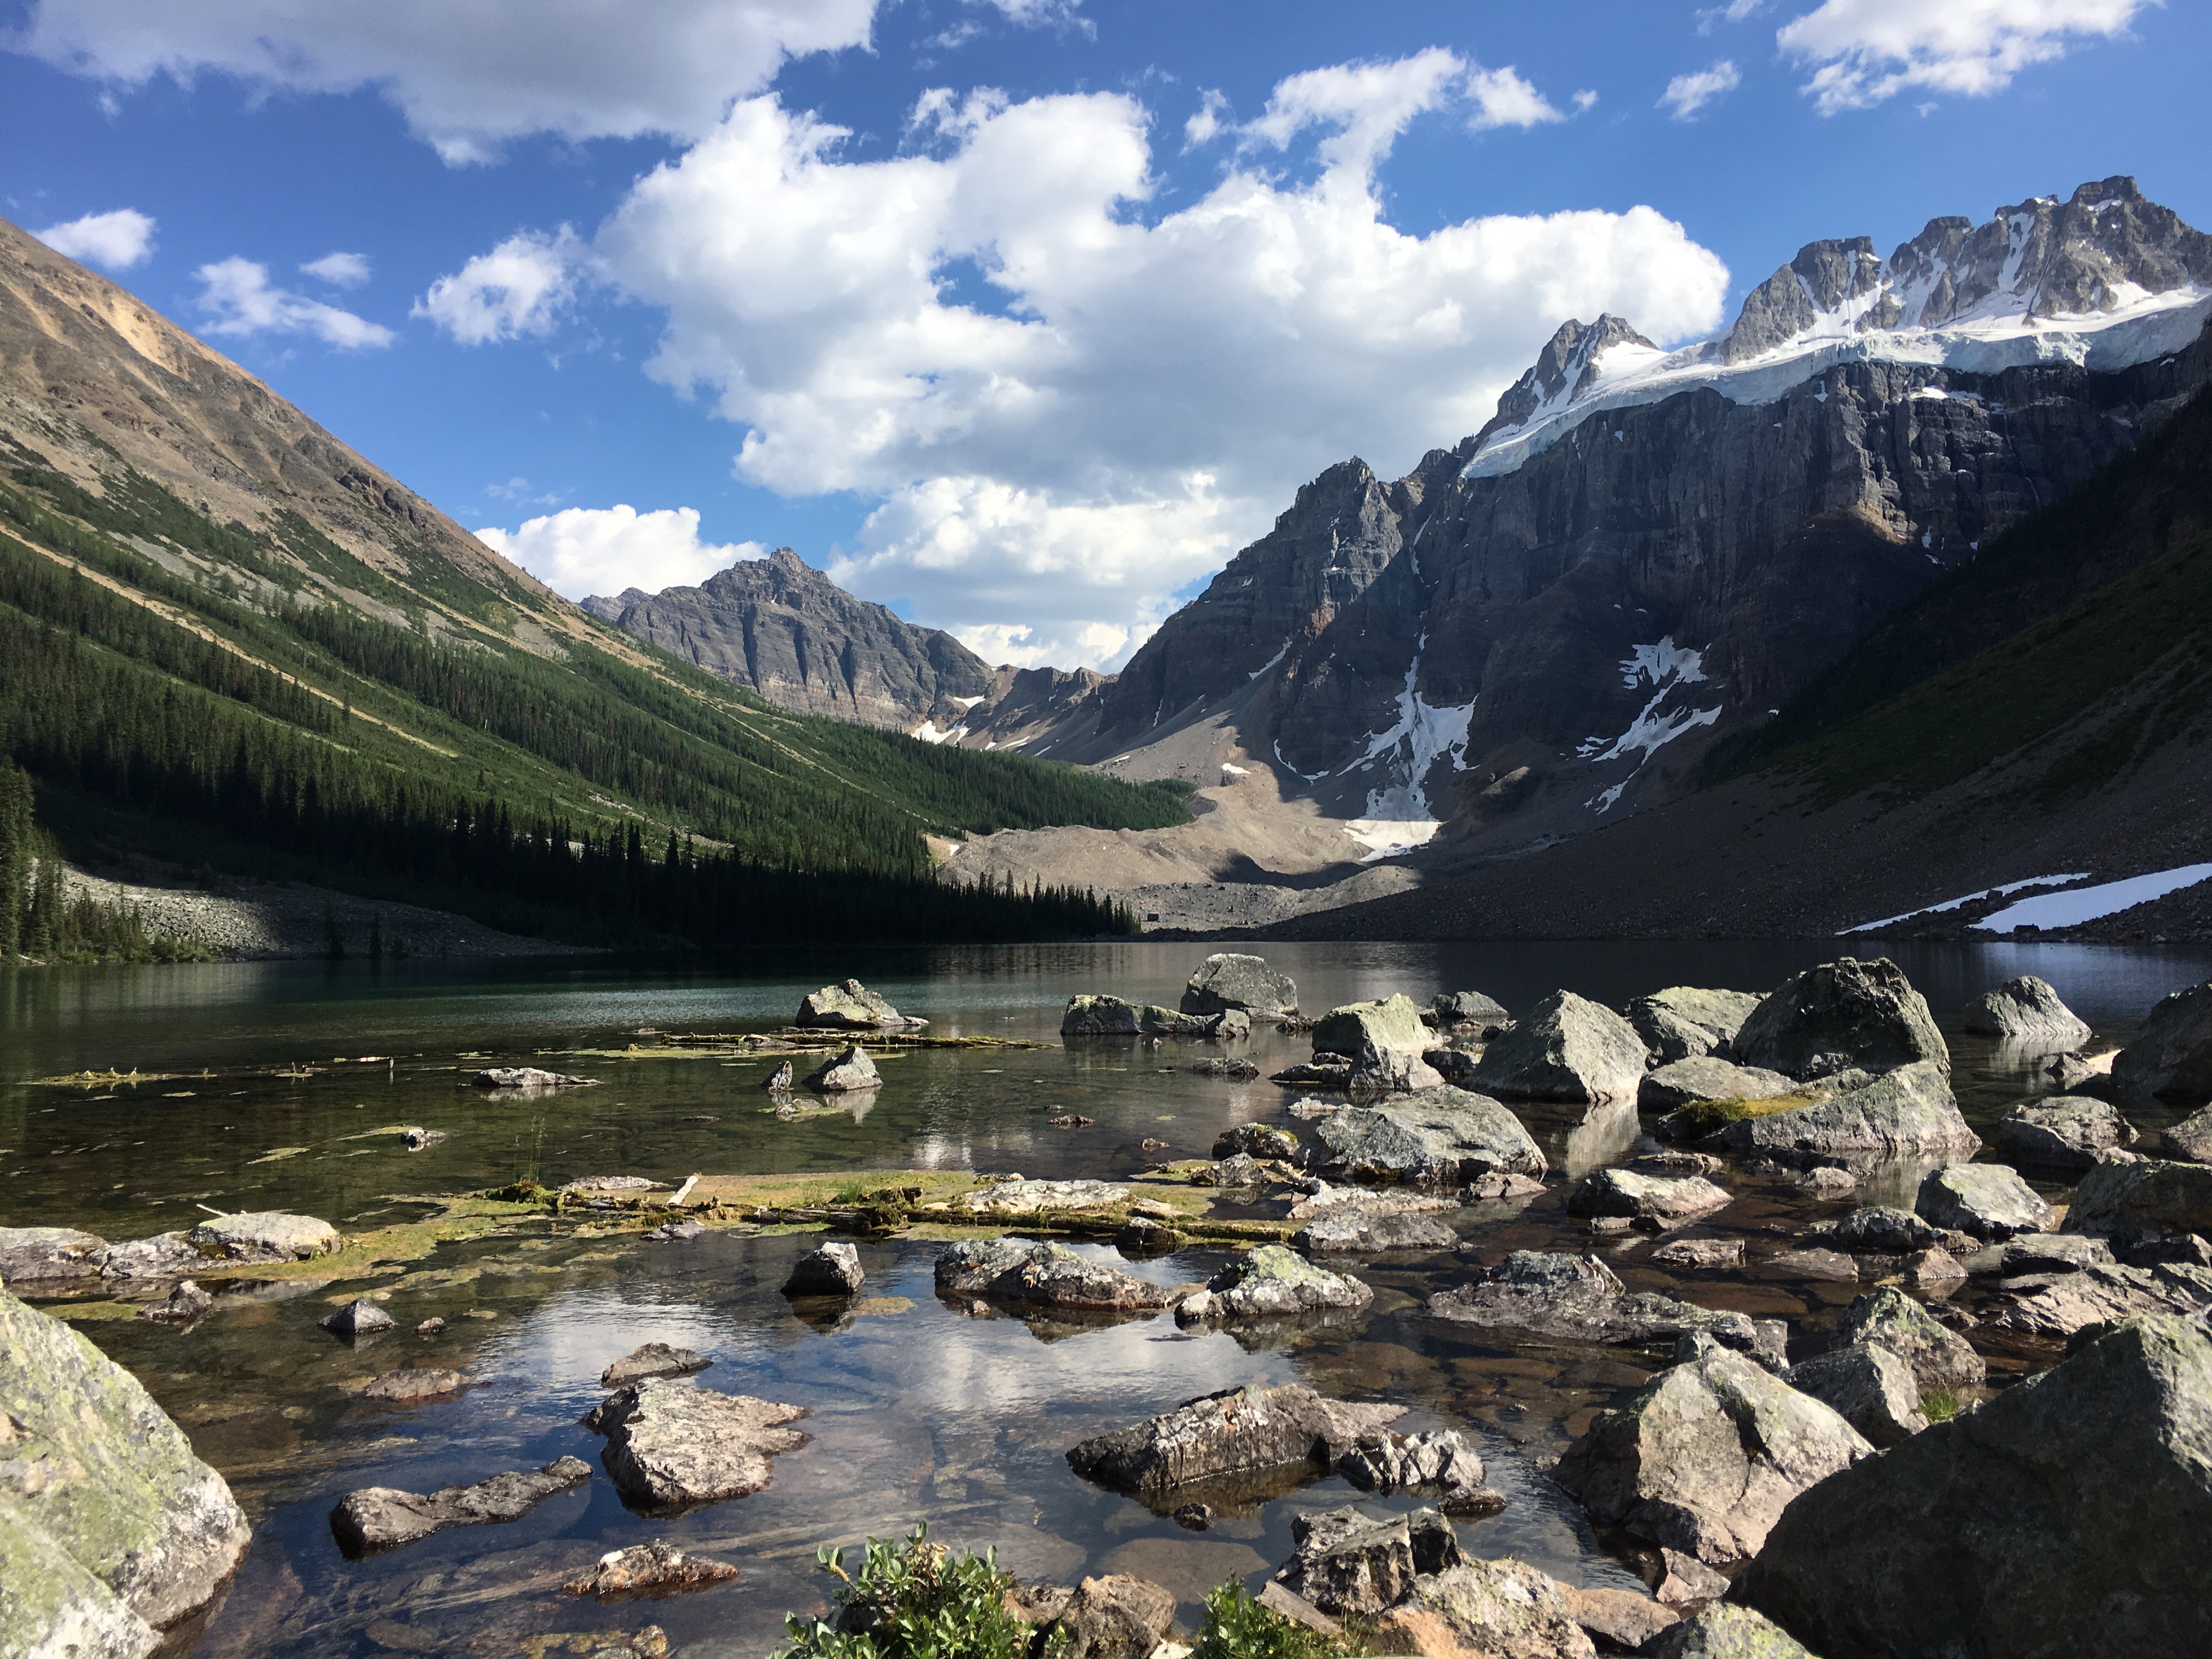
Hiking is one of my favorite past times, especially in the summer. It takes you to areas in nature that you would not be able to explore otherwise.
This is one of the many reasons I love sharing this experience with my children, as not only is it important to expose children to these kinds of experiences at a young age, it is another way to nurture their natural curiousity and love of the outdoors.
Hiking with children can be a very rewarding and enjoyable experience, if you plan your hike well and ensure you have what is needed than your experience will be successful overall, and the kids will want to go again (Now this does not totally prevent melt downs or life mishaps but it greatly reduces them).
Tips for Hiking with Kids
Getting Started
When taking kids on a hike there are a few things to consider:
 Pick a hike that is suitable for the child and their hiking level – so if this is their first hike ever you do not want to take them on a 10 km hike regardless of their age. You also need to consider their age. Children who are young, like 2 or 3 could probably manage a short hike of a kilometer or two with breaks and things to look at along the way. While a child who is 8 might be able to do 5 km. You also want to consider the child, how active they are and how much walking they do in a regular day.
Pick a hike that they can finish successfully. Which means they can get to the end without feeling tired or grumpy, with some energy left over, and they would like to go further. This will also help eliminate breakdowns, you having to drag them to the end or a refusal to go on another hike. For example, if you think they can do 5 km, start with 3km so that they feel successful when they are done and work up to 5 km for the next hike.
What to Bring:
Water – make sure you bring at least a full water bottle per person, more if it’s a hot day. Hydration is key to keeping energy up and fatigue down. It also helps moderate mood.
Food – bring kid friendly high energy snacks and lunch (depending on the length of your hike). When children are fed and feeling full they are happy. This also keeps their energy up.
Clothing – even if it is a hot sunny day always pack rain coat and rain pants, an extra sweater, long pants and a few extra layers. The weather can change quickly, especially if you are hiking in the mountains, and when kids are cold and wet they are not happy, and neither are you!
 Proper footwear – now you don’t have to run out and buy the kids fancy hiking boots, especially when you are just starting out, but ensure that the kids have good sturdy footwear – so sneakers, not sandals, and socks in their runners (this helps wick away moisture and prevent blisters). You want something with a good tread and closed toes. As you go hiking more often and start doing more challenging or longer trails, then would be a good time to look at a hiking shoe that is more sturdy and supports and protects the ankle.
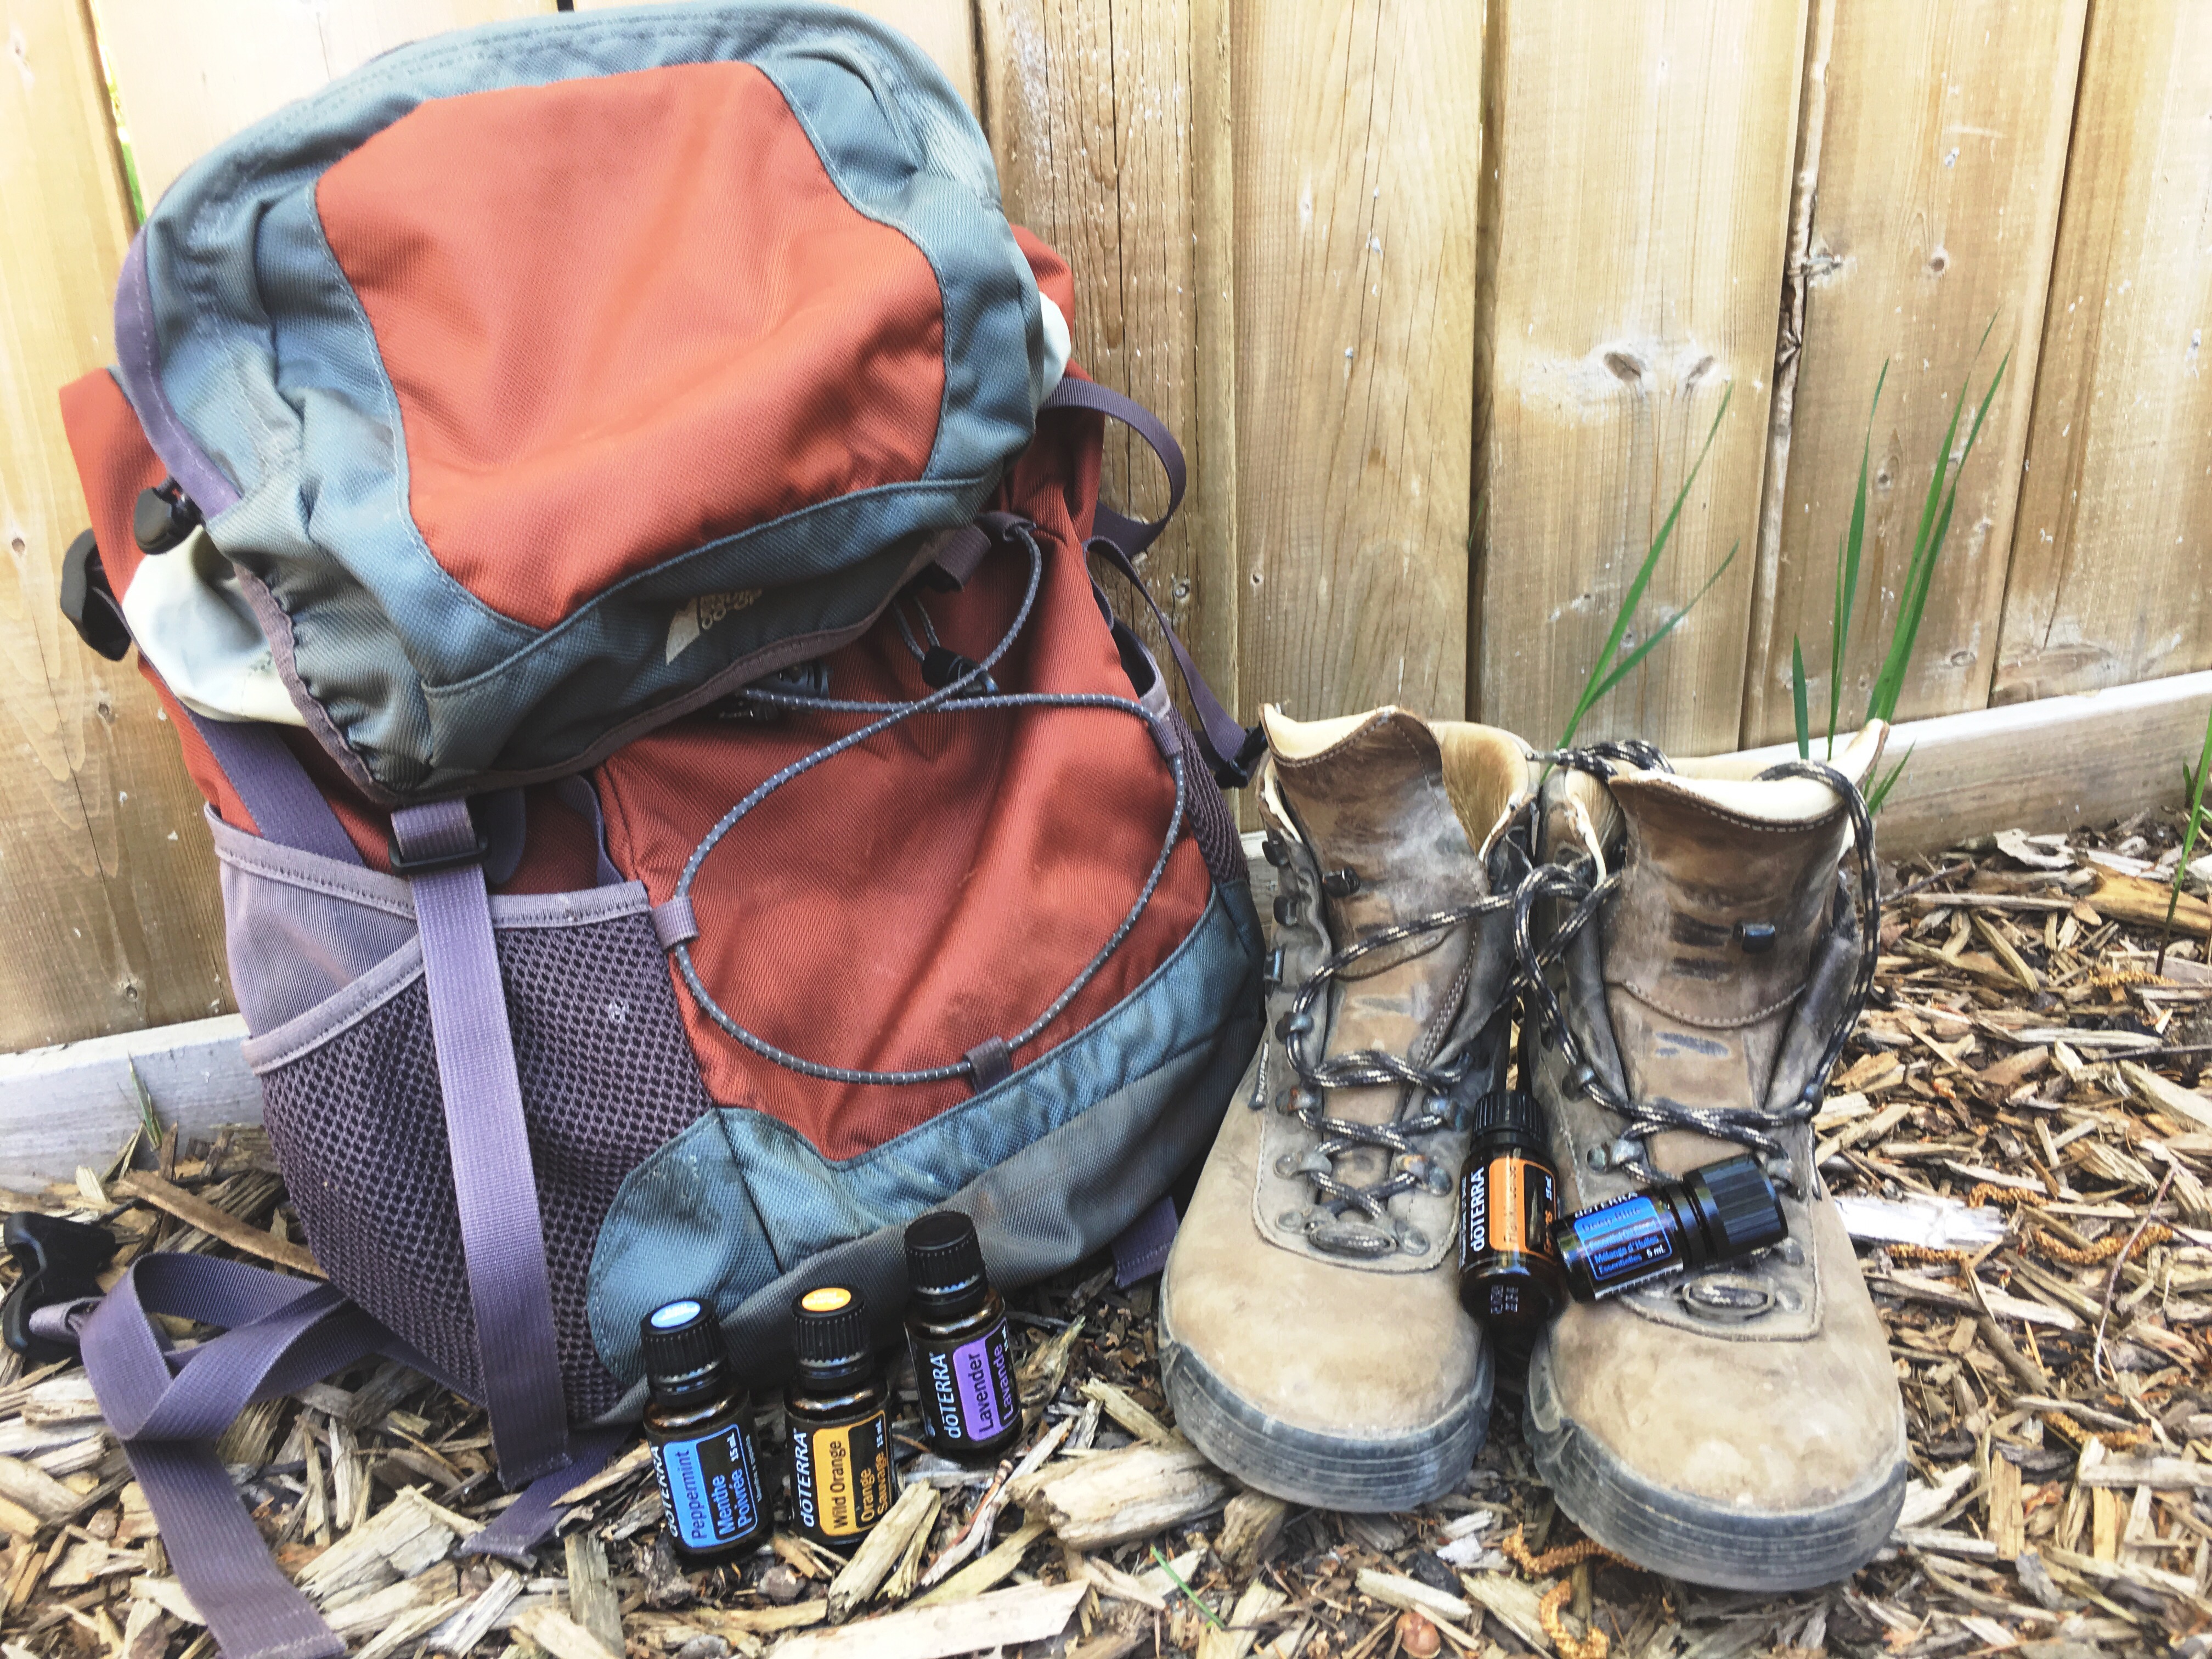
Backpack – it is very important that each child have their own backpack and carry their own stuff. Depending on their age this could be as simple as a backpack and their light jacket inside or their lunch (and you carry the rest). If you start teaching them from the beginning that when you hike you all have your own backpack and carry your own gear, they will just accept that that’s how it works. Then as they grow, they can start carrying more in their packs, until they are carrying all their gear. It is also important that the backpack fits them properly, so snug and close to the back, not the straps hanging loose and the pack dragging at their bum. If their pack is not comfortable that is not going to make for a happy experience.
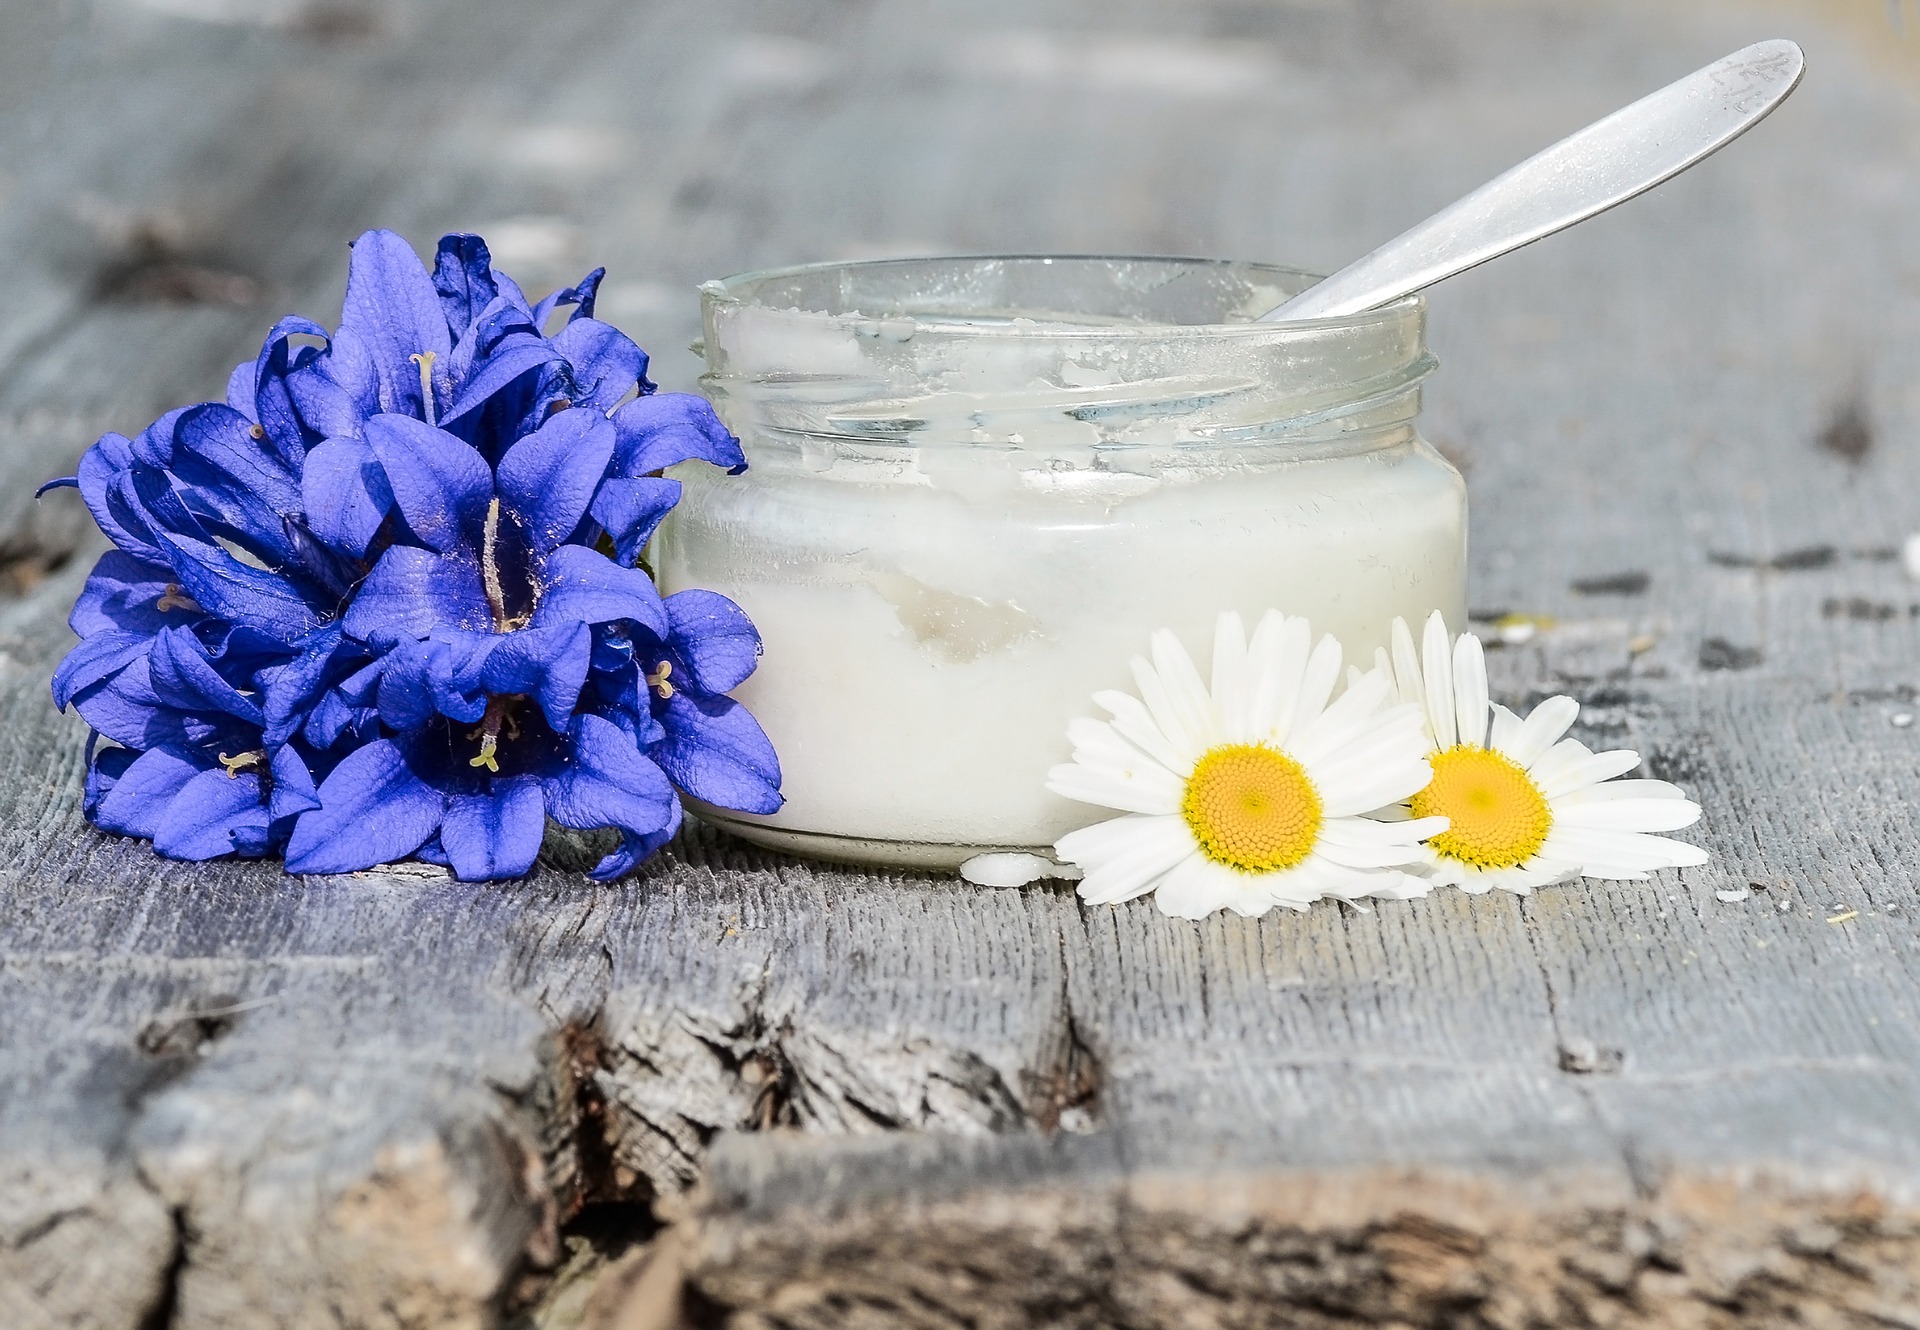
Sunscreen – another element in protecting the skin and avoiding heat exhaustion is using sunscreen. Burning the skin can dehydrate you faster and zap your energy. It is also very uncomfortable and can make anyone grumpy. Use a sunscreen with an SPF of at least 60 for children. You can also use an after sun spray or natural cooling mist to help keep the skin cool.
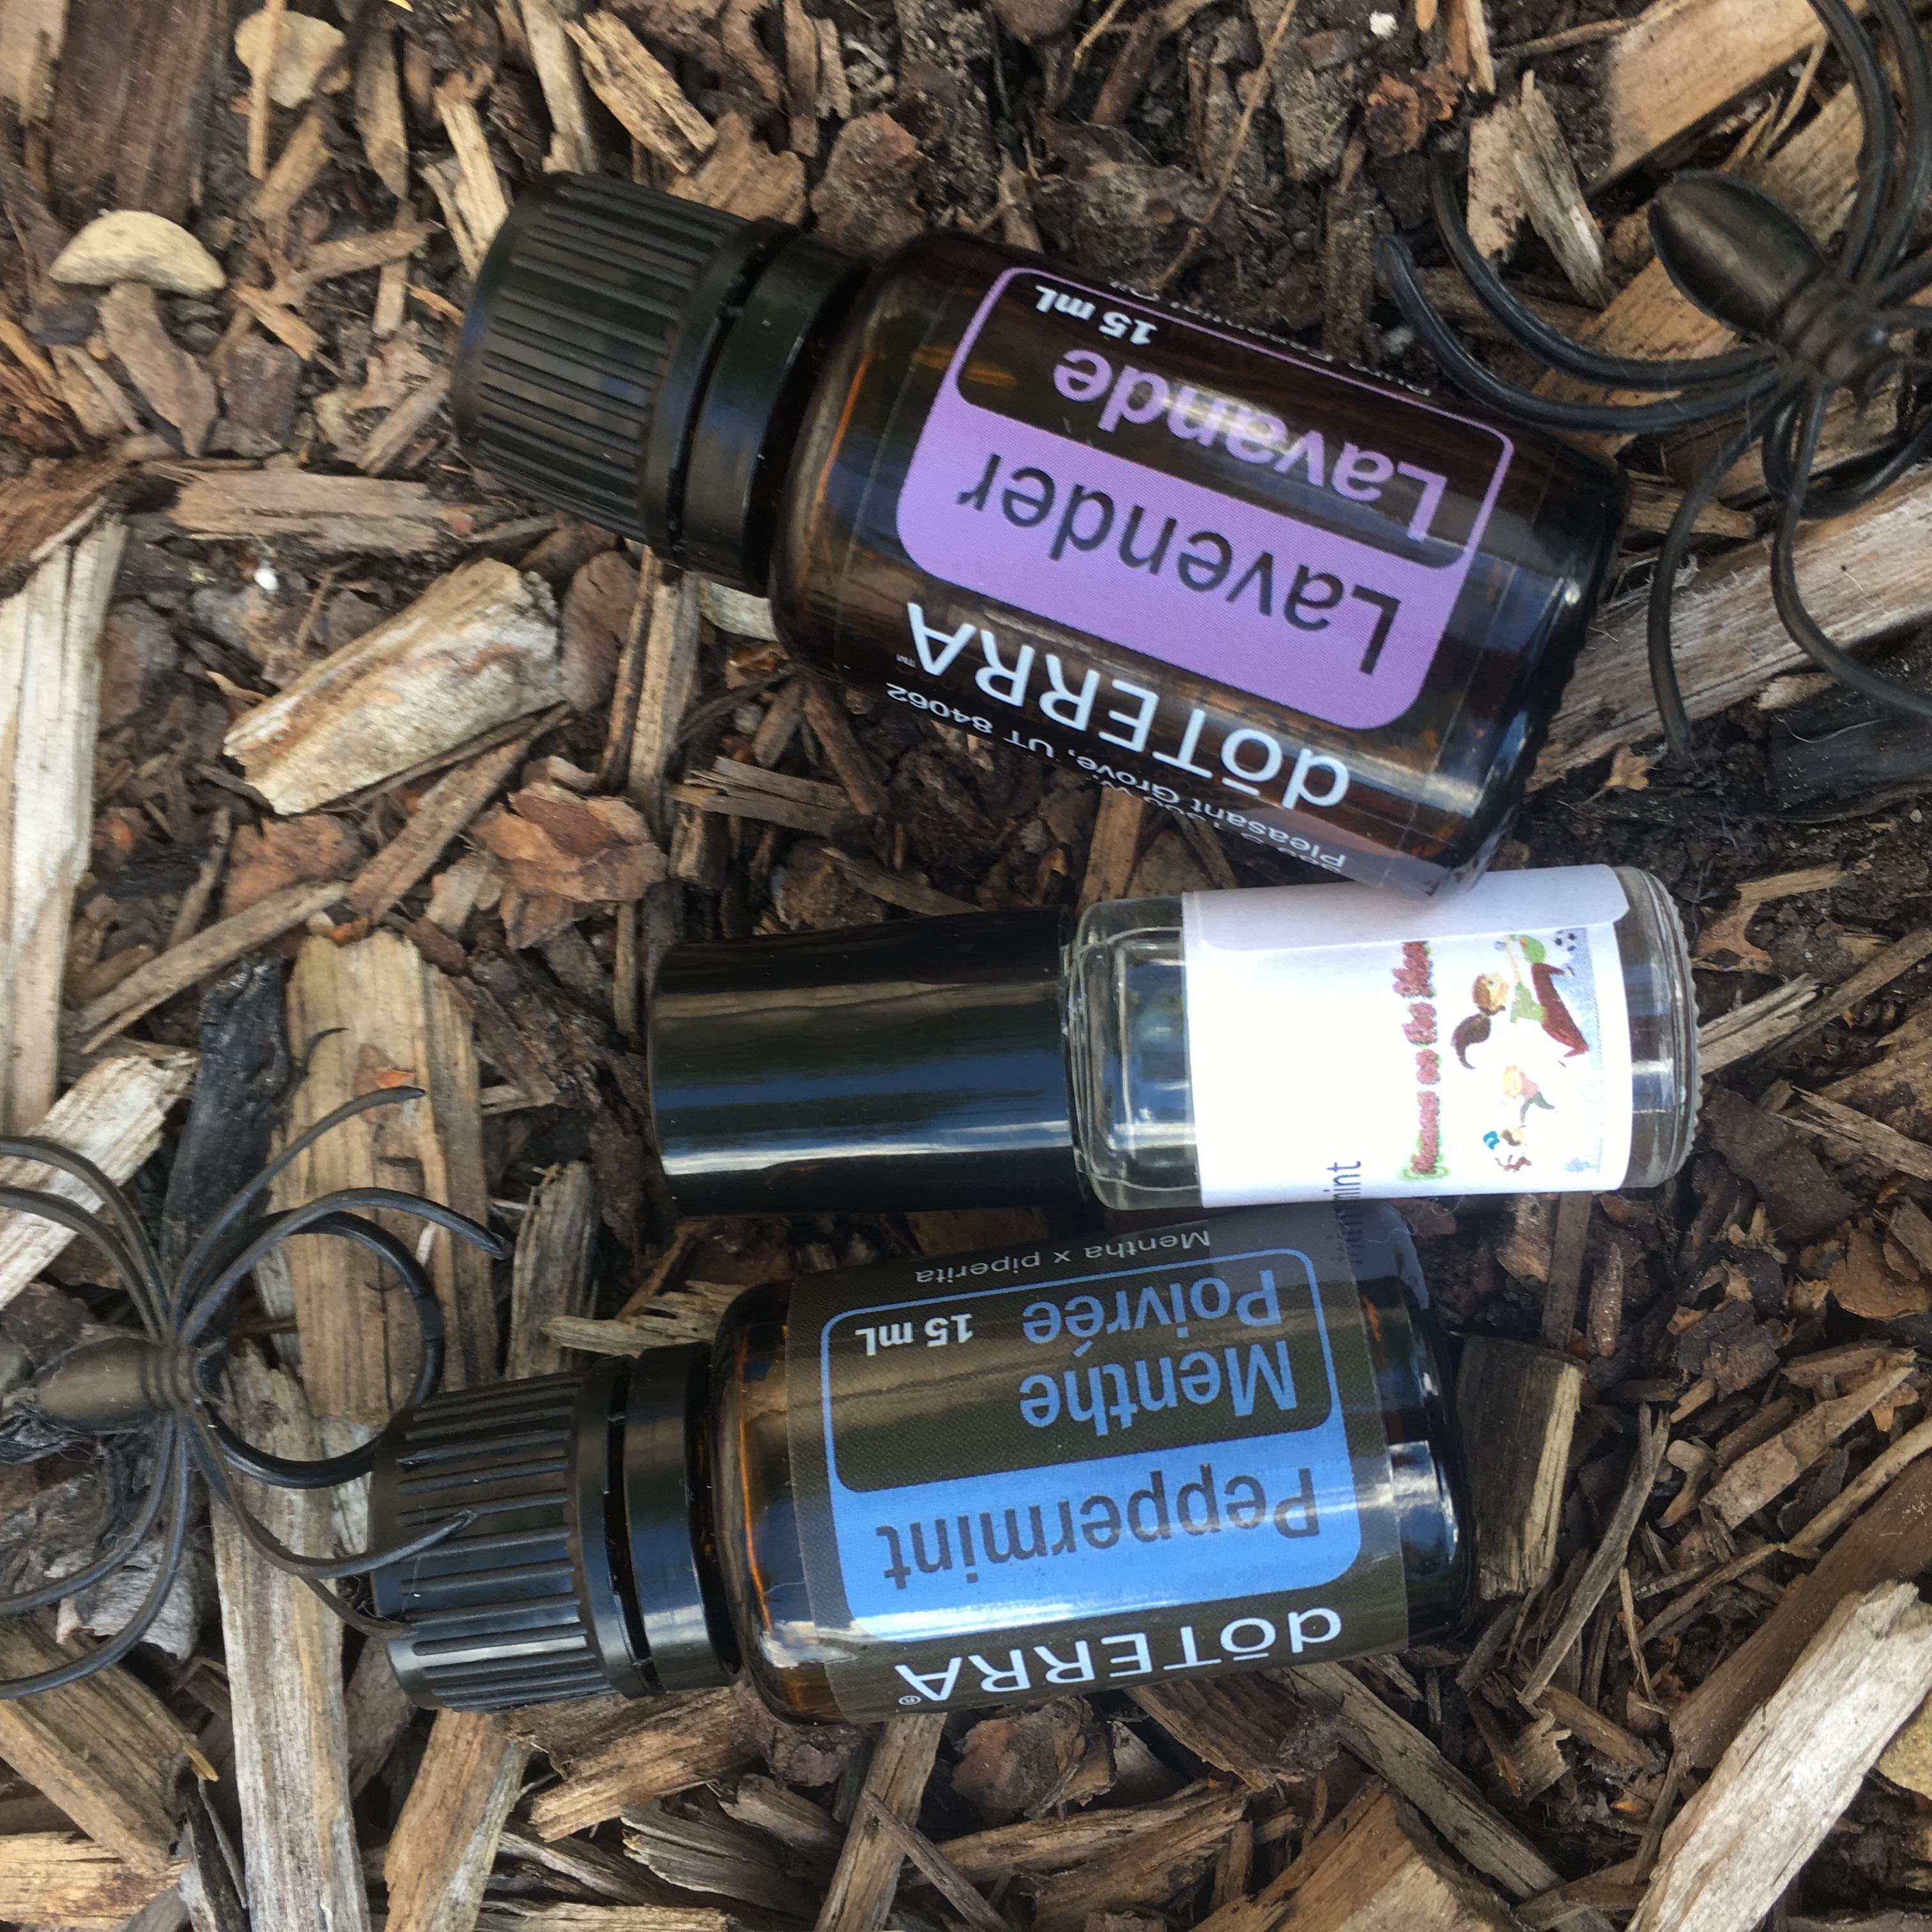
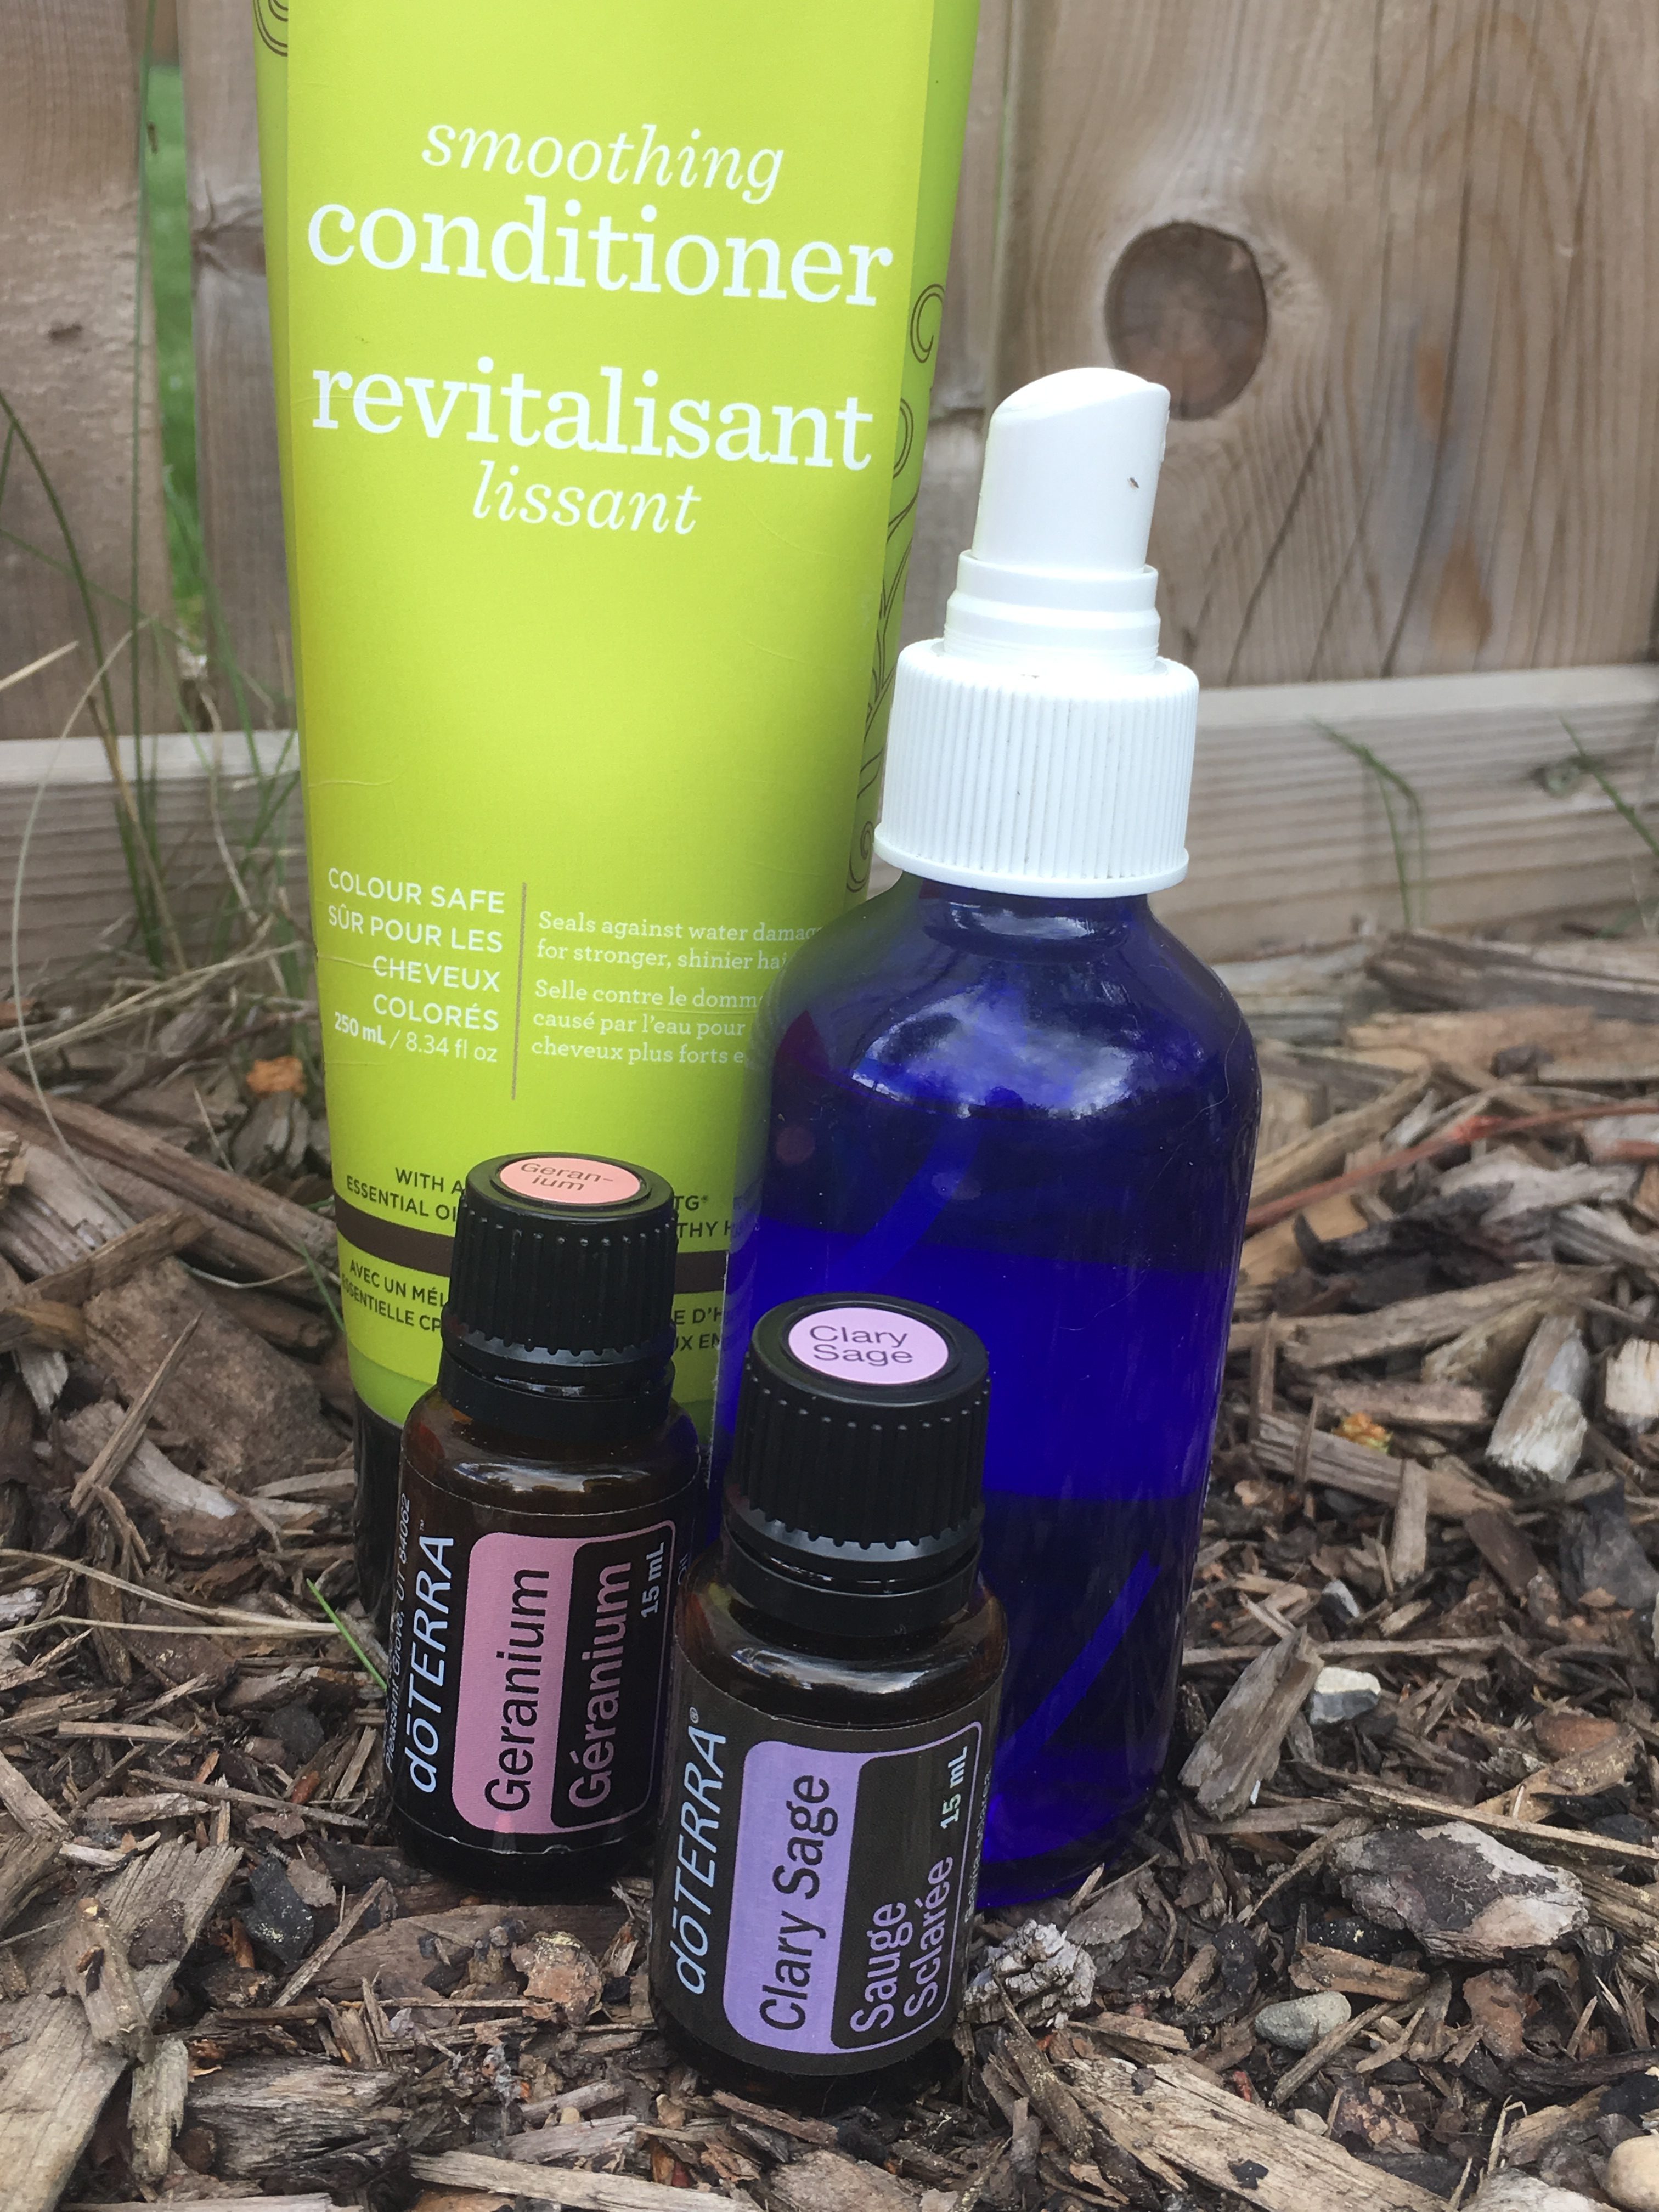
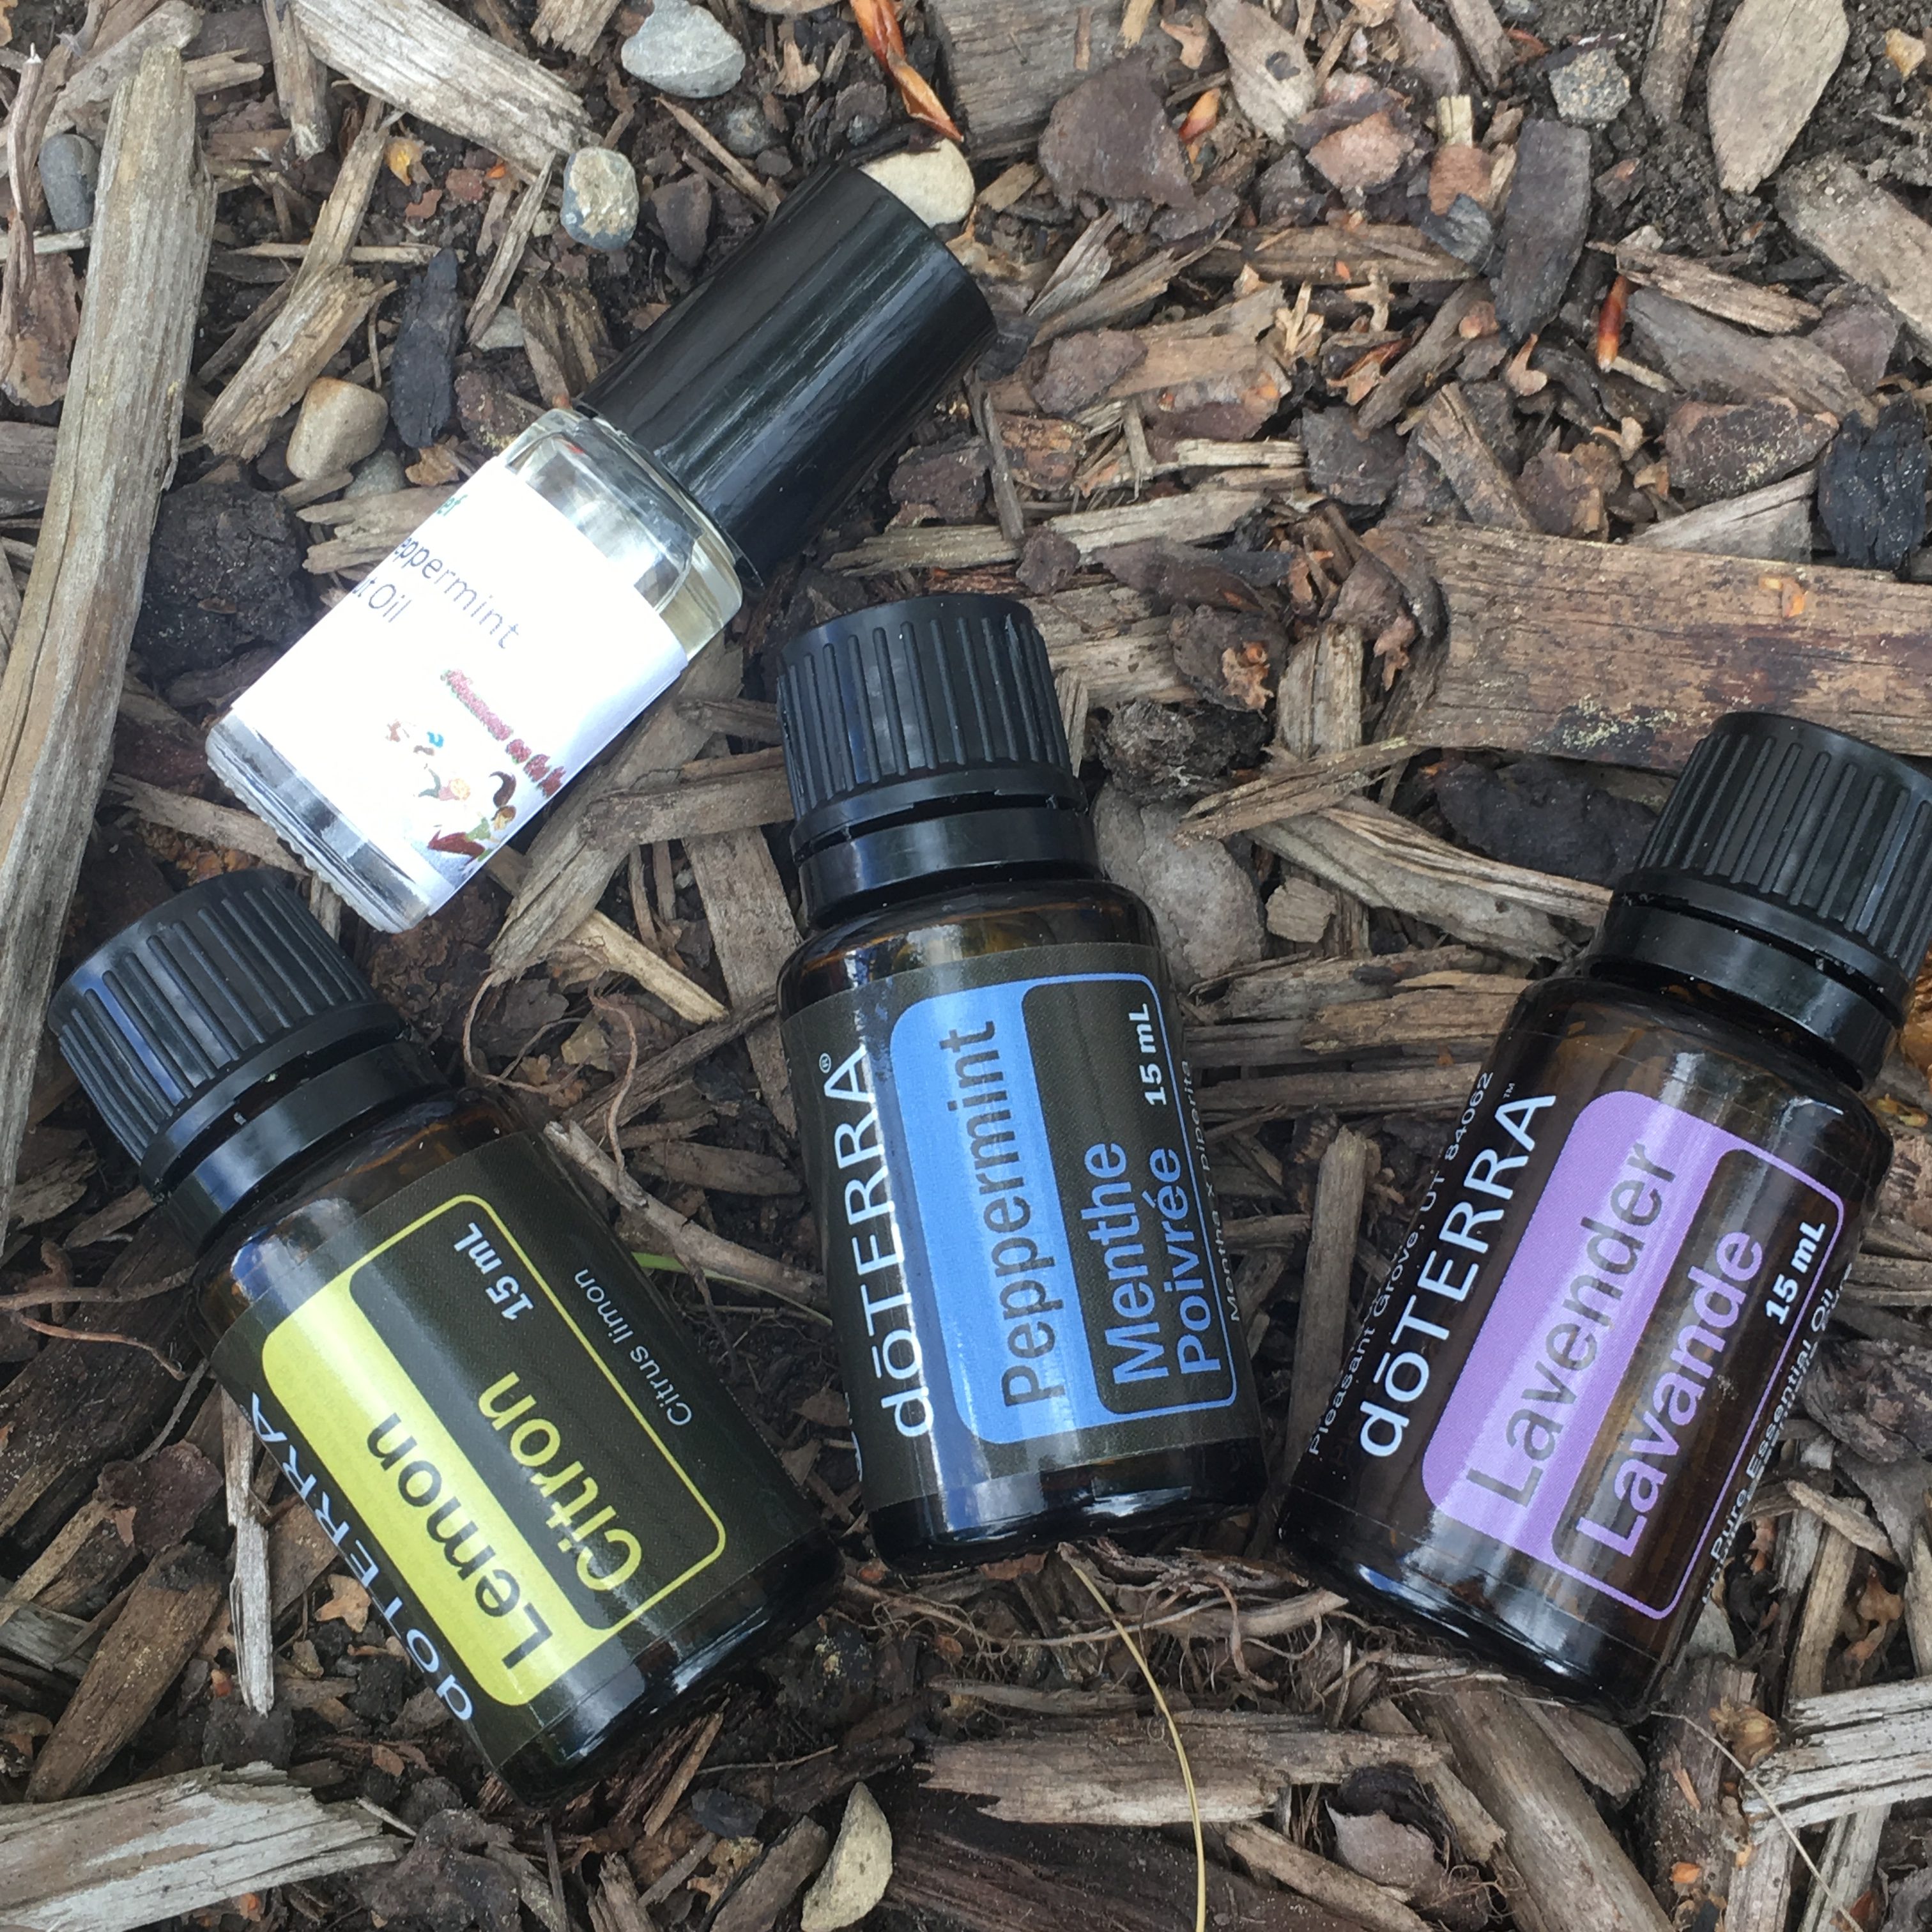
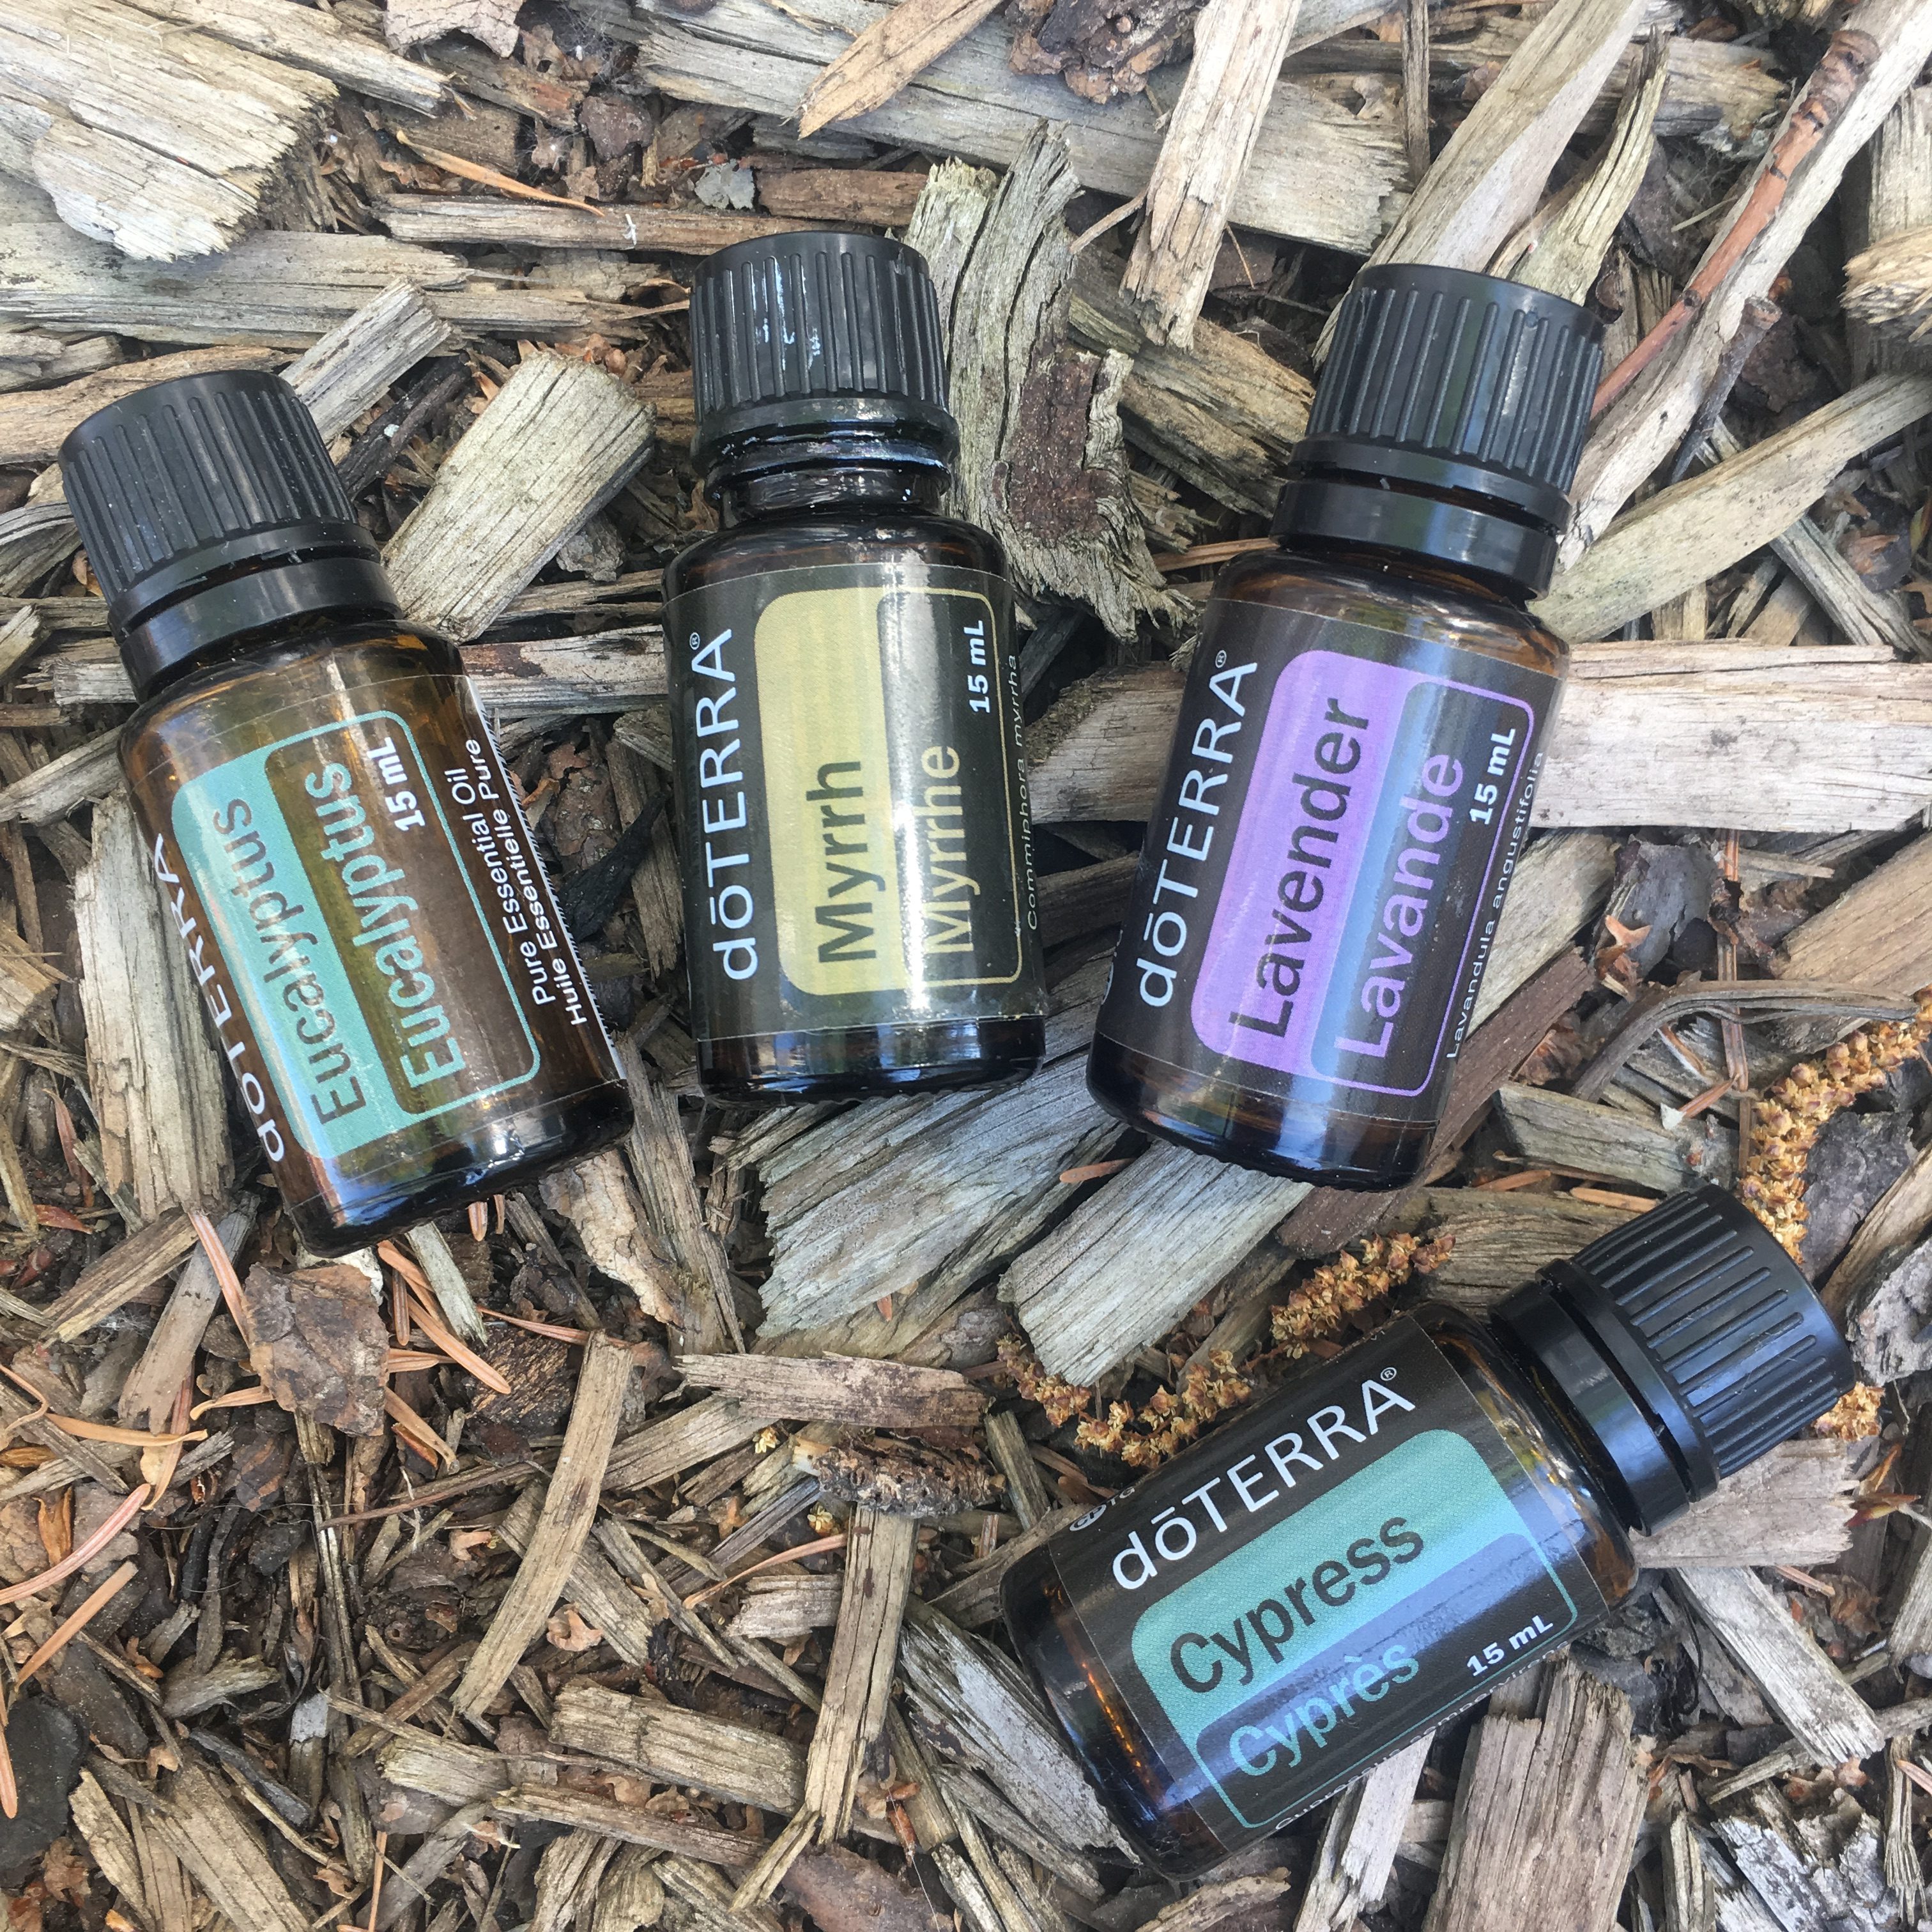
Bug Spray – protect the skin from mosquitoes and more with an effective bug repellent. No one enjoys being eaten alive or feeling red and itchy after bugs! And children seem to be especially yummy for some reason. Spray all uncovered areas prior to going on your hike and reapply as needed. If you’d prefer a natural repellent instead of those chemical mixes try out this DIY recipe using essential oils.
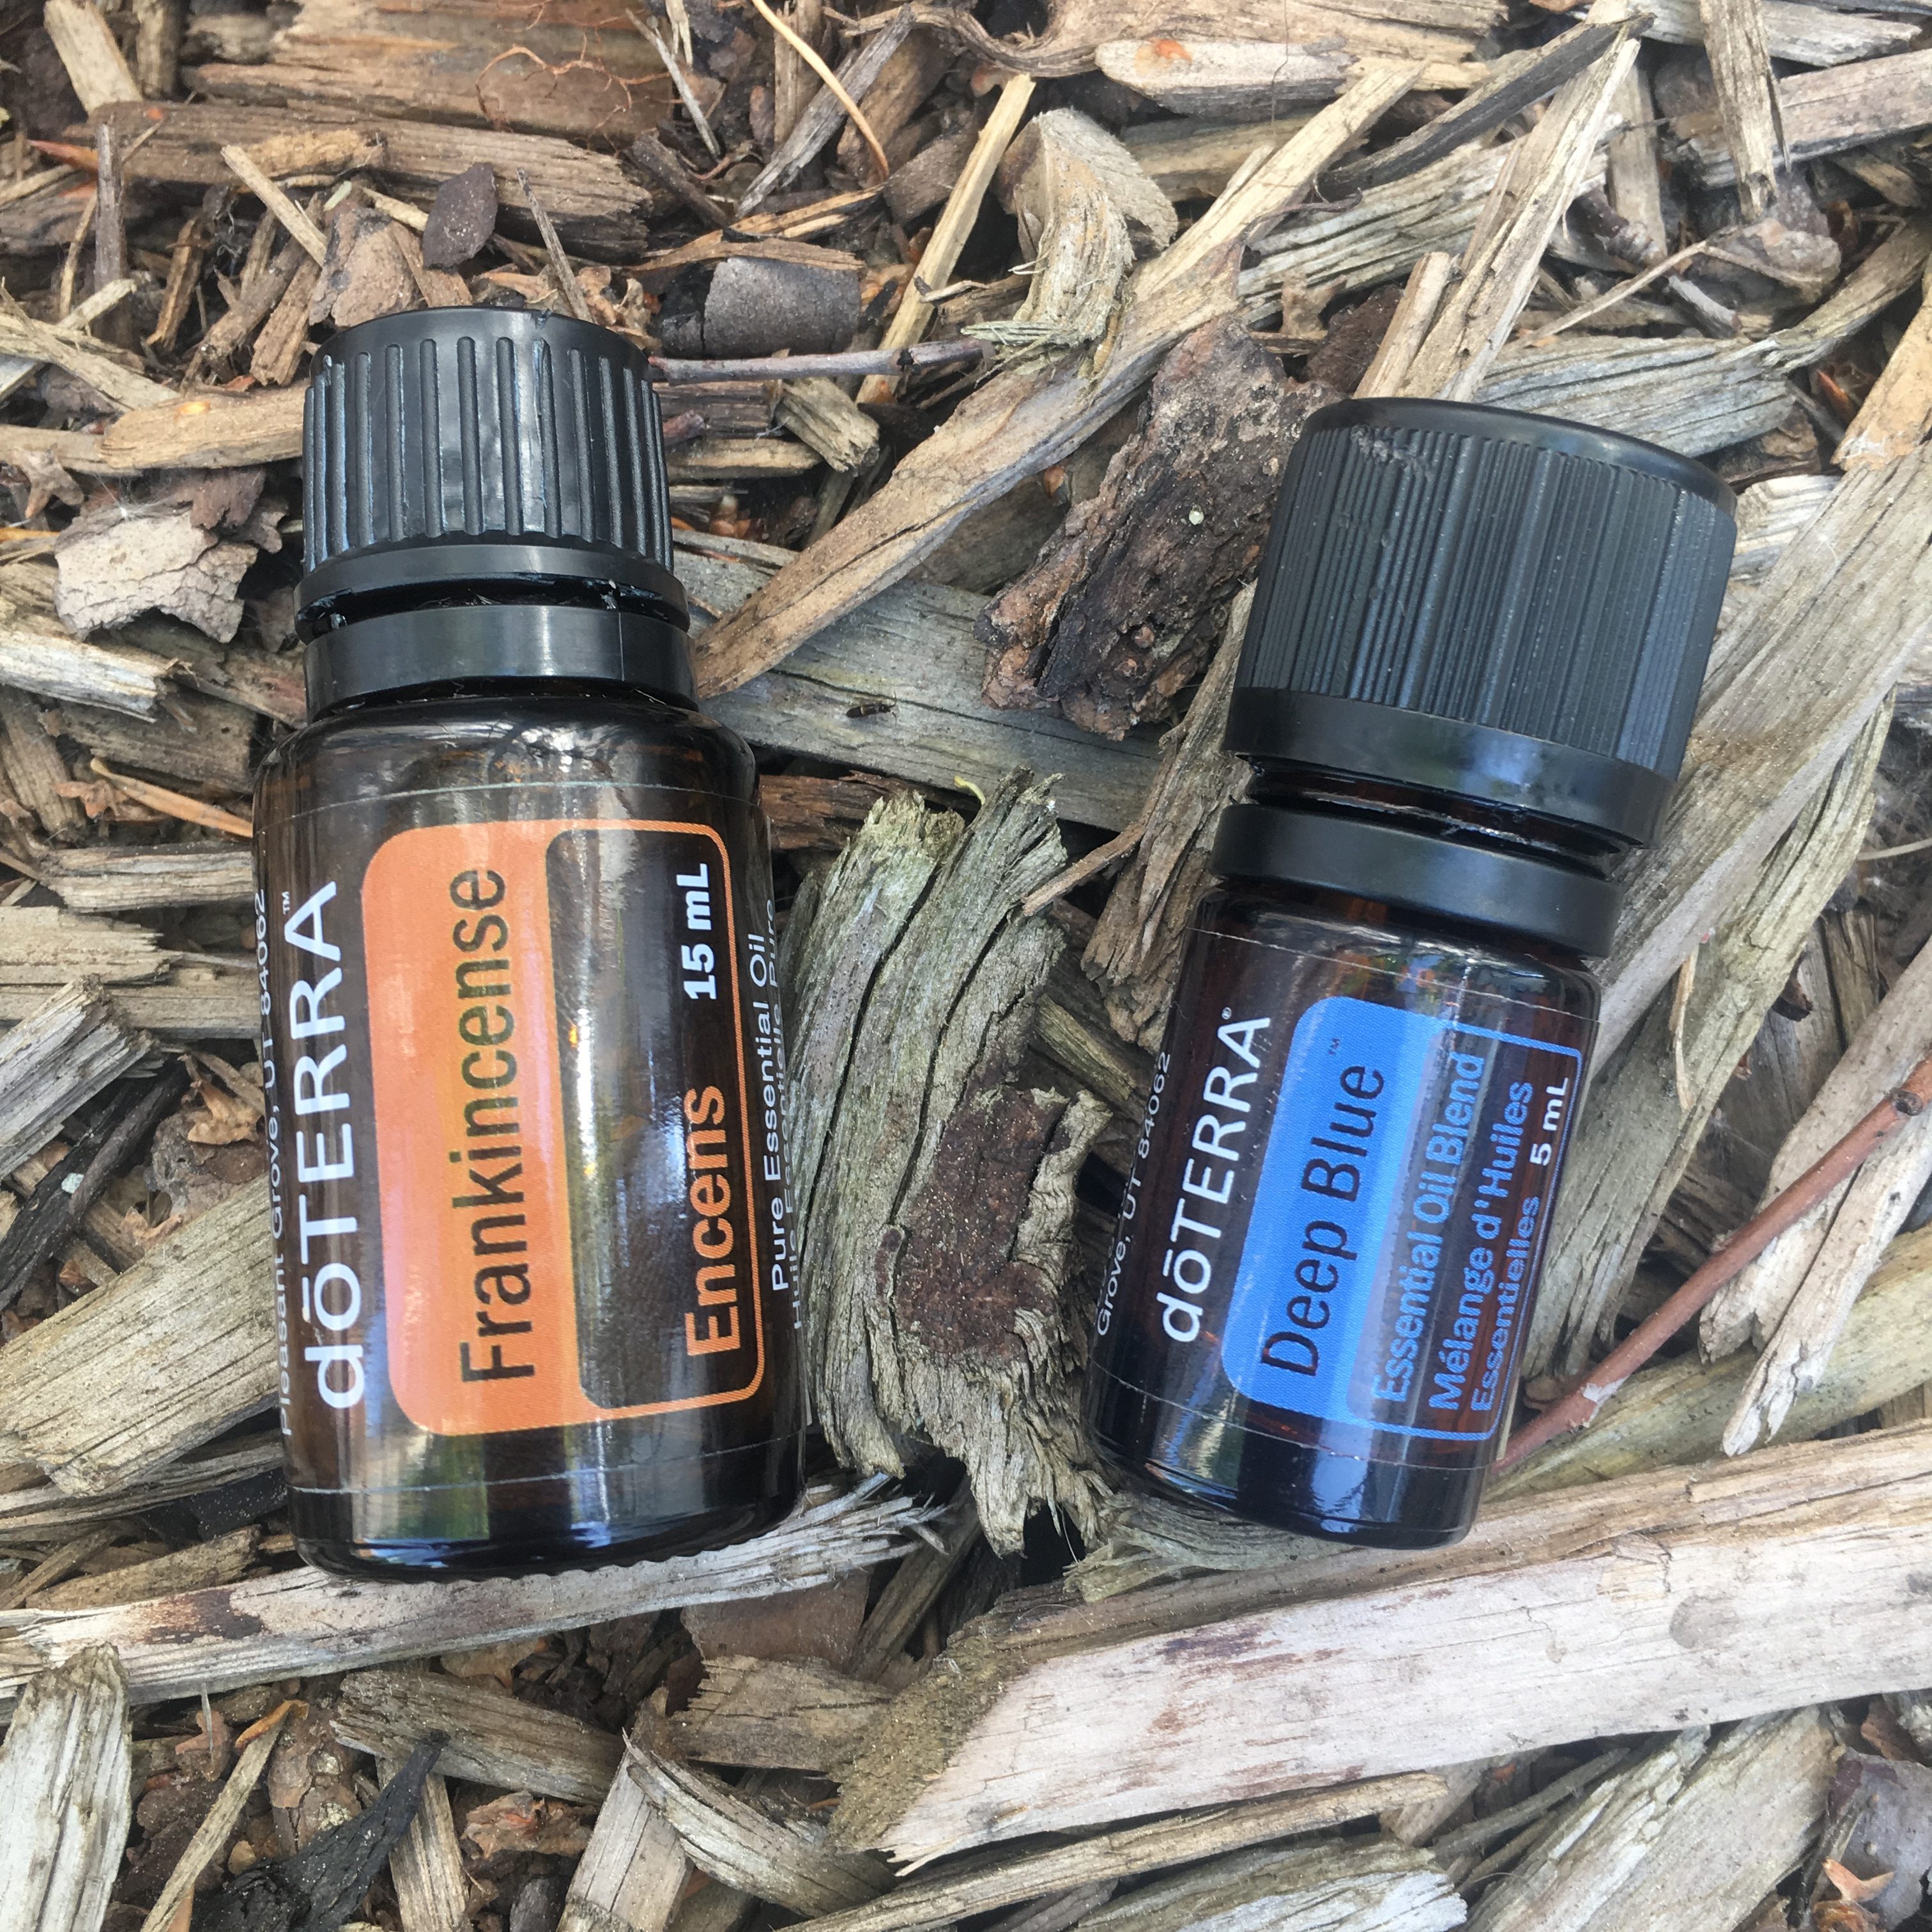
First Aid Kit – be prepared for bumps and bruises, small cuts and scrapes by carrying a first aid kit. Include things like bands aids, tea tree essential oil (for cleansing), lavender for soothing, mole skin for preventing blisters, correct x for bumps and bruises, tweezers, safety pins, etc.
On the Hike:
 Set realistic expectations – like mentioned above pick a hike that the kids can complete successfully and enjoy. Don’t push for that big long hike, uphill the first time out.
Start early – kids are freshest in the morning (as are you) so take advantage of that and hit the trail early in the day as opposed to the afternoon, even if it is a short hike that you’ll be done by noon.
Take regular breaks – even though you may be able to go for longer periods, allow breaks for the kids. Encourage them to take a sip of water on the breaks, and at some, not all, maybe a snack. Now don’t dilly dally and stop every 5 minutes or you’ll never get to the end, but allow them time to stop a moment and let their body rest periodically. Remember they are getting used to it!
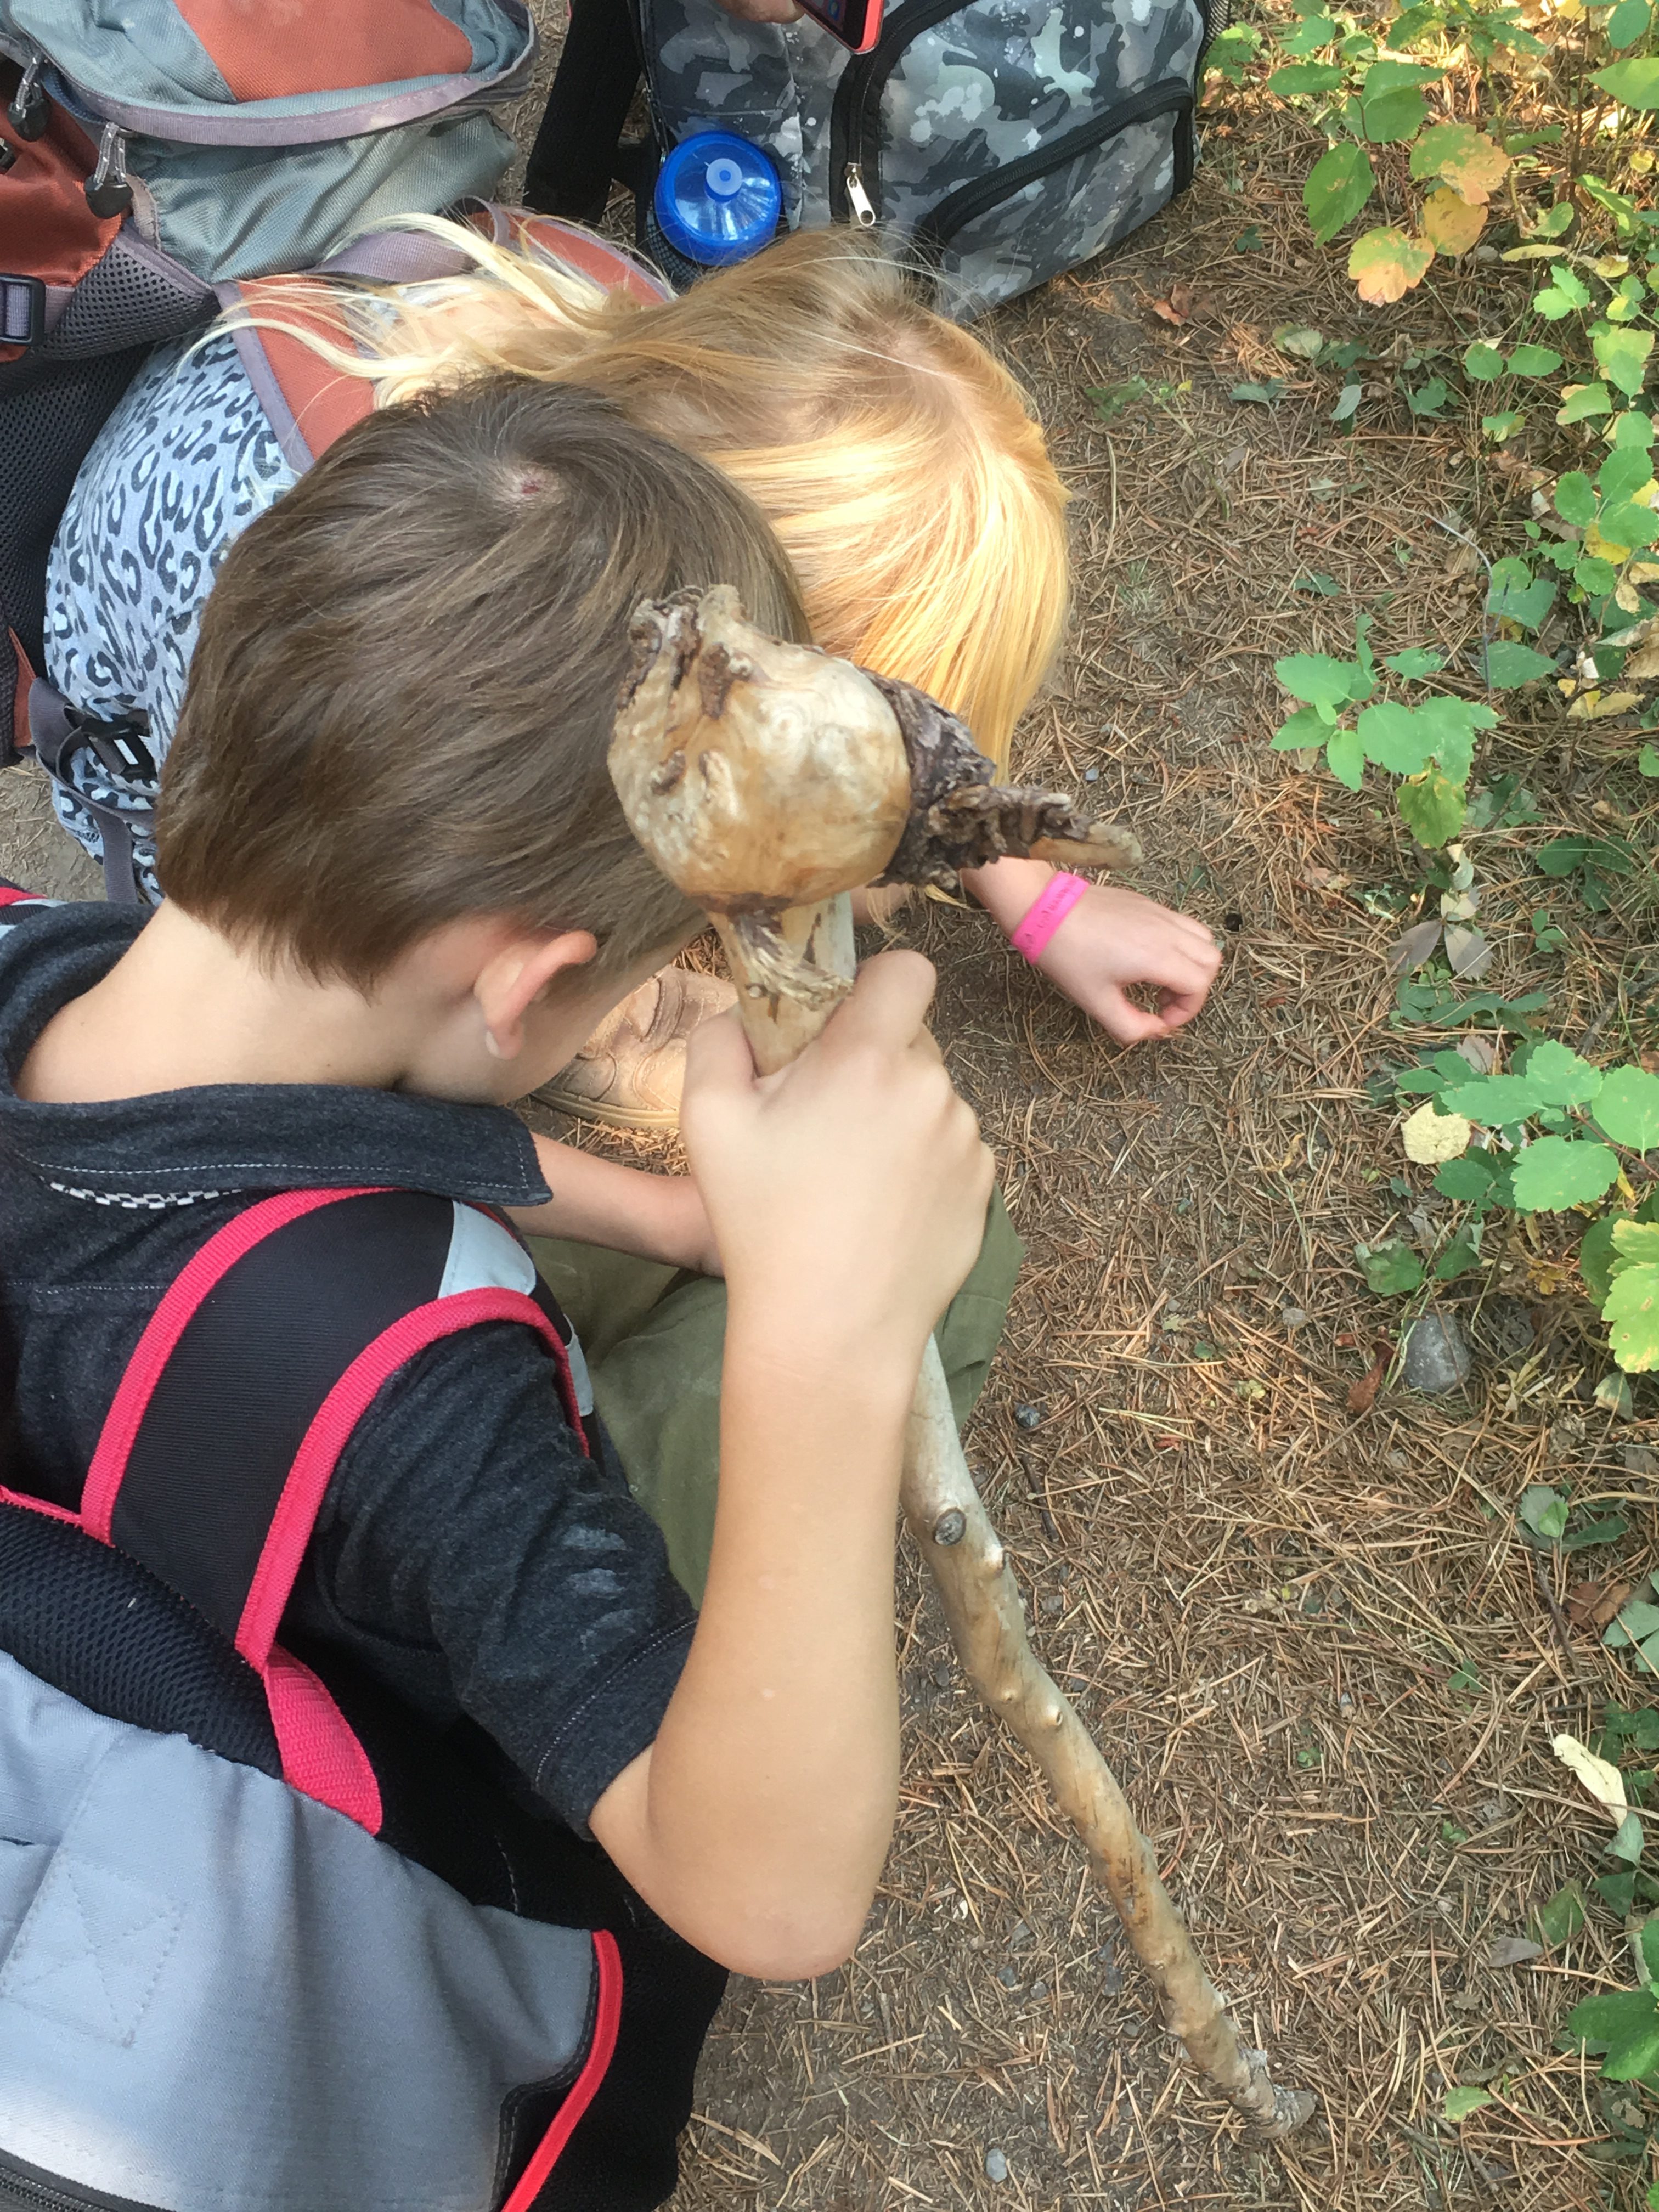
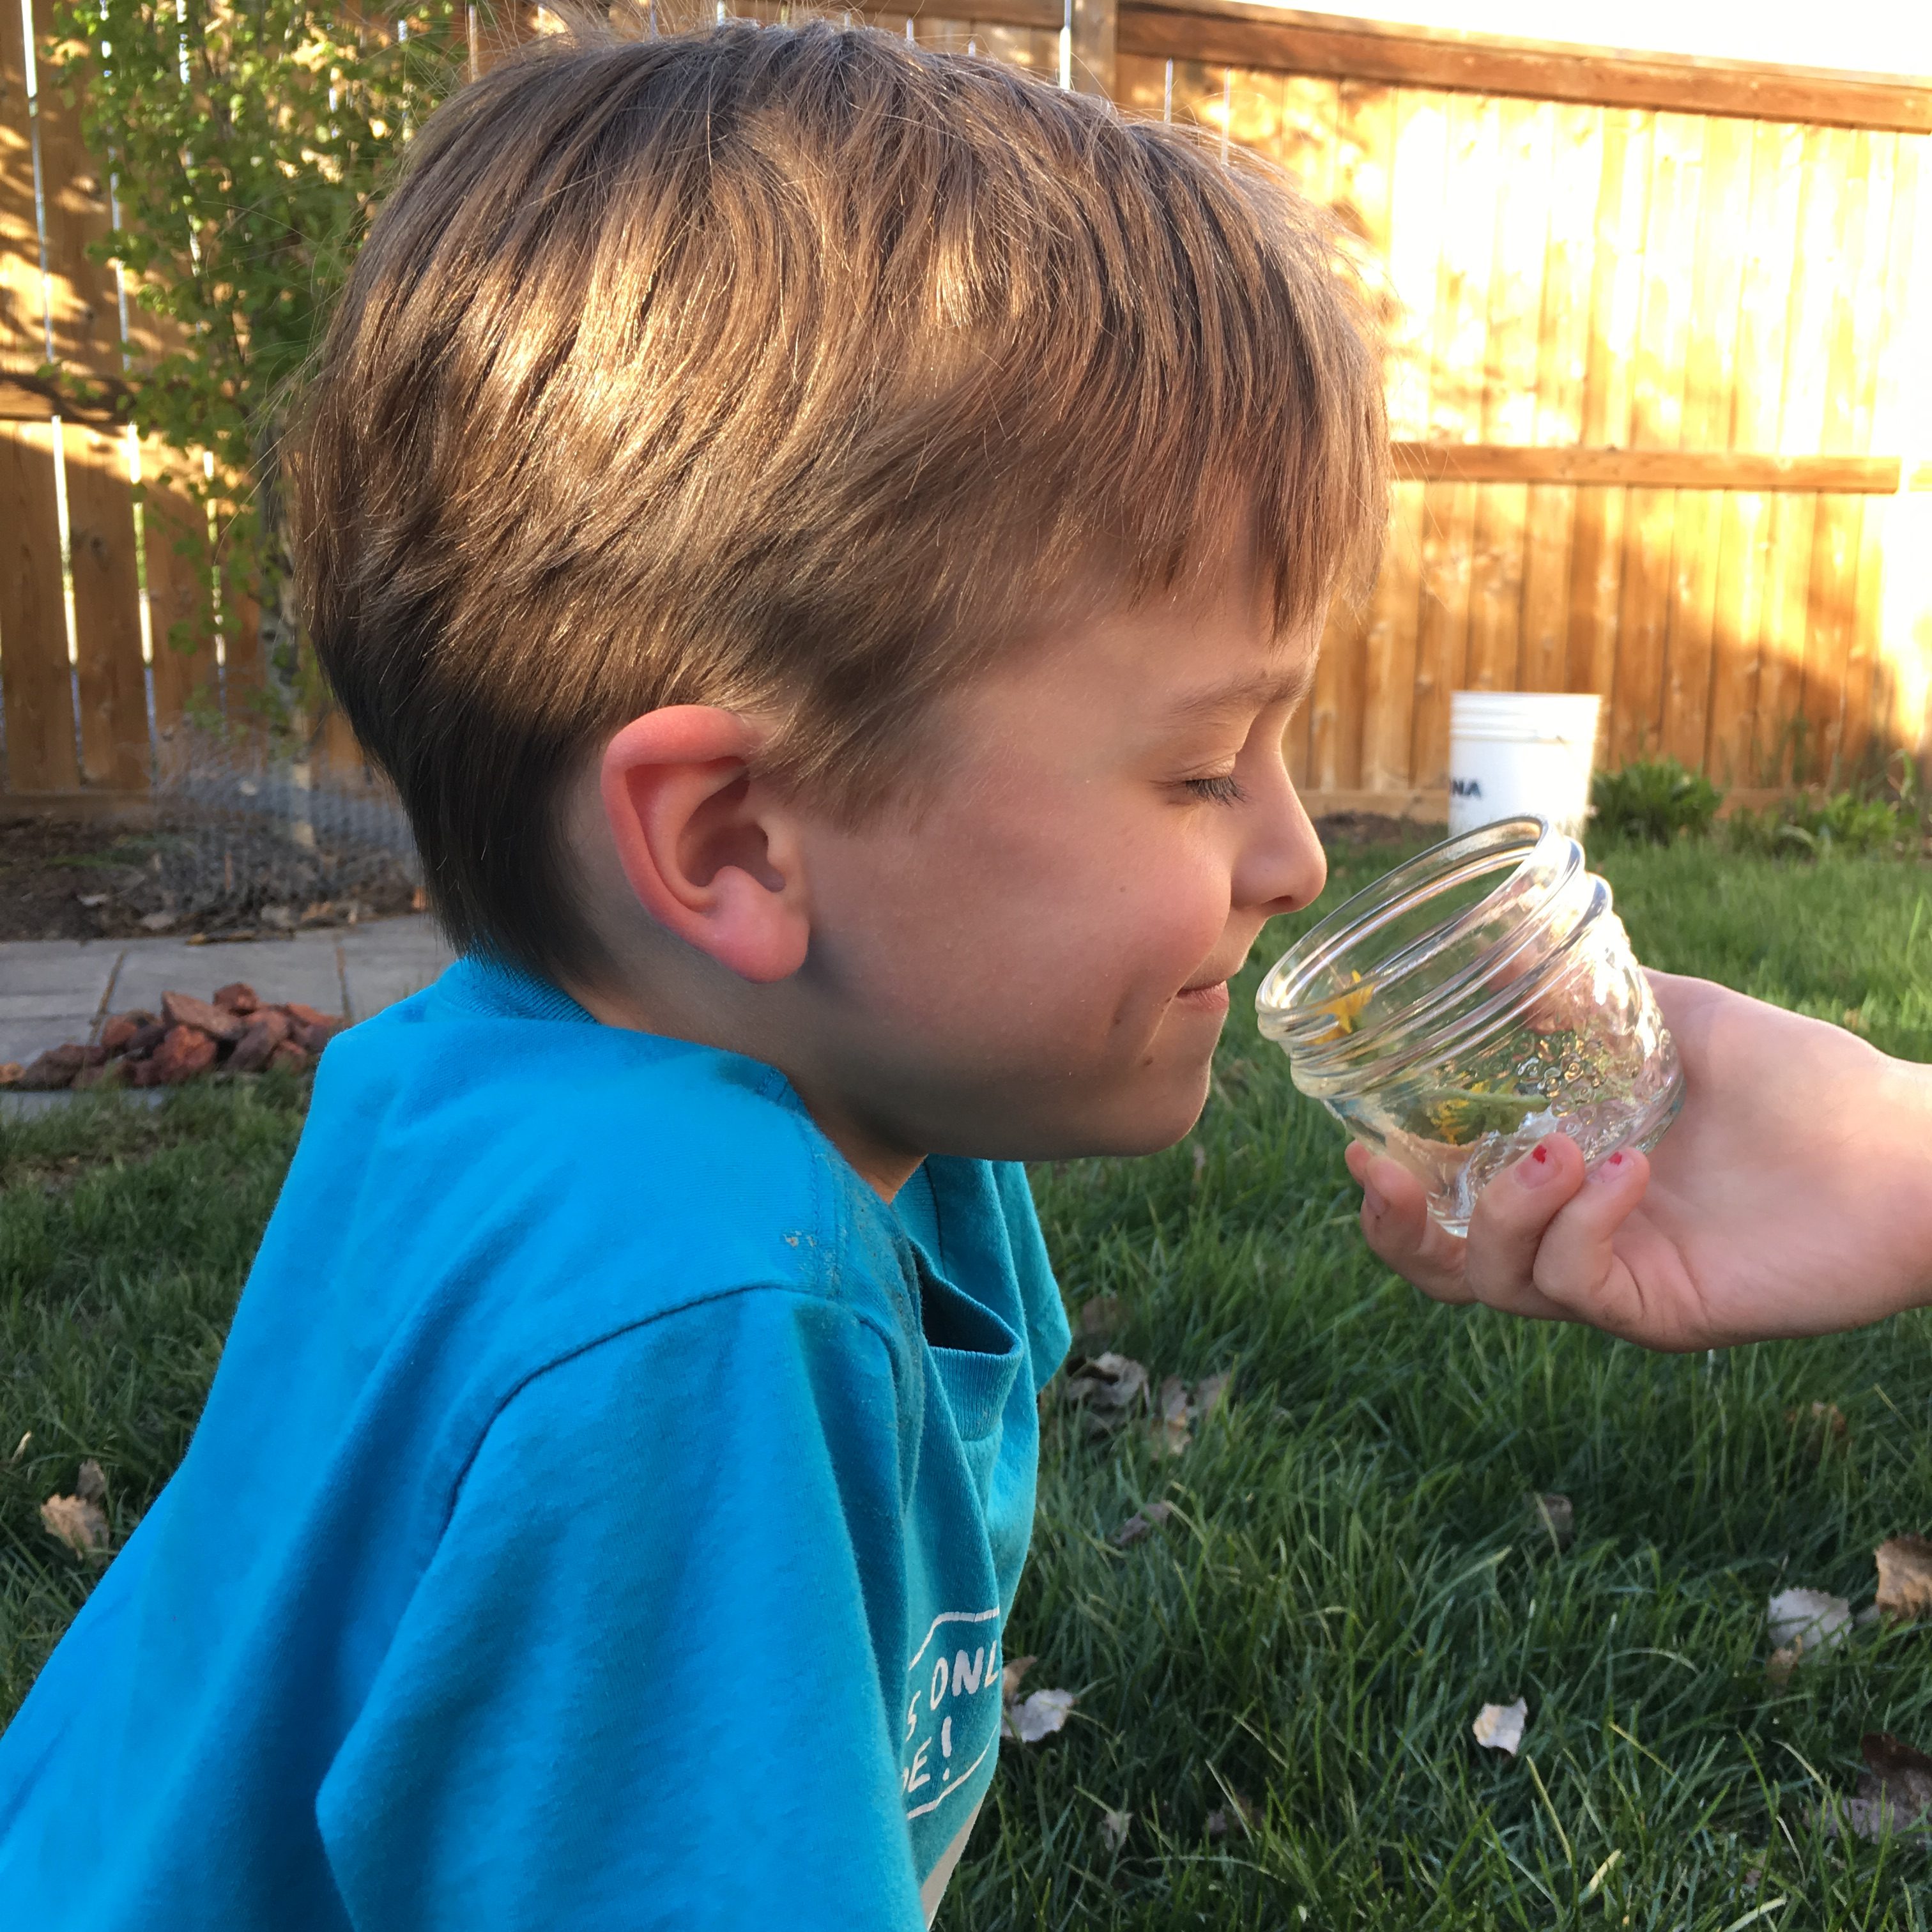
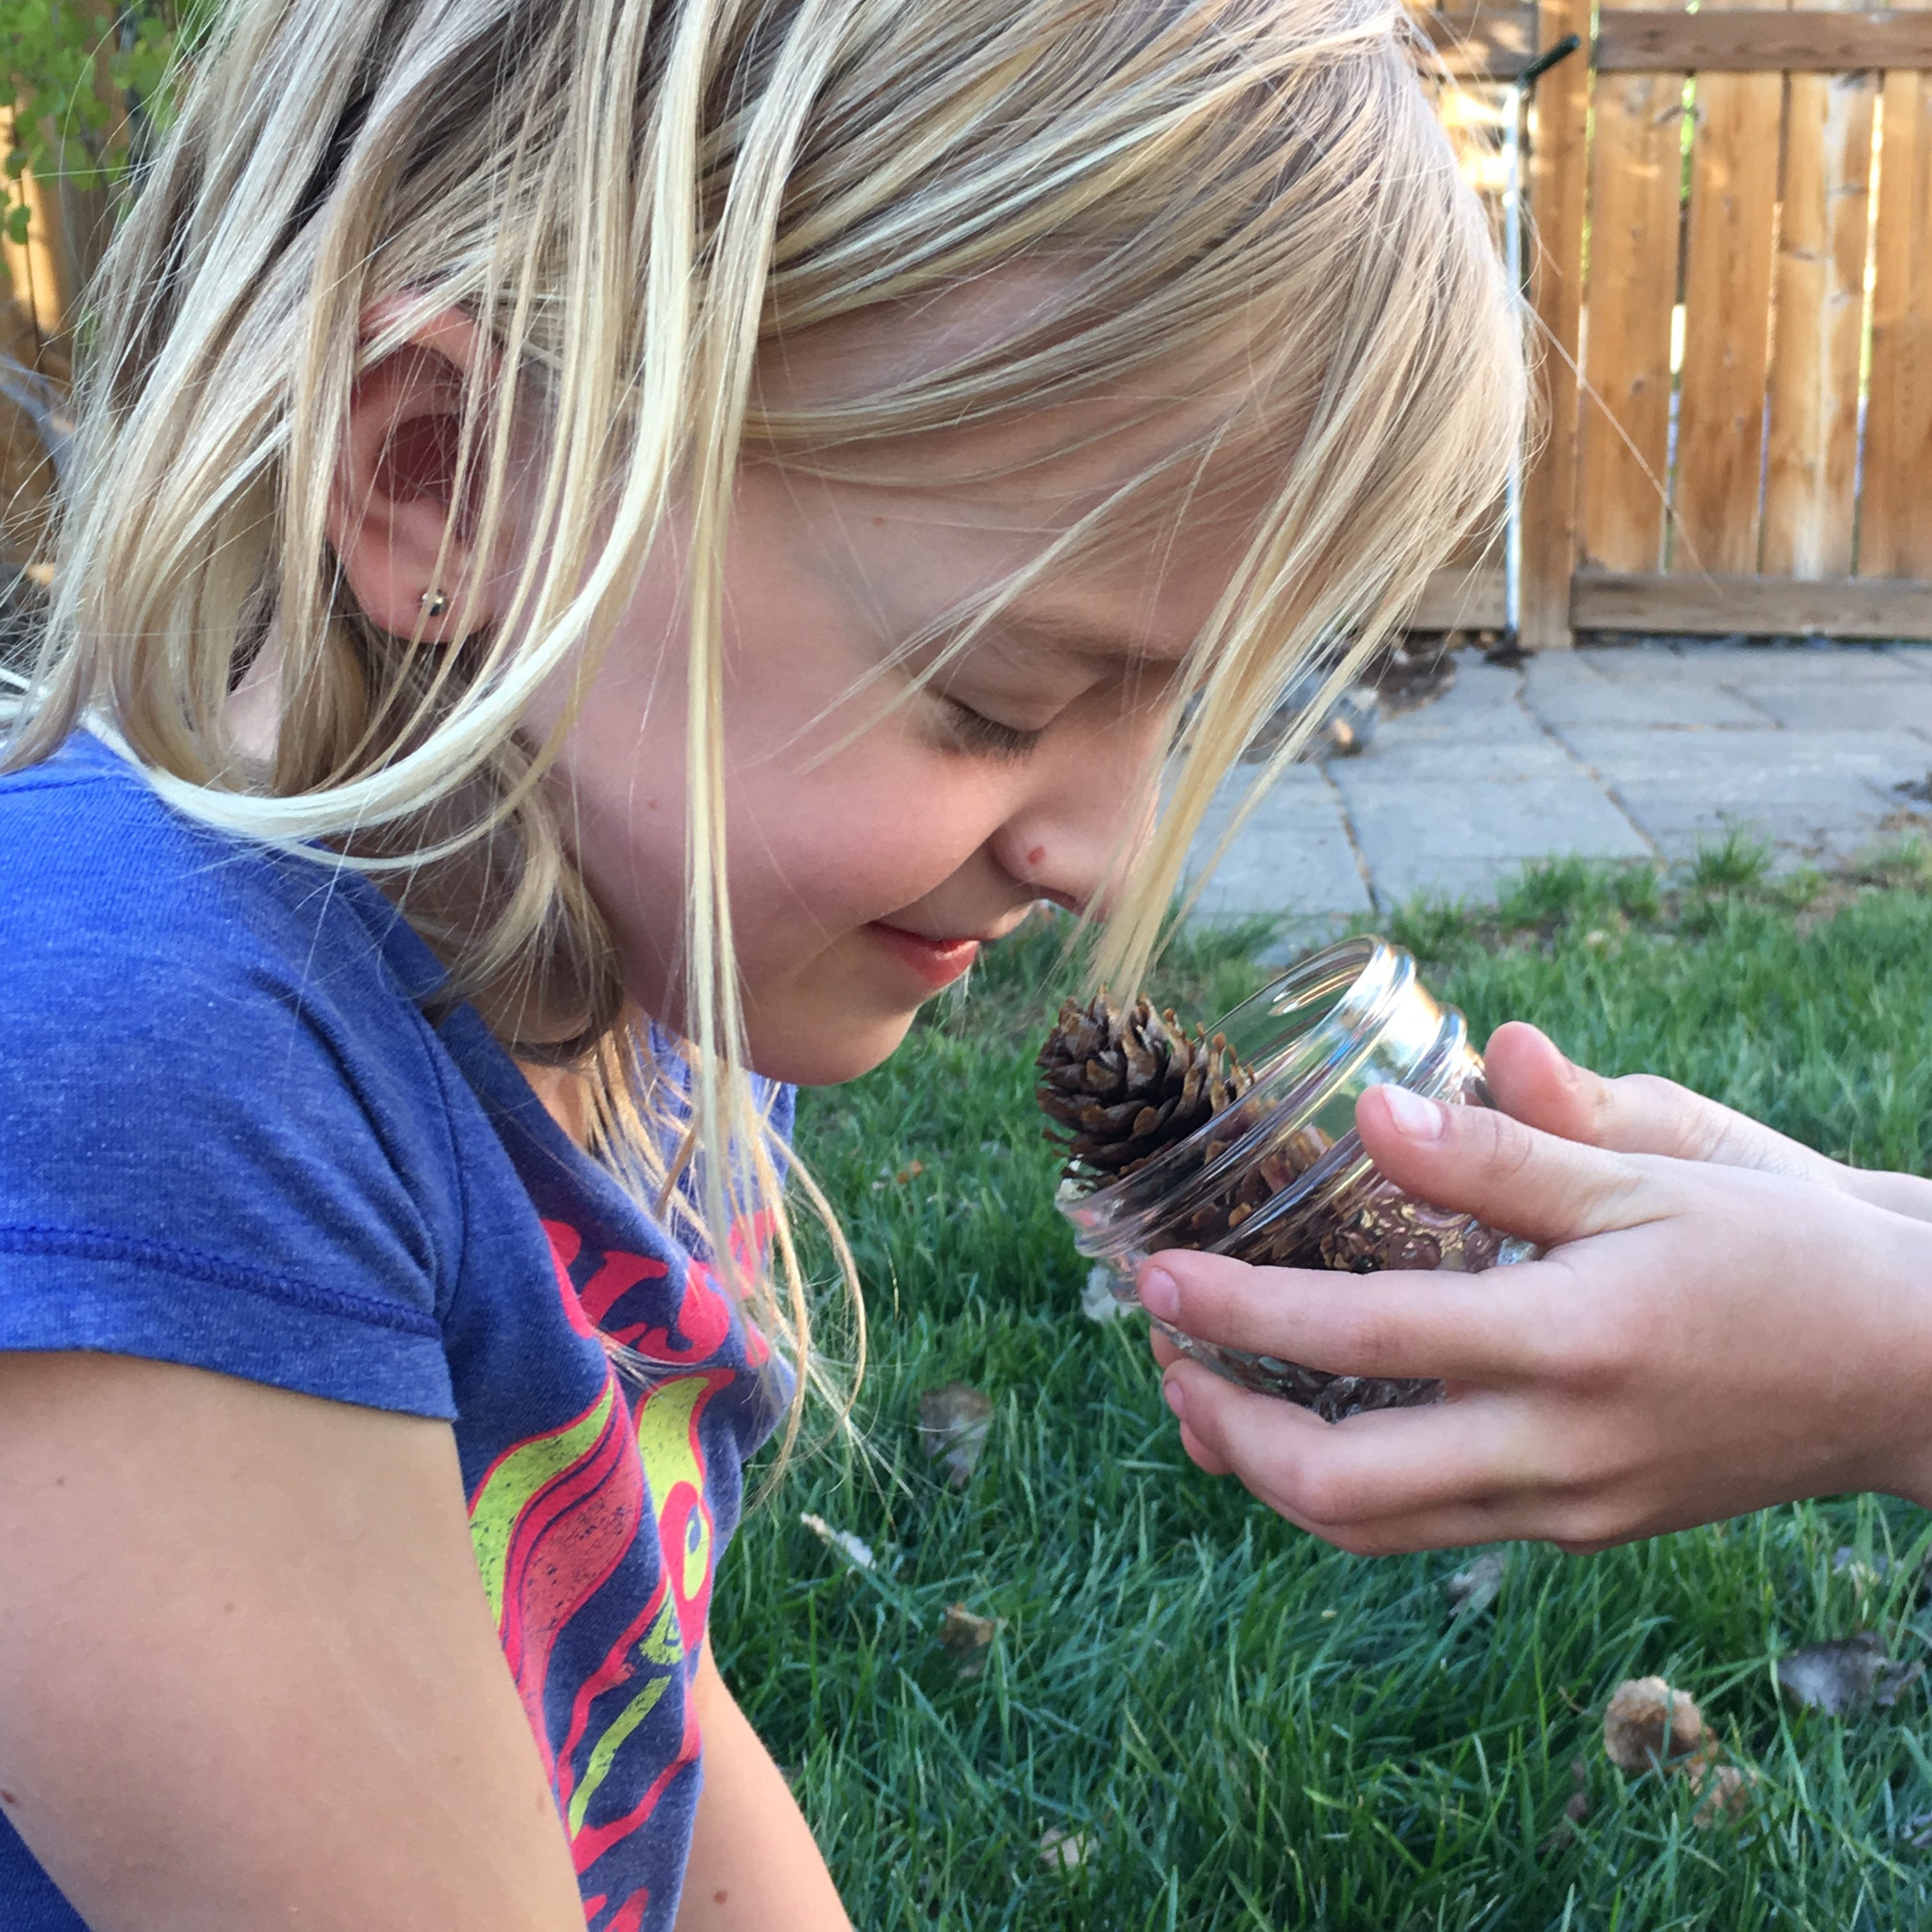
Allow time to explore – Kids naturally love to explore so allow some time for that on your hike. This could be in the form of an activity you do with them or simply stopping and looking around an area for a few minutes. It is important to be mindful though about staying on the trail as well as staying safe. Teaching them good trail etiquette is part of the experience so set boundaries and guidelines for their exploration.
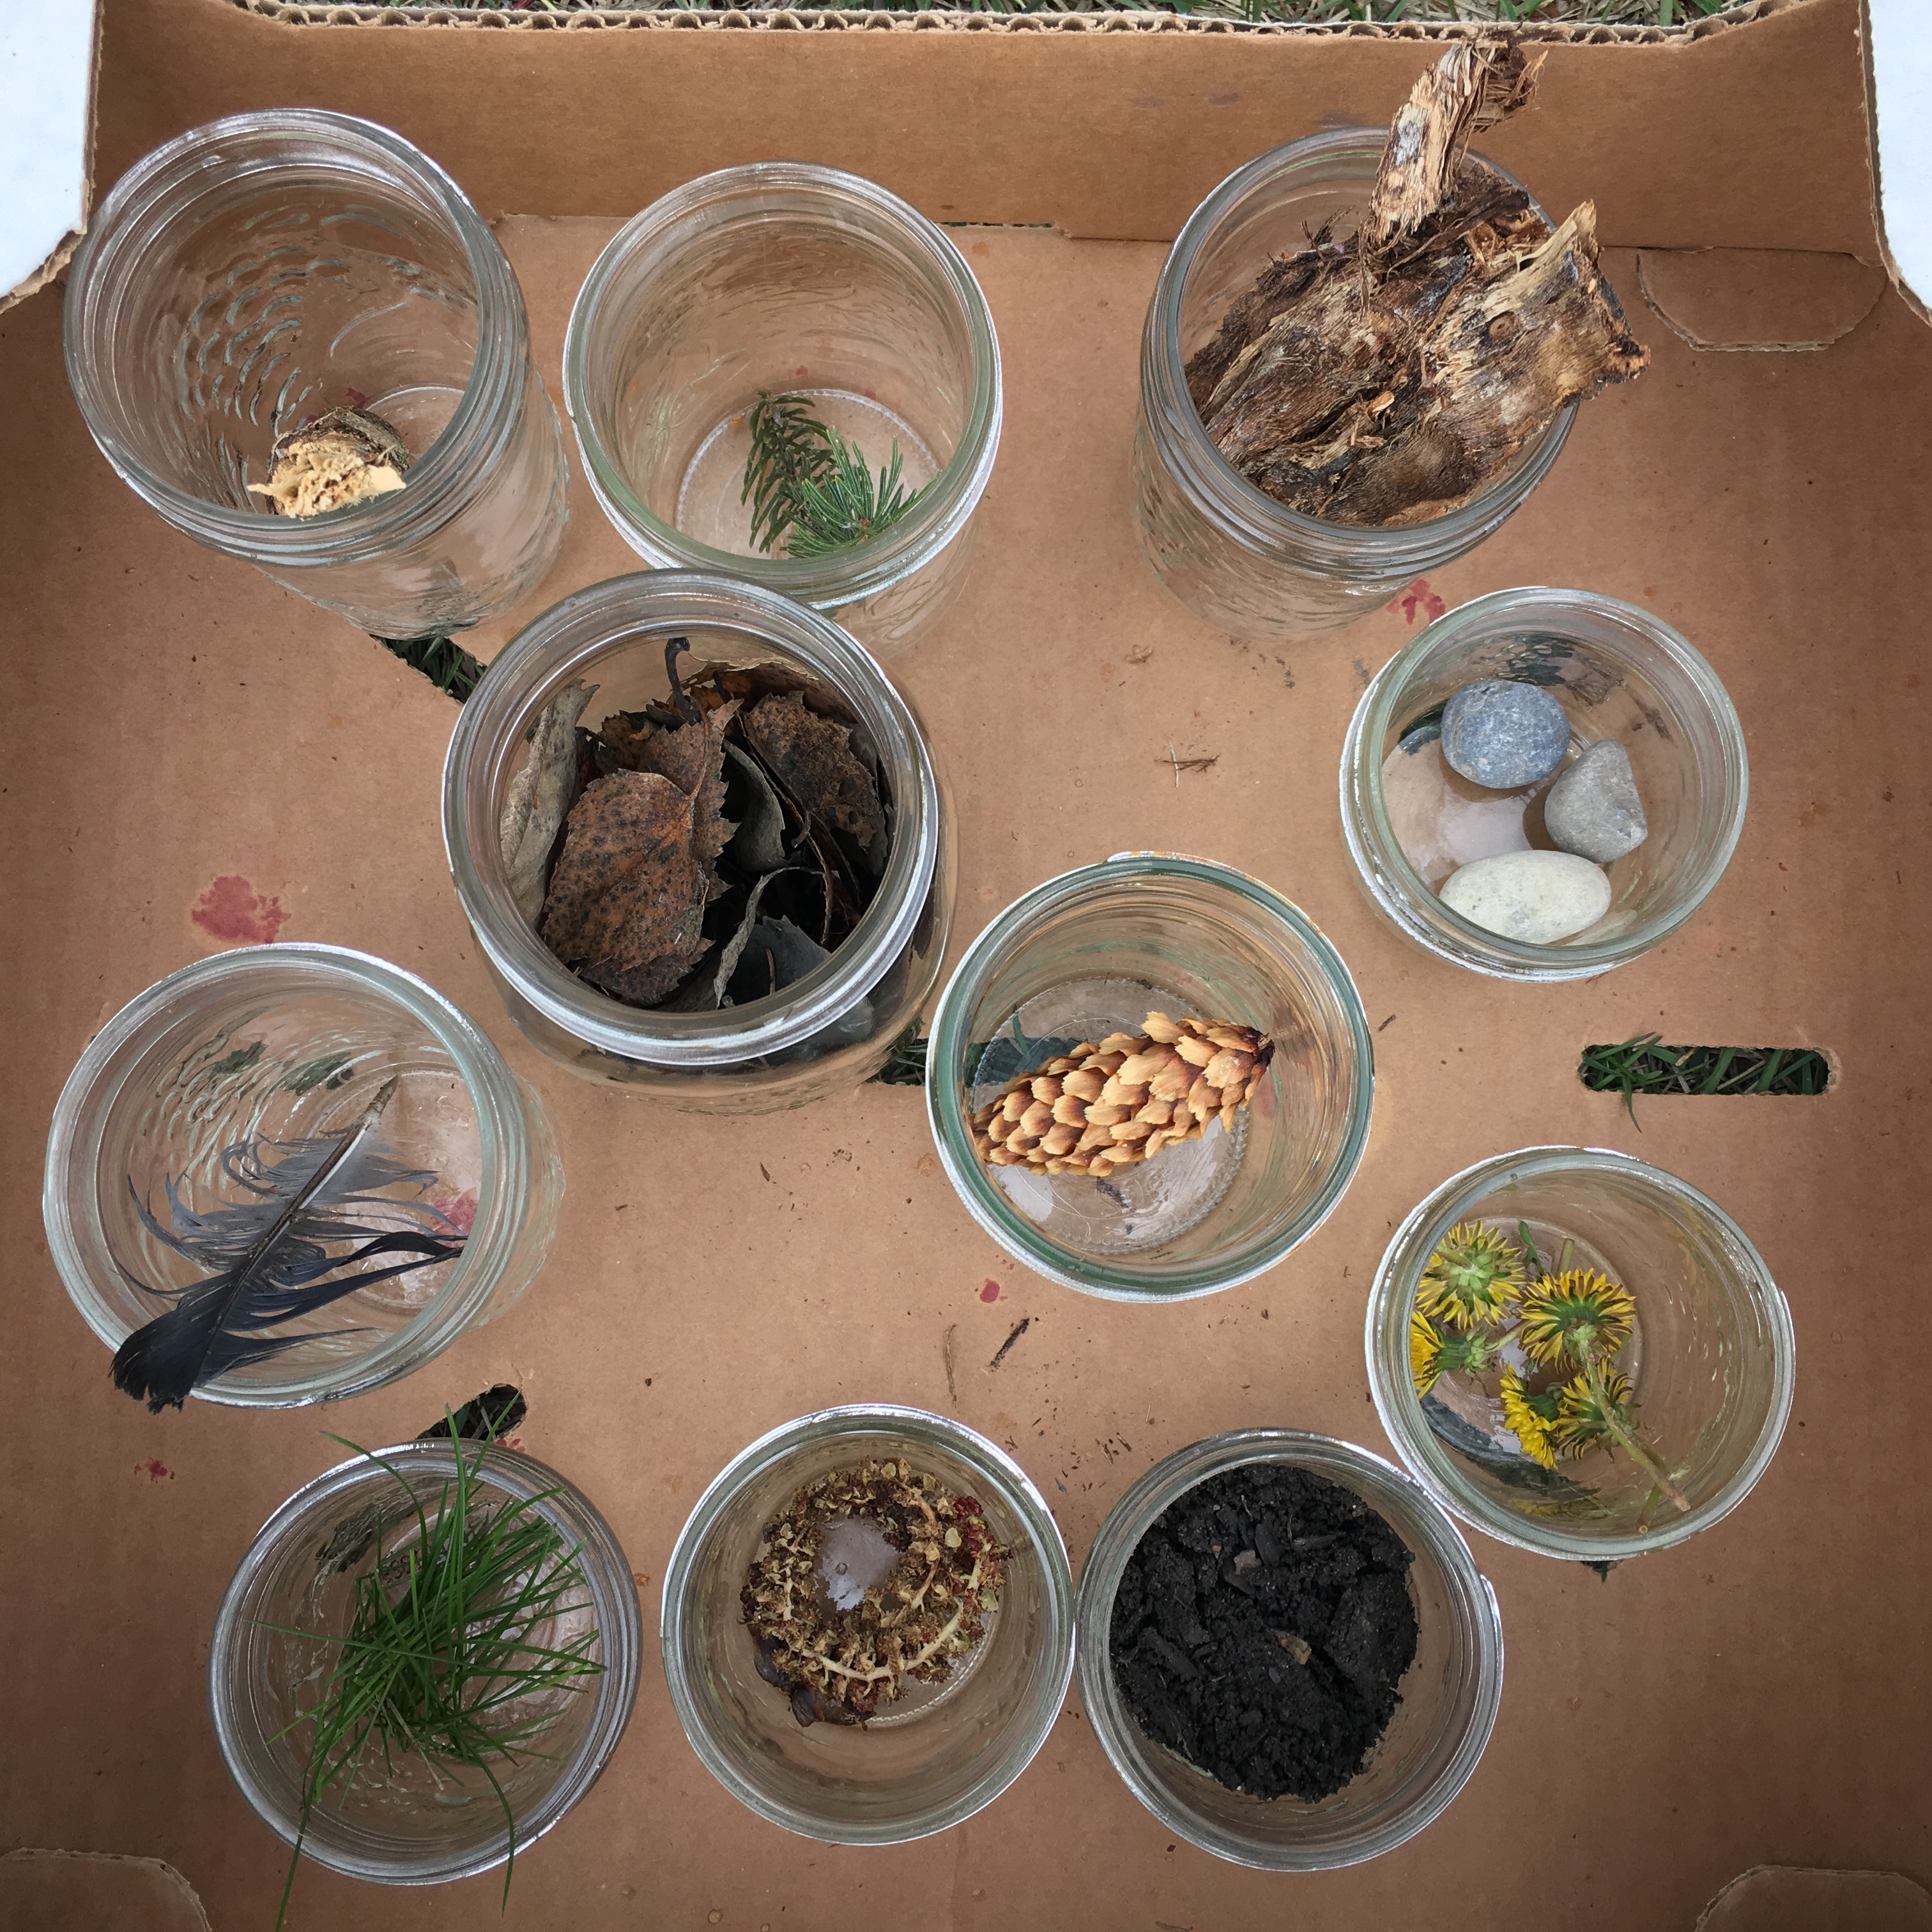
 Teach them about plants and flowers – there is a lot along the hiking trail that kids wouldn’t normally see in the city. Learn about a few plants and flowers and show them those along the way. Take a guide book as well for both yourself and the kids to look at if they wish. Tell them what they are by the proper name, encourage them not to pick them (and share with them why – that if you pick them in some instances it kills the plant altogether, and no one else can enjoy them). Only point out 2 or 3 on a hike (unless they ask about a specific one), that way it’s unique and fun for them, plus they may be more apt to remember what you told them. It’s ok if they don’t remember the name when you ask them later, they may the next time.
Benefits of Hiking with Kids
Hiking with kids provides many benefits not only for them but for yourself as well. It’s a great opportunity to enjoy some time technology free and to bond with your child. You’ll connect with them in a way that you can’t at home cause there are too many distractions. I’ve had some wonderful conversations with my kids while hiking that I would not have at home.
It gets them out in nature. The benefits of being out in nature for children (and adults too) are numerous; such as boosts your energy and immune system, elevates mood, reduces stress and improves physical health. It is also important for us as human beings to simply connect with nature.
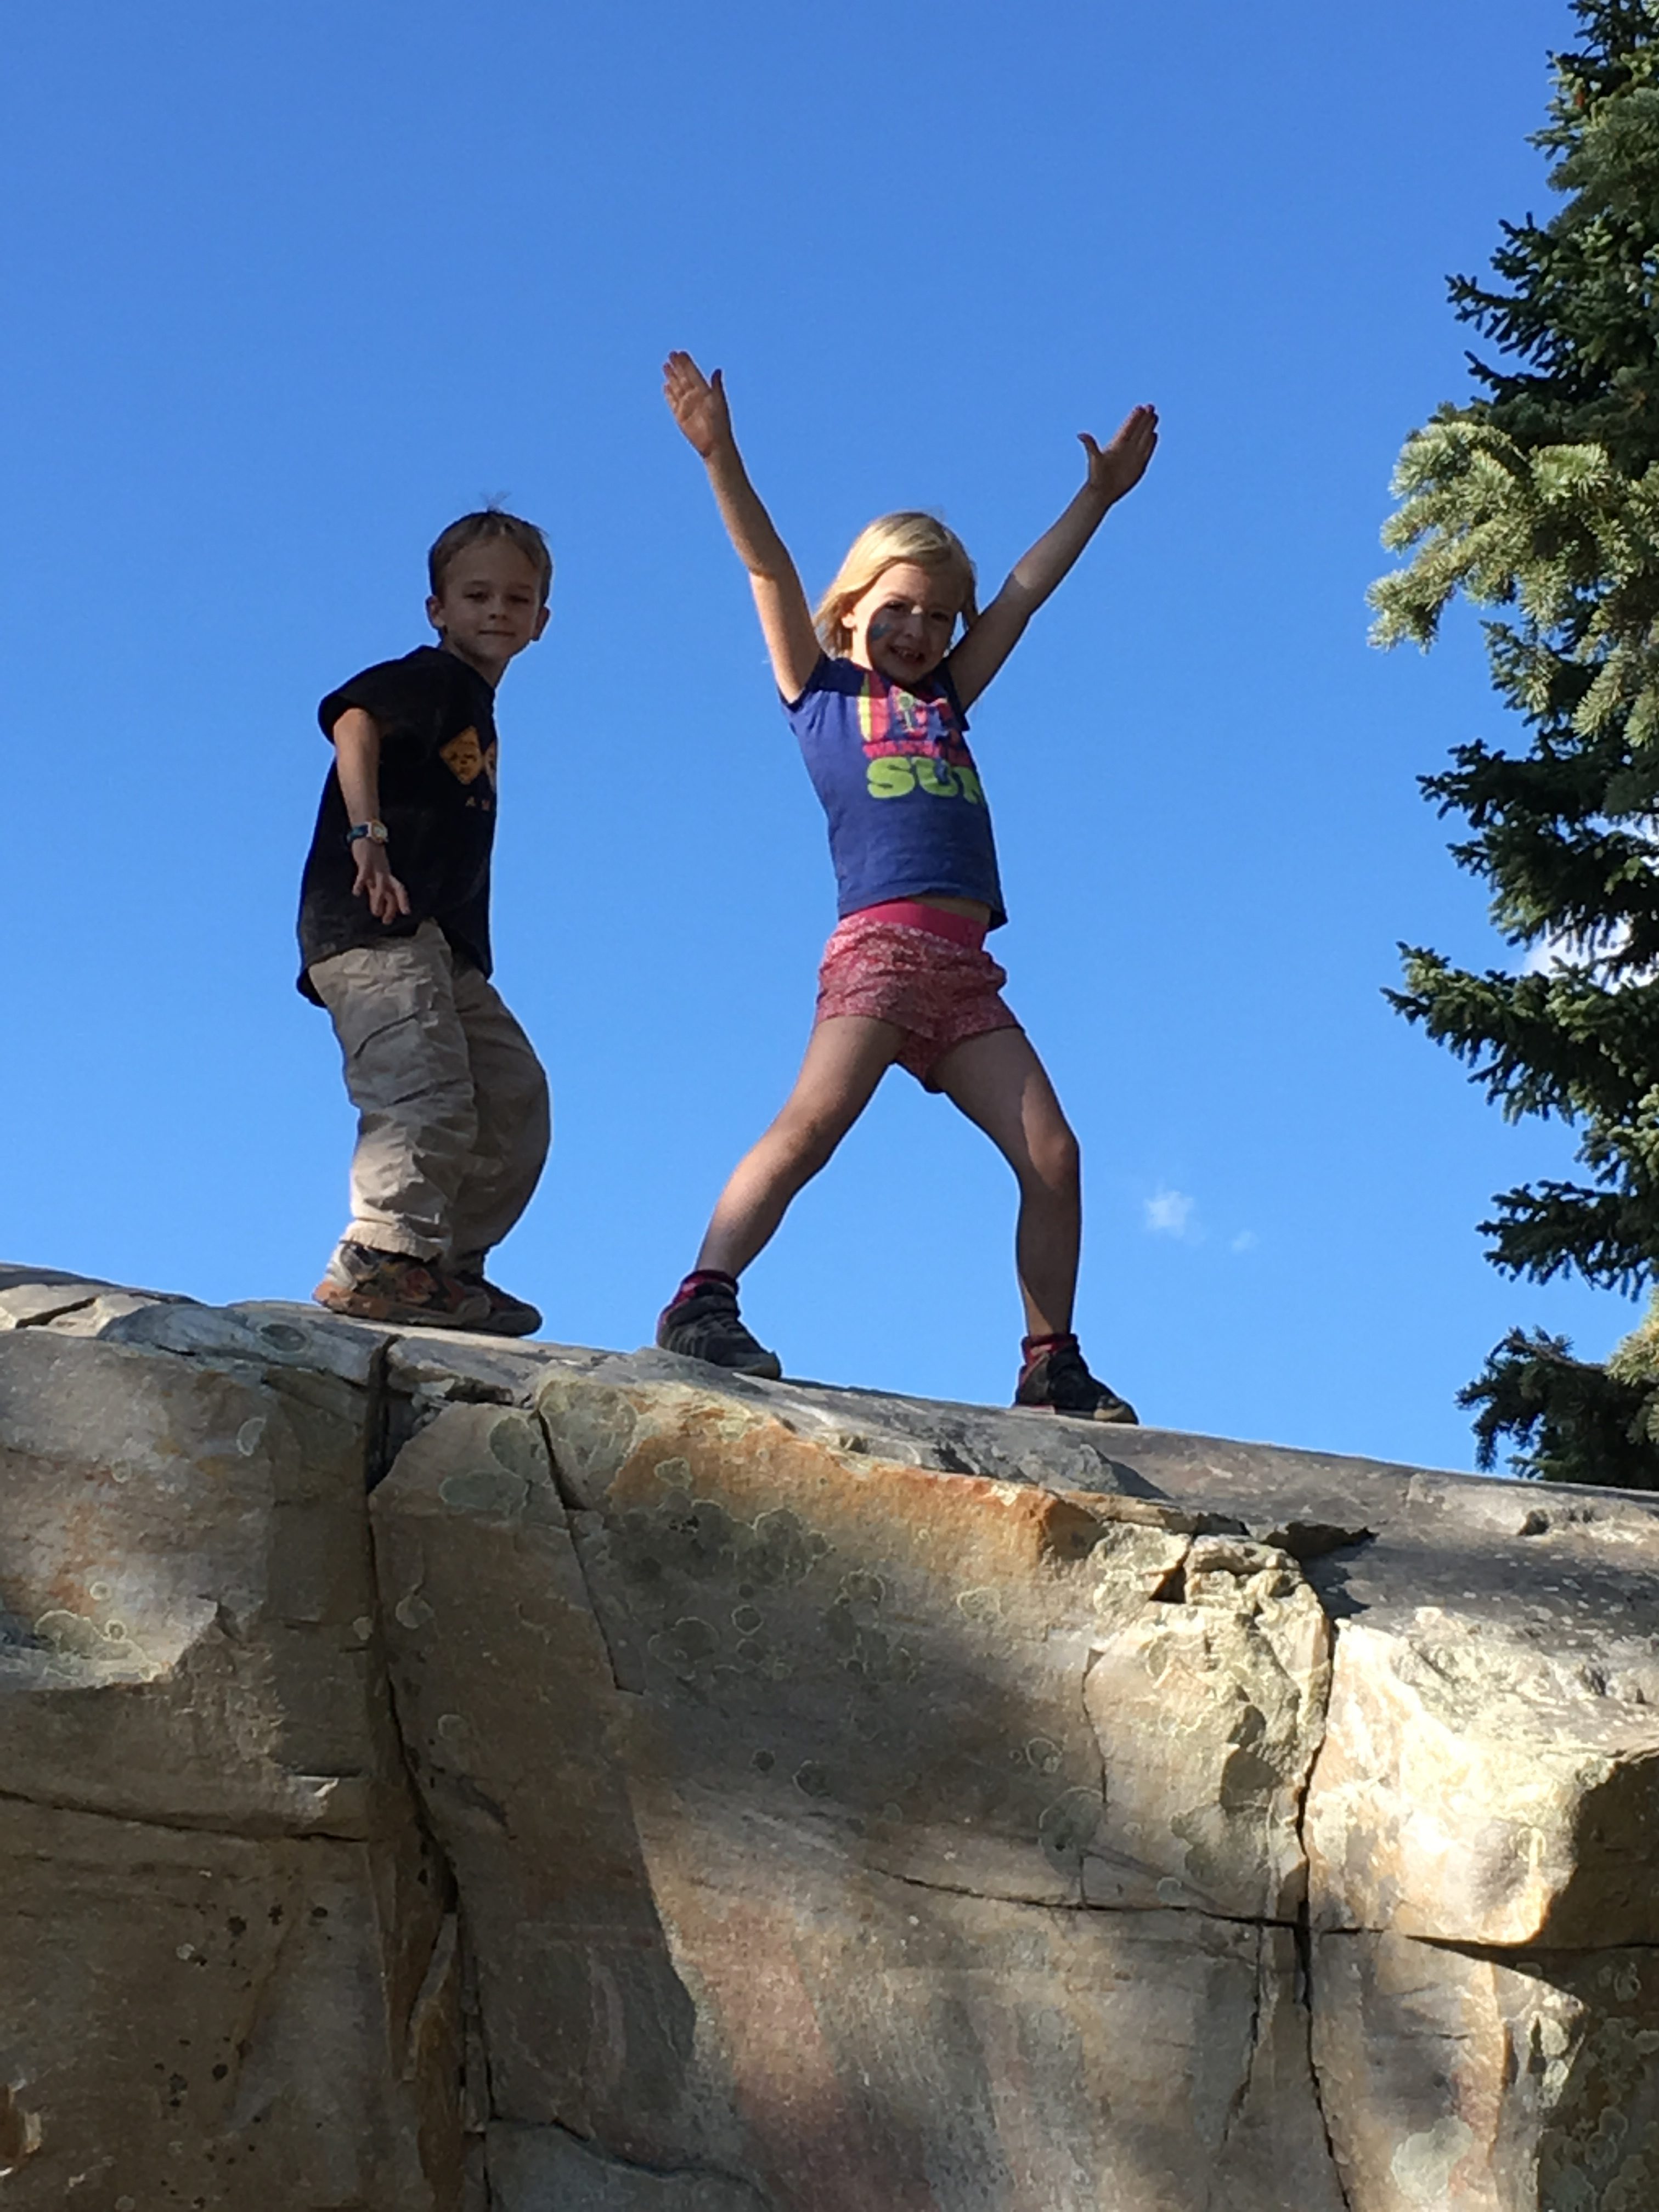
It nurtures their natural curiosity. Children are born with a natural curiosity to figure out how the world works. Nurturing their curiosity, fosters their desire to learn and helps them to become life long learners.
It creates positive memories. I was pleasantly surprised when recently my oldest son rhymed off all the hikes we’ve been on and what the highlights were of each (he’s now 14). He even remembered some things that I had not. We have great pictures, great stories and lots of smiles. And he’ll still go hiking with me, which at almost 15 and finding it challenging to find things to do together, I totally love and appreciate.
Keeping these tips in mind and some pre-planning will help create a very positive hiking experience for kids, as well as for you! It will create wonderful memories and an activity that you can continue to do together as they get older.

Stay tuned for some of our favorite hikes for kids in Alberta that will be featured over the next few weeks…starting with the Fenland Trail


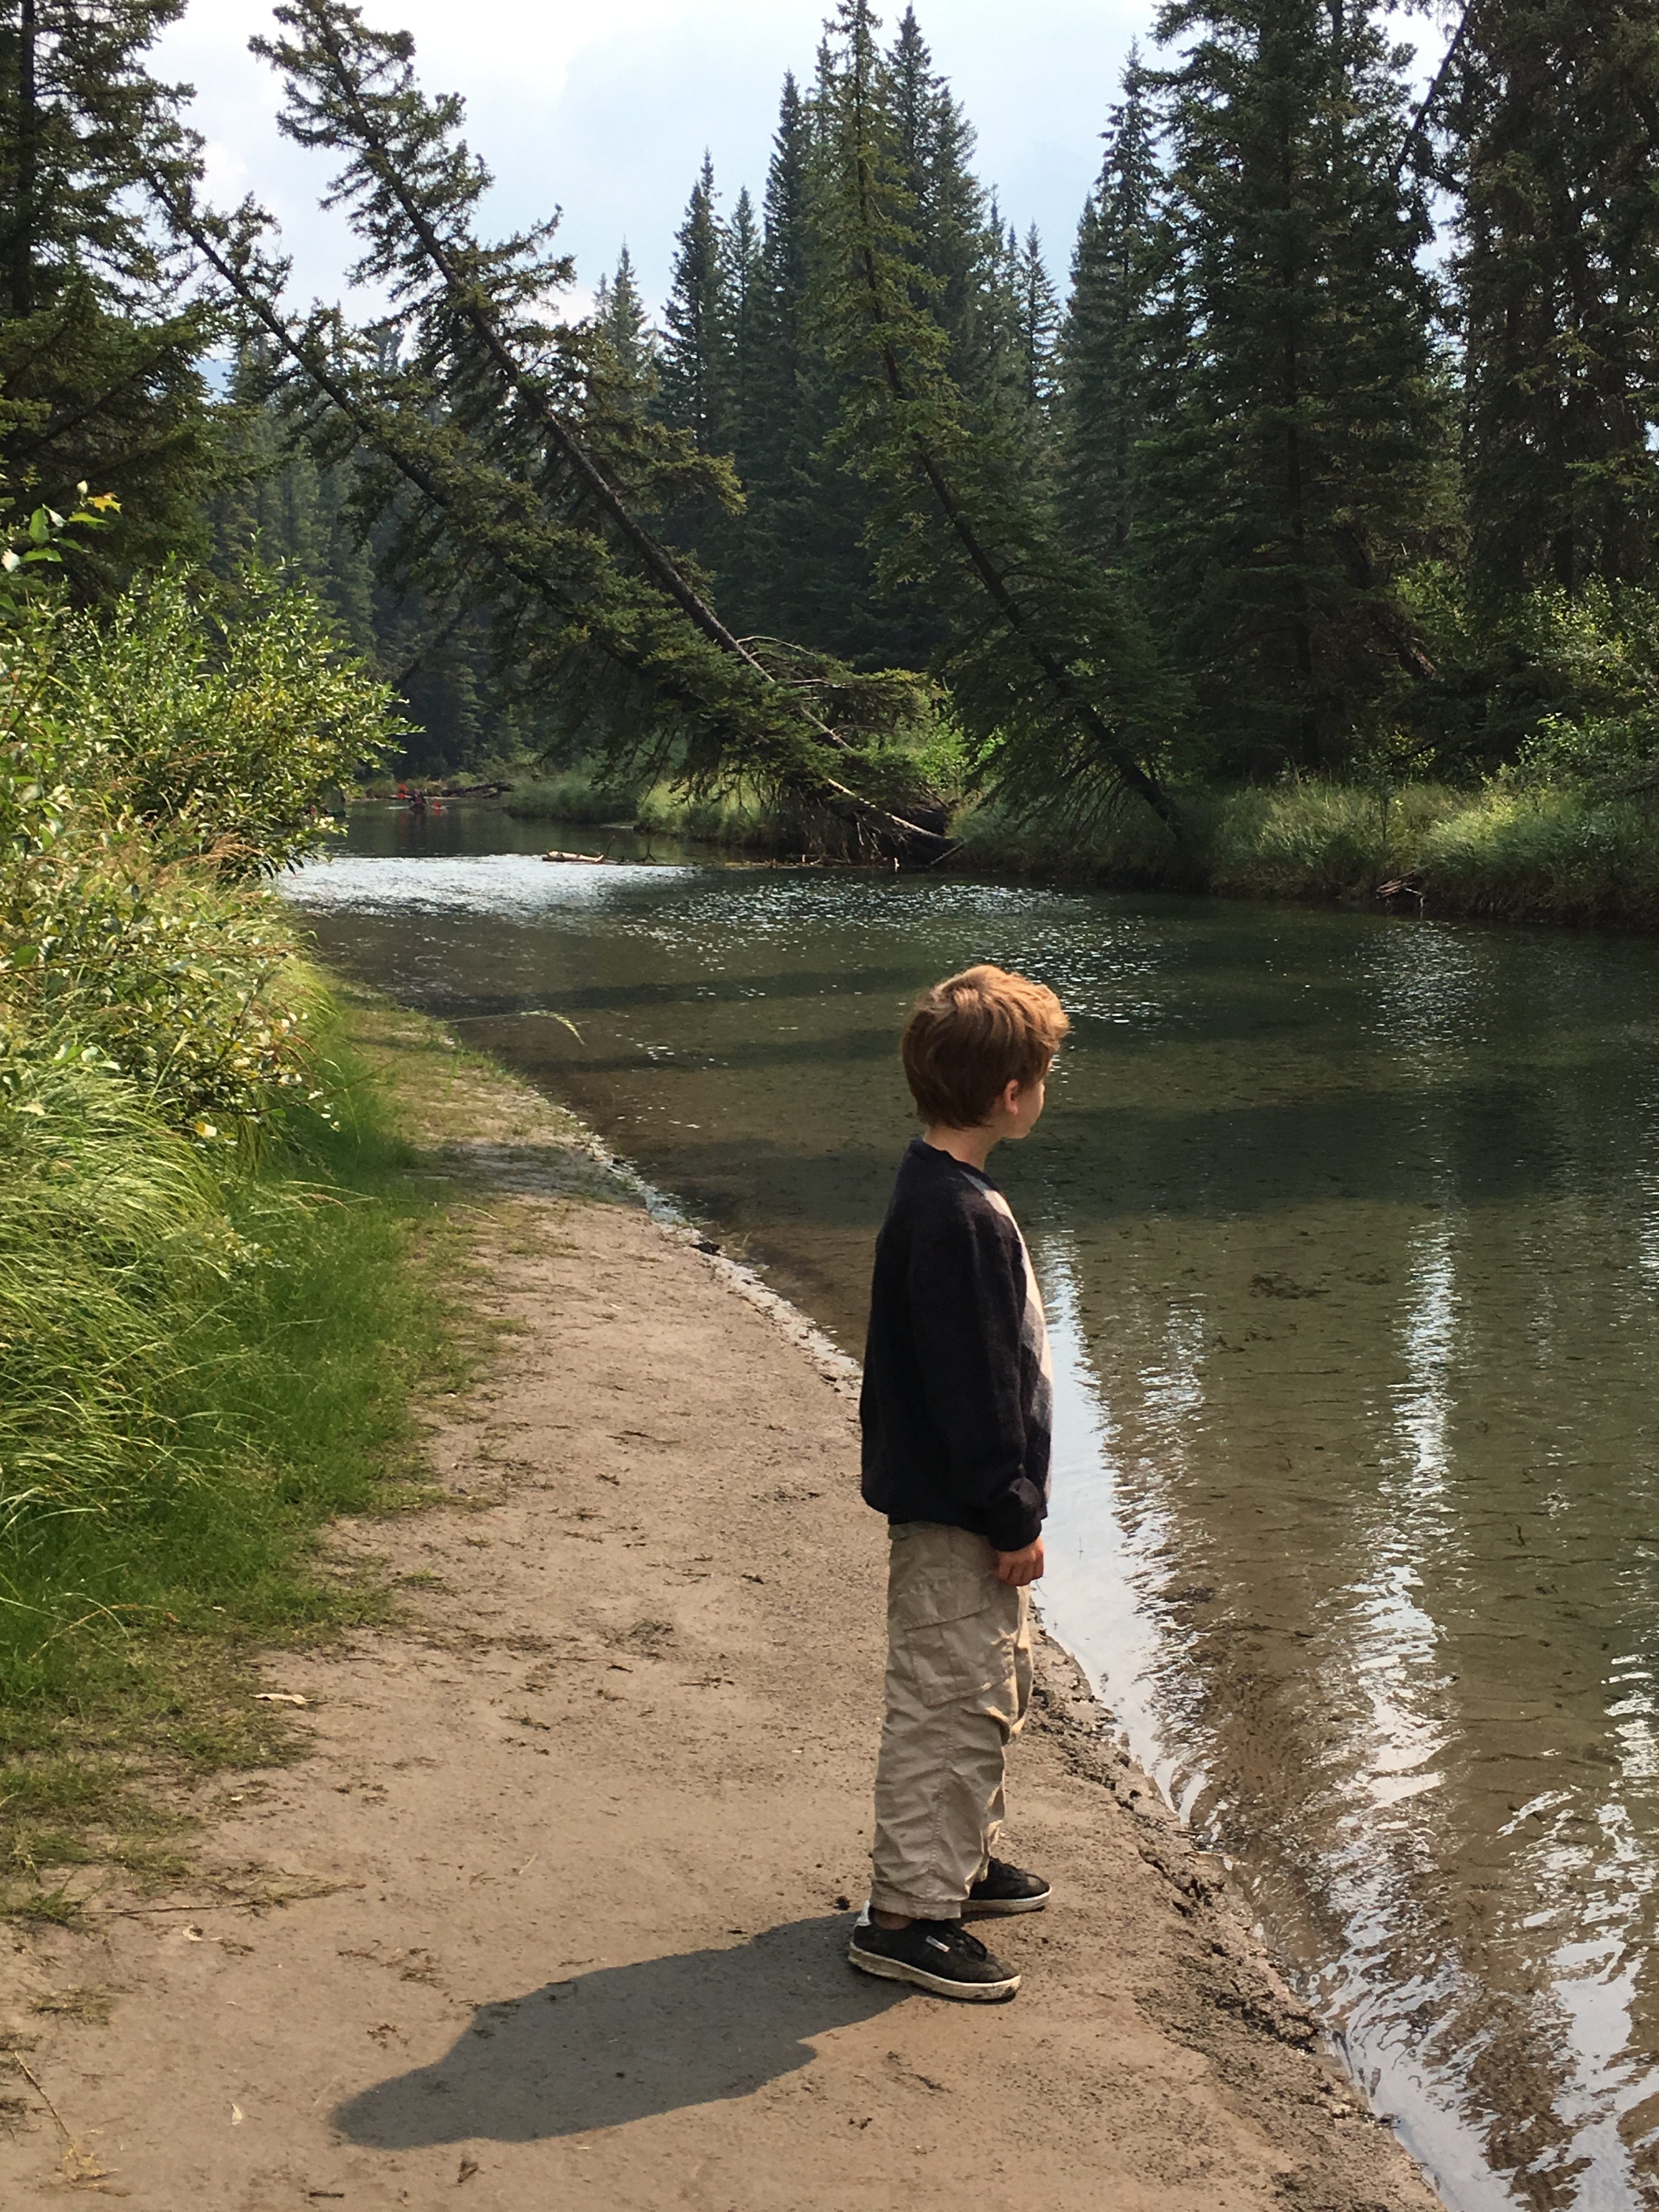
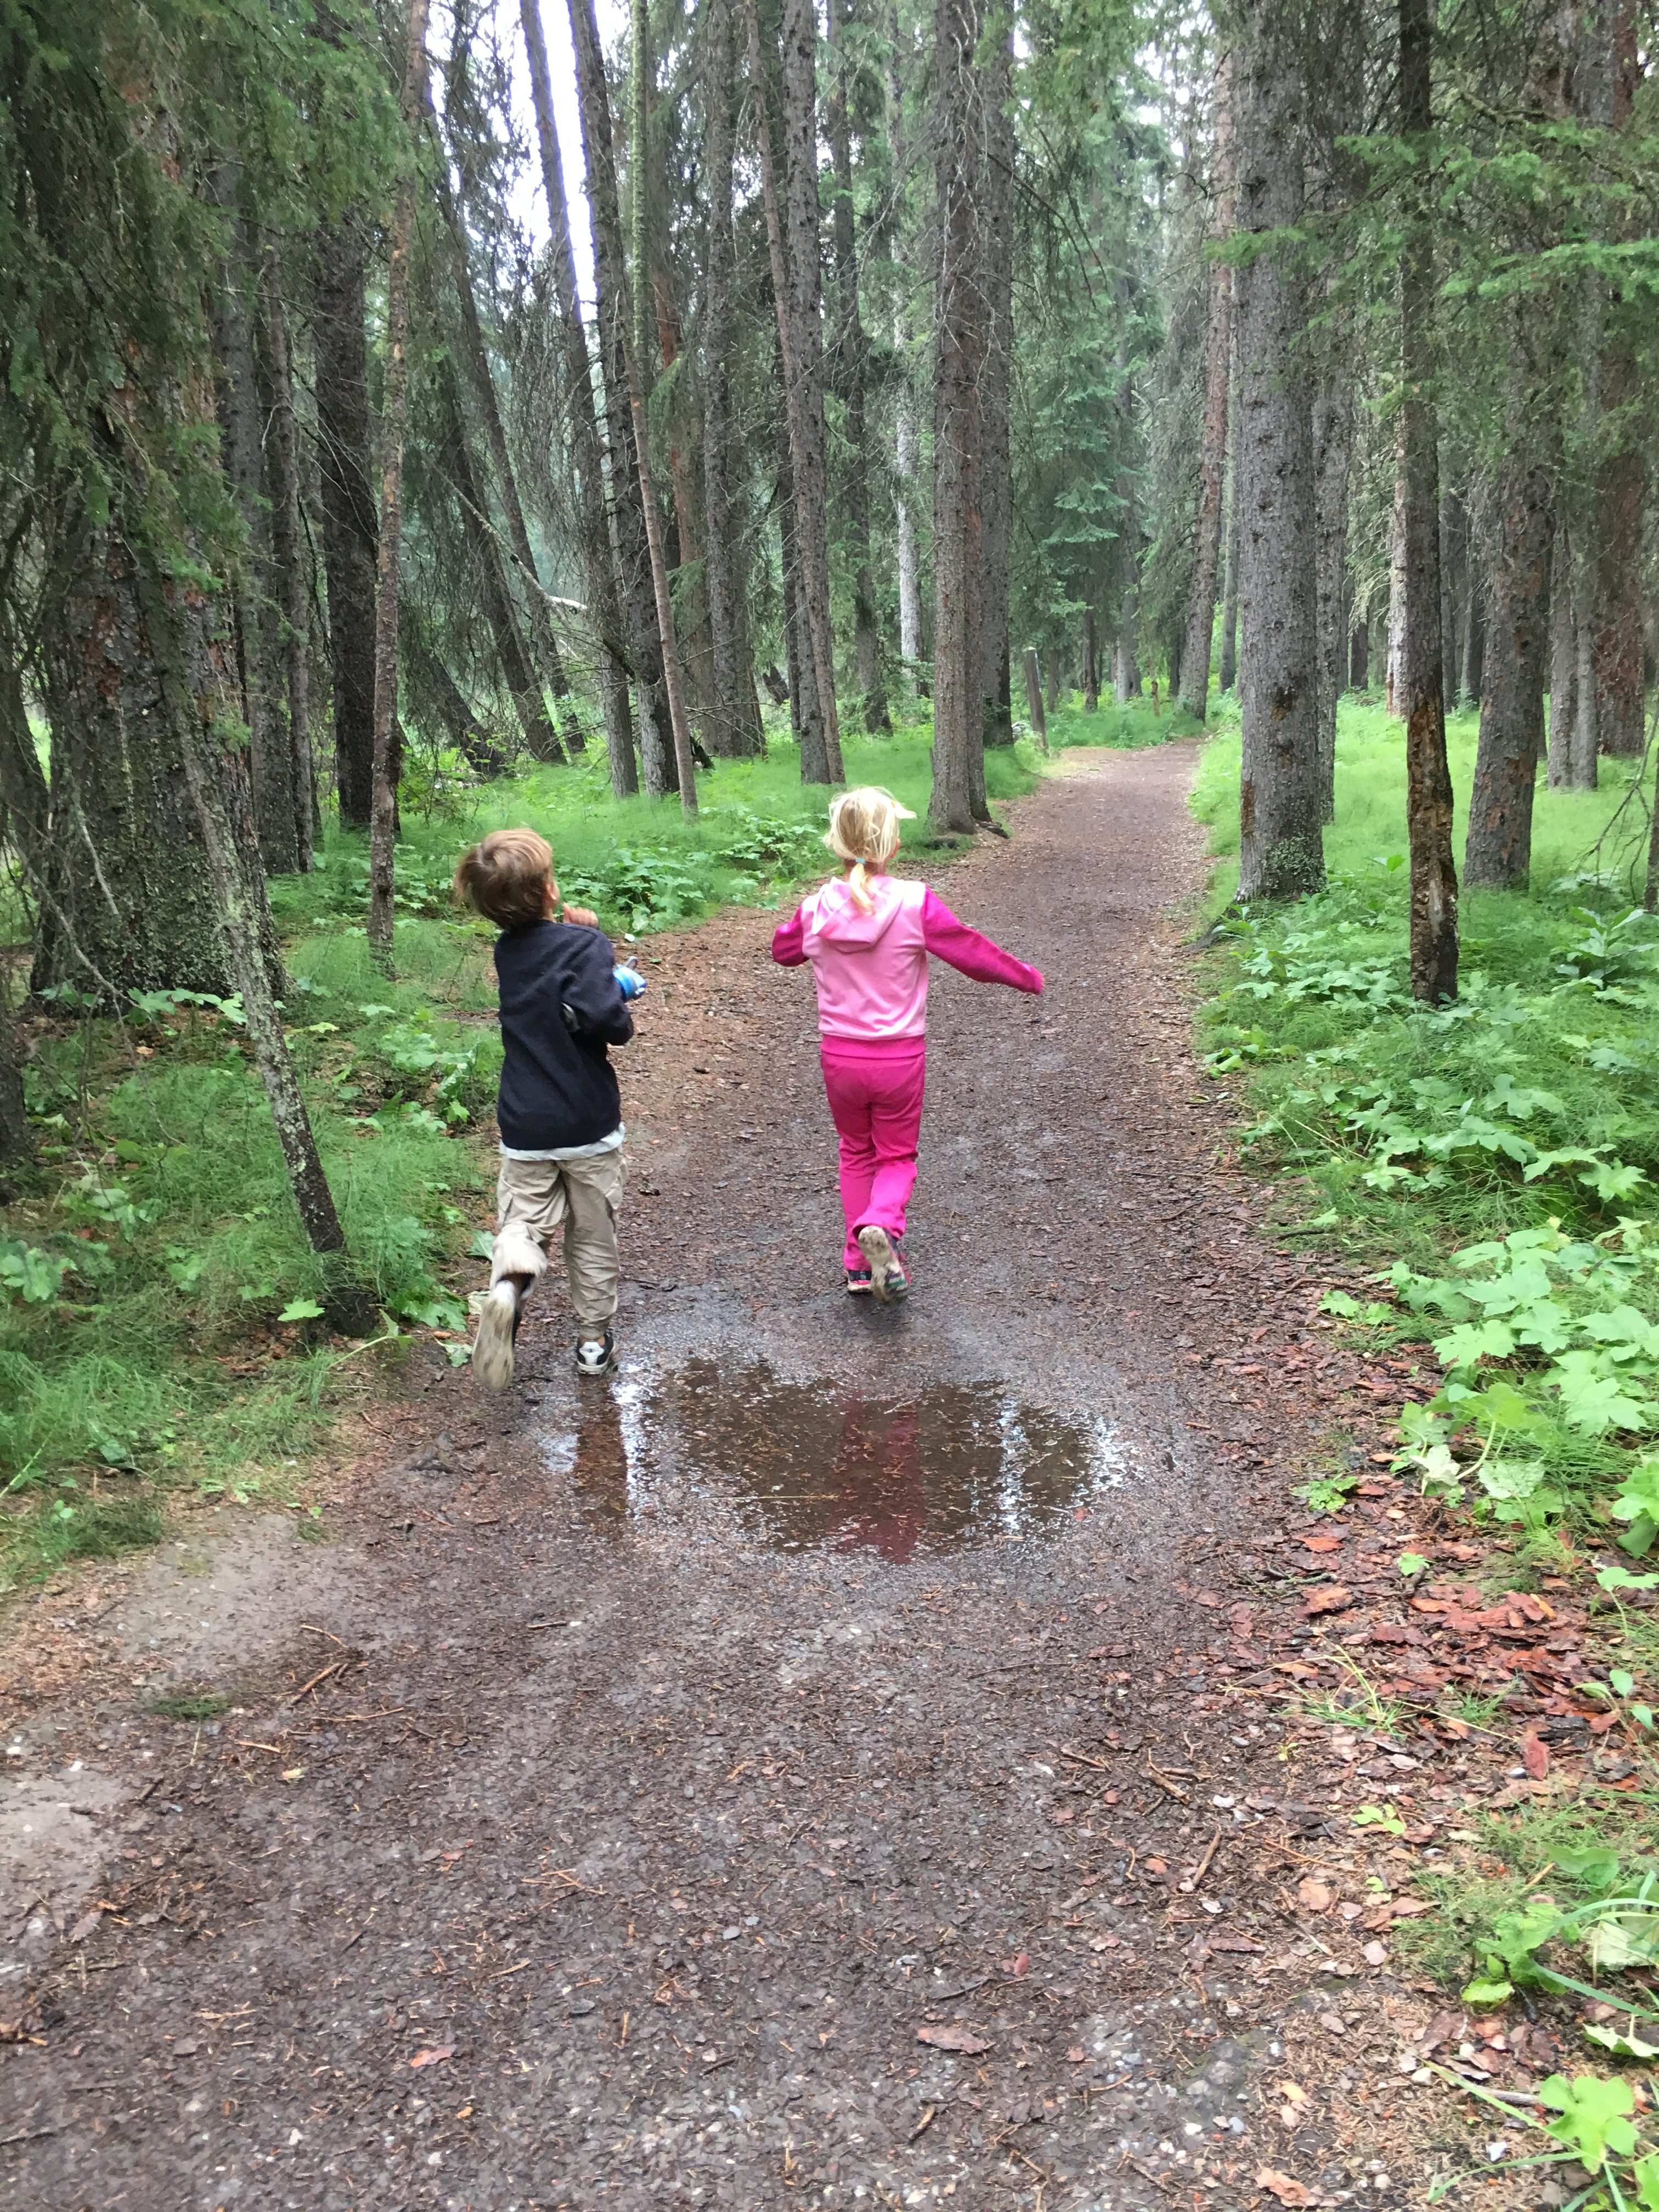 There is also value in getting kids outdoors and nurturing their innate curiosity about nature and their connection with the environment. The Fenland Trail, which is just on the outskirts of the Banff town site, was the perfect introduction to hiking as it is a short 2 km self interpretive loop trail, that is mostly flat. There is a self guided pamphlet available at the trailhead that highlights 8 markers along the loop that teach you about the lifecycle of the montane forest. Not only does this help keep kids engaged as they are often looking ahead for the next post, but it teaches them about nature and about the environment of the trail that they are on.
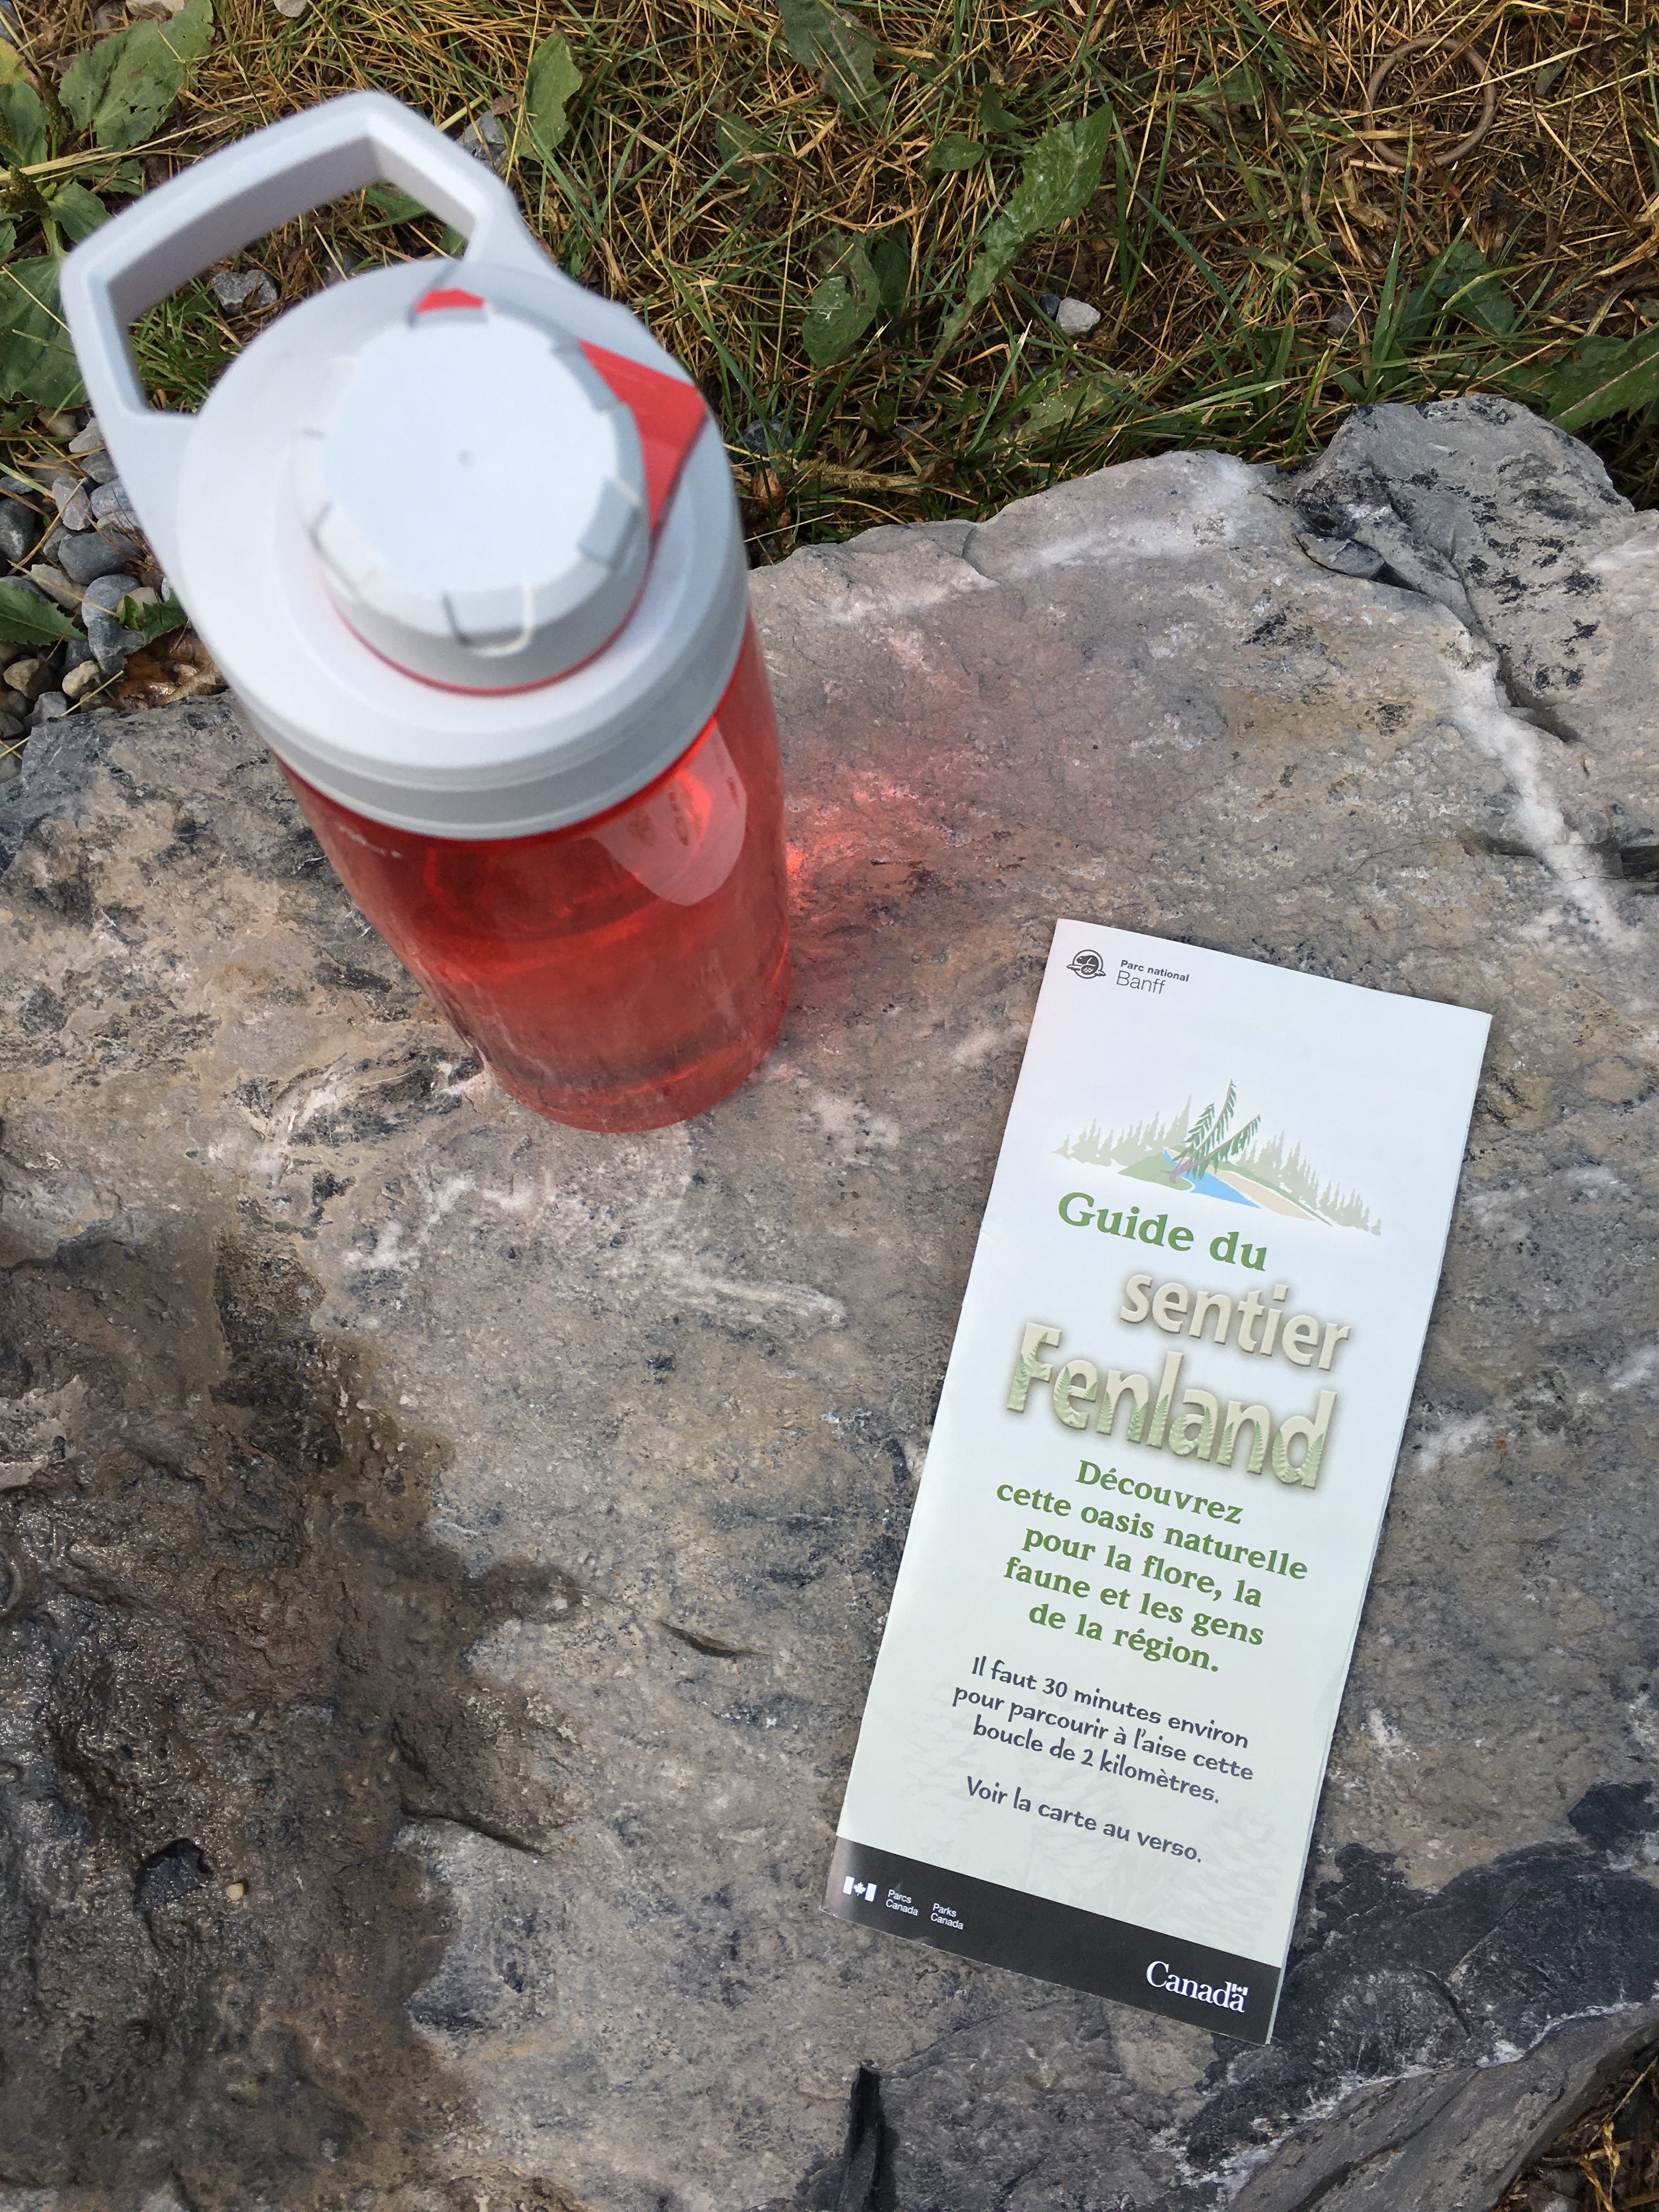 Plus the trail itself is beautiful. It winds through a white spruce forest along the eastern edge of the Vermillion Lakes marshland; and part of the trail also runs along the Echo & Forty Mile Creek. And I don’t know about you but I always love a trail that has some kind of water along the hike. It just adds something to it listening to the trickling water as you’re hiking along.
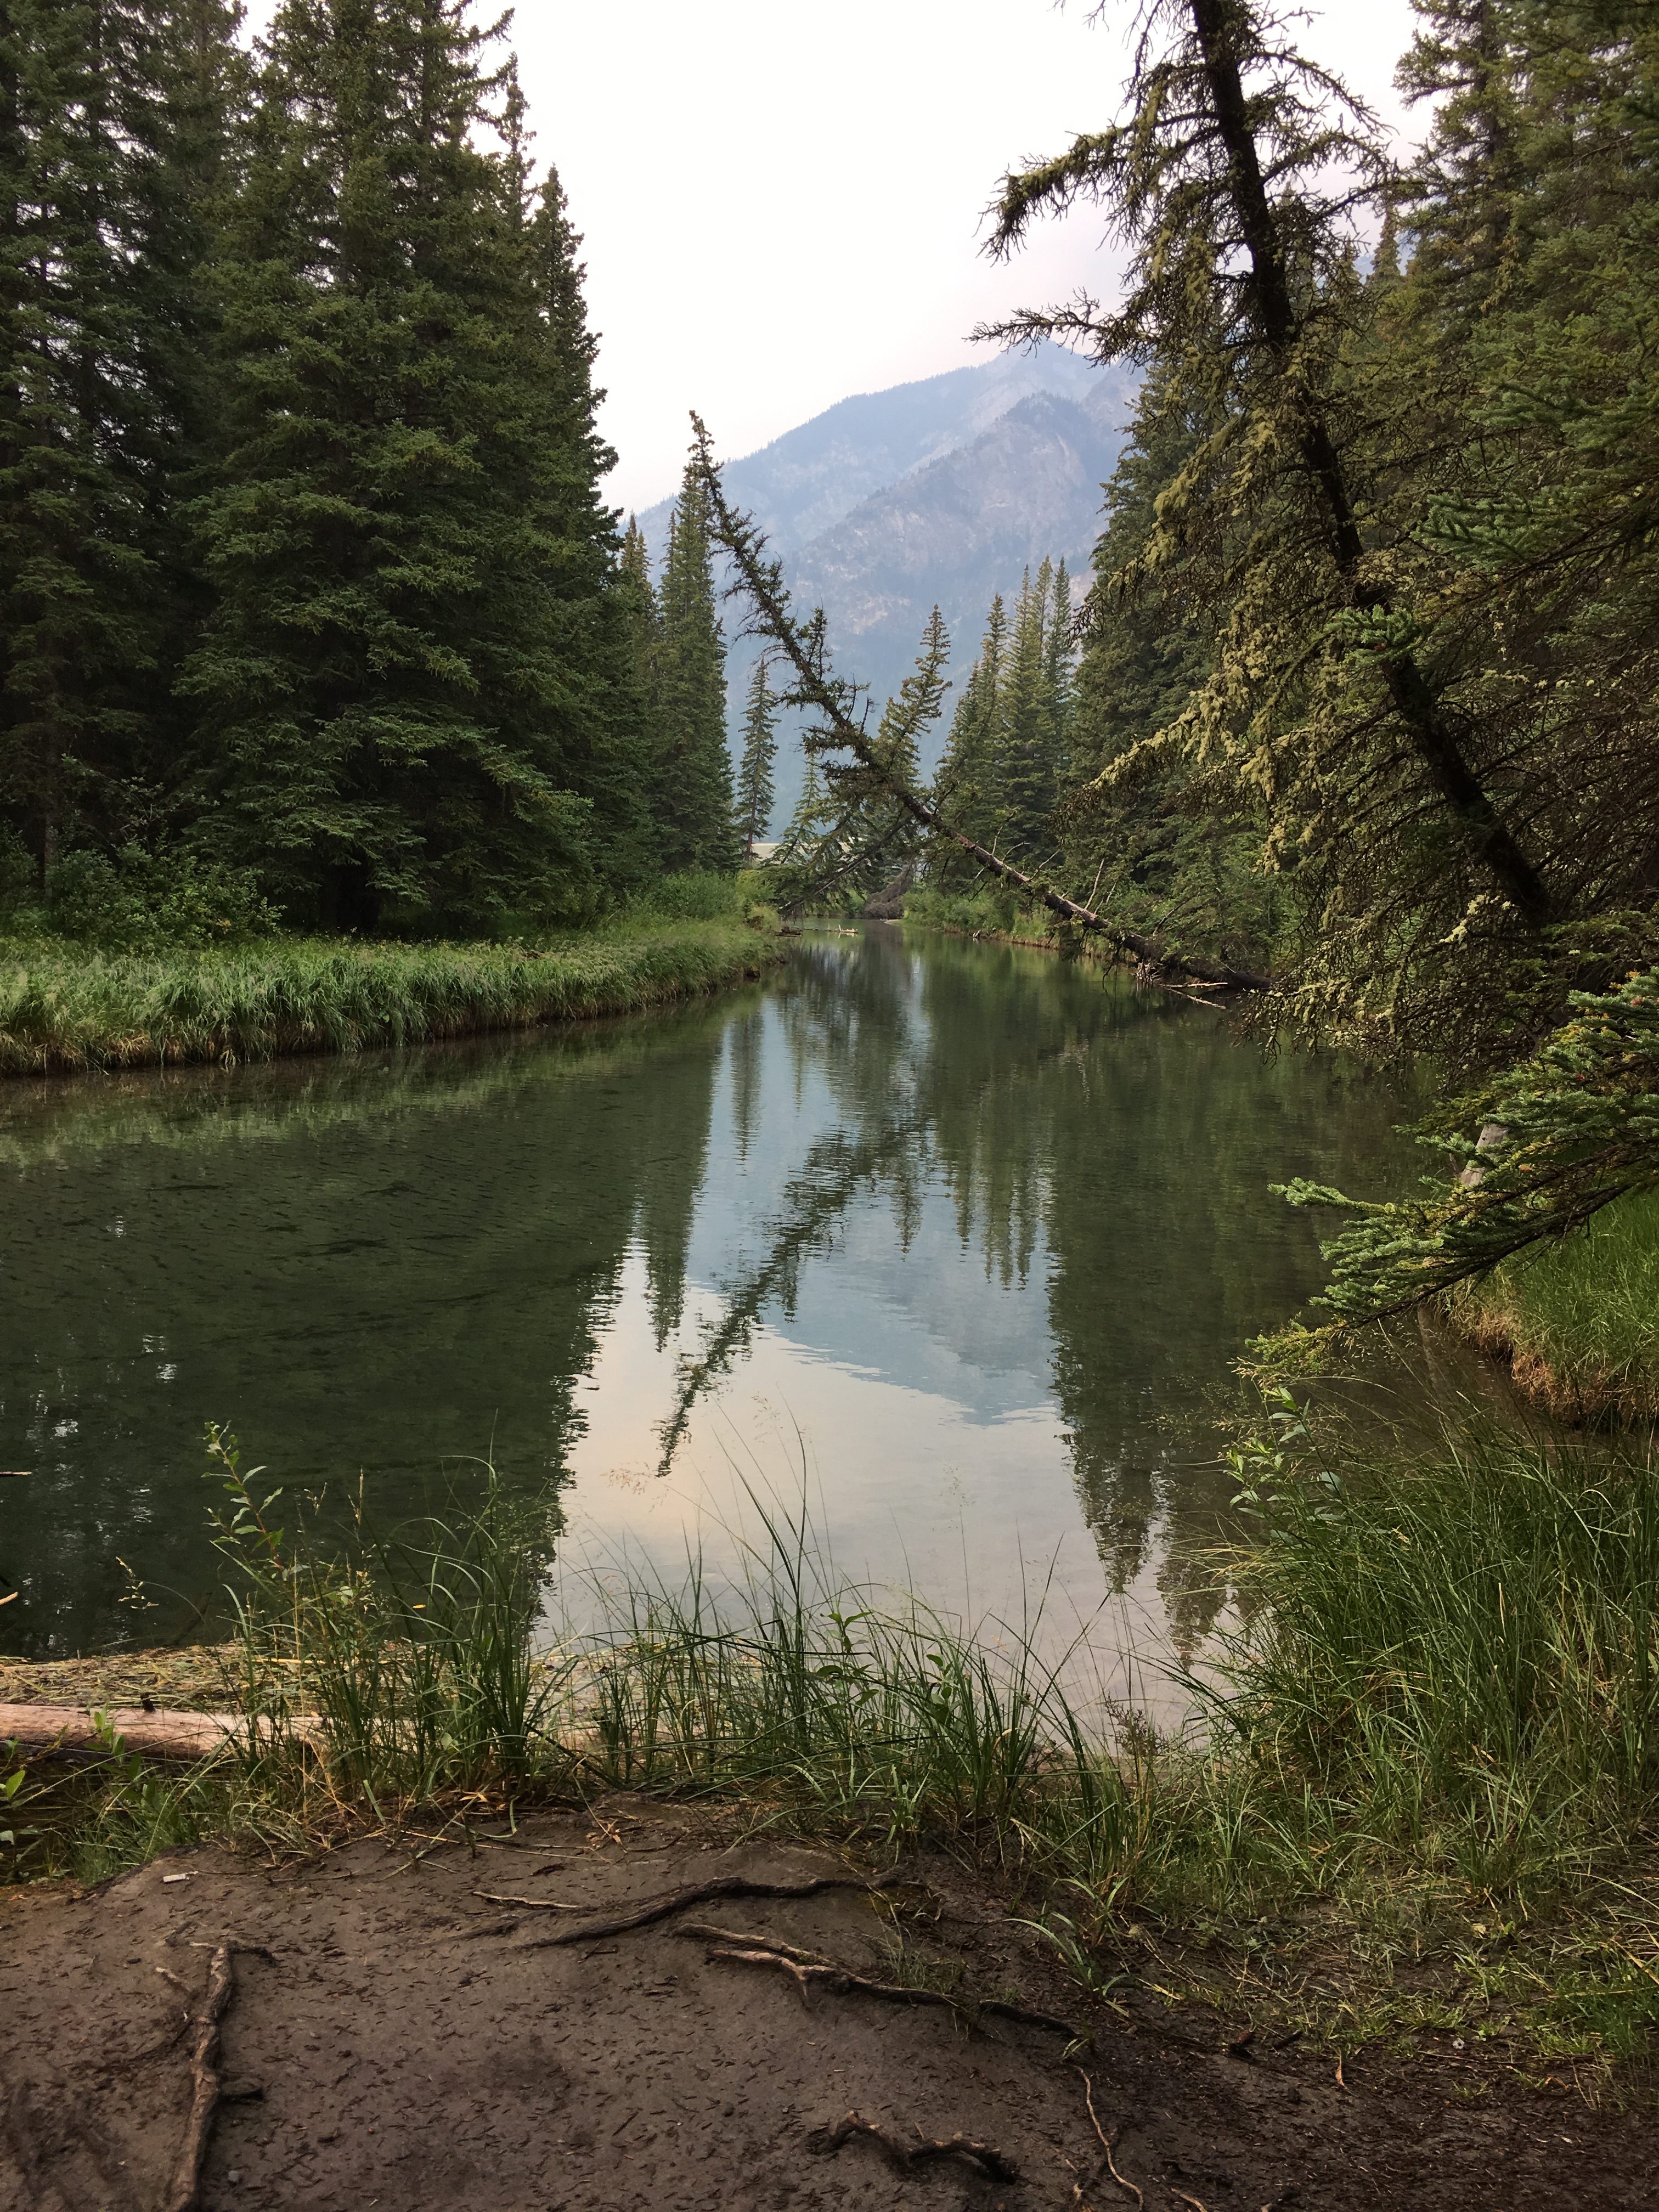 I love this trail for young kids and toddlers because even though it is about a 30- 40 minute hike, you can go at a nice leisurely pace, allowing the kids to stop and pause along the way, exploring and checking things out. Playing by the creek or sitting at one of the benches along the trail for a break or a snack. You don’t have to rush, you can take an hour or more if you want. I think the first time we went it took us 2 hours! but that was fine, Matthew finished the hike having enjoyed it and feeling successful (and yes he still had energy to burn).
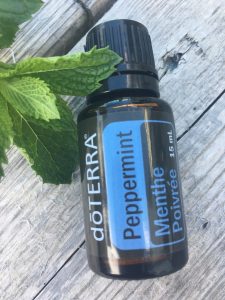
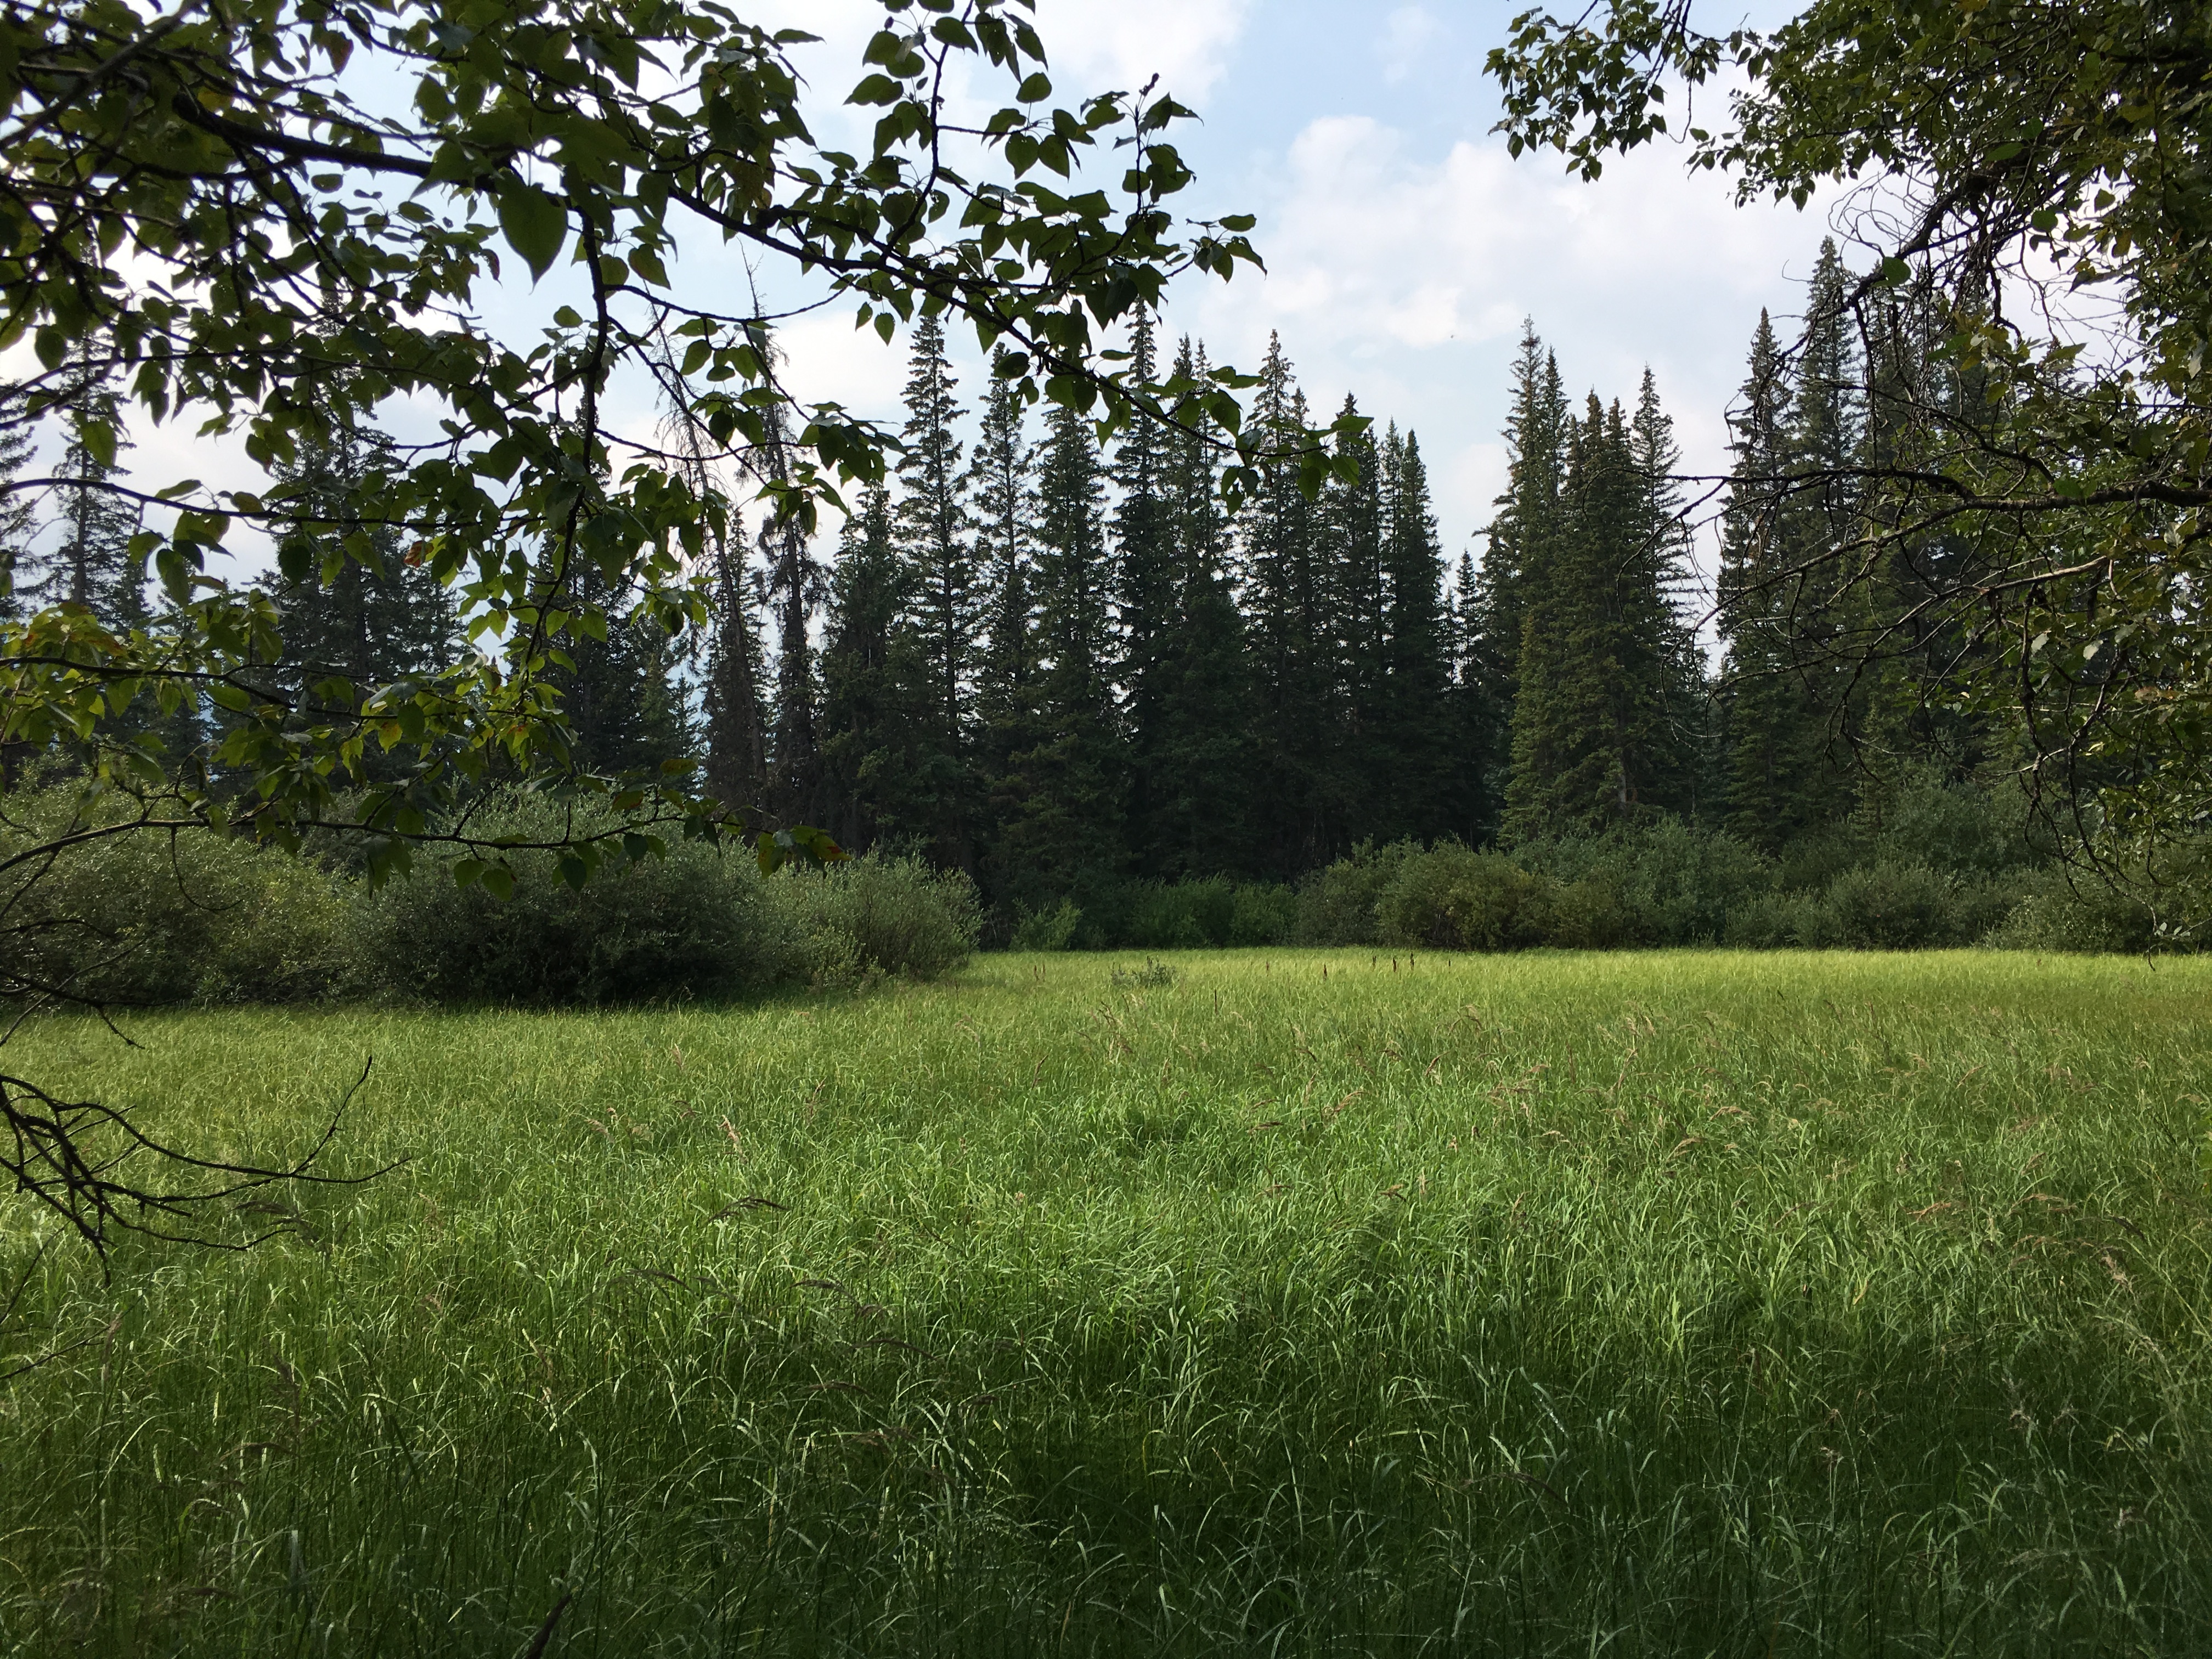 One thing that you do need to keep in mind is because it is close to both the creek and the marshlands the mosquitoes can be abundant. So make sure you take your bug spray or natural bug repellent, so you can enjoy the trail without swatting at the bugs! (If you do get bitten you can use Lavender and Peppermint essential oils on the bites to reduce the inflammation and itchiness).