Kids Healthy Cooking – Plain Pancakes

plain pancake recipeIn the spirit of celebrating Pancake Tuesday recently in February, I decided to make pancakes in my Mini Chefs class at Trico Center. Pancake Tuesday is a holiday I love, also called Fat Tuesday or Mardi Gras, it is the day before the beginning of Lent, and in the times of no refrigerator, it was a time to eat up all the foods that were considered fatty, would go bad and that people would ‘give up’ during the Lenten season.

Besides what child does not love pancakes? I do not know many, so I knew that they would be a hit with all my kids, even some of my more particular eaters. I decided to go with a basic plain pancake recipe, as I feel this should be a staple in every home, plus it is easy to ‘dress up’ in a variety of different ways. Of course, there is the traditional maple syrup and butter, but you can also have fruit toppings, ice cream and whip cream to name a few options.

plain pancake recipe
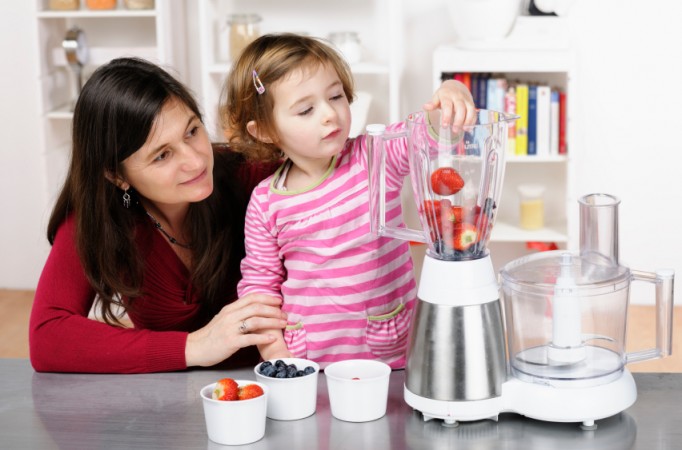
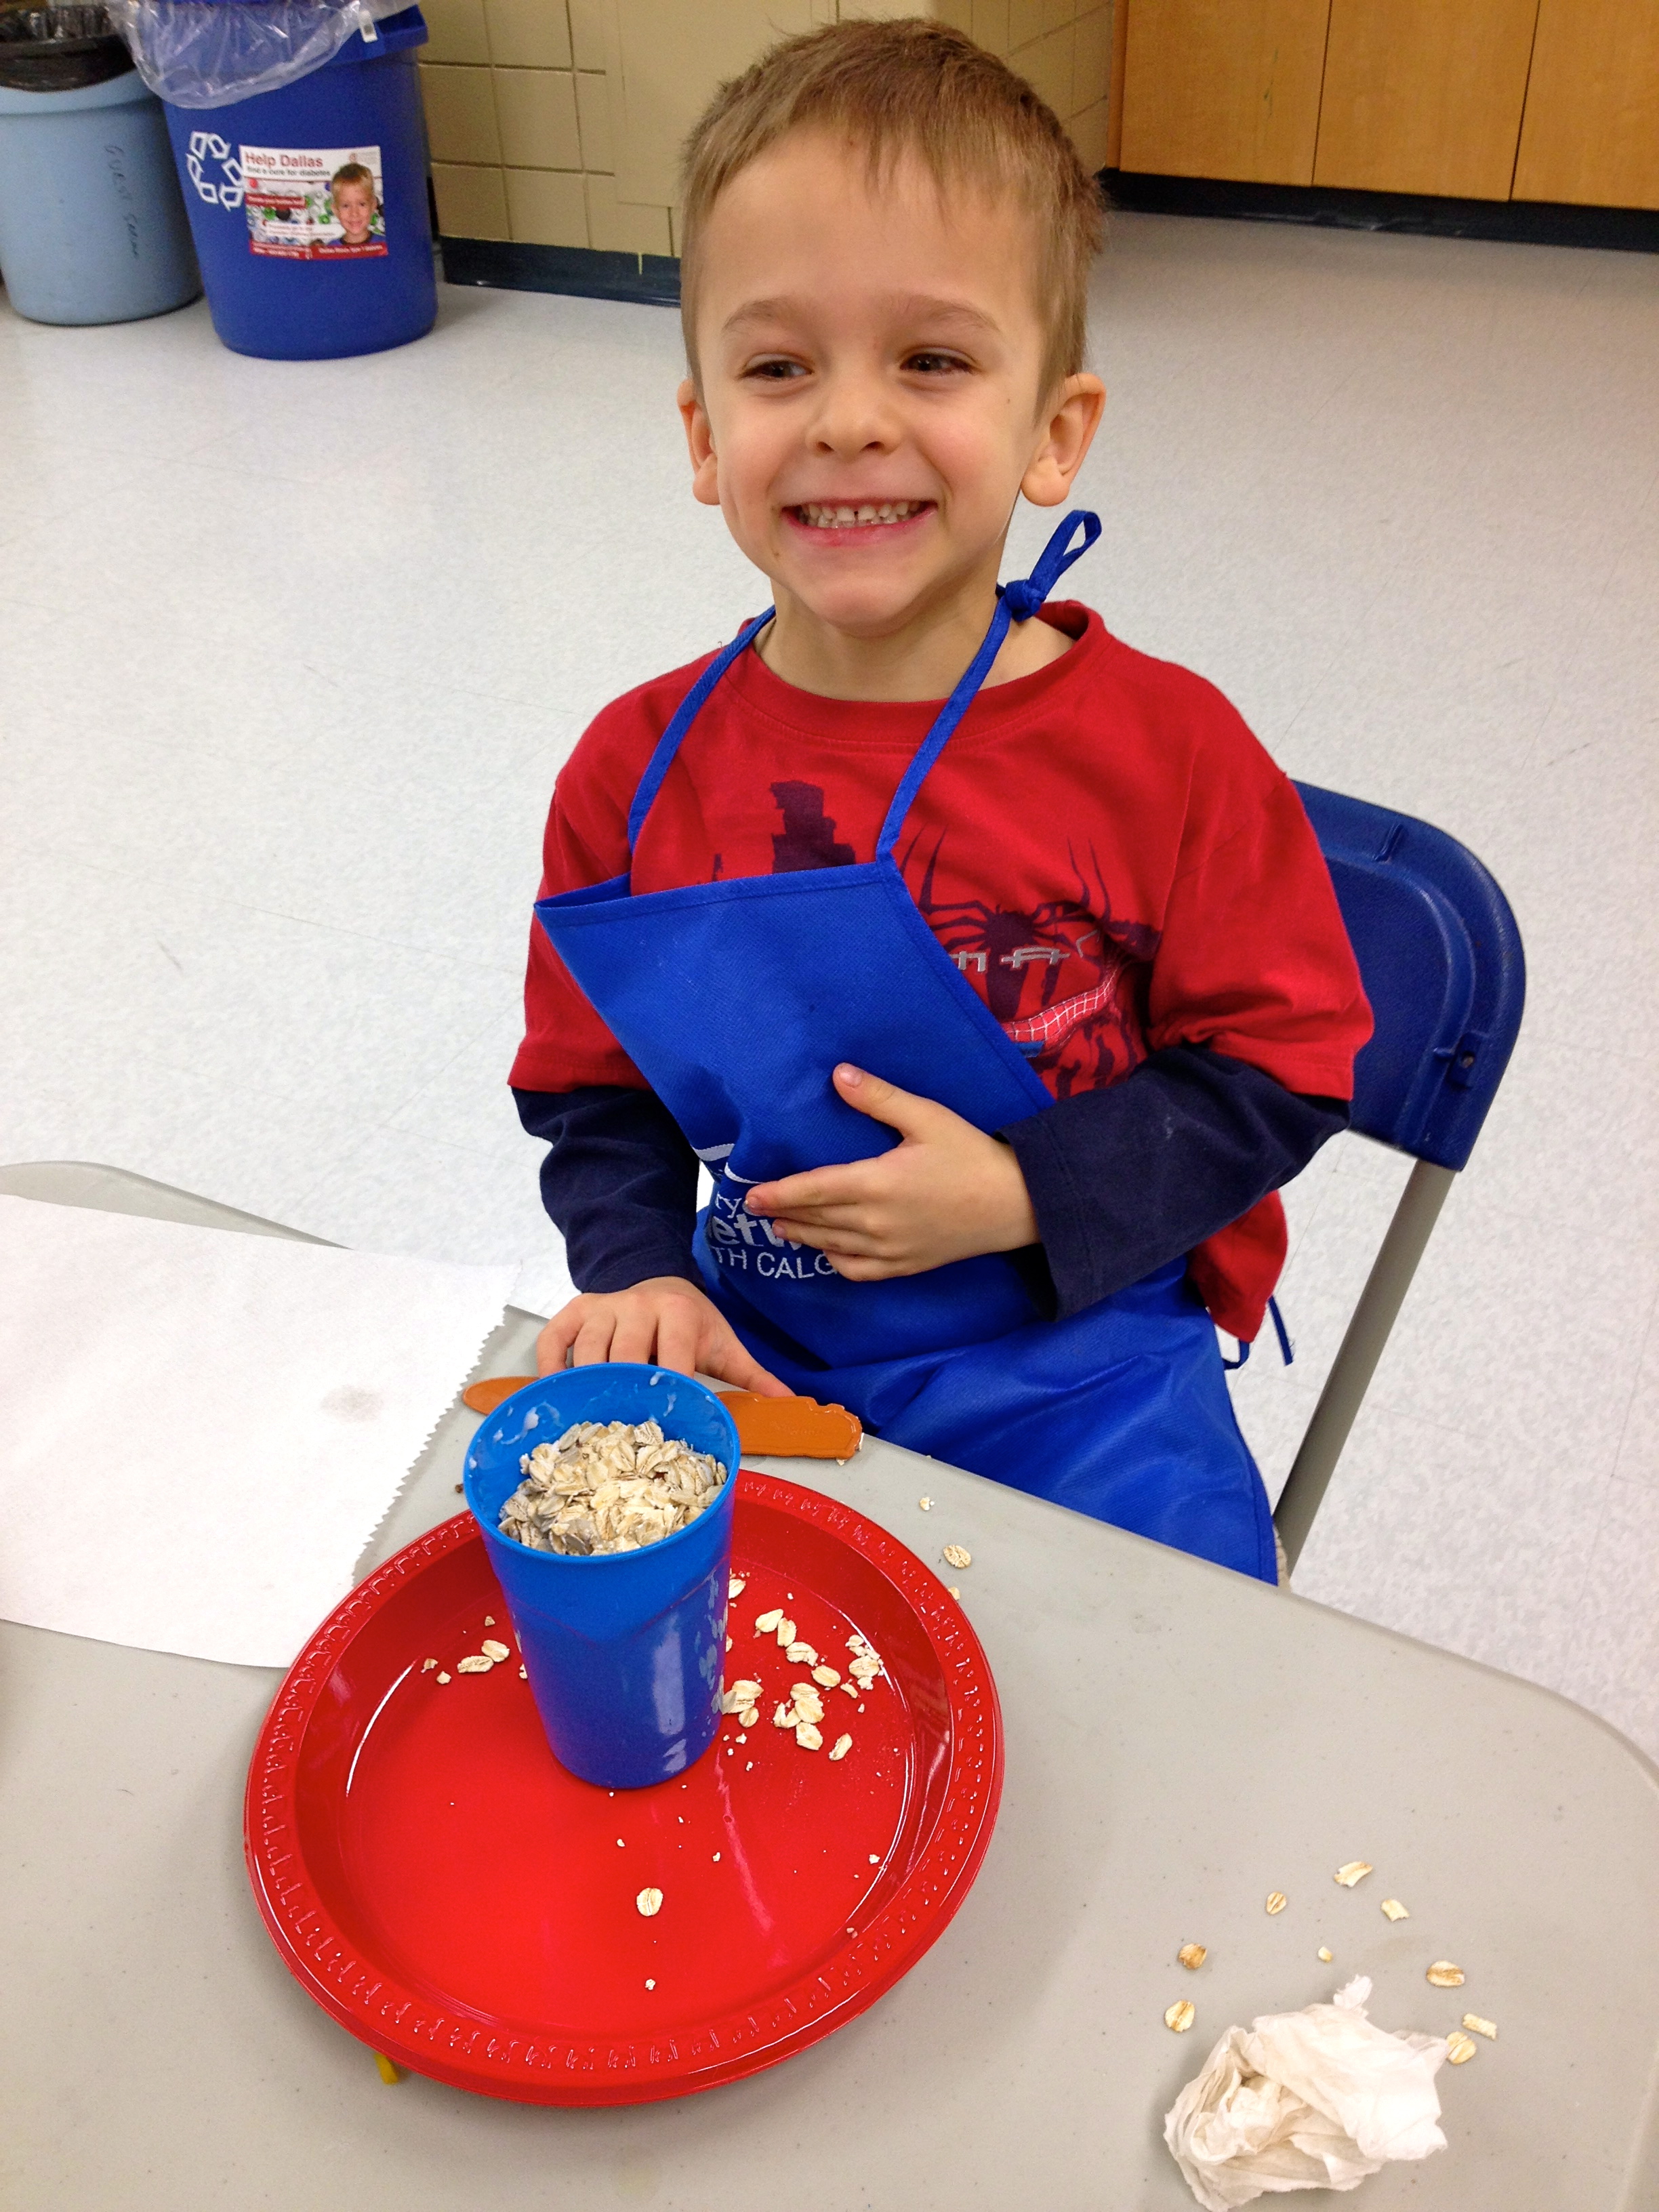
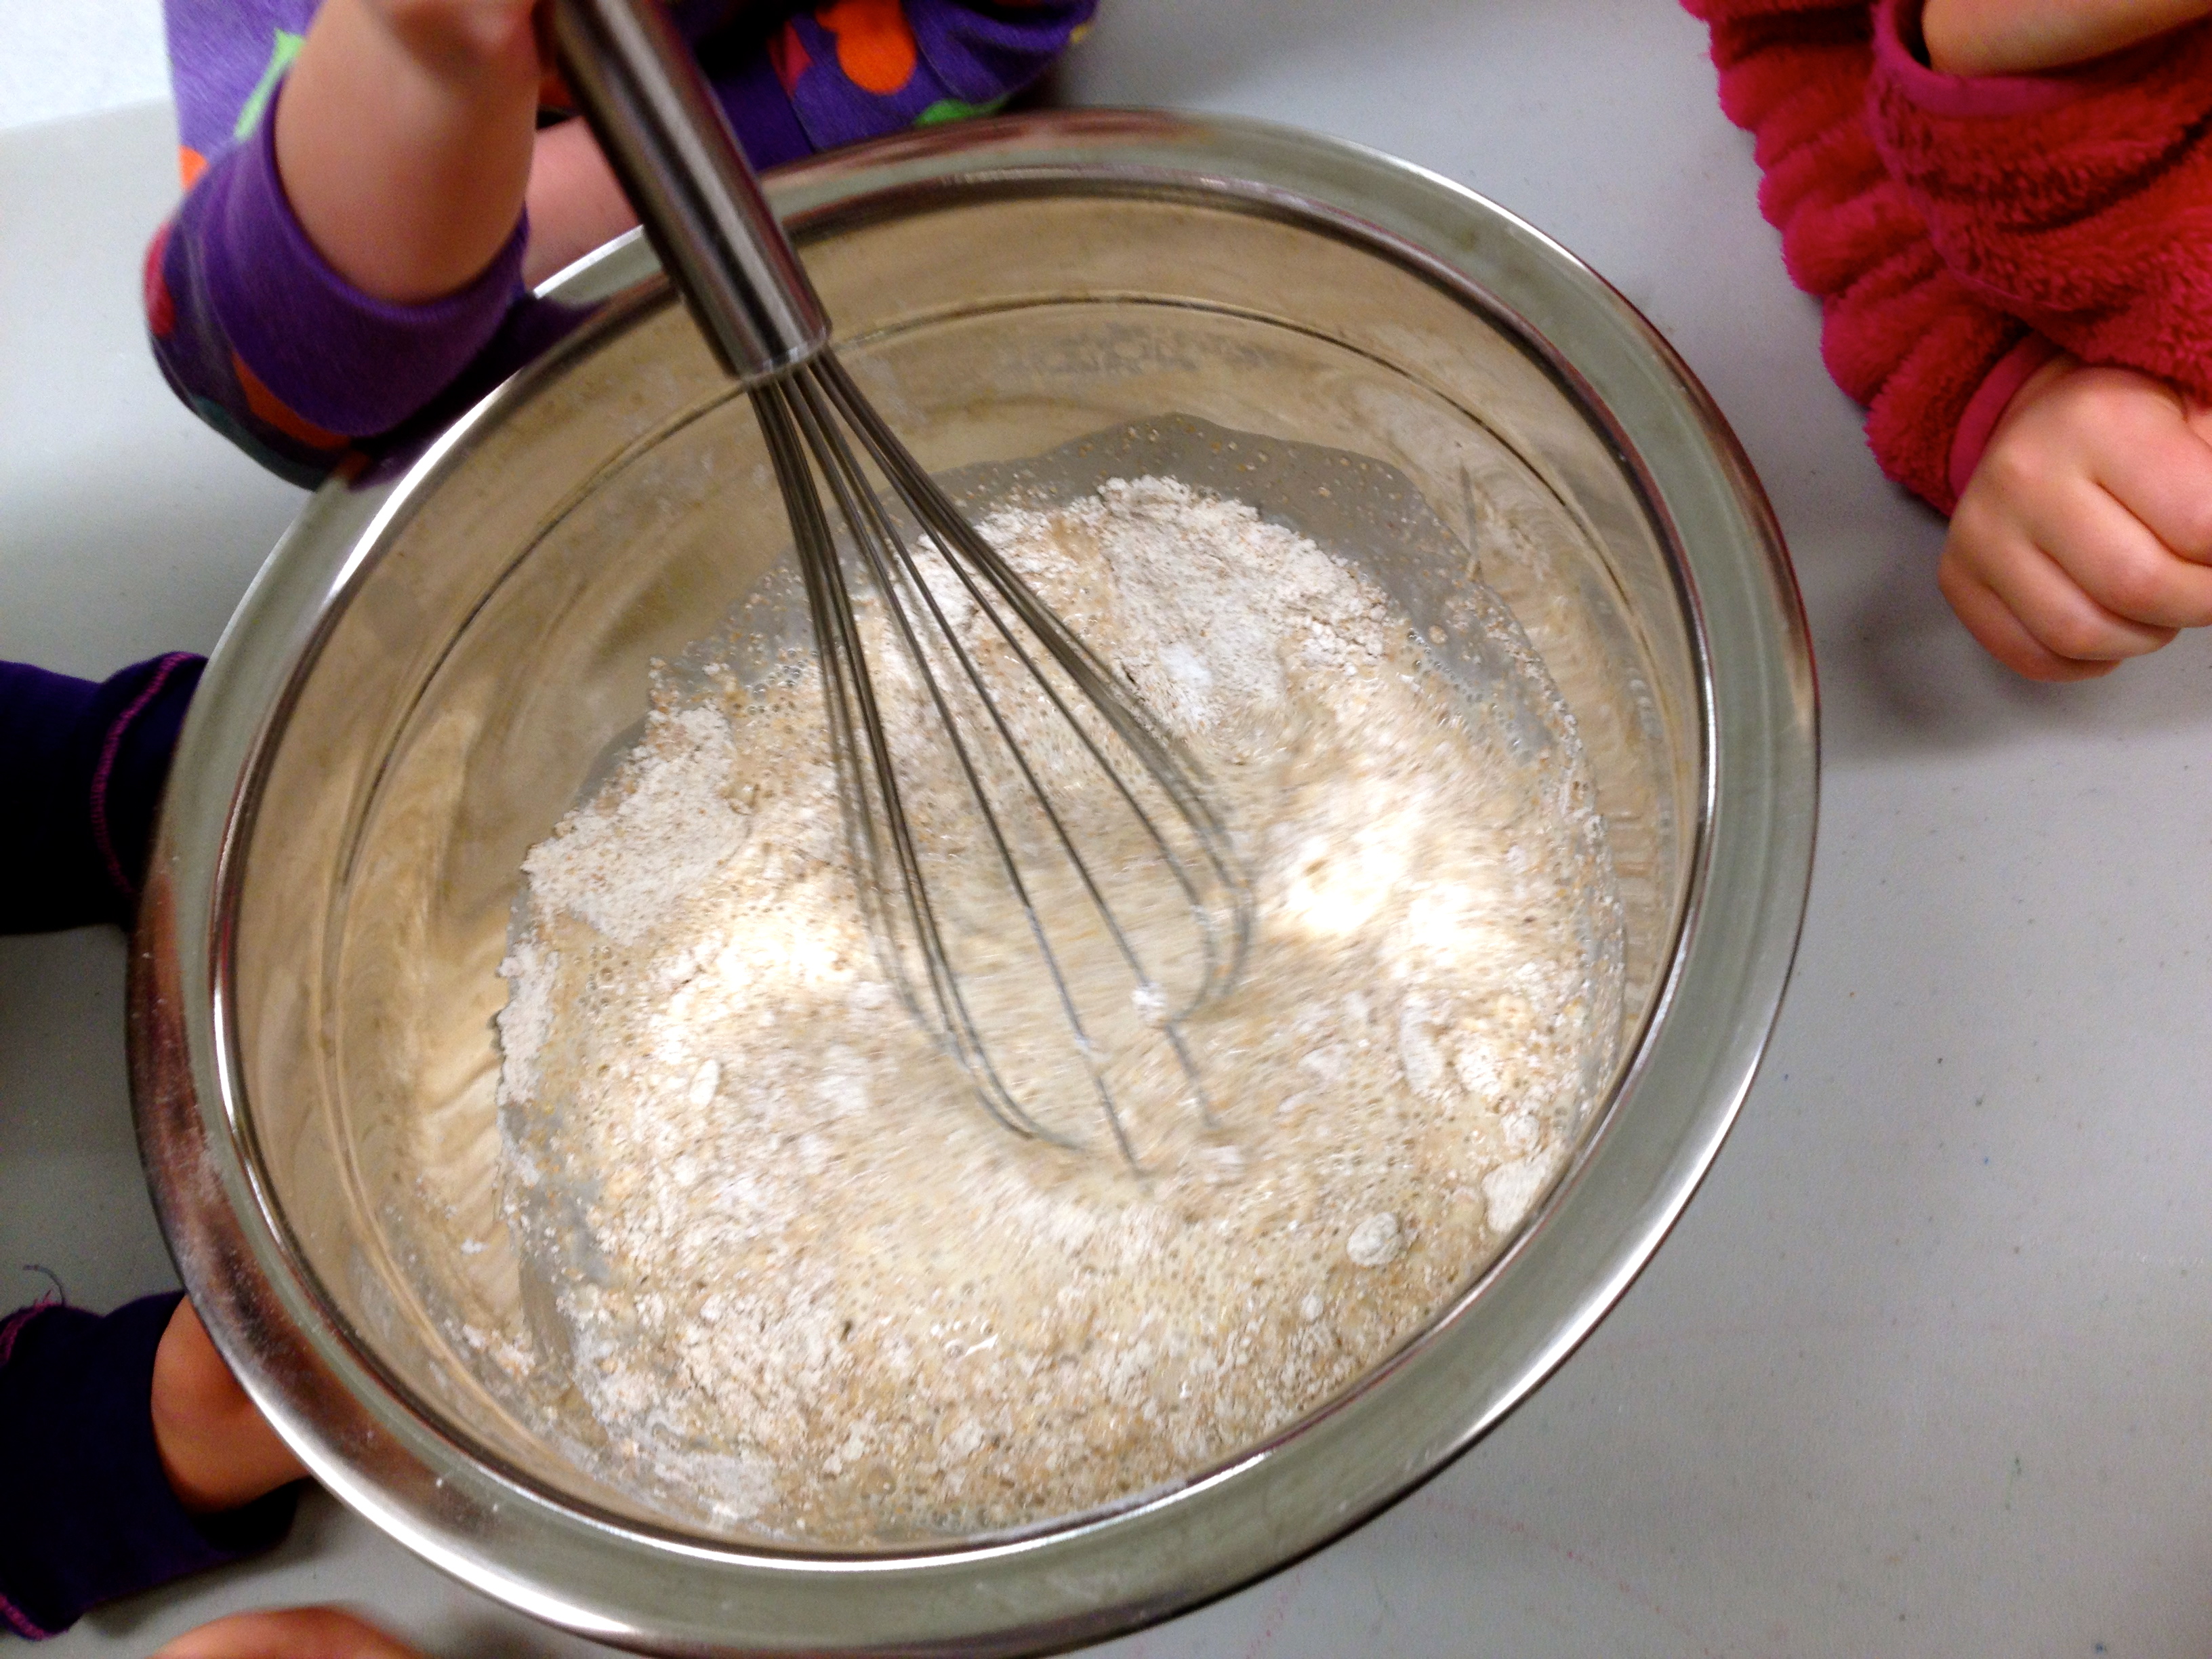
Plain pancakes are also really easy to make with kids, as there is a lot of measuring, scooping and mixing involved. It actually takes longer to cook the pancakes than it does to make the batter! I had each of the kids take a turn measuring an ingredient and dumping it into the bowl. Then a few of them had a turn mixing it up, which honestly this job is easily done by one person, but I find the kids really love to mix stuff. I could easily occupy them all day with mixing (parents something to think about lol).

plain pancake recipe
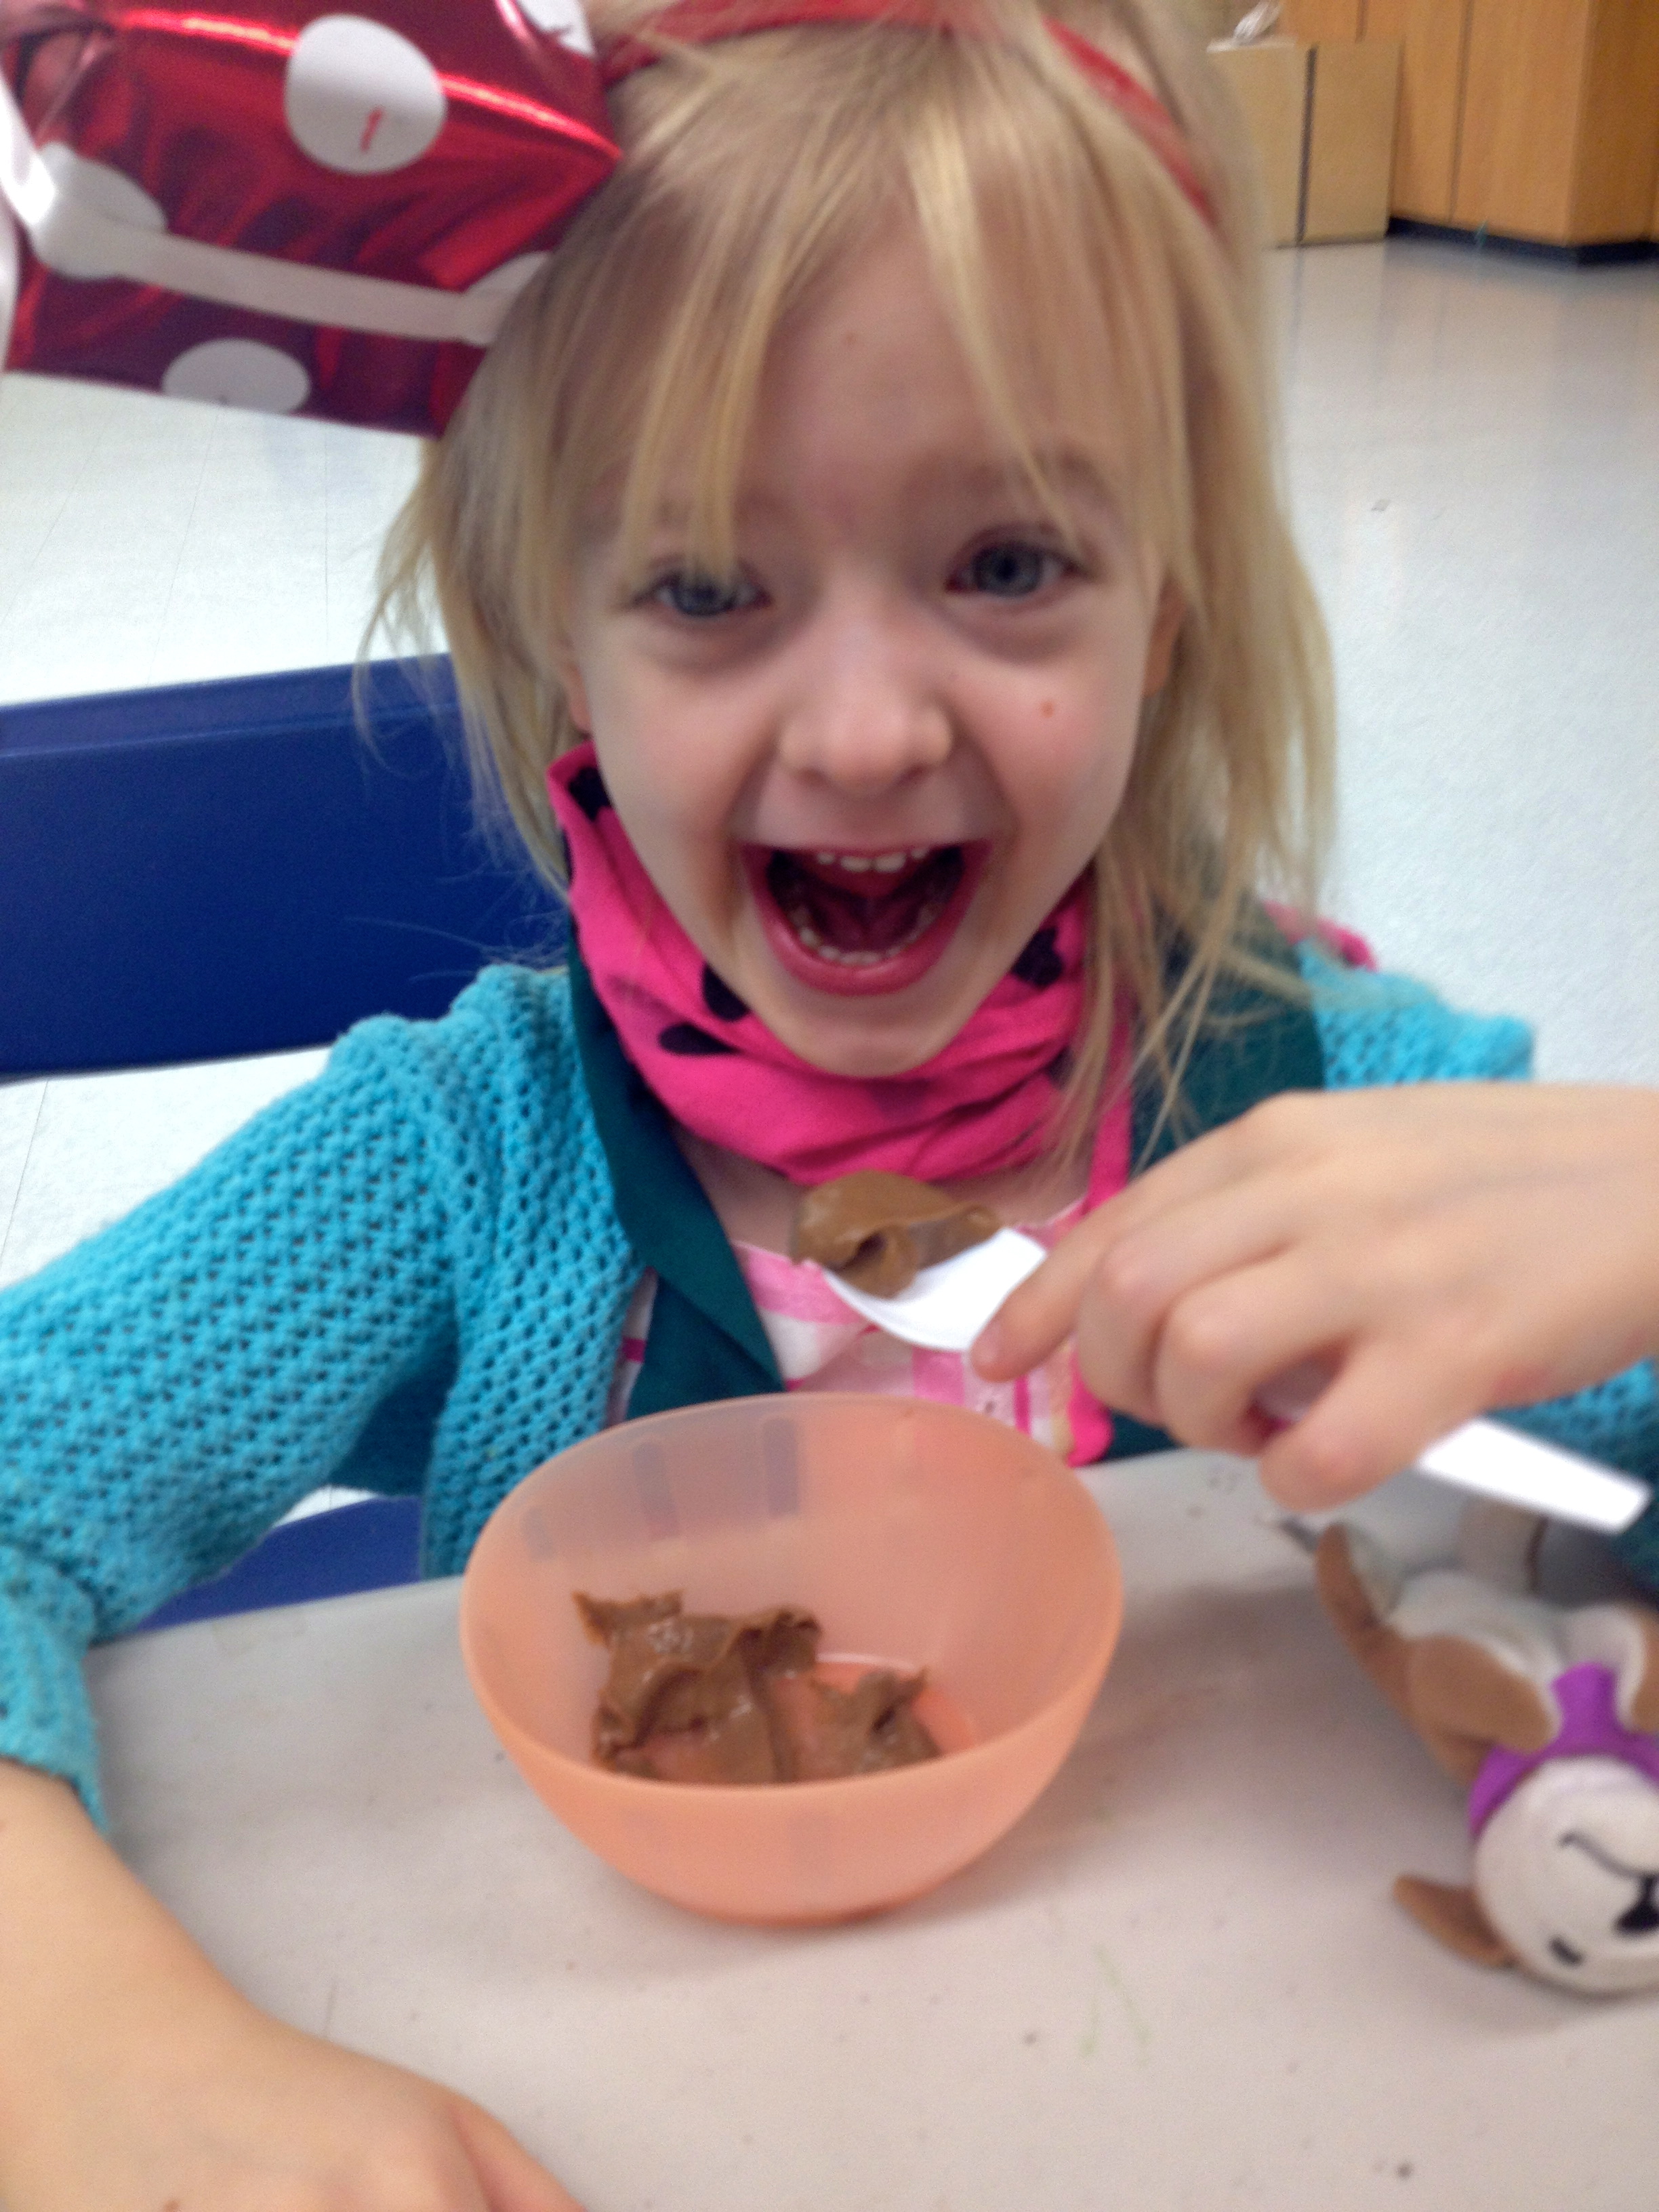
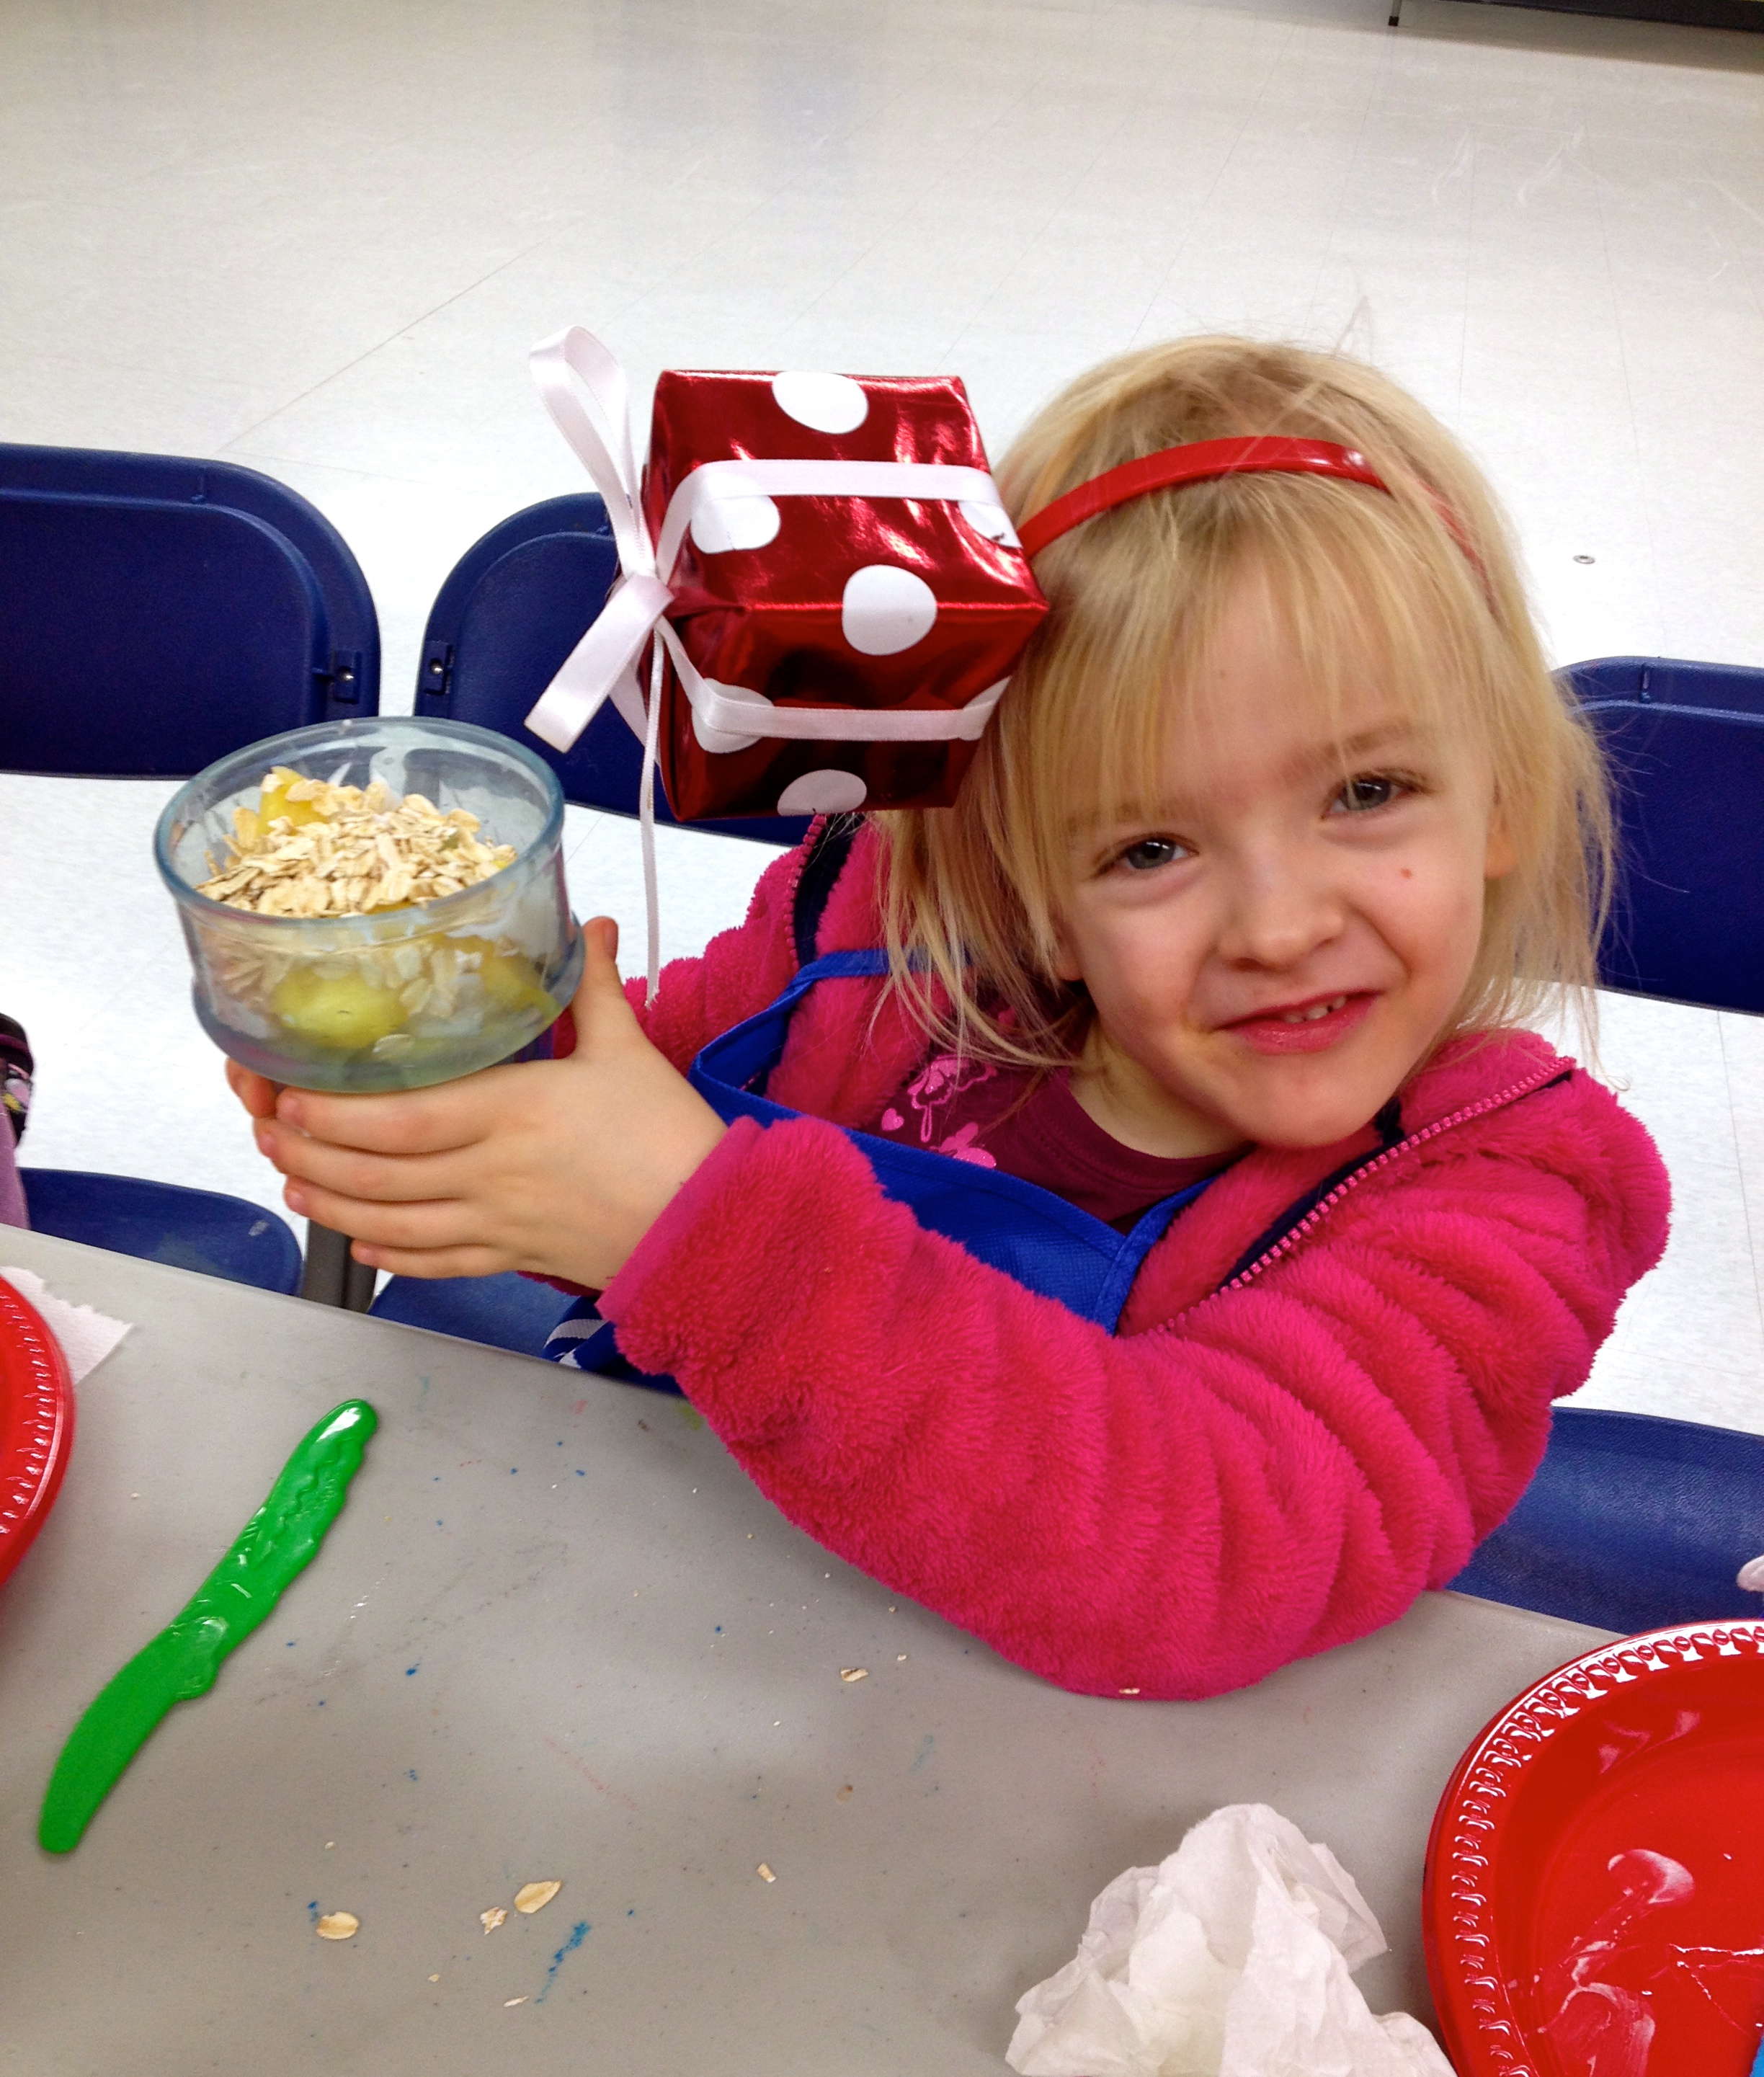
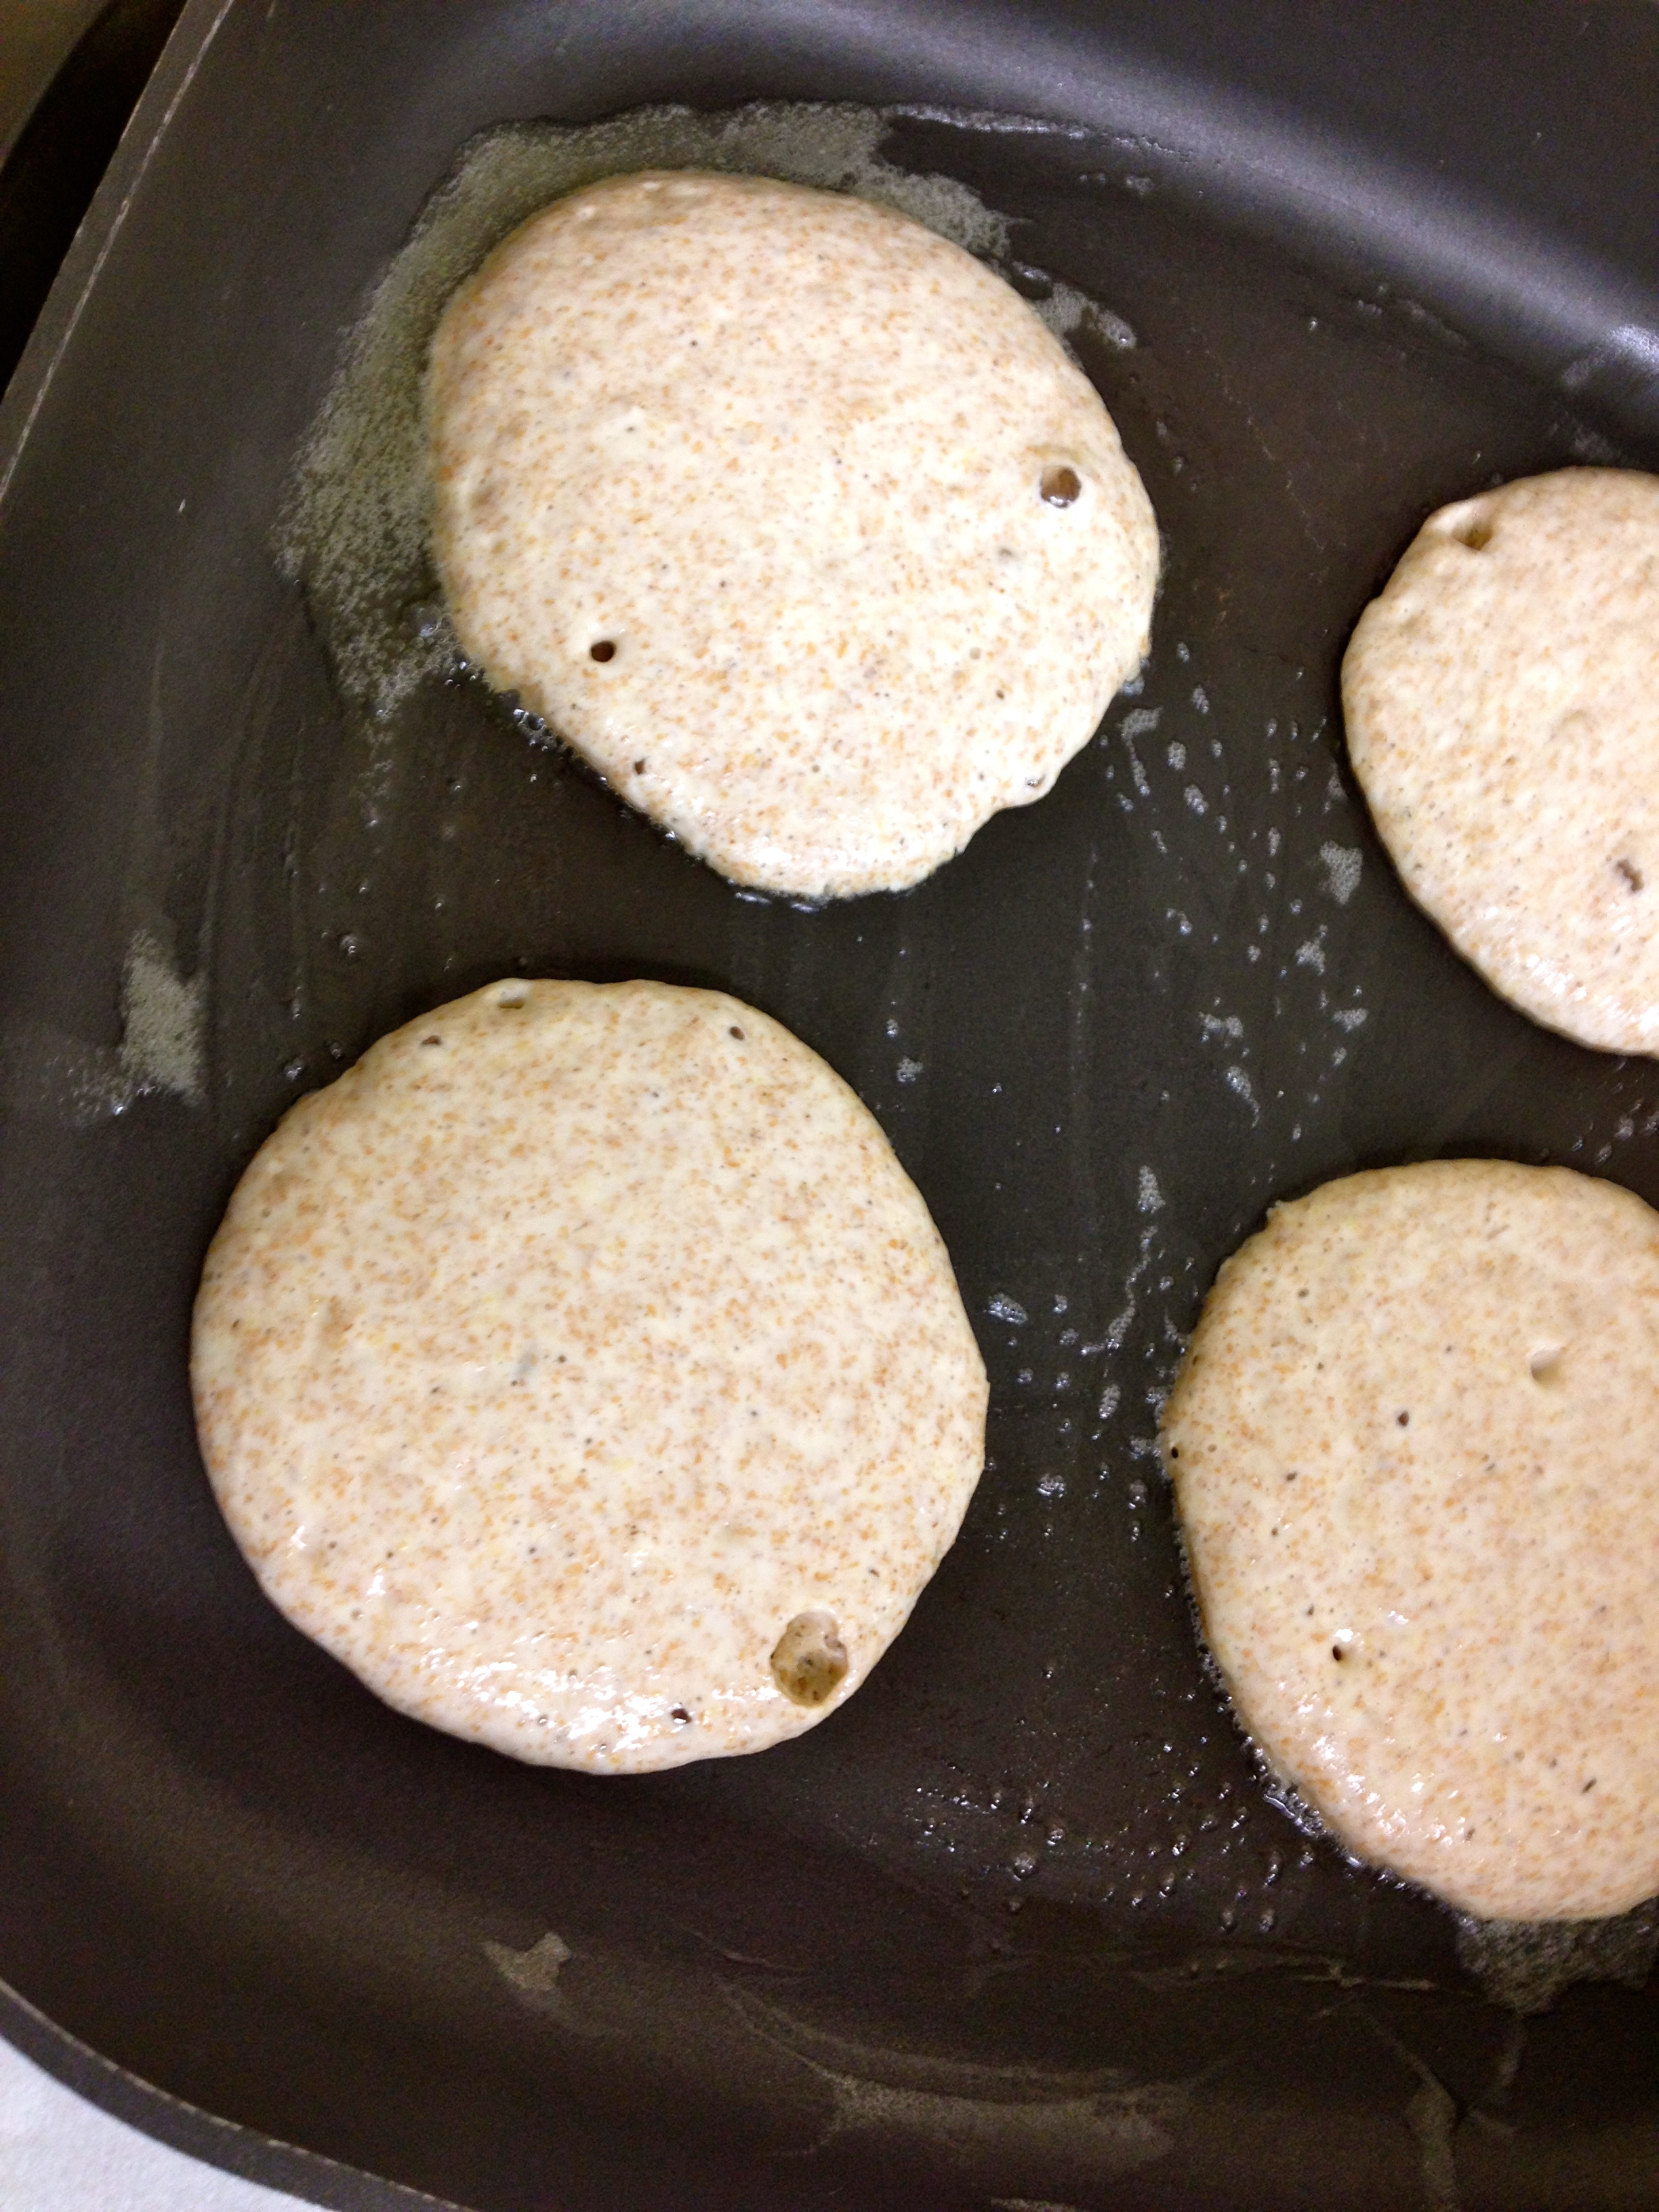
The kids were also very interested in watching the pancakes cook. I had them all stand at a safe distance from the pan and they watched as I poured the batter in and then waited for them to cook. For those that were interested, I pointed out the bubbles that were forming on top and that when they had lots of bubbles it meant it was time to flip them over. One little girl thought this was fascinating.

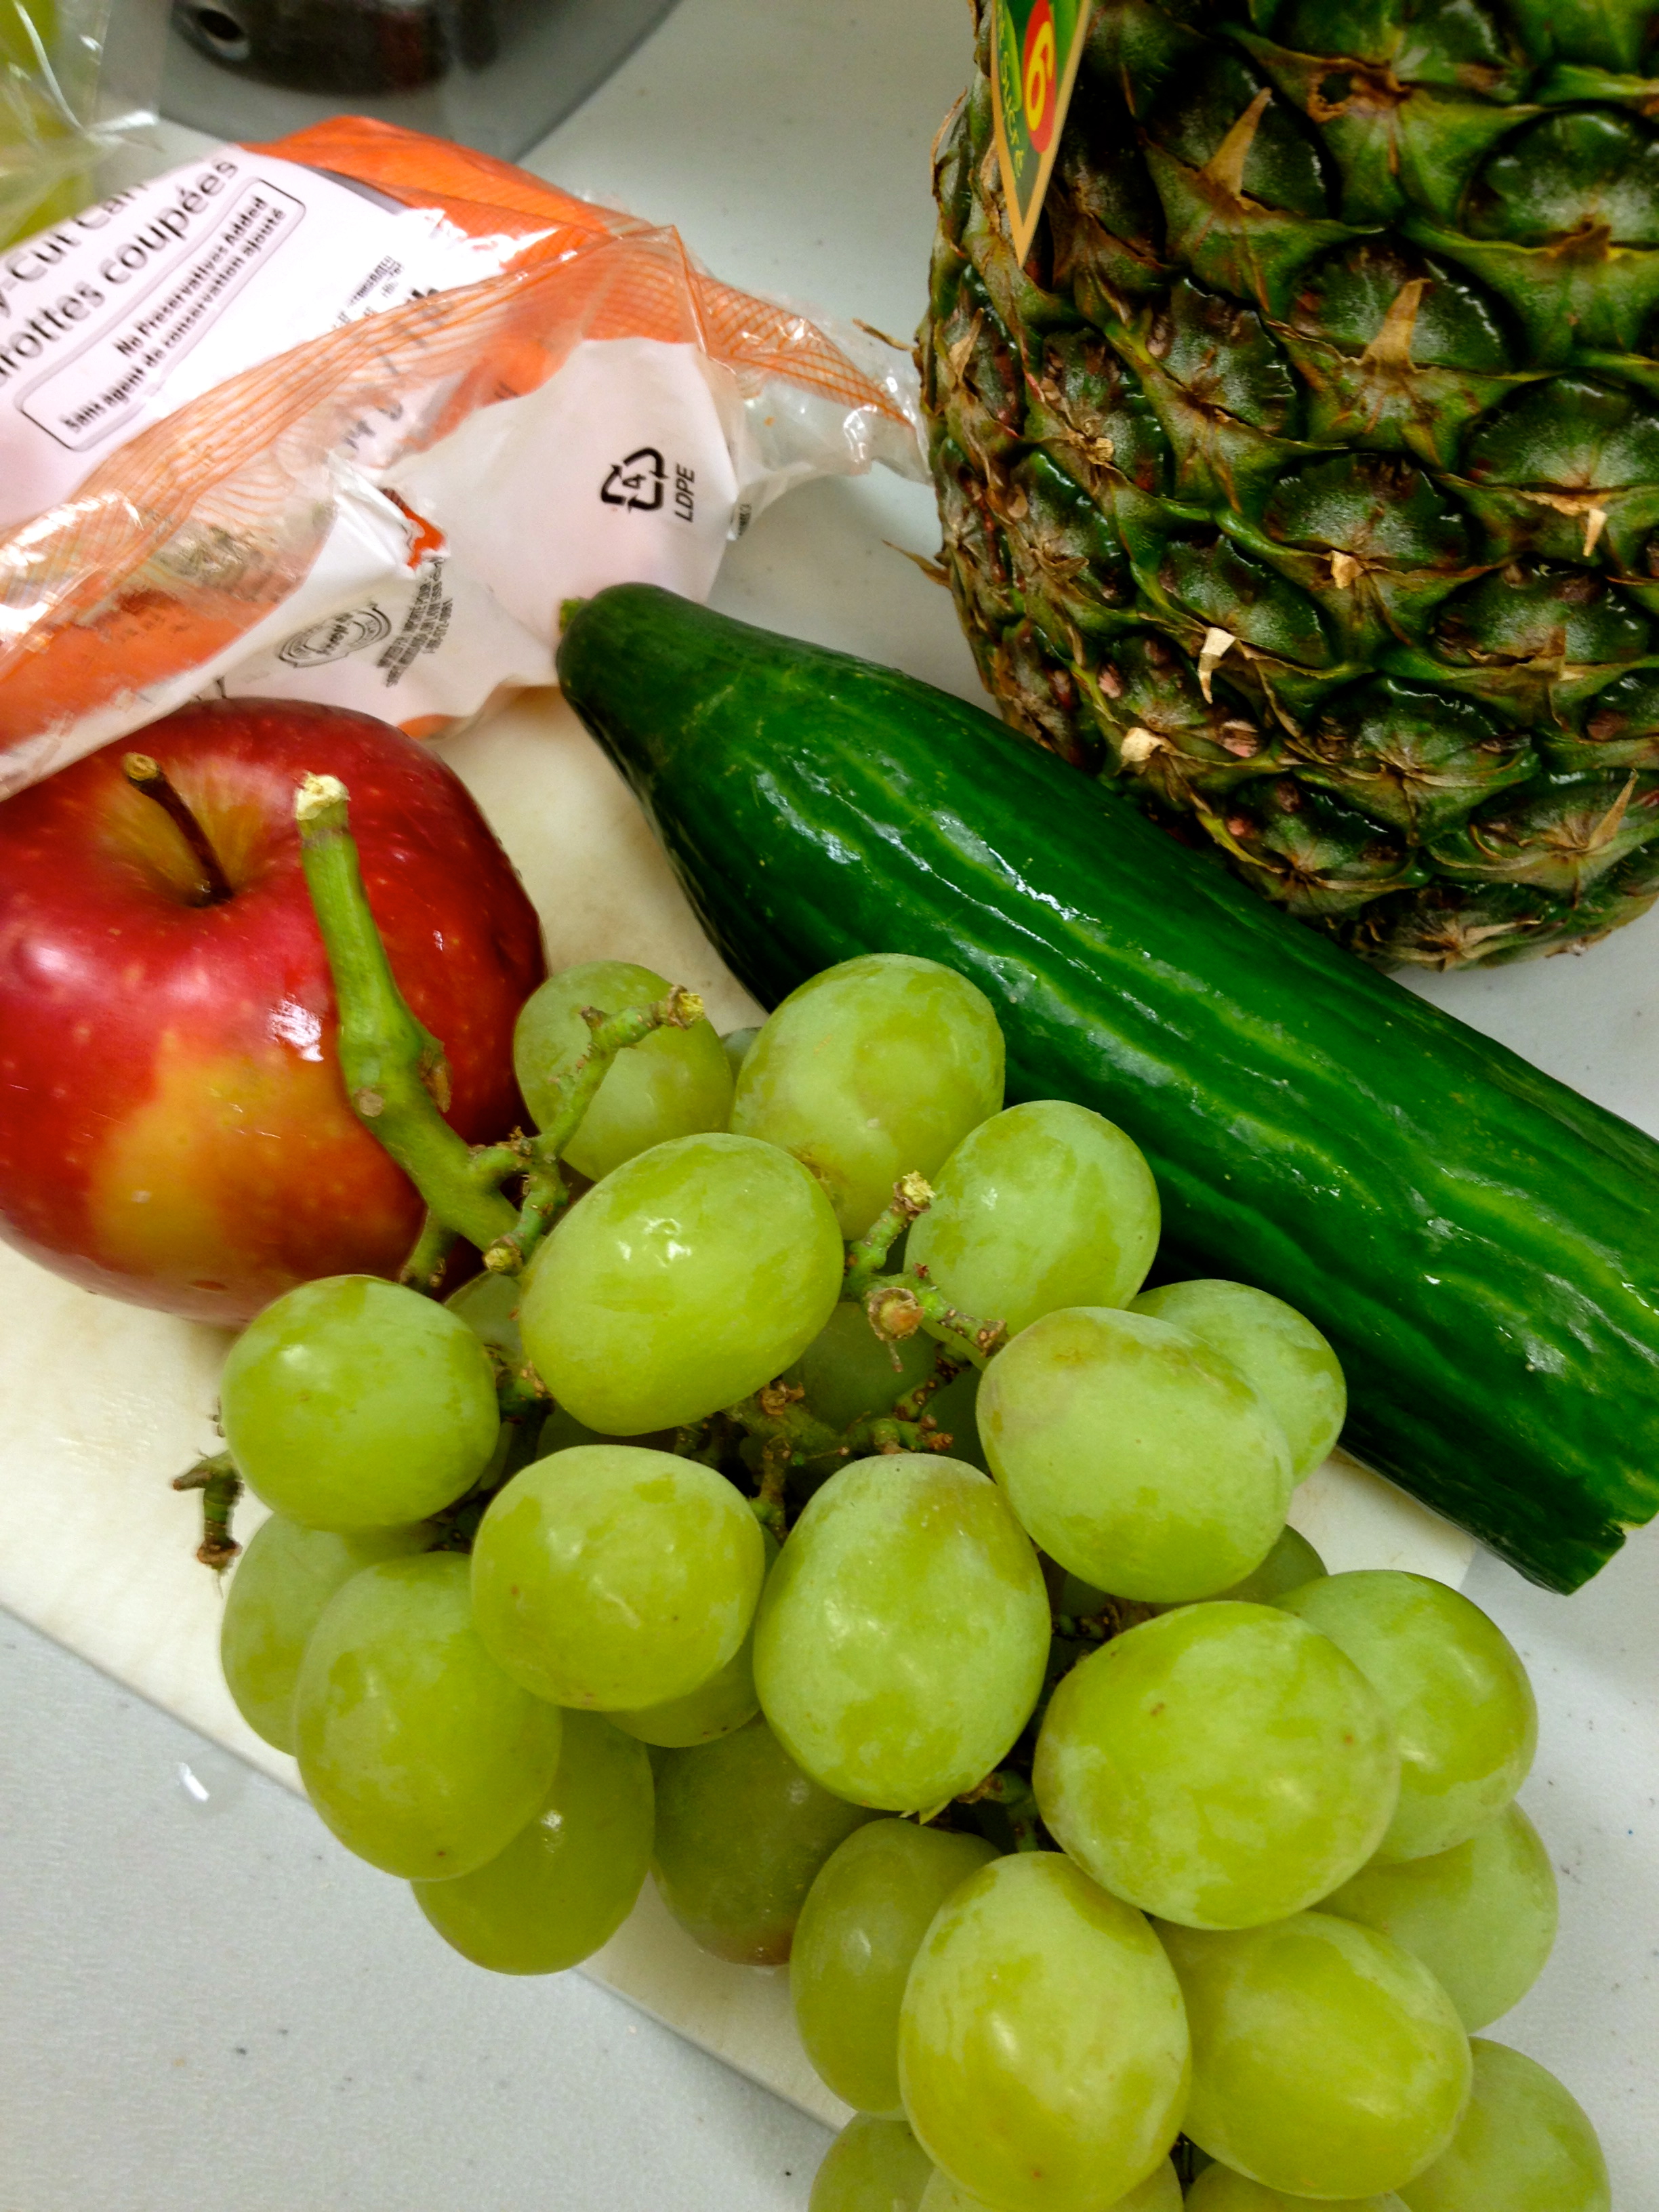
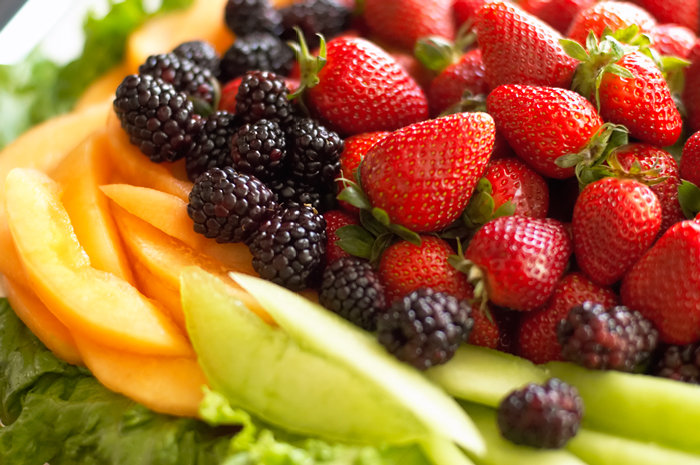
Once we had all the pancakes cooked we sat down to enjoy them! I had cut up fruit in advance, bananas, apples and strawberries and told them were we going to make faces on our pancakes with our fruit. Chloe who had done this before at our house, demonstrated what to do and then picked up her pancake and started eating. I was surprised to see all the other kids follow suit, with not a single one asking where the maple syrup was – which I actually did have to go with our pancakes that day. But since they did not ask for it, I just tucked it away and let them enjoy the pancakes and fruit faces they made. It was pretty easy and it was super fun.

Plain Pancakes

2 c. whole wheat flourplain pancake recipe

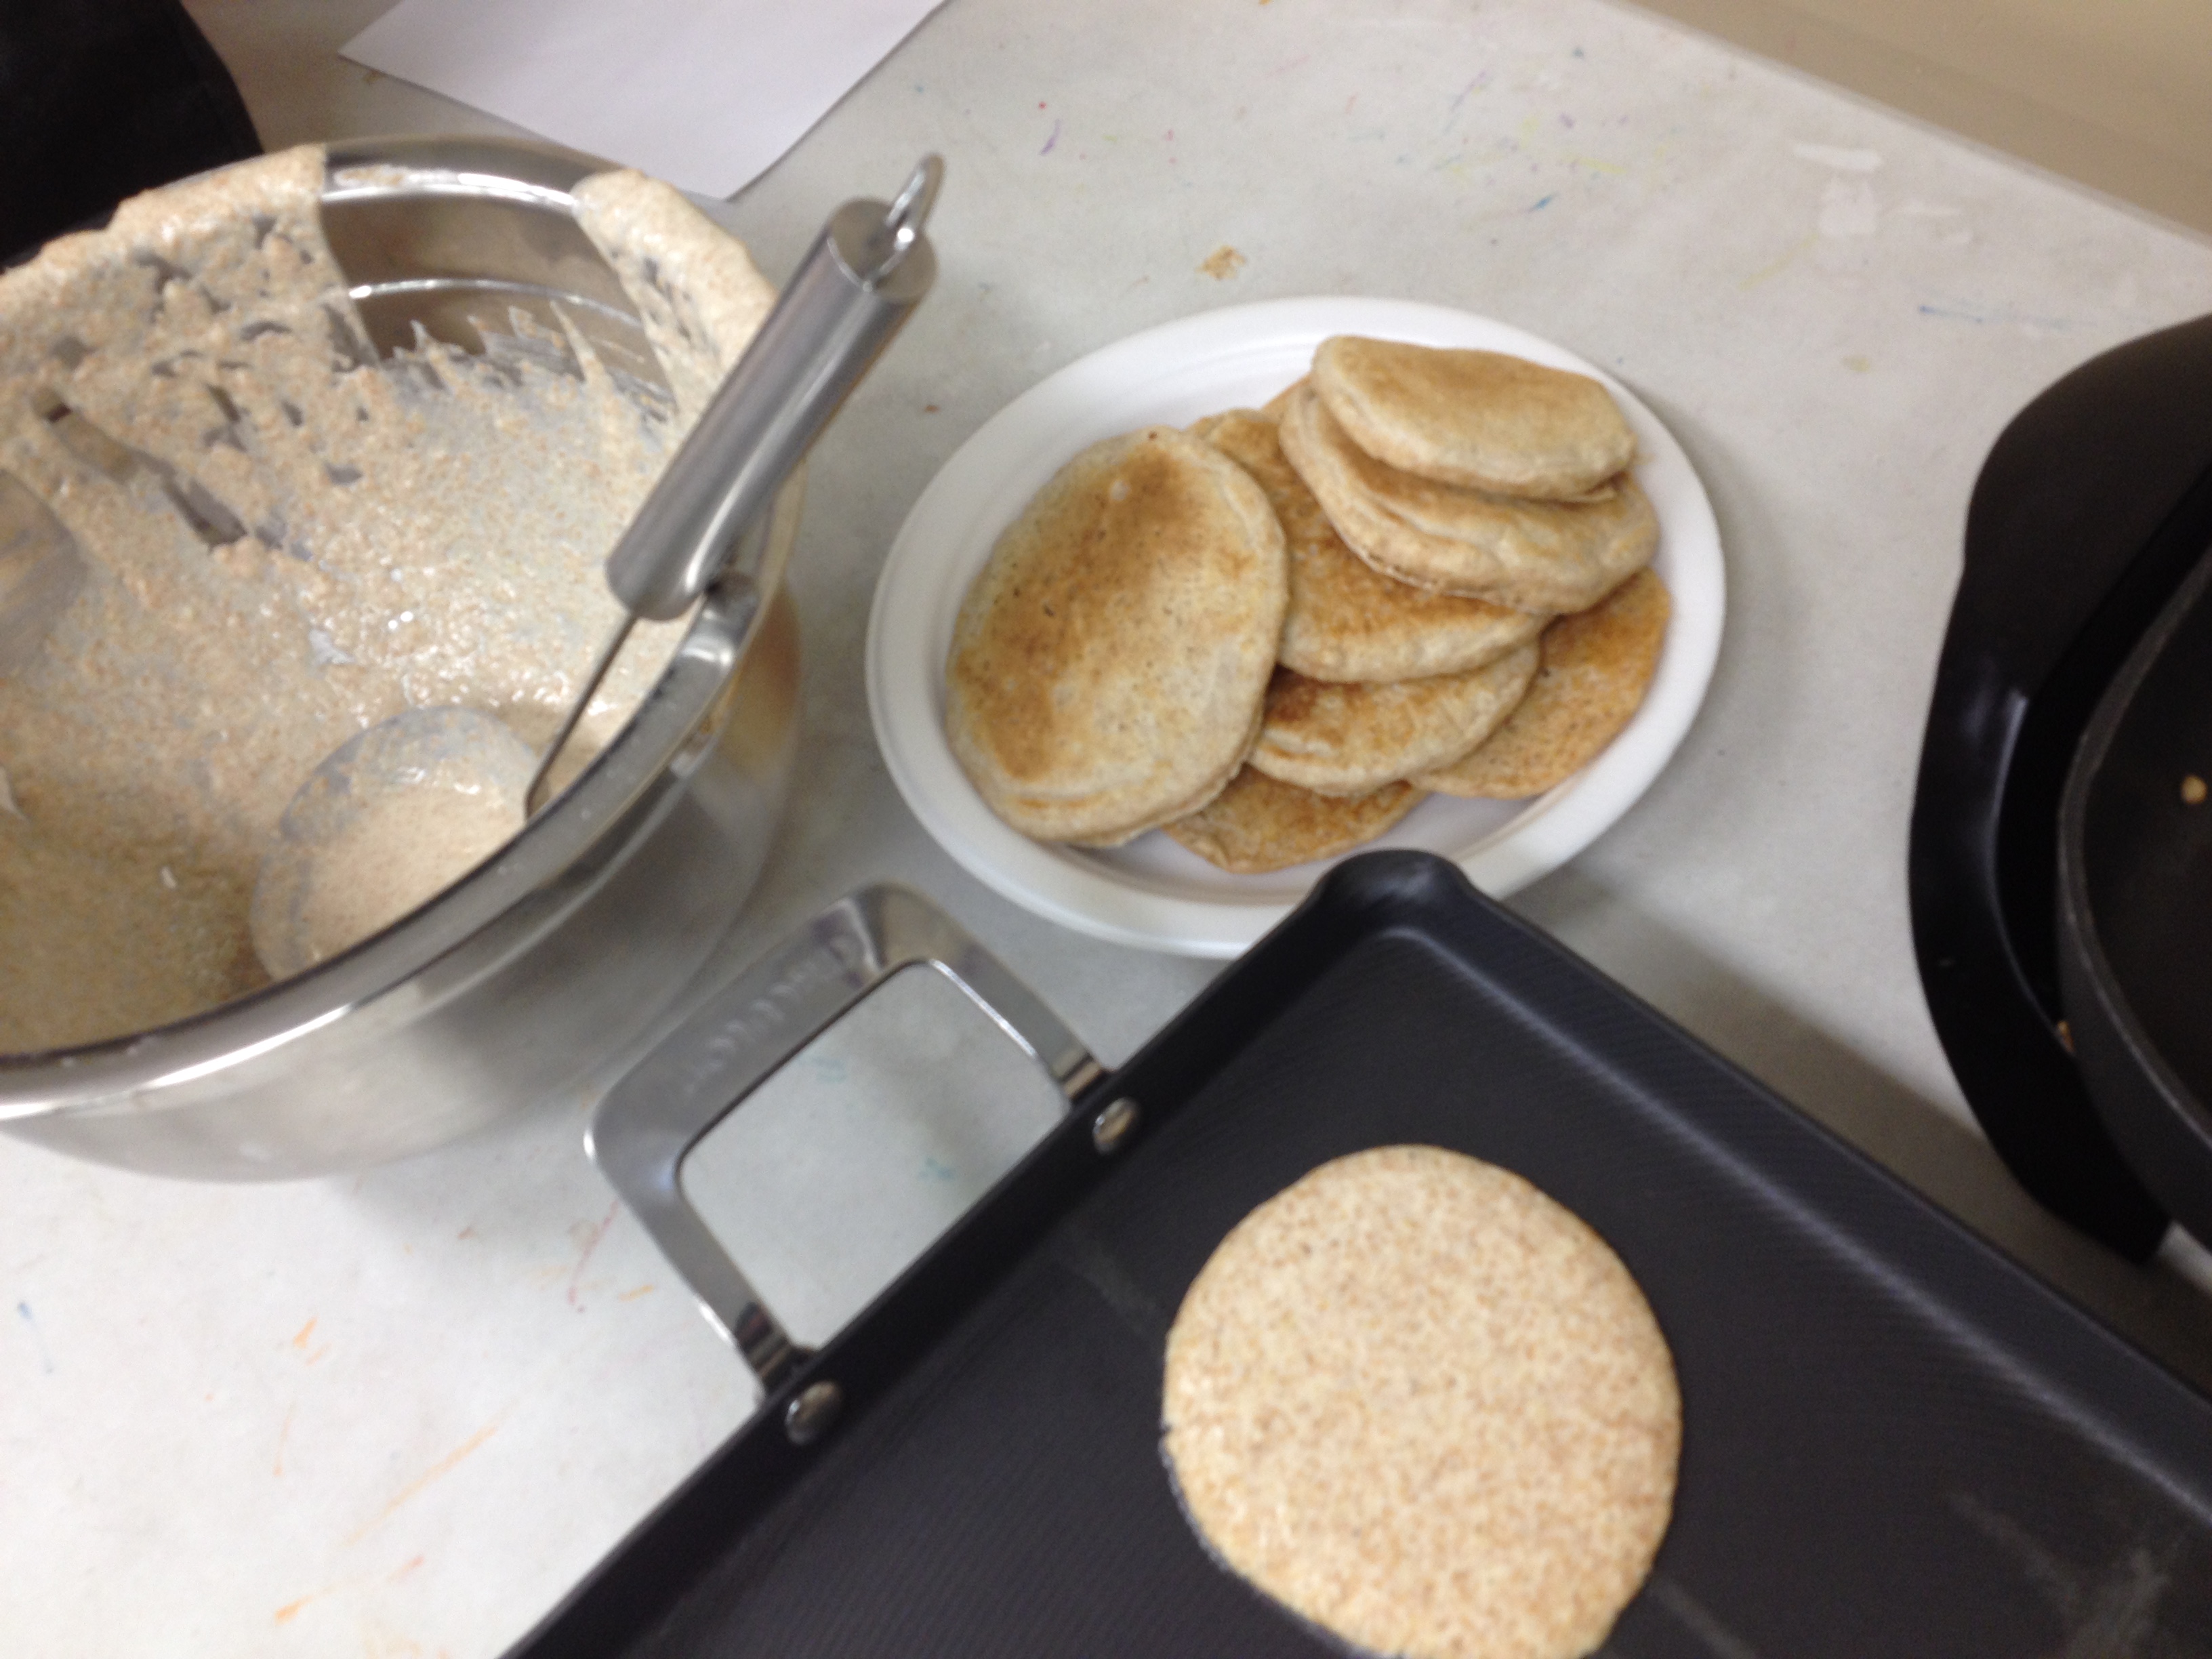
6 tsp. baking powder

1 tsp. salt

1 egg

2 ¼ c.  non-dairy milk of choice – almond milk, coconut milk, etc.

Mix together all ingredients in a bowl. Pour ¼ c. batter on hot griddle. When bubbles form on top, flip pancakes over. Cook for another 3 minutes. Top with favorite fruit or enjoy with pure maple syrup.plain pancake recipe


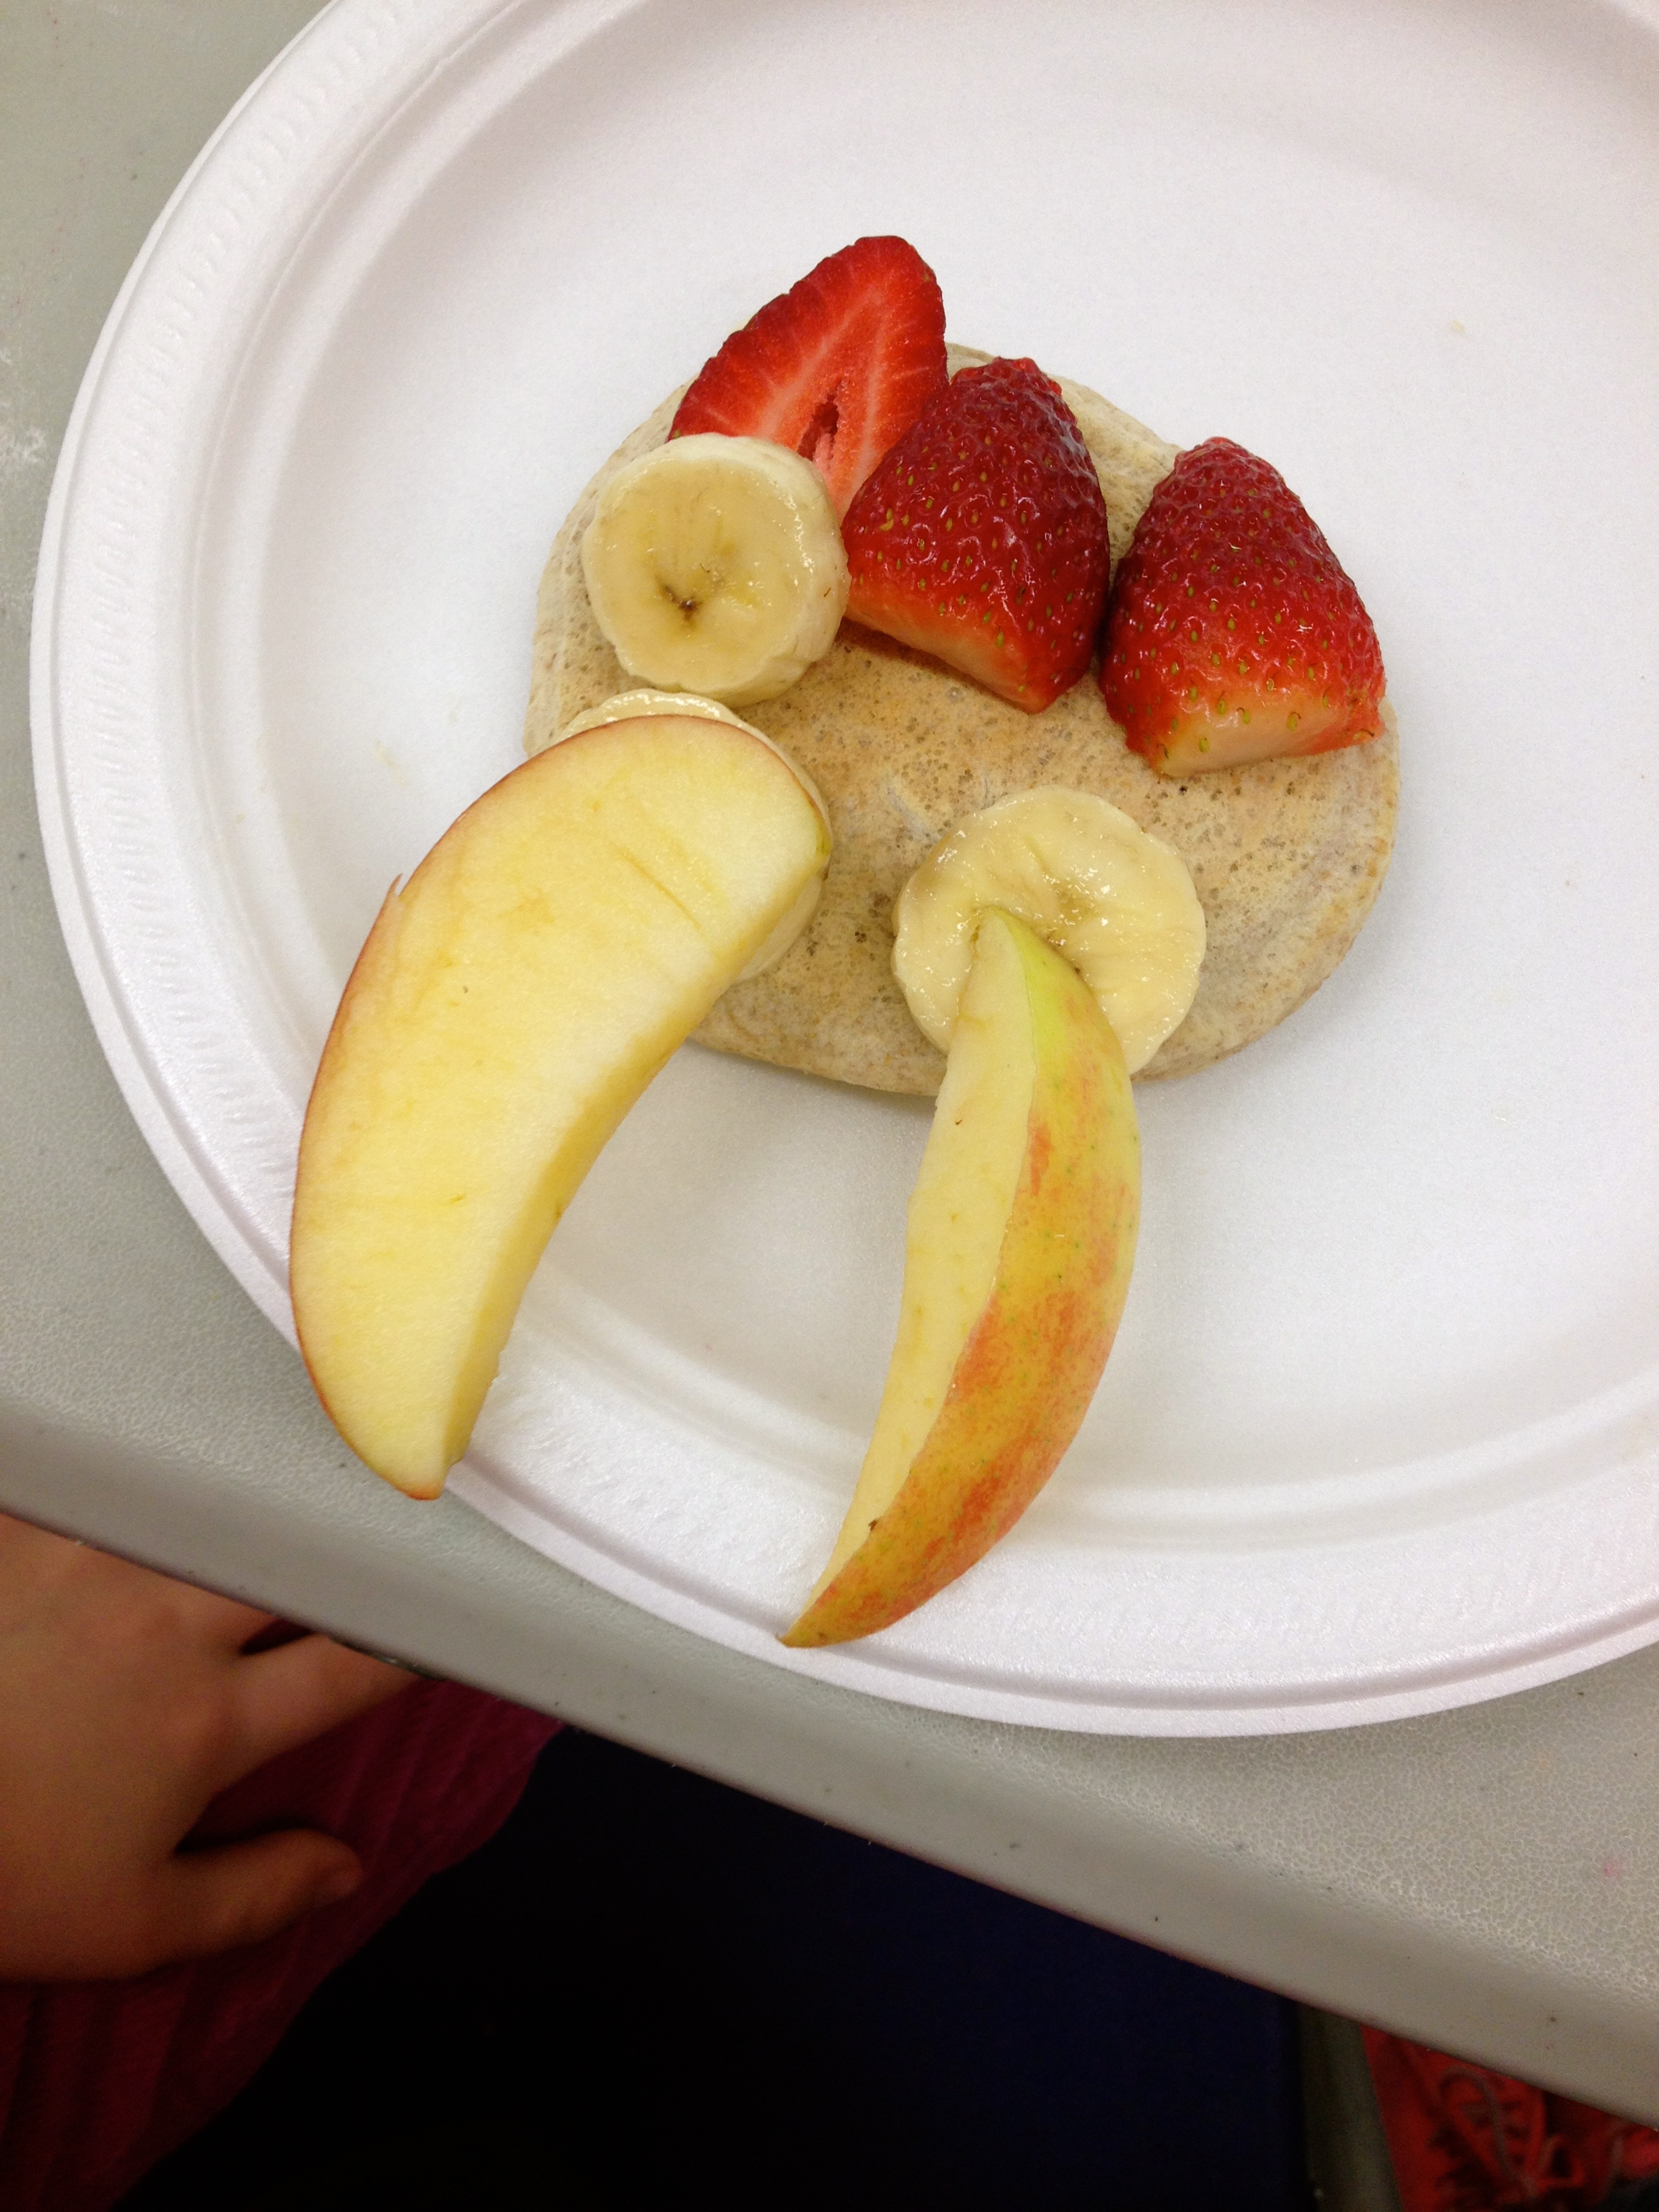
Coming up next in Kids Healthy Cooking Mini Pizzas!

What Parents wouldn’t do for their Child’s Birthday – Make Healthy Sugar Free Jello

sugar free jelloI love birthdays. They are fabulous days to celebrate people, how much we love and appreciate them and how happy we are to have them in our lives. Celebrating kids birthdays are some of the best, as they can be super fun and creative.

There are so many themes, games, crafts and activities to do around a kids birthday and I personally love a good theme. I get really into it, creating details from the cake right down to the decorations.

The one thing that is part and parcel of a birthday is of course, the cake. It is a tradition that has been around for centuries and one I honestly feel is just wrong if absent on a birthday (I hear in Sweden they start birthdays with cake for breakfast – they know what they’re doing). I have always loved the idea of a cut up cake, or a theme cake, something more than your traditional round or square. The designs, the colors, the creativity. My Mom made them for us growing up and well, even though my Mom warned me not to, I continued that tradition with my children.

sugar free rice krispie squares

Homemade Marshmallows

So for the twins, who just recently turned 6, we had a Minecraft and an Elsa cake this year; which I thought would be fairly simple. And well, once I figured out what I was doing, and all the pieces I needed, they were.

Because we chose a number of years ago to go sugar free this has created some challenges in creating things like a sugar free birthday cake. The cake itself was easy enough to do but it was the decorating, the icing and other accessories that made it interesting. This year for Luke’s Minecraft cake we discovered a design that was pretty simple in itself but required Jello and Rice Krispie squares – which I had yet to figure out how to make sugar free jello or sugar free rice krispie squares. I had some ideas on how to do this but had not made them before.

The Rice Krispie squares were easy enough. A couple of years ago I discovered a recipe sugar free rice krispie squareson Wellness Mama to make marshmallows, so I simply made that recipe and then mixed in the gluten free rice krispies right away while the marshmallow cream was still soft (at one point I thought I would have to make the marshmallows let them set then melt them down…luckily my rational brain kicked in and realized that they would already be soft before they set and I could just mix it all together right away). Once it was mixed in I just pressed the rice krispies into a pan like I usually would. They turned out quite well, though not as sweet as an original Rice Krispie square, which I think was largely due to the gluten free cereal which is not as sweet to start with; otherwise they were great.

The Jello was a little more of a challenge and this was simply because of the color I needed. Jello in itself is easy you use plain gelatin add water and let it set. But when you’re using natural fruit juice as a base and trying to make blue… Did you know there is no natural fruit that creates the color blue? You might think what about blueberries? Nope purple. Red cabbage is as a natural food dye, also purple. I even Googled it to see if I could find anything. No luck.

sugar free jelloEventually I found somewhere, the idea of using white grape juice and then adding a drop or two of blue food coloring. Though I would have prefered not to use the artificial food coloring I thought how much work did I want to do for this Jello. I decided a drop or two would be ok. So I found a natural Jello recipe on Wellness Mama (the same site for the marshmallows) and had it made setting in the fridge in about 5 minutes. Easy.

It tasted great too. In fact I prefered the Jello to the Rice Krispie squares. With this Jello though you have to like white grape juice, which some people don’t. I find it is a distinct taste that you either like or don’t. With my kids, Chloe loved it and Luke did not. The great thing is that unless you are making an odd color of Jello, like blue, you can find fruit juice out there that will give you the color you need without adding any food coloring. Like I wish I had needed red, easy! raspberry, cherry, cranberry

In general, I was really pleased with how these turned out and how the cake turned out in the end. It looked great and tasted good, with the finishing touches being the Minecraft figures on top, which thankfully Luke got from Gran for his birthday and was quite happy to put on top (I was going to sit down and draw and design these things). Luke was really pleased with the result and everyone ooed and awed over the cake when they saw it. That’s the kind of reaction that I like, and what makes it worth it. Now Chloe’s Elsa cake this year… that is another story…

Sugar Free Jello

1 1/2 cups of white grape juicesugar free jello

1/4 c. cool water

1/4 c. hot water

1 tbsp. grain fed gelatin powder

1-2 drops of blue food coloring (number of drops depends on how deep a blue you want)

Pour the cool water in a large mixing cup or quart sized mason jar and add the gelatin powder. Stir until mixed- it will start to thicken a lot. Add the ¼ cup of really hot water and stir to mix- it should be thinner now. Combine this with the juice and mix well. Pour the jello mixture into an 8×8 dish. Put in the fridge, covered, for at least 2-3 hours or overnight and serve. Cut into cubes or scoop out with a melon spoon to make cute shapes.
Serves 4-6

Kids Healthy Cooking – Healthy Sweet Treats

IMG_6963As human beings one of our biggest vices is all things sweet. The same goes for our kids as well, they prefer bananas over carrots, the cookie over the banana and so on. But what if we could create healthy sweet treats for kids that they would not only love and meet their need for sweet, but would provide them with a nutritional impact full of vitamins, minerals and other nutrients?

When we decided to go sugar free at our house I got a lot of looks from other people and questions about how can I deny them all the yummy things that are part of a regular kids life, like cupcakes, chocolates and cookies. The truth is they have never been denied, they still enjoy all those things at our house and more. The difference is not in the taste which is just as yummy if not more so than the ‘original’ – but in what they are made of. We have simply switched to natural sweeteners and added in foods that are super high in nutrients. And honestly they not only gobble them up but request them.

It is easy to make the switch at your house too. Just start slowly adding in one or two recipes and go from there. Make it easy. Plus if you get the kids involved in making these healthy sweet treats your chances of them eating them goes up simply because they have helped.

Also starting with ingredients and foods that they like is key to success when getting kids to eat and try new things. If you pick something they like, they are already interested and will be more open. This is why just before Valentine’s Day in our Mini Chefs class I chose two healthy sweet treat recipes for kids that were chocolate. You should have seen the kids eyes get big and how excited they got when I told them what we were making that day was chocolate (same thing happened when we made the chocolate banana smoothie a few weeks ago).

They were all so excited to try it when it was ready to eat, even though they had watched some ‘weird’ ingredients go in like avocado and chia seeds. Chocolate overruled it all.

Raw Chocolate Pudding

The thing I love about this recipe is the fact that you simply put all the ingredients in the blender and mix. In just minutes you have a smooth, fluffy and delicious chocolate pudding.

2 ripe bananas, peeled and slicedhealthy sweet treats for kids

1 avocado, pitted and peeled

2 tbsp. raw cacao powder (this is different than cocao powder)

1 tsp. agave nectar

Put all ingredients in blender in the order listed. Start on low, slowly turn speed up to high. Blend for 30 seconds on high or until desired consistency is reached. *it’s sweet as is, but if you’d like to increase sweetness add more agave nectar to taste – agave is twice as sweet as sugar so use small amounts and taste before adding more 

Avocados are fantastic additions to recipes. Not only are they mild in taste, they are high in vitamins and minerals such as Vitamin K, B5, B6, C and E as well as Omega 3’s. They offer a lot of health benefits like improved mood, reduced stress, good eye health and more. They are also a great food that actually curbs sugar cravings! Because they are high in healthy fats they slow digestion and prevent the body’s blood sugar from spiking after eating. It is also true that when we crave sugar it is often because we are missing certain nutrients and adding a healthy fat will curb this craving as the body becomes satisfied.

No Bake Chocolate Macaroons

1 bananahealthy sweet treats for kids

¼ c. coconut oil, melted

¼ c. pure maple syrup

½ tsp. vanilla or 2-3 drops madagascar vanilla essential oil

6 tbsp. cacao powder

1.5 c. unsweetened coconut

1 tbsp. chia seeds

small pinch sea salt

In a medium size bowl mash banana well until there are no clumps. Stir in melted coconut oil, maple syrup and vanilla. Sift cacao powder and stir into banana mixture. Stir in chia seeds, coconut and salt.

Line baking sheet with parchment paper. Drop a teaspoon at a time onto parchment paper. Put in freezer for 20 minutes or until firm. Store in freezer until ready to enjoy.

Makes approx 15 macaroons

Chia seeds are not only high in dietary fibre and protein as well as many other vitamins, they make you feel full as well as being an ingredient that stabilizes blood sugar. Cacao powder is rich in vitamins and nutrients such as iron, antioxidants and high in B Vitamins. Cacao does differ from cocoa as though they come from the same plant the difference is in how they are processed and the amount of nutrients that are left in it. Cacao is also considered a superfood while cocoa is not.healthy sweet treats for kids

So have fun, enjoy! not only will the kids love these healthy sweet treats you may find that you love them to (I have a hard time eating only one chocolate macaroon at a time…) They are quick easy and so yummy you and your kids will forget that they are actually good for you.

Next week pancakes with super cool faces!

Kids Healthy Cooking – How to get your Kids Eating Vegetables

get kids eating vegetablesIt is amazing how many kids do not like vegetables. Or if they do, they like only one, like carrots, or cucumbers, but otherwise that’s it. I know many parents experience this struggle of expanding their children’s vegetable palate. That’s why getting creative to get kids eating vegetables is key.

In our Mini Chefs class last week we created vegetable flowers. This is a great way to get kids eating vegetables – it is fun, offers them diverse food colors and creates a pattern, which are all proven ways to get them eating. The ‘flower’ was a combination of celery, radish, carrot, cucumber, spinach, and grape tomato (lots of colors).

veggie flowerWhen we were creating our vegetable flowers, many of the kids told me right away which vegetables they did not like. Though I acknowledged it, I encouraged them to make the flower anyway and then they could eat the parts they did like and leave the rest (not forcing the kids to eat what they don’t like, but acknowledging and encouraging is another way to get kids eating vegetables, and a variety). I praised and encouraged them as they were creating, telling them how much I liked the ‘grass’ they had made or the ‘petals’ on the flower. When we were done, all the ‘flowers’ were unique. Similar to the example but with their own creative flare!

Then of course we ate them and some of the kids not only ate the parts they liked but branched out and tried something new. I had to laugh when I watched two girls each try a spinach leaf and heard them exclaim “oh this is so yummy!”

This is why cooking with your kids is such a great benefit! It gets them involved, creative and gives them opportunities to try something new. Making food fun, will encourage them to try it out and maybe, hopefully expand their palates. It also is an opportunity to teach them about nutrition and why we need balance in what we eat.

IMG_6922Also that day we made Tuna Melts, which is one of my favorites! It is a simple quick recipe and great to do with kids. All you need is bread, tuna, Veganaise (or your favorite mayonaise) and cheddar cheese. This recipe is a great one for kids to practice stirring and spreading (the tuna). Parents of course should do the opening of the can, cutting and using the oven as these tasks need to be closely supervised with small children.

Again we had a few kids who said they didn’t like tuna, but I encouraged them to at least try it. For some kids, it could simply be the Veganaise (mayo) that they don’t actually like. I remember when I was little I did not care for mayonaise at all. It wasn’t until I was much older that I actually liked it. If you think this may be the case, you can either change your mayo choice (not all mayos are created equal) or you could leave it out and not mix it in your tuna – though this would leave the tuna a little dry the melted cheese on top could help with this. Experiment, let your child taste the items separately to determine what part they don’t care for and then adjust from there.

Cooking with kids is always an adventure and getting kids to eat vegetables just makes it that much more interesting! But recognizing and praising them for what they do and trying new things definitely puts them on a path to enjoying their food and exploring new recipes!

Tuna Meltstuna melt with Daiya cheddar

Ingredients:

Slices of bread

1 can of tuna

Veganaise (or choose your favorite mayonaise)

Slices of Daiya cheddar (or regular cheddar)

Mix tuna with Veganaise. Start with one to two spoonfuls of Veganaise and mix. Add more if needed to taste, you do not want the tuna to be dry, but you don’t want it sopping wet. Spread tuna on slice of bread. Place cheddar slices on top of tuna.

Place on a cookie sheet in oven on broil. When cheese has melted it is ready to eat! this only takes one or two minutes so make sure you keep an eye on it. Take out of oven and let cool slightly, then eat and enjoy!

Vegetable Flower

Ingredients:IMG_6930

Cucumber slices

Celery

1 grape or cherry tomato

1 radish

2 spinach leaves

8 baby carrots

Wash all vegetables. Slice cucumbers, radish and 2 pieces of celery (one big and one small) to make stems of flowers. On a plate place 2 pieces of celery. At the top of the big piece arrange cucumber slices into a flower shape. At the top of the small piece of celery arrange the radish to make petals of flower. Place grape or cherry tomato in middle of the cucumbers to form center of big flower. Place two pieces of spinach on either side of big piece of celery to make leaves. Line the bottom of flowers with baby carrots to create ground/ grass. Take a picture of your creation! Enjoy plain or with your favorite dip.IMG_6925

Missed last week’s kids healthy eating recipe? Click for Yogurt Parfaits and more great tips on cooking with kids

Looking for more creative fun ideas to get kids eating vegetables? Check out these great ideas 

Next week Kids Smoothies – 3 delicious recipes, one with chocolate! how can you go wrong?

Kids Healthy Cooking – Tips and Tricks for making it easy and fun!

kids healthy cooking

Cooking with kids can be a challenge. It’s messier, it’s slower, and often times can try your patience as a parent. Kids healthy cooking can be even more of a challenge with your little munchkins palates changing and developing, being sensitive to textures, smells and levels of salt and sweetness. One day they like a certain food and all of a sudden the next day they don’t? Even with these challenges, there are many benefits to getting little ones into the kitchen at a young age, benefits that will set a foundation for their eating and nutrition choices for life.  And these benefits will outweigh the extra time and patience you have to spend in the kitchen.

fruit2For little hands, time in the kitchen allows them to build basic skills, explore with their senses and create an adventurous palate! You can introduce healthy foods in a fun and unique way that will get them eating and enjoying it. Kids are also more likely to eat what they have made and it creates a foundation for them later in life – when they’re older in college and can actually cook. Not only that, but it creates a great opportunity for you and your child to spend some quality time together, learning and creating together, even having a little fun.

I recently started teaching a preschool class at the Trico Center called Mini Chefs and it is one of my favorite classes. You may think that cooking with a preschooler would be difficult, but when you choose recipes that are simple, easy and appropriate for their age, it is actually a lot of fun. I love how excited the kids are each week, curious about what we are making and what is in it.

IMG_6903One of the keys to making kids healthy cooking successful (especially with preschoolers) is to pick something with less than 5 ingredients and things that they can do themselves, like scooping, mixing, tearing (lettuce). Most kids at this age love to help and get very excited about mixing things, or scooping out the flour. Yes you may have a little more flour on the floor but encouraging them and letting them do it, will make them want to do it again.

For our first class we created Yogurt Parfaits, which is a very easy, hands on recipe with 3 basic ingredients and lots of scooping and sprinkling. They all wondered what a yogurt parfait was, as even my children had not made one of these before. What was in it? How did we make it? When were we going to make it? The when question was the best. They are so keen at this age to get started!

This is why it is very advantageous and less stressful for you to prepare things in advance so that the cooking process goes more smoothly. For the parfaits, I had the yogurt already in a bowl with a spoon for scooping, the fruit cut and the granola in a bowl ready for scooping as well. Parfait glasses were in a stack ready for me to hand out as well as the spoons. This made it easier for each child to do what they could themselves, once I explained how we made the parfaits.

It was so fun to watch each child create their parfait, scooping in their yogurt (some with fairly large scoops and some very small), choosing their fruit, then scooping in some yogurt again. Each parfait was creative and unique, and honestly it was not that messy. Some kids had lots of yogurt in theirs and less fruit, some had a lot of both, while others just wanted the granola off the top. Either way they all had fun and all tried it, it was a new taste adventure for many of them.

Now my kids ask for yogurt and fruit all the time now and it makes a very healthy snack!

Yogurt ParfaitIMG_6905

Ingredients:

Non-dairy vanilla yogurt  – such as coconut, almond or soy   *(can easily substitute dairy yogurts if desired)

Fruit – pick your favorite! Blueberries, strawberries, banana, honeydew

Granola (store bought or make your own – you can also substitute large oats if desired)

In a bowl or cup place desired amount of yogurt. Then place fruit of choice on top, layer with yogurt then another layer of fruit. One more layer of yogurt and top with granola. Enjoy!

And don’t forget, get the kids to help you clean up after as well. They are willing at this age and that way they learn that cooking whether creative, messy or fun, requires clean up at the end.IMG_6904

Next week… Tuna melts and Vegetable Flowers – who says vegetables can’t be fun!

Orange Cranberry Smoothie

IMG_6830I woke up Christmas morning this year feeling very excited! I felt like a kid all over again, the magic and anticipation of Santa and Christmas morning were very present. I didn’t sleep much, and by 5 am I was literally ready to get up and open presents. I seriously considered going and getting my parents up ‘for old times sake’ like when we were kids and getting up at 3 being told to go back to bed, then 4 then 5 and finally my parents would give up about 6.

I had the pleasure of sharing Christmas this year with both my parents and only me. No kids, no siblings, no in laws, just us, which is a rare and special occasion. It is not often that such an opportunity occurs and I felt that this in itself was a gift. Christmas Eve we watched a movie and my Mum and I sat up late talking and sipping gingerbread martinis. At midnight we toasted and wished each other Merry Christmas. We peeked outside, and experienced a calm beautiful evening. The snow gently falling and a peacefulness in the air, truly a unique energy that was not present earlier that day (or on Christmas morning when I popped outside either). It really was like in the movies, that magical energy, and presence there.

IMG_4491One of the things I love to do over the holidays is experiment with different festive recipes and on Christmas Eve I had already been thinking about trying a Cranberry smoothie of some kind Christmas morning. I googled a number of recipes and found some good ones, though undecided which one to try.

When I woke in the morning (or should I say finally got up around 8) I bounced out of the spare room wishing a Merry Christmas! Mum was at the sink, Dad dressing in red and I was moving towards the tree. Quickly with coffees or waters in hand we began a lovely ritual of opening gifts and sharing. After gifts Mum went to the kitchen to make brunch – a fabulous Impossible Quiche with Daiya smoked gouda, spinach and mushrooms and I proceeded to make the smoothies. I had decided to take the elements of some of the recipes I found that I liked and combine them, adding some of my own ingredients and creating my own. The result was fantastic! A smooth creamy, flavorful smoothie that we all socked back quickly, expressing how much we enjoyed it. I loved the added greens myself, which darkens the pink looking smoothie slightly but gets those greens in there without even tasting it! The added benefit is that cranberries themselves are considered a super food and are high in vitamin C, E, fiber as well as providing benefits such as improved immune system, antioxidant and decreased blood pressure.

When I arrived home after Christmas I made it again for the kids and they all loved it! Matthew who hasn’t been drinking many smoothies these days, tasted it said ‘Oh that’s good’ and drank the rest quickly. Chloe asks me every day since she tried it for one and has expressed that it’s her new favorite. Even my ex husband tried it the other day and said it was good (this is a big thing btw, as he is not really a smoothie guy and particular about tastes). I was quite pleased with the results and I think I drove my parents a little crazy that first day I made it when I kept saying throughout the day how good it was and how impressed with myself for creating it. Well it was good!

So if you’ve got a festive theme going over the holidays or simply want to try out a great new smoothie recipe, give this one a go! If you find it a little tart for your tastes just add more stevia when making it. Then come back here and comment telling me how you like it!

Orange Cranberry Smoothie

2 bananasIMG_6831

1 cup frozen cranberries

1 cup unsweetened almond-cashew yogurt

1 tsp. vanilla

1 cup orange juice or 2 fresh oranges peeled with 1/2 -1 cup water

1/2 of 1 g packet of stevia

handful of spinach* (optional)

Put all ingredients in blender. Blend until smooth. Garnish with slice of orange and a few cranberries if desired. Pour into 8 oz glasses and serve.

*if you would like a bright pink smoothie do not add spinach as it will darken it. I love tossing in that bit of green as it is a great way to get those greens in a quick and easy way. And you don’t even notice it’s there!

Serves 3 (makes 3 – 8 oz servings)

Sweet Butter Tarts

IMG_6483I received a little inspiration the other day from my sister. She was making pies and butter tarts asking for advice and how to’s as it had been a while since she had made them. Of course I helped her and gave her lots of tips.

She sent me photos of her and the girls (my nieces) creations and it made me a little jealous. I love butter tarts, they are definitely one of my favorites and I hadn’t had one in years! They are so sweet and delectable, nice flaky pastry and yummy sugary sweetness as it melts in your mouth.

Why though hadn’t I made these in so long? I mean pastry challenges aside (I never enjoyed rolling them out and cutting small circles, found it finicky), there was really no reason why I could not make these things. Yes we have chosen to eliminate dairy and sugar from our diets but why had I not adjusted this recipe? I hadn’t even looked at the recipe to see if it could be!

IMG_6471With mouth watering I decided to least attempt it. I mean what was the worst that could happen, I’d end up with a batch that didn’t taste so good and might have to put in the garbage? But if it meant I might be successful and enjoy butter tarts once again 🙂

So I pulled out the recipe and took a peek. I balked at myself for having left this for so long. This transformation was going to be super easy! It was a simple substitution of Earth Balance, coconut sugar and coconut milk and voila! it was done.

I waited in anticipation as they baked, hoping that I was right and they would turn out. Once they were out I did my best to let them cool at least a little, before I tasted one. Omg! it was absolutely delicious and honestly I could not tell the difference between this one and  the original recipe. Perfect!

I then shared the butter tarts with the kids who loved them and gobbled them up, quickly asking for more. Of course I love these so much I could easily gobble two or three at once, but I resisted, knowing perhaps I could have one for breakfast tomorrow…

And now I am going to share them with you. This is a dairy free sugar free butter tart recipe that you can enjoy without the guilt and really will not notice the difference or compromise on taste.

Butter Tarts

1/3 c. Earth Balance Vegan Spread, meltedIMG_6485

1 c. coconut sugar

2 tbsp. coconut milk (full fat canned coconut milk is best)

1 egg, beaten

1 tsp. vanilla

1/2 c. currants

Make pastry as per directions. (I use Tenderflake and follow their recipe on the back) Roll out pastry to desired thickness (usually between 1/4 to 1/8 inch depending on preference) and cut into 4″ circles. Place pastry circles in prepared muffin tin. (*If tin is not non stick I would highly recommend greasing each opening lightly with Earth Balance. There is nothing more annoying then being unable to get your tart out of the pan without it breaking!)

Combine all filling ingredients in a medium bowl. Fill each pastry circle about 2/3 full. Do not over fill as filling bubbles up when baking and can overflow. Bake at 450F for 8 minutes, then reduce oven temperature to 350F and bake until pastry is lightly browned, no longer than 5 more minutes. Remove from oven and let cool.

*Tip – if you’re filling did overflow while baking it is a good idea to gently run a knife around the edge of the tart before it completely cools. This prevents the filling from hardening and sticking, making it difficult to get the tarts out of the pan once completely cooled.

Makes 12 medium sized tarts

Enjoy! (Now I’m going to make some more… writing this post has definitely started my mouth watering)

A Biscuit by any other Name

IMG_5950One of my favorite meals, especially in the summer, is corn on the cob with biscuits. I have no idea why I enjoy this combination so much or even where I came up with it, but it must have seemed like a good combination at one time and it seems to have stuck.

The kids get so excited when they see me mixing up the biscuit dough, literally jumping up and down. They always help me husk the corn, loving pulling off the green to reveal the sweet corn inside. (We do this outside on the deck, then we can make a big mess and it doesn’t matter as much)

I usually make the biscuits from a Bisquick mix, using their recipe on the box for drop biscuits, substituting my almond milk and dropping the biscuits by the teaspoon to bake. But the other day when I was grocery shopping and went to pick up Bisquick I looked at the package, actually reading the ingredients in the mix (I am not sure why I have never done this before). In reading the ingredients I realized that it contained sugar, something I have been diligently avoiding and eliminated from our diet. Why oh why had I been continuing to use the Bisquick and not paying attention? This did not seem like me at all. Perplexed by my own idiosyncrasies, I decided not to purchase the Bisquick and put it back on the shelf.

I then remembered that when we were in Australia last summer visiting my sister that she had made these delicious biscuits one night from scratch and had given me the recipe. I knew that regardless of what the ingredients were I could modify it accordingly if needed. I was a little unsure though of where this recipe might be…

picQm6KFZLuckily it was easier to find than I thought, with hardly any adjustments needed. I was off to town and ready to make biscuits! They turned out very well, golden brown, fluffy and delicious! We all gobbled them up, eating them fresh from the oven, slathered with butter.

The recipe makes a good amount of biscuits, boasting 16 good size biscuits on average. I also like the options for this recipe, being able to add in things like cheese or ham if you want to, or simply making a plain biscuit. I also love the slight hint of cayenne that goes into this recipe, as it gives it just that subtle flavor and kick. I have yet to make this recipe and actually roll out the dough. I am lazy, and usually making dinner quickly, and I think they turn out just as nicely. Plus I say why create more work for yourself rolling them out when dropping them by the tablespoon works quite well! No one is going to pass on eating them because of it.

Now though my kids usually associate biscuits with corn on the cob, you can easily serve these with other yummy meals, such as chilis, stews, or whatever meal you want to add biscuits to! They are quick, easy and are a delicious recipe to make from scratch.

Homemade Biscuits

1 cup all purpose flourUS-Shreds-Cheddar

1 cup whole wheat flour

2 tsp baking powder

1 tsp baking soda

1/4 tsp salt

1/8 tsp cayenne pepper

1/2 cup shredded cheese (I use Daiya vegan cheddar)

3 tbsp Earth balance vegan spread

1 cup almond milk

1 tsp honey

Combine flours, baking powder, soda, salt and pepper.  Stir in cheese. Cut in Earth balance until mixture resembles coarse crumbs.

Combine milk and honey. Add to dry ingredients. Use a fork and stir to form a soft dough.  Turn dough out onto lightly floured surface. Form a ball and roll out to 1/2 ” -3/4″ thick. Cut into 2 inch rounds. Or if you don’t want to roll the dough, drop by the tablespoon onto a baking sheet.IMG_5948

Bake at 425 F for 12 minutes or until golden brown.

*other additions – may add bits of chopped ham, bacon, onion

Makes approximately 16 biscuits

Camping Desserts – Sugar Free Banana Boats

IMG_4190As camping season begins, I start to think about all the delicious camping meals and snacks that we enjoy. Planning carefully which ones to include, because we can’t go without the favorites, and which new ones to try.

Growing up we had many favorites, such as tin foil dinners, cinnamon apples, s’mores etc. But when we decided to modify our diets and go sugar free this made some of our favorite camping recipes a little more tricky to enjoy. Slowly but surely I have been figuring out how to adjust them to meet our needs, and not miss out on the delectable tastes!

One of the recipes I have been working on is banana boats. A delectable mix of banana, chocolate and marshmallows, warmed and melted over hot coals from the fire. Mmmm, that mix of melted chocolate marshmallow is to die for! I had figured out early on how to remedy the chocolate situation, having taken a raw organic chocolate making course a few years ago. But it was the marshmallows that stumped me – until last year – when I finally found a recipe to make marshmallows; completely healthy and sugar free!

Cinnamon Apple

Cinnamon Apple

Now that I had all my ingredients we were able to try it out. So one lovely and sunny fall afternoon we packed up what we needed and headed out to Bragg Creek Provincial Park to enjoy a short hike and a fire, where we would enjoy roasted hot dogs and try out the banana boats.

The kids were super excited to get things started! Luke and Chloe listening attentively to the directions on how to make their banana boat. First they needed to eat out a bit of the banana, then put in their chocolate pieces and marshmallows. Then wrapped it up in tin foil and place on the hot coals. Turning once, approximately 4 minutes a side.

Luke and Chloe watched in anticipation, asking if it was ready yet, hoping that by watching it it would cook faster. The trick with banana boats is you want them cooked long enough so that the chocolate and marshmallows melt but do not disintegrate and the banana is warm and soft. Depending on the heat of your coals the cooking time could vary slightly. Notice I said coals. You want those hot red embers, not flame and fire, in order to cook your banana boats. Flame will cause your dessert to burn and cook too fast, and who wants a charred banana? 🙁IMG_4191

Once they were ready we took them out of the fire, using tongs as they are very hot, and placed them on the table. Carefully we unwrapped them and Luke, Chloe and Matthew, spoons in hand, were ready to dig in! I warned them that it would be hot so to let it cool slightly and/or small bites blowing on it. They heeded my advice and tentatively took a bite.  Immediately their faces lit up with hugs smiles and exclamations of how yummy it was! Then quickly diving in for more. All done and faces covered in chocolate, they eagerly asked for another. Unfortunately I had only brought enough for one each, so said we’d have to make them again soon. But I was so pleased that they worked and were a hit! I cannot wait to get out there this camping season and have some more! And this time I will plan for 2 each!

What are your favorite camping desserts? Share in the comments below.


Banana Boats

*to make banana boats you will need one banana per person

Firm ripe bananas

sugar free chocolate pieces (either homemade or use unsweetened bakers chocolate)

sugar free marshmallows

heavy duty tinfoil

tongs

spoons

IMG_4188Cut peel of banana down the sides and across top of banana, creating a flap that you can open. Do not cut the bottom. With a spoon eat out part of the banana. Eat/ scoop out enough to create a space to put in chocolate and marshmallows, but do not eat down to the peel on the other side, you want to leave some banana there.

Place chocolate and marshmallow pieces inside banana. You can put in as much as you want but you do not want to overstuff it! The flap must be able to close over top, otherwise a lot of your fillings will leak out while cooking.

Place flap of banana overtop to close it. Take a medium size piece of heavy duty tinfoil (you want heavy duty as putting it in the fire is intense heat and regular foil will cause it to burn before actually cooking), wrap up your banana tightly.

IMG_4189Place tin foil wrapped banana on hot coals and cook for approximately 4 minutes (cooking times may vary depending on the heat of your coals). After first 4 minutes, flip over to the other side and cook for another 4 minutes.

Remove tin foil wrapped banana from fire using tongs. Open foil very carefully, foil will be very hot! Check banana, if chocolate and marshmallows are melted, then you are ready to eat! If it is not melted as much as  you would like, rewrap banana in foil and place back on coals for a few more minutes.