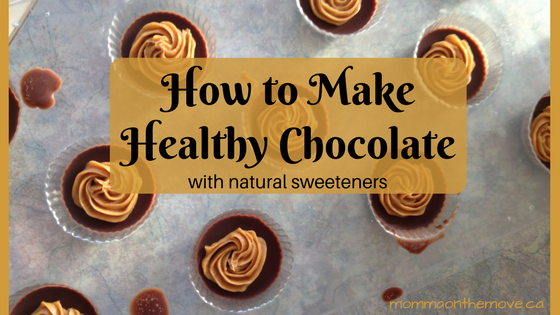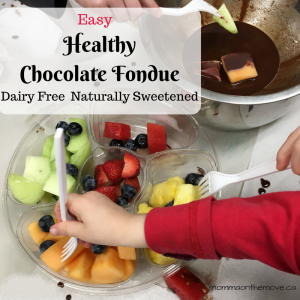
Chocolate Fondue is one of those easy fun desserts or treats that everyone can get into. Dipping fresh fruit in chocolate (or other yummy things like rice krispie bits, cake, pretzels, marshmallows) is delightful and delicious.
A lot of people find though that chocolate fondue can be a little messy and a little bit too much of a sugar rush – with the chocolate burning if your fondue pot is not just right, or it getting too thick to dip in. Not to mention all the sugary treats you are dipping into an already sugar filled chocolate.
The good news is it doesn’t have to be this way – you can create a healthy chocolate fondue with the yummy treats for dipping (also healthy) and no burning or thickening of your chocolate. And it’s super easy! even the kids can do it.
 Years ago I learned how to make raw organic chocolate, made from cacao butter and cacao powder, then naturally sweetened with your sweetener of choice. It is quick easy and very good for you. Cacao is an ingredient that is considered a superfood, as it is very high in vitamins and minerals like calcium, magnesium, sulfur, copper, iron and zinc, vitamins E, B2, B1, B5, B3 and B9. And it is super high in antioxidants, healthy fat, fiber and protein. Plus when you use a natural sweetener you are now adding in the benefits of that natural sweetener as well (like honey, pure maple syrup, stevia).
You might think well I can just use cocao it’s the same – the fact is it’s not. Though both cocao and cacao come from the same bean they are processed very differently which is why one product (cocao) is stripped of most of it’s vitamins and minerals, while the other (cacao) preserves them.
When you’re making raw organic chocolate, you use a double bowl where you place boiling water in the bottom bowl and place another smaller bowl (that sits on the rim without falling into the bottom one) on top. You simply make your chocolate in the top bowl, using the heat from the water underneath to do your melting and create your chocolate. It’s like a double boiler method without using the stove and creating the risk of burning it!
Once you’ve made your chocolate, you simply keep it in the liquid form for your fondue (as opposed to putting it into molds or a pan to set), by leaving the top bowl on top of the hot water. Place it in the middle of your table or serving area and voila! you are ready to dip and indulge. You do have to be conscious of the lower bowl being hot though and advise those who are sharing the fondue to not touch the bottom bowl (especially important with kids). The chocolate will stay liquid as long as the water is hot and will not burn. As the water starts to cool, the chocolate will set, but all you have to do is add fresh boiling water to your bottom bowl and the chocolate will melt and return to liquid quite quickly. One thing to note is you do need to be careful that you do not get any water into your top bowl with the chocolate as this will ruin your chocolate, so just be aware of that when you’re moving things around.
Otherwise, grab your fork and favorite dipping items and enjoy!
Healthy Chocolate Fondue (this will make enough for 4-6 people and ready in 10 minutes!)
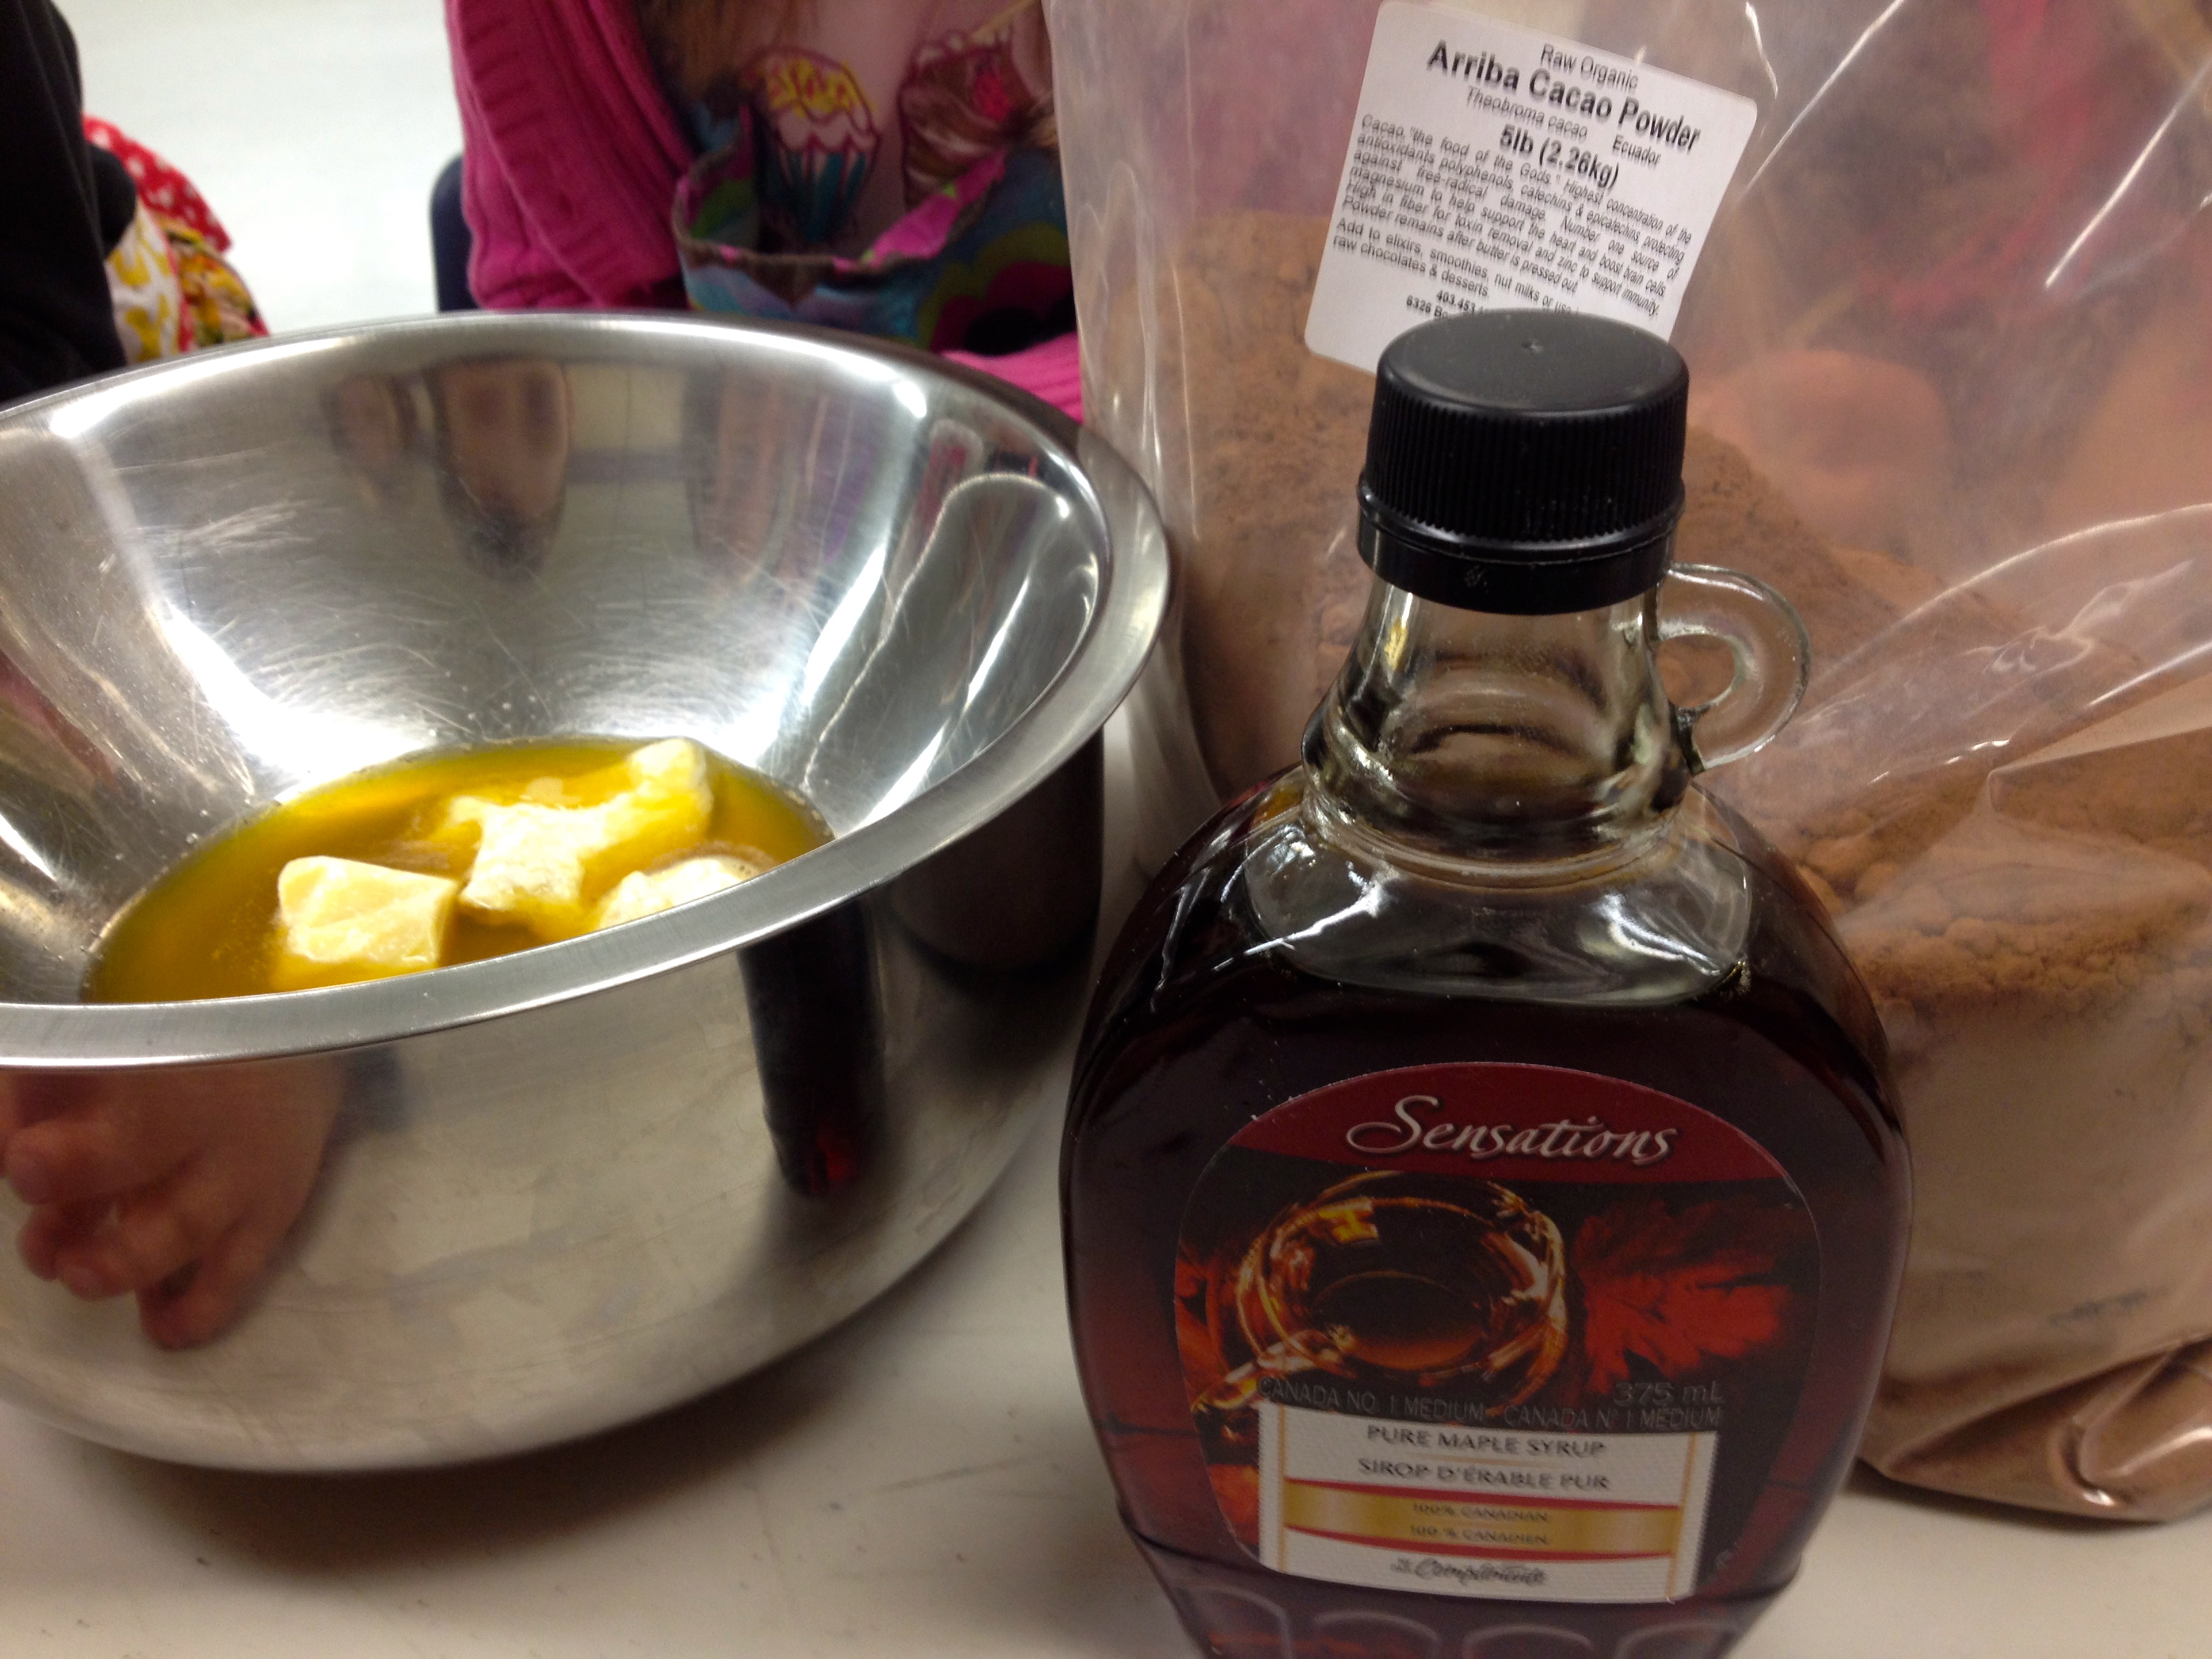
3/4 – 1 cup Cacao butter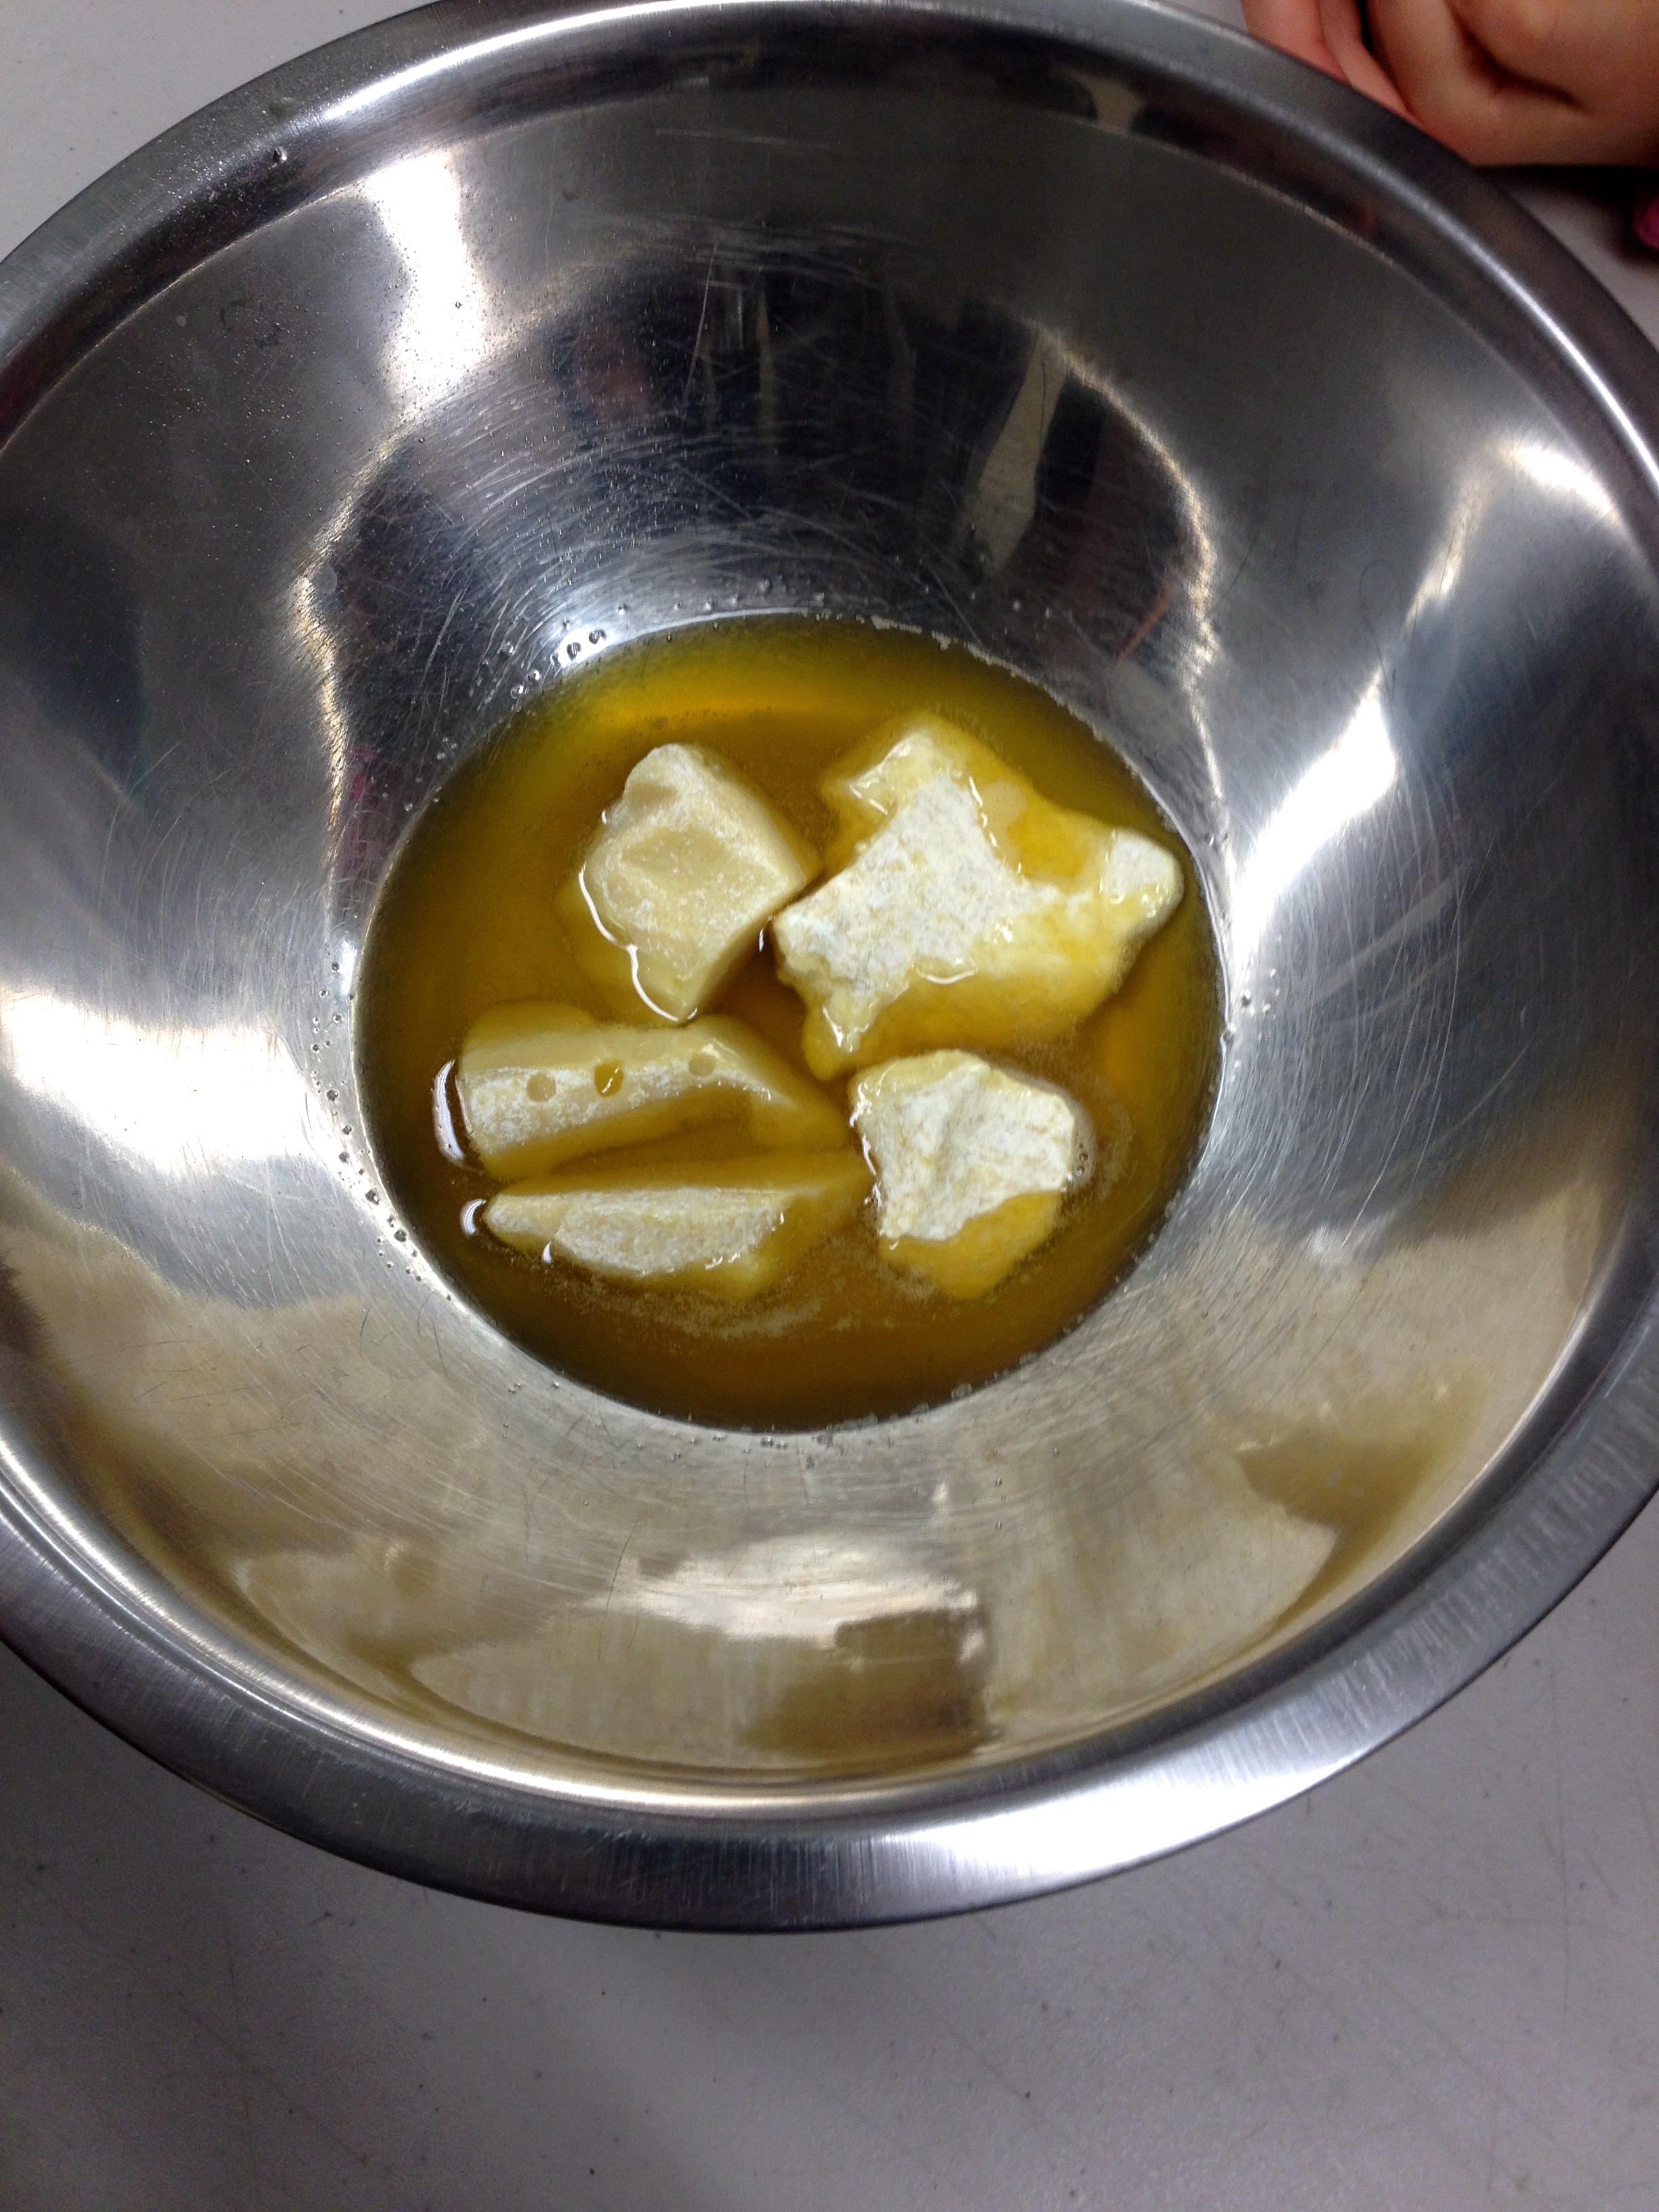
2-6 tbsp. Cacao powder
1 Vanilla Bean
2 tsp. to start Natural Sweetener of choice (honey, pure maple syrup, etc.)
- In a medium metal bowl add boiling water about halfway up the bowl. *a metal bowl is best as it retains the heat well but can get hot to the touch Place second smaller metal bowl on top of large bowl so that it sits on top.
- Put desired amount of cacao butter into top bowl. Cacao butter will start to melt.
- While cacao butter is melting slice vanilla bean down the middle and scrape out the inside seeds with a spoon. Put seeds into melted cacao, it is ok if cacao butter is not completely melted yet. Stir.
- Sift cacao powder into a separate bowl. Once cacao butter is completely melted add 2-4 tablespoons of cacao powder. Taste for desired level of chocolatey-ness. If you’d like it richer add more cacao powder.
- Once satisfied with amount of cacao powder add natural sweetener of choice. Start with 3 teaspoons and mix. Taste, if desired level of sweetness has not been reached, add 1-2 more tablespoons and taste again. Once level of desired sweetness has been reached you have your base chocolate.
- Leave in liquid form and bowls on top of each other and serve. Use pot holder or oven mitt to transfer bowls if moving to another spot.
*Be very careful not to get any water into your chocolate as it will not work if you do. If your second bowl sits nicely on top, this should not be an issue as you do not need to lift the second bowl off the one with the water in it until you are done making your chocolate.
Items for dipping:
Basically you can dip whatever you want into your chocolate (some people love chocolate dipped bacon 🙂 Fruit is the most popular and the quickest to prepare as it is most likely on hand – but if you’re feeling adventurous or just want to change it up a bit try out these other options – which can be healthy and sugar free too! below
Fresh fruit of choice – banana, apple, orange, strawberries, pineapple, cantalope, etc.
Pretzels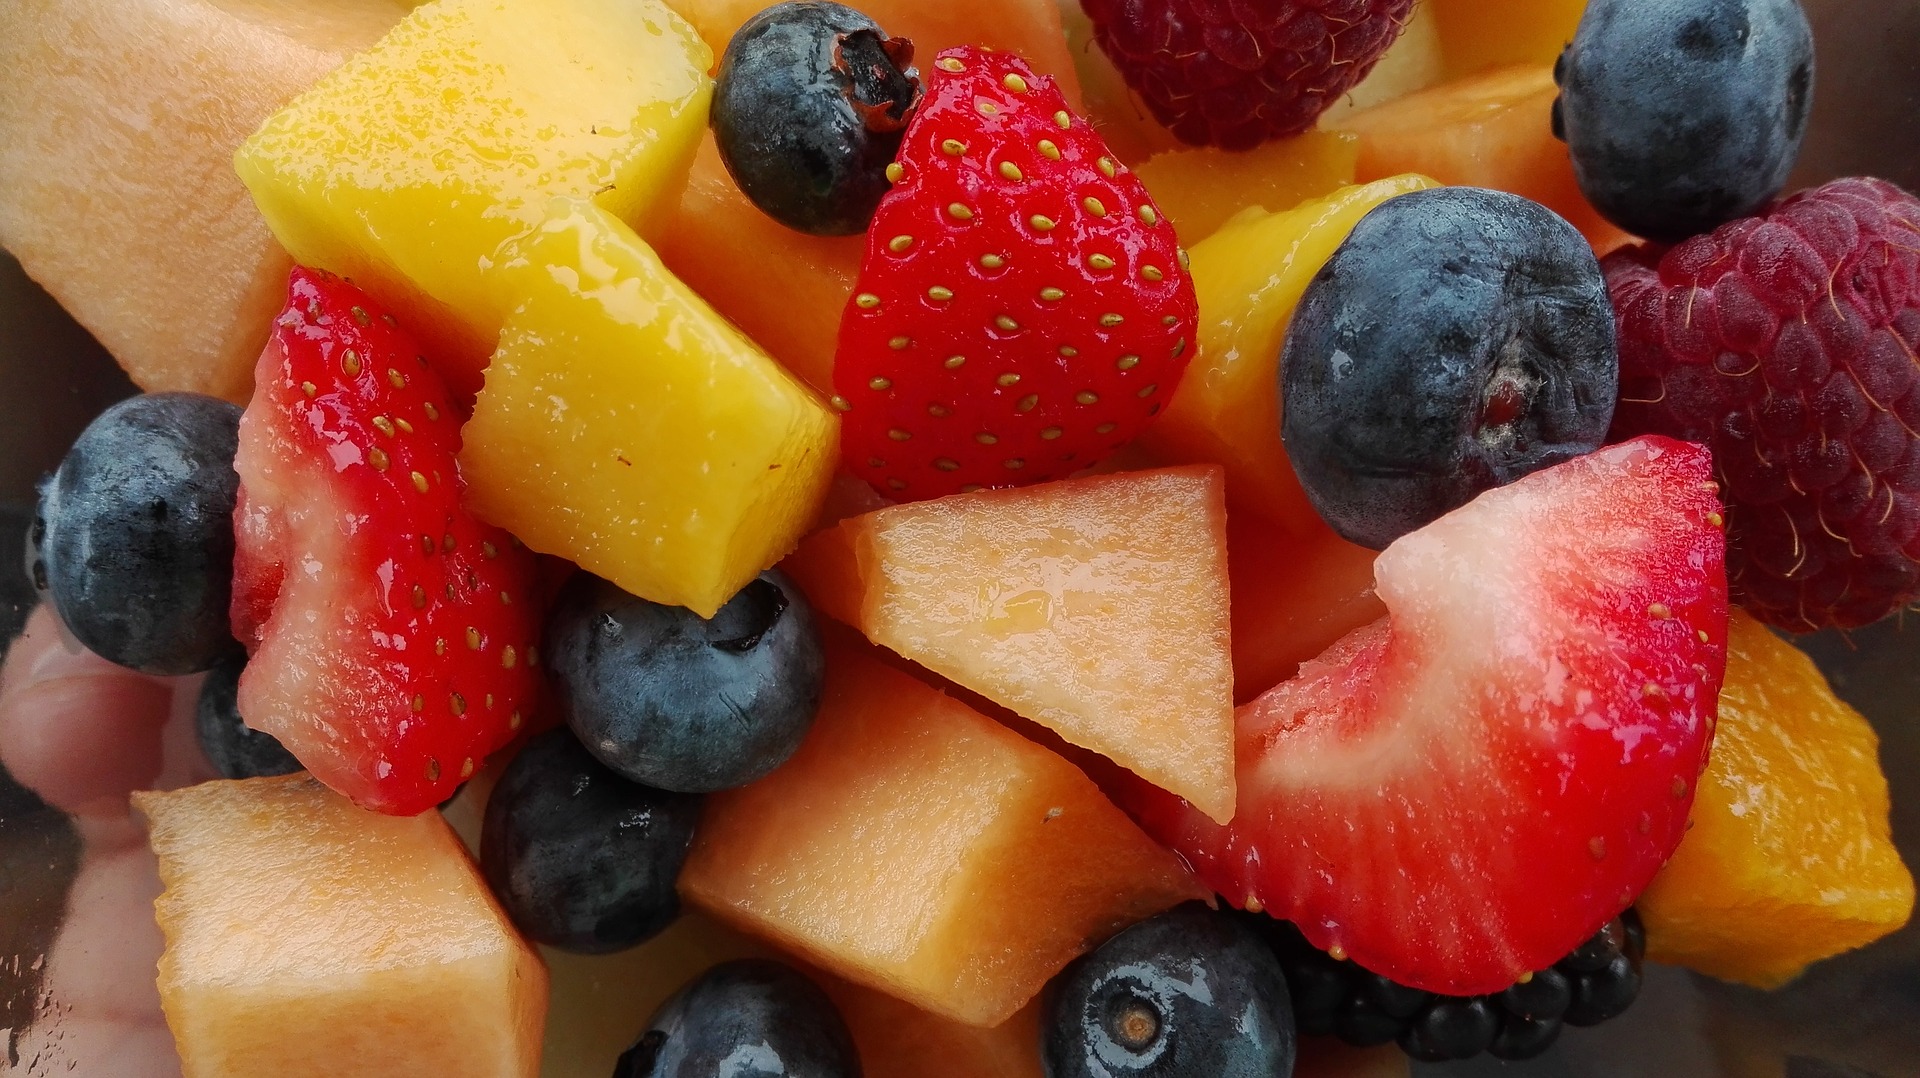
Healthy sugar free marshmallows (yes these can be healthy to! make your own here)
Sugar free cake bits
Sugar free rice krispie square pieces
Nuts
Make sure you have forks or other utensils to facilitate dipping without items being lost in the chocolate. Fondue forks work great but are not required as regular forks work just as well.
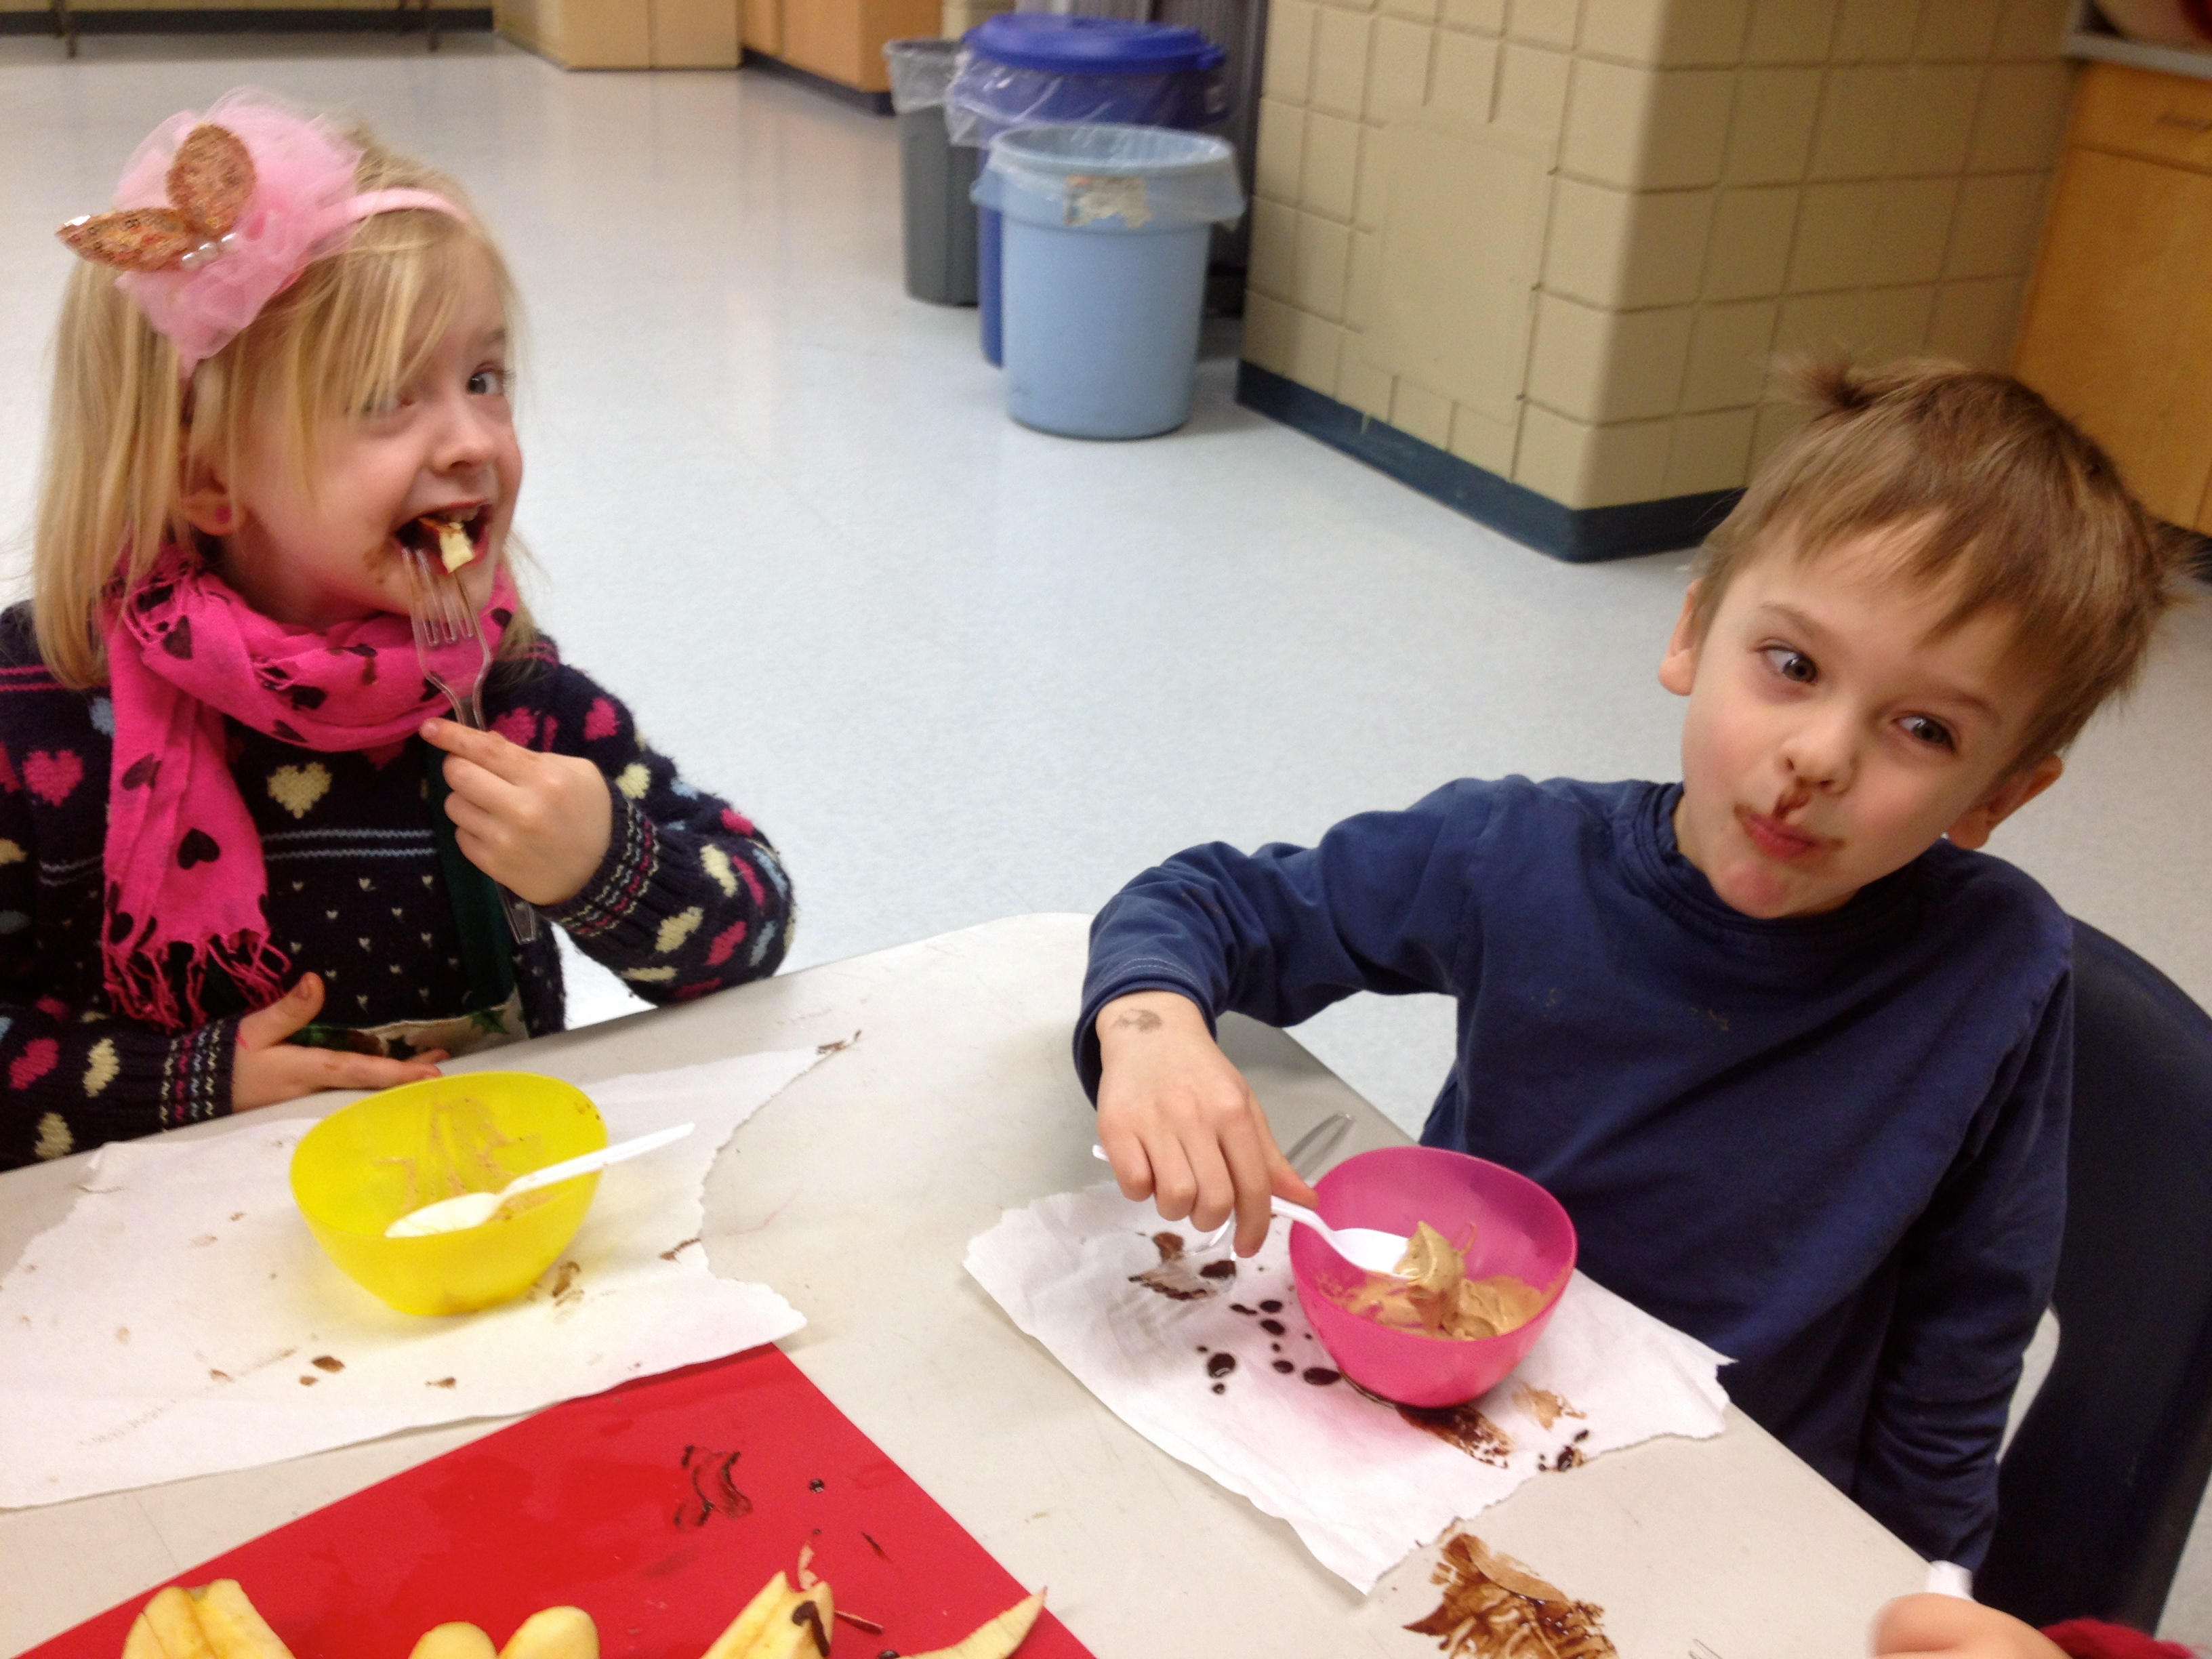
This is super super easy to do with kids and is always a hit. I did it with my Mini Chefs class, 3-5 year olds and they loved it! There were many chocolate faces that day and I did not send them home to parents on a sugar high.
I’ve also succesfully done this with adults many a time and I usually have someone licking the bowl at the end 🙂 The nice thing is you can make as much as you want and if you run out you just make more!
Ok I’m off to make my own chocolate fondue now… all this talk about it is making me crave some…
What are your favorite things to dip in chocolate fondue?