Back to School Smoothies – Tropical Green Smoothie

green smoothie

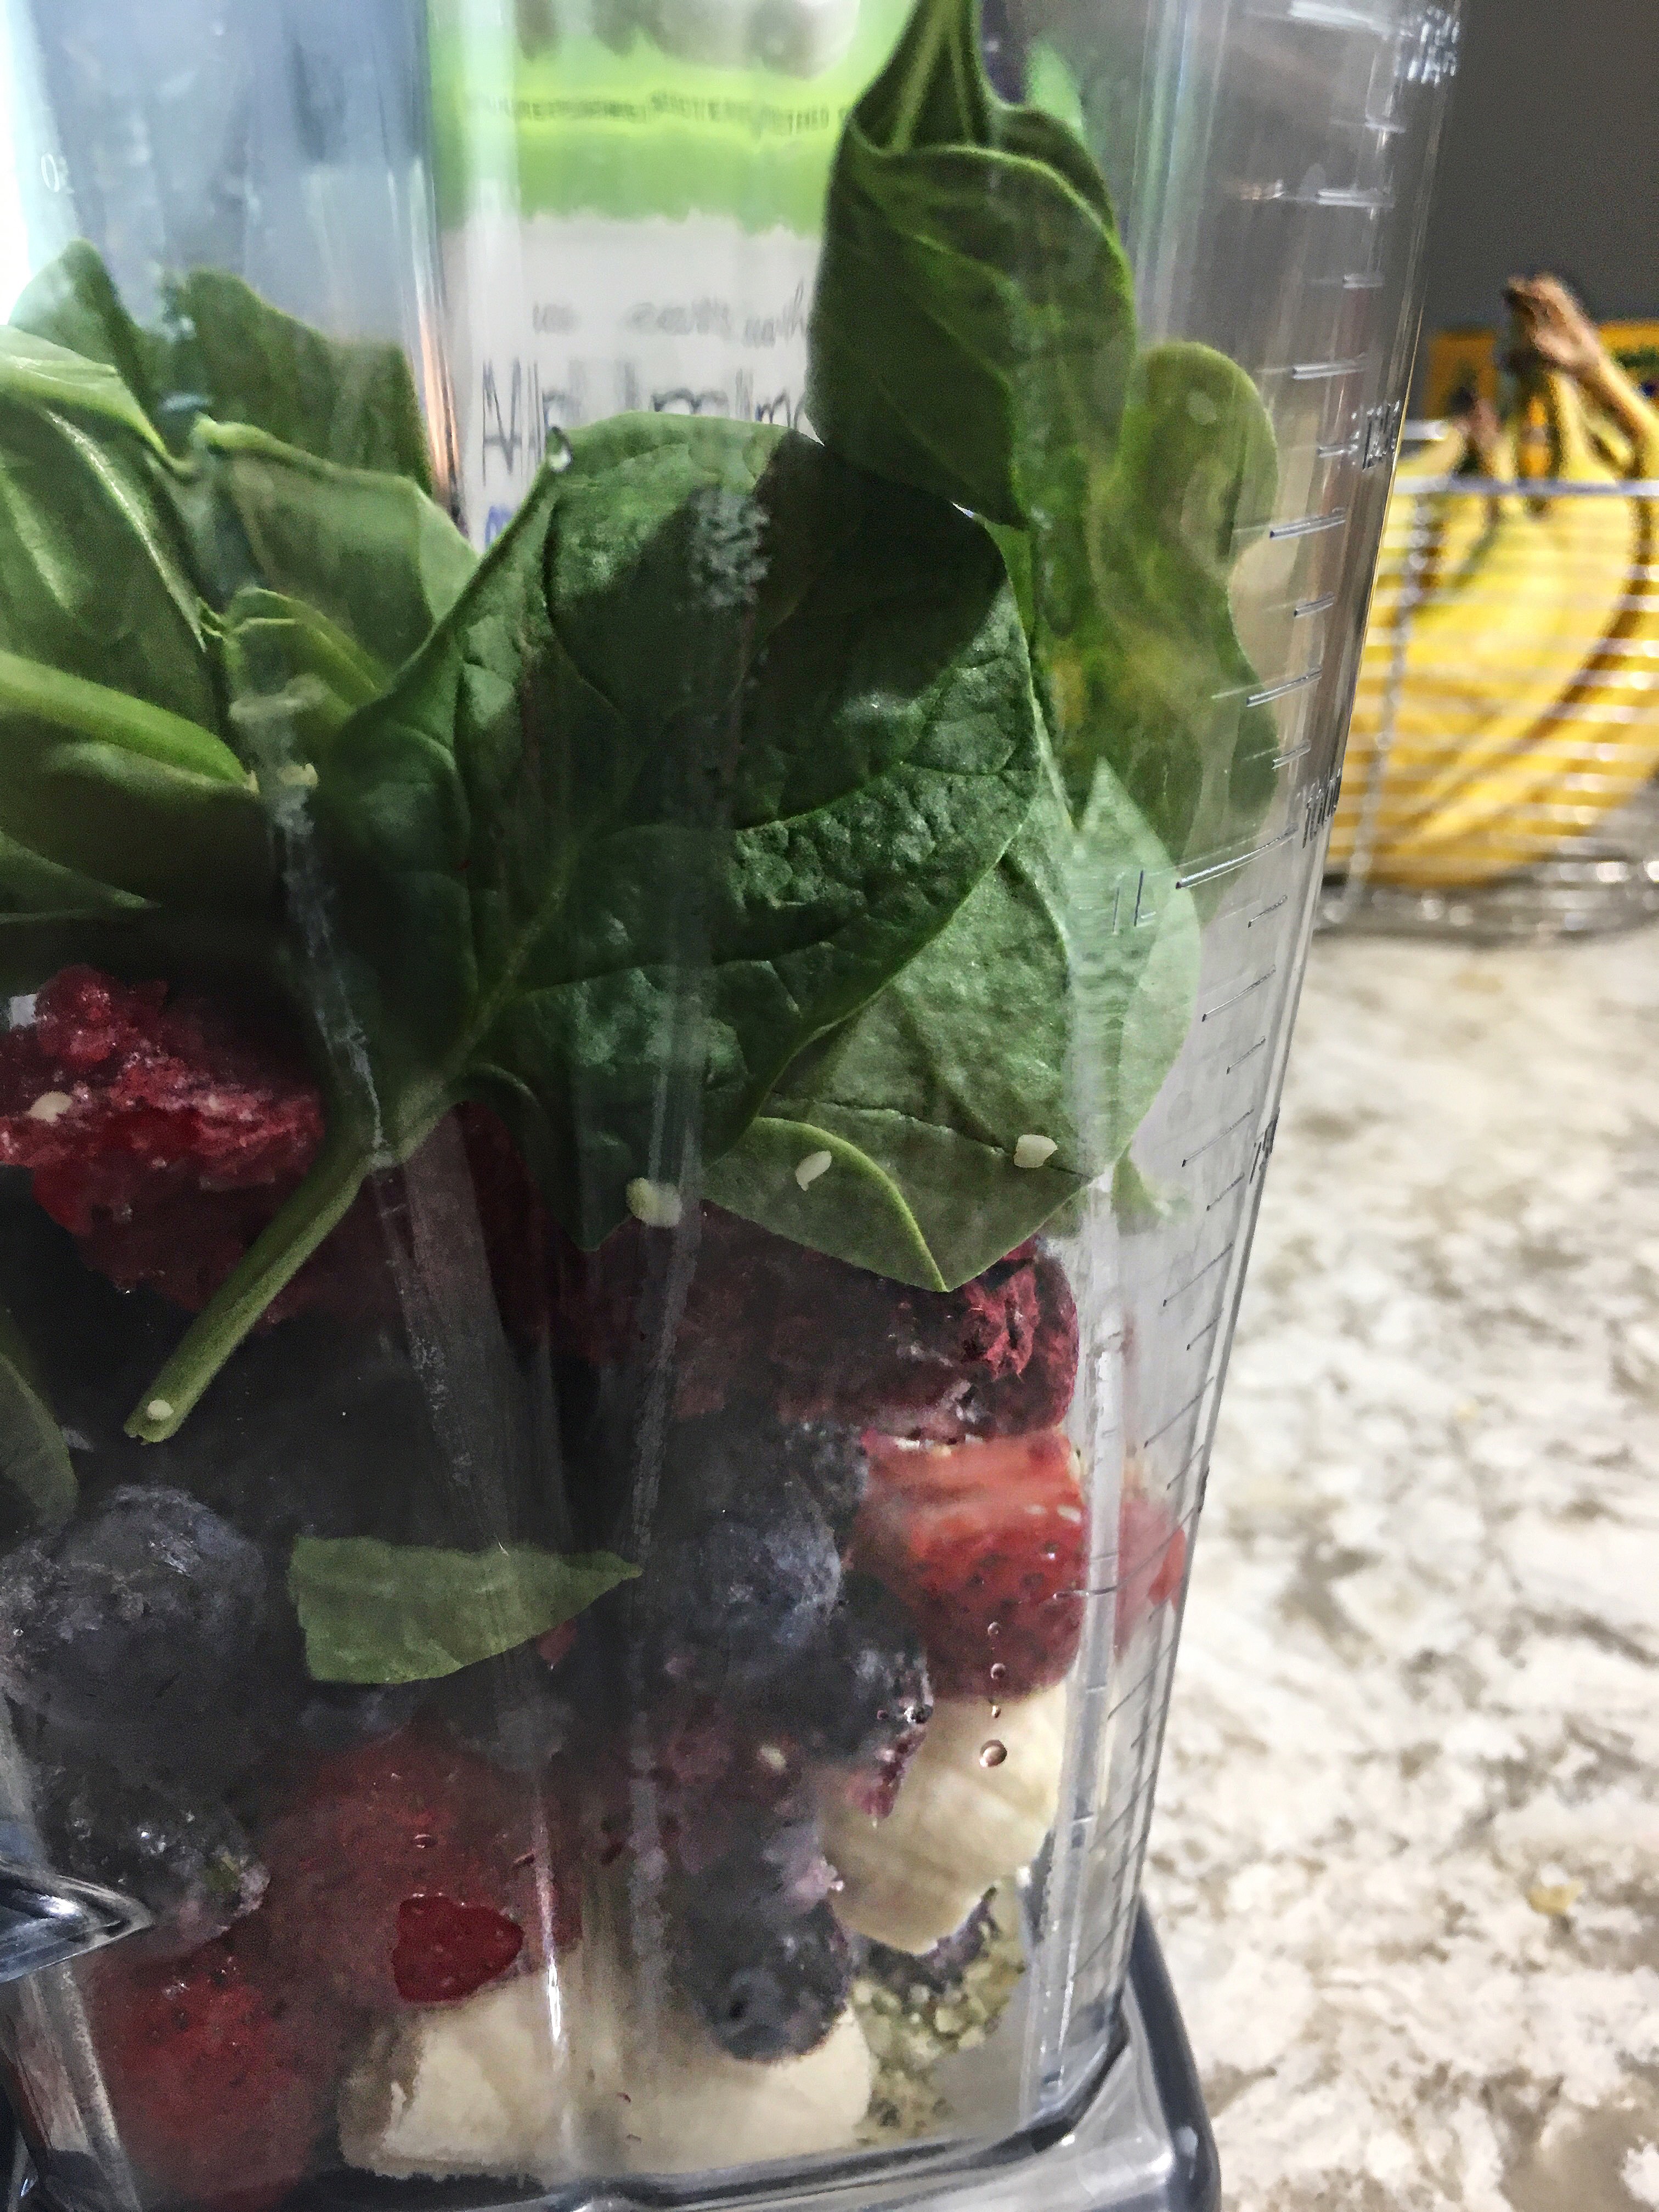
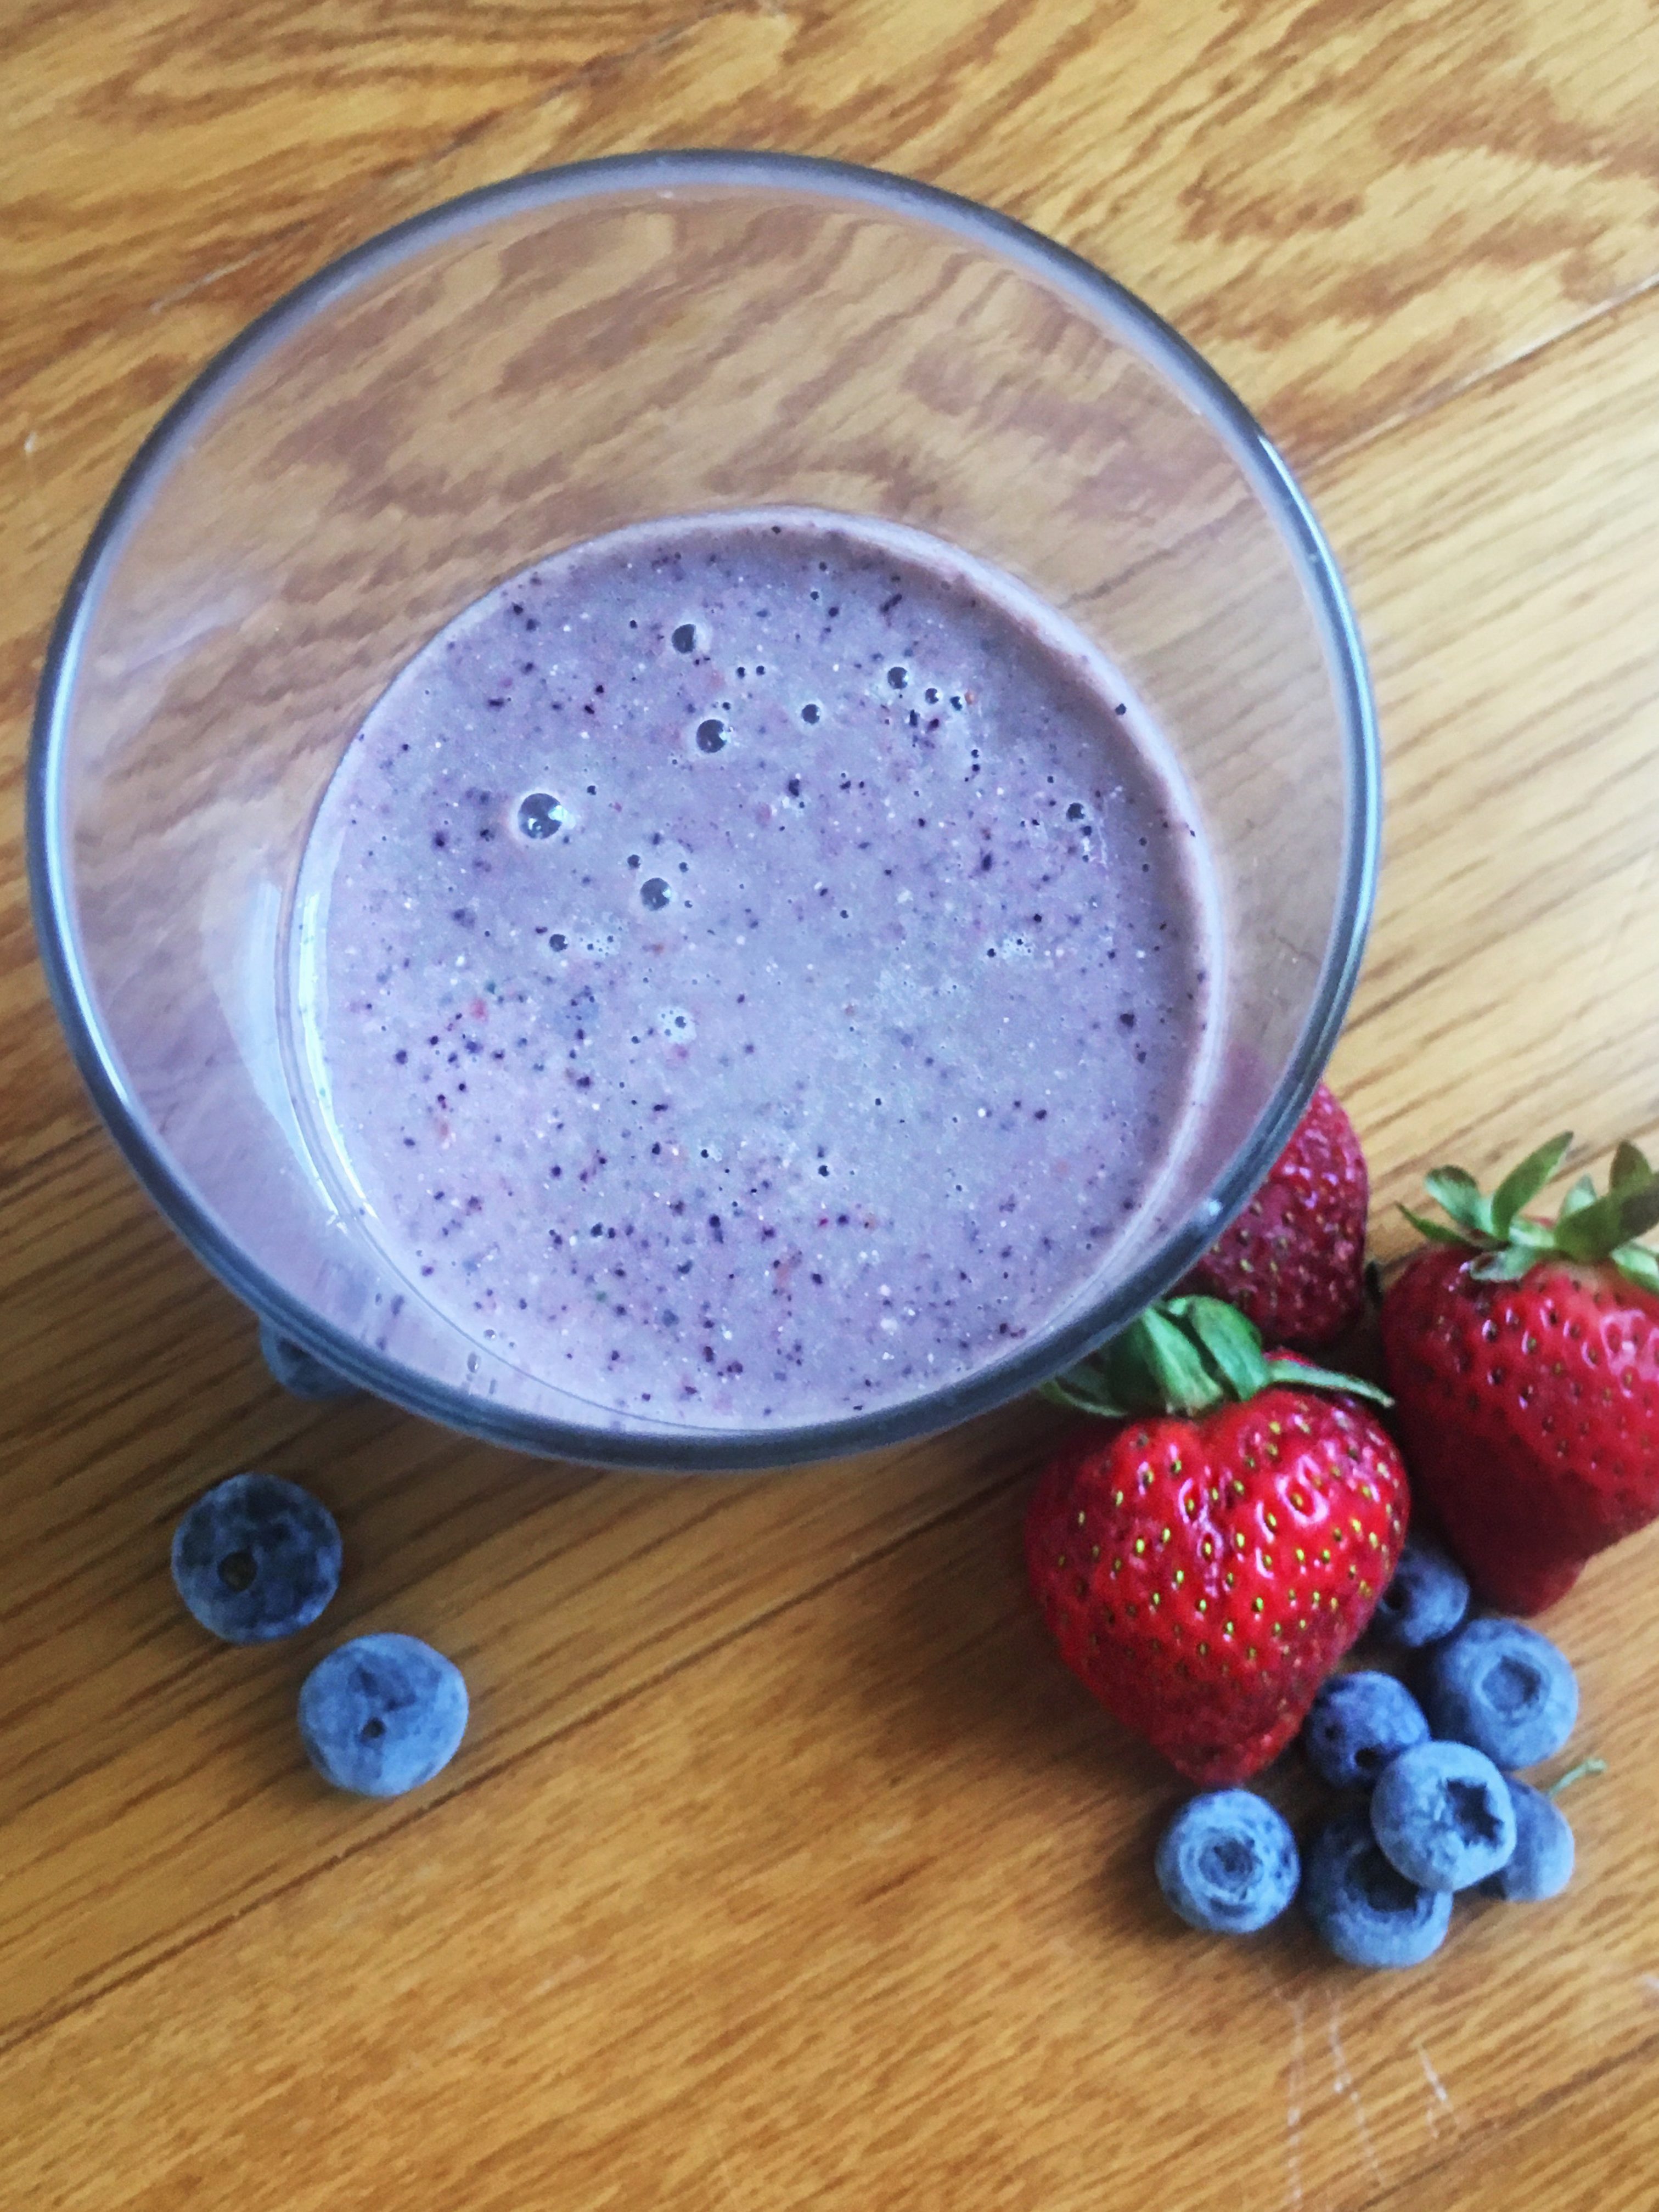
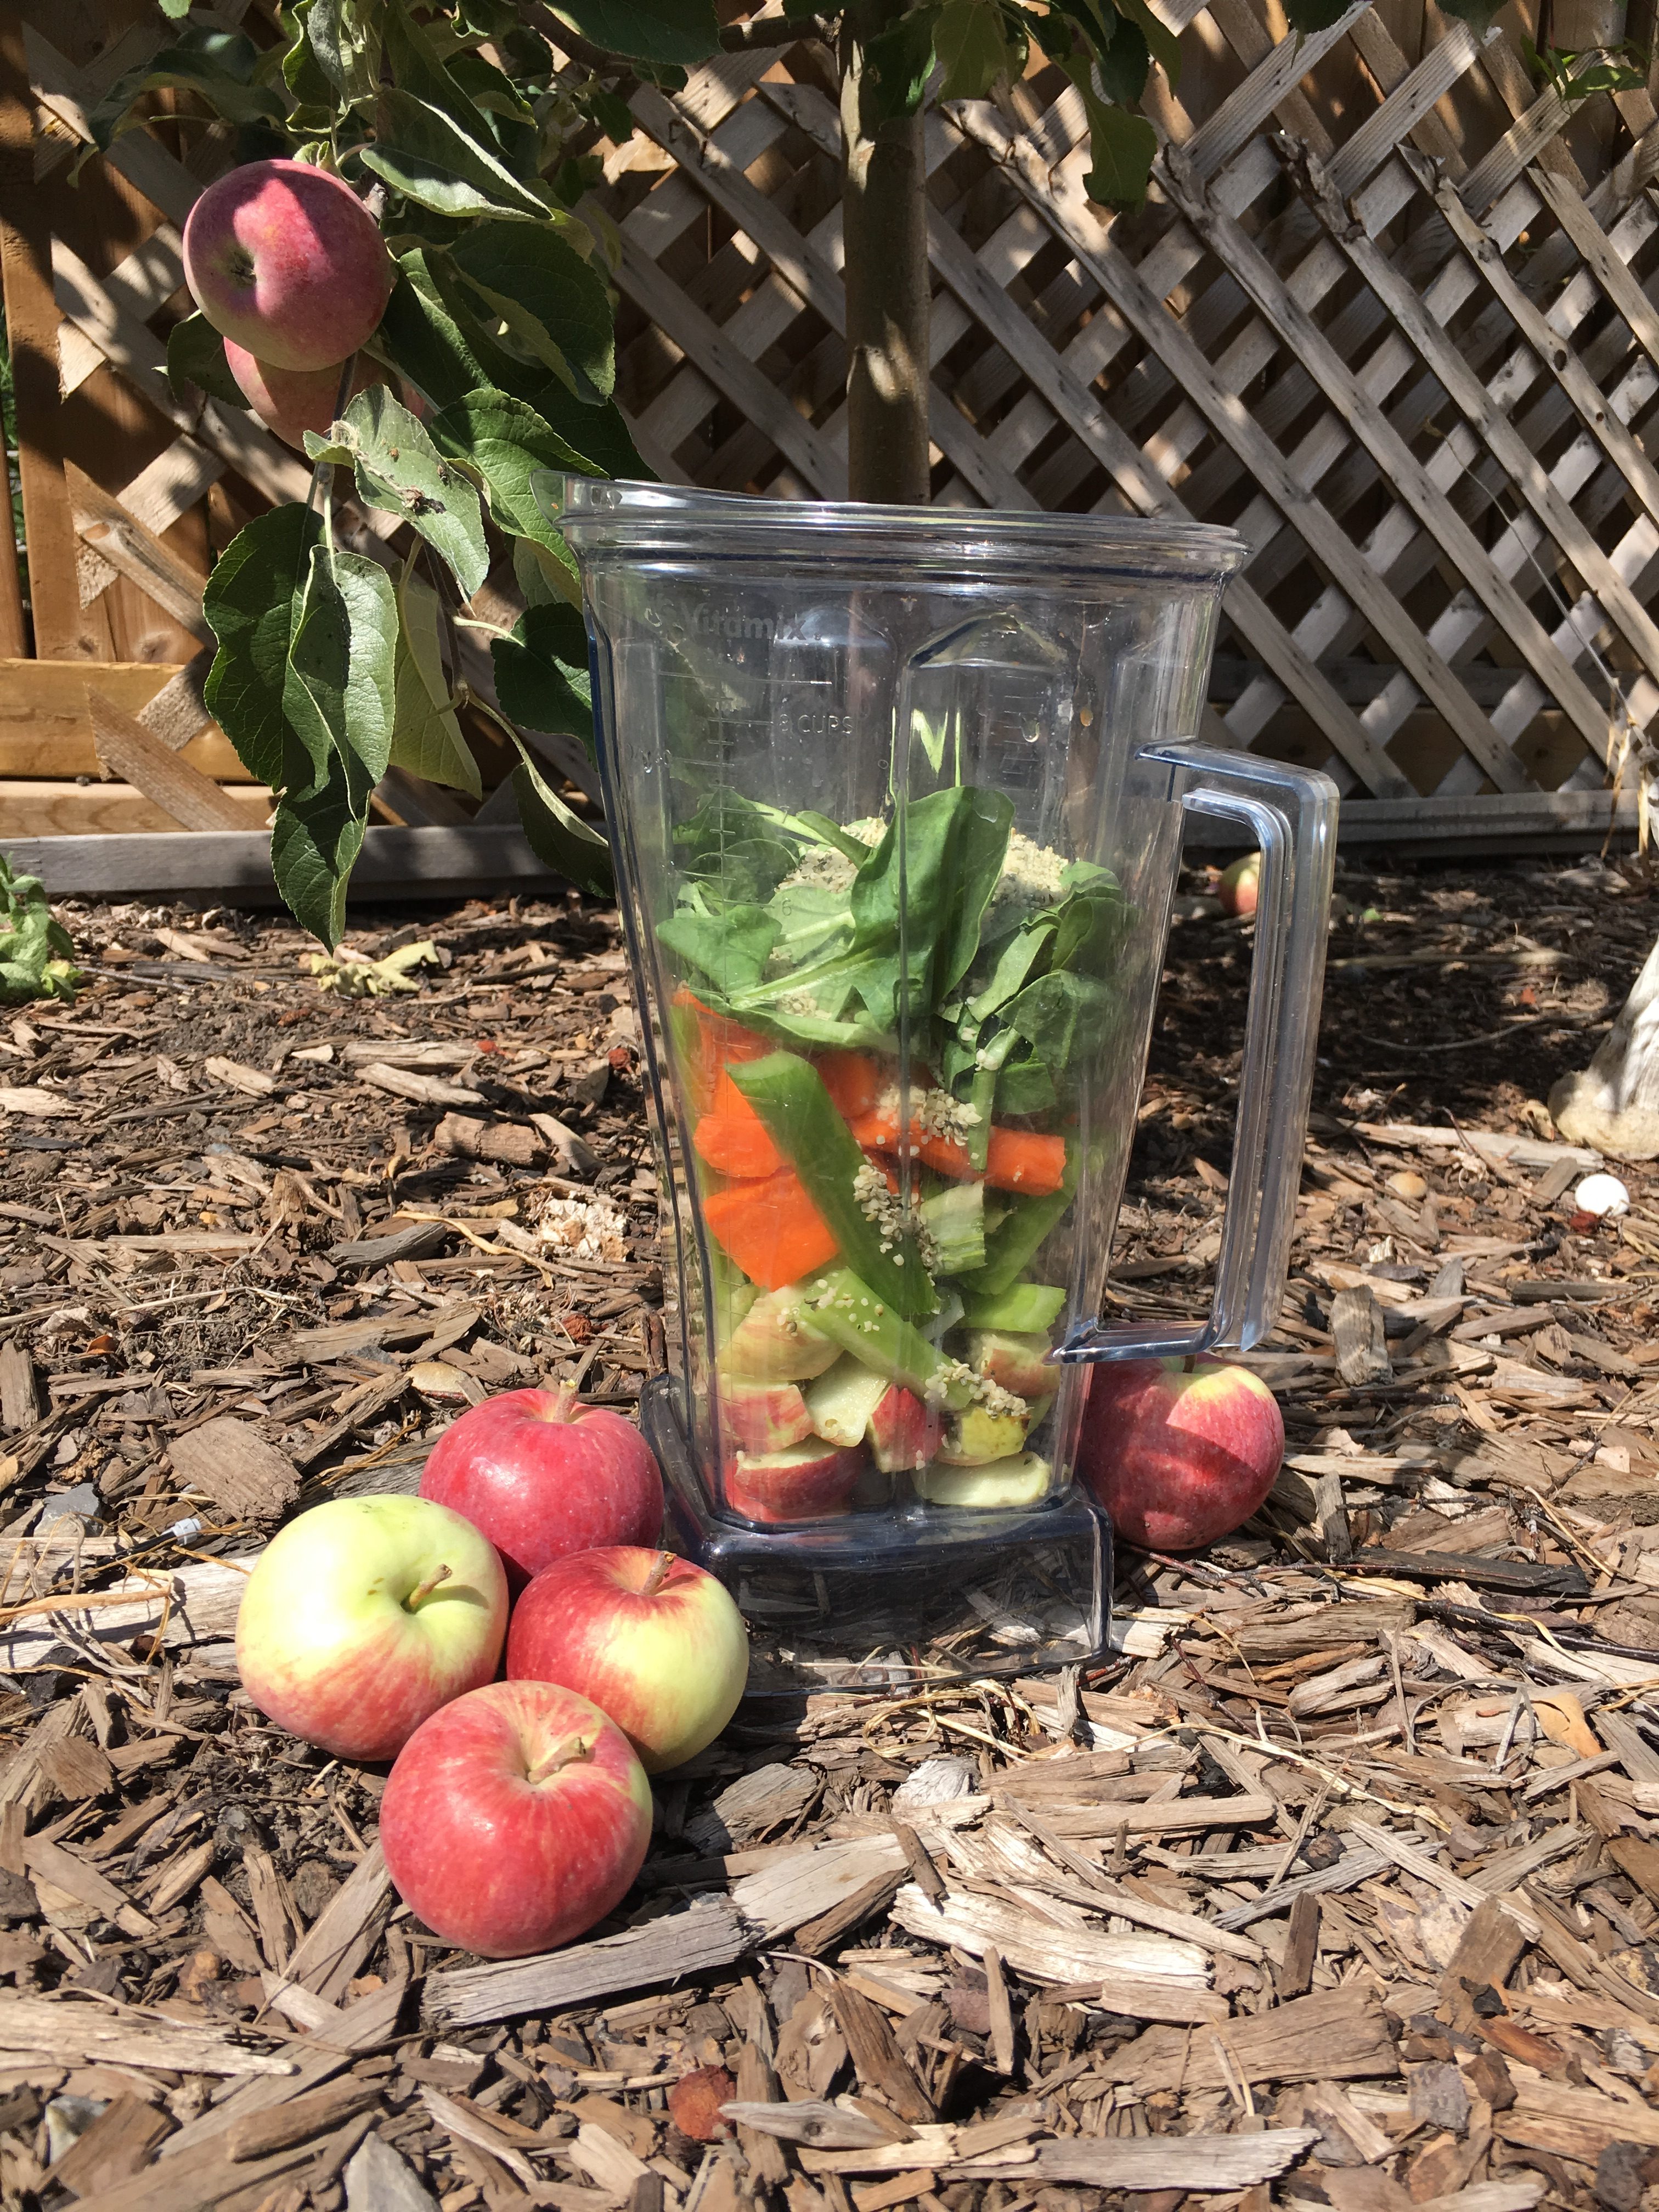
Green smoothies are an excellent choice for those back to school mornings as they provide a ton of nutrients to start the day and get the kids energized. A green smoothie though, is not always the most popular with kids. They take one look at the color and won’t even try it no matter what you tell them is in it. (This is one of the reasons why I like making other kinds of smoothies and adding in a little greens. You can literally hide them in there as it doesn’t change the color and they get blended up so they have no idea!)

One of the reasons kids (and some adults too) steer away from green smoothies is because often times they are this ugly dark green and aren’t very tasty or sweet. And even though I like my vegetables, when my smoothie tastes bland and like just a glass of vegetables, that doesn’t appeal even to me – why would a kid like it? That being said I have found a green smoothie that I quite enjoy and has passed the ‘kid test’. It is actually the favorite of my youngest son.

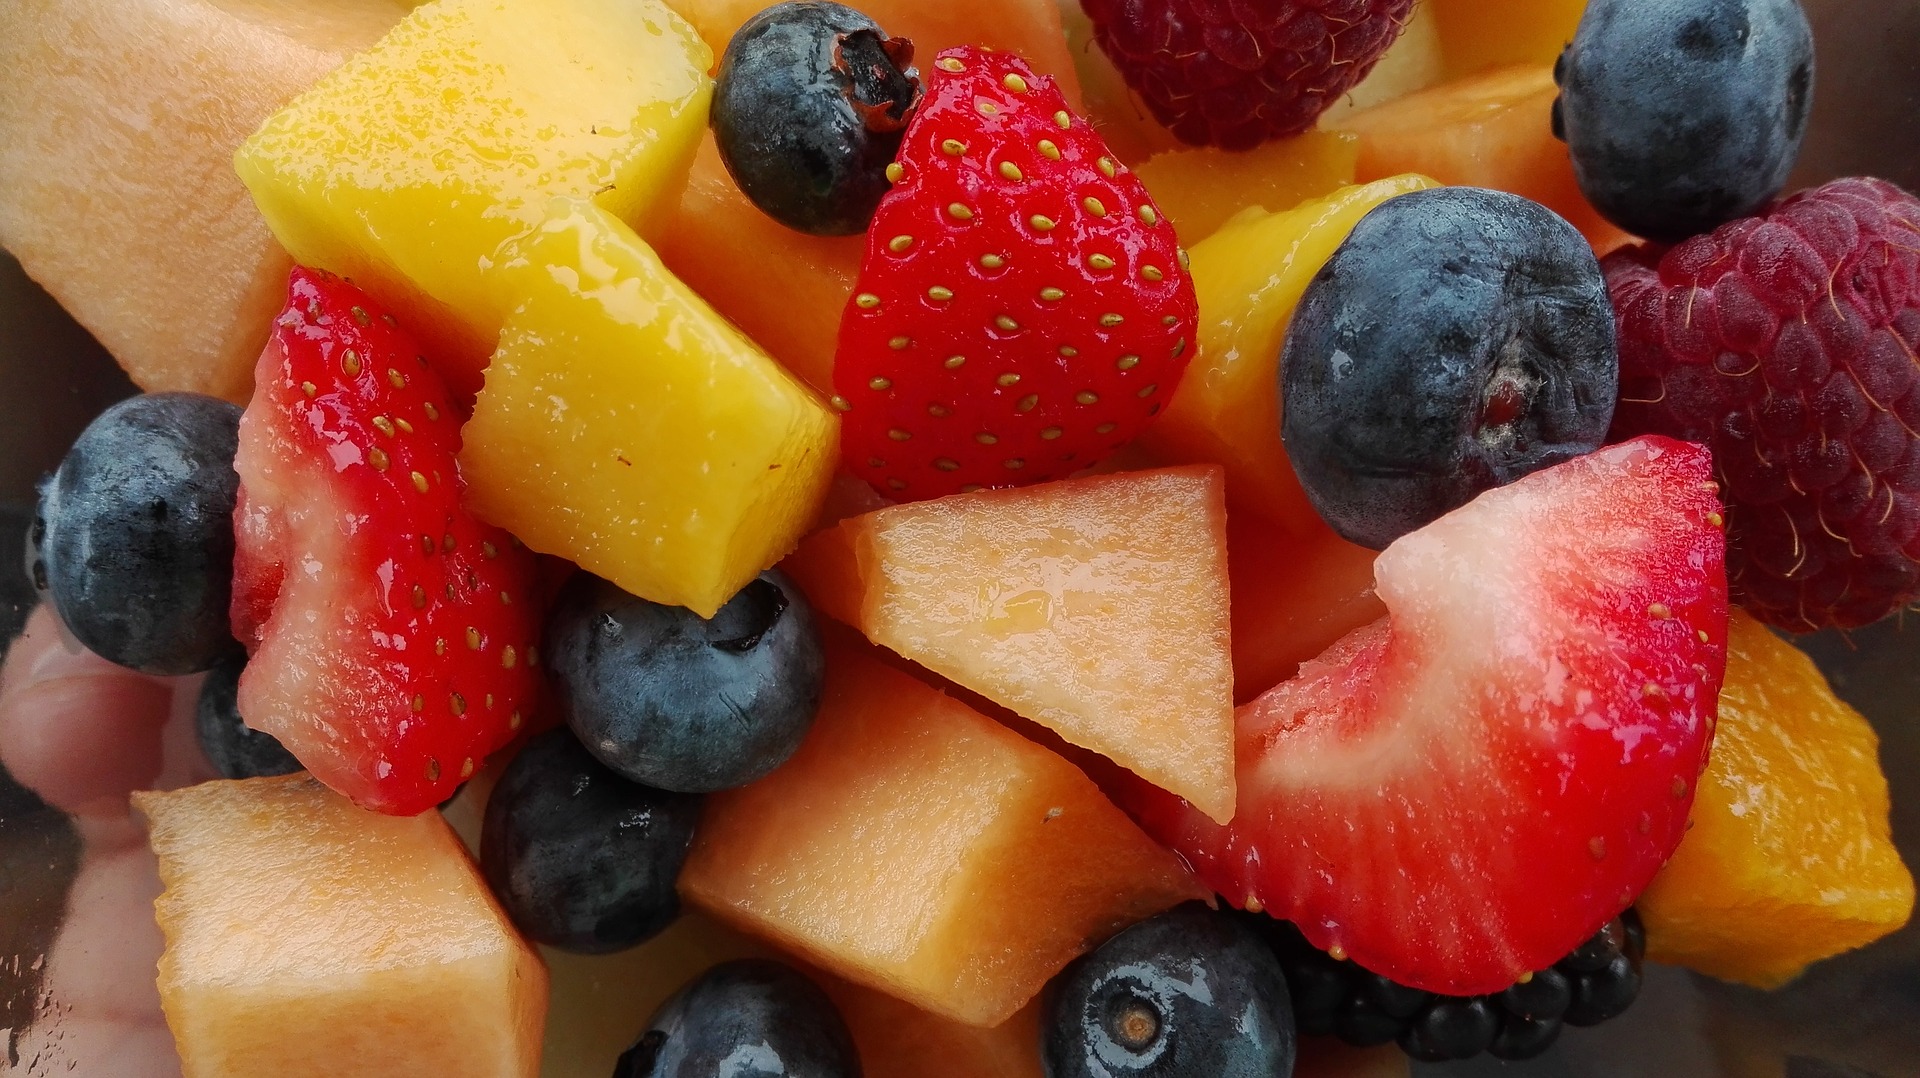
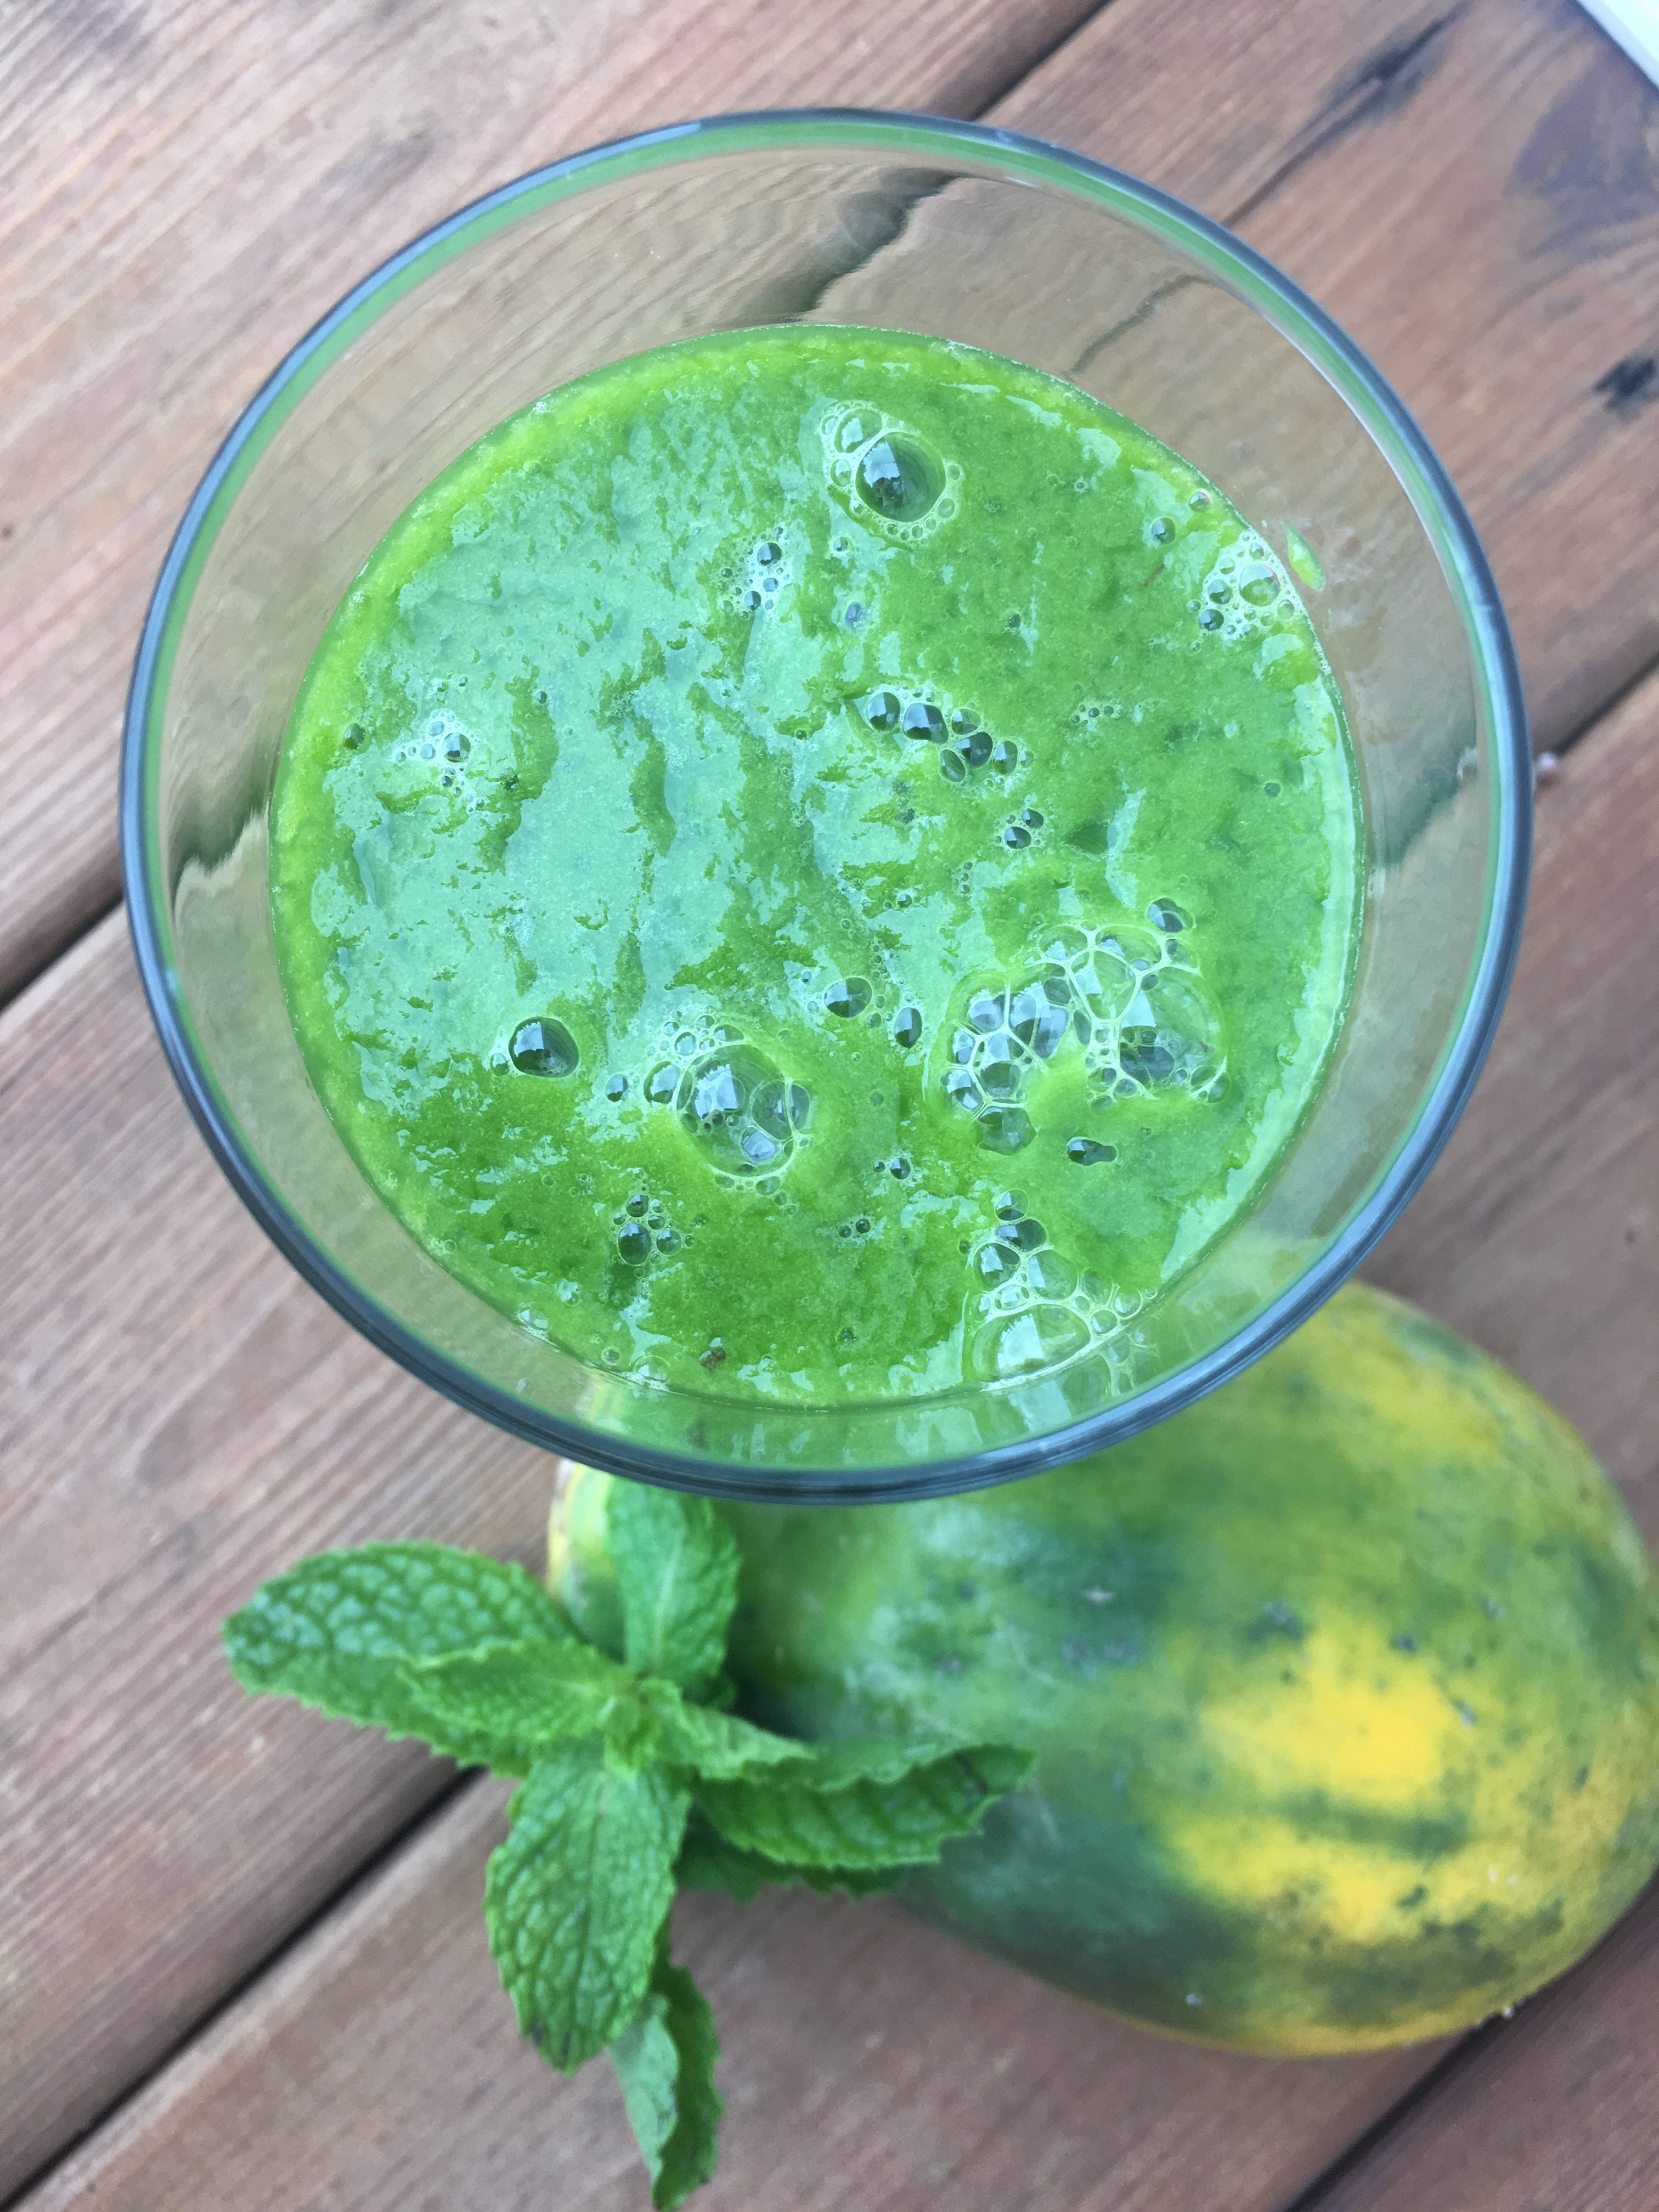
This green smoothie is sweet in taste due to the 3 kinds of tropical fruits, but not overly so, and a bright vibrant green. Stocked with 3 kinds of greens as well this makes for a very good combination. The nice thing is to if you need it a little sweeter you just add a little more fruit.

I have even made this green smoothie in my kids cooking classes (ages 3-12) and most of them liked it. In fact, for some of them it was their favorite smoothie as well!

Why do you want kids to have a green smoothie in the morning?

  • They are an easy way to get in those greens everyday (and right at the start). I don’t know about you but sometimes I find this difficult and get to the end of the day with no greens whatsoever. I feel good when I start my day with some greens.
  • Greens are rich in fiber, high in vitamins like vitamin C, K, E, and minerals and have many disease fighting benefits. And if you’re using a green like spinach, it’s high in iron ( supports brain function, muscle health, curbs fatigue)
  • Greens are high in antioxidants
  • They are high in folate which maintains a healthy heart, is needed for body’s cell division and prevents depression
  • Supports healthy brain function

Tropical Green Smoothie

1 c. spinach

green smoothie3-4 stems of parsley

1 sprig of fresh mint (I love mint so I might add a bit more, add yours to taste)

*1/2 c. papaya

1/2 c. pineapple

1/2 c. mango

**1/2 -3/4 c. apple juice or water

Put all ingredients in Vitamix blender. Start on low moving up to high. Blend on high for 1 minute or until smooth. Enjoy!

*I use orange or yellow papaya as I like it better and find it sweeter; but you can also use red papaya

**vary the amounts of fruit to make it sweeter or less sweet to taste

**I have found over the years that if I add a little more fruit then I can use water instead of juice and it still tastes yummy, sweet and delicious

Serves 1

Give this green smoothie a try this weekend and see how the crew likes it. If it’s a success you can start incorporating it into your back to school smoothie rotation in the mornings and kick off the day with a nice green healthy breakfast.

Back to School Smoothies – Classic Berry

berry smoothie

One of my favorite smoothies is when there is an abundance of fruit – and I mean a variety of fruits that I really love. Yes I know they all taste great on their own but I love putting them all together in one glass. Seriously for me it’s like a treat or a sundae.

This is why I love a classic berry smoothie. Not only do I fulfill my desire for more than one berry at once, I can also amp it up a little with some added ingredients that get disguised in the mix. So to the eye and palette very much berry, berry and berry, but to the rest of the body, lots of yummy nutrients that I need or am trying to get in!

This is especially good for kids who naturally love sweeter smoothies and will be all over drinking this. They will enjoy it and you will be happy that you got that other stuff in there (I feel especially successful when I’ve gotten some greens into them first thing in the morning). My daughter, in particular likes this smoothie and will gulp it down very quickly.

berry smoothieNow I know in the first post in this back to school smoothie series I recommended go easy on the fruit, as it can create too much sugar (even if it is natural) in the body first thing in the morning. The key is that with the other ingredients we are adding this quickly balances it out and stabilizes the higher sugars that you get from the higher fruit content. Plus because we are blending and not juicing you still get the fiber from the fruits which also helps to counter balance the sugars. And well let’s be honest, it tastes good! And every once in a while we deserve a little treat.

This is also a great smoothie if you are trying to introduce smoothies to your kids but not having as much luck as you had hoped so far. Because of it’s higher sweet content you may have more success, knowing that you did successfully get that spinach in there to, without them even knowing. Then later you can work on the green ones…

Classic Berry Smoothie

1 banana

5-6 fresh strawberries

1/2 c. blueberries

berry smoothie1/2 c. raspberries

1 1/2 c. non dairy milk (we usually use unsweetened almond milk)

*1-2 tbsp hemp seeds

1 healthy handful of spinach

Put all ingredients in the blender and mix until smooth. Now if you prefer more blueberry to strawberry or raspberry, feel free to adjust the amounts accordingly. You may also substitute chia seeds for hemp seeds, just be aware that with chia seeds they can make it much thicker especially if not drunk right away.

Serves 3

Perfect for the morning and to add that variety to the morning smoothie menu.

Coming up… a yummy Green Smoothie (honestly it’s delicious! and your kids will love it)

Back to School Smoothies – Peanut Butter

peanut butter smoothie

Peanut butter smoothies are a staple for my kids at our house. Even though I recommend changing things up and giving the kids variety, they go for days if not weeks in a row where they only want this smoothie.

I really like the peanut butter smoothie because it is a super quick and easy recipe – with simply peanut butter, banana and milk. It is a nice thick creamy smoothie that is high in protein, filling and a great way to start the day!

We tend to add in a few other ingredients to this smoothie like dates and oatmeal for a little added sweetness and nutrient boost. Dates are high in fiber and a good source of vitamins and minerals such as iron, magnesium, zinc and Vitamin A. They are also high in natural sugars which provide an immediate and sustainable burst of energy (sustainable because it also has the high fiber content).

If you’re not a peanut butter fan or have an allergy, it is easy to substitute any nut butter in this smoothie or you can use Wow Butter, which is a soy based product (but does have added sugar) that has similar taste and texture to peanut butter.

Peanut Butter Smoothie

1 bananapeanut butter smoothie

1 tbsp. unsweetened or natural peanut butter

2 c. non dairy milk (we like almond but choose your favorite)

2 medjool dates, pitted

1/3 c. dry oatmeal

Put all ingredients into a blender and mix until smooth. Pour into glasses and serve immediately.

Serves 2

Coming up… the Classic Berry Smoothie

Back to School Smoothies – Apple Carrot

back to school smoothies

Mornings can often be a rush and a challenge to get everyone a good balanced breakfast and out the door on time, it’s one of the reasons I love Back to School smoothies. They are a quick, easy way to pack a bunch of important nutrients into one glass and start the day right.

If you’re like me you have a love – hate relationship with this time of year. I love that the kids are occupied elsewhere during the day and I can focus on other things, the golden late summer sun and promise of fall in the air. I do not like having to make lunches or get up in the mornings and rush out the door, I prefer a slower pace and making lunch later.

As a result I get up in the mornings with the shortest amount of time I possibly need to get us all fed and out the door (I can do it in about 30 minutes), which often means prepping things the night before and getting creative with breakfasts (this is also why I love overnight oats).

You know what they say breakfast is the most important meal of the day! and I agree a good breakfast sets you up for a good, productive and successful day. This is why smoothies are a great solution. There are all kinds of varieties and combinations so everyone can have something they like; and I can easily make them night before (in it’s entirety or packing the blender and adding the liquid and blend in the morning). They are also portable, so if we’re running short on time we toss the smoothie into a to go glass and take it out the door and no one misses breakfast!

Tips for Making a Healthy and Balanced Morning Smoothie

It’s important to make a smoothie your child likes but it’s also important to keep in mind IMG_1593these few tips to make it a balanced, filling and energizing smoothie.

  1. Don’t make it fruit heavy – make sure it’s more than just fruit and milk
  2. Steer away from the juice – use non dairy milks, coconut water or just water itself to blend your smoothie
  3. Add in some protein – things like chia, hemp and flax seeds are all excellent sources of protein and when blended into the smoothie are not even noticeable. This also helps you feel fuller longer.
  4. Add in some greens if you can – I know some kids watch what you do like hawks and if they see one green thing going in there they won’t drink it even if they can’t see or taste it! If you can, adding a handful of greens like spinach, will give them that extra boost for the day.
  5. Change it up – have a few smoothie recipes on the go for your back to school mornings. Variety is good and keeps kids interested. It’s also helpful as the seasons change and what’s available in season in the grocery stores.

To get you going and inspired, we’re going to share some great Back to School smoothie recipes here on the blog over the next two weeks. Today we’re starting with my Apple Carrot Smoothie, which is a beautiful use of many of the things that are currently being harvested (like the sweet delicious apples from our apple tree).

Apple Carrot Smoothie

3 applesapple carrot smoothie (2)

1 stalk of celery

2 carrots

1 handful of spinach

2 tsp. hemp seeds

Water or *coconut water

Put all ingredients into you blender and mix thoroughly til smooth.

Enjoy!

Serves 3

*coconut water is high in carbohydrates, potassium, magnesium and fiber. It has a sweet nutty distinct flavor so test it with your kids (a small sip in a separate glass) before adding it to the smoothie

And smoothies aren’t just for kids or breakfast! These are great for adults too and as snacks or a pick me up during the day.

Coming up next… the Peanut Butter Smoothie


Easy Healthy Chocolate Fondue

healthy chocolate fondue

Chocolate Fondue is one of those easy fun desserts or treats that everyone can get into. Dipping fresh fruit in chocolate (or other yummy things like rice krispie bits, cake, pretzels, marshmallows) is delightful and delicious.

A lot of people find though that chocolate fondue can be a little messy and a little bit too much of a sugar rush – with the chocolate burning if your fondue pot is not just right, or it getting too thick to dip in. Not to mention all the sugary treats you are dipping into an already sugar filled chocolate.

The good news is it doesn’t have to be this way – you can create a healthy chocolate fondue with the yummy treats for dipping (also healthy) and no burning or thickening of your chocolate. And it’s super easy! even the kids can do it.

healthy chocolate fondueYears ago I learned how to make raw organic chocolate, made from cacao butter and cacao powder, then naturally sweetened with your sweetener of choice. It is quick easy and very good for you. Cacao is an ingredient that is considered a superfood, as it is very high in vitamins and minerals like calcium, magnesium, sulfur, copper, iron and zinc, vitamins E, B2, B1, B5, B3 and B9. And it is super high in antioxidants, healthy fat, fiber and protein. Plus when you use a natural sweetener you are now adding in the benefits of that natural sweetener as well (like honey, pure maple syrup, stevia).

You might think well I can just use cocao it’s the same – the fact is it’s not. Though both cocao and cacao come from the same bean they are processed very differently which is why one product (cocao) is stripped of most of it’s vitamins and minerals, while the other (cacao) preserves them.

When you’re making raw organic chocolate, you use a double bowl where you place boiling water in the bottom bowl and place another smaller bowl (that sits on the rim without falling into the bottom one) on top. You simply make your chocolate in the top bowl, using the heat from the water underneath to do your melting and create your chocolate. It’s like a double boiler method without using the stove and creating the risk of burning it!

Once you’ve made your chocolate, you simply keep it in the liquid form for your fondue (as opposed to putting it into molds or a pan to set), by leaving the top bowl on top of the hot water. Place it in the middle of your table or serving area and voila! you are ready to dip and indulge. You do have to be conscious of the lower bowl being hot though and advise those who are sharing the fondue to not touch the bottom bowl (especially important with kids). The chocolate will stay liquid as long as the water is hot and will not burn. As the water starts to cool, the chocolate will set, but all you have to do is add fresh boiling water to your bottom bowl and the chocolate will melt and return to liquid quite quickly. One thing to note is you do need to be careful that you do not get any water into your top bowl with the chocolate as this will ruin your chocolate, so just be aware of that when you’re moving things around.

Otherwise, grab your fork and favorite dipping items and enjoy!

Healthy Chocolate Fondue (this will make enough for 4-6 people and ready in 10 minutes!)

3/4 – 1 cup Cacao butterhealthy chocolate

2-6 tbsp. Cacao powder

1 Vanilla Bean

2 tsp. to start Natural Sweetener of choice (honey, pure maple syrup, etc.)

  1. In a medium metal bowl add boiling water about halfway up the bowl. *a metal bowl is best as it retains the heat well but can get hot to the touch Place second smaller metal bowl on top of large bowl so that it sits on top.
  2. Put desired amount of cacao butter into top bowl. Cacao butter will start to melt.
  3. While cacao butter is melting slice vanilla bean down the middle and scrape out the inside seeds with a spoon. Put seeds into melted cacao, it is ok if cacao butter is not completely melted yet. Stir.
  4. Sift cacao powder into a separate bowl. Once cacao butter is completely melted add 2-4 tablespoons of cacao powder. Taste for desired level of chocolatey-ness. If you’d like it richer add more cacao powder.
  5. Once satisfied with amount of cacao powder add natural sweetener of choice. Start with 3 teaspoons and mix. Taste, if desired level of sweetness has not been reached, add 1-2 more tablespoons and taste again. Once level of desired sweetness has been reached you have your base chocolate.
  6. Leave in liquid form and bowls on top of each other and serve. Use pot holder or oven mitt to transfer bowls if moving to another spot.

*Be very careful not to get any water into your chocolate as it will not work if you do. If your second bowl sits nicely on top, this should not be an issue as you do not need to lift the second bowl off the one with the water in it until you are done making your chocolate. 

Items for dipping:

Basically you can dip whatever you want into your chocolate (some people love chocolate dipped bacon 🙂 Fruit is the most popular and the quickest to prepare as it is most likely on hand – but if you’re feeling adventurous or just want to change it up a bit try out these other options – which can be healthy and sugar free too! below

Fresh fruit of choice – banana, apple, orange, strawberries, pineapple, cantalope, etc.

Pretzelshealthy chocolate fondue

Healthy sugar free marshmallows (yes these can be healthy to! make your own here)

Sugar free cake bits

Sugar free rice krispie square pieces

Nuts

Make sure you have forks or other utensils to facilitate dipping without items being lost in the chocolate. Fondue forks work great but are not required as regular forks work just as well.

This is super super easy to do with kids and is always a hit. I did it with my Mini Chefs class, 3-5 year olds and they loved it! There were many chocolate faces that day and I did not send them home to parents on a sugar high.

I’ve also succesfully done this with adults many a time and I usually have someone licking the bowl at the end 🙂 The nice thing is you can make as much as you want and if you run out you just make more!

Ok I’m off to make my own chocolate fondue now… all this talk about it is making me crave some…

What are your favorite things to dip in chocolate fondue?

Quinoa Pizza Mini Bites – Dairy & Gluten Free

pizza mini bitesDefinitely my favorite mini bite recipe so far are these Quinoa Pizza Mini Bites. At first when I looked at the recipe I thought having quinoa in it was weird and probably not very tasty, but it turned out to be delicious!

The quinoa gives it a nice texture and does not make you feel that heaviness in your belly that pastry does. And it doesn’t take away or overtake the other flavors in the bite, it enhances and allows them to stand out.

pizza mini bitesQuinoa, considered a plant food, is also super good for you. It is one of the most protein rich foods we can eat, as well as high in fiber, iron, magnesium and many other vitamins and minerals. It is also gluten free which is great for those who are looking for or in need of that option; and even contains antioxidants. On it’s own, quinoa is quite plain but is a fantastic healthy addition in salads, baked goods, warm breakfast cereals and more!

These pizza mini bites really do taste like pizza and with the quinoa in them they are super healthy. I was amazed at how good they were and how much they actually tasted like pizza. And like pizza you can add in your favorite pizza ingredients. I used small pieces of pepperoni but you could easily substitute ham, add peppers, chopped up mushrooms, etc.

They are also fantastic for kids – they can easily help make them and they are a nice healthy option to put in their lunches or even for a snack. Yes you have to put in 3 or 4 but that’s ok this recipe makes a lot! They are even a great appetizer or snack for your next gathering or party.

Quinoa Pizza Mini Bites

2 cups cooked quinoa*

2 large eggspizza mini bites

1 cup chopped onion

1 cup Daiya shredded mozzarella

2 tsp minced garlic

1/2 cup fresh basil, chopped

1 cup chopped pepperoni sticks (3-4 sticks)

1/2 tsp seasoning salt

1 tsp paprika

1 tsp dried crushed oregano

pizza or tomato sauce for dipping

Mix together all ingredients, except pizza sauce, in a medium mixing bowl. Using a tablespoon, scoop the mixture into a well greased mini muffin tin, filling each cup to the top. Press down gently to compact.

Bake at 350F for 15-20 minutes. Remove from oven and let cool slightly (about 5 minutes). Gently remove bites from muffin tin and serve immediately.

These are also very good cold. So if you’re putting them into kids lunches or your own, there’s no need to heat them if not able to do so.

Makes approximately 40 bitespizza mini bites

*How to Cook Quinoa

1 cup quinoa

2 cups water

Thoroughly rinse quinoa in a colander (make sure the holes are small enough that the quinoa does not go through). Once rinsed place in a small pot with water.

Uncovered bring to a boil, then cover and lower heat to low. Cook for 15 minutes. Let quinoa cool slightly then fluff with a fork and either serve or use in desired recipe.

What are some of your favorite quinoa recipes? Share in the comments below

Miss last week’s mini bite recipe? Check out Dairy Free Macaroni Mini Bites

Mini Bites that Delight – Macaroni Bites

mini bitesI love mini bites! You know those cute little bite size foods that you pop into your mouth in one bite and are often bursting with flavor? How do they get all those ingredients into that tiny little compact dish anyway?

I had often wondered why people would want to take the time to make these itsy bitsy bites, other than the fact that they are cute and look pretty (and may possibly even impress your guests when you’re hosting a party). Making them looked like a lot of work and that I thought I would need to eat at least 5 or 6 to feel full.

Then I discovered how fun they were and came to the understanding that they are meant to be served as appetizers, which you are not supposed to fill up on anyway, and not full meals. They are also great for kids, especially ones who have smaller appetites as they can have one or two and feel full without having any waste – instead of having a bigger portion and not eating it all. It is also a great way to introduce new foods to kids as you are giving it to them in a fun way and again with the smaller portion size, if they do not like it the waste is minimized.

mini bitesAnd there are so many different mini bite recipes to try you’ll never run out of ideas. You can come up with almost any combination and likely be successful. So I’ve been on the lookout this month for mini bite recipes to try. Looking for combinations that I knew would work and then considering how I might create one on my own.

This week I started with macaroni bites, which are one of the more popular and common mini bite recipes out there, and usually a hit with kids. I loved this recipe as it has a super cheesy sauce and is simple to make. Also easy to make dairy free, these delicious bites will have you easily gobbling two or three!

Macaroni Mini BitesDairy Free (can be made gluten free if you use brown rice or other gluten free pasta)

1 c. elbow macaroni

2 tbsp. Earth Balance Vegan Spread

2 tbsp. flour

1 1/2 c. almond milk (or non dairy milk of choice)

mini bites2 c. Daiya cheddar shreds

1/4 c. vegan cream cheese

1/2 tsp. sea salt

1/4 tsp. pepper

1 egg beaten

Optional additions: bacon, cayenne, paprika

Grease well your mini muffin tin (like really well. This is the one downside of mini bites is those muffin tins, they stick and are hard to clean. Greasing it well does help but sometimes you have to scoop around them very carefully to get them out. If you can find mini cupcake liners you could use those and it would make getting them out and clean up a little easier. This may not work though if you want a certain look without the papers on them).

Cook pasta according to package directions, rinse and set aside. In a medium size pan whisk the vegan spread and flour together until melted and smooth.

Slowly add non dairy milk and bring to a simmer. Once simmering, add 1 1/2 c. of the cheese, vegan cream cheese, salt and pepper. Stir until smooth and creamy. Remove from heat.

mini bitesIn a large mixing bowl carefully stir pasta, cheese sauce and well beaten egg until pasta is evenly coated and mixed in.

Using a teaspoon, spoon mac and cheese into prepared mini muffin tin, topping each with a small bit of cheese.

Bake bites at 400F for 15 minutes or until golden brown. Remove from oven and allow to cool 5 minutes, then gently remove bites from tin.

The first time I made these I made the original plain recipe but I felt that they were missing something. So I would highly recommend adding in real bacon bits, or a dash of cayenne or paprika to add a little zest.

These are also a fun and easy recipe to make with kids. They can easily help with mixing it all together and scooping the pasta into the muffin tins. Kids love to help and research shows that if they help make it they are more apt to eat it!

Don’t miss next week’s recipe Quinoa Pizza Mini Bites.

What is your favorite mini bite recipe? Share in the comments below.

17 Decadent Sugar Free Valentine’s Treats

sugar free valentines treats

Sugar free Valentines treats sound like an anomaly. A dream perhaps that one can indulge and enjoy the decadence of the day and not feel guilty later. Valentine’s Day is another one of those holidays where sweet indulgences abound. Even though it is only one day, it is hard to resist all the sugary treats, especially the chocolate. You may find yourself often saying no thank you when you really just want to bite into that chocolatey something!

Valentine’s Day does not have to be that way! It is possible to indulge with sweet treats (chocolate and otherwise) that are not only sugar free but actually good for you.

When we went sugar free at our house there were two things I was not going to compromise. One was tasty food, if we were eliminating sugar then the food still had to taste delicious! not bland or like cardboard. The second, was that we were still going to celebrate and enjoy the holidays (including the food) – from Christmas to Easter – and no one was going to be denied yummy treats or feel like they always had to say no thank you.


Shop Family Organizers at Calendars.com Today!

So for each holiday I have either transformed our favorite recipes or sought out new ones – which is fun because I like to experiment, and compiled a list. The problem is, I usually want to make them all but realize that that is just unrealistic. So I pick a few favorites and try a few new ones. (It’s so hard to choose!) Thanks to all the wonderful bloggers out there (and some of my own recipes) I have a fantastic list of sugar free valentine’s treats and indulgences. Easy to make and enjoy guilt free!

Sugar Free Valentine’s Treats

At Valentine’s the popular treats seem to include either chocolate or raspberries, which is not such a bad thing, but I also like a little variety, so there’s a nice mix of sweet treats that would easily fit into the Valentine’s theme. Whether you’re treating your love, your kids, your friends or just for yourself it’ll be hard to choose which one to make first!

sugar free valentines treats

Photo credit: Brenda Bennett Sugar Free Mom

Raspberry Cheesecake Truffles

sugar free valentines treats

Photo credit: Brenda Bennett Sugar Free Mom

White Chocolate Coconut Fudge

sugar free valentines treats

Chocolate Dream Pie

sugar free valentines treats

Strawberries and Cream Gummies

sugar free valentines treats

Beetroot Red Velvet Cheesecake

sugar free valentines treats

Chocolate Cherry Tart

sugar free valentines treats

Coconut Panna Cotta

sugar free valentines treats

Almond Joy Bars

sugar free valentines treats

Chocolate Dipped Strawberries

sugar free valentines treats

Vegan Raspberry Cheesecake Bars

sugar free valentines treats

Strawberry Ice Cream

sugar free valentines treats

Caramel Nut Slice

sugar free valentines treats

Raw Chocolate Raspberry Cheesecake

sugar free valentines treats

Chocolate Pudding

sugar free valentines treats

Homemade Chocolates

sugar free valentines treats

Red Velvet Cake

sugar free valentines treats

Chocolate Macaroons

Hard to choose isn’t it? Which one are you going to try first?

Thanks to all who contributed to this post! Brenda of Sugar Free Mom, Krissy of Pretty Wee Things, Megan of Detoxinista, Adrienne of Whole New Mom, Jess of Choosing Chia, Sara of I Quit Sugar and Maria of Maria Mind Body Health.


valentines day

How to Make Chocolate Dipped Strawberries (with homemade chocolate)

chocolate dipped strawberriesChocolate dipped strawberries are one of those simple decadent treats that are easy to make and delicious. Often paired with champagne and Valentine’s Day they always give me the feeling of richness and luxury.

Imagine… the red juicy strawberry dipped into firm dark chocolate. As you bite into it, the taste sensation bursts in your mouth with the sweetness of the fruit and the richness of dark chocolate. There is just something about that combination.

chocolate dipped strawberriesEven though chocolate dipped strawberries have this air of luxury and decadence they are actually very easy to make and you can usually make a batch in about 15 minutes. They are also very healthy for you! As strawberries are high in Vitamin C, potassium, folate, fiber and antioxidants, while dark chocolate is high in maganese, iron and copper. And if you make your own chocolate as well, like I do, you can control the amount and type of sugar that goes into it as well! (I always use natural sweeteners, with honey being my top choice).

I often wonder if they’re so good for us why I don’t make them more often? Perhaps it is because they have this air of luxury (in my mind) and I really consider them a treat. (And why don’t we treat ourselves more often? – that is a whole other conversation)

So let’s get to it!

How to Make Chocolate Dipped Strawberries at Home (with homemade dark chocolate)

  1. Line a cookie sheet with parchment paper and set aside.
  2. Rinse and pat dry the strawberries. Two tips here – one is to make sure you have fresh firm strawberries, second is to make sure that your strawberries are very very dry after you have rinsed them. If there is any water or moisture on them then the chocolate won’t stick.
  3. chocolate dipped strawberriesPrepare your homemade dark chocolate. I use this very simple method to make my chocolate. No stove involved just a kettle, boiling water and two bowls. It is important to be very careful when making the chocolate that you do not get any water in it as it will change the mixture and your chocolate wont’t turn out. As I said I love using honey as my sweetener but in this case I would use pure maple syrup or liquid stevia, as sometimes the honey does not mix as well and will separate when it sets.
  4. Dip your strawberry into chocolate. Grab strawberry by the green leafy top and dip into the chocolate. Turn and twist your strawberry to get the coverage you want on all sides. Gently place your dipped strawberry on your parchment paper lined cookie sheet and dip the next strawberry.
  5. Once you have dipped all your strawberries place the cookie sheet into the fridge. This helps your chocolate set faster.
  6. If desired, you can dip your strawberries in the chocolate a second time for a thicker covering, better coverage or just more chocolate! You do need to wait until the first layer is set and firm before dipping the second time.
  7. Set back into the fridge until chocolate is set.
  8. Serve and enjoy!

**if you want to get really fancy you can make a batch of white chocolate and drizzle it over the dark chocolate. You would have to let it set again and wait a little longer but it looks great aesthetically, which is great to impress guests if you’re having a party or event.chocolate dipped strawberries


10 Yummy Sugar Free Christmas Recipes

sugar free christmas recipes

Christmas is that time of year when delicious treats and baking abound. Everywhere you go, there is something else to indulge in, something else that tempts you. You try to resist, but …

The good news is there’s no need to deny yourself. You can enjoy delicious sweet treats guilt free this Christmas by creating one (or more) of these yummy sugar free Christmas recipes. Super easy to make and all naturally sweetened they are actually healthy and good for you – so you can feel good about what you are eating and indulge guilt free.

sugar free Christmas recipes

Coconut Balls – Healthy Christmas Truffles

sugar free Christmas recipes

Peanutty Blondie Bars

sugar free Christmas recipes

Chocolate Quinoa Cupcakes

sugar free Christmas recipes

Chocolate Peanut Butter Cereal Squares

sugar free Christmas recipes

Gingerbread Cookies – A Traditional Cookie

sugar free Christmas recipes

Classic Sweet Butter Tarts

sugar free Christmas recipes

Best Paleo Buckeyes

sugar free Christmas recipes

Easy Homemade Paleo Mint Dark Chocolate

sugar free Christmas recipes

Festive Gingerbread Protein Bites

sugar free Christmas recipes

Hermit Cookies – A Soft Delectable Christmas Cookie

Do you have a favorite sugar free Christmas recipes? Share in the comments below.

10-yummy-sugar-free-christmas-recipes-pinterest