It’s that time of day when the kids arrive home from school ravenous and hungry, ready to eat anything in sight! They are poking their heads in the fridge, looking for an easy afterschool snack. Eyeing things hopefully on the counter, hoping to grab a quick bite to fill their tummies. You’d like them to have something healthy and with sustenance what do you do?
Afterschool is one of those key times when kids need something nutritious and healthy, but not something that will fill them up so much they won’t eat their supper. You also want a combination of options that they can just grab and go or something that they can easily make themselves, so you don’t always have to pause what you’re doing and make it.
I love that my daughter will come home and grab her own yogurt, simply asking me for a bowl (and if I just move those into a bottom cupboard I wouldn’t even have to do that) and she scoops it up herself. This allows me to continue either working or making supper without having to stop and get her a snack.
The best afterschool snacks are ones that provide essential nutrients and that energy boost – so snacks that include protein, healthy fats and are rich in vitamins are important. Even a little of sweet or salty to please the palate.
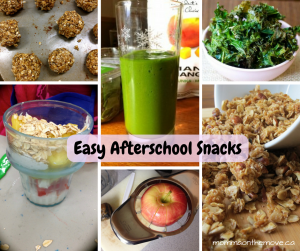
Easy Afterschool Snacks
Some of the snack recipes and suggestions below are make ahead, but once made go into the fridge or freezer ready for the kids to help themselves. They are also easy recipes that you can make with the kids (so they can help), or depending on their age, may even be able to make it themselves.
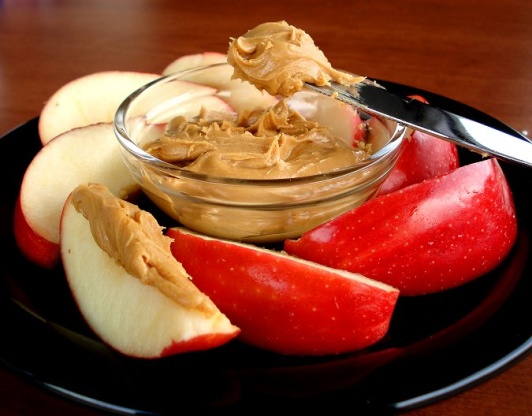
Peanut Butter & Apples
 My kids came home one day asking for this. I have no idea where they got the idea but it makes a great snack. Gives you your protein and sweet. For an extra added boost add in raisins or pumpkin seeds.
apple, sliced
big dollop of unsweetened peanut butter
Put peanut butter into a small bowl. Slice apple. Dip apple slices into peanut butter and enjoy.
Granola
Pumpkin seeds are a great energy food. High in magnesium, zinc phosphorus and omega 3’s they are also a great source of protein. Honey, a natural sweetener, has a long history of fighting infections and being good for colds, to name a few.
1 tbsp. honey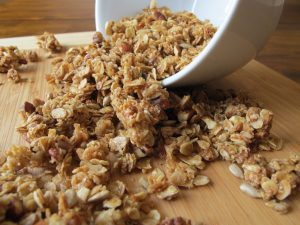
1 tbsp. Earth Balance Vegan Spread
1/2 c. large flake rolled oats
2 tbsp. pumpkin seeds
1/8 tsp. ground cinnamon
1 tbsp. coconut
In a small saucepan on medium heat, melt Earth Balance and cook with honey for 2 minutes. Add remaining ingredients and cook until golden. Let mixture cool for 5 minutes until dry. Break apart and enjoy.
Store in an airtight container to enjoy later.
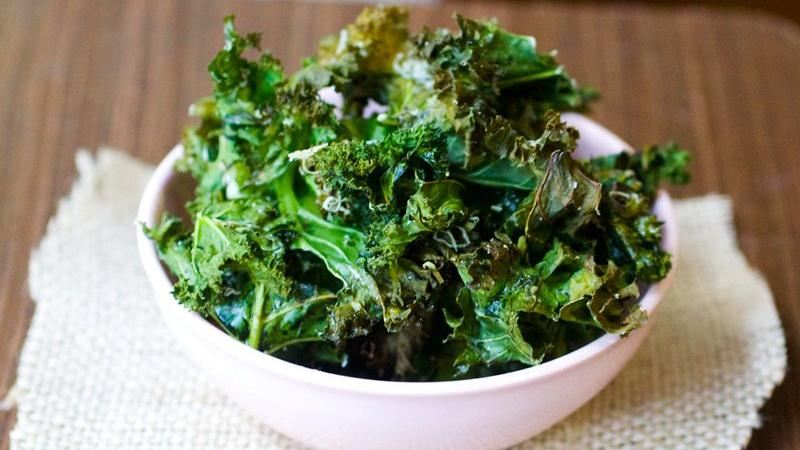
Kale Chips
Kale is a superfood that is high in fiber, iron, vitamins (such as A, C, K), filled with antioxidants and a great anti-inflammatory food. This is a basic kale chip recipe but you can play with the flavor by using different spices.
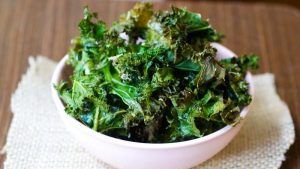 1 bunch of kale, stem cut out and chopped
olive oil
sea salt
Place chopped kale into medium size bowl. Drizzle with olive oil and massage the oil onto the leaves, making sure they are well covered. Sprinkle with sea salt.
Place onto a large bar pan or cookie sheet. Bake at 250 F for 3-5 minutes. When kale is crisp take them out and let cool.
Keep an eye on your kale as it may not take long depending on your oven and they can easily burn.
Other Delicious Easy Afterschool Snack Ideas
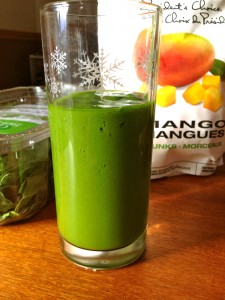 Smoothies – power pack with your favorite fruits and throw in chia seeds, hemp seeds or flax for protein and fiber. You can even add in some vegetables like carrots or a handful of spinach. The kids won’t even know it’s there.
Yogurt Parfaits – 3 simple ingredients (fruit, granola, yogurt) this fun snack is something the kids can easily make themselves.
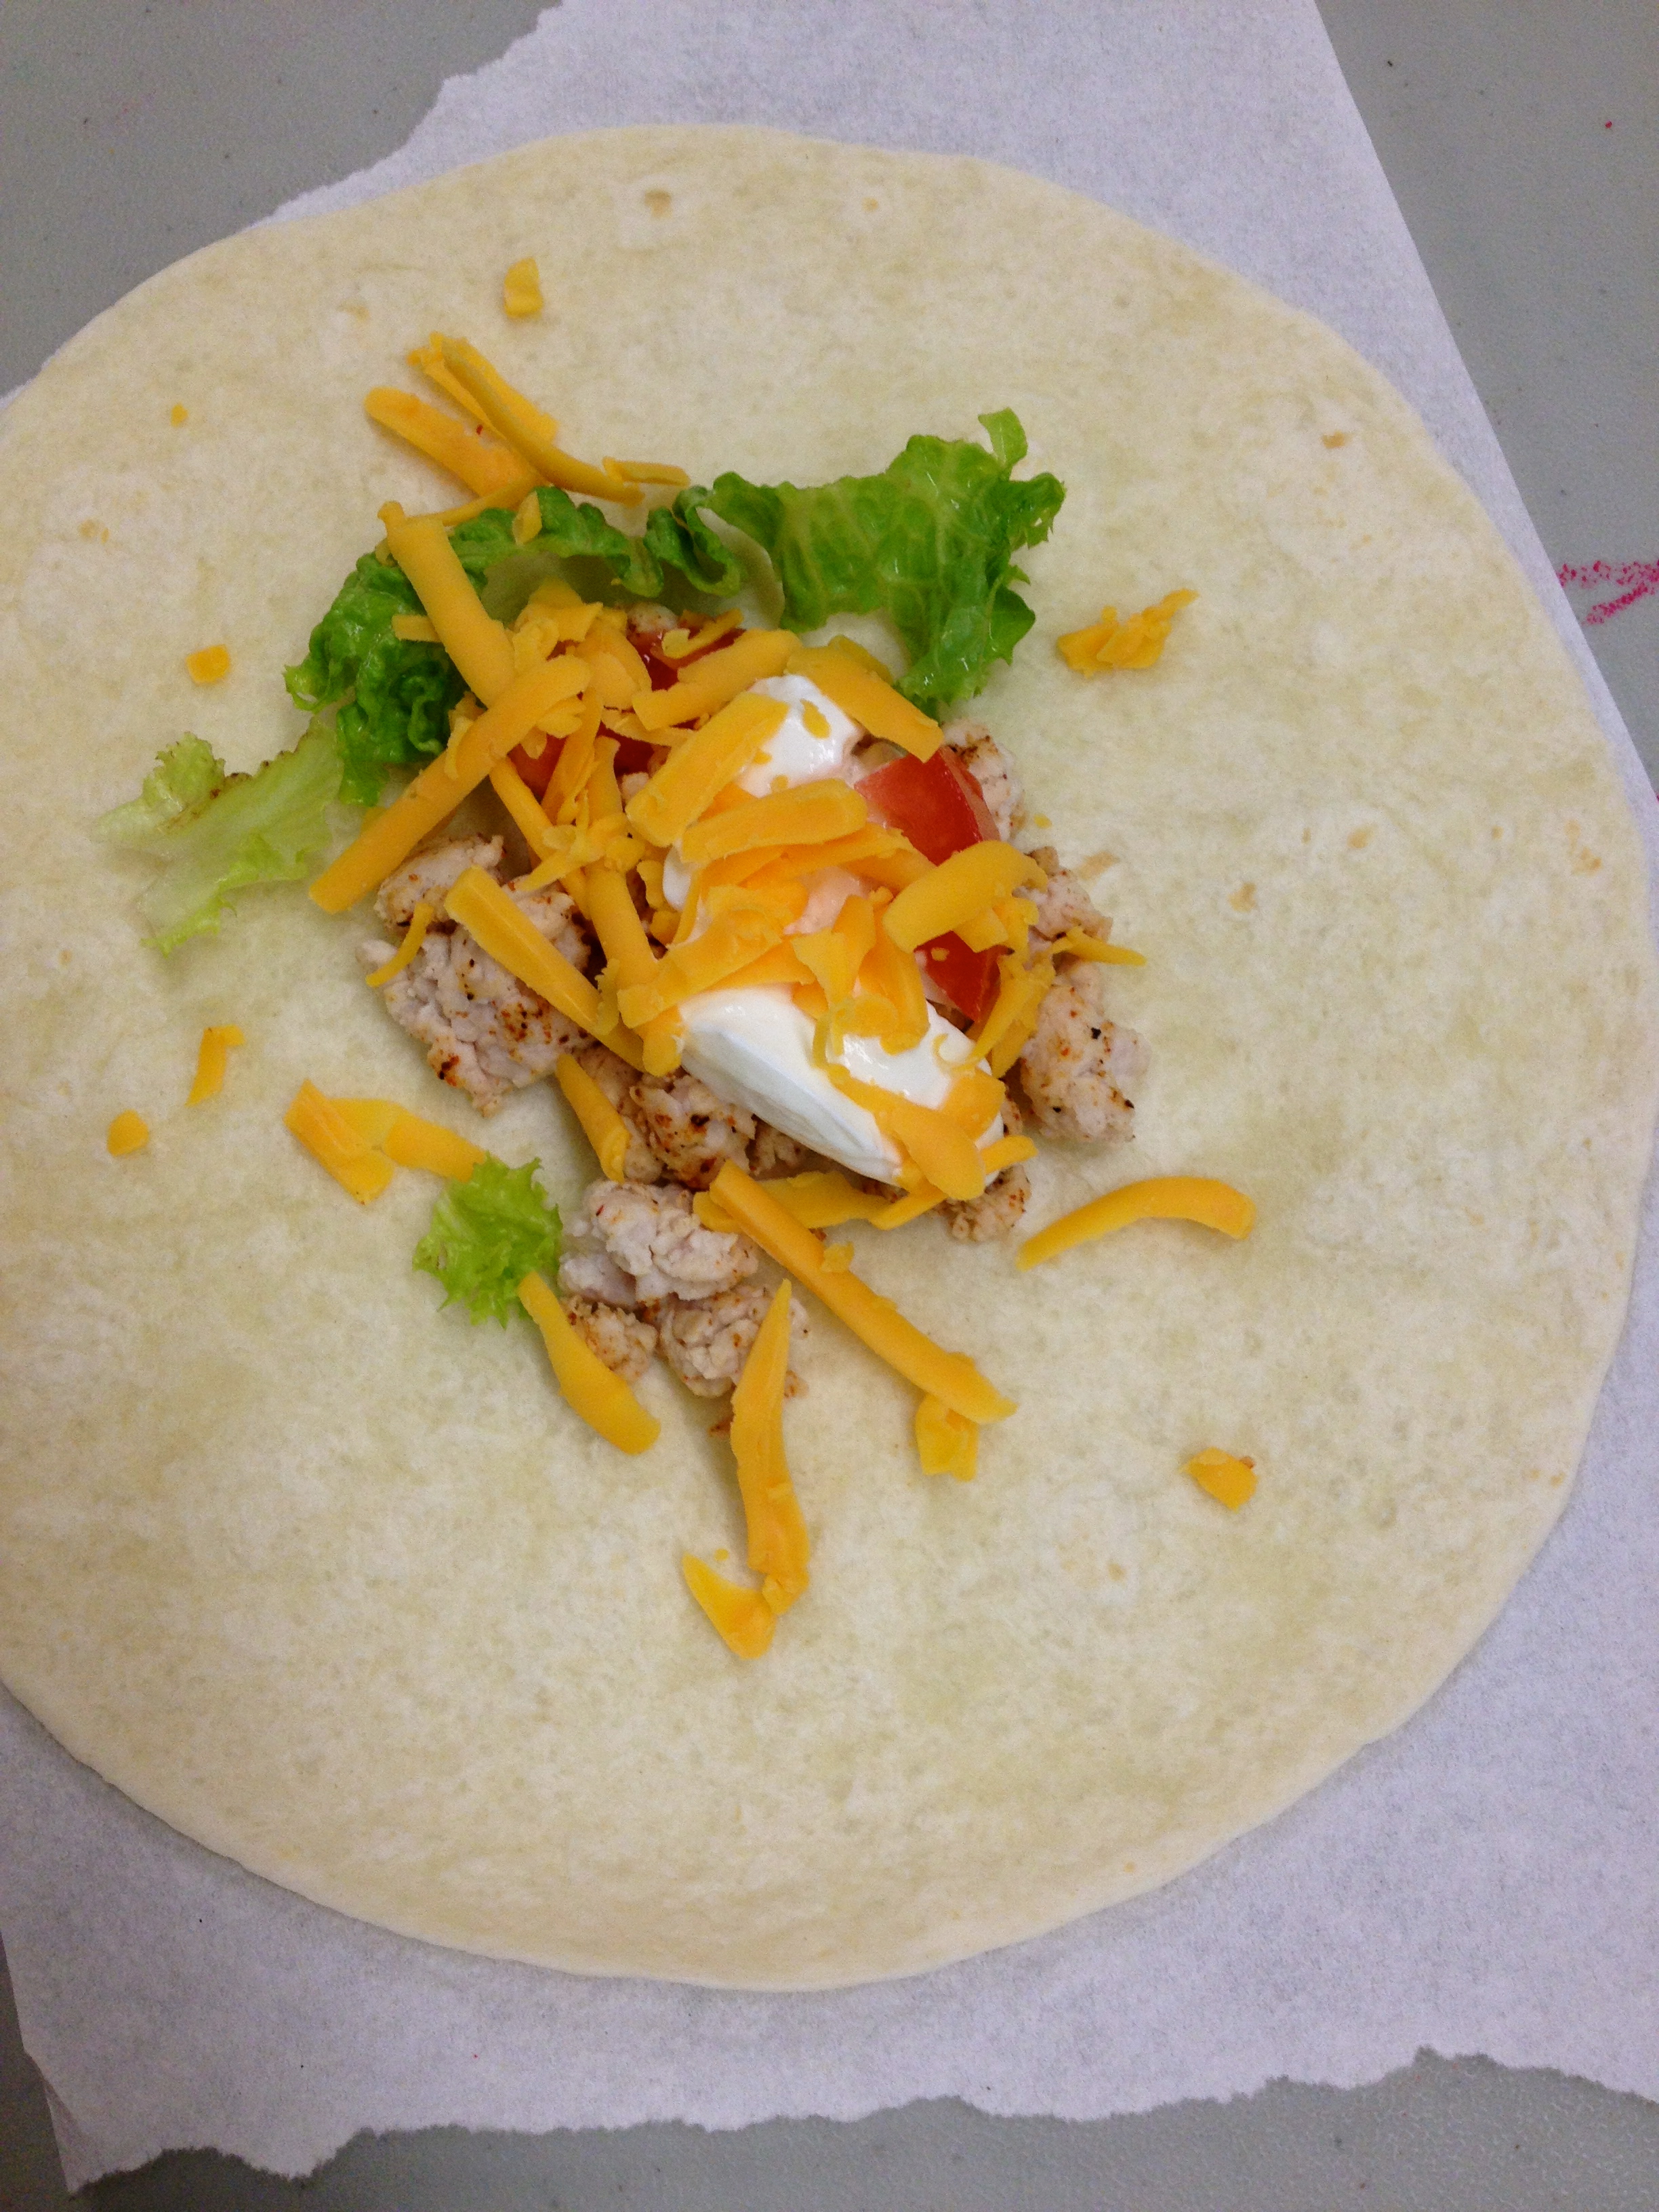
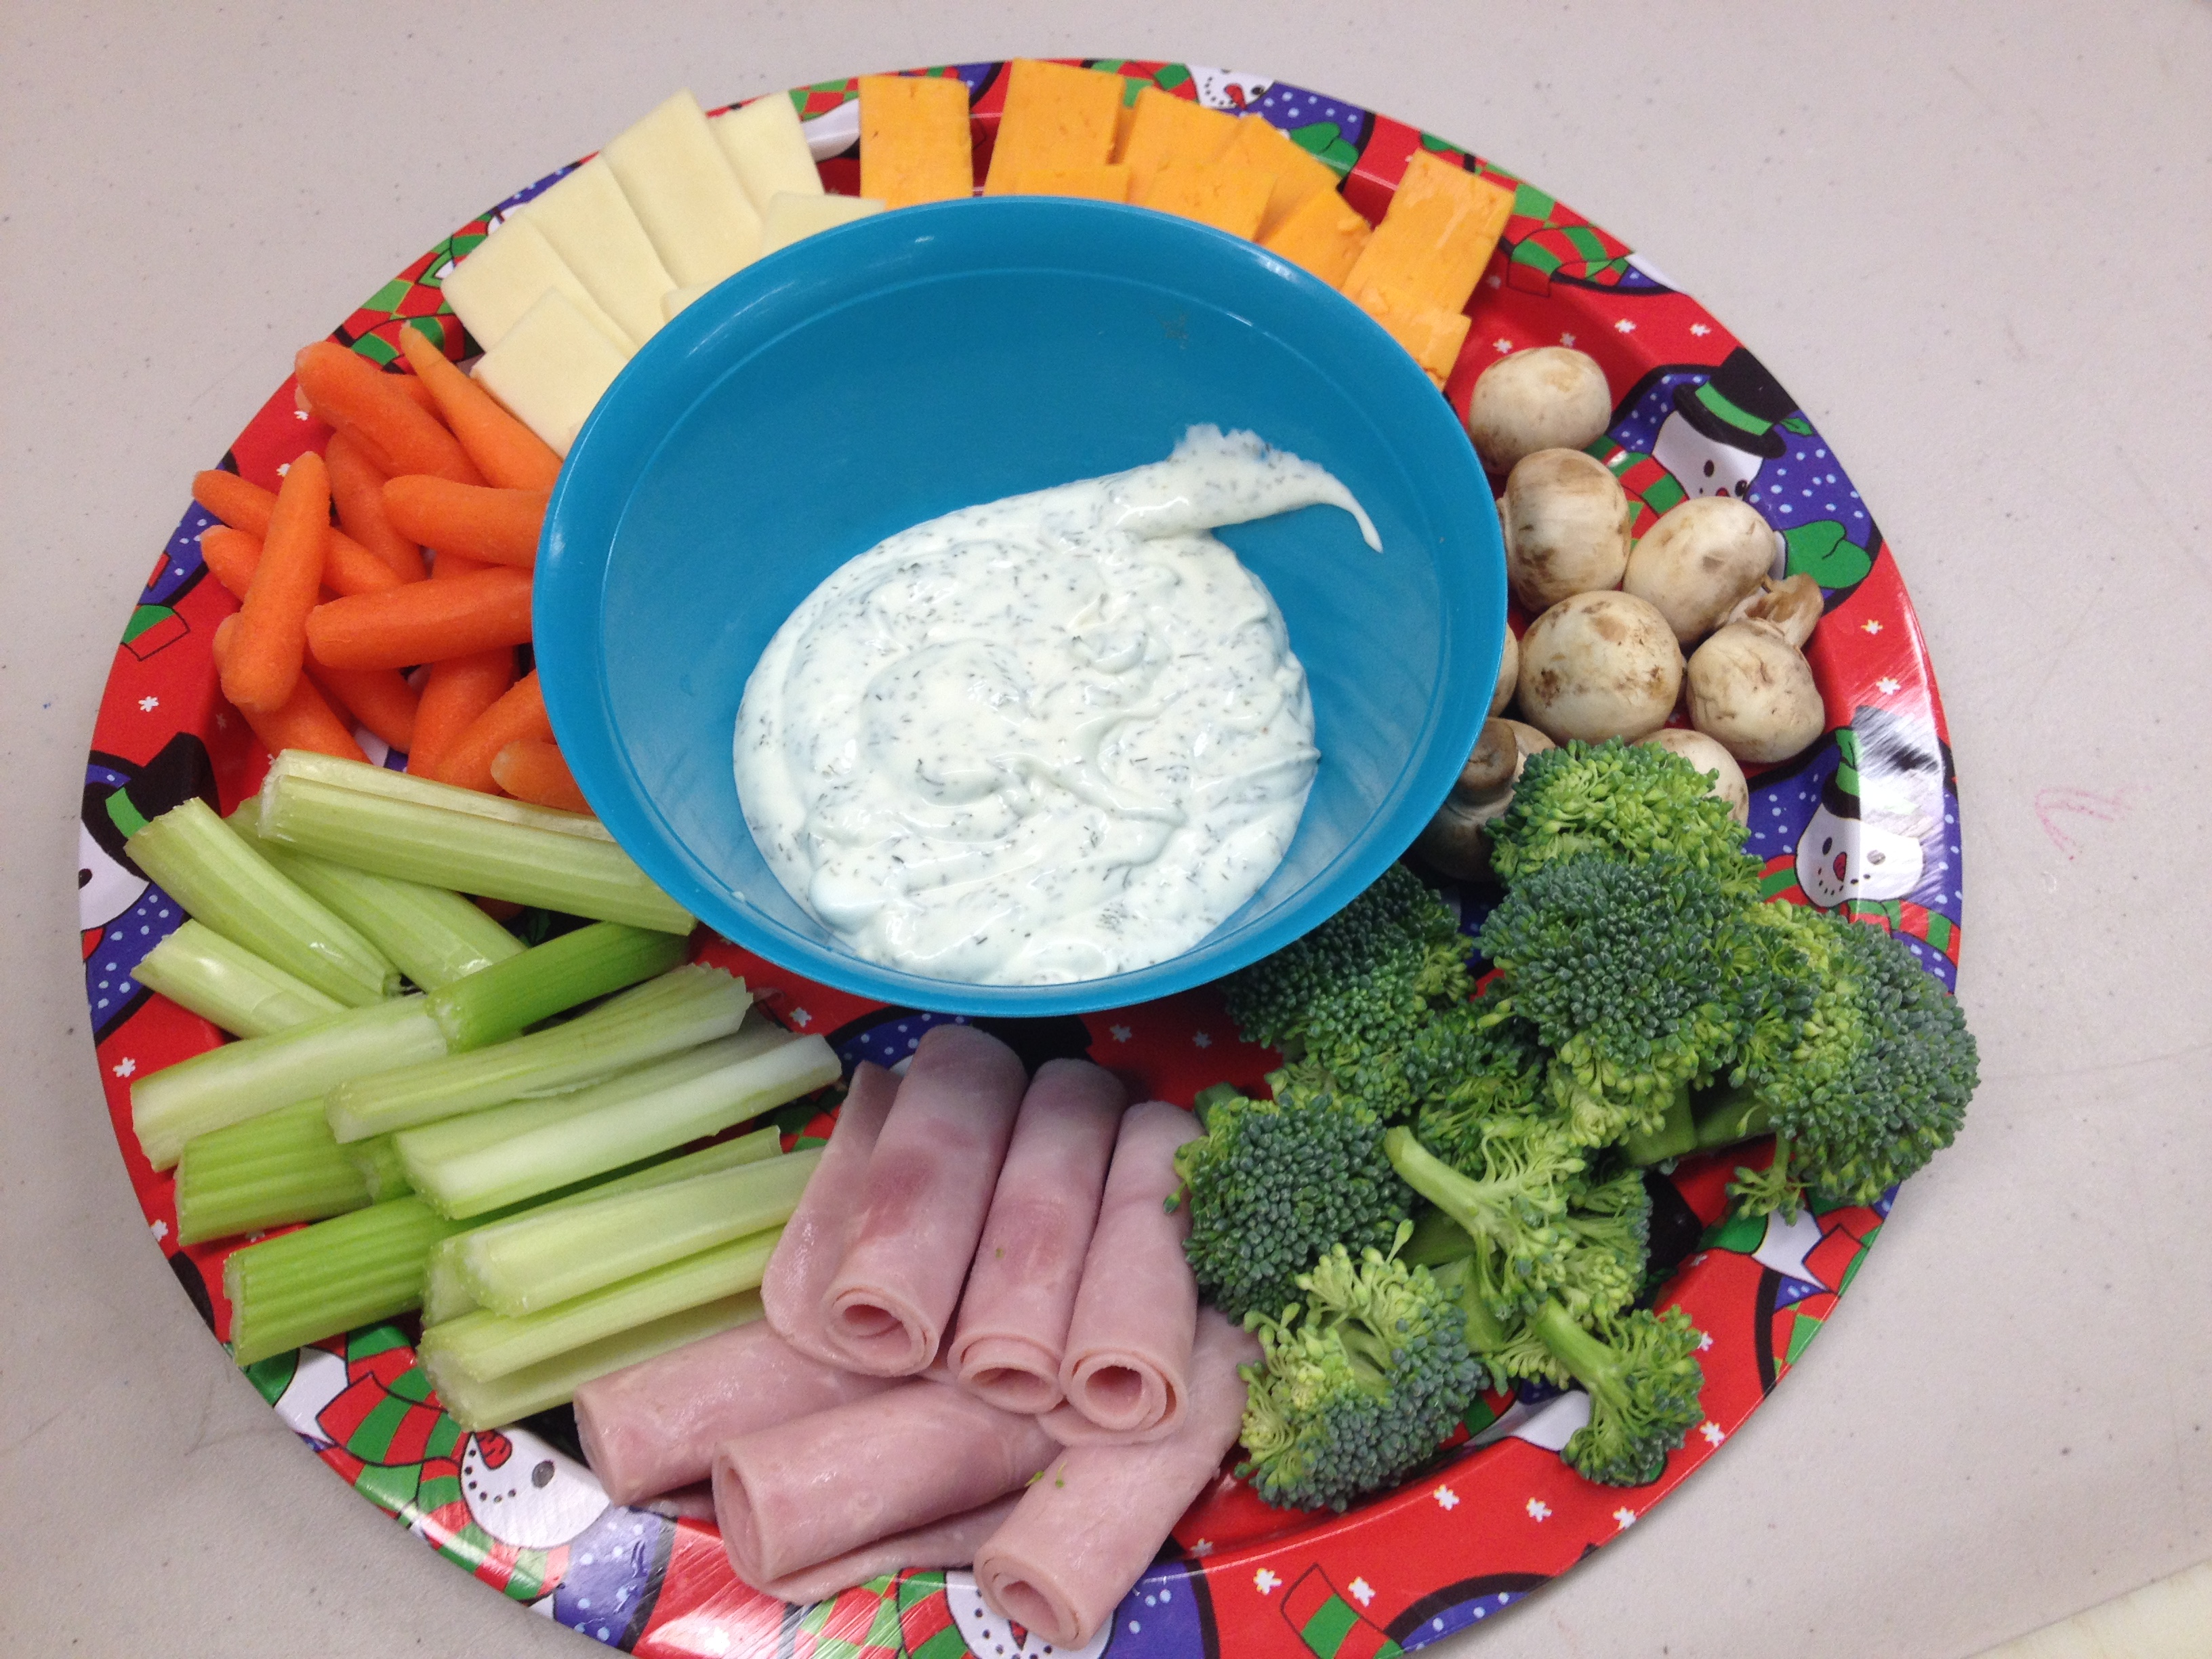
Veggies & Dip – my kids love veggies, but when there is dip, they eat them even faster. What kid doesn’t like to dip stuff?
Raw Chocolate Pudding – made with avocado (a great healthy fat and high in vitamin E), this yummy chocolate pudding will fill the kids up and replenish their energy.
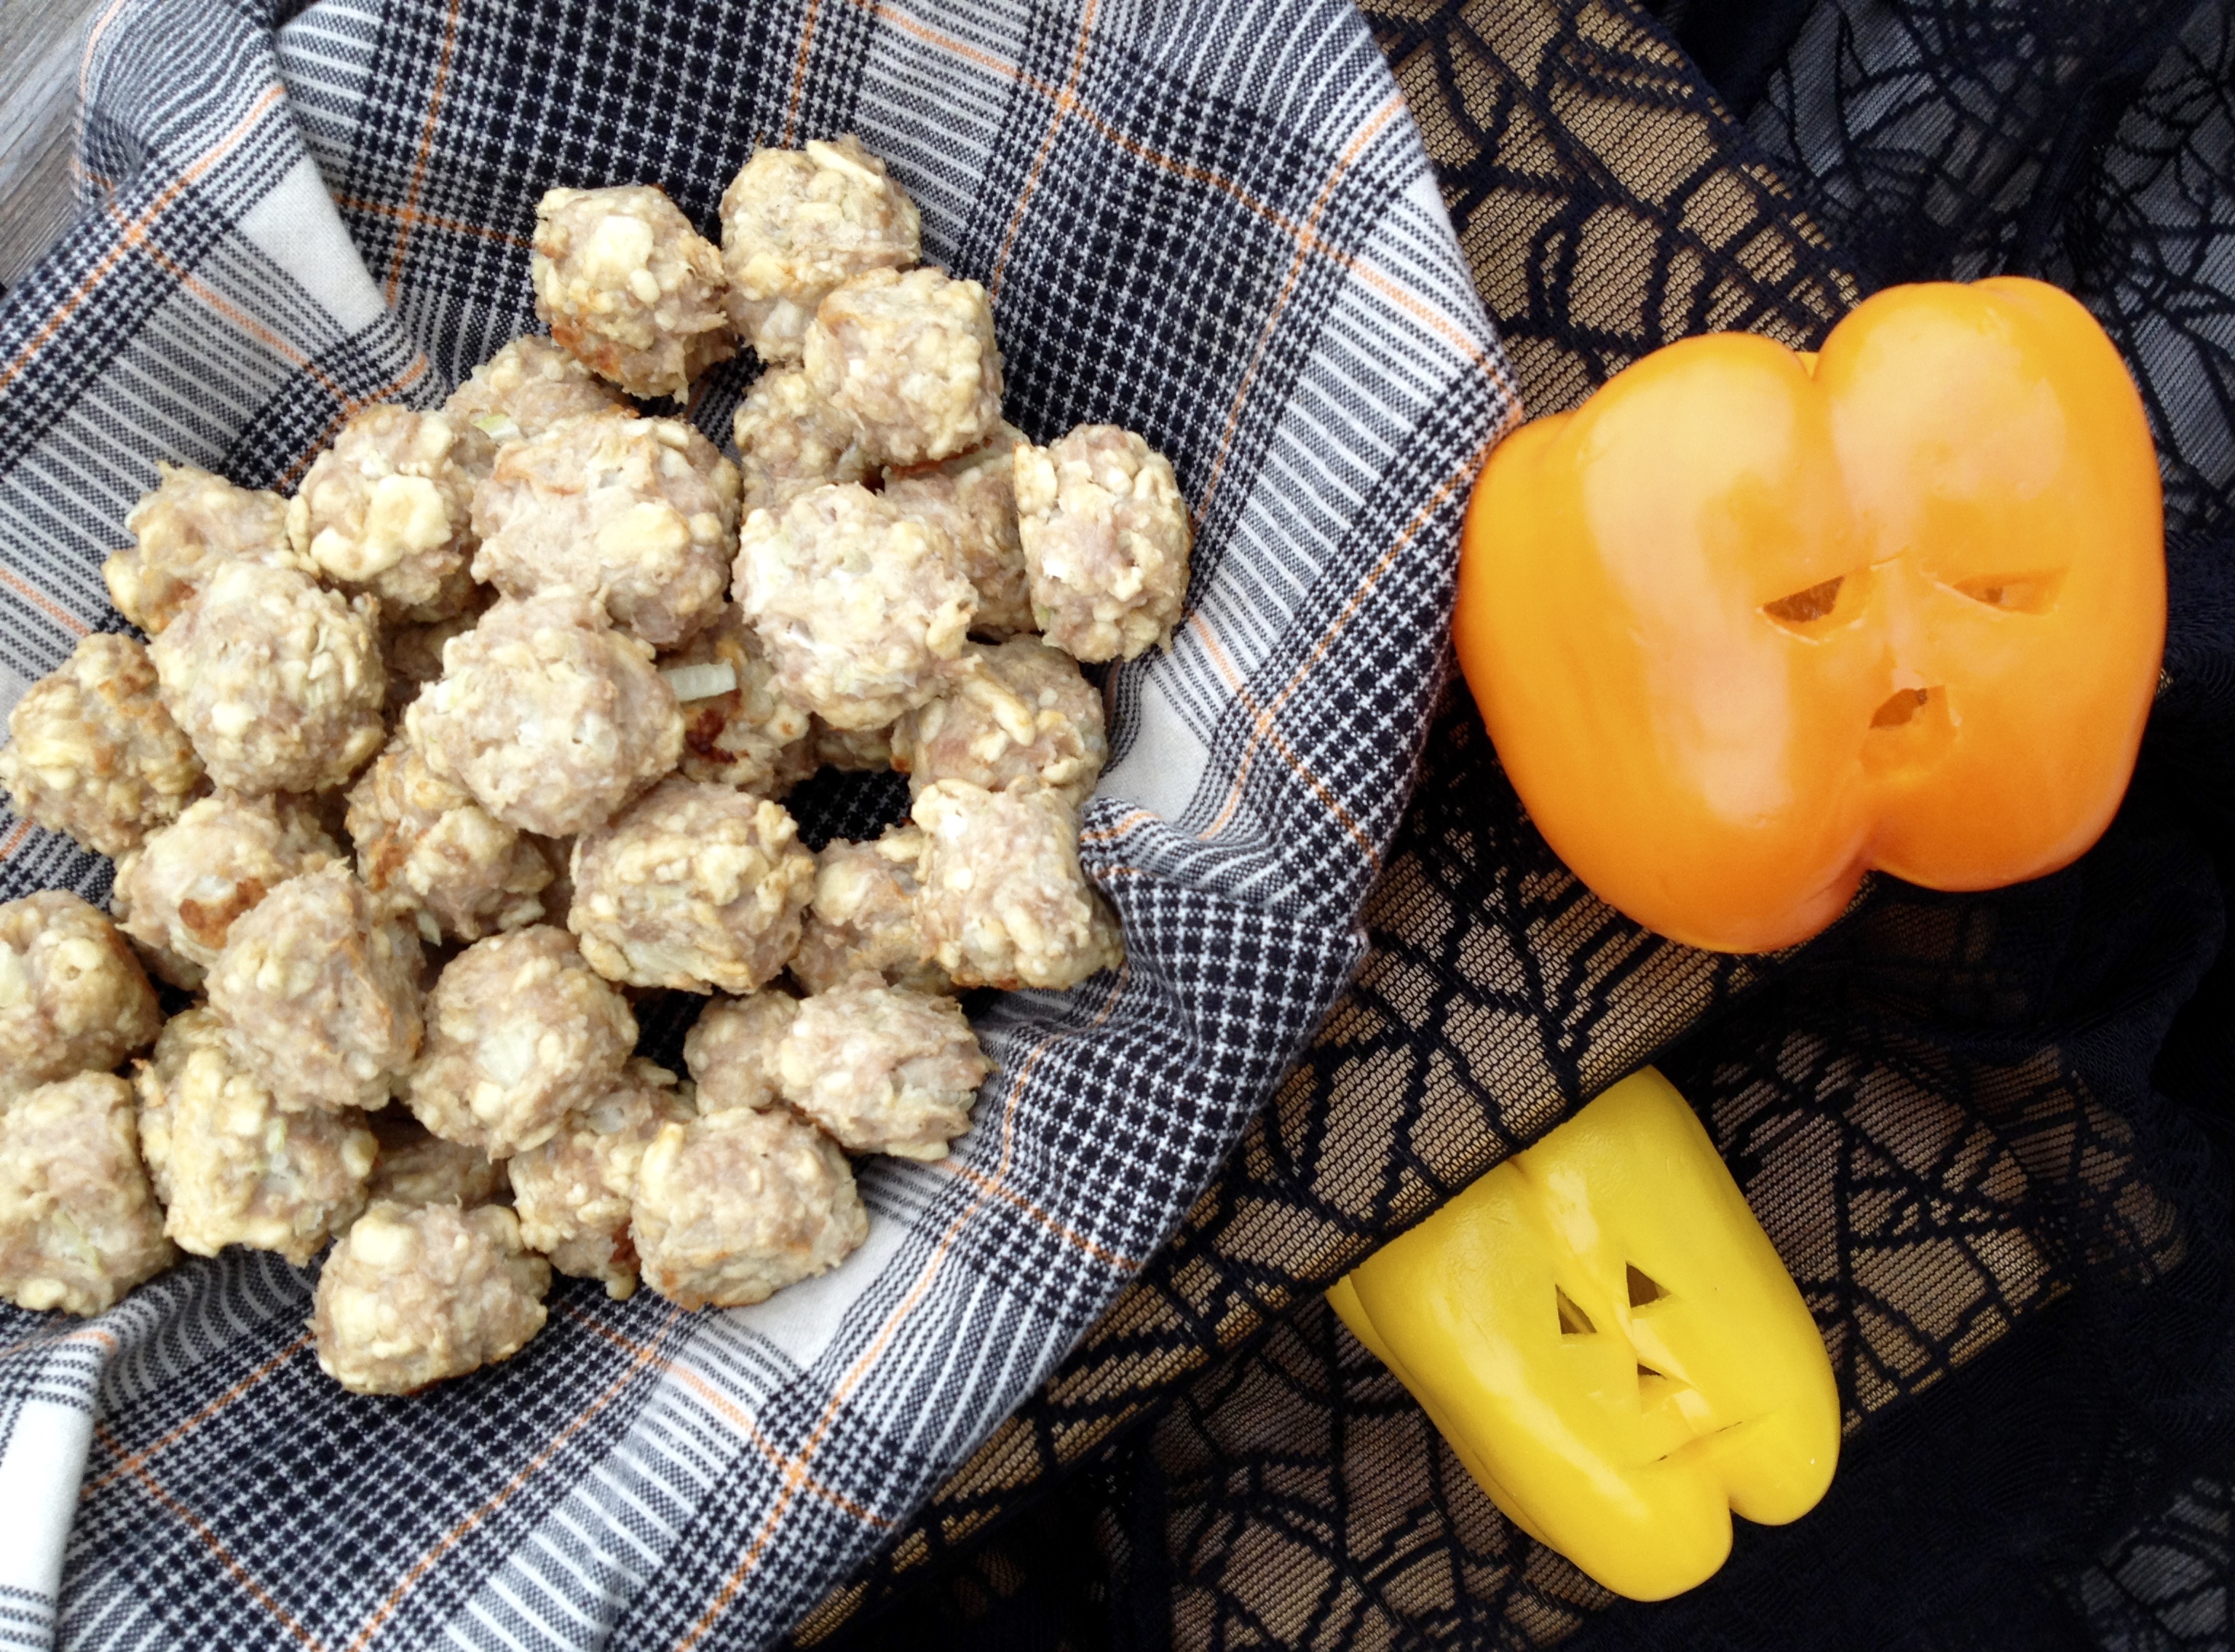
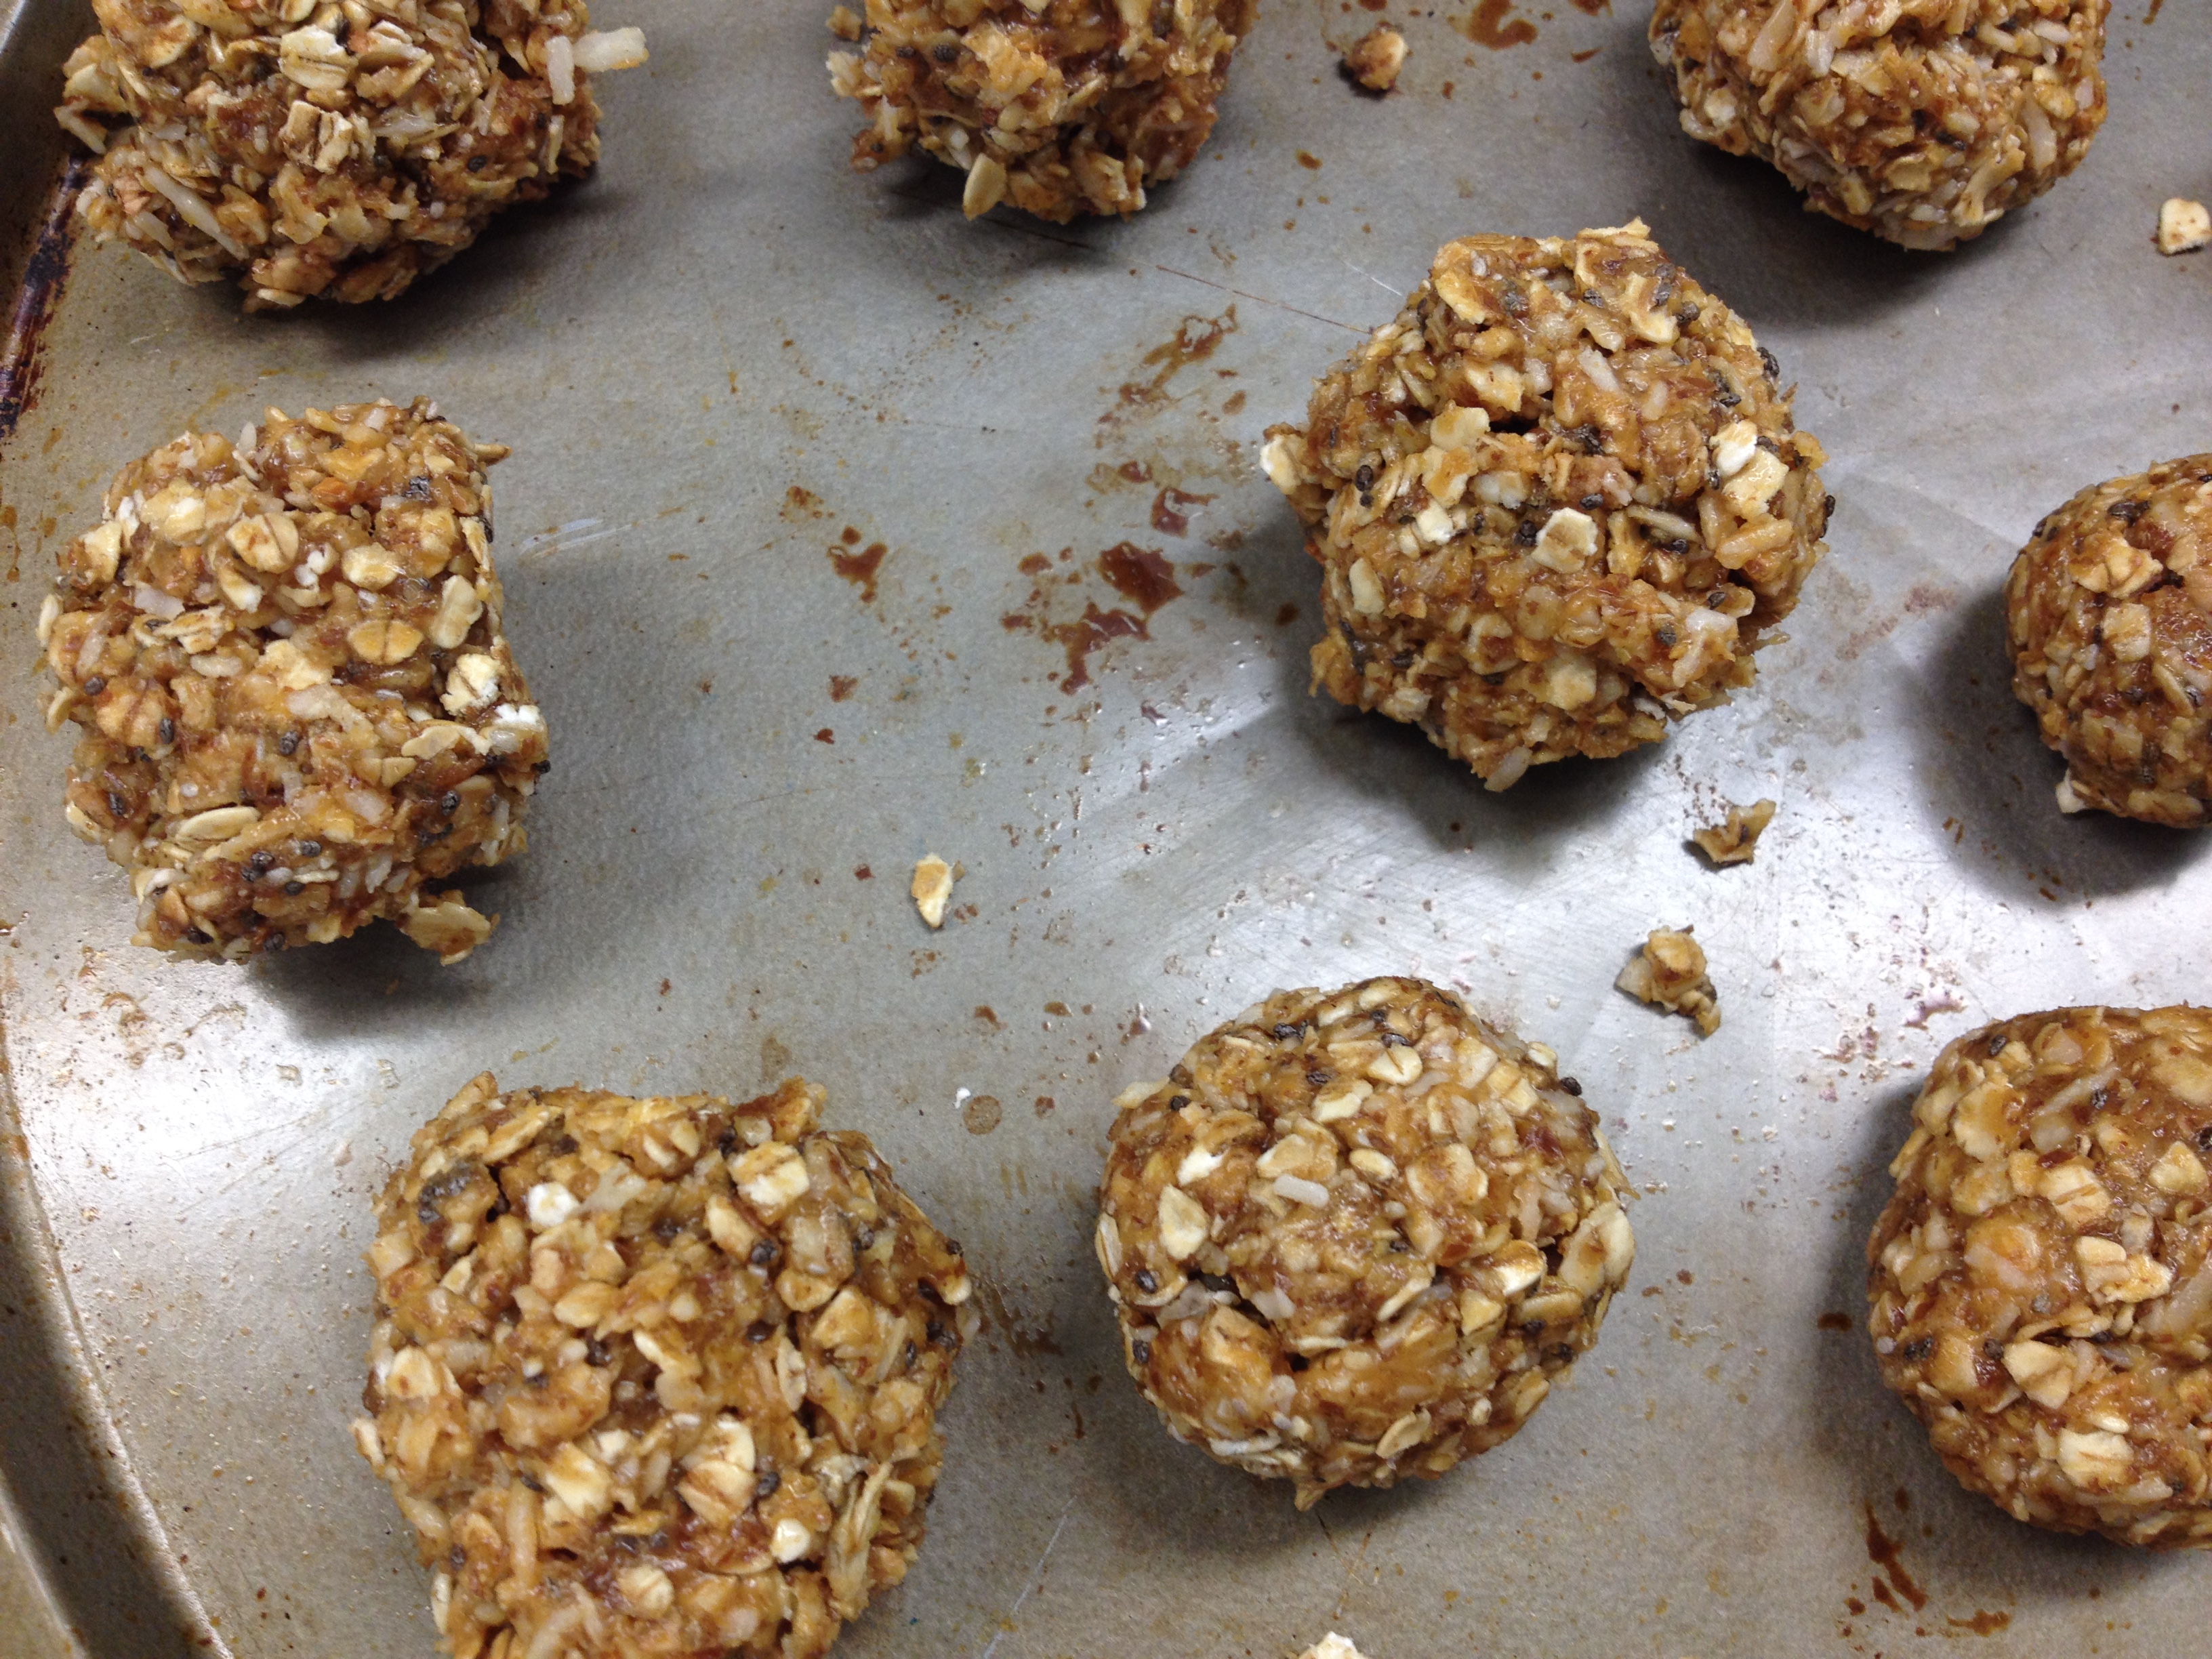
Energy Bites – a favorite at our house, this peanut butter and honey in a ball is a quick easy treat that is packed with all kinds of good stuff. It is also a great recipe to make ahead with the kids that they can just grab and go.
Fruit & Yogurt – simple easy and fun to make, choose your favorite fruit and top with yogurt. And if you’re looking for non dairy there are some great non dairy brands out there like Yoso Coconut Yogurt.
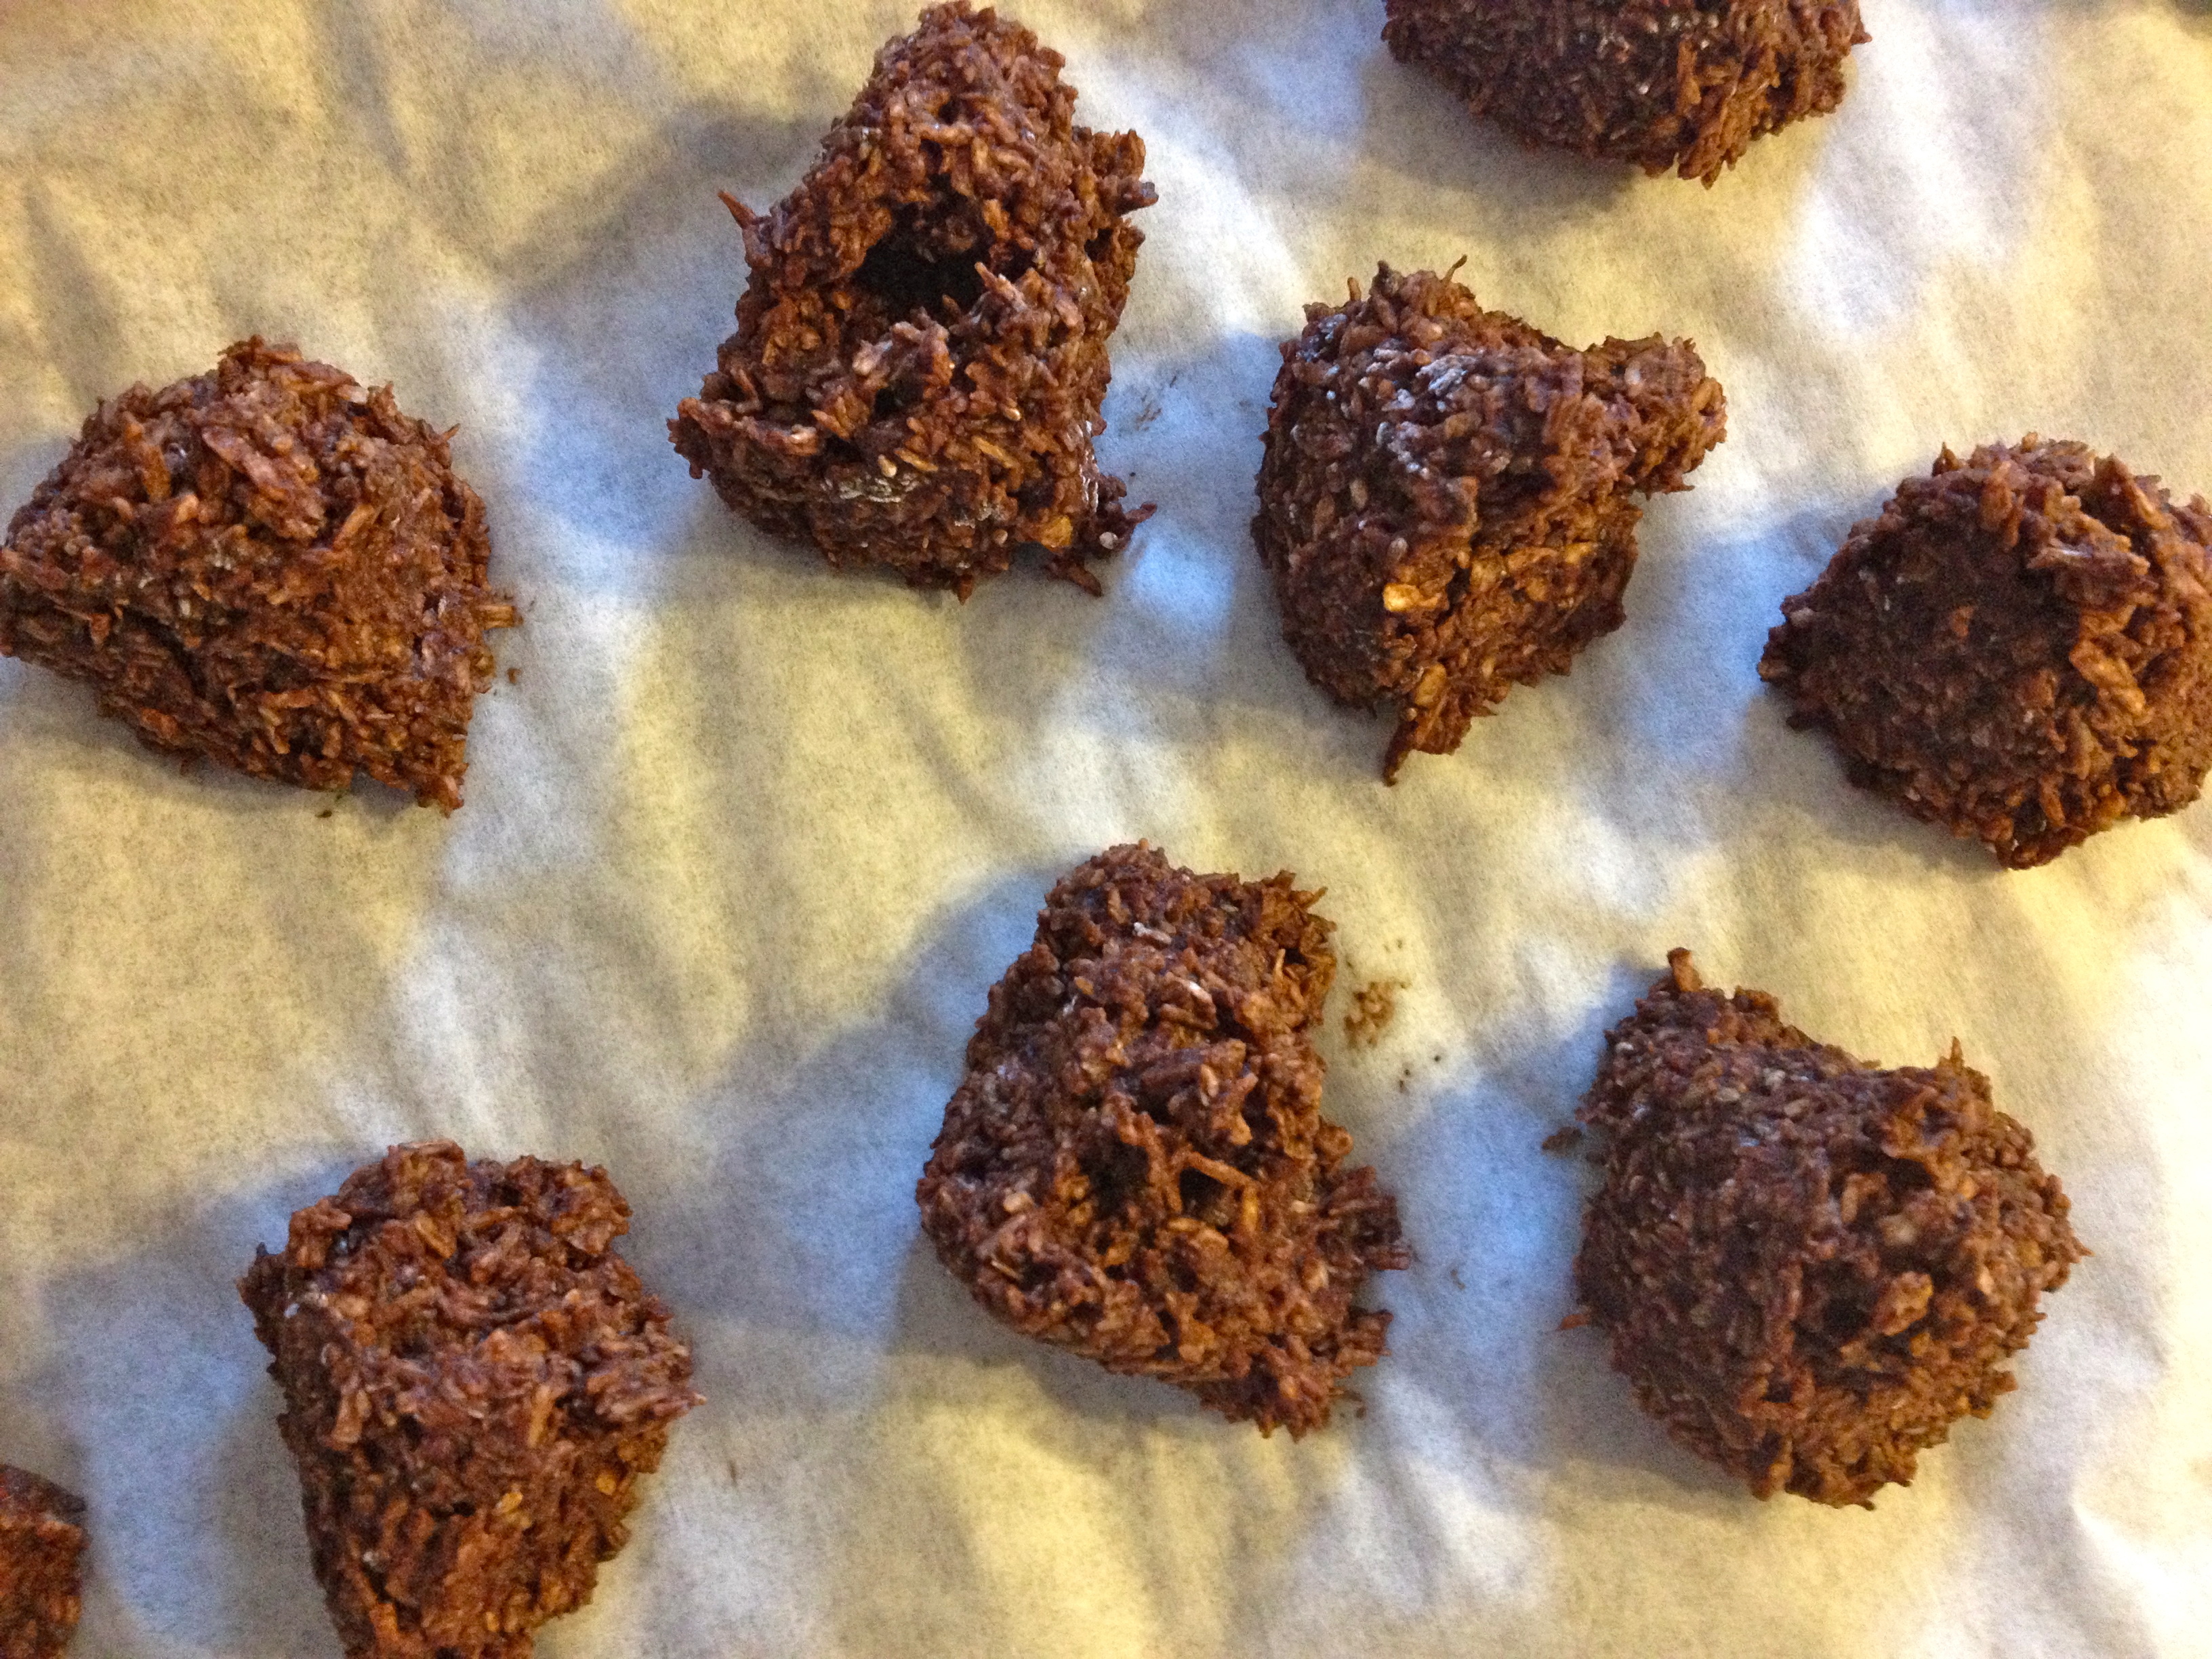
 Coconut Truffles – another great make ahead and super easy. This yummy healthy sweet treat is made with dates, coconut and chocolate all rolled into one.
Honey Roasted Nuts & Fruits – this yummy sweet treat is rich in vitamins, antioxidants, healthy fats and protein.
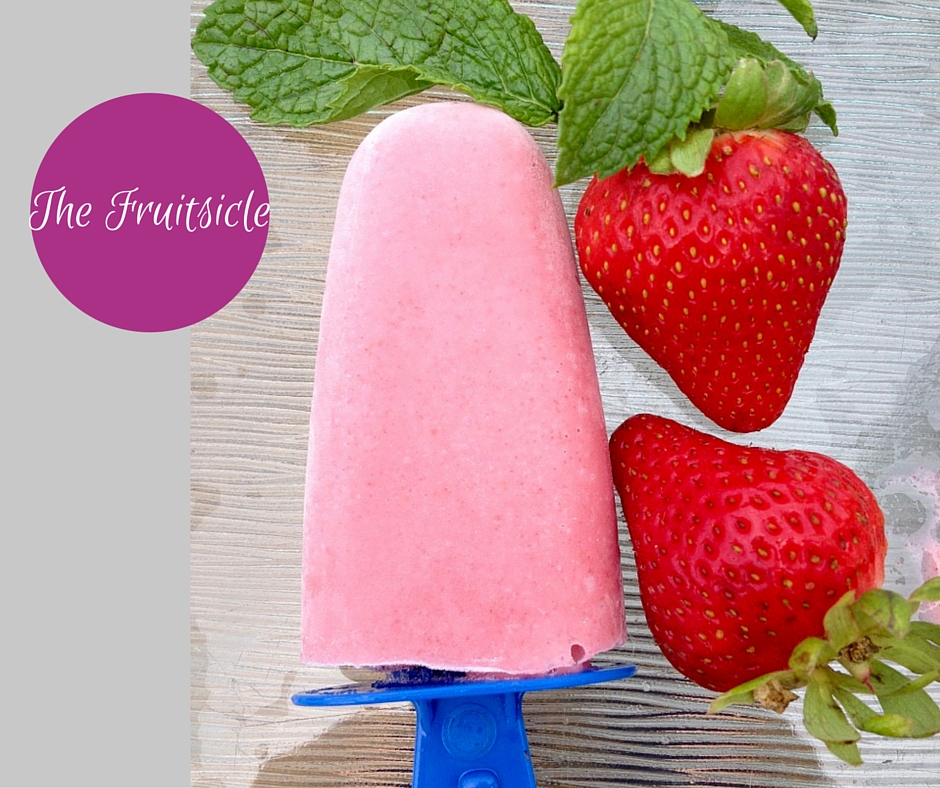
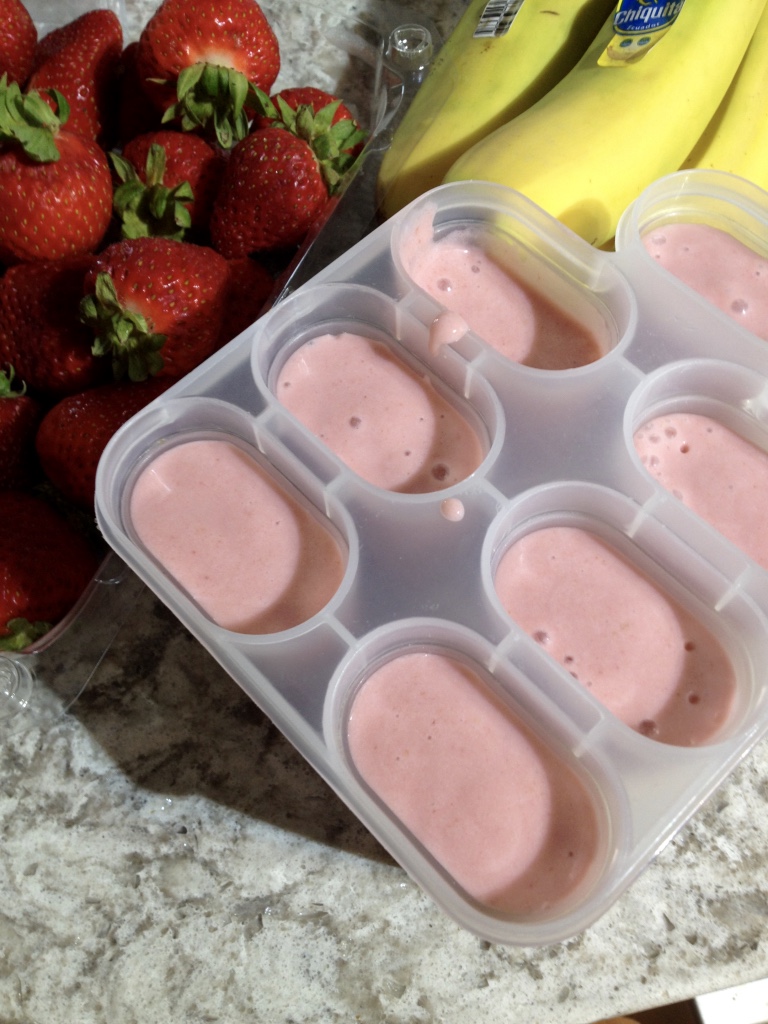
Strawberry Banana Ice Cream – no dairy added to this ice cream and super easy to make! Just pop frozen strawberries and bananas into the blender and voila.
Afterschool is a time when you want the kids to be able to help themselves to nutritious healthy snacks that will fuel them without ruining dinner. And it’s a great way to start giving them a little independence. Make it easy, make it fun and get them to help create!
It’s also a perfect time to introduce some new foods by incorporating foods that they like with new ones. Make it fun and encourage them to try it. You can foster a loving and supportive environment to try it in; and with them having making it themselves and gaining a little more independence, you’ll have even more success.

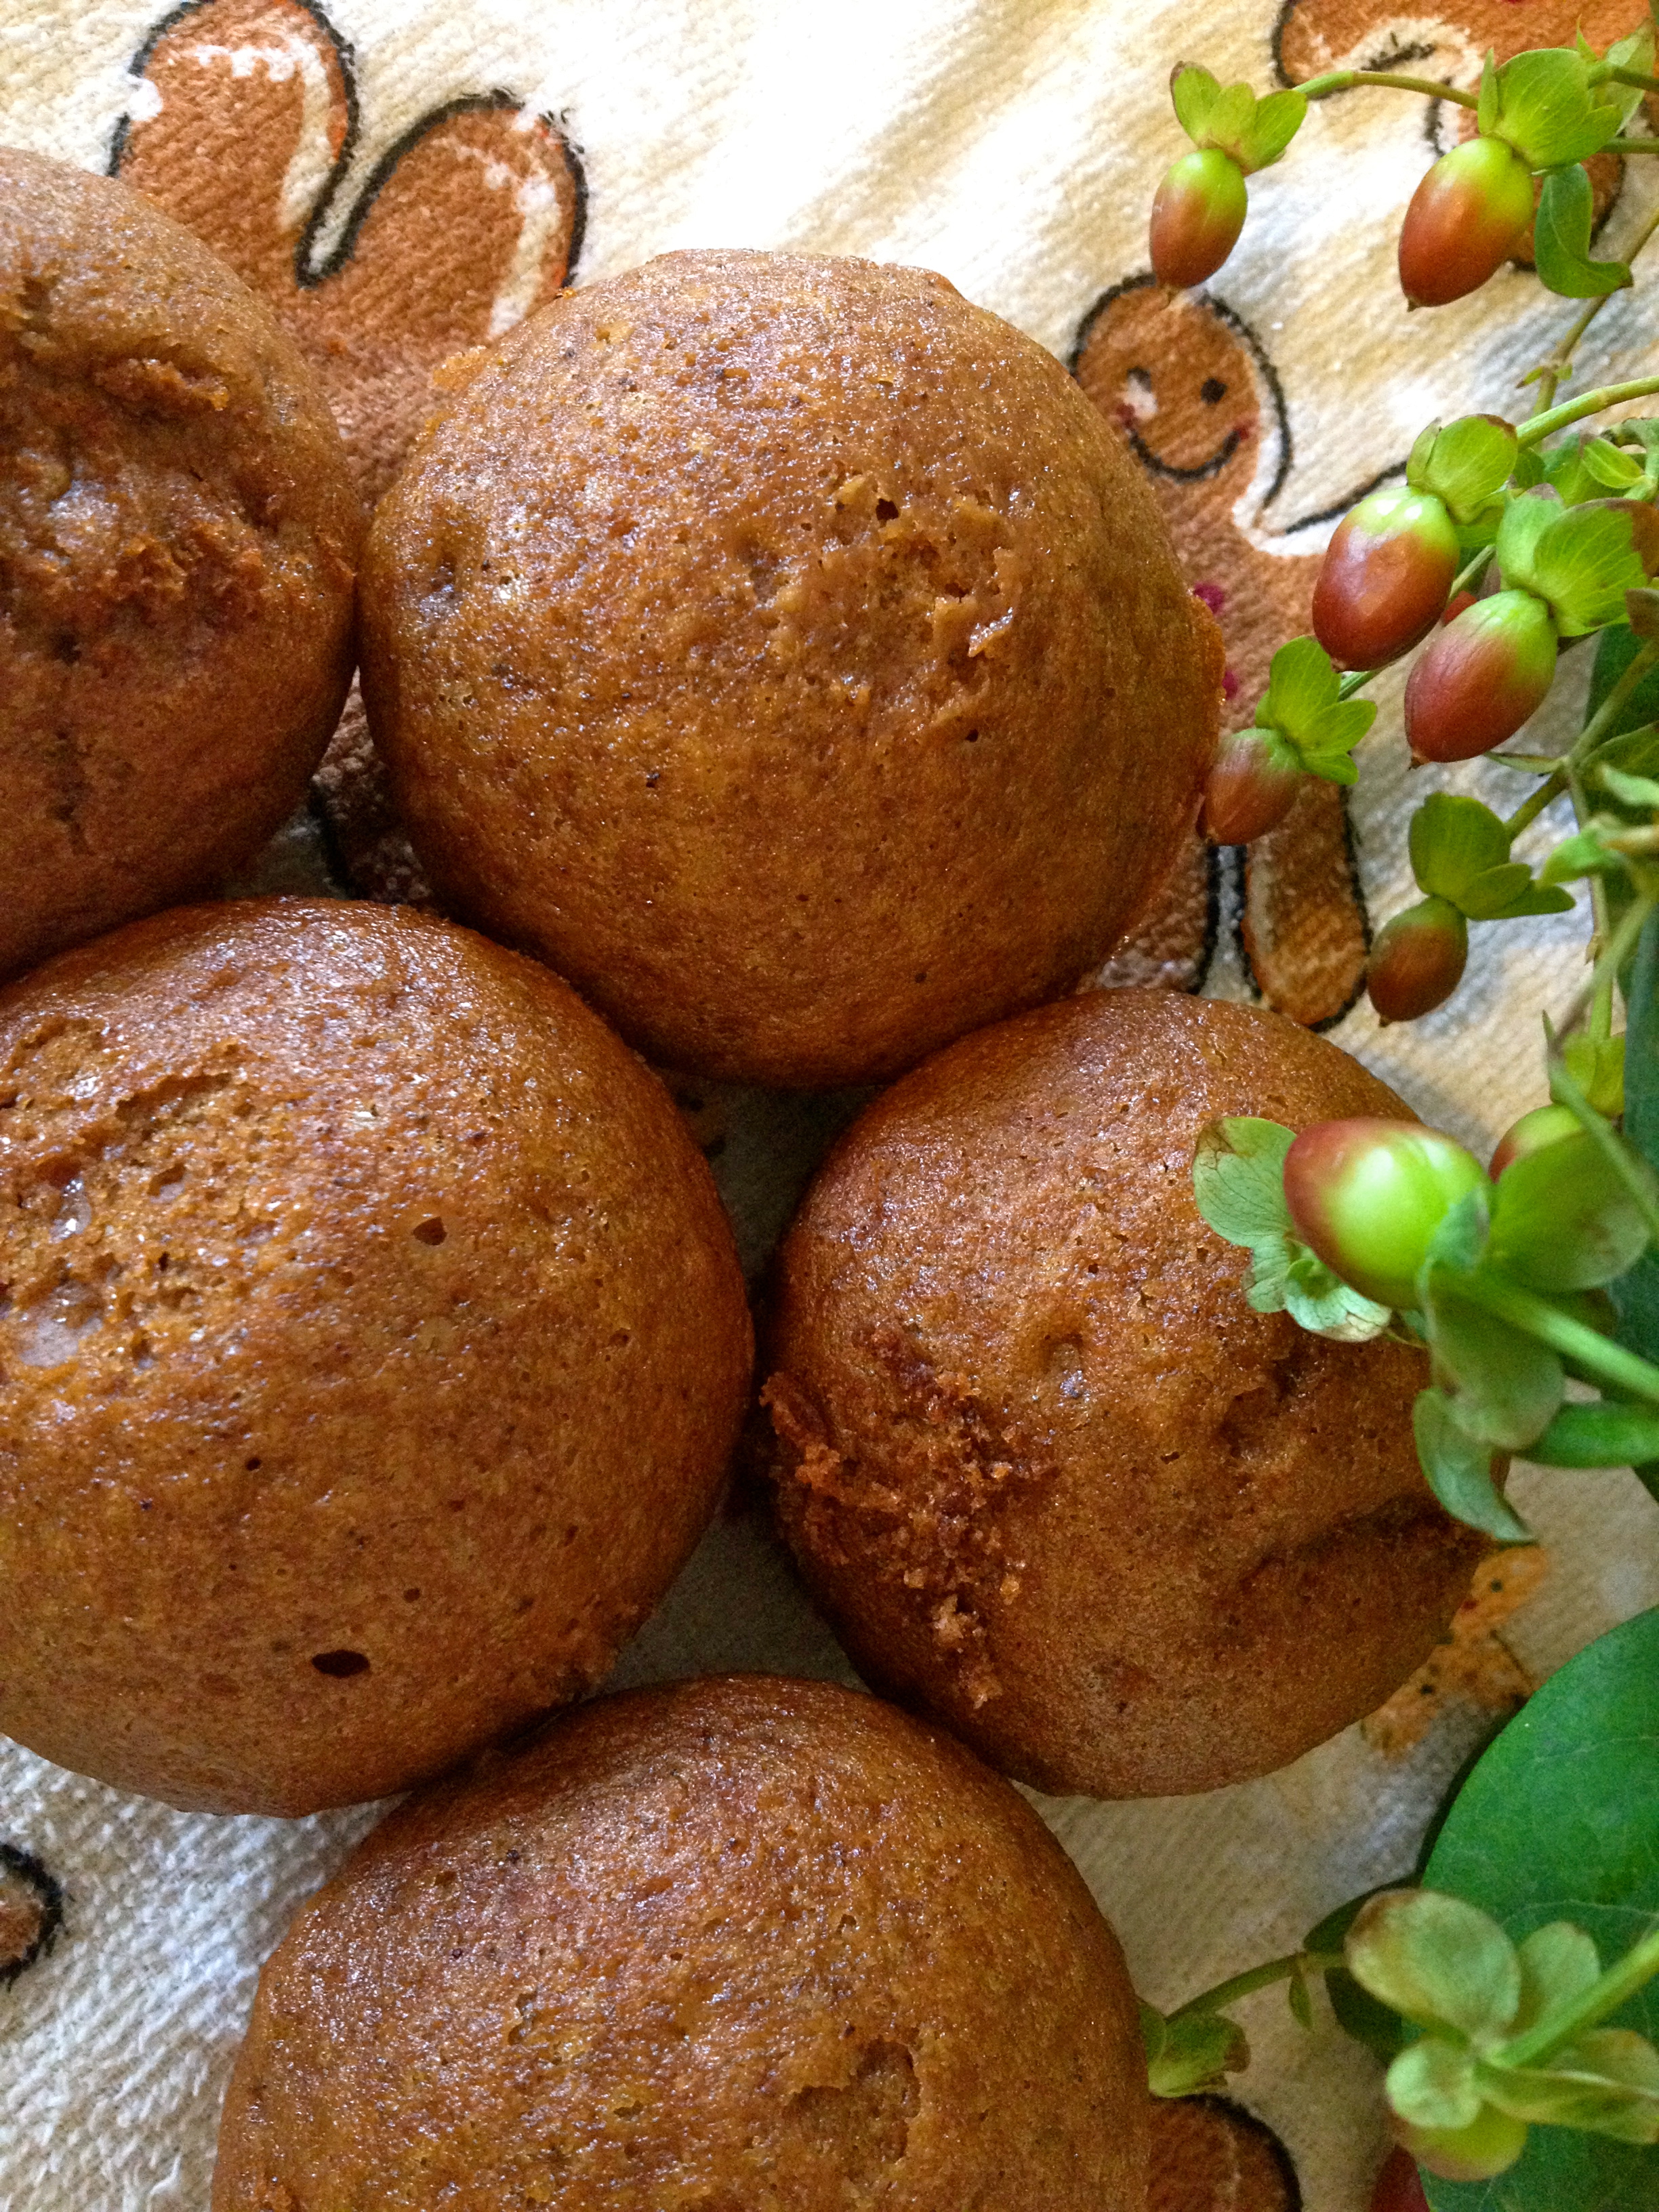
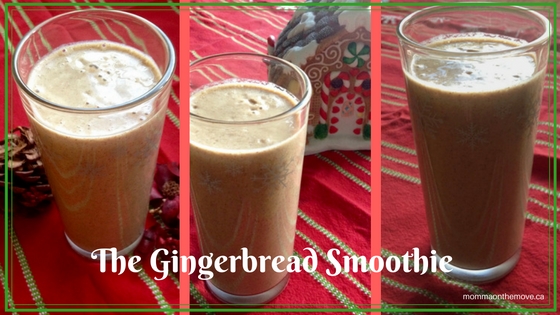 I love gingerbread and thoroughly enjoy all the different possibilities during the Christmas season. Last year I discovered this yummy gingerbread smoothie!
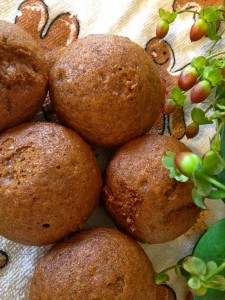 During this relaxing and enjoyable time with them I decided to get creative and experiment with a few festive smoothies. Many of the favorite holiday flavors like orange cranberry, peppermint, gingerbread. Why not? I had the time and it was the holidays after all.

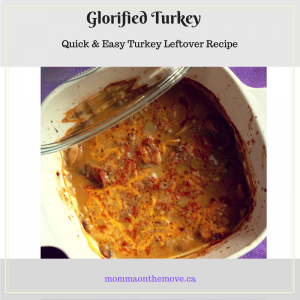
 2 c. cubed turkey