Homemade (Sugar Free) Apple Pie

apple pie

It was a busy weekend at our house with the Fall activities beginning, soccer evaluations, Ju Jitsu and Leaders in Training. Rallying the kids, getting them ready and myself ready was quite the challenge, but we managed to get it all right. Well almost all. Somehow we mixed up the times for Matthew’s Ju Jitsu grading and unfortunately he missed it. He was pretty upset and now can’t grade until December, but his Dad ended up taking him for a motorcycle ride to ease his disappointment and they had a glorious time! It was a gorgeous warm, fall afternoon, with bright sunny blue skies.

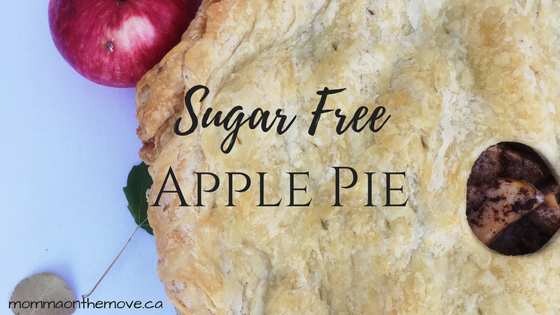
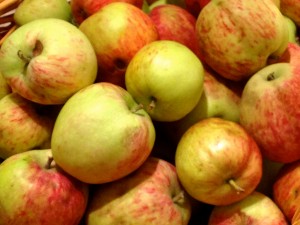
In the midst of all this activity, I still had a huge basket of apples in my kitchen, and though we were diligently eating them, there were still quite a few. So Saturday afternoon while Matthew was out I decided to make apple pie. I had yet to try a sugar free version of this pie but was fairly confident after the success I had with the cherry pie in the summer (see earlier post for Sugar Free Cherry Pie recipe).

I had pulled my pie crust from the freezer earlier that morning. (I make a it from scratch, simply using the recipe on the Tenderflake® box, making a whole batch at once which is six pie crusts, and freeze it for later). This makes it a lot easier and quicker to make a pie when the crust is ready. Plus I make a killer pie crust, even my sister, who loves to cook and bake, is envious of my crust as she cannot make one as light and flaky as mine 🙂 I simply roll it out, prepare the filling with the pie in the oven within 15-20 minutes.

I used my apple peeler corer slicer once again to prepare my apples, also a great time saving device as you can peel, core and slice an apple in less than a minute. Mixed up the filling, estimating the amount of honey to substitute for the sugar, poured it over, put the crust on top and placed it into oven.
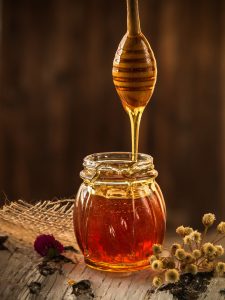
sugar free apple pieWhen substituting honey for sugar you reduce the amount of honey by 1/2 to 2/3 of the amount of sugar. Honey can be is 2-3 times sweeter than sugar so you don’t need to use as much. The amount of honey you will use will depend on the kind of honey you’re using (as some flavors are sweeter than others), and how sweet you like things. I found that using 1/2 cup of honey for the pie worked really well. Not too sweet that it overtook the flavour of the apples, but nice enough to sweeten it up a bit.

The pie turned out beautifully. Matthew jumped for joy when he came in from his ride and saw it on the counter. The twins, who were dubious at first, wanted apple crumble, not understanding or knowing what apple pie was, as they had never had it before.

Chloe especially insisted that she have crumble, but once she tasted her pie, she was sold and had 2 pieces! In fact, everyone loved it, ooed and awed and almost polished off the the whole pie! We had one piece leftover, which Matthew was lucky enough to take in his lunch to school.

I managed to put a good dent in my apples but I still need to make a few more things to use them up. I’ll make applesauce for the kids, but I may have to make another crumble or a pie…

Apple Pie
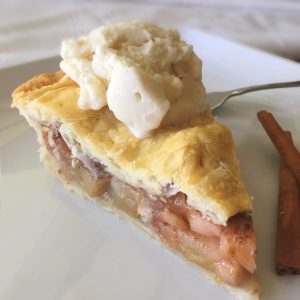
apple pie2 – 9 inch pie crusts (store bought or make your own)

5 c. apples (6-8 medium apples)

1/2 c. honey

2 tbsp. flour

Cinnamon

Roll bottom pastry and fit into a 9 inch pie plate. Let excess drape over the edge of plate.

Peel, core and slice apples and put into pie plate, arranging evenly. Sprinkle apples with cinnamon, to taste.

Mix honey and flour together. Pour evenly over apples. Roll out top pastry, dampen edges with water and place top pastry covering apples. Press and crimp edges together, then cut off excess pastry. Cut several slits in the top to allow steam to escape.

Bake in 350 F oven until apples are tender, about 45 minutes. Serves 6-8.

Enjoy!


Apples, Apples, Apples

apple activities for kids

Inspired by our apple picking the other day and with the abundance of apples in my kitchen, I decided to hop on the internet and look for fun crafts, games and ideas to do with the kids around an apple theme. Of course, I was not disappointed by the abundance of ideas out there, especially at this time of year.

After checking out a number of websites, I made a list of my favorites and have been trying them with the kids over the last few days. Here are the highlights and my faves.

Apple Crafts

apple activities

Fingerprint Apple Tree

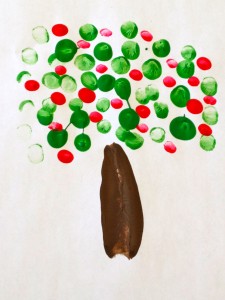
Fingerprint Apple Tree – this craft is super easy and fun! You will need brown, red and green tempera paint and some paper. The kids place the side of their hand in the brown paint and then stamp it on the paper. Then using their index finger they dip it in the green paint to make leaves. Lastly using their pinky finger, they dip it in the red paint and touch it to the paper to make apples.

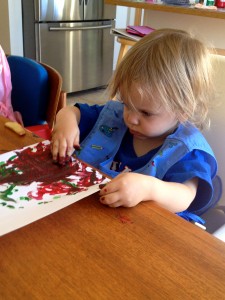
Matthew and I did ours just like the picture showed while Luke and Chloe, though they started out the same, ended up getting very creative with their tree. It was so cute to watch, both very focused, creating their tree. It was actually their first time using paints and they loved it! and have beautiful apple trees to show for it. And even though it doesn’t ‘look’ like the picture, they proudly call it their apple tree and share it with others.

Luke’s apple tree

Along the theme of apple trees, kids can also make a Pom Pom Apple Tree. Again very simple and easy. You will need brown paper, a brown marker, green paint, scissors, white glue and red pom poms. For this one I am going direct you to the website I found it on as they have done a great job of explaining how to put it together with great pictures.

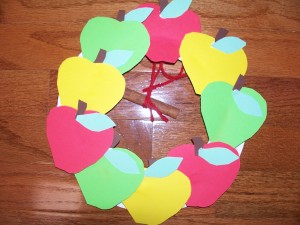
There are other easy apple crafts I discovered that I like – Cinnamon Apple Wreath, Toilet Paper Roll Apple, Stained Glass Apple and one of my favorites, the Worm in Apple.

You can even do apple prints, like potato stamping, and create beautiful lunchbags, dish towels or a homemade greeting cards. A craft from Martha Stewart of course.

Cinnamon Apple Wreath

Apple Games

Hot Apple – Just like hot potato except you use an apple instead. Children sit in a circle passing around the apple while there is music playing. Children pass the apple from one to another; they want to pass the apple quickly because when the music stops if they are holding the apple, then they are out of the game. Game continues until there is only one child left.

Apple Relay – Divide the children into 2 teams. Designate a starting line and an end line.  Teams line up one behind the other at the start line. The first person on each team places the apple on their head and must balance the apple on their head while they walk to the end line and back. If they drop the apple they must stop, count to three, then place the apple back on their head and continue. Once they are back to the start line, the next person goes. The first team to have everyone on their team finish wins.

Apple Hide & Seek – this is great for younger children. Have the children sit in a circle and close their eyes. While their eyes are closed hide the apple. Once it is hidden children may open their eyes and then move around the room looking for the apple. Once they find the apple they leave it where it is hidden and simply return to the circle. The last person to find the apple can hide the apple for the next round.

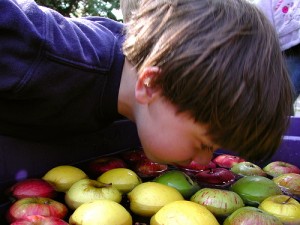
Bobbing for apples

Of course there is the traditional Bobbing for Apples, which we typically do around Halloween, which is always a riot. I like the version where you have to bob for the apple, then go and use your nose to find a candy in the flour bowl. It can get quite messy but it’s a hoot!

Apple Books

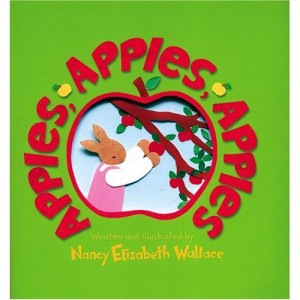
An apple theme would not be complete without books about apples. From Apples, Apples, Apples to How to Make an Apple Pie and See the World
there are many stories that will teach and delight children of all ages.

apple activities

Apples, Apples, Apples is a wonderful children’s book that I discovered while doing my research on the internet. Written by Nancy Elizabeth Wallace, it’s about the bunny family’s trip to Long Hill Orchard where Mr. Miller takes them on a wobbly wagon ride and tells them all sorts of fun things about Fall’s favorite fruit. It also includes apple songs, sayings and a recipe to try.

How Do Apples Grow? is a delightful story about how apples grow from flower to fruit, ready for you to eat. Written by Betty Maestro, it is beautifully illustrated and easy to read.

Regardless of the apple activities you try, the kids will be sure to enjoy themselves learning about this abundant and delicious Fall fruit and you may even learn something new yourself!

apple activities

Chloe’s ‘Apple of her eye’

An Abundance of Apples! & Sugar Free Apple Crumble

Tis the season of apples! Fresh juicy apples right from the tree or at the local farmers market. They are sweet and delicious and in abundance at this time of year.

Apples have long been a symbol of good health and an easy grab and go snack. They are a great source of vitamin C, K and B vitamins; as well as a great source of fiber and natural sugar. They aid in the prevention of cancer, tooth decay and heart disease and are a great natural substitute for sugar in recipes as well as an enjoyable snack for the kids.

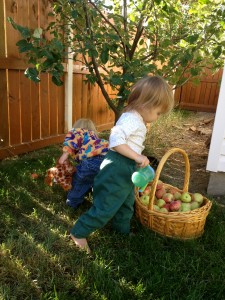
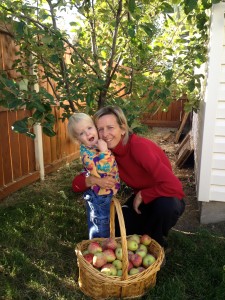
Luke and Chloe picking apples

A few years ago we planted an apple tree in our backyard. I have always liked going out into my own yard and being able to pick fresh fruit from the tree. There is just something about having grown it yourself and being able to go and help yourself that gives me a feeling of pride as well as a good feeling knowing that it is pesticide free and where it has come from.

The kids love the apple tree. Once those blooms in the spring start growing into apples it is hard to get the kids to not pick them off the tree. Matthew is now at the age where he understands that they need to grow and will get bigger, that they won’t be ready until September. But Luke and Chloe just see an apple, they are curious so they pick it. It’s pretty challenging to explain to a 2 year old that they aren’t ready yet.

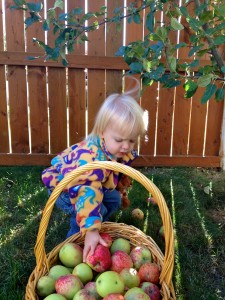
Chloe placing apples in the basket

Nonetheless, we had many apples ‘make it’ to September and they are now ripe and ready for eating. They are so ripe that they were starting to fall off the tree, and I knew that in order to keep them from rotting on the ground that it was time to pick them.

So yesterday morning we went out with Luke and Chloe and picked the apples from the tree. I didn’t think there were that many, but we ended up filling a huge basket. Now the challenge with having a tree and so many apples is what to do with them. Though apples keep fairly well, they do tend to go soft eventually. And I hate to waste good apples, so I make many apple recipes. Apple pie, apple muffins, applesauce, and my favorite apple crumble. I think it is the crumble I enjoy the most, I usually double the topping so that there is more 🙂 but that’s ok.

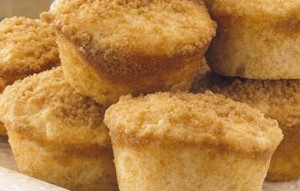
Apple Streusel Muffins

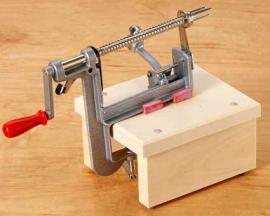
I find crumble to be a quick and easy dessert that I can make in about 10 minutes and pop into the oven. It is great with ice cream, whip cream or all by itself. We use a non-dairy ice cream called Rice Dream or a non-dairy whip cream. I also have an apple peeler, corer, slicer, that makes making any apple dessert very easy. It peels, cores and slices the apple all at once in less than 10 seconds. I would recommend one of these for anyone who makes things with fresh apples, it saves you a lot of time and is very easy to use.

Pampered Chef® Apple Peeler Corer Slicer

My recipe, originally from my mother, I have adjusted to a dairy free, sugar free version which is just as delicious as the original. The first time I did it without sugar I used honey in place of the brown sugar which worked well. But recently I have discovered coconut sugar, which melts just like brown sugar would. We now use it on our oatmeal in the morning and for our cinnamon apples when we go camping! And when I made the crumble yesterday I used coconut sugar instead of honey and I would have to say this is now my preference. It tasted just like the one with brown sugar.

So when you make this crumble, you choose which sweetener you prefer, perhaps make 2, each with the different sweeteners and test it out for yourself. I am sure your family will have no problems eating them up!

Unfortunately for me I only used 4 apples in my crumble, which hardly put a dent in the apples I have. I am going to have to get creative over the next little while and see what else I can come up with! In the meantime, enjoy this wonderful apple crumble, whether the apples come from your own tree or the local market, it is going to be delicious!

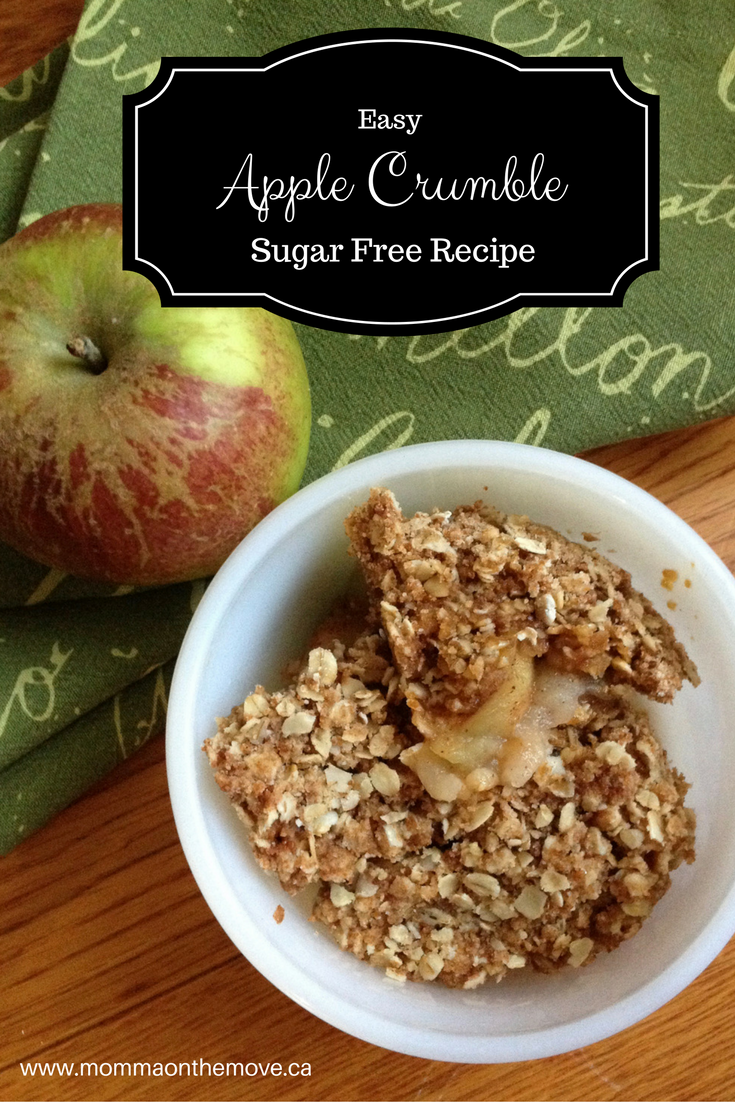
sugar free apple crumbleSugar Free Apple Crumble 

Topping

1/3 c. coconut sugar or honey

1/3 c. flour

3/4 c. rolled oats

1/3 c. Earth Balance

Filling – 4 large apples * peeled, cored and sliced

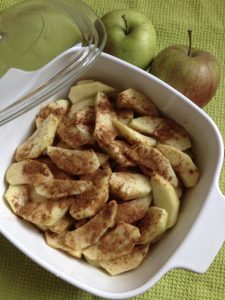
Place prepared apples in a 1 liter/ 4 c. corningware dish. If your apples are more tart, drizzle with a little honey, then sprinkle with cinnamon. Mix topping in a separate bowl. Place topping over apples and pat firmly.

Bake at 350 F for 30 minutes in a covered corningware. Remove cover for the last 5 minutes to brown top.

*use your favorite fruit in this crumble instead of apples, such as peaches, blueberries, etc.

Serves 4

Chloe and Mum by the apple tree

sugar free apple crumble

Fall Activities for Kids

Fall is my favorite time of year. The vibrant colors, the leaves changing on the trees. I often find a sense of renewal and excitement in the fall. Change and new beginnings, an expectation of things to come. Now I know that spring is typically the time for renewal and new things but for some reason this applies more to me in the Fall. There is just something about the energy, the way the warm sun glints through the trees, the crisp cool mornings, and the cozy afternoons. It’s magical, inviting and I look forward to it every year.

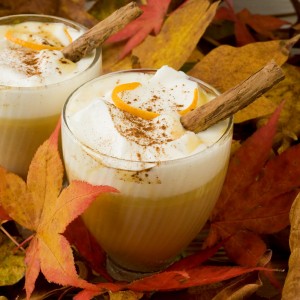
Pumpkin Spice Latte

I also enjoy all the activities that you can do in the Fall with the kids, the Fall recipes like warms hearty stews, specialty coffees like Pumpkin Spice Lattes, the bonfires, the festivals. It creates a warmth, a coziness and welcoming feeling that I love. It’s the time of year that I start to light more candles and fill my house with scents of pumpkin, cinnamon and cloves. It’s also a great time of year to be outside enjoying the warm sunny autumn afternoons.

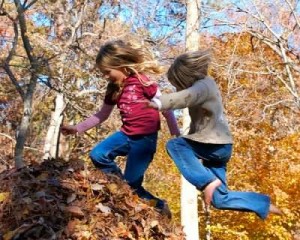
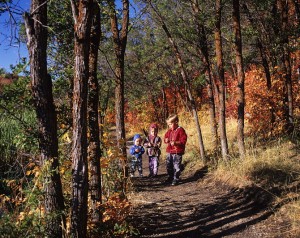
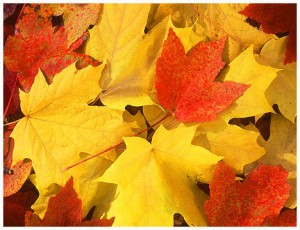
One of my favorite things to do in Fall is to just go for a walk, letting the kids explore and play in the leaves. The leaves are the best part of Fall. Whether we are kicking them up and dancing with them as they blow in the wind or gathering them for crafts and decorations for later. And I still love jumping in them! When I was growing up my sisters and I would love raking up the leaves, piling them high and jumping in them. Now as a parent and adult I love to jump in the leaves with my kids.

Taking the kids out for a walk is a great opportunity for them to not only have some fun but to teach them to learn about and appreciate their natural environment. There are lots of simple activities you can do while you’re out with very little equipment. If you bring a few items with you such as a magnifying glass, some paper, crayons, pencils and a cloth bag, this will get you started.

Many of these activities will engage kids of all ages. Here are some of my favorites:

Tree & Leaf Rubbings

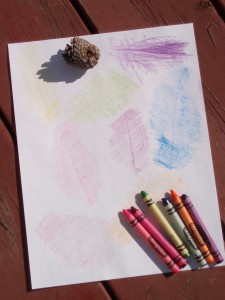
Leaf Rubbings

Have the children pick a tree, then take a piece of paper and a crayon. Put the paper up against the bark of the tree and then gently rub over the paper with their crayon. Younger children may need assistance holding their paper. Once they are finished they can leave the tree rubbing on it’s own or then add to it and make it part of another picture. They can also do leaf rubbings with leaves they have found on the ground, but will need a flat surface to do the rubbing. If there is nothing close by then take the leaves home and they  can do the leaf rubbings there.

More Leaf Fun…

Have the kids gather a variety of leaves, different shapes, sizes and colors. (Please note to get the children to take the leaves off the ground not off the trees!) The kids will love gathering them and it is an easy way for them to explore and teach them about the different kinds of trees. Take a moment to help them figure out which leaves belong to which trees. If you aren’t familiar with which trees are which, you can get a tree identification book from the library. With young children only talk about one or two, with older more.

With their gathered leaves they can also make a bouquet to put in a vase and use as a centerpiece on your table, or cut a circle out of cardboard and glue the leaves on to make a  leaf wreath.

They can trace their leaves on construction paper using different colors, cut them out then decorate their room or a part of the house. Also using construction paper they could make their own Autumn tree by cutting out a trunk and glueing the leaves on the branches or creating leaf people out of their leaves. Younger children may need help with cutting.

Find a Tree

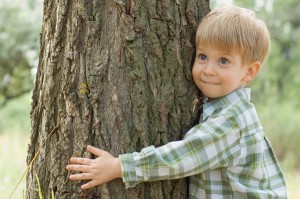
This is an environmental game that I do with all ages of children, from my 2 year old twins to the Leaders in Training who are 12-14. You can adjust it accordingly depending on the age of the children but the premise is the same. In partners, one is blindfolded and the other leads their partner to a tree. While blindfolded they explore the tree using their other senses. Touch, smell, etc. Once they feel that they have explored the tree thoroughly then the partner takes them back to where they started, removes the blindfold. The blindfolded partner then goes and sees if they can find their tree. With younger children use a small area with only a few trees to choose from with older you can use a larger area to make it more challlenging.

Fall Festivals

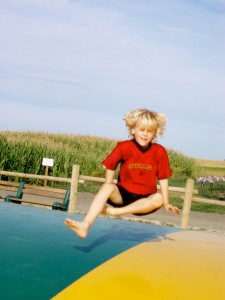
On the Jumping Pillow at the Calgary Corn Maze

Many communities Fall Festival celebrations, from pumpkin patches to hayrides, corn mazes and barbeques. We have a variety here in Calgary, from the Calgary Corn Maze, where they have a petting zoo, jumping pillow and corn cannons; to events at Heritage Park such as the Harvest Sale and Railway Days. Check out your local community events to find something that speaks to you.

Other Crafts and Activities

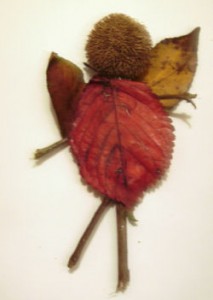
Twig Fairy

There are so many materials in the natural environment, especially in the Fall, to create all kinds of wonderful crafts and activities. When gathering materials for crafts please encourage the children to take things from the ground (whether it be leaves, pine cones, etc.) and not from the live trees and plants as this could damage or kill them. There are great crafts such as twig fairies, autumn looms (to display all the natural treasures they find), word searches and coloring pages. Just GoogleFall Activities and Crafts’ and all kinds of great websites will come up. Some of my favorite sites are Enchanted Learning and Family Fun.

Fall is a beautiful season, so get out and explore it, let the kids fill a bag of goodies (natural items) and then come home and see what you can do with them. Encourage the kids to create their own crafts and games from what they have found. It is a wonderful time to be creative and use their imagination and they’ll be learning about the natural world and all she has to offer at the same time!


Homemade Macaroni and Cheese Dairy Free…What?

Macaroni & Cheese is definitely a kid favorite. One that many of us remember having as a ‘treat’ growing up. We would get so excited when Mom announced that she was making mac & cheese for lunch! I would gobble it down asking for another serving, sometimes overindulging myself as it was sooo good. Yes we were having the Kraft Dinner in a box, full of processed goodies with likely no nutrition at all. But we loved it!

When I became a Mom and was more conscious of what we were eating I began to make my own macaroni and cheese from scratch. It is pretty easy to do. Just cook the macaroni and then add milk, cheese and butter to make the sauce. But then we went to dairy free. Hmmm…I know you are probably sitting there scratching your head wondering, how the heck can you have macaroni and cheese without any dairy. “Impossible!” you say, but I tell you it is not.

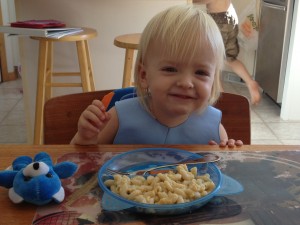
Chloe loves mac & cheese!

When we decided to move to a dairy and sugar free household, due to alleriges and personal choice, one of the things that I wanted to ensure was that I could still provide all the things that we liked to eat without having to feel like we were giving things up or the kids feeling like they couldn’t have what all the other kids were having.

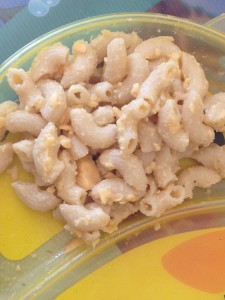
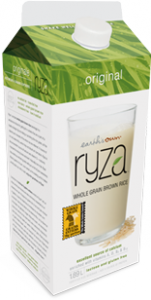
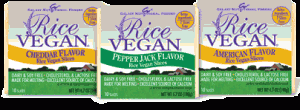
I found that with so many good dairy alternatives on the market now that making macaroni & cheese without dairy was actually very easy. I simply substitute Earth Balance, a vegan buttery spread for the butter, use Ryza rice milk for the milk and Vegan Rice Cheddar made by Galaxy Nutritional Foods, for the cheese. Now I have to admit that the vegan rice cheddar is not the same as regular cheese and though it works well in cooking it is not something that I would cut a slice of and put on a cracker.

Matthew enjoying his mac & cheese

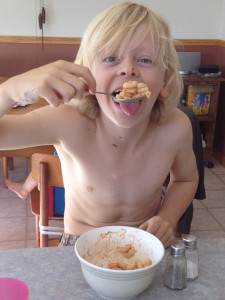
Regardless, the dairy free version is a hit at our house, Matthew loves it and eats it up usually a bowl or 2 and the babies have at least 2-3 helpings themselves. When making it for the kids I usually put in 3 cups of macaroni keeping everything else the same. The recipe says it serves 6 but with my kids it is ‘serves 3’.

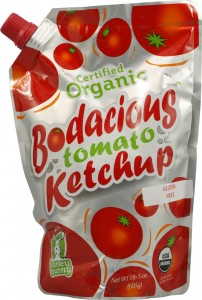
Matthew is the only one who would know the difference between the dairy and non-dairy version and if you were to ask him now he likely wouldn’t remember. He would just say that what we make is good. He likes to add a little bit of salt and pepper, as well as ketchup (we have a brand of ketchup that is sweetened with honey called Bodacious Ketchup) on his macaroni. I was never a fan of ketchup on macaroni, or eggs for that matter. I always looked at other kids weird when I was at their house and they added ketchup. I thought it was gross, but to each his own.

Whatever condiments you may like to add to your mac & cheese you’ll find this recipe to be a great hit at your house. The original recipe comes from Company’s Coming Pasta, but I have posted the dairy free version we make at home here. One other adjustment that I have made is I use brown rice pasta now too. This makes it a nice gluten free option as well. So make, eat, enjoy! It is super healthy for you. And really with mac & cheese how can you go wrong?
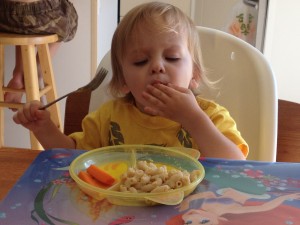
Dairy Free Macaroni and Cheese

2 c. elbow macaroni

1/2 c. rice milk

1/4 c. Earth Balance

1 tsp. onion salt

1/8 tsp. pepper (white is best)

2 c. grated Rice Vegan Cheddar

Cook macaroni in a large pot of boiling water until tender but firm, about 5 to 7 minutes. Drain macaroni, rinse in hot water and return to pot. Add remaining ingredients. Heat slowly, stirring to melt cheese.

Serves 6

Luke gobbling it up!

Bananas, Bananas and More Bananas

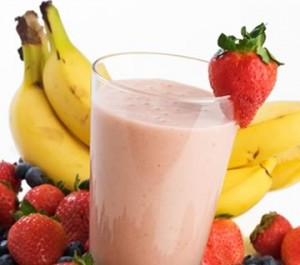
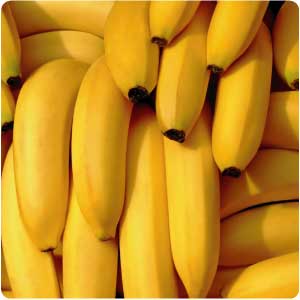
We go through a lot of bananas at our house. We basically use them in smoothies and general eating but we make a lot of smoothies. In the morning, I make 2 smoothies for myself, a green smoothie of some sort and a fruit one for later in the day. Then I make a peanut butter smoothie for Matthew and the babies usually have a banana each for breakfast. These all include bananas so by the time breakfast is over we have had at least 5 or 6. Then in the afternoon I will make more smoothies for the kids, a green smoothie of some kind, or more like a chocolate smoothie with greens in it. Believe me this is a great way to get greens into the kids! I find the twins especially are more apt to drink their green smoothie than eat the vegetables off of their plate. But I digress, we go through a lot of bananas. We are out at least twice a week buying 12-15 so that we have enough for a few days but not too many that they go brown before we eat them.

Bananas are a great source of potassium, vitamins C and B6, as well as a source of iron. As a result they help increase strength and reduce stress and is an instant source of energy. This makes them a great nutritious snack and natural sweetener (often you can use banana to sweeten muffins or cakes instead of using sugar). Plus they are a great ‘grab and go’ snack.

Though we eat a lot of bananas sometimes we do find that they go brown before we eat them all, and personally once a banana is too soft or ripe I cannot eat it. I don’t like the texture, it’s too mushy. So as a result I use them in recipes, like banana bread and banana muffins. And when I have too many brown bananas I toss them in the freezer to use later.

I have always loved banana bread, it is one of my favorite treats and I recently found an excellent sugar free recipe in the Clean Eating magazine. It uses flax seed and flax oil as well as other tasty ingredients. It is dairy free too; so I tried it out. It was the best banana bread that I have ever tasted! It was so moist and delicious, it melts in your mouth.

I also really enjoy banana muffins as they taste just like banana bread, and have a great recipe from my mother. I have been able to adjust the recipe to meet our new dietary requirements of no sugar or dairy and they taste delicious. The first time I made them I used date sugar as the sugar replacement and though they were very good, they were even better when I tried the  recipe using agave nectar instead. Mhmmm, they turned out so moist and fluffy! They turned out so well that I made them again within a week, not because I had leftover bananas that I needed to use, but because they were such a hit.
So I am sharing with you the banana muffin recipe with agave nectar (the banana bread recipe will come soon). Give it a whirl and try not to eat them all in one sitting! This sugar and dairy free recipe is sure to please everyone in the family!
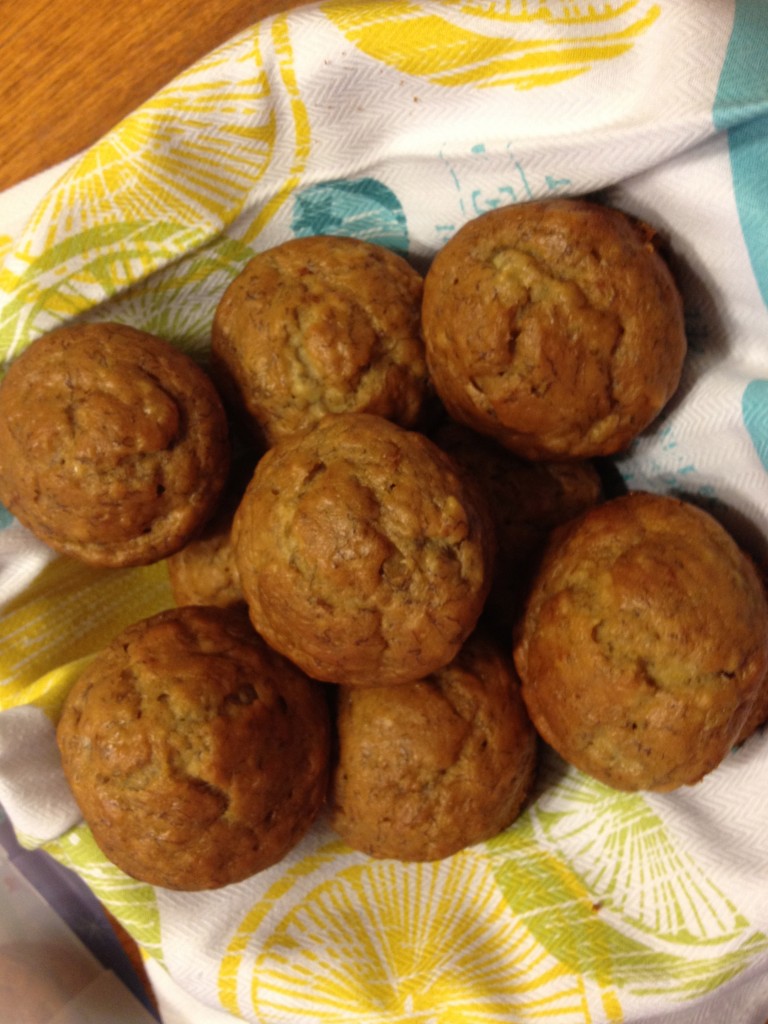
 

Banana Muffins

1 1/2 c. flour

1/2 c. agave nectar

1 tsp. baking powder

1 tsp. baking soda

1/2 tsp. salt

3 large bananas

1 egg

1/3 c. melted Earth Balance

Mash bananas. Add agave nectar and slightly beaten egg. Then add melted Earth Balance. Mix in dry ingredients and mix but do not beat.

Bake at 375 F for 20 minutes.

Makes 12 muffins

Summer Treats -Grasshopper Popsicles

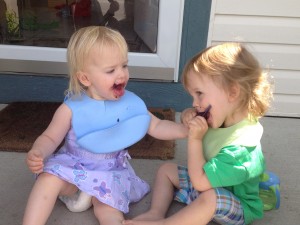
Sharing their first popsicle

Summer time is a great time of year when the days are long and lazy, the kids are off and you are often out playing and enjoying the summer sunshine. With summer comes all the summer treats that we enjoy like ice cream and popsicles.

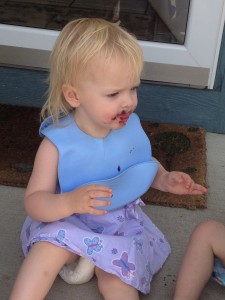
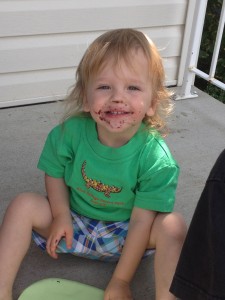
Luke and Chloe had their first popsicle the other day and loved it! They shared it. It was so cute to watch them licking and biting it, getting it all over their faces and clothes, even though I did have the forethought to put bibs on them.

Anticipating her next bite

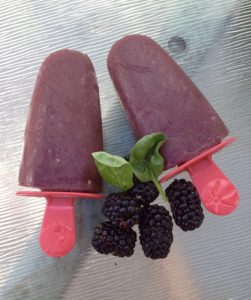
I have always made my own popsicles but now with our need to be sugar and dairy free it is even more important for us to do so. I have found the challenge with this change has been to still provide the ‘treats’ that kids are used to and enjoy without the sugar in them. Many store bought brands are full of sugar, artificial colors and flavorings, so in order to enjoy popsicles we have to make them ourselves. Traditionally I have made popsicles using apple or orange juice, or even sometimes juice from the juicer; but I have recently discovered some new, healthy and really yummy recipes for popsicles. The favorite, and the one that Luke and Chloe thoroughly enjoyed the other day, is Grasshopper popsicles. They have banana, blackberries and spinach in them. Yes spinach! What a great way to get those greens in.

I discovered this recipe when I bought my Vitamix this winter. The Vitamix came with a recipe book full of all kinds of sauces, beverages, dips, etc. that I could make with raw organic and sugar free ingredients.

Making your own popsicles is very easy. You can buy popsicle molds at most stores and they are fairly inexpensive. Choosing whatever ‘flavour’ you want you just fill them up, put in the stick and put them in the freezer. Voila! Cool yummy treat!

All done!

So as we enjoy our warm sunny days, where popsicles will become more in demand, I would suggest giving this recipe a whirl. It’s fast and easy -and if you don’t tell your kids what is in it, they probably won’t ask or know the difference. Even when they do find out what is in it, it doesn’t matter to them because they ate it and enjoyed it!

Grasshopper Popsicles – Vitamix

1 c. watergrasshopper popsicles

1 tbsp. fresh lemon juice

2 pitted medjool dates

2 c. spinach

2 c. fresh or frozen blackberries

2 bananas, peeled

Place all ingredients in the Vitamix in the order listed. Select variable 1. Turn the machine on slowly increasing the speed to 10 and then to High. Blend for 30-45 seconds using the tamper if needed to press ingredients into the blades. Pour into popsicle molds and freeze.

Welcome to Momma on the Move!

Welcome to Momma on the Move, a parenting blog written about the joys and challenges of parenting 3 young children in a world full of adventure and change.

This light hearted, witty, yet informative blog on the joys and adventures of parenting twin babies and an older child is full of tips and tricks that will help you to appreciate and manage the challenges of being a parent. My hope is that this will help you find the light heartedness in each situation and challenge, which will aid you in managing every day with ease and a smile. As well as to appreciate the positives of parenting and see the joy and the gift in each situation.

I am a mother of 3 children, Matthew, 9 and Luke and Chloe my 2 year old twins. Adjusting from one child to 3, was not hard but I discovered it has made things very busy! Through trial and error I’ve discovered tricks and tips in parenting twins, equipment must haves and survival tactics for managing a busy household. I love to write and in addition to my blog, freelance and have published in Today’s Parent, Angels on Earth and Suite101.com. I am also a regular contributor to Calgary’s Child of Calgary, Alberta where I live with my family.

I love the outdoors, camping, travel, reading and adventure and greatly enjoy spending time and sharing these passions with my children.

Over the past year we have made a number of dietary changes in our family due to allergies, intolerances and some personal choice. I have become well versed in being able to eat dairy and sugar free (and what the workable alternatives are), while still being able to enjoy the foods that we love, like cookies, pancakes and macaroni and cheese! I have been dabbling in some gluten free choices as well but this is still fairly new to us.

In this blog I will cover a variety of topics including

“Mommy Time”- taking time for yourself, how to fit it in and some of the unique “Mommy Time” experiences I have

Healthy Kids/ Family Nutrition -tips on eating well, exercise and play, ways to get the kids to eat those vegetables, tips and substitutes for sugar free and dairy free eating

Activities and Games for kids -inside and outside, in the car and on the way to the park

Sugar free/ dairy free recipes- ones that are tried, tested and true! That I have personally made, recommend and are favorites in our house

Events/ Special Occasions/ Milestones

Guest Bloggers – other bloggers/ experts in the above topics

As well as lighthearted stories to help us all relate to being parents; the trials and challenges, the joys and successes and the steps we take to get there; not only to laugh at our experiences and find the gifts in them but to create a sense of community where we don’t feel so alone. Where you hear yourself saying, “Oh her son does that too! Good I am not crazy!”

So welcome, read and enjoy, comment, ask questions. I am here to share with you what I have learned and experienced and hope that you find it helpful in some way, if only to make you smile.